
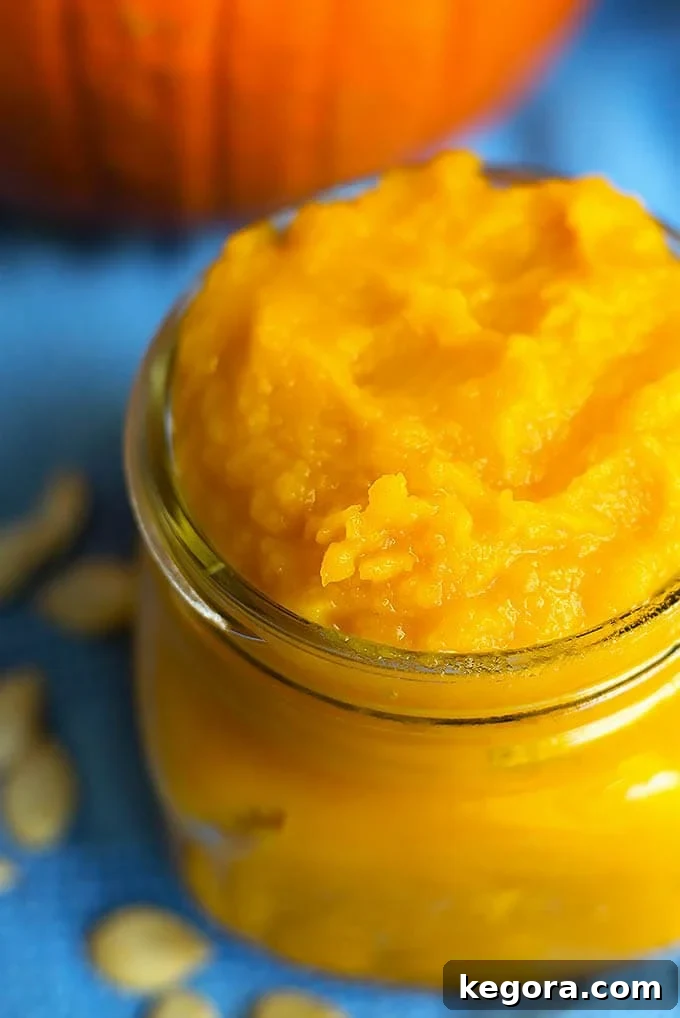
Mastering Homemade Pumpkin Puree: Instant Pot, Oven, and Slow Cooker Methods
Unlock the secret to rich, intensely flavorful pumpkin puree right in your own kitchen! Forget the often bland taste and hidden additives of store-bought canned pumpkin. This comprehensive guide will walk you through three incredibly simple, yet effective, methods—using your Instant Pot, traditional oven, or convenient slow cooker—to create a fresh, vibrant pumpkin puree that will elevate all your favorite fall dishes. Whether you’re a seasoned home cook or a kitchen novice, you’ll find these techniques straightforward, rewarding, and undeniably delicious.
Originally posted: September 23, 2017. Updated and expanded for 2024.
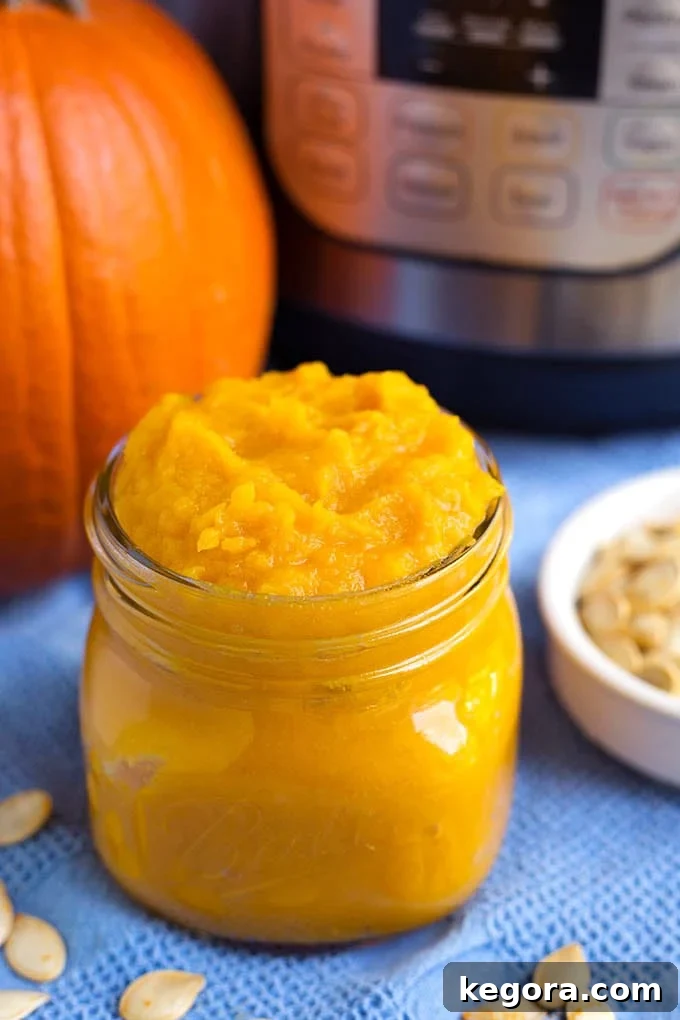
Why Choose Homemade Pumpkin Puree?
The difference between commercially canned pumpkin puree and its homemade counterpart is truly remarkable. While canned pumpkin offers undeniable convenience, it often falls short on the vibrant flavor, natural sweetness, and silky texture that fresh, homemade puree provides. By taking a little time to prepare your own, you gain complete control over the ingredients, ensuring no unwanted additives, preservatives, or excess sugars make their way into your food. Moreover, the comforting aroma of a pumpkin cooking in your home is an integral part of the autumn experience!
Homemade pumpkin puree is also a smart, cost-effective choice, especially during peak pumpkin season. It’s an excellent way to harness the natural goodness of fall produce and enjoy the freshest taste of the season in your baking, cooking, and drinks. Once you try it, you’ll wonder why you ever relied on the can!
Selecting the Perfect Pumpkin for Puree
To achieve the best homemade pumpkin puree, the type of pumpkin you choose is crucial. The large, hollow pumpkins commonly used for carving at Halloween, often referred to as “Jack-o’-lantern” pumpkins, are typically too watery, stringy, and bland for culinary purposes. Instead, you’ll want to seek out specific varieties known for their sweet, dense, and less fibrous flesh. These are generally labeled as “baking pumpkins,” “pie pumpkins,” or “sugar pumpkins.”
- Sugar Pie Pumpkins: These are widely considered the gold standard for pumpkin puree. They are typically small, round, and weigh between 1 to 3 pounds. Their flesh is notably rich, sweet, and has a smooth texture, making them ideal for all baking and cooking applications.
- Cinderella Pumpkins (Rouge Vif d’Etampes): With their distinctive flattened, deeply ribbed, and reddish-orange appearance, Cinderella pumpkins are another superb choice. They tend to be larger than Sugar Pie pumpkins but offer an equally delicious, sweet, and firm flesh.
- Fairytale Pumpkins (Musquee de Provence): These unique, heavily lobed pumpkins are fantastic for cooking. Their deep orange, firm, and sweet flesh makes them perfect for a robust puree.
- Other “Baking” or “Pie” Varieties: If your grocery store or farmer’s market doesn’t list specific names, look for labels clearly indicating “Pie Pumpkin” or “Baking Pumpkin.”
When selecting your pumpkin, aim for ones that feel heavy for their size, as this indicates dense flesh and less empty space. The skin should be smooth, firm, and free of any soft spots, blemishes, or mold. A vibrant orange color is generally a good indicator of ripeness and optimal flavor. Personally, I find 2-pound Sugar Pie pumpkins to be the perfect “Goldilocks” size—just right for easy handling and fitting into most kitchen appliances, including my 6-quart Instant Pot.
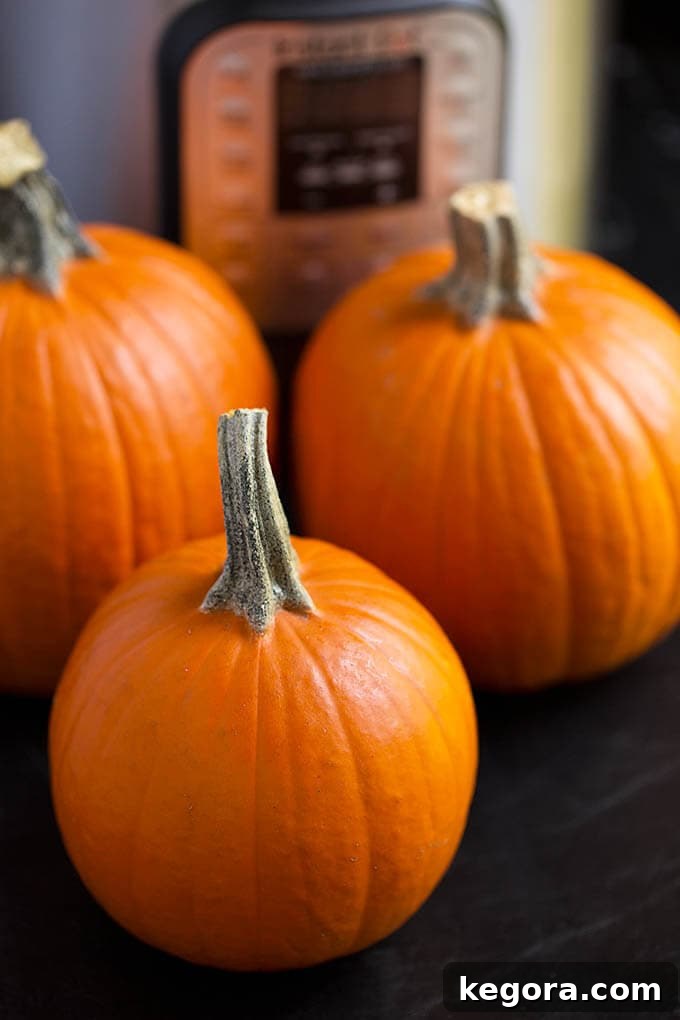
As you can observe, even a 1-pound pumpkin (the one in the foreground) is quite compact compared to a standard pressure cooker, while the 2-pound varieties fit perfectly, making them incredibly convenient to cook whole.
Preparing Your Pumpkin: Essential General Steps
Regardless of the cooking method you choose, a few basic preparation steps apply to all pumpkins before you begin cooking:
- Wash Thoroughly: Always start by washing the exterior of your pumpkin under cold running water. Use a vegetable brush if necessary to remove any dirt, dust, or debris from the skin.
- Gather Your Tools: Have a sharp, sturdy chef’s knife, a reliable cutting board, and a strong spoon or ice cream scoop readily available for deseeding and scraping.
Cooking Methods for Homemade Pumpkin Puree
Instant Pot Pumpkin Puree: The Fastest and Most Efficient Method
The Instant Pot (or any electric pressure cooker) is unequivocally the quickest and most hands-off way to achieve perfectly cooked, tender pumpkin. This method excels at retaining the pumpkin’s natural moisture and concentrating its sweet flavor efficiently, all while significantly cutting down on cooking time.
Preparation for Instant Pot:
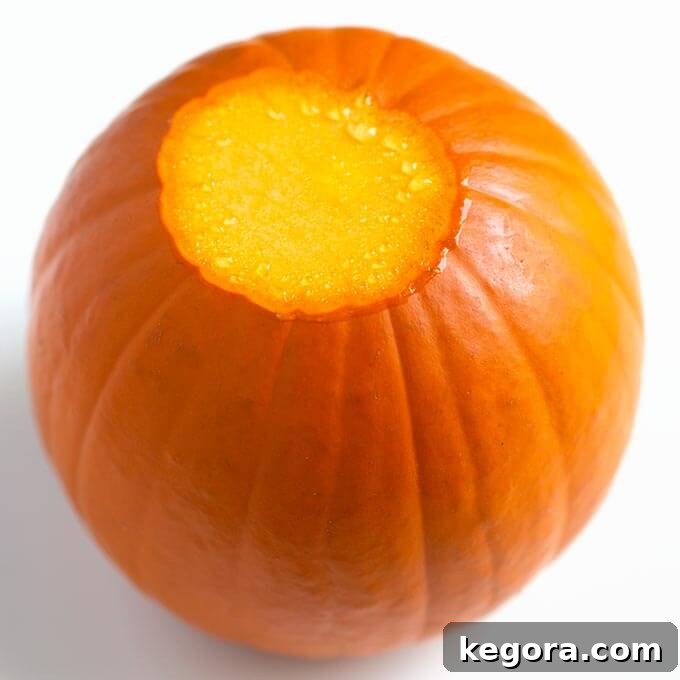
- Stem Removal: For smaller pumpkins (typically around 1-2 pounds), you can cook them whole for maximum ease. Simply use a sharp knife to carefully cut off the stem, creating a stable, flat surface on top. If the stem is particularly small, you might even opt to leave it on, but in this case, it’s wise to poke a few holes in the pumpkin’s skin, similar to preparing a baked potato, to allow steam to escape and ensure even cooking.
- To Halve or Not to Halve: While cooking whole is incredibly convenient, if you’re working with a larger or wider pumpkin (such as a Cinderella variety), you may need to cut it in half to ensure it fits comfortably within your Instant Pot’s inner pot with the lid securely closed. If you choose to halve it, make sure to scoop out all the seeds and stringy, fibrous bits from the center *before* cooking. For whole pumpkins, this deseeding step will occur after cooking.
Cooking in the Instant Pot:
- Add Water & Trivet: Pour 1 cup of cold water into the Instant Pot’s inner pot (if you have an 8-quart pot, use 2 cups of water). Place the metal trivet (steamer rack) inside the pot.
- Position Pumpkin: Carefully place your prepared pumpkin (either whole or halved, cut-side up if halved) onto the trivet. Double-check that the Instant Pot lid can close easily and seal properly without any obstruction. If the pumpkin is too tall, you might need to trim a little more from the top (if whole) or adjust its position.
- Seal and Cook: Securely close the Instant Pot lid and ensure the steam release knob is set to the “Sealing” position. Select the “Manual” or “Pressure Cook” setting on High Pressure. The cooking time will depend on your pumpkin’s size:
- For a 1-pound pumpkin: Cook for 9 minutes.
- For a 2-pound pumpkin: Cook for 13 minutes.
- For a 3-pound pumpkin: Cook for 18 minutes.
- Release Pressure: Once the cooking cycle is complete, perform a Quick Pressure Release (QPR). Carefully turn the steam release knob to the “Venting” position, making sure to stand clear to avoid the hot steam. Once the float valve drops, the lid can be opened.
Oven-Baked Pumpkin Puree: The Classic and Flavorful Approach
Baking your pumpkin in a traditional oven is a time-honored method that imparts a subtly caramelized flavor to the pumpkin flesh. This technique often yields a slightly drier puree, which many bakers prefer, particularly for recipes like pumpkin pie where excess moisture can be a concern. It’s a straightforward, mostly hands-off process that fills your home with the warm scent of autumn.
Preparation for Oven Baking:
- Halve and Deseed: For oven baking, it’s essential to cut the pumpkin in half *before* cooking. Place the pumpkin on a stable cutting board and use a large, sharp knife to carefully slice it down the middle, from stem to base.
- Clean Out: With a sturdy spoon or an ice cream scoop, thoroughly remove all the seeds and stringy, fibrous pulp from the cavity of both pumpkin halves. Set the seeds aside if you plan to roast them for a delicious snack!
- Arrange on Baking Sheet: Place the pumpkin halves cut-side down on a baking sheet. For easier cleanup and to prevent sticking, you can line the baking sheet with parchment paper or a silicone baking mat.
Cooking in the Oven:
- Preheat Oven: Preheat your oven to 350°F (175°C).
- Bake Until Tender: Bake the pumpkin halves for approximately 45 to 55 minutes. The exact cooking time will vary depending on the size, thickness, and density of your specific pumpkin. The pumpkin is fully cooked when the flesh is easily pierced with a fork.
- Cool: Once baked, carefully remove the baking sheet from the oven and allow the pumpkin halves to cool on the pan until they are comfortable enough to handle.
Slow Cooker Pumpkin Puree: Effortless Convenience and Deep Flavor
The slow cooker method is ideal for those busy days when you want to achieve a deeply flavorful and tender pumpkin with minimal hands-on effort. It’s truly a “set it and forget it” option that allows the pumpkin to slowly cook to perfection, filling your kitchen with an inviting aroma throughout the day.
Preparation for Slow Cooker:
- Stem & Fit: For smaller pumpkins (around 1-2 pounds), simply cut off the stem to ensure the slow cooker lid can close securely. Place the whole pumpkin directly into your slow cooker.
- Halve for Larger Pumpkins: If your pumpkin is larger than 2 pounds or too wide to fit comfortably inside the slow cooker crock with the lid properly sealed, you will need to cut it in half. As with the oven method, scoop out all the seeds and stringy pulp from the center before placing the halves in the slow cooker.
Cooking in the Slow Cooker:
- Place Pumpkin: Place the pumpkin (whole or halved) into the slow cooker. There is no need to add any water for this method, as the pumpkin will naturally release its own moisture as it cooks.
- Cook on Low: Set your slow cooker to the LOW setting and cook for approximately 5-6 hours. The pumpkin is ready when its flesh is easily pierced and feels very tender when tested with a fork. Cooking times can vary slightly based on your specific slow cooker model and the size of your pumpkin.
- Cool: Once cooked, carefully remove the pumpkin from the slow cooker and let it cool down until it’s safe and comfortable to handle.
Pureeing Your Cooked Pumpkin to Silky Smoothness
Once your pumpkin is perfectly cooked and has cooled sufficiently, it’s time for the exciting step of transforming it into smooth, luscious puree.
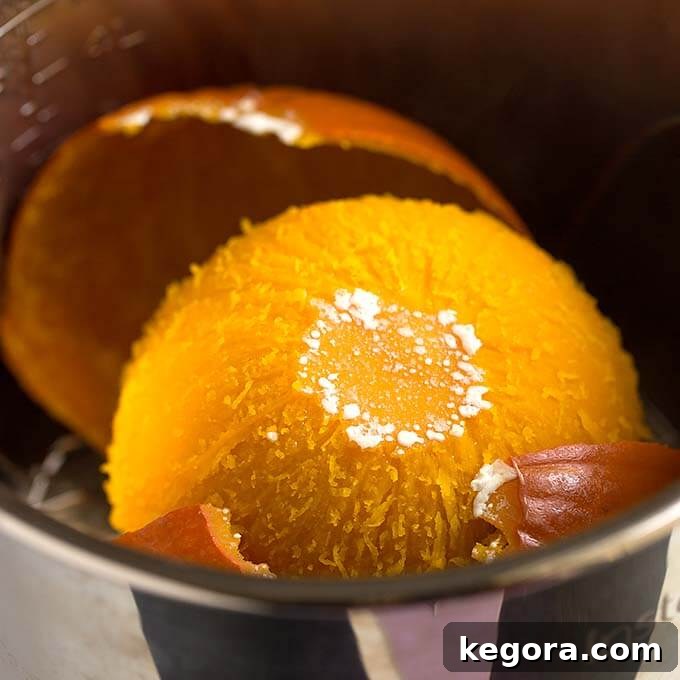
- Peel the Skin: For pumpkins cooked in the Instant Pot or slow cooker, the skin often separates effortlessly from the tender flesh. If it doesn’t simply slide off, it’s still quite easy to scrape the soft flesh away from the skin using a sturdy spoon or a fork. For oven-baked pumpkins, you’ll simply scoop the delicious flesh directly out of the skin.
- Final Deseeding & Stringy Bits (if cooked whole): If you chose to cook your pumpkin whole in the Instant Pot or slow cooker, now is the moment to carefully cut it open and thoroughly scrape out any remaining seeds and fibrous strands from the center cavity.
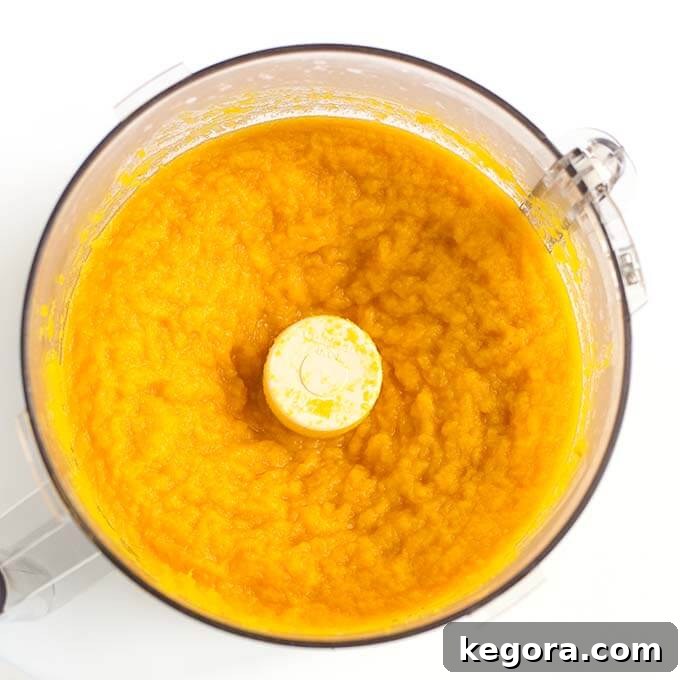
- Process to Smoothness: Transfer all the cooked pumpkin flesh directly into the bowl of a food processor. Process the pumpkin until it reaches a completely smooth and creamy consistency, free of any lumps. Depending on the power of your food processor, this might take a few minutes. You may need to pause occasionally to scrape down the sides of the bowl to ensure even processing.
- Alternative Pureeing Tools: If you don’t own a food processor, a high-speed blender can also be used to achieve a very smooth puree. For those who prefer a more rustic, slightly chunkier puree, a potato masher or even a sturdy fork can be employed, though it will require more effort to achieve a consistent texture.
To Strain or Not to Strain? Understanding Moisture Content
Pumpkins naturally vary in their water content, and different cooking methods can influence how wet your finished puree turns out. For instance, Instant Pot and slow cooker methods sometimes yield a slightly more watery puree compared to oven baking. Some recipes, particularly certain delicate pumpkin pies or custards, might benefit from a slightly drier puree.
While I personally rarely strain my puree for most applications, if you find yours to be excessively liquidy or if your recipe specifically calls for a drier consistency, you have a couple of effective options:
- Fine Mesh Colander: Place your freshly made pumpkin puree into a fine-mesh colander that is set over a larger bowl. Allow it to sit for an hour or two, giving the excess liquid time to drain naturally. For faster draining, you can gently press down on the puree with the back of a spoon.
- Cheesecloth Method: Line a colander with several layers of clean cheesecloth. Spoon the pumpkin puree into the cheesecloth-lined colander. Gather the edges of the cheesecloth to form a bundle and gently squeeze out the excess liquid.
Ultimately, the decision to strain often depends on your personal preference and the specific recipe you’re using. For applications like soups, smoothies, or muffins, a slightly wetter puree is usually perfectly acceptable. However, for baked goods where precise moisture balance is key, such as pumpkin pies, straining can help prevent a soggy crust and ensure a perfect texture.
Storing Your Homemade Pumpkin Puree for Freshness
Once you’ve crafted your delicious homemade pumpkin puree, proper storage is key to ensuring you can enjoy its fresh flavor for days, weeks, or even months to come.
Refrigeration:
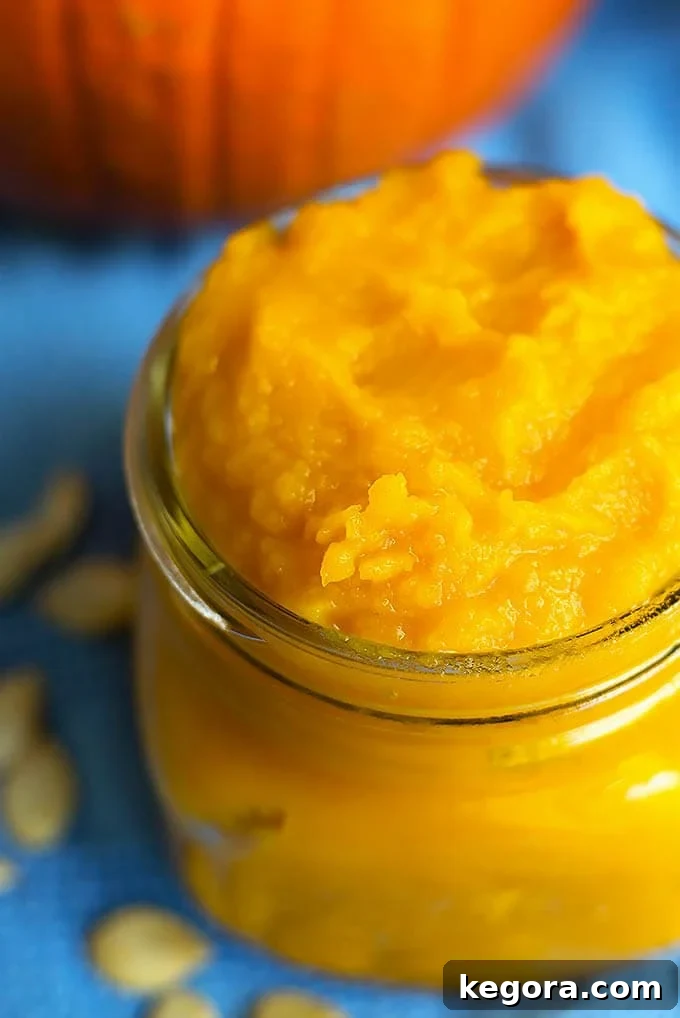
For immediate use within a week, store your pumpkin puree in airtight containers or clean glass canning jars in the refrigerator. Always make sure to label your containers with the date of preparation to keep track of freshness.
Freezing for Longer Storage:
Pumpkin puree freezes exceptionally well, making it a fantastic ingredient to prepare ahead for holiday baking or to have on hand to enjoy year-round. When stored correctly, it can remain fresh in the freezer for up to 6-12 months without significant loss of quality.
- Freezer Bags (My Preferred Method): Fill freezer-safe zip-top bags with pre-measured portions of pumpkin puree (e.g., 1-2 cups, mimicking standard canned pumpkin sizes). Flatten the bags as much as possible to remove air, then seal them tightly before freezing them flat. This method allows for quick thawing and highly efficient freezer storage, as the flat bags stack neatly.
- Ice Cube Trays: For smaller, individual portions—perfect for smoothies, baby food additions, or thickening sauces—spoon the puree into ice cube trays. Once completely frozen, pop the cubes out and transfer them to a larger freezer-safe bag or container.
- Freezer-Safe Containers: Use rigid, airtight freezer containers for storage. Remember to leave approximately half an inch of headspace at the top of the container to allow for expansion as the puree freezes.
To thaw frozen pumpkin puree, simply transfer the desired portion to the refrigerator overnight. For quicker thawing, you can use the defrost setting on your microwave. From a typical 2-pound baking pumpkin, you can expect to yield approximately 2 to 2.5 cups of luscious homemade pumpkin puree – a generous amount for many of your favorite recipes!
Creative Ways to Use Your Abundant Homemade Pumpkin Puree
The versatility of homemade pumpkin puree is truly astounding! Beyond the beloved classic pumpkin pie, a world of culinary possibilities awaits your exploration. Embrace the autumnal spirit and infuse your dishes with the rich, comforting flavor of fresh pumpkin:
- Elevated Baking Staples: Transform your everyday bakes into seasonal delights with pumpkin bread, muffins, scones, cookies, and pancakes.
- Comforting Desserts: Beyond pie, think decadent pumpkin cheesecake (you must try my Instant Pot Pumpkin Cheesecake recipe, perfectly complemented by homemade puree!), creamy custards, festive trifles, and even homemade pumpkin ice cream.
- Savory Culinary Creations: Add incredible depth and a velvety texture to savory dishes. Incorporate it into hearty soups (like my Instant Pot Butternut Squash Soup, which also uses pumpkin puree!), warming curries, robust chili, creamy pasta sauces, and sophisticated risottos. It can also be blended into a luscious polenta or handmade gnocchi.
- Nutrient-Rich Breakfast Boosts: Stir a dollop into your morning oatmeal, swirl it into yogurt parfaits, or create delightful pumpkin spiced overnight oats for an easy, healthy start to your day.
- Cozy Beverages: Whip up your very own homemade pumpkin spice lattes, or blend it into nutrient-rich smoothies for a healthy, seasonal kick.
- Health-Conscious Options: Pumpkin puree makes a wonderfully natural and fiber-rich baby food, and surprisingly, it can even be used as a healthy addition to homemade dog treats!
For a truly simple yet comforting treat, I adore warming up a scoop of fresh puree and stirring in a generous pat of butter and a drizzle of pure maple syrup. It’s a taste of pure autumn bliss!

Don’t miss my delightful Instant Pot Pumpkin Cheesecake recipe, which is perfectly complemented by this wonderful homemade pumpkin puree!
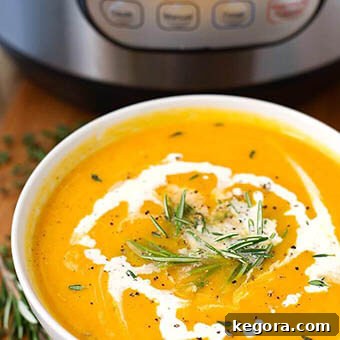
My Instant Pot Butternut Squash Soup also features the rich flavor of homemade pumpkin puree for a truly comforting and nutritious meal!
And remember, don’t let those pumpkin seeds go to waste! Make some crunchy Roasted Pumpkin Seeds from the ones you scooped out – they make a fantastic, healthy snack.
Expert Tips for Success with Homemade Pumpkin Puree
To ensure your homemade pumpkin puree turns out perfectly every time, keep these helpful tips in mind:
- Don’t Overcook: While pumpkin is quite forgiving, overcooking can sometimes lead to an overly watery or slightly mushy texture. Cook until the flesh is just fork-tender, retaining its structural integrity.
- Cool Completely Before Pureeing: Always allow the cooked pumpkin flesh to cool down completely (or at least to room temperature) before you begin the pureeing process. Cooling helps to achieve a thicker, smoother, and more stable consistency in your final puree.
- Adjust Consistency as Needed: If your puree seems too thick for your intended recipe, you can easily thin it out by adding a tablespoon of water (or vegetable broth for savory recipes) at a time while processing, until you reach the desired consistency. Conversely, if it’s too thin, refer to the “To Strain or Not to Strain?” section above for guidance.
- Consider Batch Cooking: If you’ve got multiple pie pumpkins, consider cooking them all at once. Batch cooking and then freezing your homemade puree in various pre-portioned sizes (e.g., 1-cup, 2-cup) will save you valuable time later on, making it incredibly convenient for future baking and cooking endeavors.
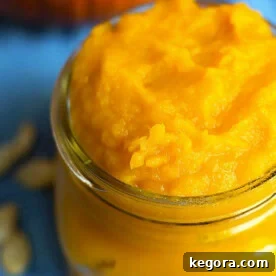
Homemade Pumpkin Puree – Instant Pot, Oven, Slow Cooker
Sandy Clifton
5 minutes
15 minutes
20 minutes
4-6 servings
Ingredients
- 1-3 lbs Sugar Pie or Cinderella Pumpkin (or any “Baking” or Pie pumpkin)
For the Instant Pot Only
- 1 cup Water (2 cups for the 8 qt pot)
Instructions
Instant Pot
-
Put the trivet/rack and 1 cup of water in the pot.
-
Cut stem off of pumpkin and set it on the trivet. Discard stem.
-
Make sure you can easily close the lid (if not, either take out the trivet or cut a little more off the top of the pumpkin).
Close the lid and set the steam release knob to the Sealing position. Set to Manual (or Pressure Cook) and choose 9 minutes for a 1 lb pumpkin, 13 minutes for a 2 lb pumpkin, or 18 minutes for a 3 lb pumpkin. High pressure.
-
Do a Quick Pressure Release when cooking cycle ends.
-
Let cool a bit and scrape the skin off. Cut in half and scrape out the seeds and stringy portion of the center (if you cooked pumpkin whole).
-
Put the flesh in a food processor and process until smooth.*
Oven
-
Cut the pumpkin in half and scoop out the seeds and the stringy portion of the center. Place face down on a baking sheet.
-
Bake at 350 degrees (F) for 45 to 55 minutes, or until a fork goes into the flesh easily.
-
Let cool a bit and scrape the skin off.
-
Put the flesh in a food processor and process until smooth.*
Slow Cooker
-
Cut stem off of pumpkin and set it in the slow cooker. If pumpkin is too large for the crock, cut in half and scrape out the seeds and stringy portion of the center.
-
Cook on Low for 5-6 hours, or until a fork goes into the flesh easily.
-
Let cool a bit and scrape the skin off. Cut in half and scrape out the seeds and stringy portion of the center (if you cooked pumpkin whole).
-
Put the flesh in a food processor and process until smooth.*
Notes
Nutrition
Calories:
82
kcal
Nutrition information is automatically calculated, so should only be used as an approximation.
Additional Info
Vegetarian
American
Tried this recipe? Mention @simply_happy_foodie!
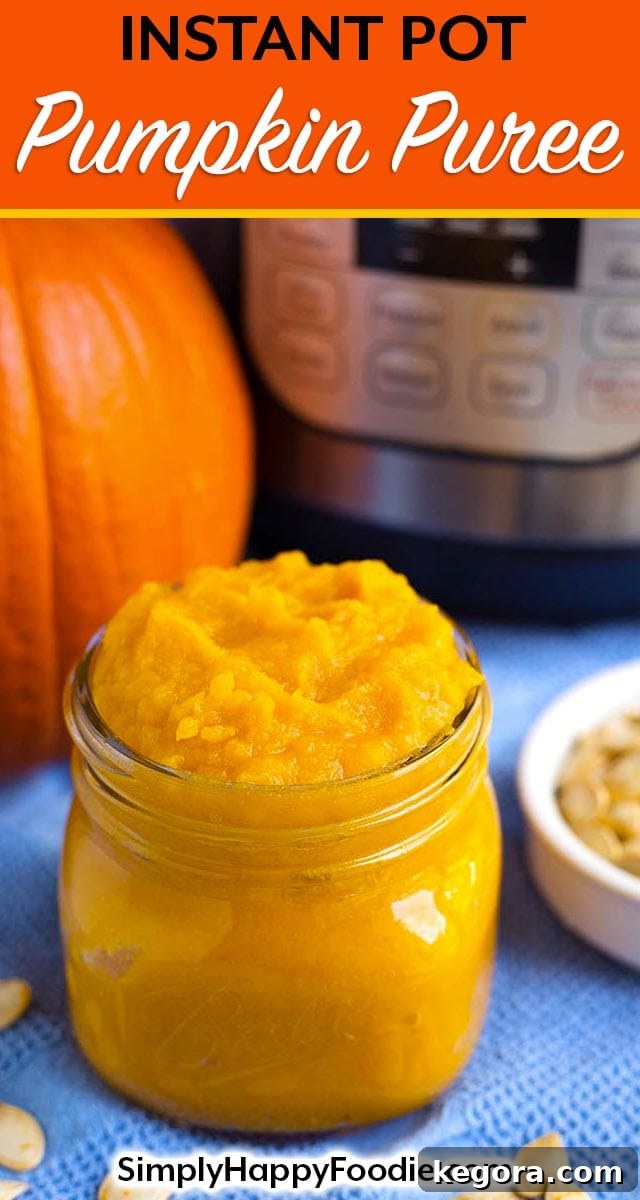
Recommended Resources for Your Pumpkin Puree Journey
To help you on your journey to making perfect homemade pumpkin puree and enjoying countless delicious recipes, here are some recommended items:
- Instant Pot (Electric Pressure Cooker) – For the fastest and most efficient cooking method, a reliable Instant Pot is invaluable.
- Slow Cooker – For effortless, “set-it-and-forget-it” convenience that delivers deep, comforting flavors.
- Food Processor – Essential for achieving that silky smooth, creamy pumpkin puree texture.
- Fine Mesh Colander or Cheesecloth – Useful tools if you prefer a slightly drier puree for specific baking recipes.
- Ice Cream Scoop – An unexpectedly handy tool for quickly and cleanly deseeding pumpkins.
As an Amazon Associate, I earn from qualifying purchases. This means that if you click on a product link and make a purchase, I may receive a small commission at no extra cost to you. Your support helps maintain this blog and continue sharing delicious recipes!