
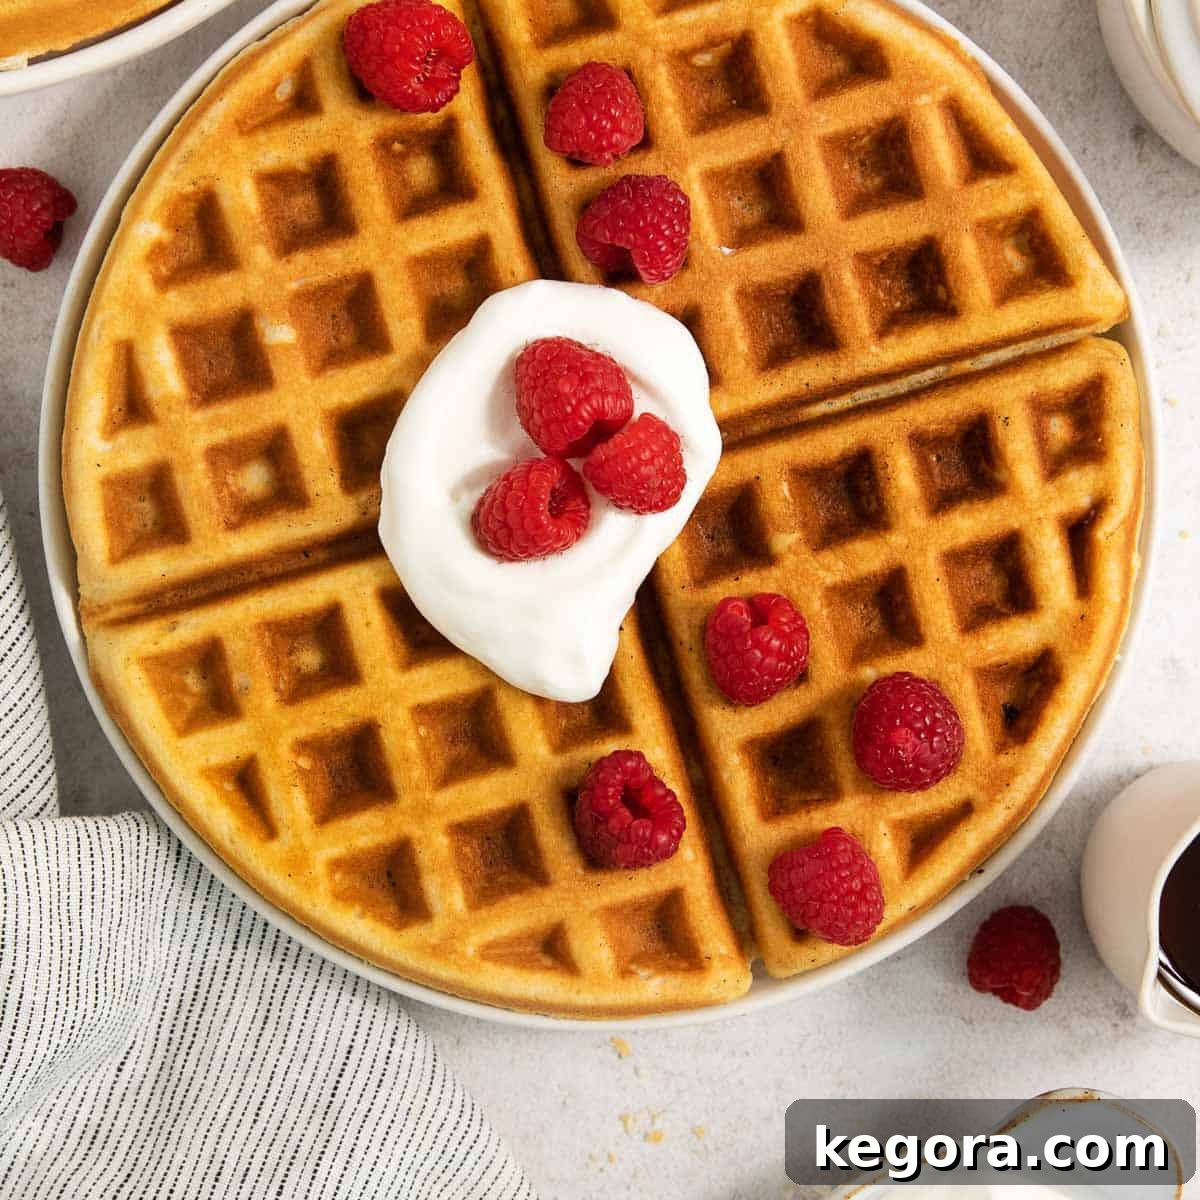
Irresistibly Crispy Gluten-Free Waffles: Your New Favorite Breakfast!
Welcome to the ultimate guide for crafting the perfect gluten-free waffles! If you’ve been searching for a recipe that delivers that delightful crispiness on the outside and a tender, fluffy interior, your quest ends here. This recipe has been refined over countless trials to ensure every bite is a golden, light, and utterly delicious experience your whole family will adore. Say goodbye to soggy, dense gluten-free waffles and hello to breakfast perfection!
Erin’s Recipe Rundown: Why You’ll Love These Waffles

Here’s a quick overview of what makes these gluten-free waffles truly stand out:
- Texture: Expect nothing less than perfection! These waffles boast a wonderfully crisp exterior that gives way to a soft, airy, and incredibly fluffy inside. It’s the ideal contrast that makes every bite satisfying.
- Taste: A delicate balance of lightly sweet flavors, enhanced by a subtle hint of vanilla. They’re delicious enough to enjoy plain, but also serve as the perfect canvas for your favorite toppings.
- Ease: Don’t let the gourmet results fool you – this recipe is surprisingly simple to make using basic, readily available ingredients. Ideal for both seasoned bakers and beginners alike.
- Top Tips: For unparalleled results, the secret lies in separating the eggs and whipping the egg whites into stiff peaks. This extra step is 100% worth the effort, ensuring your waffles are incredibly light and airy.
- Recommended GF Flour: This recipe performs beautifully with any high-quality gluten-free measure-for-measure flour blend that contains xanthan gum. My personal favorite, and the one I’ve had the most consistent success with, is Bob’s Red Mill 1:1 Baking Flour.
- Would I make these again? Absolutely, without a doubt! This recipe is the culmination of years of trial and error, countless adjustments, and a passionate pursuit of gluten-free waffle perfection. The outcome is consistently light, beautifully golden-brown waffles that my entire family adores, and I’m confident yours will too!
xoxo erin
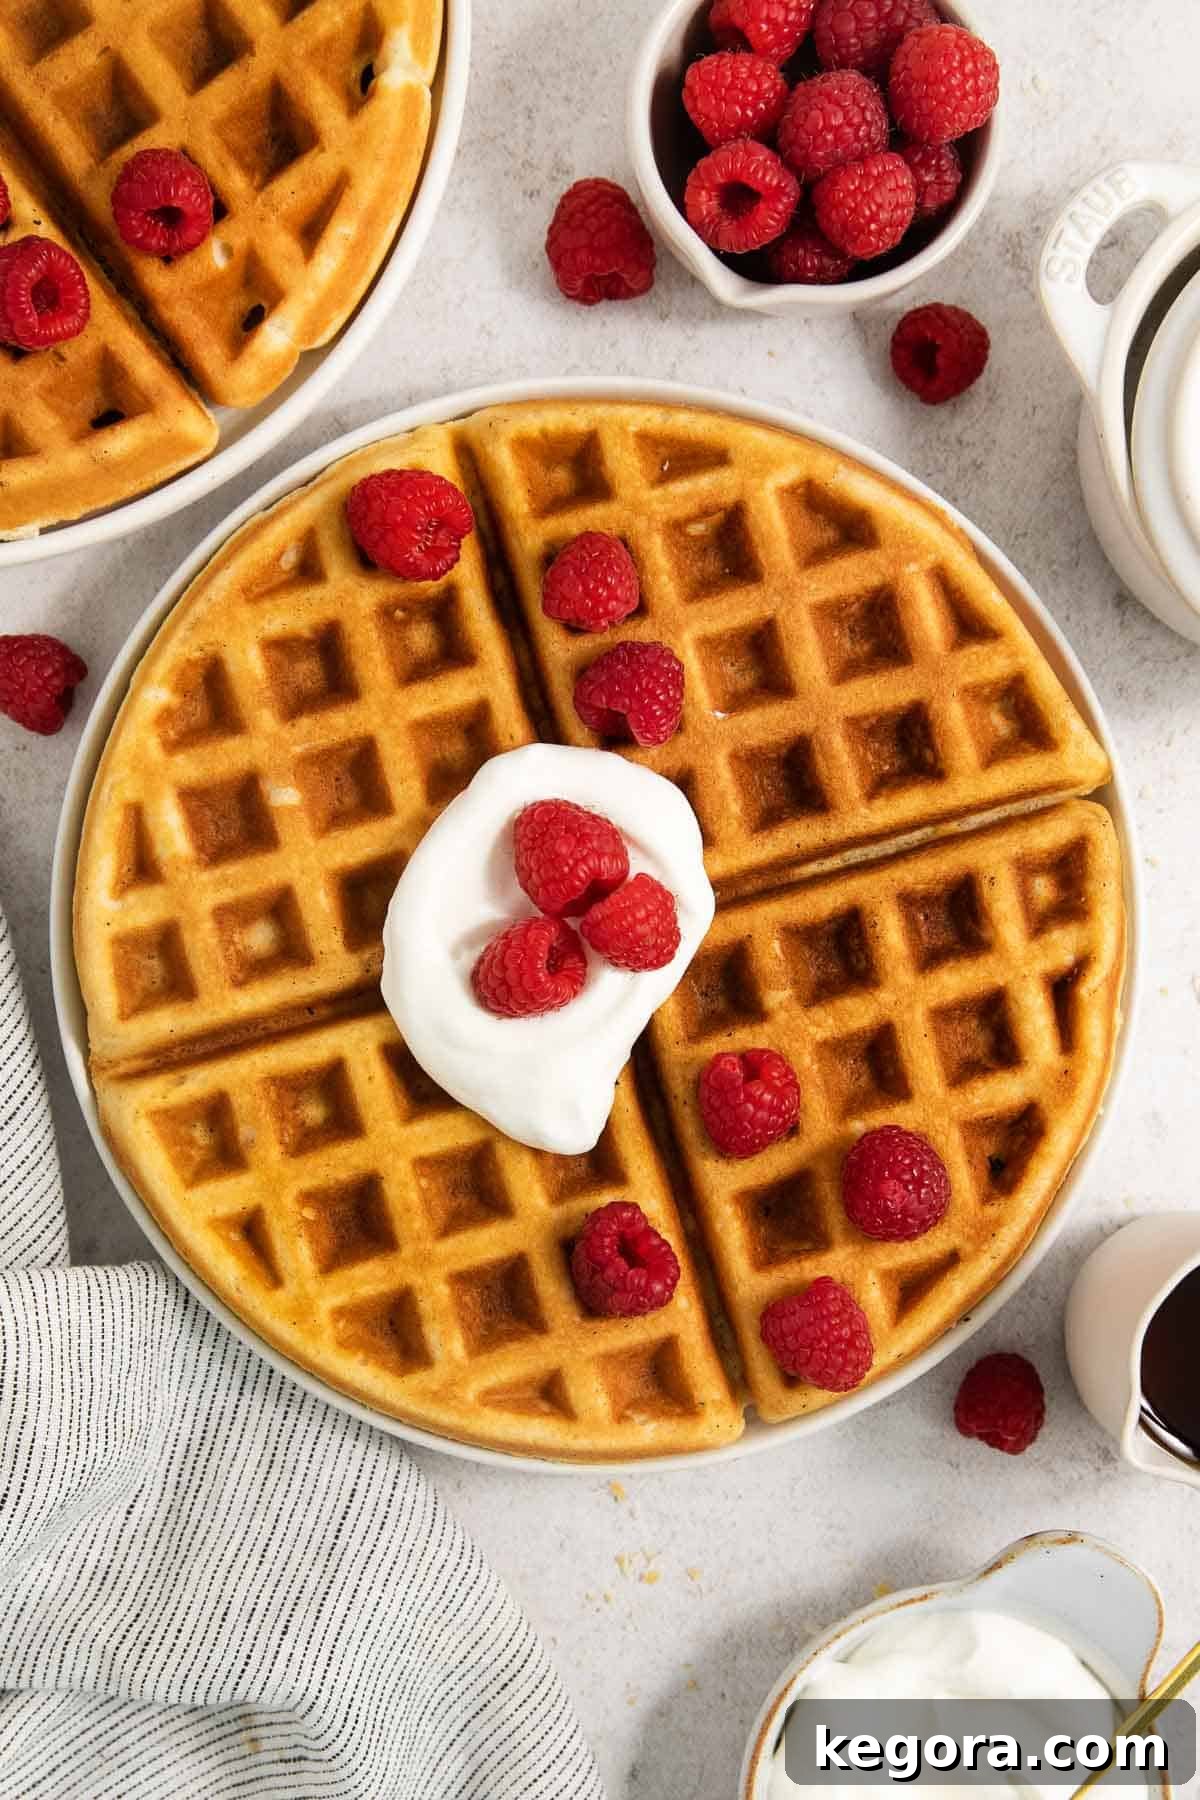
Featured Comment
From Madeline: “Delicious! Loving all of your recipes. You can tell the method was well thought out. Honestly don’t NEED syrup on them! They’re so good as is. My toddler apparently loves them as well. Thank you!”
Essential Ingredients for Perfect Gluten-Free Waffles
Crafting these classic crispy gluten-free waffles requires a few key ingredients. Understanding their role will help you achieve the best results every time. For exact measurements, you can jump directly to the recipe card below.
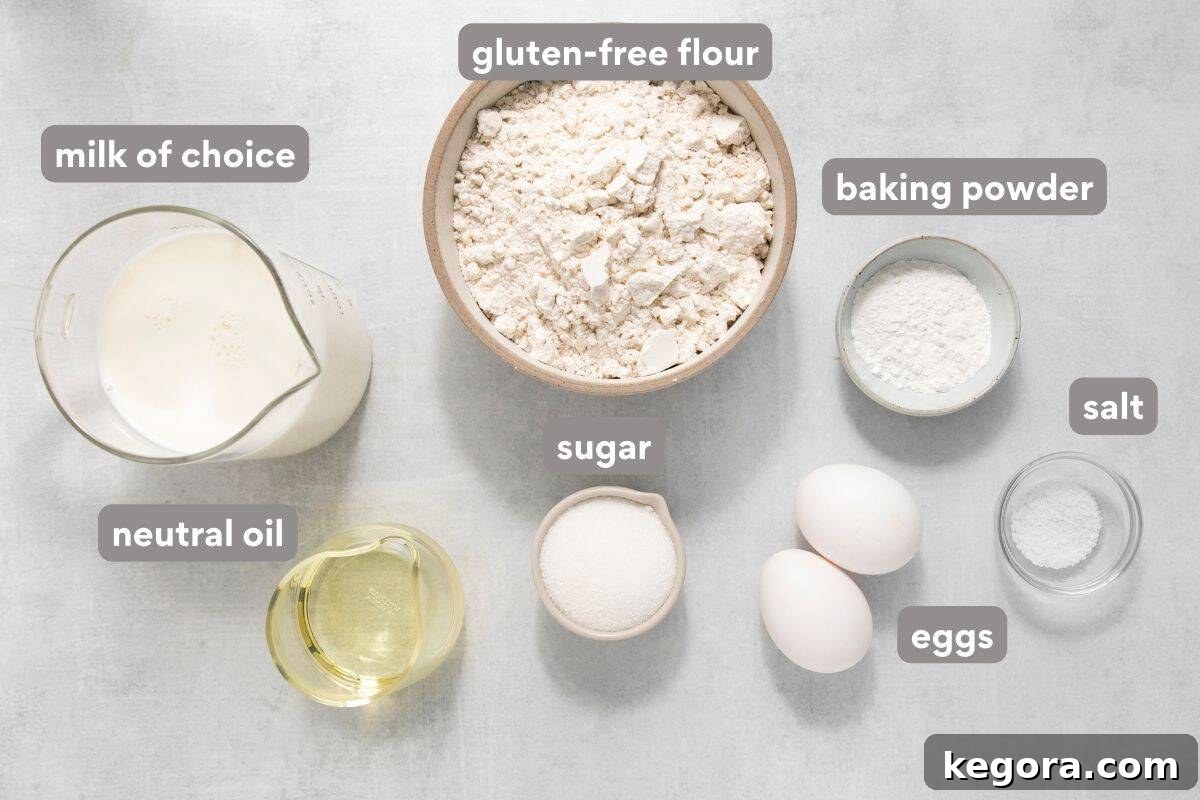
- Gluten-Free Flour: The foundation of our waffles! I highly recommend using a high-quality 1:1 gluten-free baking flour blend that specifically contains xanthan gum. Xanthan gum is crucial as it acts as a binder, replacing the elasticity typically found in gluten, which gives your waffles structure and prevents them from being crumbly. My top choice for this recipe is Bob’s Red Mill Gluten-Free 1:1 Baking Flour. King Arthur Gluten-Free Measure-for-Measure Flour is another excellent and reliable option that will yield fantastic results.
- Baking Powder: A generous amount of baking powder is essential for achieving that delightful lift and airiness in your waffles. It reacts with the wet ingredients to create carbon dioxide bubbles, which expand during cooking, giving your waffles their signature light and fluffy texture, as well as contributing to their crisp exterior.
- Eggs: Eggs play a multifaceted role in this recipe. Beyond binding the ingredients, separating the eggs and whipping the whites is a game-changer for texture. Room-temperature eggs are always best as they emulsify more easily, leading to a smoother batter. The whipped egg whites are gently folded in, acting as a natural leavening agent, creating a truly light and airy waffle interior. This technique is key to avoiding dense gluten-free waffles.
- Milk: For the richest flavor and optimal browning, I highly recommend using whole milk. The fat content in whole milk contributes to a more tender crumb and a beautiful golden crust. While you can certainly use any milk you prefer, be aware that dairy-free alternatives or lower-fat milks may slightly alter the texture and color of your finished waffles.
- Oil: Using a liquid fat, such as grapeseed oil or another neutral oil, is my secret weapon for consistently crispy gluten-free waffles. Unlike solid fats like butter, liquid oil coats the batter more evenly and creates a better barrier for moisture, resulting in a perfectly crisp exterior. Grapeseed oil is a great choice due to its neutral flavor and high smoke point, but any neutral-flavored oil like canola or vegetable oil will work well.
- Granulated Sugar: A touch of granulated sugar adds a subtle sweetness and helps with browning, contributing to that attractive golden finish.
- Kosher Salt: Just a pinch of kosher salt balances the flavors and enhances the overall taste, bringing out the best in the other ingredients.
How to Master Homemade Gluten-Free Waffles
Creating these perfectly crispy and fluffy gluten-free waffles is a straightforward process. Here’s a detailed overview of the steps involved to guide you. For the full, precise instructions, feel free to jump to the recipe card below!

Before you begin mixing, it’s a great idea to preheat your oven to a low temperature, around 200°F (95°C). Prepare a large baking sheet with a wire rack on top and set it aside. This clever trick allows you to keep your cooked waffles wonderfully crisp and warm while you continue to cook the rest of the batch. This method is particularly useful if you’re preparing a large quantity for a crowd or aren’t serving them immediately. It prevents them from becoming soggy and ensures everyone gets a hot, crispy waffle.
In your first large mixing bowl, combine all the dry ingredients: the gluten-free flour blend, granulated sugar, baking powder, and kosher salt. Whisk them thoroughly to ensure they are well combined and evenly distributed. In a separate bowl, lightly beat the egg yolks until smooth. Then, gradually whisk in the milk and the neutral oil. Mix these wet ingredients until they are fully incorporated and homogenous.
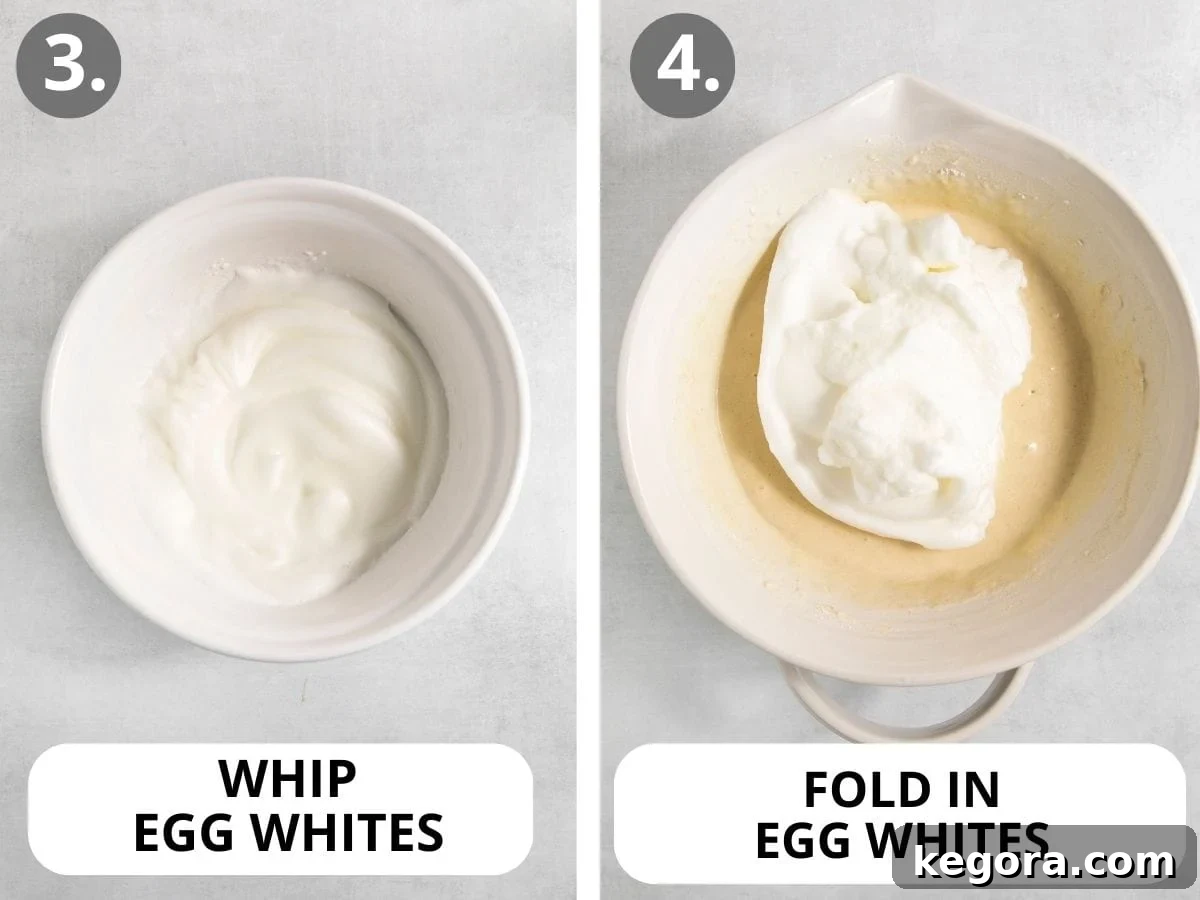
Now for the magic step that elevates these waffles! In a third, clean bowl (or carefully wash and dry one of your previous bowls), use an electric mixer to whip the separated egg whites. Beat them until they become beautifully fluffy and stiff peaks begin to form. This means that when you lift the beaters, the egg whites hold their shape. The air incorporated here is what will give your waffles their incredible lightness.
Gently fold these whipped egg whites into the prepared waffle batter. Use a rubber spatula and a delicate hand, incorporating them with a light, lifting motion. The goal is to retain as much of that precious airiness as possible, so avoid overmixing. This step is fundamental for achieving that coveted light and airy interior texture.
I recently upgraded our waffle iron, and I absolutely love the consistent results it provides! Regardless of your specific model, preheat your waffle iron according to the manufacturer’s instructions. Once it’s hot, lightly spray the grates with cooking spray to prevent sticking. Scoop the prepared batter onto the hot waffle iron – don’t overfill! Close the lid and cook until your waffles achieve a beautiful golden brown color and are perfectly crisp. The exact cooking time will vary based on your waffle maker, so refer to its instructions to ensure they cook up just right. The aroma alone will be enough to tell you they’re almost done!
Serve these amazing gluten-free waffles immediately to enjoy them at their peak crispness, or transfer them to the warm oven on the wire rack to keep them warm and ready until everyone is seated. While classic toppings like a pat of butter and a generous drizzle of real maple syrup are always a hit, don’t hesitate to get creative! Fresh berries, sliced bananas, creamy peanut butter, melted chocolate chips, a sprinkle of cinnamon sugar, or even a dollop of whipped cream can transform your waffles into a personalized culinary masterpiece. The options for delicious pairings are truly endless, making every waffle experience unique!
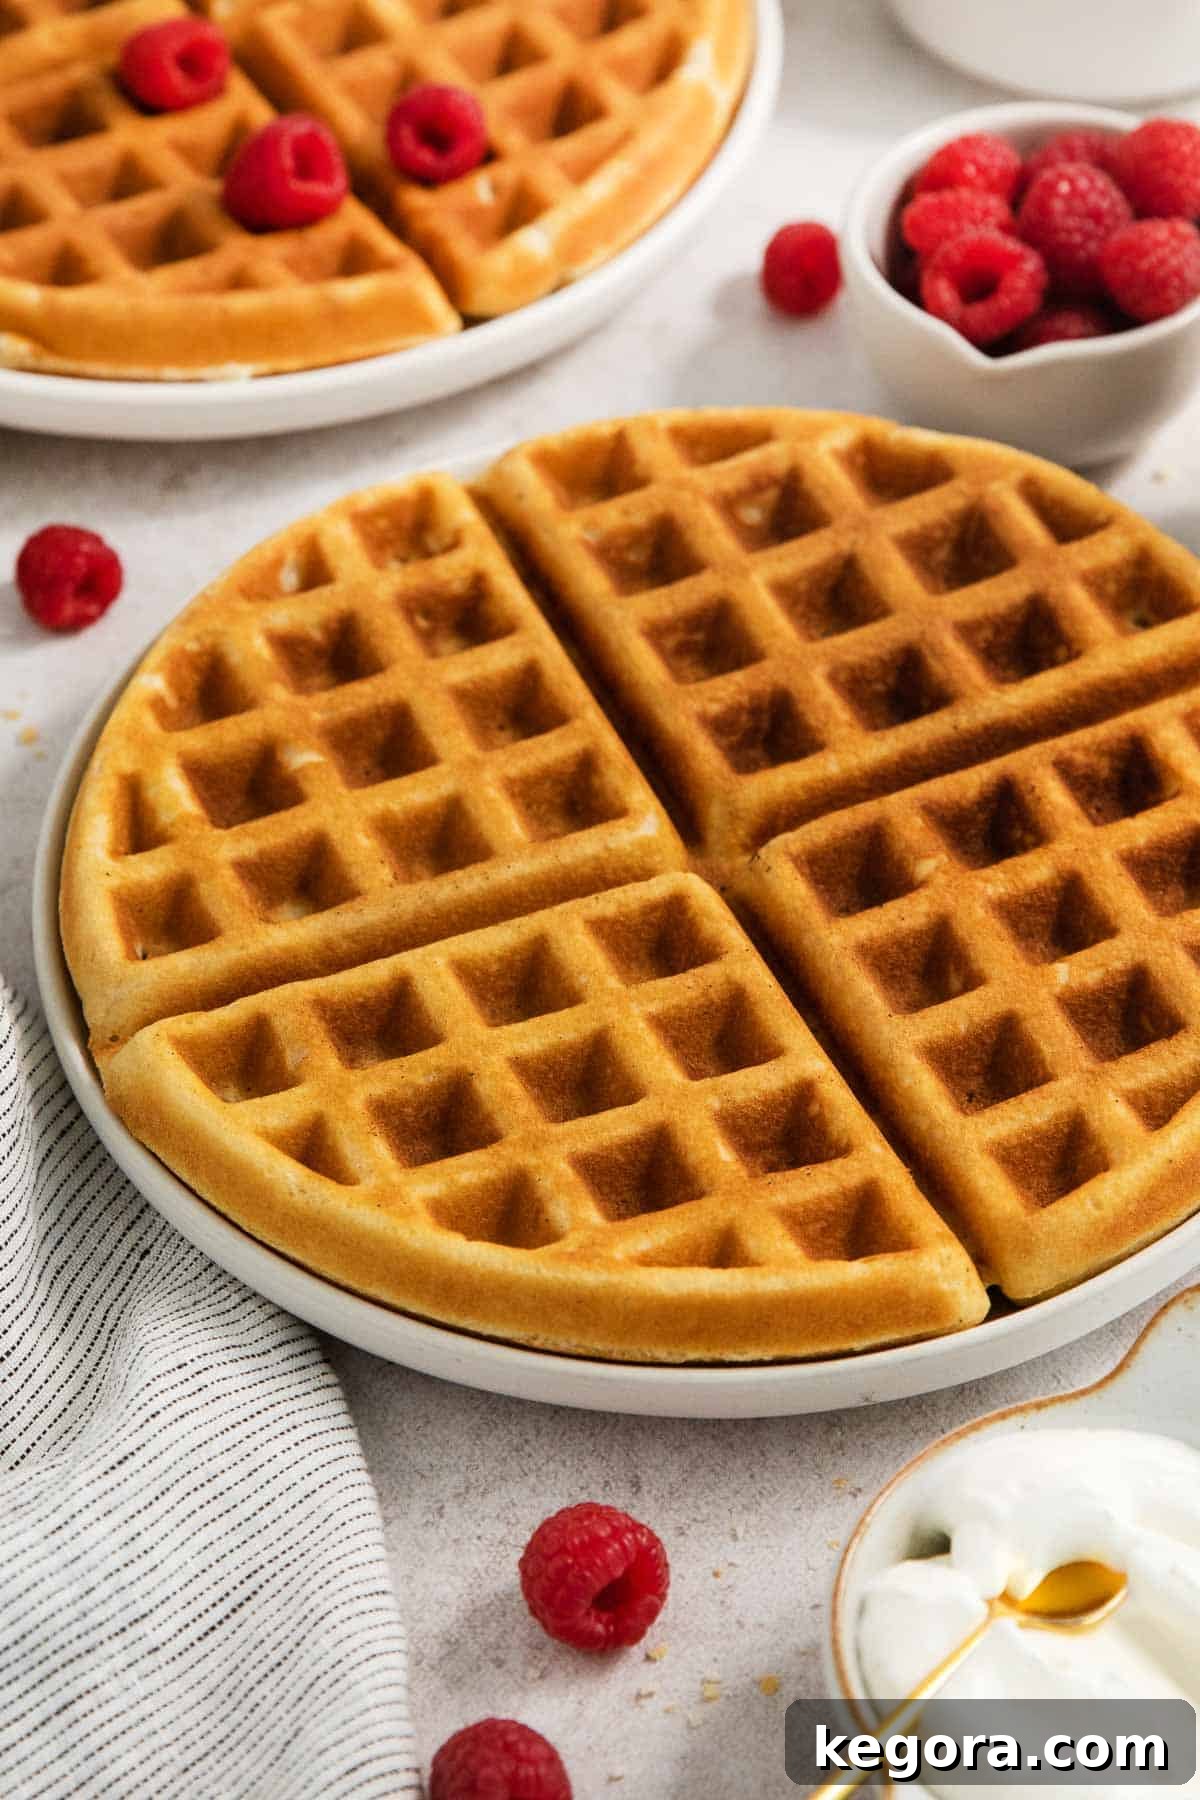

Crispy Gluten-Free Waffles (Made with 1:1 Baking Flour!)
Erin Collins
20 mins
20 mins
40 mins
8 waffles (depending on size of waffle iron)
This is my go-to gluten-free waffle recipe when I need an easy and reliable option made with gluten-free 1:1 baking flour. The secret to their incredible lightness and crispness lies in the whipped egg whites! You’ll absolutely love this effortless and delicious gluten-free breakfast.
I like to use Bob’s Red Mill 1:1 Baking Flour, but any high-quality gluten-free flour blend with xanthan gum will work beautifully.
Comments
Ingredients
- 2 cups (300g) gluten-free measure-for-measure flour
- ¼ cup (50g) granulated sugar
- 1 tablespoon baking powder
- ½ teaspoon kosher salt
- 2 large eggs, separated
- 1 ¾ cups (420ml) whole milk
- ⅓ cup (80ml) neutral oil (such as grapeseed, canola, or vegetable oil)
Instructions
- Preheat your oven to 200°F (95°C). Place a wire rack on a large baking sheet and set it aside to keep waffles warm and crisp.
- In a large mixing bowl, whisk together the gluten-free flour, granulated sugar, baking powder, and kosher salt until well combined.
- In a separate medium bowl, lightly beat the egg yolks. Add the whole milk and neutral oil to the egg yolks and mix well until thoroughly combined.
- Pour the wet ingredients into the bowl with the dry ingredients. Stir gently with a whisk or spatula until just combined. Be careful not to overmix; a few small lumps are perfectly fine.
- In another clean bowl, using an electric mixer, beat the egg whites until they become fluffy and stiff peaks begin to form. This means the peaks will stand up firmly when the beaters are lifted.
- Gently fold the whipped egg whites into the waffle batter using a rubber spatula. Use a light, lifting motion to incorporate them without deflating the air. This step is crucial for light, airy waffles.
- Preheat your waffle iron according to the manufacturer’s instructions. Once hot, lightly spray the inside grids with cooking spray. Scoop the batter onto the waffle iron, ensuring not to overfill it. Cook until the waffles are golden brown and crisp, following your waffle maker’s specific timing guidelines.
- Serve your freshly cooked waffles immediately for the best texture, or transfer them to the wire rack-lined baking sheet in the warm oven to keep them warm and crisp until you’re ready to serve everyone.
Notes
Gluten-Free Flour Choice: For consistently excellent results, always use a high-quality gluten-free 1:1 baking flour blend that already contains xanthan gum. This ingredient is vital for providing structure and preventing your waffles from becoming crumbly. Bob’s Red Mill 1:1 Baking Flour is my absolute favorite for these waffles!
Dairy-Free Adaptation: To make these waffles dairy-free, simply substitute the whole milk with an unsweetened dairy-free milk of your choice, such as almond milk, soy milk, or oat milk. Keep in mind that using a dairy-free alternative might slightly affect the final texture and browning of the waffles, making them potentially a little less rich or golden.
Make-Ahead & Serving for a Crowd: These crispy gluten-free waffles are truly at their best when eaten fresh off the waffle iron. However, if you’re preparing a batch for multiple people or for a special brunch, you can easily keep them warm and crisp. Simply place the cooked waffles on a wire rack-lined baking sheet and transfer them to a preheated 200°F (95°C) oven. They will stay perfectly warm and crisp for about 1-2 hours. Crucially, avoid stacking the waffles until just before serving, as this will trap steam and cause them to lose their desirable crispness.
Storage Tips for Leftovers: If you find yourself with any delicious leftover waffles, ensure they are completely cooled before storing. Place them in an airtight container and store them in the refrigerator for up to 3 days. To prevent sticking, you can place a piece of parchment paper between each waffle layer.
Freezing for Future Enjoyment: These gluten-free waffles freeze beautifully! Once completely cooled, transfer them to a freezer-safe bag or an airtight container. They can be frozen for up to 2 months. For quick reheating, simply pop them into a toaster or toaster oven directly from the freezer, using the defrost setting if available. This method will help restore their lovely crisp texture.
Nutrition
This post was originally published in January 2014 and has been thoroughly updated with new instructions, enhanced tips, and fresh insights in June 2025 to bring you the absolute best version of this beloved gluten-free waffle recipe.
Explore More Delicious Gluten-Free Breakfast Recipes
If you’re looking for more delightful ways to start your day, be sure to check out these other fantastic gluten-free breakfast options:
- Light & Airy Gluten-Free Popovers
- Fluffy Gluten-Free Buttermilk Pancakes
- Easy Gluten-Free Dutch Baby (German Pancake)
- Tender Gluten-Free Biscuits
- Delicate Gluten-Free Crepes
- Sweet Gluten-Free French Breakfast Puffs