
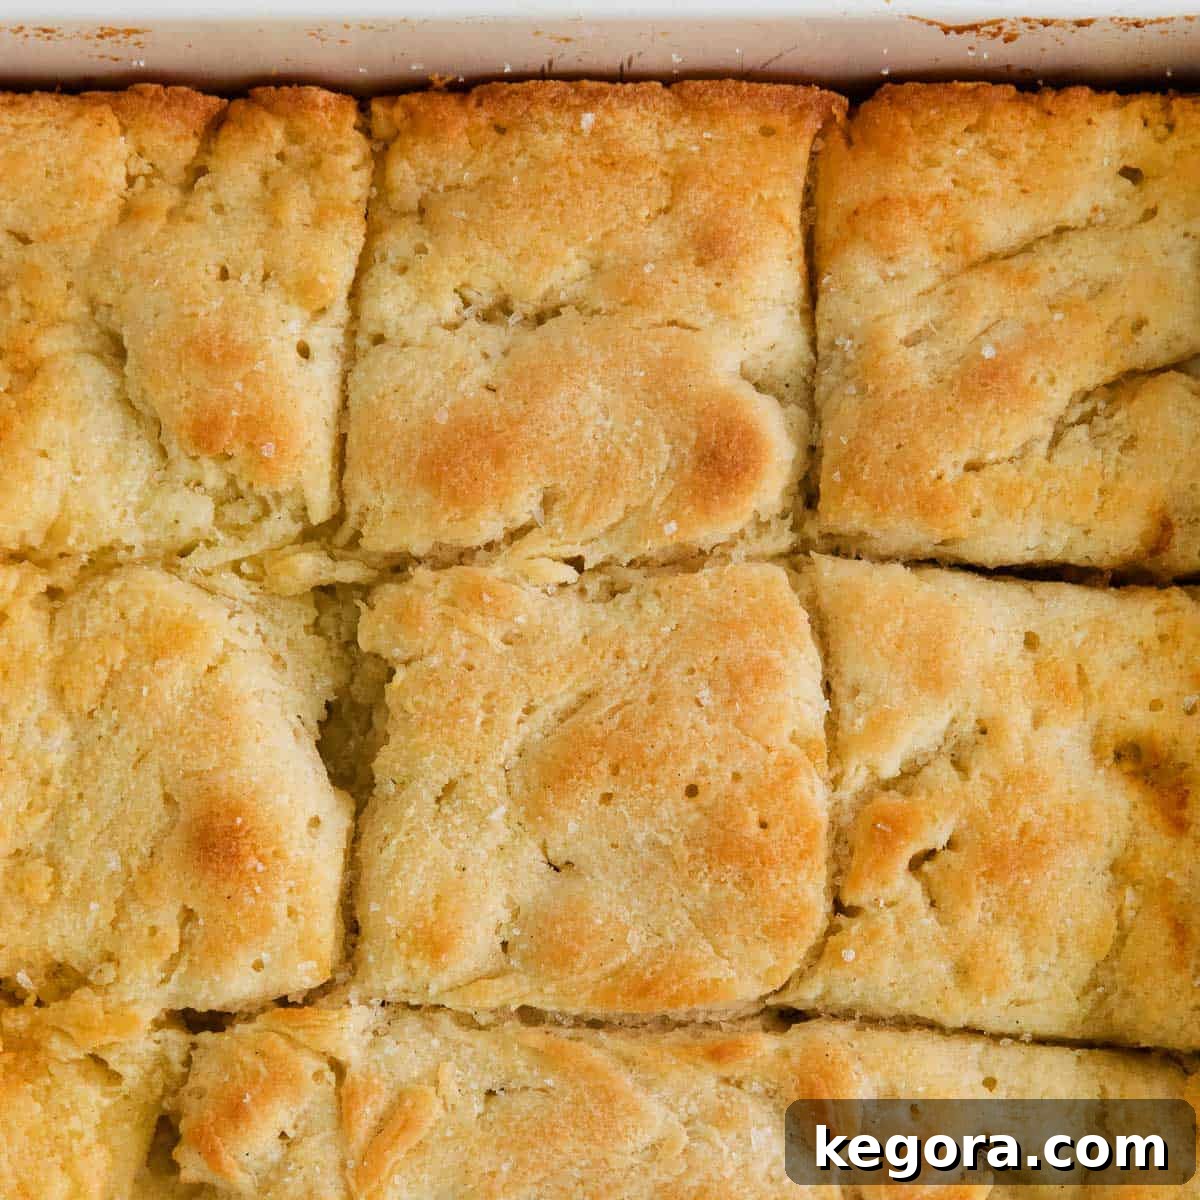
Imagine sinking your teeth into a warm, fluffy biscuit, its buttery aroma filling the air, and its tender crumb melting in your mouth. Now, imagine achieving this blissful experience in under an hour, completely gluten-free, and without the hassle of rolling or cutting dough! Sound like a dream? It’s not!
This isn’t just another gluten-free recipe; it’s a culinary revelation that brings the joy of homemade biscuits to everyone, even those with dietary restrictions. Our easy-to-follow method, inspired by a timeless Betty Crocker classic from the 1950s, simplifies biscuit making to an art form. Say goodbye to complicated techniques and hello to perfect, pillowy gluten-free butter dip biscuits every time. Whether you’re craving a comforting breakfast, a hearty side for your favorite stew, or the base for an epic breakfast sandwich, these biscuits are your new go-to. Get ready to transform your gluten-free baking game with these incredibly simple and utterly delicious gems!
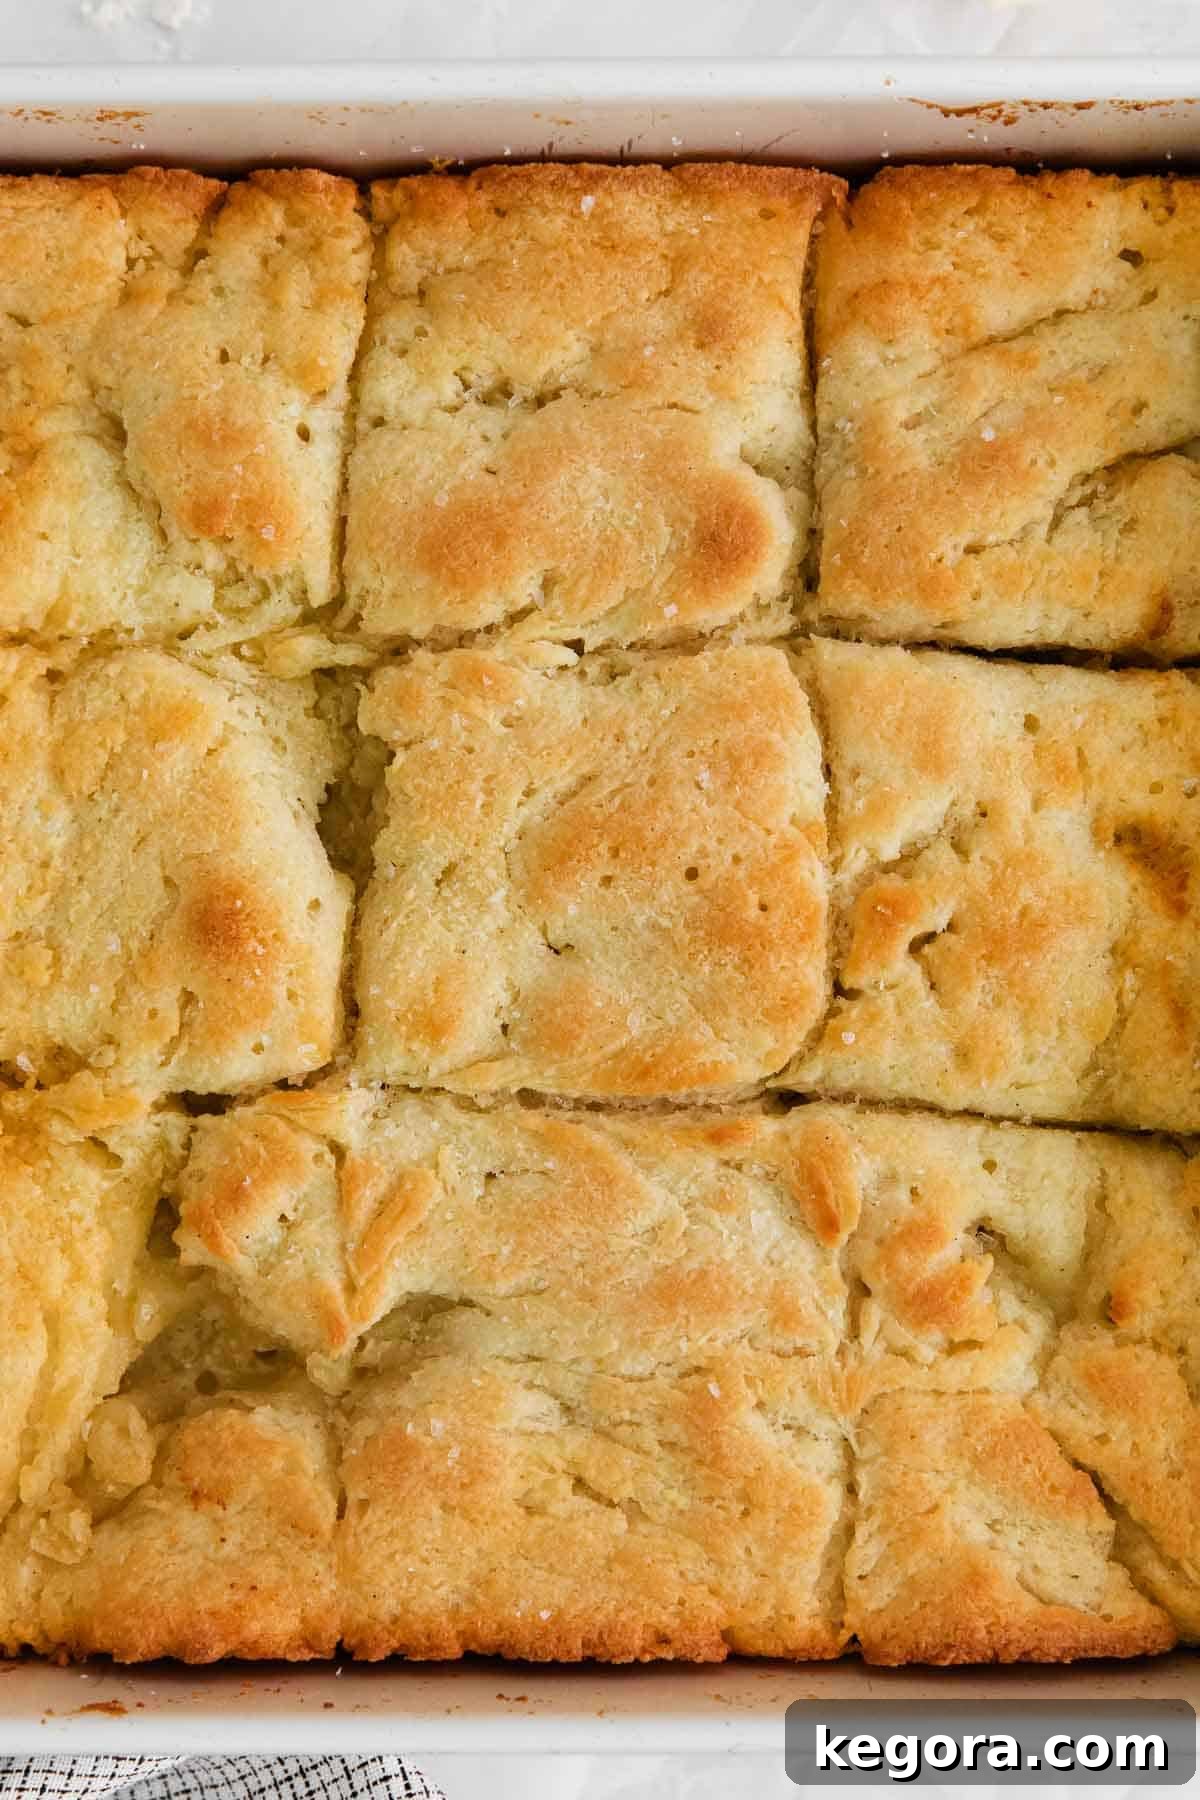
Are you on the hunt for a truly EASY gluten-free biscuit recipe that consistently delivers flaky layers and utterly delicious results? Your search ends here. This recipe is specifically designed to demystify gluten-free baking, ensuring that even novice bakers can achieve impressive, bakery-quality biscuits without the common pitfalls of gluten-free alternatives.
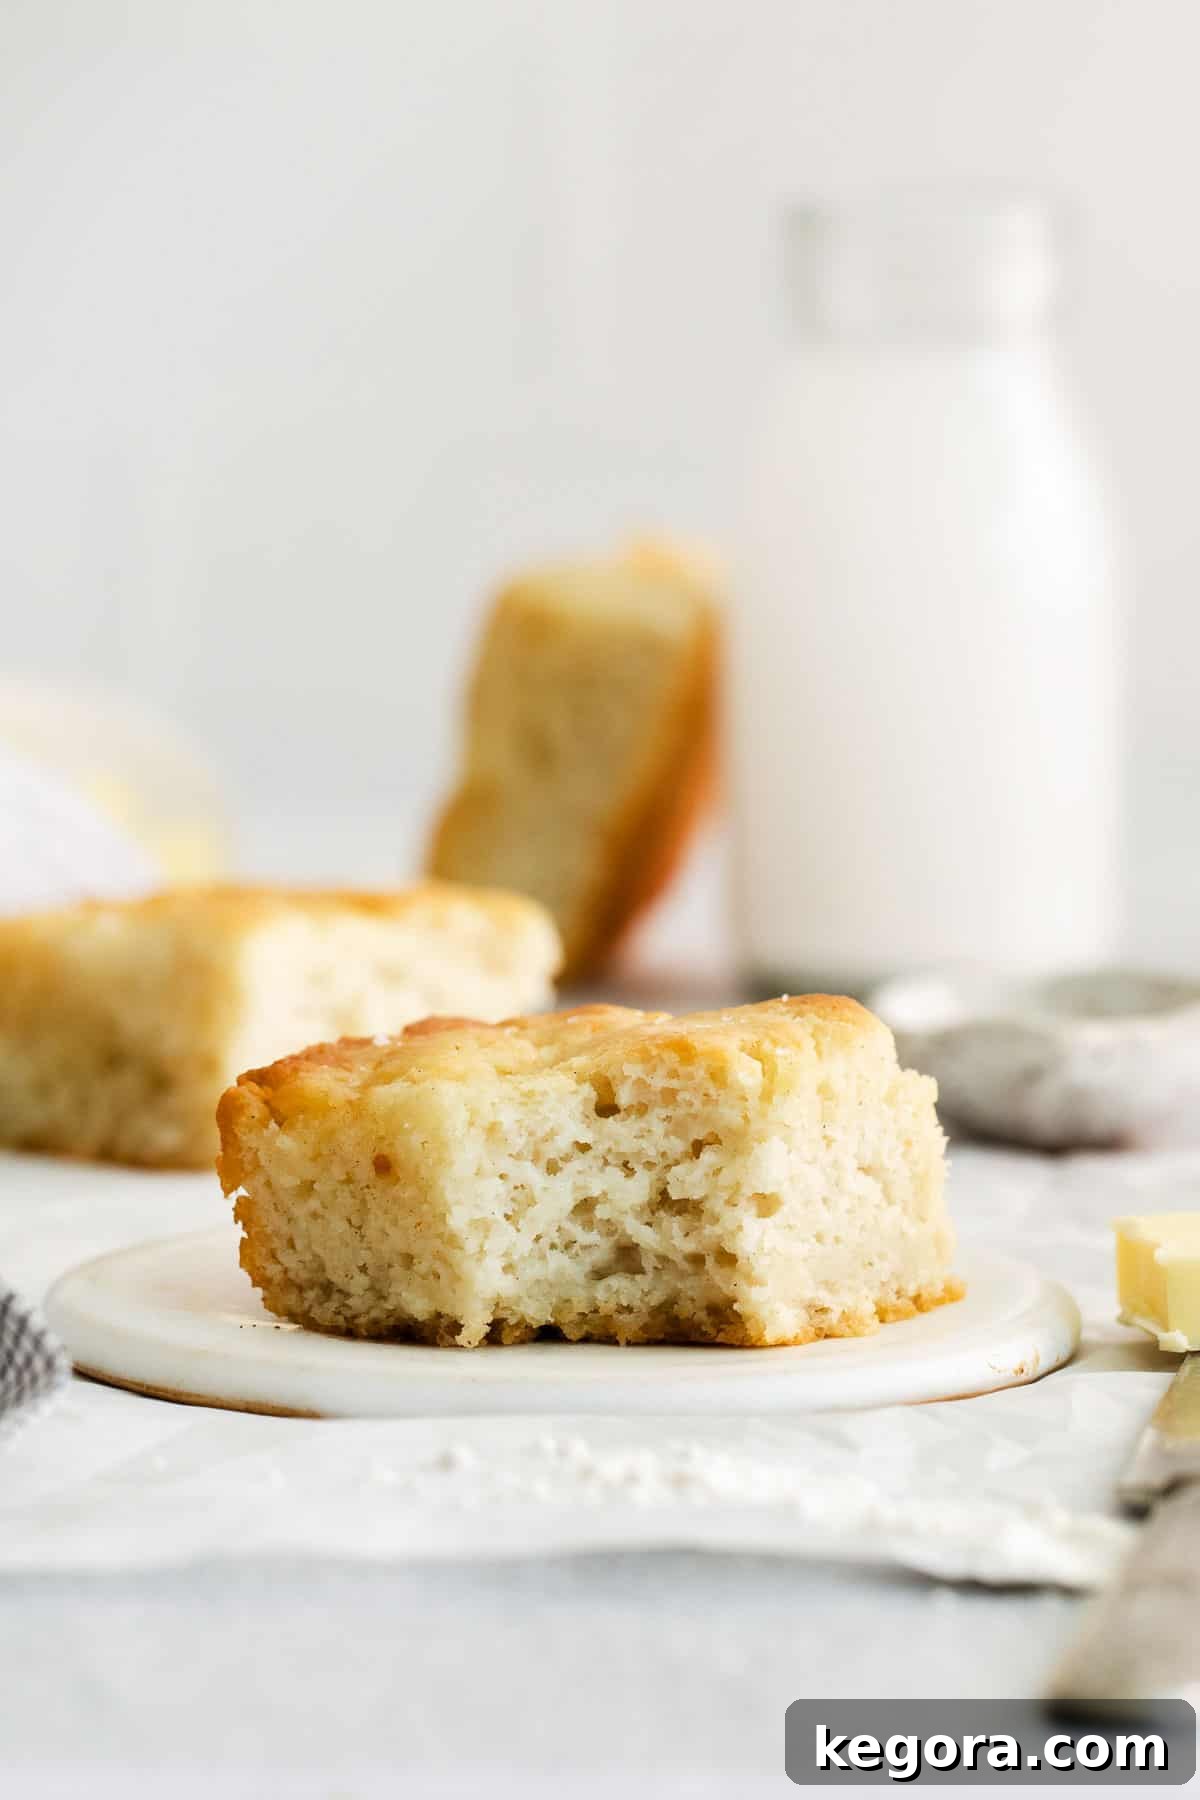
Buttery, tender biscuits are the epitome of comfort food, always hitting just the right spot. Picture a crisp autumn day, a steaming bowl of chili, and a warm biscuit to sop up every last drop. Or perhaps a leisurely weekend brunch, complete with fluffy biscuits and your favorite toppings. This recipe ensures that those with gluten sensitivities don’t have to miss out on these simple pleasures.
Many gluten-free biscuit recipes can be labor-intensive, requiring multiple steps, special equipment, or leaving you with a dry, crumbly, or lackluster result. This particular recipe stands out because it is both incredibly easy AND remarkably delicious. You’ll find yourself reaching for this recipe again and again, rendering any pre-made gluten-free biscuit mix unnecessary. It’s a win-win situation for your taste buds and your baking routine!
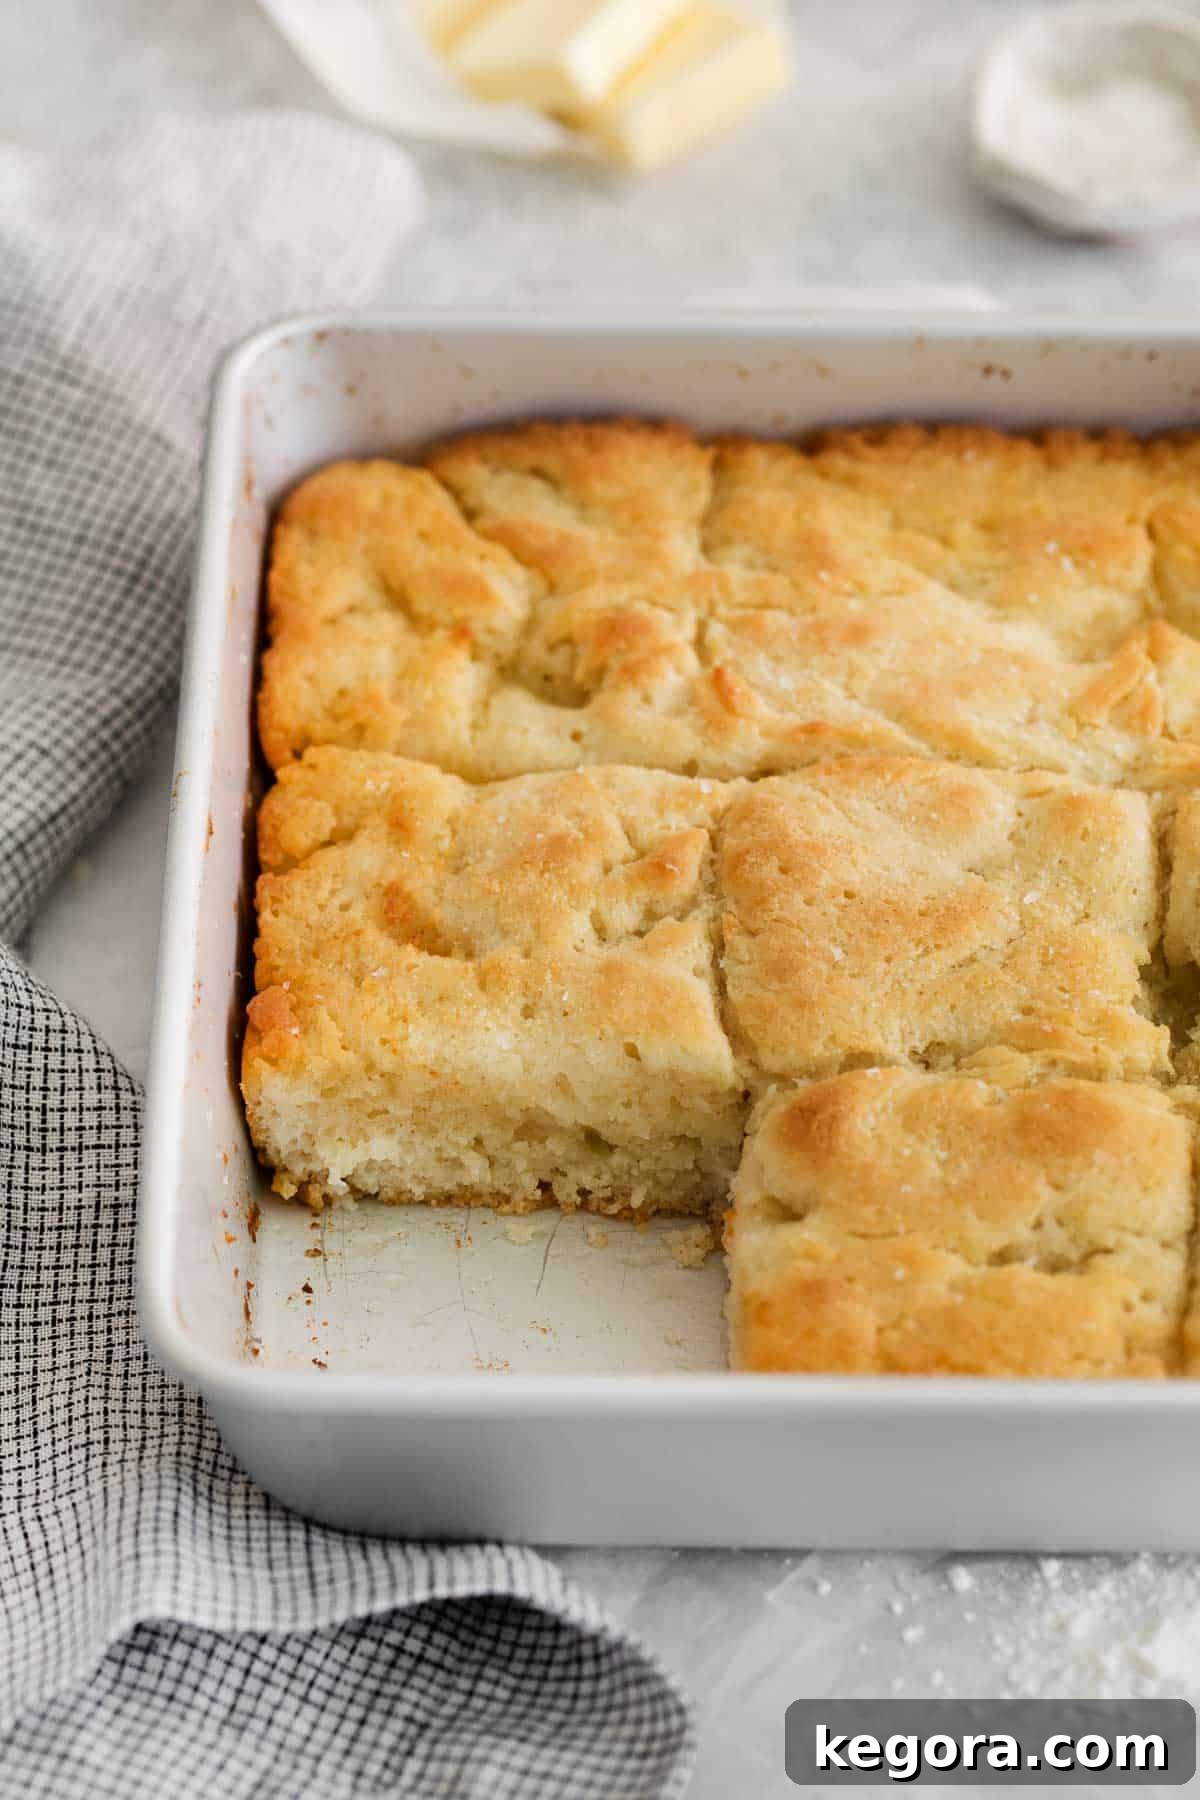
The magic behind these rich, tender biscuits lies in a few key ingredients: tangy buttermilk, luscious melted butter, and a high-quality gluten-free flour blend. Together, they create biscuits with a slightly crisp, golden edge and an irresistibly fluffy interior. The best part? There’s no need to fuss with a biscuit cutter, struggle with incorporating cold butter into flour, or deal with any other tricky, time-consuming steps often associated with traditional biscuit making. This truly is a “set it and forget it” (almost!) recipe designed for maximum enjoyment with minimal effort.
You might as well plan on making a double batch right away, because once you experience the ease and deliciousness of these simple gluten-free biscuits, you’ll want them for breakfast, lunch, and dinner! They are perfect for meal prep, easily stored, and always a crowd-pleaser. Prepare for your kitchen to become the go-to spot for warm, homemade gluten-free goodness.
For those who love to explore more gluten-free breakfast and baking delights, don’t miss these other fantastic recipes. Expand your repertoire with gluten-free blueberry scones, indulge in gluten-free donuts, master the basics with gluten-free muffins, enjoy a stack of gluten-free buttermilk pancakes, or whip up some crispy gluten-free oatmeal waffles. You’ll also find yourself returning to these reliable recipes for gluten-free drop biscuits, the ultimate gluten-free banana bread, and a perfect gluten-free pizza crust.
Why You’ll Love This Easy Gluten-Free Biscuit Recipe
There are countless reasons to fall in love with these gluten-free butter dip biscuits. Here’s why this recipe will quickly become a cherished part of your culinary collection:
- Unbeatable Texture: Experience truly thick, fluffy, and richly buttery biscuits that are light as air on the inside. This recipe ensures a moist, tender crumb that’s hard to achieve in many gluten-free baked goods.
- Effortless Baking: We proudly call this the easiest biscuit recipe ever! If you’ve been intimidated by baking, especially gluten-free baking, this recipe is designed to build your confidence and deliver fantastic results without stress.
- No Rolling, No Cutting, No Fuss: Forget about pastry blenders, cold butter cubes, biscuit cutters, or tedious kneading. This “butter dip” method simplifies the process dramatically, making it accessible to even the busiest home cooks.
- Pantry Staple Ingredients: You won’t need any exotic or hard-to-find items. This recipe uses common ingredients you likely already have in your kitchen, making it convenient for spontaneous baking sessions.
- Incredibly Versatile: These biscuits are perfect for anything! Serve them as a savory side dish alongside dinner, split them for delectable biscuit sandwiches, or enjoy them with sweet toppings for breakfast or dessert. Their neutral yet rich flavor makes them adaptable to any meal.
- Quick Preparation: From start to finish, these biscuits are ready in under an hour, meaning you can satisfy those biscuit cravings almost instantly.
Essential Ingredients for Perfect Gluten-Free Biscuits
Crafting the best gluten-free biscuits starts with understanding the role of each ingredient. Here’s a detailed look at what you’ll need to create these fluffy delights:
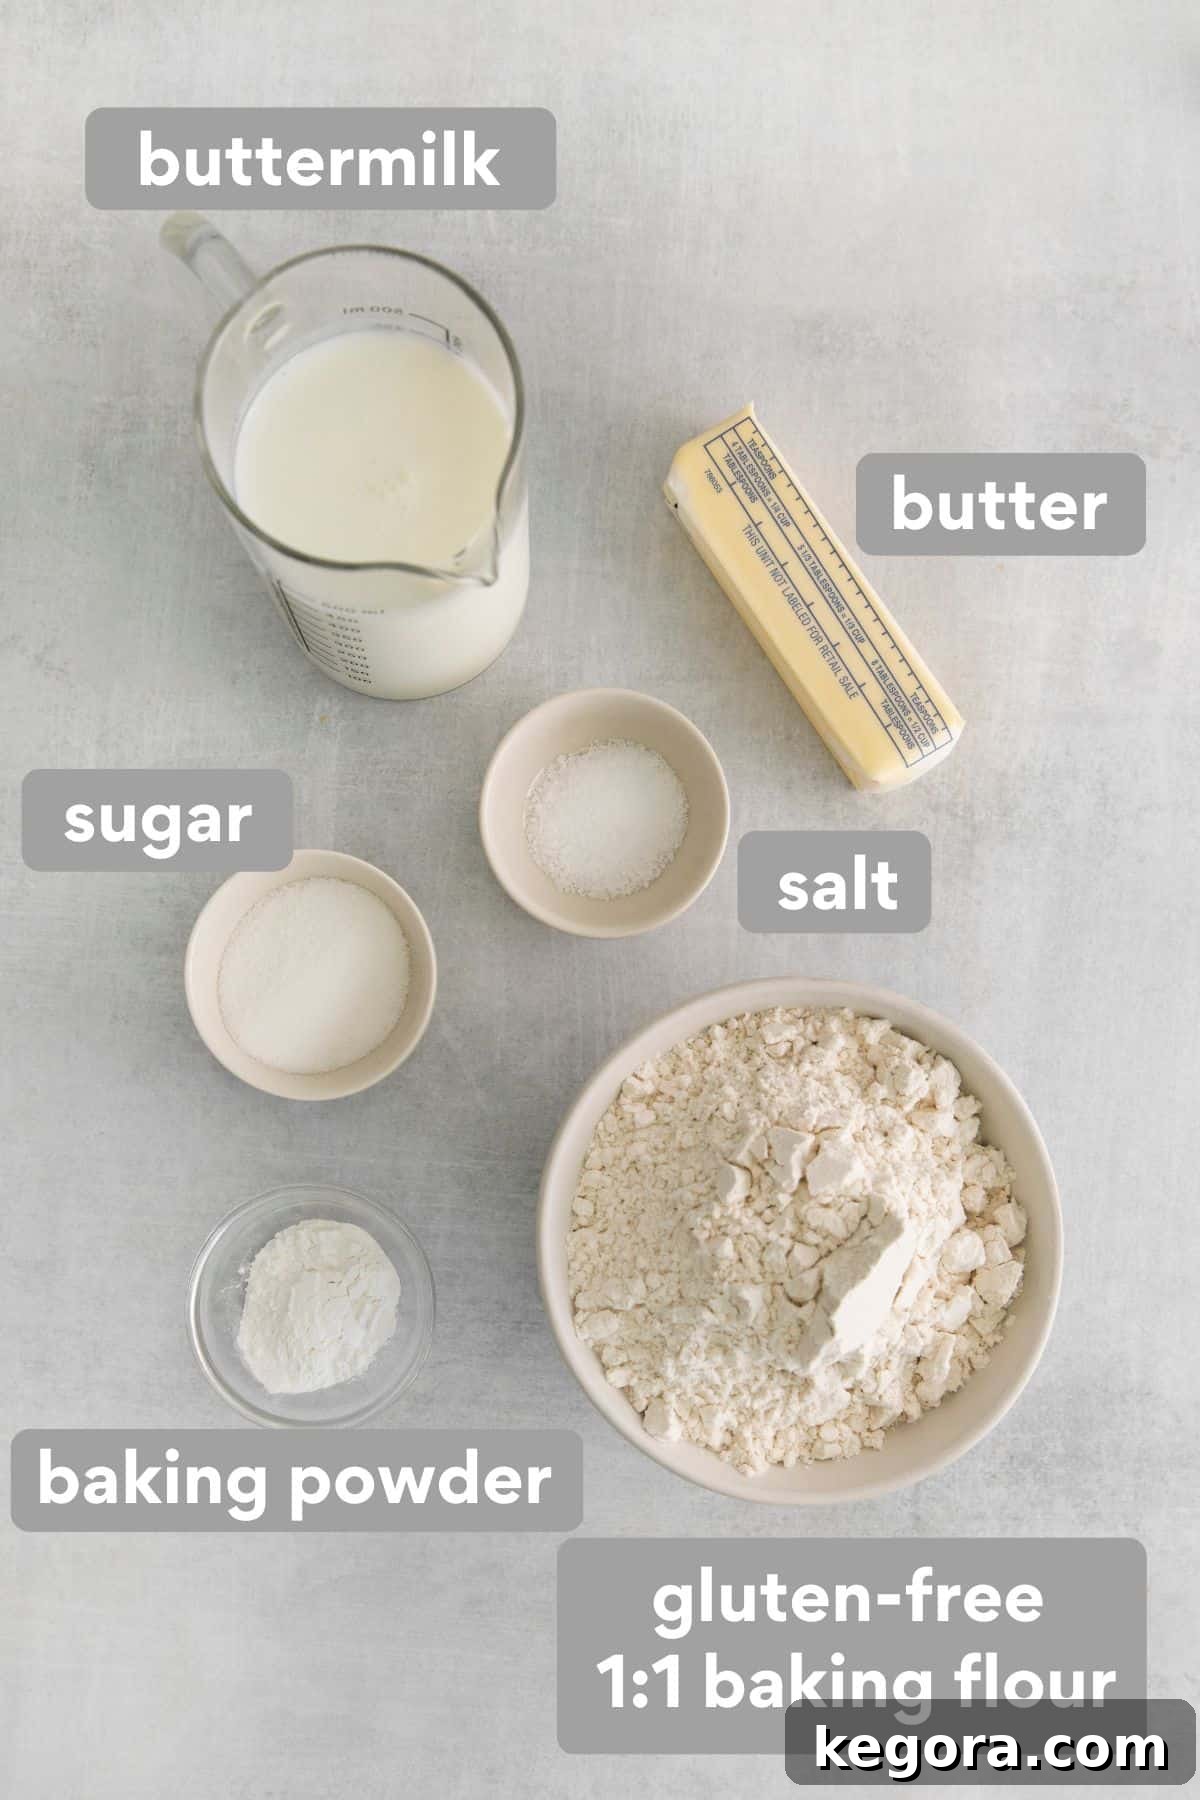
- Gluten-Free 1:1 Baking Flour: The foundation of our biscuits. Choosing the right blend is crucial for texture. I’ve personally tested this recipe with both King Arthur and Bob’s Red Mill gluten-free flours and found them to yield excellent results. For consistent success and a truly tender crumb, I highly recommend Bob’s Red Mill Gluten-Free 1:1 Baking Flour. This blend already contains xanthan gum, which is essential for providing structure and elasticity in gluten-free baking. Using a blend specifically designed for 1:1 substitution helps ensure the right balance of starches and flours.
- Buttermilk: This acidic ingredient is a game-changer for biscuits. It reacts with the baking powder and baking soda, creating air pockets that result in a light and fluffy texture. Beyond its leavening power, buttermilk also adds a delightful, subtle tang that complements the richness of the butter, contributing to a deeper, more complex flavor profile and helping to tenderize the crumb. If you don’t have buttermilk on hand, you can easily make your own by adding 1 tablespoon of white vinegar or lemon juice to a liquid measuring cup, then filling the rest of the way to 1 ¾ cups with regular milk. Let it sit for 5-10 minutes until it slightly curdles.
- Unsalted Butter: Butter is absolutely essential for achieving that characteristic tender crumb and rich, savory flavor that makes biscuits so irresistible. While some recipes call for cold, cut-in butter, our “butter dip” method uses melted butter, simplifying the process without sacrificing flavor or texture. Using unsalted butter gives you control over the overall saltiness of the biscuits. If you only have salted butter, reduce the added salt in the recipe slightly.
- Granulated Sugar: A touch of sugar might seem surprising in a savory biscuit recipe, but it plays a vital role. It doesn’t make the biscuits overtly sweet; instead, it balances the savory notes, enhances the overall flavor, and contributes to that beautiful golden-brown crust, making the edges slightly crispier.
- Baking Powder: This powerful leavening agent is key to achieving a significant rise and an incredibly fluffy interior. Our recipe uses a generous amount to ensure these gluten-free biscuits are light and airy, avoiding any dense or heavy texture.
- Baking Soda: Working in conjunction with the buttermilk’s acidity, baking soda provides an additional boost of lift. This dynamic duo creates plenty of gas bubbles, resulting in those desirable air pockets and an exceptionally tender crumb.
- Salt: A fundamental seasoning that elevates all the other flavors. Salt doesn’t just make the biscuits taste salty; it brings out the inherent richness of the butter and the subtle tang of the buttermilk, ensuring a well-rounded and delicious bite.
Step-by-Step Guide: How to Make Easy Gluten-Free Butter Dip Biscuits
Making these biscuits is surprisingly straightforward. Follow these simple steps for perfectly baked, delicious gluten-free butter dip biscuits:
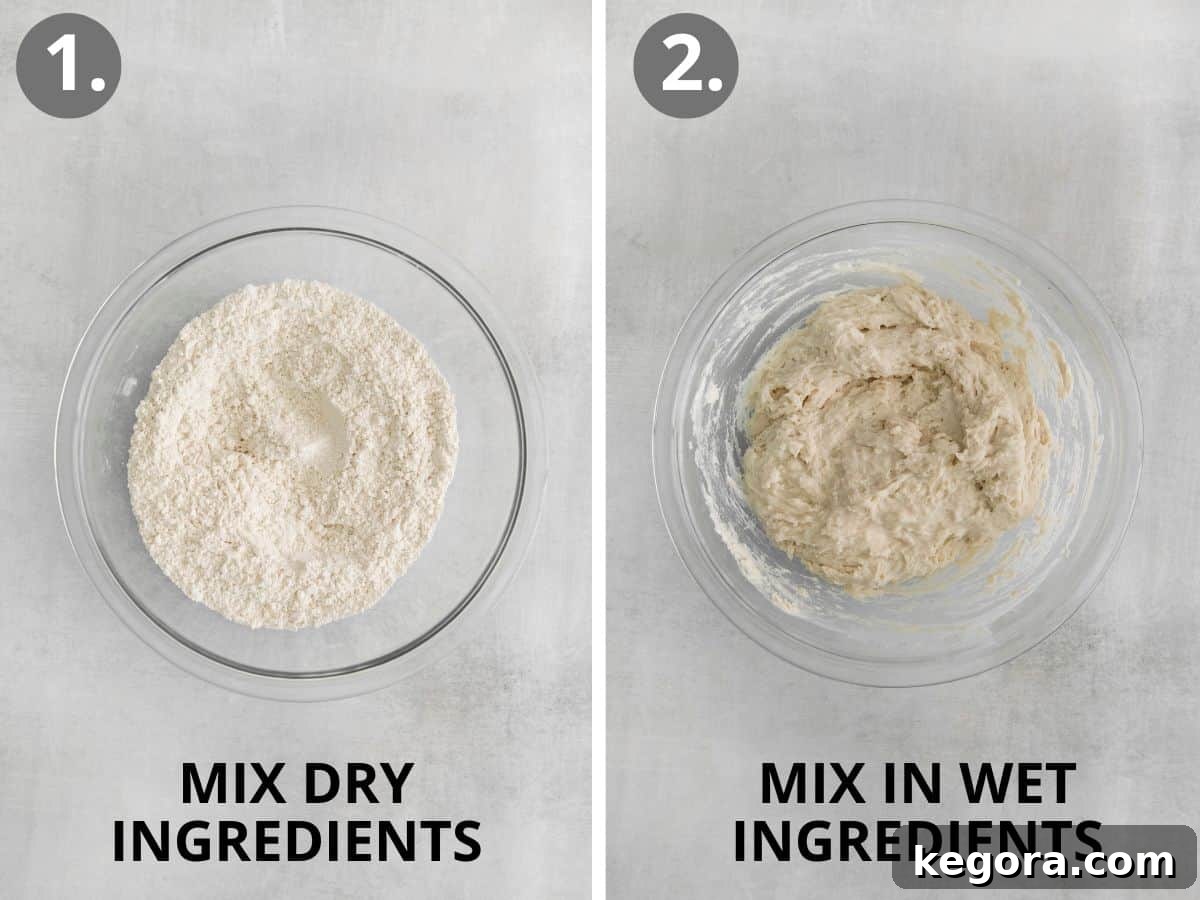
- Step 1: Prepare Your Oven and Pan. Begin by preheating your oven to 450°F (230°C). This high temperature is crucial for a quick rise and a crispy exterior. While the oven heats, lightly grease an 8×8-inch or 9×9-inch baking pan with cooking spray. Ensure the entire surface is coated to prevent sticking and to encourage even browning.
- Step 2: Combine Dry Ingredients. In a medium or large mixing bowl, thoroughly whisk together the gluten-free flour blend, granulated sugar, baking powder, baking soda, and salt. Whisking well ensures that the leavening agents are evenly distributed throughout the flour, which is key for a consistent rise.
- Step 3: Mix in Buttermilk. Pour the buttermilk into the dry ingredient mixture. Using a sturdy spoon or spatula, stir until a thick, sticky batter forms. Gluten-free dough tends to be stickier than its gluten-containing counterpart, so don’t be alarmed by the consistency. If the batter appears too dry and crumbly, add an additional tablespoon or two of buttermilk until it reaches a thick, sticky, yet cohesive consistency. Avoid overmixing, as this can lead to tougher biscuits.
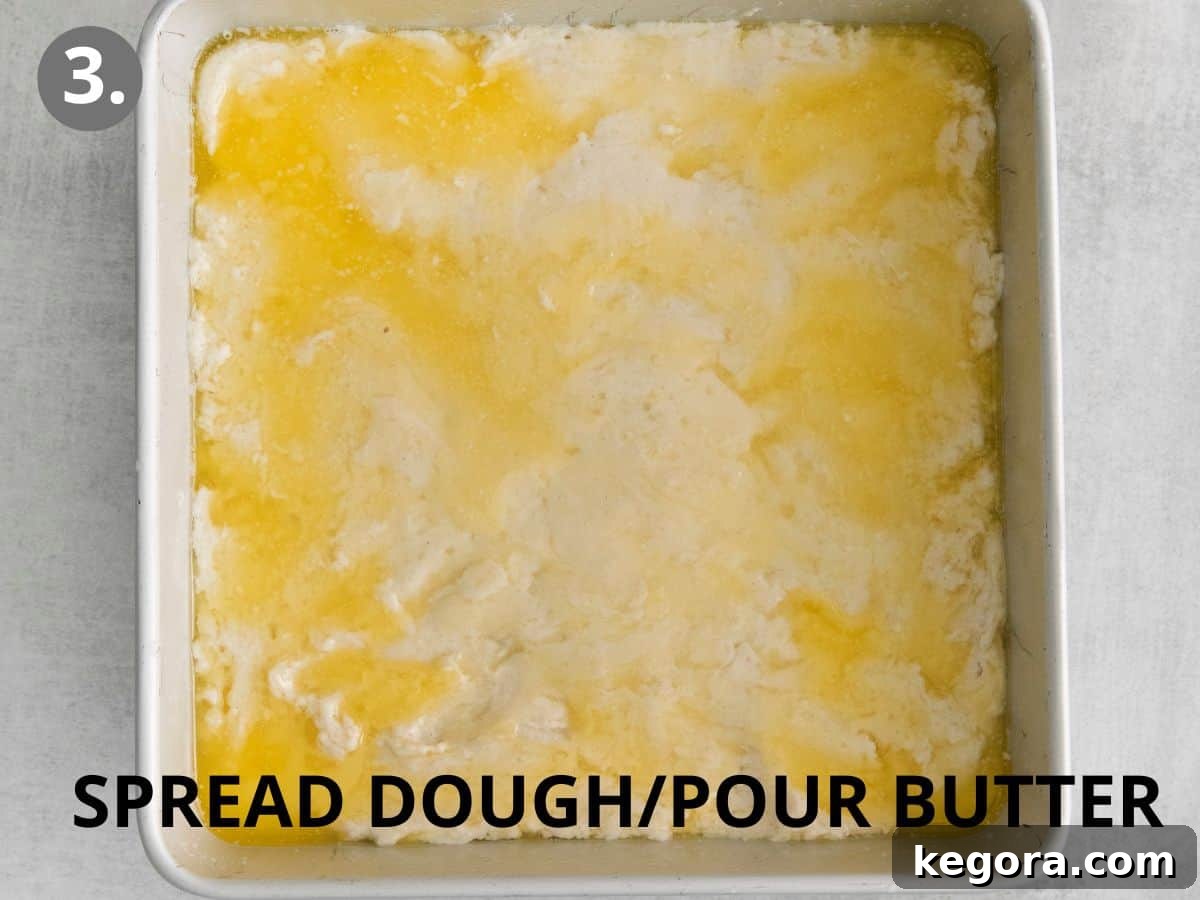
- Step 4: Prepare the Dough for Baking. Evenly spread the sticky biscuit dough into your prepared baking pan. The easiest way to do this is by lightly wetting your hands before spreading. This prevents the dough from sticking to your fingers and allows you to create a smooth, even layer across the bottom of the pan.
- Step 5: Add the Butter Dip. Melt the butter in the microwave until completely liquid. Carefully pour the melted butter directly over the top of the biscuit dough in the pan. Don’t worry if some of the butter pools or runs over the top; this is completely normal and part of what creates those incredibly buttery, tender results.
- Step 6: Score the Biscuits. Using a sharp knife, gently score the dough into 9 even squares. You’re not cutting all the way through, just marking the divisions. This step helps ensure individual portions and facilitates easy separation after baking.
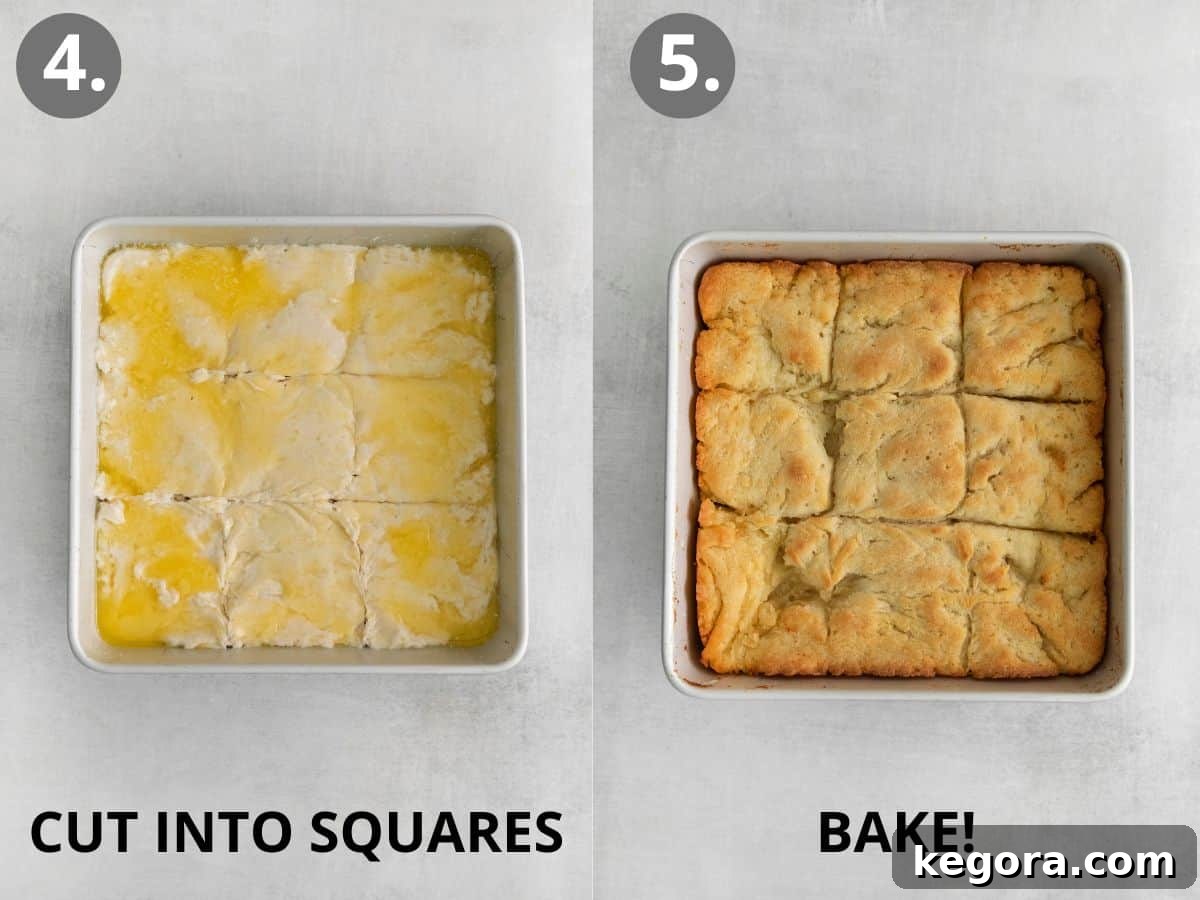
- Step 7: Bake to Golden Perfection. Place the baking pan in the middle rack of your preheated oven. Bake for approximately 25-30 minutes, or until the biscuits are beautifully golden brown on top and cooked through. For even baking, consider rotating the pan halfway through the baking time. The internal temperature should reach around 200-210°F (93-99°C).
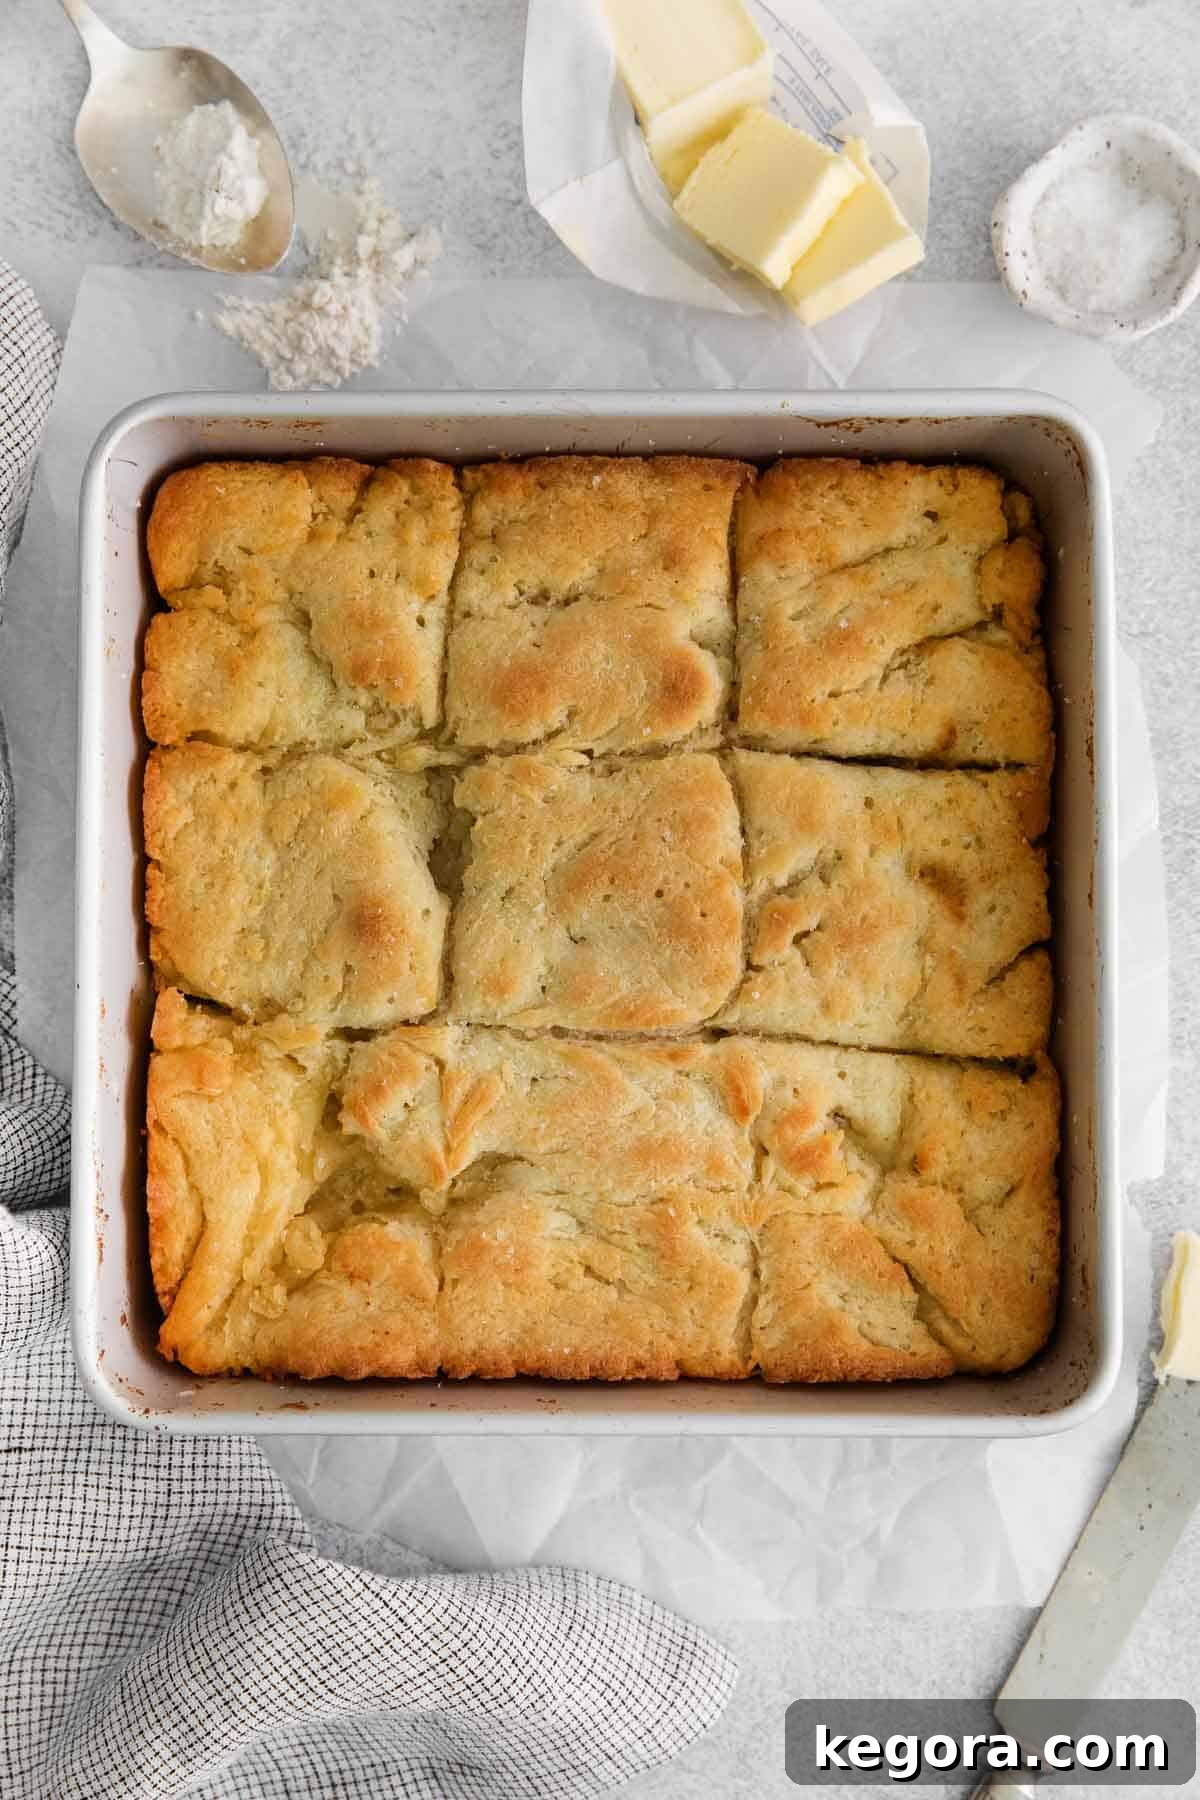
- Step 8: Cool and Serve. Once baked, remove the pan from the oven. Let the hot biscuits cool in the pan on a wire rack for about 10 minutes before serving. This brief cooling period allows them to set slightly and become easier to handle. Serve them warm and revel in their buttery, fluffy goodness!
Storage and Reheating Tips for Gluten-Free Biscuits
While these gluten-free buttermilk biscuits are undeniably at their best when enjoyed fresh, straight from the oven, you can certainly save any leftovers. Here’s how to store and reheat them to maintain as much of their deliciousness as possible:
- Room Temperature Storage: If you have any biscuits left over, allow them to cool completely. Store them in an airtight container at room temperature for up to three days. Keeping them sealed helps retain moisture and prevents them from drying out.
- Refrigeration: For longer storage, you can place them in an airtight container in the refrigerator for up to 5 days. However, be aware that refrigeration can sometimes alter the texture of gluten-free baked goods, making them a bit firmer.
- Freezing for Freshness: These biscuits freeze beautifully! Once completely cooled, wrap individual biscuits tightly in plastic wrap, then place them in a freezer-safe bag or container. They can be frozen for up to 2-3 months. Freezing is an excellent option for having fresh biscuits on demand.
- Reheating:
- From Room Temperature: To reheat, simply pop them in a preheated oven at 300-325°F (150-160°C) for about 5-10 minutes, or until warmed through and slightly crisp on the outside.
- From Frozen: For frozen biscuits, you can reheat them directly from the freezer. Place them on a baking sheet and warm in a 300-325°F (150-160°C) oven for 15-20 minutes, or until defrosted and heated through. A toaster oven also works wonderfully for individual biscuits.
Versatile Serving Ideas: What to Pair with Your Biscuits
Wondering what delightful dishes and toppings to serve with these amazing gluten-free biscuits? The possibilities are truly endless! Their buttery, versatile flavor makes them a perfect accompaniment to a wide range of meals, from breakfast to dinner. Here are some of my favorite ideas to satisfy all your biscuit cravings:
- Classic Biscuit Sandwiches: Split warm biscuits and fill them with your favorite breakfast proteins. Think savory combinations like ham and cheese, crispy bacon and scrambled eggs, or even a fried chicken fillet for a true Southern treat.
- Comforting Gravies: Nothing says comfort like a biscuit smothered in gravy. Ladle generous amounts of creamy sausage gravy over freshly baked biscuits for a hearty breakfast or brunch. Mushroom gravy also makes a fantastic vegetarian option.
- Sweet Spreads and Jams: For a simple yet utterly satisfying treat, serve them with a generous pat of butter and your favorite homemade or store-bought fresh jam or preserves. Strawberry, raspberry, or peach jams are particularly delicious.
- Homemade Fruit Compote: Elevate your breakfast or dessert with a vibrant fruit compote. The warm, slightly tart fruit provides a wonderful contrast to the rich biscuit. Blueberry, cherry, or mixed berry compotes are fantastic choices.
- Hearty Soups and Stews: Biscuits are an ideal companion for robust, warming meals. Use them to sop up every last drop of your favorite soup or stew. They pair wonderfully with a hearty bowl of Gluten-Free Chili or a comforting Gluten-Free Beef Stew, adding an extra layer of texture and flavor.
- Honey Butter or Maple Syrup: For a sweeter touch, whip up some homemade honey butter or simply drizzle warm maple syrup over the top.
- As a Side for Dinner: These biscuits are a fantastic alternative to dinner rolls. Serve them alongside roasted chicken, pot roast, or any meal where a soft, buttery bread is desired.
Frequently Asked Questions About Gluten-Free Biscuits
Here are answers to some common questions about making and enjoying gluten-free biscuits:
As of the last update, Pillsbury brand does not offer refrigerated gluten-free biscuits in their product line. Always check product labels for the most current information regarding gluten-free certification.
Gluten-free biscuits are made by substituting traditional wheat flour with a blend of gluten-free flours, such as rice flour, tapioca starch, potato starch, or sorghum flour, often combined with a binder like xanthan gum. This specific recipe uses a high-quality gluten-free 1:1 baking flour blend along with essential ingredients like buttermilk, butter, salt, sugar, baking powder, and baking soda to achieve their signature fluffy texture and rich flavor.
Not all digestive biscuits are gluten-free. While some brands, like Schar, offer specifically formulated gluten-free digestive biscuits, many traditional digestive biscuits contain wheat flour and are therefore not suitable for a gluten-free diet. It is always crucial to carefully check the product label for gluten-containing ingredients and look for official gluten-free certifications.
Yes, with a few substitutions! For buttermilk, you can use dairy-free milk (like almond or soy milk) mixed with 1 tablespoon of apple cider vinegar or lemon juice per cup, letting it sit to curdle. For butter, use a good quality dairy-free butter alternative that melts well. The texture may vary slightly, but they will still be delicious.
It’s perfectly normal for gluten-free biscuit dough, especially with this butter dip recipe, to be quite sticky. Gluten-free flours absorb liquid differently than wheat flour, and the sticky consistency helps to achieve a tender and moist biscuit rather than a dry one. Using wet hands to spread the dough in the pan helps manage the stickiness.
Expert Tips and Tricks for Gluten-Free Biscuit Success
Achieving perfectly fluffy and tender gluten-free biscuits is easy with these insider tips:
- Accurate Measurement is Key: For the best results, especially in gluten-free baking, I strongly recommend using a kitchen scale to measure your flour in grams rather than cups. Flour can compact differently in a measuring cup, leading to variations in the final product. Being exact with your measurements is crucial to getting the biscuit texture just right!
- Embrace the Sticky Dough: This recipe is intentionally designed to produce a sticky dough. Do not be alarmed or tempted to add more flour if the dough seems difficult to handle or clings to the mixing bowl. A sticky dough is your friend here, as it leads to a moister, more tender biscuit. It’s always better to have the dough slightly too sticky than too dry, as dry dough results in dense, crumbly biscuits.
- Troubleshooting Dense Biscuits: If your biscuits turn out dense or heavy, the most common culprit is too much flour. This usually happens when flour is scooped directly from the bag without proper leveling or weighing. Remember, gluten-free dough requires a delicate balance of moisture, so avoiding a dry dough is paramount for light and airy biscuits.
- Don’t Overmix: As with most biscuit recipes, overmixing the dough can develop any residual gluten (if your blend has a trace, though unlikely with 1:1), or simply make the starches tough. Mix just until the ingredients are combined and a sticky batter forms.
- High Heat for a Good Rise: The initial high oven temperature (450°F / 230°C) is essential for activating the leavening agents quickly, creating a burst of steam that helps the biscuits rise rapidly and develop a beautifully crisp crust. Don’t be tempted to lower the temperature.
- Even Spreading: When spreading the dough into the pan, make sure it’s as even as possible. This ensures uniform baking, so all your biscuits cook at the same rate and come out perfectly golden. Wet hands are the secret weapon for this step!
- Let Them Rest: The 10-minute cooling period on a wire rack after baking is important. It allows the biscuits to set, making them easier to handle and preventing them from crumbling when you try to pull them apart.
Discover More Delicious Gluten-Free Recipes
If you’ve loved making these easy gluten-free butter dip biscuits, then you’re in for a treat! Explore more delightful gluten-free recipes that are sure to become family favorites. From hearty breakfasts to decadent desserts, there’s something for every palate.
More Gluten-Free Goodness
Gluten-Free Dairy Free Banana Protein Pancakes (30g Protein!)
Gluten-Free Nutella Star Bread
Gluten-Free Tater Tot Breakfast Casserole
Gluten-Free Sticky Buns
Gluten-Free Apple Fritters
Gluten-Free Pumpkin Cinnamon Rolls
Poached Pears (Apple Cider)
Gluten-Free Pumpkin Cream Cheese Muffins (Starbucks Copycat)
I truly hope you love this gluten-free biscuits recipe as much as we do! If you give this recipe a try, please be sure to leave me a comment and a rating below. Your feedback means the world to me!
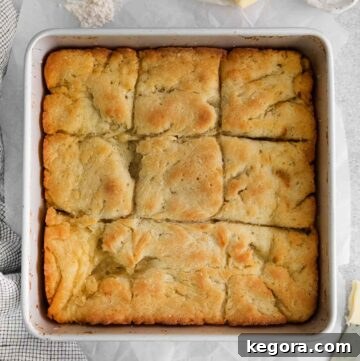
Easy Gluten-Free Butter Dip Biscuits
Comments
Ingredients
- 2 1/4 cups (337g) gluten-free 1:1 baking flour
- 1 tablespoon baking powder
- 2 teaspoons granulated sugar
- 1/2 teaspoon baking soda
- 1 teaspoon salt
- 1 3/4 cups (420ml) buttermilk
- 1/2 cup (113g) butter melted
Instructions
-
Preheat the oven to 450°F (230°C). Spray an 8×8-inch or 9×9-inch baking pan with cooking spray.
-
In a medium bowl, whisk together the gluten-free flour, baking powder, sugar, baking soda, and salt.
-
Pour in the buttermilk and stir until a sticky batter forms. If the batter seems too dry, add an additional tablespoon or two of buttermilk until thick and sticky.
-
Scoop the biscuit dough into the prepared pan. Using wet hands, spread the dough into an even layer.
-
Pour the melted butter over top of the biscuits. Using a sharp knife, cut the dough into 9 even squares.
-
Bake for 25-30 minutes, or until golden brown. Let the biscuits cool on a wire rack for 10 minutes before serving. Serve warm and enjoy!
Notes
- Gluten-free baking flour: For best results and a tender crumb, I highly recommend Bob’s Red Mill Gluten-Free 1:1 Baking Flour.
- For the most accurate results, use a kitchen scale to measure the flour in grams. Precision is key in gluten-free baking to achieve the ideal texture.
- This dough is meant to be sticky! Don’t worry if it’s difficult to get every bit out of the mixing bowl. A stickier dough contributes to moister, fluffier biscuits; dry dough can lead to dense biscuits.