
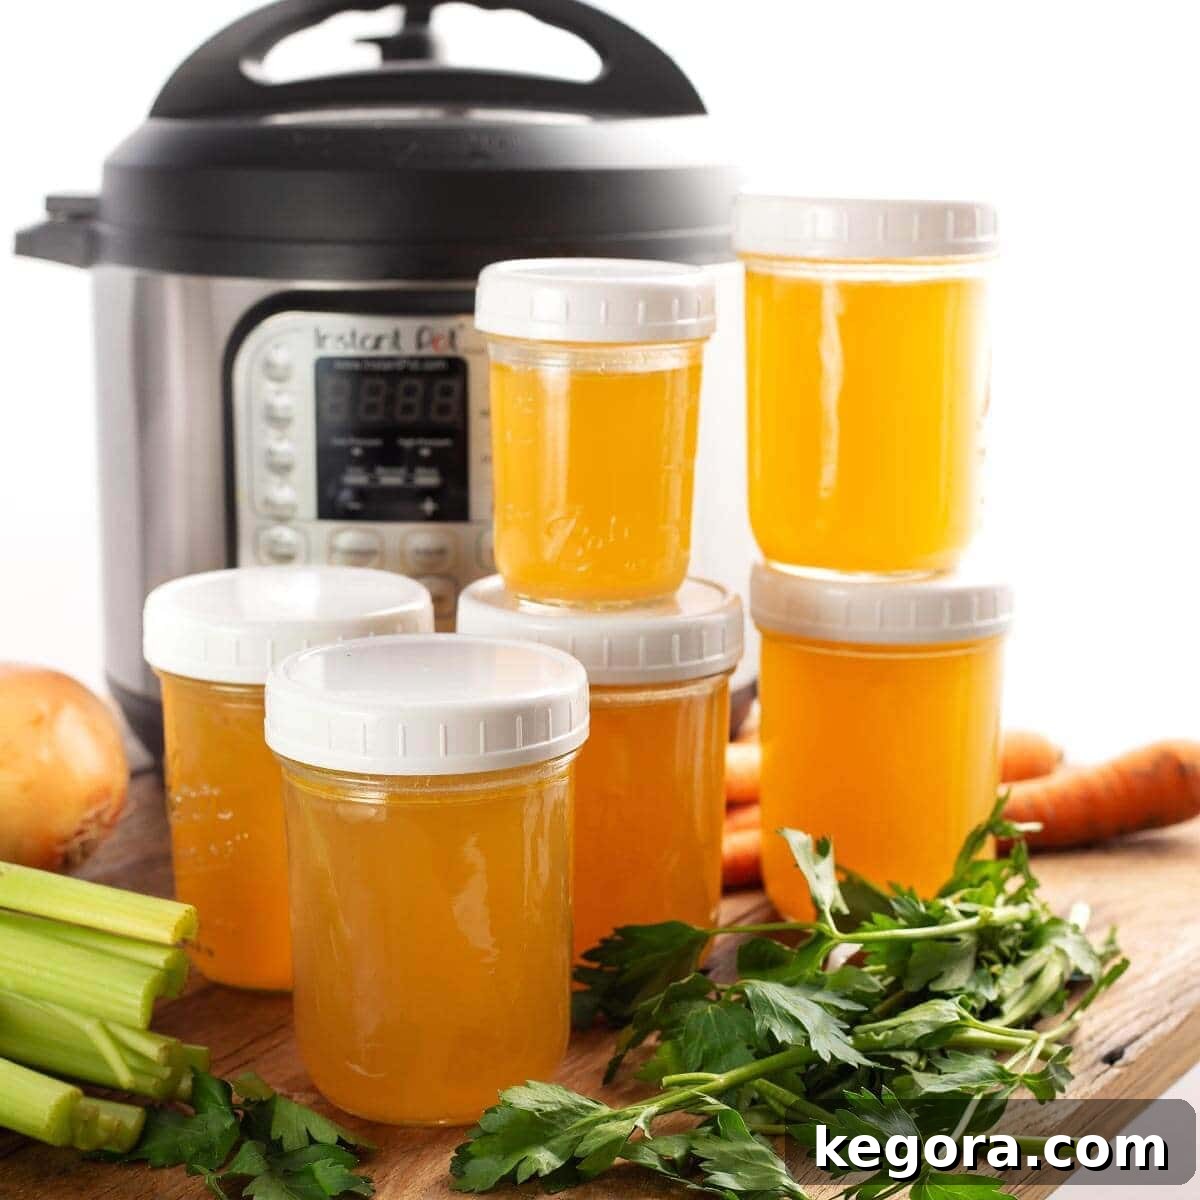
Unlock the secret to incredibly flavorful and nutrient-rich cooking with homemade Instant Pot Chicken Broth. Gone are the days of tirelessly simmering a pot on the stove for hours; your pressure cooker transforms a humble chicken carcass and a few fresh vegetables into liquid gold in a fraction of the time. This guide will walk you through creating a rich, delicious, and versatile chicken broth that will elevate your meals, provide comforting sips, and become a staple in your kitchen. Whether you call it Instant Pot Chicken Stock or Broth, the result is a rewarding, wholesome foundation for countless culinary creations.
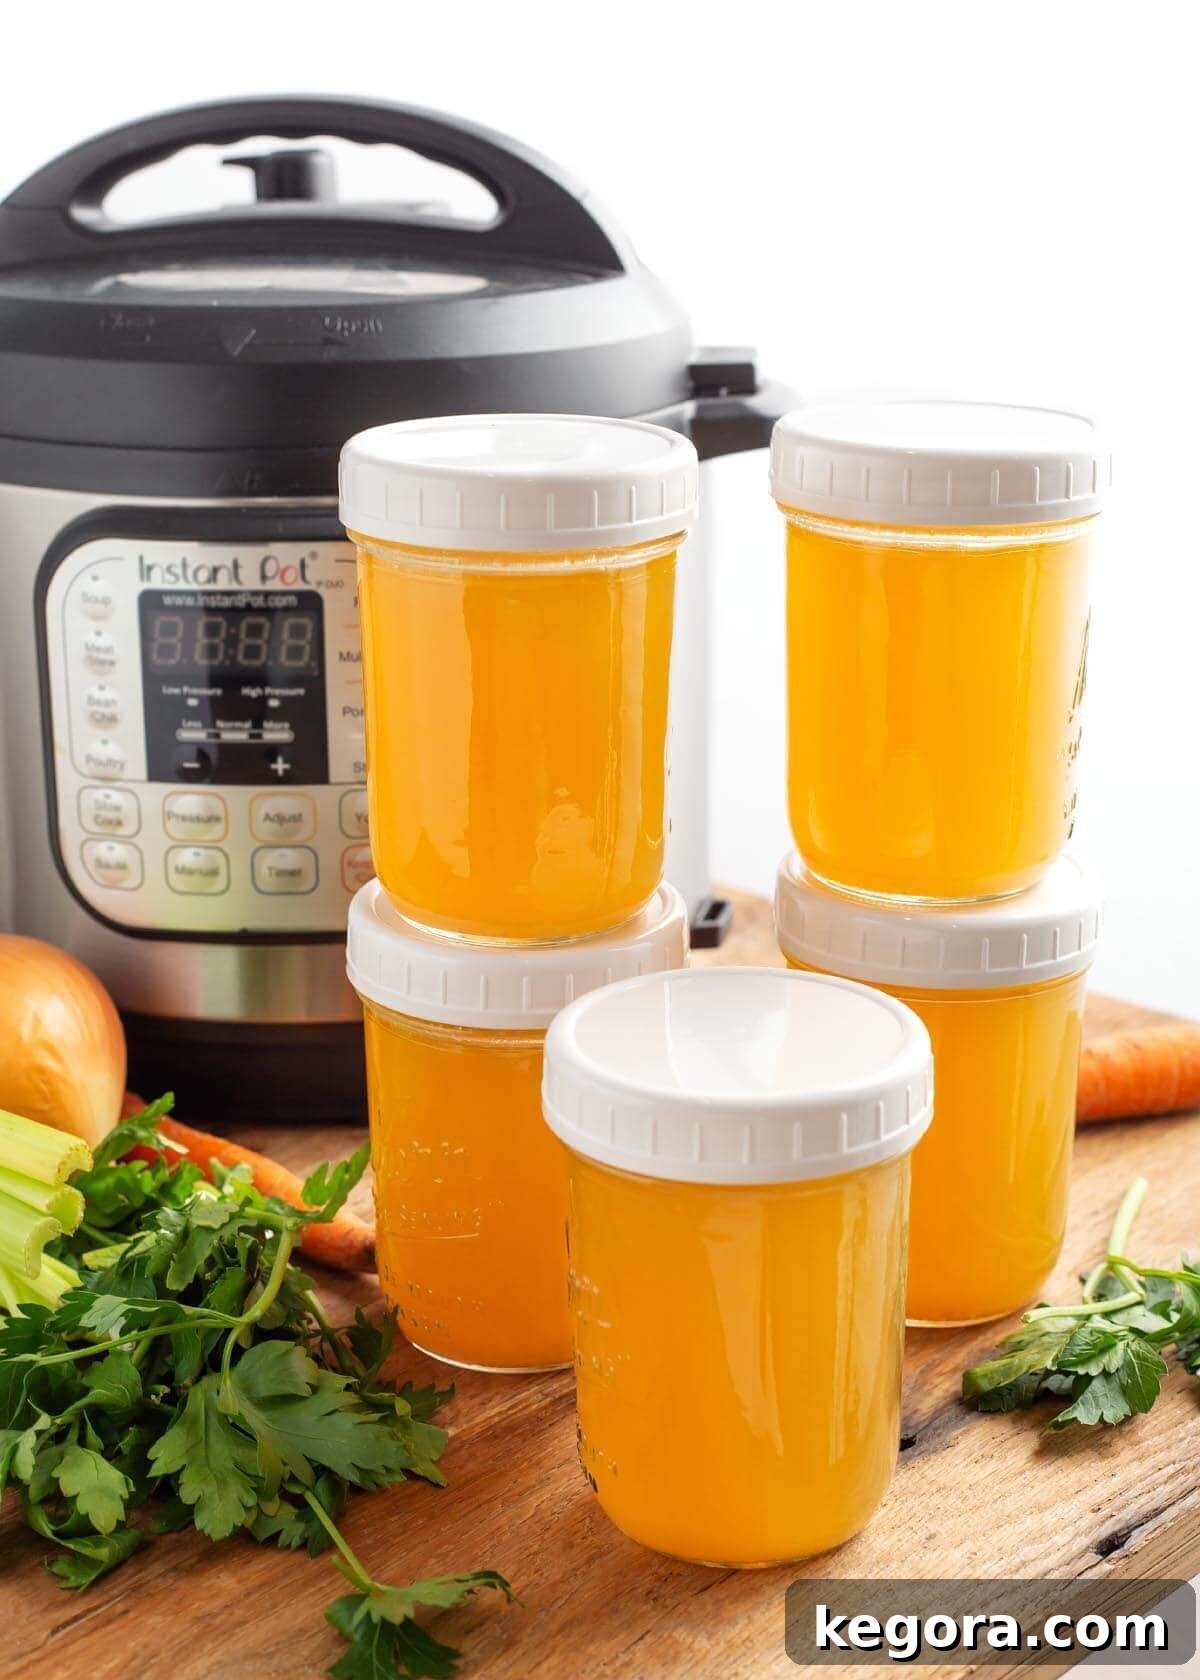
Making your own chicken broth from scratch is not only simple but also incredibly satisfying. It’s an act of culinary frugality and a testament to making the most of your ingredients. The next time you enjoy a roasted chicken, whether it’s homemade or a convenient rotisserie bird from the store, remember to save those bones! Tucking them away in a freezer bag ensures you’ll always have the foundation for a deeply nourishing batch of homemade Instant Pot Chicken Broth readily available.
Why Homemade Instant Pot Chicken Broth is a Kitchen Essential
In a world brimming with store-bought options, you might wonder why bother making your own chicken broth. The answer lies in unparalleled flavor, superior nutritional value, and remarkable cost-effectiveness. Once you experience the depth and richness of homemade broth, you’ll find it hard to go back to the diluted, often overly salty, commercial alternatives.
Unrivaled Flavor and Quality
Homemade chicken broth boasts a depth of flavor that store-bought versions simply cannot match. By using a combination of bones, aromatic vegetables, and fresh herbs, you create a complex, savory base that will infuse your dishes with a wholesome goodness. You control every ingredient, ensuring a clean flavor profile free from artificial additives, excessive sodium, or preservatives often found in commercial products. This control allows you to tailor the flavor to your preferences, making it as mild or as robust as you desire.
Boost Your Health and Well-being
Beyond taste, homemade chicken broth offers a myriad of health benefits. When bones are simmered, they release collagen, amino acids, and minerals like calcium, magnesium, and phosphorus. These compounds are known to support gut health, strengthen bones and joints, and even promote healthy skin and hair. A warm mug of homemade broth can be incredibly soothing when you’re feeling under the weather, providing hydration and easily digestible nutrients to aid recovery. It’s a natural immune booster and a comforting elixir for the body and soul.
Economical and Eco-Friendly
Making broth from leftover chicken carcasses is the ultimate expression of culinary resourcefulness. Instead of discarding bones, you transform them into a valuable ingredient, effectively getting a second meal (or many meals) from your initial purchase. This not only saves you money on expensive store-bought broths but also contributes to reducing food waste. It’s a simple, sustainable practice that benefits both your wallet and the environment.
Understanding Broth, Stock, and Bone Broth
The terms “broth” and “stock” are often used interchangeably, and for home cooking, the distinction isn’t always critical. However, there are traditional differences worth noting, particularly when aiming for specific results.
- Chicken Stock: Traditionally made primarily from bones, with a minimal amount of meat, along with some vegetables and aromatics. It’s often simmered for a longer period (2-6 hours on the stovetop) to extract collagen, resulting in a gelatinous texture when chilled. Stock is excellent as a base for sauces and gravies, adding body and richness.
- Chicken Broth: Typically made with more meat attached to the bones, along with a significant amount of vegetables and herbs. It’s simmered for a shorter period (1-2 hours on the stovetop) and tends to be lighter in body but richer in savory flavor, often seasoned more explicitly. Broth is commonly enjoyed on its own as a comforting drink or used directly in soups and stews.
- Bone Broth: A modern term for a broth made by simmering bones (often roasted) for a very extended period (12-24 hours) to maximize the extraction of collagen, gelatin, and minerals. A splash of apple cider vinegar is often added to help draw out more nutrients from the bones. Bone broth is primarily consumed for its purported health benefits.
Our Instant Pot recipe, with its use of a carcass (which includes some meat) and a generous amount of vegetables and aromatics, lands firmly in the “broth” category, delivering a delicious and flavorful liquid perfect for drinking or cooking. The pressure cooker significantly speeds up the extraction process, giving you the benefits of a long-simmered broth in a fraction of the time.
Essential Ingredients for Your Instant Pot Chicken Broth
Crafting the perfect Instant Pot Chicken Broth starts with quality ingredients, though many are items you likely already have on hand or can easily save.
- Chicken Carcass or Bones: The star of the show! A leftover carcass from a whole roasted chicken provides a fantastic base. Alternatively, you can save various chicken bones (wings, backs, necks, drumstick bones) in a freezer bag until you have enough. Roasting raw bones before making broth can add a deeper, richer color and flavor, but it’s optional.
- Mirepoix (Onion, Carrots, Celery): This classic aromatic base is fundamental. A large yellow onion, medium carrots, and celery ribs contribute sweetness, depth, and a subtle earthy flavor. Don’t worry about peeling or perfectly chopping them, as they will be strained out later.
- Garlic: Smashed garlic cloves add a pungent, savory layer to the broth. No need to mince; a simple smash will release its flavors.
- Herbs and Spices: Bay leaves are a must for their subtle, earthy aroma. A small bunch of fresh parsley adds a fresh, herbaceous note. For added complexity, consider whole black peppercorns, a sprig of fresh thyme, or even a rosemary sprig.
- Salt: Start with a teaspoon and adjust to taste after the broth is cooked and strained. Remember, you can always add more salt, but you can’t remove it. If you plan to use the broth in various recipes, keeping it lightly seasoned allows for more flexibility.
- Water: Filtered water is ideal if your tap water has a strong taste, as water makes up the bulk of your broth.
The Instant Pot Advantage: Speed and Flavor
Using an Instant Pot or any electric pressure cooker is a game-changer for homemade broth. What traditionally takes hours on the stovetop is condensed into a fraction of the time, without compromising on flavor or nutrient extraction.
- Rapid Flavor Extraction: The high-pressure environment forces liquids and flavors into the ingredients, and vice-versa, at an accelerated rate. This means you get a deeply flavorful broth in about an hour of pressure cooking, compared to 4-8 hours of simmering on a stovetop.
- Hands-Off Cooking: Once you set the Instant Pot, you can walk away and let it work its magic. There’s no need to monitor simmering, skim foam, or constantly adjust the heat. This makes homemade broth much more accessible for busy schedules.
- Nutrient Retention: The sealed environment of the pressure cooker helps to retain volatile nutrients and aromatic compounds that might otherwise escape as steam during traditional open-pot simmering.
- Cooler Kitchen: Especially during warmer months, using a pressure cooker prevents your kitchen from heating up unnecessarily, unlike a long-simmering pot on the stove.
Step-by-Step Guide to Perfect Instant Pot Chicken Broth
Making rich, homemade chicken broth in your Instant Pot is incredibly straightforward. Follow these simple steps for a truly rewarding experience:
Preparation is Key
Before you begin, gather all your ingredients. If your chicken carcass or bones are frozen, they can be added directly to the Instant Pot. Quickly chop your onion into quarters, carrots and celery into large chunks, and smash your garlic cloves. Rinse any bones under cold water to remove any small particles or impurities, which can help result in a clearer broth.
Loading Your Instant Pot
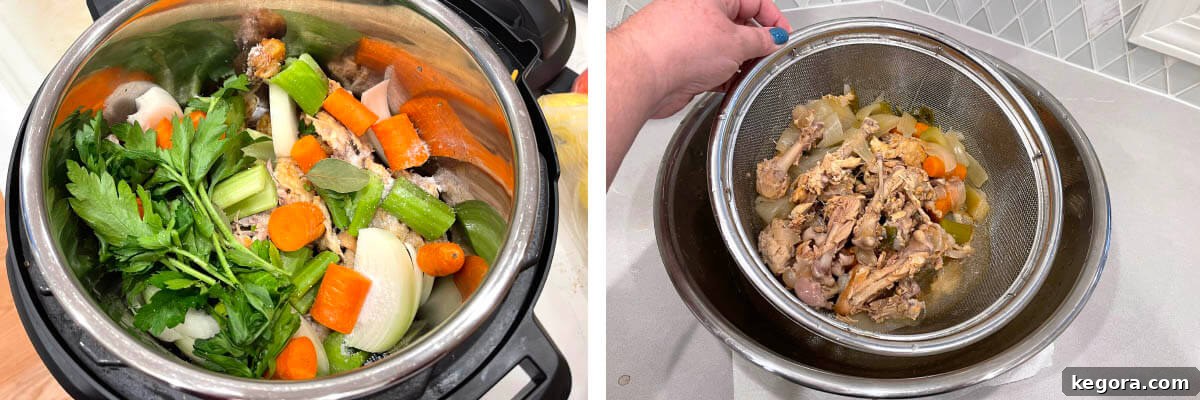
Place your chicken carcass or bones at the bottom of the Instant Pot. Then, add all the chopped vegetables, smashed garlic, bay leaves, and parsley. Sprinkle in the initial teaspoon of salt. Finally, pour cold water over all the ingredients, ensuring they are fully submerged. Be mindful not to exceed the “MAX FILL” line indicated on the inner pot, as overfilling can be dangerous and lead to improper cooking.
Pressure Cooking for Maximum Flavor
Secure the lid on your Instant Pot and set the steam release knob to the “Sealing” position. Select the “Pressure Cook” or “Manual” setting and set the cooking time to 60 minutes on High Pressure. The Instant Pot will take some time to come to pressure (typically 10-15 minutes), during which you’ll see the float valve rise. Once it reaches pressure, the 60-minute countdown will begin.
Natural Pressure Release for Depth
After the cooking cycle is complete, turn off the Instant Pot. It’s crucial to allow for a natural pressure release for at least 20 minutes. This natural release method helps to further tenderize the ingredients and allows the flavors to fully meld, resulting in a more robust and rich broth. After 20 minutes, carefully turn the steam release knob to the “Venting” position to release any remaining pressure. Once the float valve drops, it’s safe to open the lid.
Straining and Cooling Your Broth
Once the lid is open, allow the broth to cool down sufficiently before handling. This makes the straining process much safer. Place a fine-mesh strainer or colander over a large, heat-proof bowl. Carefully pour the entire contents of the Instant Pot through the strainer, separating the liquid broth from the solids. Discard the spent bones and vegetables; they have given all their goodness to your broth.
Storing Your Homemade Gold
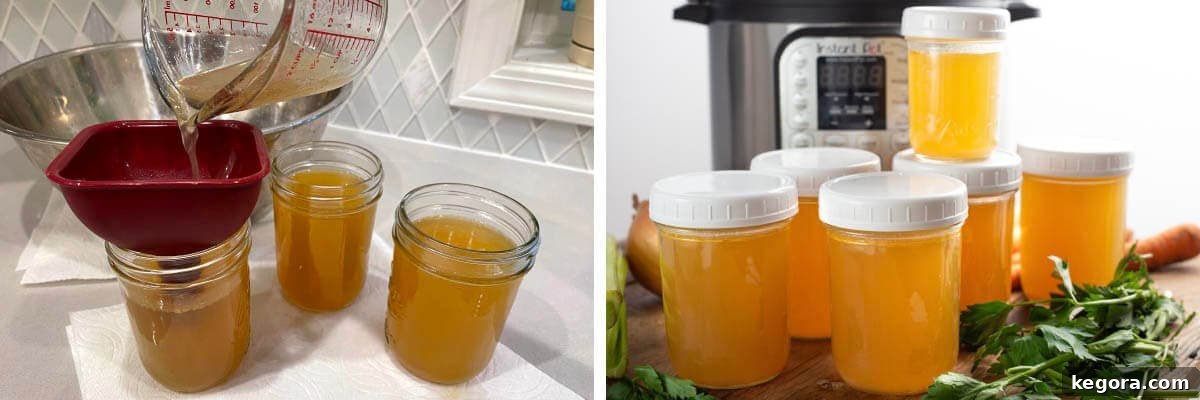
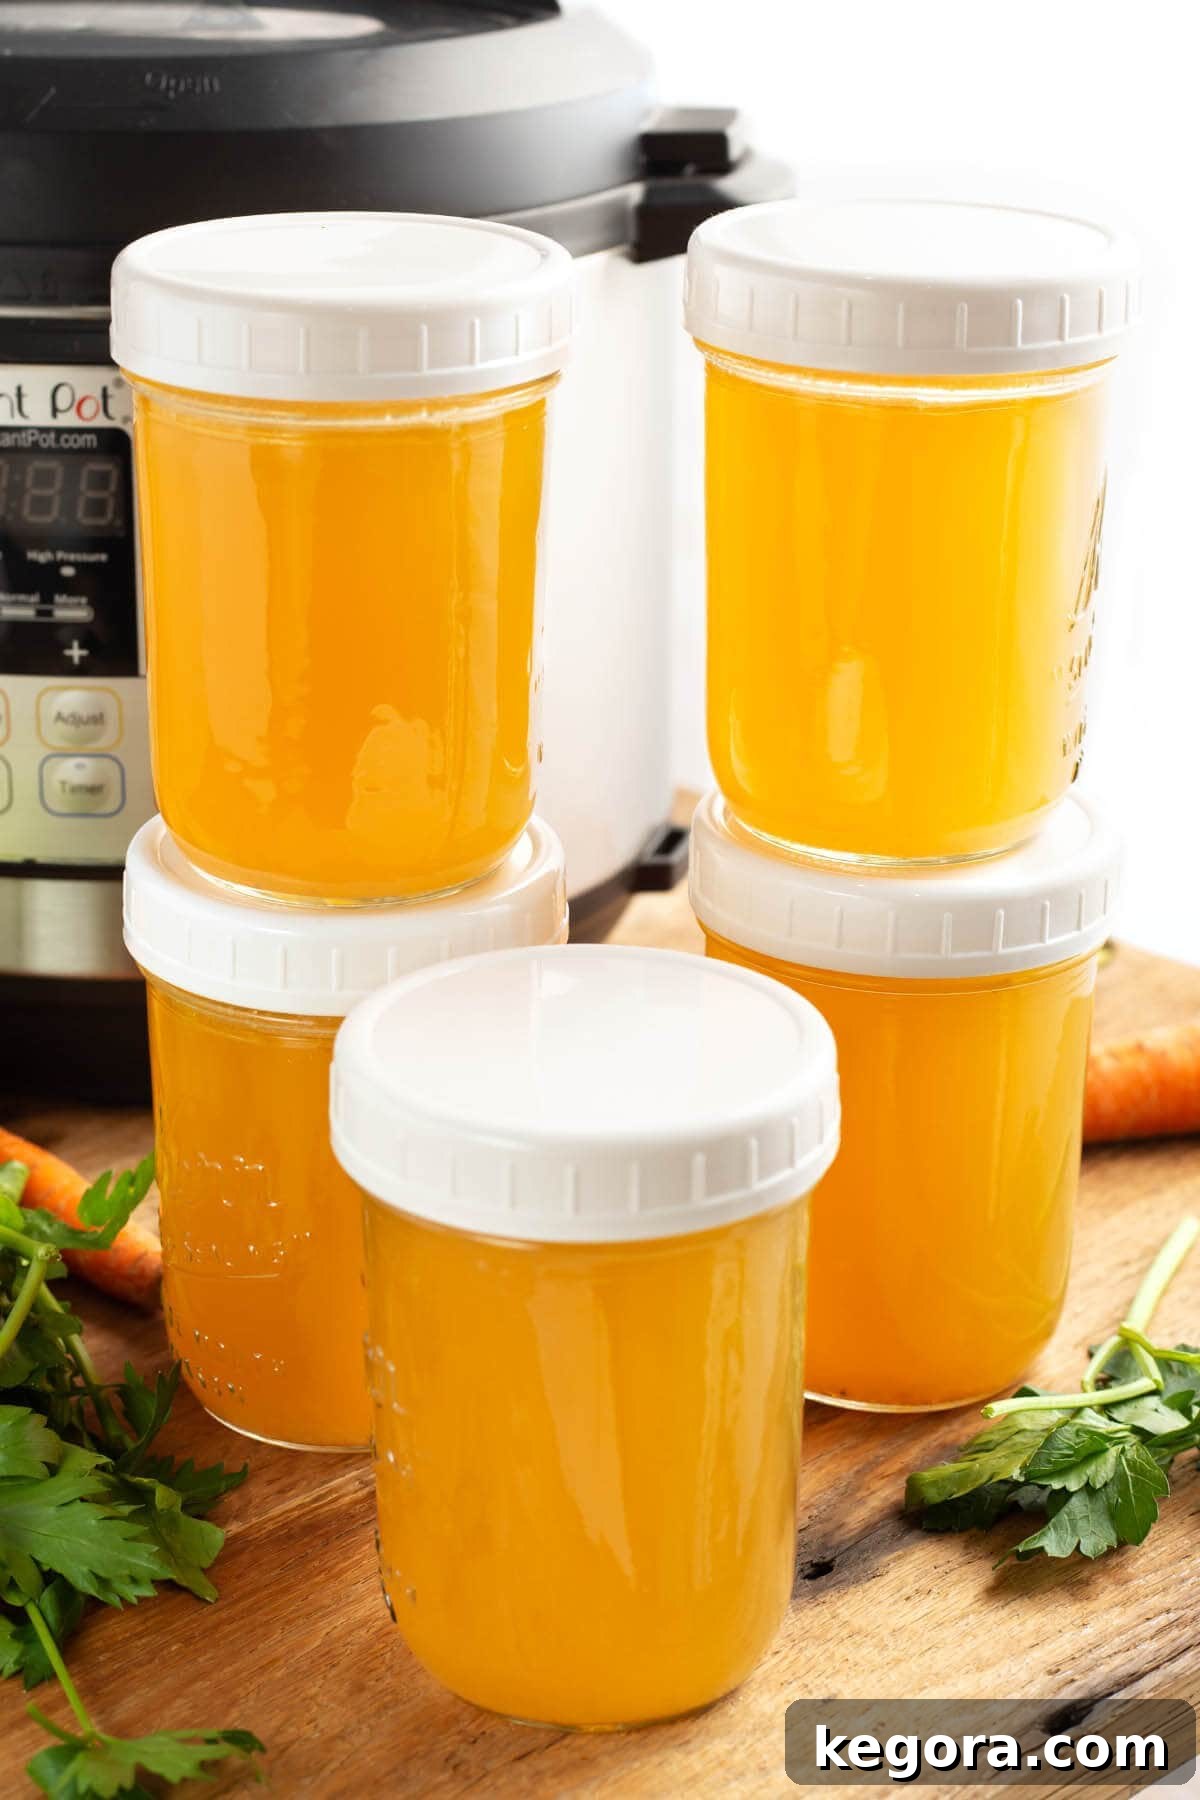
Once your broth has cooled to room temperature, it’s ready for storage. Using a funnel and a 1-cup measuring cup will make the transfer to storage containers much easier. Fill clean canning jars with lids, leaving at least an inch of headspace if you plan to freeze them. Alternatively, fill freezer-safe zip-closure bags. Store your fresh broth in the refrigerator for up to 5 days, or freeze it for up to 6 months for longer preservation. Remember to label and date your containers!
Yield and Scaling Your Instant Pot Chicken Broth
The amount of broth you yield can vary slightly based on the size of your chicken carcass and the volume of vegetables used. For a standard 6-quart Instant Pot, using the recommended ingredients and filling water up to the max line, you can expect to yield approximately 11 cups of rich, flavorful broth.
If you own an 8-quart or 10-quart Instant Pot, you might not automatically get more broth by simply using a larger pot. The key is to ensure the ingredients are adequately covered with water without exceeding the maximum fill line. To truly yield more broth in a larger pot without diluting the flavor, you would need to proportionally increase the amount of chicken bones (or carcass) and the accompanying vegetables and aromatics. A good rule of thumb is to maintain a balance of ingredients to water for optimal flavor concentration.
Creative Uses for Your Homemade Pressure Cooker Chicken Broth
Once you have a batch of delicious homemade Instant Pot Chicken Broth, a world of culinary possibilities opens up. It’s far more versatile than just soup!
- Comforting Drink: A hot mug of well-seasoned chicken broth is a simple pleasure, especially on a cold day or when you need a gentle pick-me-up.
- Soup & Stew Foundation: This is the most obvious use! Your homemade broth will form the flavorful base for countless soups, stews, and chili recipes. Imagine a hearty Instant Pot Chicken Noodle Soup made with your own broth. Explore several Instant Pot soup recipes here.
- Cooking Grains: Replace water with chicken broth when cooking rice, quinoa, couscous, or polenta. This simple swap adds incredible depth and savory flavor to your side dishes.
- Pasta Perfection: Cooking pasta directly in broth, especially in the Instant Pot, allows the pasta to absorb the rich liquid, resulting in a more flavorful dish. Try it in recipes like Instant Pot Mac and Cheese.
- Braising Meats and Vegetables: Use broth as a braising liquid for chicken, pork, or pot roasts, creating tender, moist results with an incredible sauce. It’s also excellent for braising heartier vegetables like cabbage or collard greens.
- Sauces and Gravies: Homemade broth is the perfect base for pan sauces, gravies, and reductions. Use it to deglaze the pan after searing meats, capturing all those delicious browned bits.
- Steaming and Poaching: Steam or poach chicken breasts, fish, or vegetables in broth instead of water for an extra layer of flavor and moisture.
- Baby Food Base: For parents making homemade baby food, plain, unsalted chicken broth can be an excellent liquid to thin purees or add nutrients to solid meals.

You Might Also Enjoy These Recipes:
Instant Pot Chicken Noodle Soup
Instant Pot Bone Broth
Instant Pot Turkey Broth
Instant Pot Turkey Soup
Storage Solutions: Freezing Your Chicken Broth
One of the greatest advantages of making a large batch of homemade chicken broth is the ability to freeze it for future use. Proper freezing techniques ensure your broth remains fresh and ready whenever inspiration strikes.
- Canning Jars: Glass canning jars are excellent for freezing broth, but caution is key. Always choose wide-mouth jars designed for freezing. Crucially, leave at least 1-2 inches of headspace at the top of the jar to allow for liquid expansion during freezing. Filling jars too full will almost certainly cause them to crack or break. Ensure the broth is completely cooled before transferring to jars and freezing.
- Zip-Closure Freezer Bags: These are incredibly efficient for space-saving storage. Fill the bags with desired portions of cooled broth, seal them, and then lay them flat on a baking sheet in the freezer until solid. Once frozen flat, they can be stacked vertically like books, saving significant freezer space. Flat-frozen broth also thaws much more quickly when you need it.
- Ice Cube Trays: For smaller portions perfect for deglazing a pan, adding to sauces, or cooking individual servings of grains, freeze broth in ice cube trays. Once solid, pop the frozen cubes into a larger freezer bag for long-term storage.
When freezing, regardless of the method, always label your containers with the date to ensure you use your broth within its optimal freshness window (typically up to 6 months in the freezer).
Troubleshooting & Tips for the Best Broth
- Cloudy Broth: While cloudy broth is perfectly fine to eat and full of flavor, if you prefer a clearer broth, avoid stirring the contents of the Instant Pot too much after cooking. Also, allowing the broth to cool before straining can help sediment settle at the bottom of the pot, making it easier to strain without disturbing.
- Skimming Fat: As your broth cools in the refrigerator, a layer of fat will solidify on top. This fat acts as a natural seal, preserving the broth. You can easily remove this fat layer with a spoon before reheating and using the broth, or leave it for extra richness, depending on your preference.
- Adding Salt: It’s generally best to add minimal salt during the cooking process. You can always season your broth to taste or add more salt when you use it in a specific recipe, giving you more control over the final dish’s sodium content.
- Using Roasted Bones: For a deeper, richer, and darker broth, consider roasting your chicken carcass or bones in the oven at 400°F (200°C) for 30-45 minutes before adding them to the Instant Pot. This step caramelizes the bones, adding an extra layer of flavor.
- Veggie Scraps: Keep a freezer bag specifically for vegetable scraps (onion peels, carrot ends, celery leaves, mushroom stems) and add them to your broth for even more flavor and to further reduce food waste.
Creating your own Instant Pot Chicken Broth is a simple yet profoundly rewarding kitchen skill. It provides a healthier, more flavorful alternative to store-bought options and perfectly embodies the spirit of maximizing ingredients. So, embrace the power of your Instant Pot and start making this liquid gold today!
If you try this delightful Instant Pot Chicken Broth recipe, please take a moment to leave a comment below with a star rating. Your feedback helps others discover and enjoy this fantastic homemade staple!
Instant Pot Chicken Broth
Equipment
-
6-quart or larger Electric Pressure Cooker
-
Large Bowl
-
Strainer/Colander
-
Measuring Cup for Pouring
-
Jars with Lids or Zip-Closure Baggies
-
Funnel
Ingredients
- 1 Leftover Chicken Carcass (or chicken bones you have saved and frozen)
- 1 large Yellow Onion, quartered
- 3 medium Carrots, chopped
- 2 ribs Celery, chopped
- 4 cloves Garlic, smashed
- 2 Bay Leaves
- 1 small bunch Parsley
- 1 teaspoon Salt (more or less to taste)
- Water (enough to cover ingredients in pot)
Instructions
-
Add all ingredients to the pressure cooker pot and cover with water. Don’t go over the max fill line of the pot.
-
Close the lid and set the steam release knob to the Sealing position.
-
Press the Pressure Cook or Manual button or dial, then the +/- button or dial to select 60 minutes. High Pressure. The pot will take several minutes to come to pressure.
-
When the cook cycle has finished, turn off the pot and let it sit undisturbed for at least 20 minutes (20 minute natural release). Then turn the steam release knob to the Venting position to release the remaining steam/pressure.
-
When the pin in the lid drops back down, open the lid.
-
At this point I prefer to let the broth cool quite a bit so it is safer to handle. Place a strainer/colander into a large bowl. Then pour the contents of the pot into the strainer.
-
Remove the strainer from the bowl and discard the bones/veggies.
-
Have your clean jars with lids, or freezer zip-closure baggies ready. A funnel is helpful, as is a 1-cup measuring cup.
-
Fill the jars or baggies with broth, close them, and store in the refrigerator for up to a 5 days, or freeze* for up to 6 months.
-
Serve a hot mug of broth, or use in any recipes that require chicken stock or broth.
Notes
Nutrition
Nutrition information is automatically calculated, so should only be used as an approximation.
Additional Info
Resources to Make Instant Pot Chicken Stock Recipe and More
This post contains Affiliate links. As an Amazon Associate I earn from qualifying purchases.
Instant Pot Duo 7-in-1 Electric Pressure Cooker
Fine Mesh Strainer
Wide Mouth Canning Jars
The Instant Pot Bible: The 350 Best Recipes