
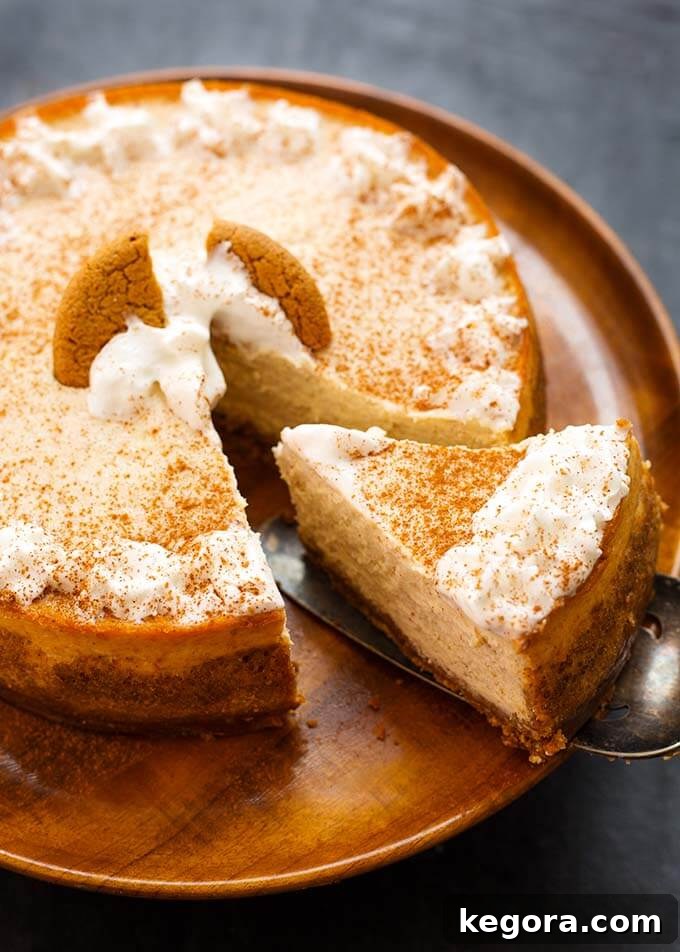
The holiday season is a time for warmth, joy, and indulging in delightful treats. Among the cherished traditions, sharing a beautifully crafted dessert holds a special place. Imagine a dessert that embodies the festive spirit, infused with the comforting flavors of the holidays – that’s precisely what our **Instant Pot Eggnog Cheesecake** offers. This isn’t just any cheesecake; it’s a luscious, creamy confection bursting with the rich, spiced essence of eggnog, complemented by a perfectly balanced crust. Whether you’re a seasoned baker or new to the world of pressure cooking, this recipe promises to deliver a show-stopping **Holiday cheesecake** that will impress everyone at your festive gatherings.
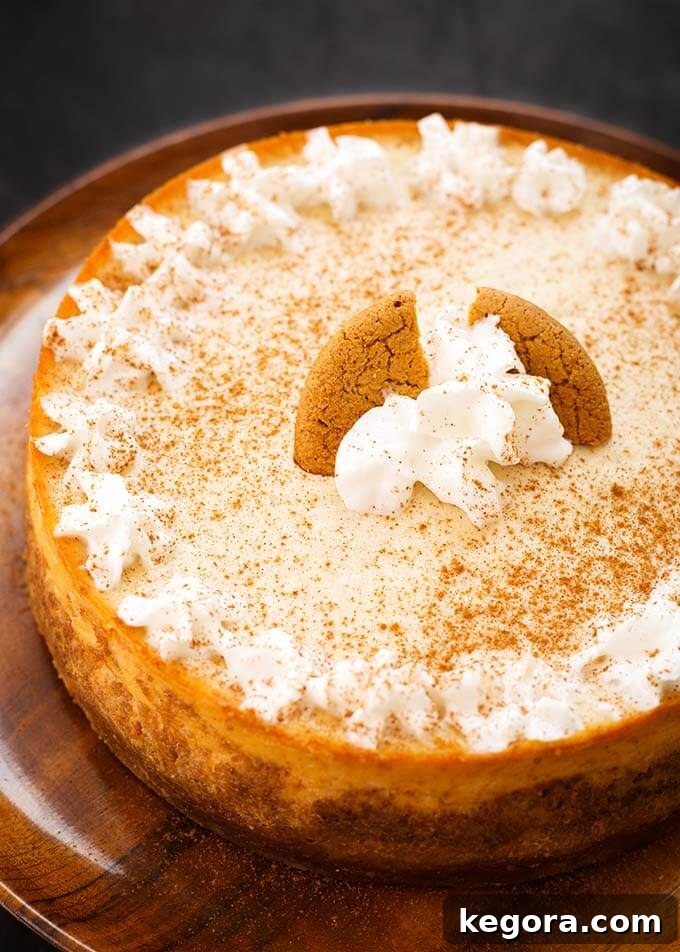
Elevate Your Holiday Desserts with Instant Pot Eggnog Cheesecake
There’s something inherently magical about eggnog. Its creamy texture and distinctive blend of spices like cinnamon and nutmeg instantly transport us to cozy winter evenings. When these beloved flavors are incorporated into a velvety cheesecake, the result is truly unforgettable. Our **Instant Pot Eggnog Cheesecake** takes this classic holiday beverage and transforms it into an elegant dessert, perfectly spiced and incredibly smooth. The beauty of using an Instant Pot for this recipe lies in its ability to create a consistently moist and crack-free cheesecake every single time, making it an ideal choice for busy holiday hosts who still want to serve something spectacular.
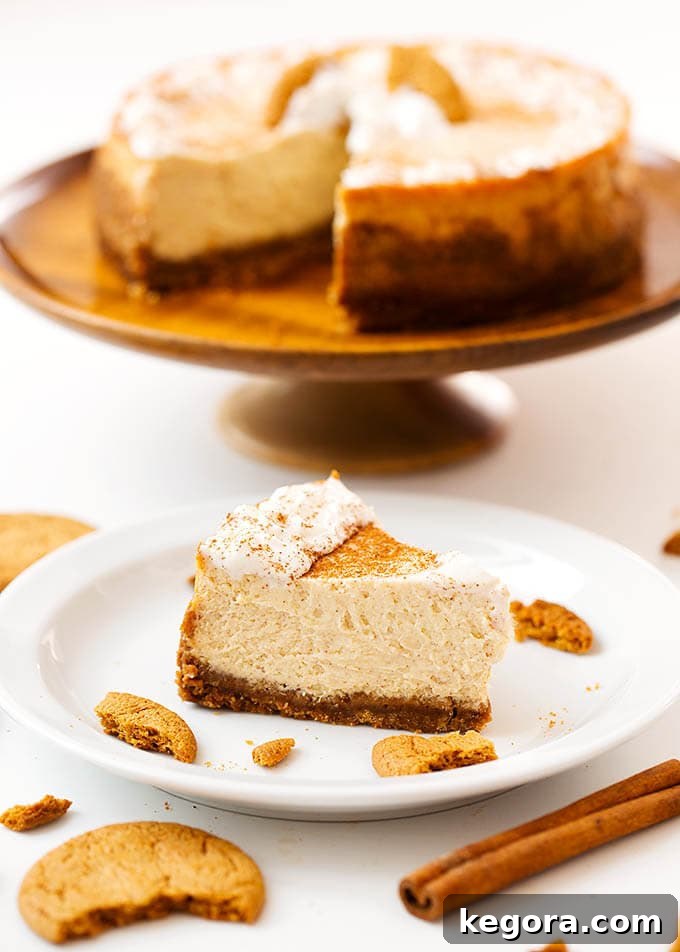
Why the Instant Pot is Your Secret Weapon for Perfect Cheesecake
If you’ve ever shied away from making cheesecake because of the fear of water baths, cracked tops, or uneven baking, the Instant Pot is here to change your mind. The pressure cooker creates a perfectly humid environment, essentially mimicking a steam bath without the fuss. This consistent steam circulation ensures that your cheesecake bakes gently and evenly, resulting in an incredibly creamy texture and a perfectly smooth top, free from unsightly cracks. It takes the guesswork out of baking and consistently delivers a professional-looking dessert, allowing you to focus on enjoying the festive season rather than stressing over your oven.
Unlocking the Authentic Eggnog Flavor: Rum Extract vs. Real Rum
Achieving that iconic eggnog flavor is crucial for this cheesecake. Our recipe calls for rum flavoring extract, and there’s a good reason for this choice. Extracts are highly concentrated, meaning a small amount goes a long way in delivering a potent burst of flavor without altering the liquid content of the cheesecake batter. This allows us to use the ideal amount of actual eggnog to create that rich, creamy base without compromising the cheesecake’s delicate structure.
- The primary advantage of using rum extract is its concentrated nature. A mere quarter to half teaspoon is enough to imbue the entire cheesecake with a delightful rum essence, ensuring the texture remains perfect.
- While real rum offers its own unique depth, incorporating it requires careful consideration. If you prefer to use real rum, a dark rum or spiced rum would be most complementary. However, be mindful that adding too much liquid can affect the cheesecake’s consistency and setting.
- To experiment with real rum, we recommend mixing a small amount into your eggnog first, then measuring out the total ¾ cup needed for the recipe. Start with just a tablespoon or two of rum and taste the eggnog mixture to ensure the flavor isn’t overpowering before adding it to your batter. This approach allows you to achieve a subtle alcoholic note without diluting the essential eggnog goodness or risking a less-than-perfect cheesecake texture.
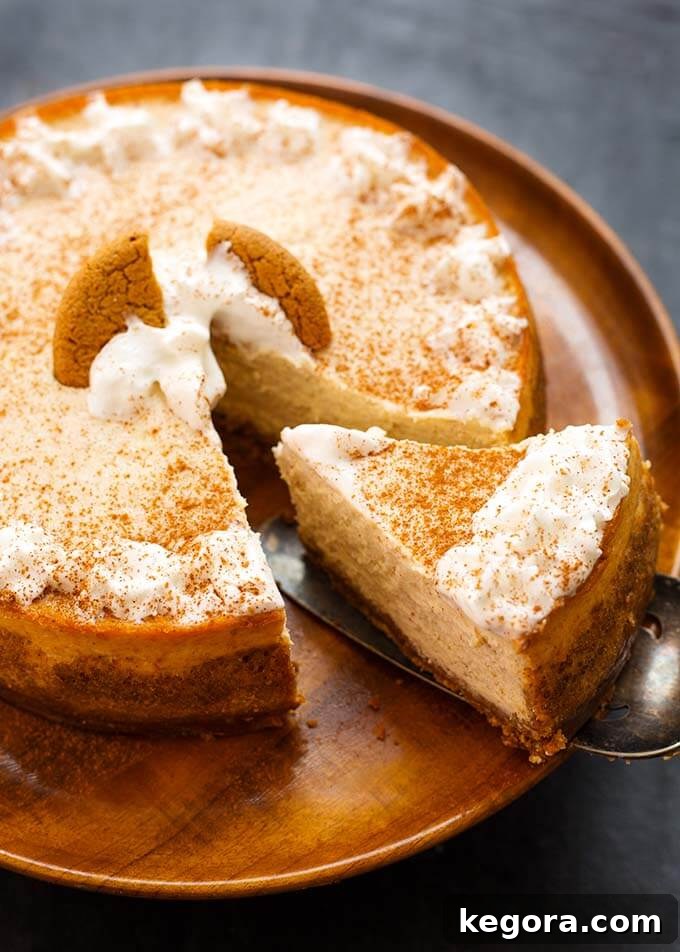
Embarking on the journey of making a pressure cooker cheesecake might seem daunting at first, but it’s a truly rewarding experience. Just take it one step at a time: first, craft that delicious crust, then prepare the silky-smooth filling, and finally, let your Instant Pot work its magic. With these clear instructions and a little confidence, you absolutely can do it! We’re here to guide you through every stage, cheering you on as you create this incredible dessert.

Instant Pot Pumpkin Cheesecake
Instant Pot White Chocolate Peppermint Cheesecake
Instant Pot Chocolate Cheesecake
Instant Pot Chocolate Orange Cheesecake
Instant Pot New York Cheesecake
Pressure Cooker Dreamy Orange Cheesecake
This post contains Affiliate links. As an Amazon Associate I earn from qualifying purchases.
The Art of Gifting: Homemade Eggnog Cheesecake
One of the most heartwarming aspects of the holiday season is the tradition of giving. And what could be more thoughtful and personal than a homemade food gift? It’s a way of sharing your time, effort, and love, creating a personalized present that truly comes from the heart. Over the years, I’ve enjoyed gifting everything from homemade Hot Sauce and aromatic Vanilla Extract to decadent Chocolate Candy and delightful Candied Pecans. Each gift carries a piece of my kitchen, a taste of home-cooked happiness.
This year, the **Instant Pot Eggnog Cheesecake** is at the top of my list for gifting. Its festive flavor profile and stunning presentation make it an ideal edible present. Imagine presenting a perfectly baked, beautifully chilled eggnog cheesecake in a charming bakery box! You can easily find bakery boxes online, line them with a bit of parchment paper for protection, and then tie a festive ribbon around the box for a truly special delivery. It’s a gift that’s not only incredibly delicious but also undeniably cute and memorable, spreading holiday cheer one slice at a time.
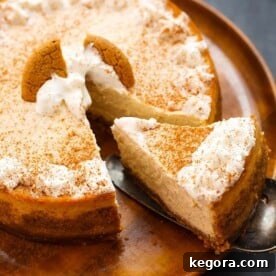
Instant Pot Eggnog Cheesecake
Sandy Clifton
30
37
25
1
32
8 servings
Ingredients
Crust
- 6 Shortbread Cookies* (approximately 1 ½” squares or equivalent)
- 16 Gingersnap Cookies**
- 1 Tablespoon Sugar
- 3 Tablespoons Butter, melted
Cheesecake Filling
- 2 8 oz Pkgs Cream Cheese, at room temperature
- ½ cup Sugar
- ¾ cup Eggnog, at room temperature
- 1 ½ teaspoons Cornstarch
- 1 teaspoon Vanilla Extract
- ¼ to ½ teaspoon Rum Flavoring (imitation rum flavoring – typically found with other extracts)
- ¾ teaspoon Cinnamon
- ⅛ teaspoon Nutmeg
- 3 Eggs, at room temperature
Instructions
1. Prepare the Cheesecake Pan
-
For best results, use a 7-inch cheesecake pan. I highly recommend a 7” Fat Daddio’s Push Pan for easy release, but a springform pan will also work, as long as it comfortably fits inside your pressure cooker.
-
Generously spray the inside of your chosen pan with baking spray. For an extra layer of non-stick security, cut a piece of parchment paper to fit the bottom of the pan and spray that too. Alternatively, you can use convenient Worthy Parchment Liners. Proper pan preparation is key to a smooth release and a beautiful cheesecake.
2. Prepare the Pressure Cooker
-
Pour 1 ½ cups of water into the inner liner of your pressure cooker. This water will create the essential steam bath needed for perfectly cooked cheesecake.
-
Place the trivet (the metal rack that usually comes with your Instant Pot) into the pot as well. This elevates the cheesecake pan, ensuring it doesn’t sit directly in the water.
3. Prepare a Sling (if you don’t have a trivet with long handles)
-
A sling is a simple yet indispensable tool for easily lowering and lifting the cheesecake pan in and out of the Instant Pot. It’s usually made from aluminum foil.
-
To create a sling, take a 28-inch length of aluminum foil and fold it lengthwise three times. You’ll end up with a sturdy, narrow strip approximately 28 inches long and 3 inches wide. This will serve as handles for your cheesecake.
4. Prepare the Crust
-
Combine the shortbread cookies, gingersnap cookies, and sugar in a food processor. The blend of shortbread and gingersnap offers a fantastic balance of buttery sweetness and a subtle, warm spice, perfect for pairing with eggnog.
-
Pulse the mixture several times until the cookies are transformed into fine, even crumbs. Avoid over-processing, which can turn the crumbs into a paste.
-
Add the melted butter to the food processor and pulse a few more times to combine everything thoroughly. The crumbs should now be slightly moist and hold together when pressed. You might need to scrape down the sides of the bowl to ensure all ingredients are well incorporated.
-
Pour the crumb mixture into your prepared cheesecake pan. Use your fingers or the bottom of a small glass (a Pastry Tamper works wonderfully for this) to firmly press the mixture across the entire bottom of the pan and slightly up the sides. Aim for a crust that is about ¼-inch thick. You don’t need to bring it all the way up the sides, just enough to form a sturdy base.
-
Place the pan with the crust into the freezer while you prepare the cheesecake filling. Chilling the crust helps it firm up and prevents it from crumbling when the filling is added, ensuring a clean separation from the pan after baking.
5. Prepare the Cheesecake Filling
-
Before proceeding, ensure your food processor is clean and free of any crust residue. This prevents any unwanted crumbs from mixing into your smooth cheesecake filling.
-
Add the room temperature cream cheese and sugar to the food processor. Process until the mixture is completely smooth and creamy, with no lumps. Using room temperature cream cheese is vital for a silky, lump-free batter.
-
Next, add the eggnog (also at room temperature), cornstarch, vanilla extract, rum flavoring, cinnamon, and nutmeg. These ingredients are the heart of the eggnog flavor.
-
Pulse several times until all ingredients are thoroughly combined and the mixture is uniformly creamy. Scrape down the sides of the bowl as needed to ensure everything is blended.
-
Add the room temperature eggs last. This is a critical step: pulse only a few short bursts, just until the eggs are barely combined into the batter. Over-whipping the eggs can incorporate too much air, which can cause the cheesecake to puff up excessively during cooking and then crack as it cools. Gentle mixing ensures a dense, creamy texture.
-
Retrieve the chilled crust from the freezer and carefully pour the smooth cheesecake filling into the pan, spreading it evenly.
-
Cover the pan first with a paper towel (this helps absorb any condensation), then securely wrap it with a piece of aluminum foil. Crimp the edges of the foil tightly around the pan to create a secure seal. This prevents steam from entering the cheesecake and keeps the top smooth.
-
Lay your foil sling flat and center the cheesecake pan on it. Gather the two ends of the sling and very carefully lift the pan, placing it onto the trivet inside the pressure cooker. Fold the two ends of the sling over the top of the pan to keep them out of the way, but easily accessible for lifting later.
6. Cook the Cheesecake
-
Close the lid of your pressure cooker and ensure the steam release knob is set to the Sealing position.
-
Press the Manual (or Pressure Cook) button and adjust the time to 37 minutes on High Pressure. The Instant Pot will take some time to come to pressure before the cooking countdown begins.
-
Once the cook cycle is complete, allow the pressure cooker to naturally release pressure for 15 minutes. This slow release is crucial for cheesecakes, preventing sudden temperature drops that can cause cracking. After 15 minutes, manually release any remaining pressure by carefully turning the steam release knob to the Venting position.
-
When the float valve (pin) drops, indicating all pressure has been released, carefully open the lid, tilting it away from your face to avoid any lingering steam.
-
Gather the two ends of your foil sling and VERY carefully lift the cheesecake pan out of the cooker. Transfer it onto a cooling rack.
-
Leave the cheesecake covered with the foil and paper towel for an additional 10 minutes on the cooling rack. Then, carefully peel off the foil and paper towel.
-
The cheesecake is done when it has a slight jiggle in the center when the pan is gently shaken. You don’t want it to look liquid or watery, but a gentle wobble is perfect – it will firm up beautifully as it chills. If it appears too liquid, cover it back up and cook for another 5 minutes, followed by a 15-minute natural pressure release.
-
Allow the cheesecake to cool completely on the cooling rack at room temperature before transferring it to the refrigerator.
-
Place the cheesecake, still in its pan, into the fridge to chill for at least 4 hours. For optimal flavor and texture, I highly recommend making your cheesecake in the evening and letting it cool and chill overnight. This extended chilling time is essential for the cheesecake to fully set and for the flavors to meld beautifully.
7. To Serve
-
If using a push pan, place the pan on top of a large, sturdy can or inverted bowl. Gently push the pan straight down. The outer ring of the pan will slide down, leaving the cheesecake (still on its bottom disc) perfectly elevated on the can. Carefully slide the cheesecake off its disc and onto your chosen serving dish. If using a springform pan, simply release the spring and gently remove the side ring.
-
Serve the **Instant Pot Eggnog Cheesecake** as is for a pure, unadulterated taste of holiday bliss. It’s incredibly delicious on its own! For an extra touch of festive elegance, top each slice with a generous dollop of freshly whipped cream and a light dusting of ground cinnamon or a sprinkle of freshly grated nutmeg. A drizzle of caramel sauce or a few candied pecans would also make delightful additions.
Notes
**Alternatively, you can just use 20 Gingersnap cookies for a spicier, more intense crust flavor if you’d like.
***If you opt to use a 6-inch pan for a smaller cheesecake, please remember to add 5 minutes to the cooking time to ensure it bakes thoroughly.
Recipe adapted from Rose Bakes, with adjustments for Instant Pot preparation and flavor enhancements.
Nutrition
Calories:
342kcal
Nutrition information is automatically calculated and should be used as an approximation only. Factors such as specific brands and preparation methods can affect accuracy.
Additional Info
Dessert
American, Holiday
Tried this recipe?
Mention @simply_happy_foodie