
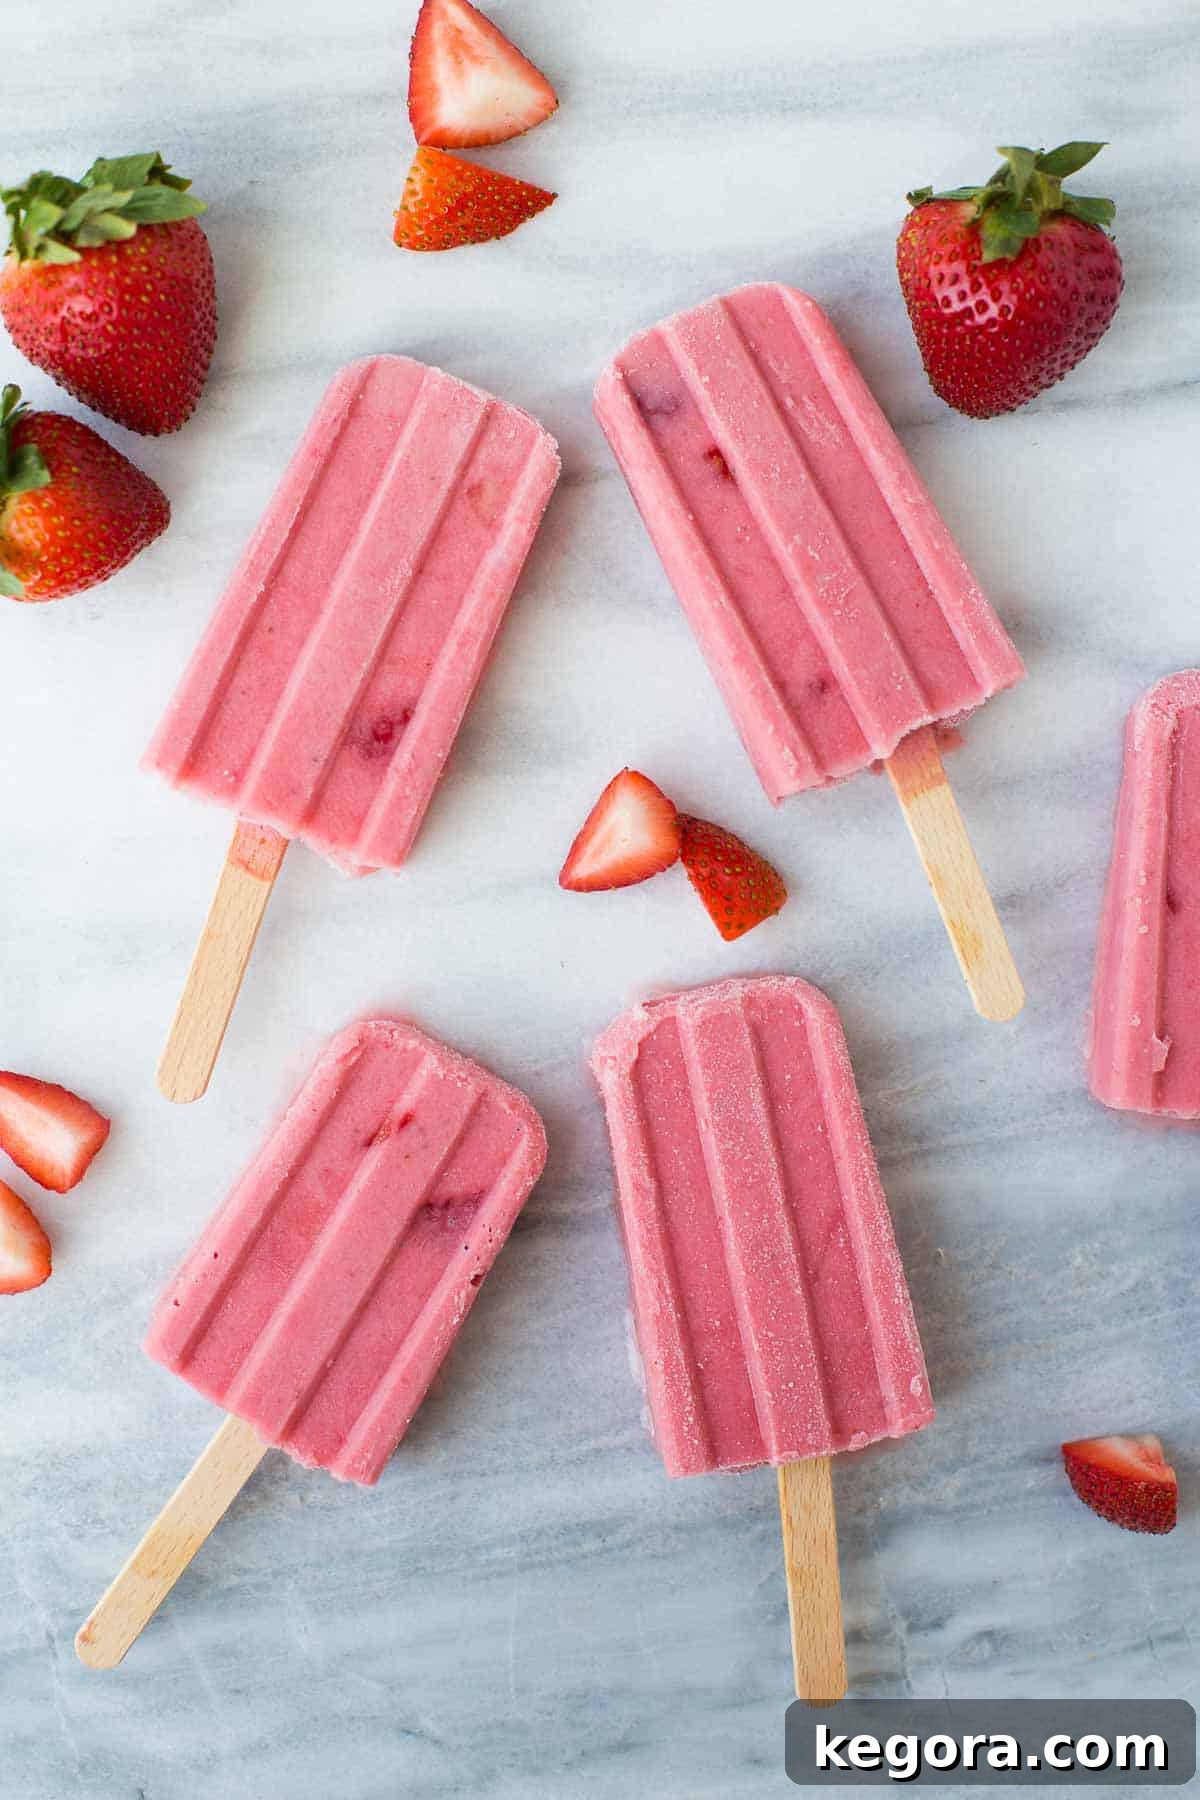
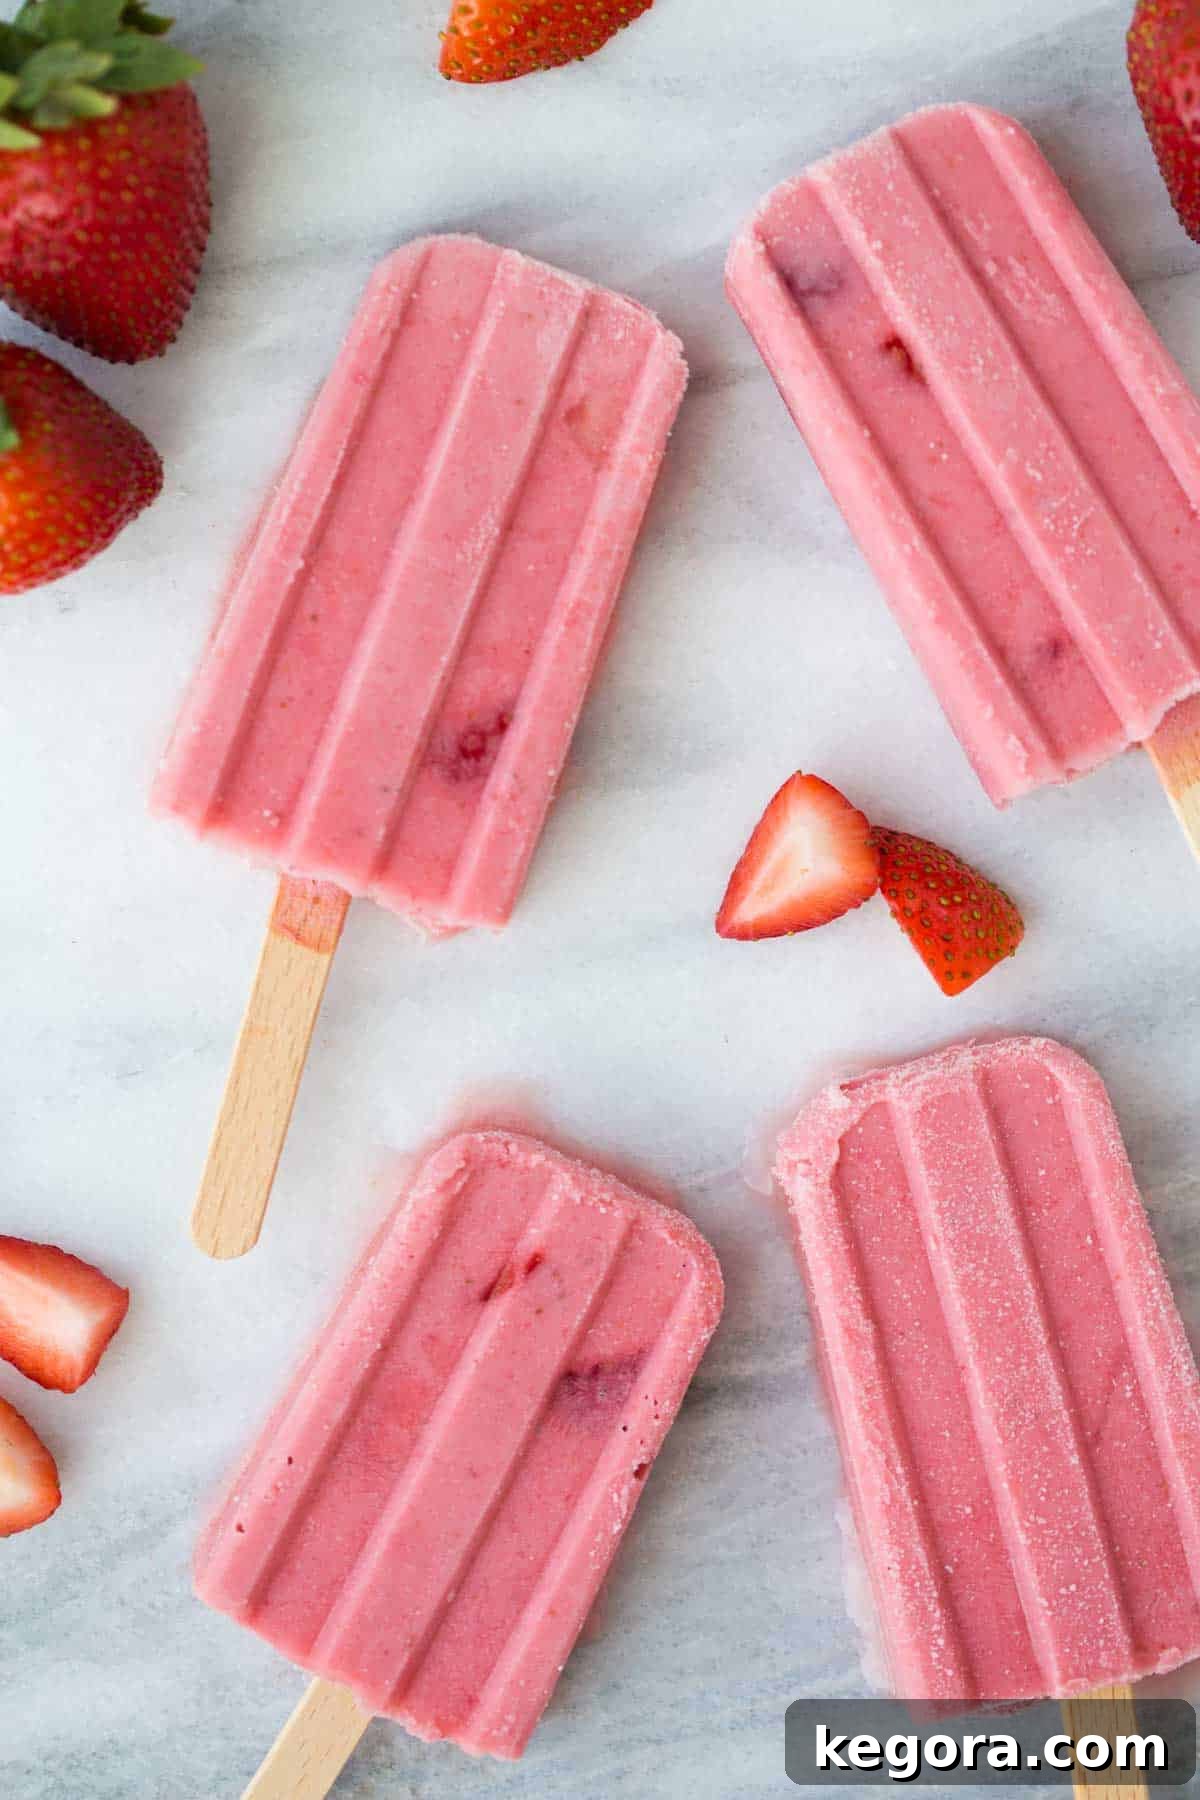
Fruit popsicles are more than just a sweet, refreshing treat; they are the quintessential taste of summer. Crafted with wholesome ingredients like fresh strawberries, creamy coconut milk, natural honey, and nutritious yogurt, these homemade popsicles offer a guilt-free indulgence. They’re naturally dairy-free, bursting with flavor, and incredibly simple to prepare, making them a perfect project for a sunny afternoon with the kids.
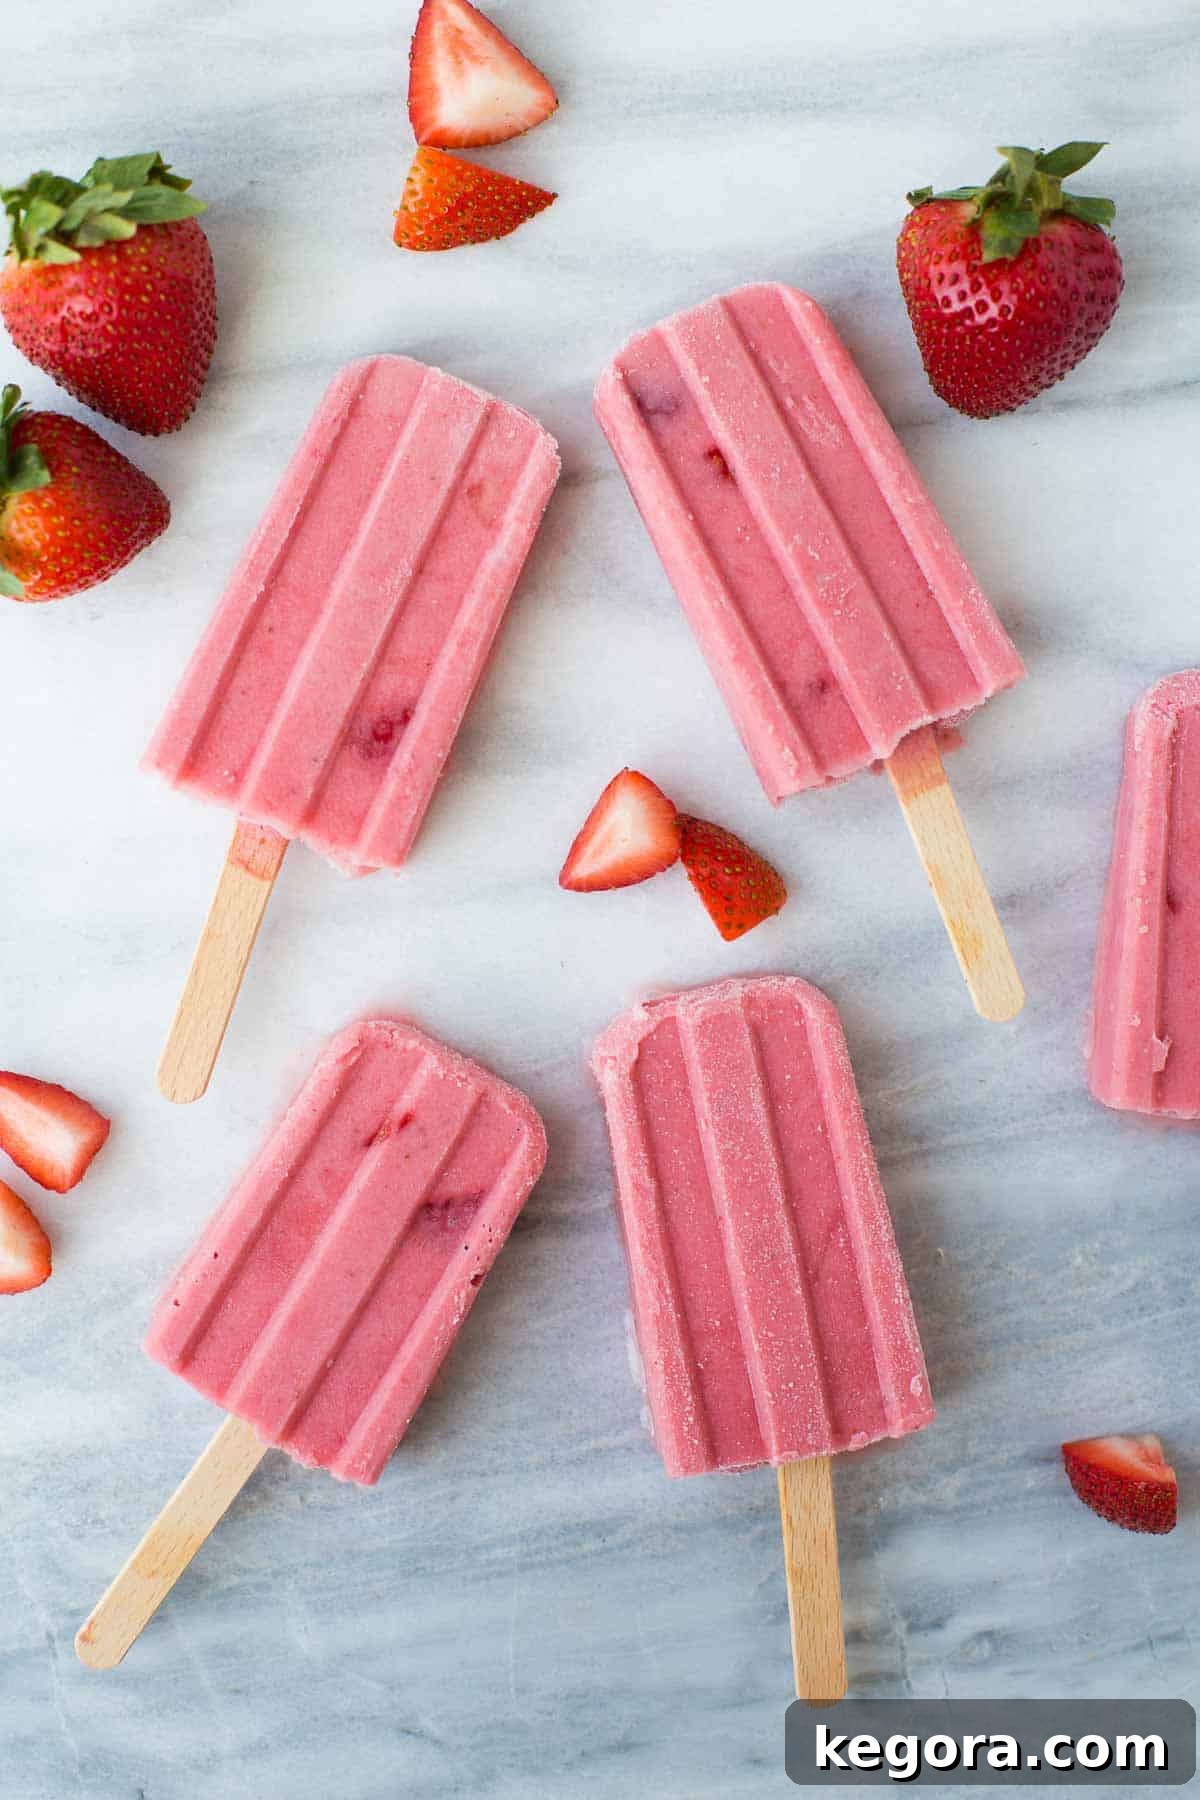
There’s truly nothing that complements a hot summer day quite like a deliciously icy fruit popsicle. While store-bought options can be laden with artificial colors and excessive sugars, making your own homemade fruit popsicles means you and your loved ones can savor them completely guilt-free. Our strawberry popsicle recipe is designed for simplicity, using only fresh, natural ingredients you can feel good about.
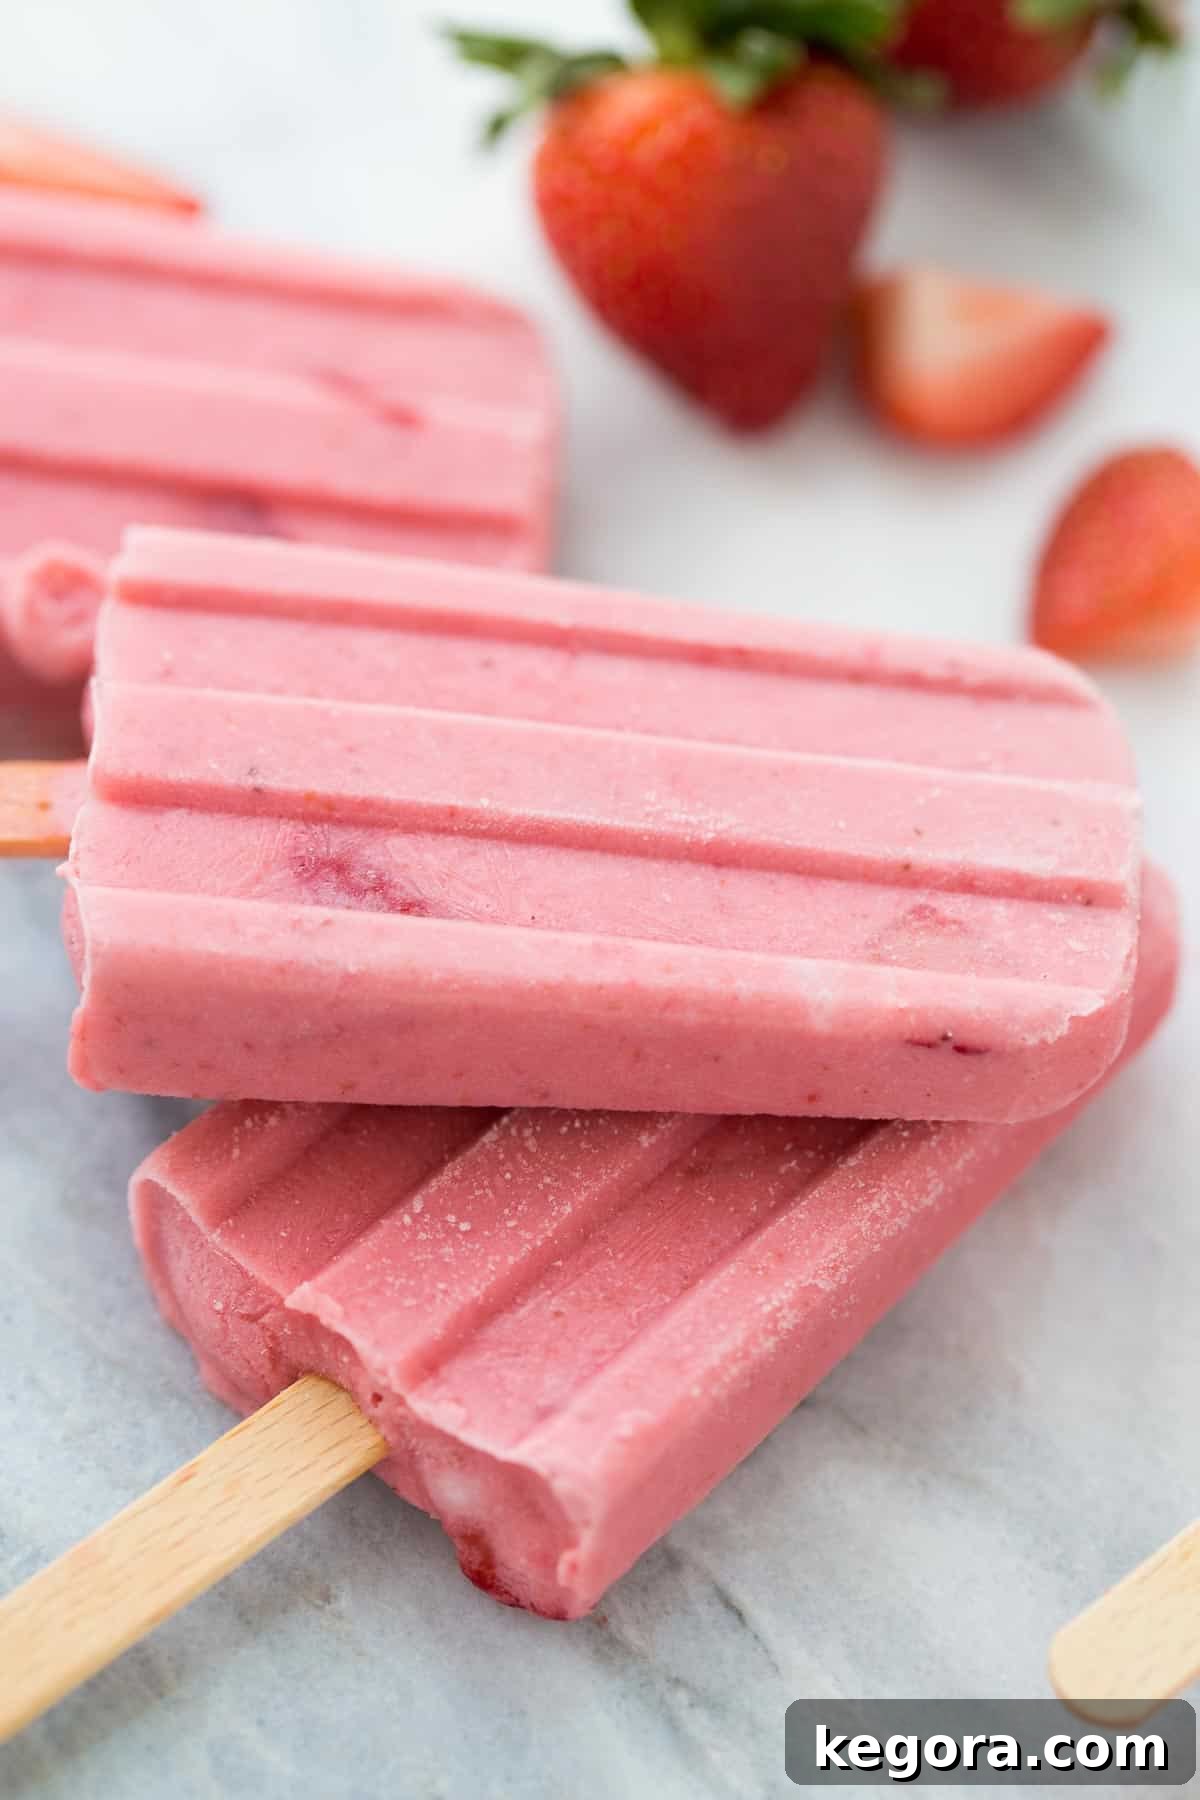
The beauty of this recipe lies in its straightforward process: simply blend all the ingredients together, pour the mixture into popsicle molds, and freeze. Prepare them early in the morning, and they’ll be ready for an afternoon snack. For ultimate convenience, freeze them overnight, and you might even find yourself enjoying a healthy, refreshing popsicle for breakfast! These particular strawberry popsicles boast a wonderfully creamy texture, thanks to the yogurt, and are perfectly sweetened with just the right amount of honey. Each bite delivers a vibrant burst of fresh strawberry flavor, making them an instant family favorite.
Why Choose Homemade Fruit Popsicles?
Opting to make your own fruit popsicles at home offers a multitude of benefits, extending beyond just saving money. It empowers you to take full control over the ingredients, ensuring your family enjoys a genuinely healthy and wholesome treat. Here’s why homemade popsicles, especially our strawberry fruit popsicle recipe, are a superior choice:
- Control Over Ingredients: Say goodbye to high-fructose corn syrup, artificial colors, and preservatives often found in commercial popsicles. With this recipe, you use only fresh fruit, natural sweeteners, and real dairy (or dairy-free) products.
- Reduced Sugar Content: Our recipe uses a modest amount of honey, allowing the natural sweetness of the strawberries to shine through. You can even adjust the honey to your family’s preference.
- Nutrient-Rich: Fresh strawberries are packed with Vitamin C and antioxidants. Yogurt adds probiotics for gut health, and coconut milk provides healthy fats. It’s a treat that actually contributes to your well-being!
- Customizable Flavors: While strawberries are fantastic, the base recipe is incredibly versatile. Explore different fruit combinations and flavors to keep things exciting (more on this below!).
- Fun Family Activity: Making popsicles is a simple, engaging activity for kids. From washing the fruit to pouring the mixture, it’s a hands-on experience that encourages healthy eating habits.
- Perfect for Dietary Needs: Easily adaptable for various diets, including vegan and dairy-free options, ensuring everyone can enjoy a delightful summer treat.
Crafting Your Delicious Strawberry Popsicles
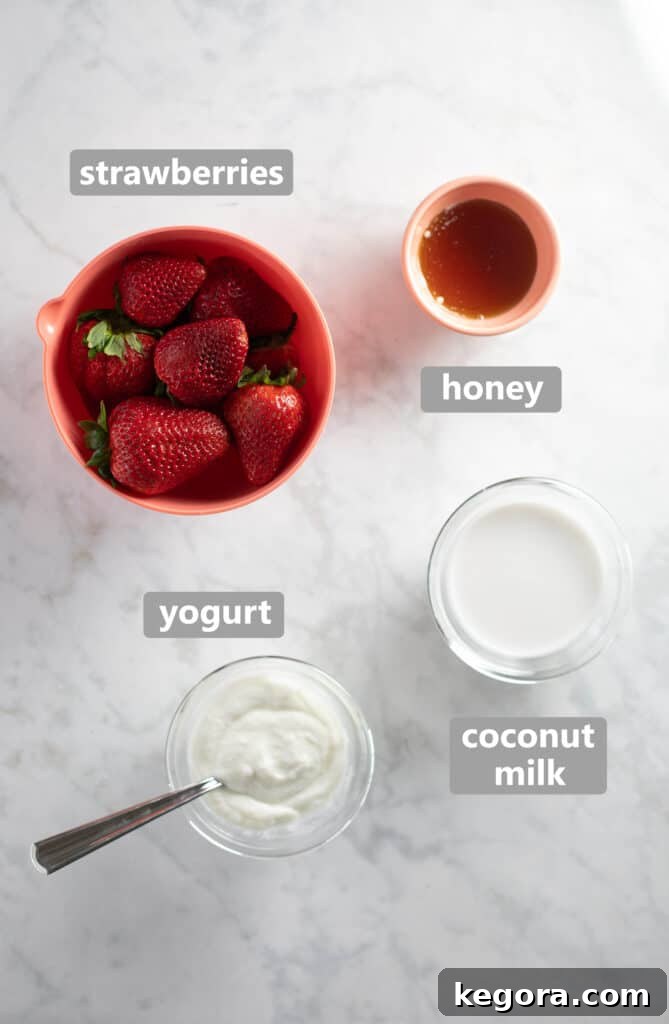
Creating these delightful strawberry fruit popsicles requires minimal effort and just four simple, wholesome ingredients that come together to form a truly refreshing snack. You’ll be amazed at how quickly you can whip up a batch!
Essential Ingredients:
- Fresh Strawberries: You’ll need a whole container of fresh strawberries, about 16 ounces. These vibrant berries are the star of the show, providing natural sweetness, essential vitamins, and that undeniable summer flavor. Look for bright red, firm berries for the best taste.
- Coconut Milk: For the best consistency and a subtle tropical creaminess, use coconut milk from a carton, not a can. Carton coconut milk is typically thinner and has a neutral flavor that blends seamlessly, whereas canned coconut milk is much thicker and often has a stronger coconut taste, usually reserved for cooking and curries.
- Yogurt: Approximately 5-6 ounces of yogurt is perfect. Vanilla or strawberry-flavored yogurt will complement the berries beautifully. Feel free to choose between regular dairy yogurt for a classic creamy texture or a dairy-free alternative like coconut or almond-based yogurt to keep the recipe fully dairy-free. Yogurt adds tanginess and helps create that smooth, creamy popsicle consistency.
- Honey: About 1/4 cup of honey provides the ideal natural sweetness. Honey not only sweetens the popsicles but also helps improve their texture, making them less icy and more enjoyable to bite into. Adjust the amount to your personal taste preference.
Equipment You’ll Need:
Beyond the ingredients, you’ll need a few basic kitchen tools to bring these homemade popsicles to life:
- Blender or Food Processor: Essential for achieving that perfectly smooth and creamy popsicle base. A high-speed blender will make quick work of the strawberries and other ingredients.
- Popsicle Molds: Silicon or plastic molds are widely available and come in various shapes and sizes. Choose a mold that is easy to fill and unmold. Some molds come with reusable sticks, while others require separate wooden popsicle sticks.
- Measuring Cups and Spoons: For accurate ingredient proportions.
- Cutting Board and Knife: For preparing the strawberries.
Ingredient Substitutions and Flavor Variations
One of the best aspects of this healthy fruit popsicle recipe is its flexibility. Feel free to experiment with substitutions to fit your dietary needs or to create exciting new flavor combinations.
- Vegan & Dairy-Free Adaptations: To make these strawberry popsicles completely vegan, ensure you use a non-dairy yogurt (such as coconut, almond, or soy-based yogurt). For the sweetener, replace honey with a plant-based alternative like maple syrup or agave nectar. The coconut milk already contributes to a naturally dairy-free base.
- Milk Alternatives: While coconut milk adds a lovely creaminess, you can easily replace it with your favorite plant-based milk (almond milk, oat milk, or cashew milk) or even regular dairy milk if preferred. Keep in mind that the flavor profile and final texture might vary slightly depending on your choice. For instance, almond milk will result in a lighter, less creamy popsicle than full-fat coconut milk.
- Beyond Strawberries – Fruit Explorations: This fruit popsicle recipe is a fantastic template for virtually any fruit you desire. Simply replace the strawberries with an equal amount of a different fruit or a delightful combination. Consider these delicious variations:
- Berry Blast: Combine strawberries with raspberries, blueberries, or blackberries for a mixed berry sensation.
- Tropical Paradise: Use mango, pineapple, or a blend of tropical fruits with coconut milk for an exotic twist.
- Peach Perfection: Sweet peaches (fresh or frozen) make for a wonderfully summery popsicle. You might even try our 3-Ingredient Peach Popsicles recipe!
- Citrus Zing: Add a squeeze of lemon or lime juice to your fruit mixture for an extra refreshing kick.
- Creamy Banana: Blend ripe bananas for an extra creamy texture and natural sweetness.
Step-by-Step Instructions for Perfect Strawberry Popsicles
Follow these easy steps to prepare your delicious and healthy strawberry fruit popsicles. Proper preparation ensures the best flavor and texture.
Step 1: Thoroughly Clean Your Strawberries
Before beginning, it is crucial to properly clean your strawberries. This process effectively removes any dirt, pesticides, or residues from the field, ensuring a clean and safe treat. Tip: This cleaning method works wonderfully for any type of berries, not just strawberries!
To clean the berries, fill a large bowl or a clean sink with a fruit wash mixture. You can purchase a specialized fruit and vegetable wash from the store, or easily create your own effective solution by mixing four parts water with one part white vinegar.
Submerge the berries in the mixture and let them soak for approximately 20 minutes (or follow the specific directions if you’re using a store-bought cleaner). Afterwards, drain the berries and rinse them thoroughly under cool, running water to remove any lingering vinegar taste.
Gently pat the cleaned berries dry with paper towels or a clean kitchen cloth. This step is important as excess water can dilute the popsicle mixture.
Step 2: Prepare the Popsicle Mixture
Once your berries are sparkling clean and dry, it’s time to assemble your healthy fruit popsicle mixture. This stage is where the magic happens!
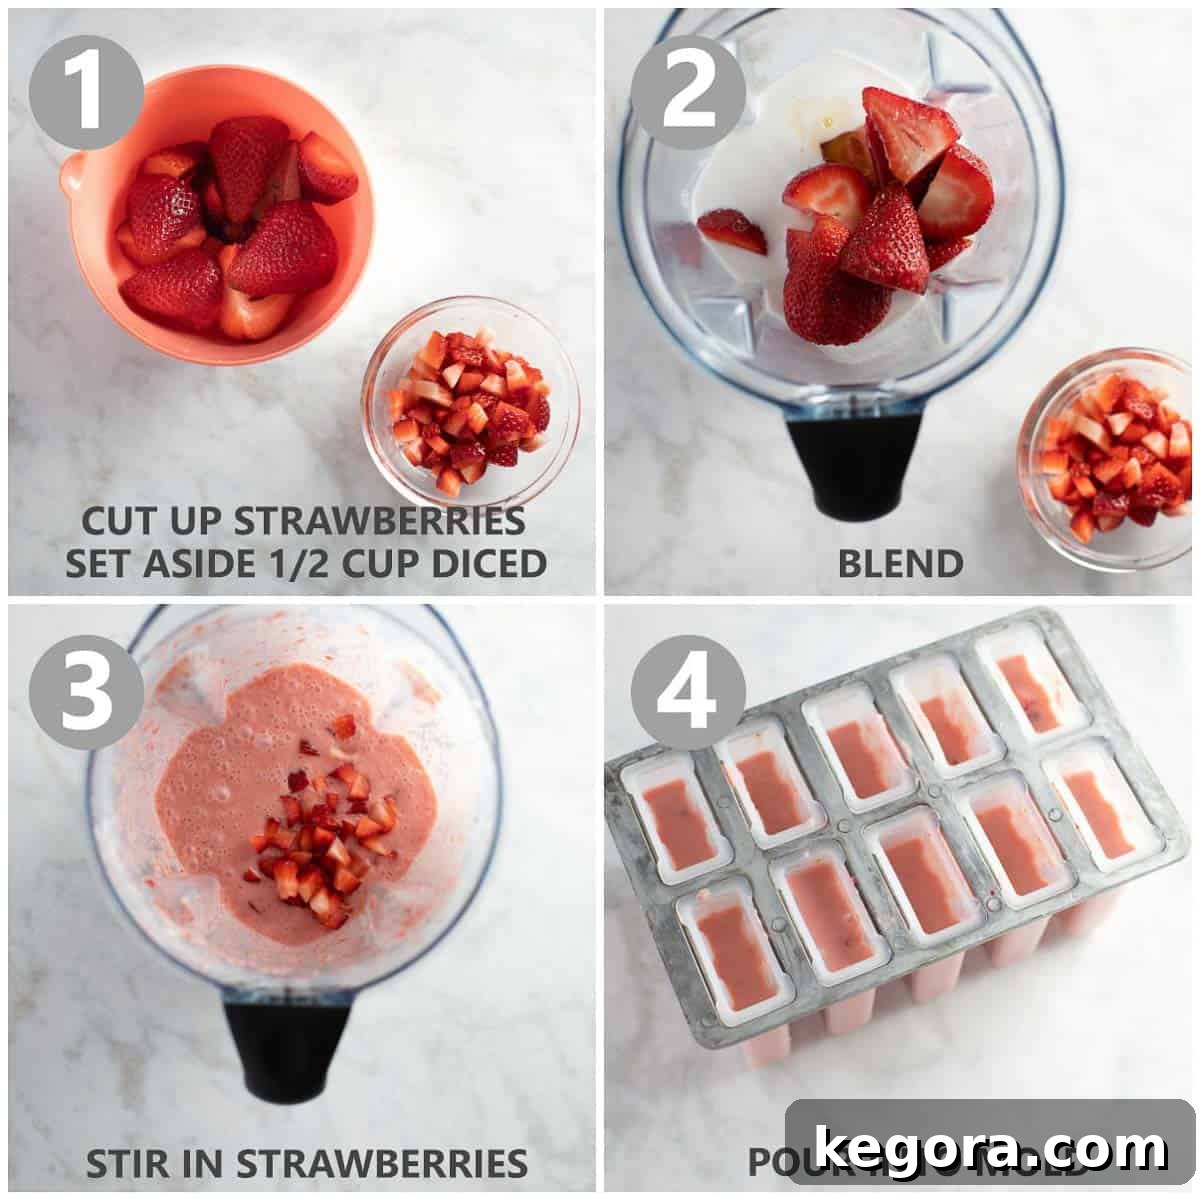
- Slice and Dice the Berries: First, remove the green stems from all the strawberries. Then, set aside about 1/2 cup of the strawberries and dice them finely. These diced pieces will be stirred into the mixture later, adding wonderful fruit chunks to your finished popsicles. Keep the remaining strawberries whole for blending.
- Blend the Main Ingredients: Add the whole strawberries, along with the coconut milk, yogurt, and honey, into your blender. Secure the lid and blend until the mixture is completely smooth and creamy. Ensure there are no large lumps remaining for a uniform popsicle texture.
- Stir in the Diced Strawberries: Carefully pour the blended mixture into a large bowl. Now, gently fold in the diced strawberries you set aside earlier. This crucial step ensures that your homemade popsicles will have delightful bursts of real fruit with every bite, adding both texture and intensified flavor.
- Fill the Molds and Freeze: Evenly distribute the fruit popsicle mixture into your chosen popsicle molds. Insert the wooden or reusable popsicle sticks into the center of each mold. Carefully transfer the filled molds to the freezer. Allow them to freeze for at least 6 hours, or ideally overnight, until they are completely solid.
Here are some additional insights and tips to help you master the art of making these delightful summer treats.
Expert Tips for Perfect Fruit Popsicles
Achieving the perfect homemade fruit popsicle involves a few clever tricks and considerations. These tips will help you navigate common challenges and enhance your popsicle-making experience, ensuring consistently delicious results every time.
- Alternative to a Blender: If you don’t have a high-speed blender, a food processor can also be used to achieve a smooth mixture for this fruit popsicle recipe. For a chunkier, more rustic texture without any blending equipment, you could finely mash the berries and combine them with the other ingredients, though the texture won’t be as uniformly creamy.
- Securing Popsicle Sticks: To ensure your popsicle sticks stand perfectly upright and centered, a little pre-freezing can make a big difference. Freeze the mixture in the molds for about 30-60 minutes first. At this point, the mixture will be firm enough to hold the sticks in place but still soft enough to insert them easily without resistance.
- Using Frozen Strawberries: You can absolutely use frozen strawberries for this healthy popsicle recipe. If using frozen fruit, you might need to add a splash more coconut milk or a tiny bit of water to reach the desired smooth consistency in your blender, as frozen fruits can make the mixture very thick. Adjust gradually to avoid making it too thin.
- Troubleshooting Stuck Popsicles: If your popsicles are stubbornly stuck in their molds, don’t force them. Simply run warm (not hot) water along the bottom and sides of the molds for a few seconds. This gentle warmth will slightly loosen the edges, allowing you to easily pull them out. Be careful not to expose them to water for too long, or they will start to melt.
- No Molds? No Problem!: Don’t have official popsicle molds? Get creative with what you have! Small paper cups, plastic cups, or even ice cube trays with toothpicks (for mini pops) are popular and effective alternatives. For a larger, sliceable treat, you can pour the mixture into a loaf pan, freeze it, and then cut it into individual slices once solid.
- Optimal Storage for Freshness: Once your strawberry popsicles are completely frozen, carefully remove them from their molds. To prevent freezer burn and maintain their delicious flavor and texture, transfer them to an airtight container or a heavy-duty Ziploc bag. Stored properly in the freezer, they will retain their quality for 1-2 weeks, ready for whenever a craving strikes.
Frequently Asked Questions About Fruit Popsicles
New to making homemade popsicles? Here are some common questions and helpful answers to ensure your success:
- How do I prevent my popsicles from becoming too icy?
- The inclusion of honey and yogurt in this recipe naturally helps to create a creamier texture and reduces ice crystal formation. For even creamier results, ensure your fruit is very ripe, as it contains more natural sugars. Avoid adding too much water or thin milk.
- Can I use artificial sweeteners?
- While you could substitute honey with an artificial sweetener, we highly recommend using natural sweeteners like honey, maple syrup, or agave for the best flavor and to keep the recipe wholesome and naturally delicious.
- What if my popsicles are too hard?
- If your popsicles freeze extremely solid, they might contain too much water or not enough natural sugars/fats. Ensure you’re using carton coconut milk (not water-thin alternatives) and ripe fruit. Allowing them to sit at room temperature for a minute or two before eating can also soften them slightly.
- Can I add other ingredients like nuts or chocolate chips?
- Absolutely! After pouring the mixture into molds, you can sprinkle in finely chopped nuts, mini chocolate chips, or even shredded coconut before freezing. Just ensure they are small enough to be easily eaten and don’t clump at the bottom.
- How long do popsicles take to freeze?
- Freezing time can vary based on the size of your molds and the temperature of your freezer. Generally, smaller popsicles may be ready in 4-6 hours, while larger ones or thicker mixtures will require at least 6-8 hours, or even overnight, to become completely solid.
Strawberry Fruit Popsicles – 4 Ingredient Recipe
5 from 3 votes
Creamy & Healthy Strawberry Fruit Popsicles
Comments
Print Recipe
Ingredients
- 16 oz fresh strawberries
- 1/2 cup coconut milk (from a carton, not canned)
- 5-6 oz vanilla or strawberry yogurt (dairy or non-dairy)
- 1/4 cup honey (or maple syrup for vegan)
Instructions
-
Wash and remove the stems from all strawberries. Finely dice 1/2 cup of the strawberries and set them aside. Leave the remaining strawberries whole.
-
Place the whole strawberries, coconut milk, yogurt, and honey into a blender. Blend until the mixture is completely smooth and creamy. Stir in the diced strawberries.
-
Pour the mixture evenly into your popsicle molds and insert the sticks. Freeze for a minimum of 6 hours, or until the popsicles are thoroughly solid.
-
To easily remove the popsicles from their molds, you may need to run warm water along the bottom of the molds for a few seconds. Once removed, for longer storage, transfer the popsicles to an airtight container or a Ziploc bag. They will keep well in the freezer for 1-2 weeks. Enjoy your refreshing treat!
Notes
- Vegan Variation – To make these strawberry popsicles vegan, use a non-dairy yogurt and substitute honey with a plant-based sweetener like maple syrup or agave nectar.
- Milk Options – The coconut milk can be replaced with your favorite plant-based milk (almond, oat, etc.) or traditional dairy milk. Note that the flavor and final texture may vary.
- Fruit Flexibility – This versatile recipe can be adapted to any fruit or fruit combination you prefer. Simply swap out the strawberries for your desired fruit.
Nutrition Information (per serving)
Carbohydrates: 21g |
Protein: 2g |
Fat: 4g |
Saturated Fat: 3g |
Cholesterol: 1mg |
Sodium: 19mg |
Potassium: 216mg |
Fiber: 1g |
Sugar: 18g |
Vitamin A: 20IU |
Vitamin C: 44.8mg |
Calcium: 56mg |
Iron: 1mg
This strawberry popsicle recipe was initially published on July 27, 2016. It has been thoroughly updated and republished with fresh photos and enhanced instructions on May 14, 2020, to provide you with the most comprehensive and enjoyable experience.
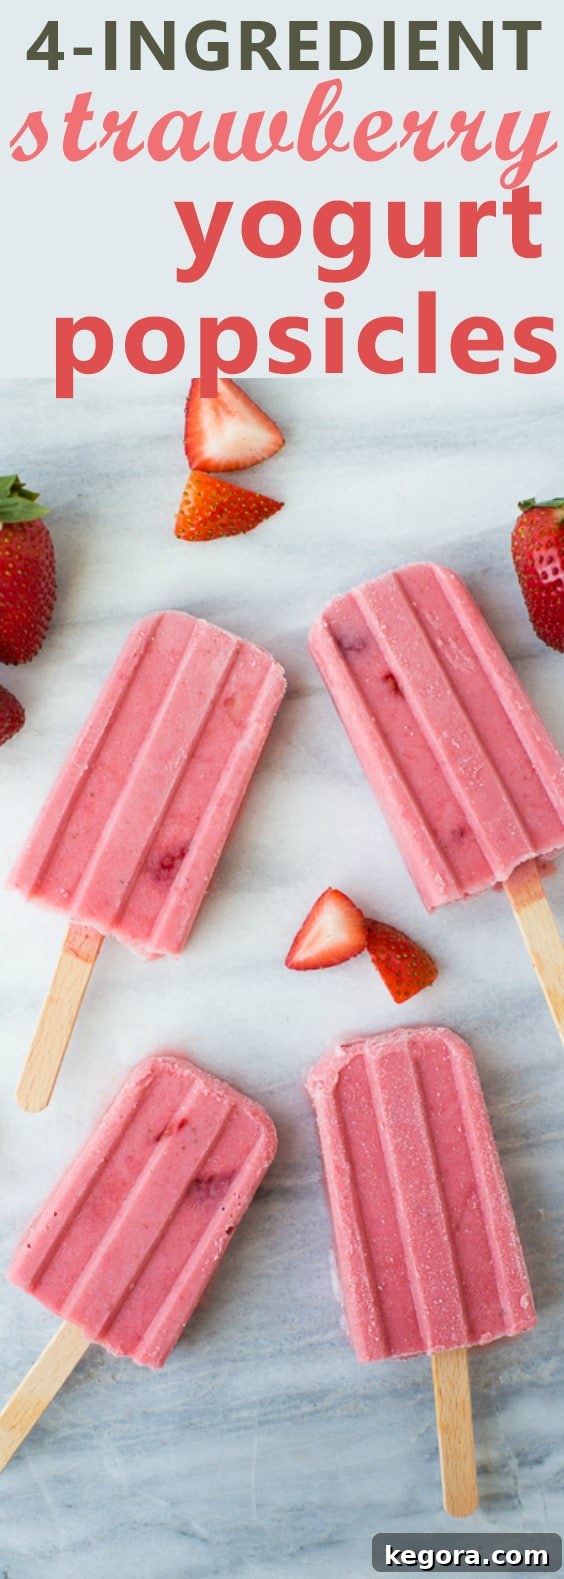
We truly hope you adore this fruit popsicle recipe as much as our family does! If you give it a try, we’d be thrilled to hear about your experience. Please feel free to leave a comment below and share your thoughts. Thank you! ♥