
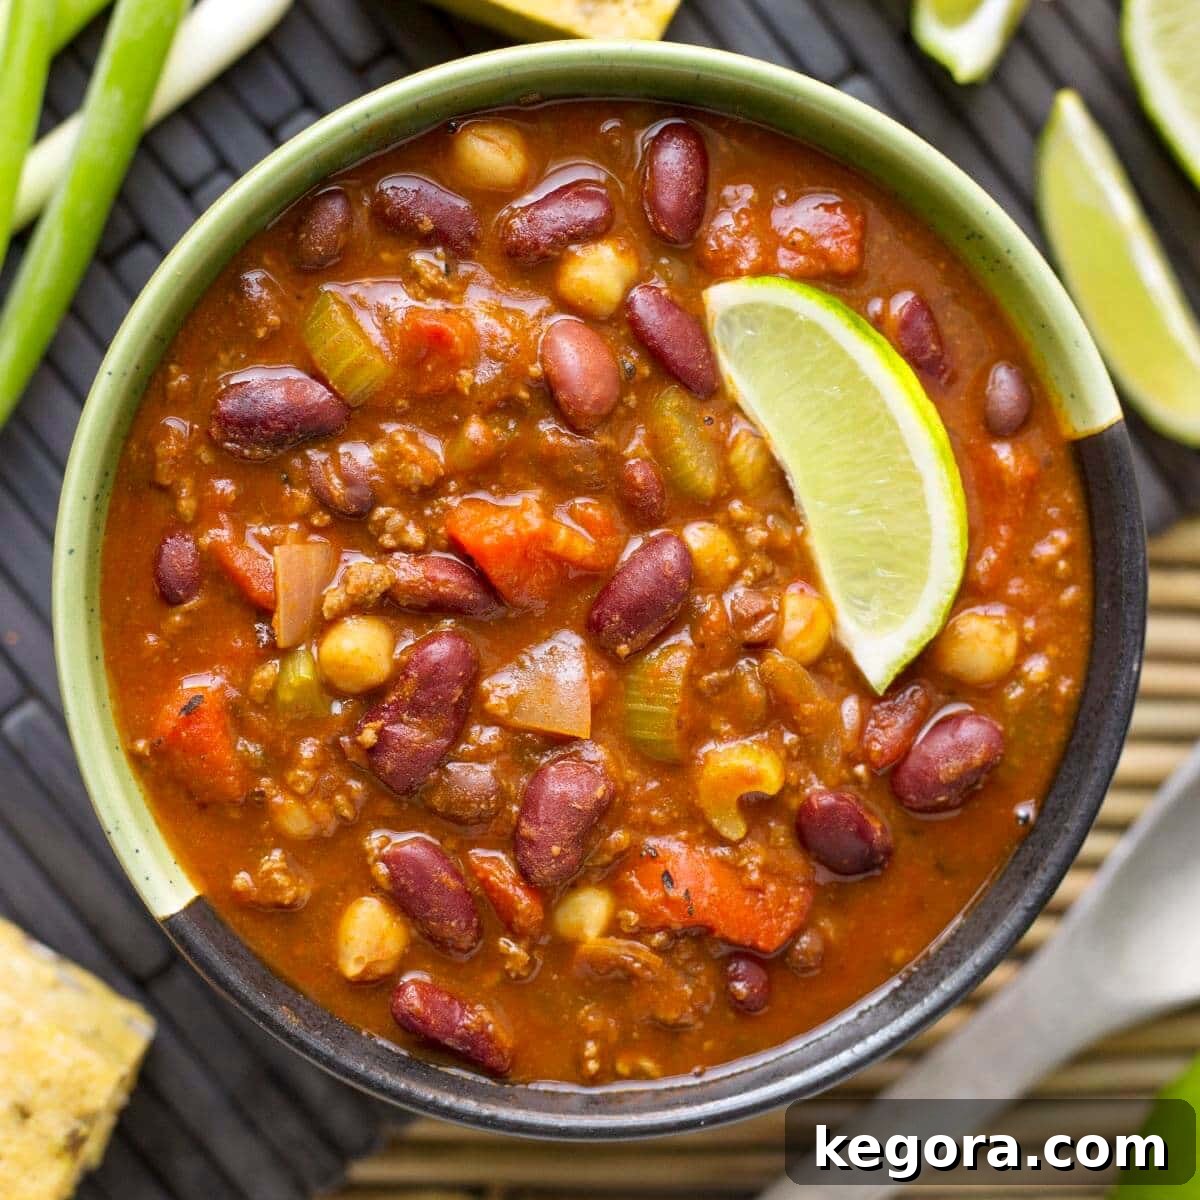
There’s nothing quite like a warm, hearty bowl of chili to bring comfort and joy, especially on a chilly day or when gathering with loved ones. Instant Pot Chili takes this beloved classic and makes it incredibly accessible, cooking up a rich, flavorful pot in a fraction of the time compared to traditional stovetop methods. Whether you’re planning a cozy family dinner, hosting a spirited Game Day party, or bringing a crowd-pleasing dish to a potluck, this pressure cooker chili recipe is an absolute winner. Once you experience the depth of flavor and ease of preparation that the Instant Pot brings to chili, you’ll wonder how you ever made it any other way!
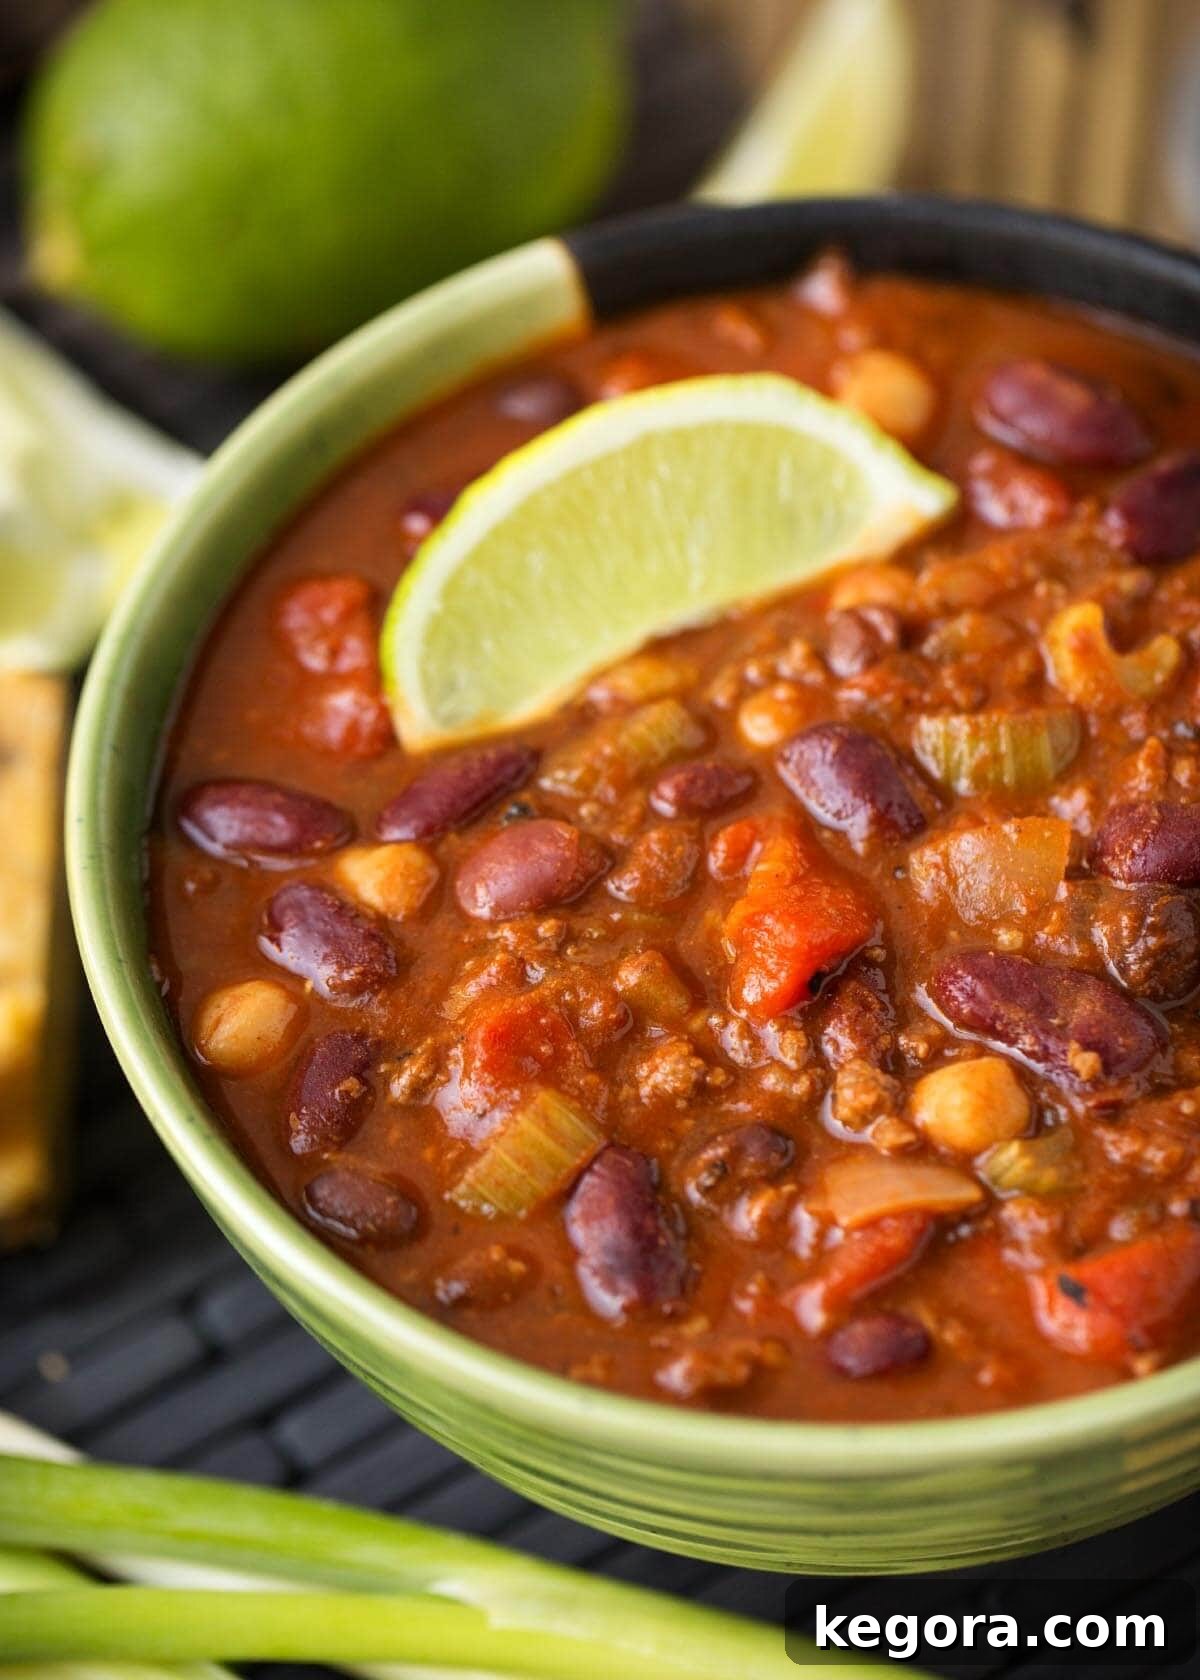
The Ultimate Instant Pot Chili Recipe: Fast, Flavorful, and Family-Approved
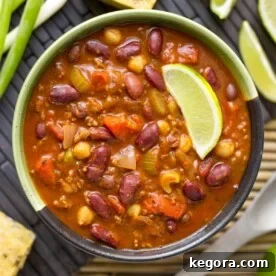
Who can resist a generous serving of perfectly seasoned chili, overflowing with savory meat, tender beans, and a medley of delicious toppings? This Instant Pot Chili recipe delivers an unforgettable experience, boasting a rich, deep flavor profile that will earn you rave reviews. It’s more than just a meal; it’s a culinary hug in a bowl, perfect for any occasion.
My original stovetop chili recipe has been a staple in our family and friend gatherings for over two decades. From casual weeknight meals to lively celebrations, it has always been the star of the show. I’ve meticulously adapted that tried-and-true recipe for the Instant Pot, ensuring all the beloved flavors remain, but with the added benefit of significant time savings. This conversion has transformed a fantastic dish into one of my easiest and most frequently requested Instant Pot recipes. Get ready for compliments, because this pressure cooker chili is truly exceptional!
Customizing the Heat: Is This Instant Pot Chili Spicy?
One of the beauties of a homemade chili is the ability to tailor its spice level to your preference. This particular Instant Pot chili recipe is designed to be on the milder side, making it appealing to a wide range of palates. The primary source of heat comes from a mild chili powder, complemented by just a hint of chipotle powder, which also contributes a lovely smoky undertone.
However, if you’re a fan of more fiery flavors, customizing the heat is simple. You can easily dial up the spiciness by adding ingredients like red pepper flakes, a dash of cayenne pepper, or even a whole chipotle pepper in adobo sauce for an intensely smoky and spicy kick. For those who love bold heat, consider incorporating a finely diced fresh jalapeño or serrano pepper during the sautéing stage. Always taste and adjust as you go – remember, you can always add more heat, but it’s hard to take it away!
Choosing Your Protein: Which Meat is Best for Instant Pot Chili?
The foundation of a great chili often starts with the choice of meat, and the Instant Pot is incredibly versatile for cooking various proteins to perfection. Traditionally, I’ve made this a beef chili, opting for 90%-93% lean ground beef and enriching it with beef broth. The higher lean percentage means less fat to drain, resulting in a cleaner, yet still robust, flavor.
In recent years, I’ve frequently prepared this recipe as a turkey chili, using 85%-93% lean ground turkey or even ground chicken. When using poultry, I recommend chicken broth to complement its lighter flavor profile. Both turkey and chicken work beautifully, yielding a delicious and slightly healthier chili without compromising on taste or texture. The key with leaner meats, especially ground turkey, is to add a small amount of olive oil during the browning stage to prevent sticking and ensure even cooking. Regardless of your choice, whether it’s the classic richness of beef or the leaner profile of poultry, this chili is guaranteed to be a hit.
Plant-Based Perfection: Can I Make This an Instant Pot Vegetarian Chili?
Absolutely! This Instant Pot chili recipe is wonderfully adaptable for a delicious vegetarian or even vegan version. Simply omit the meat entirely and replace the chicken or beef broth with a high-quality vegetable broth. The robust blend of spices and rich tomato base ensures that the chili remains incredibly flavorful, even without meat.
To compensate for the absence of meat and maintain a satisfying volume and texture, you’ll want to increase the amount of beans. You can also incorporate other plant-based ingredients like corn, diced bell peppers, zucchini, or even a handful of plant-based ground crumbles for an added protein boost. For a deeper, more savory umami flavor, consider adding a tablespoon of miso paste or a splash of soy sauce (or tamari for gluten-free) along with the broth. This ensures a hearty and fulfilling vegetarian chili that everyone will love.
The Heart of Chili: Which Beans Are Good for Chili?
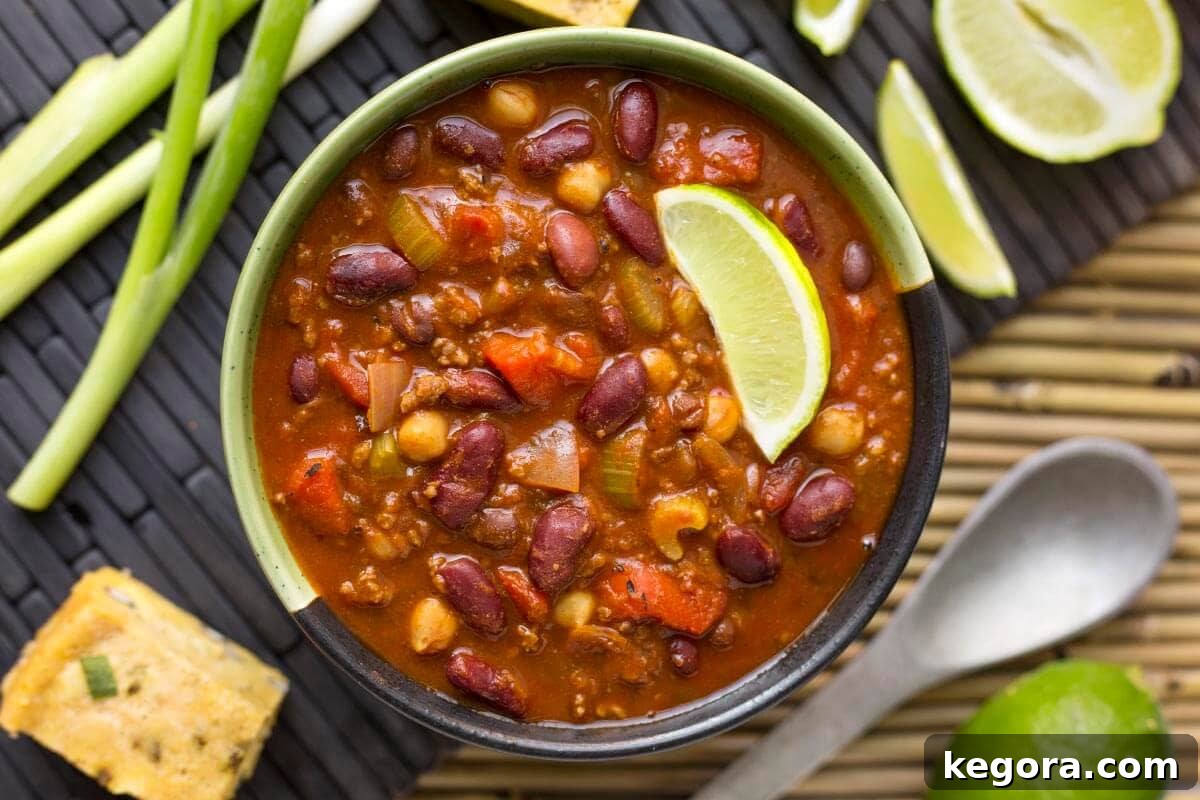
Beans are an integral part of a satisfying chili, providing texture, fiber, and additional protein. This recipe conveniently calls for canned beans, making preparation quick and easy. You have a lot of flexibility here, as most varieties of canned beans will work wonderfully. The most important step is to always rinse and drain your canned beans thoroughly before adding them to the pot. This removes excess sodium and any starchy liquid, resulting in a cleaner, fresher flavor.
From experience, I’ve found that using a trio of different beans truly elevates the overall enjoyment of this pressure cooker chili. This method, which I first adopted for my baked beans, now consistently enhances my chili recipe. My preferred combination includes black beans, red kidney beans, and garbanzo beans (also known as chickpeas). This mix offers a delightful variety of textures and earthy flavors. However, feel free to use your personal favorites; pinto beans are another excellent choice and blend seamlessly into the chili. Experiment to find your perfect bean blend!
Essential Tips: How to Avoid the Dreaded Instant Pot “Burn” Notice
One common concern for Instant Pot users, especially when cooking thicker dishes like chili, is encountering the “Burn” notice. This message indicates that the pot isn’t coming to pressure due to insufficient thin liquid, often because thick ingredients are sticking to the bottom and heating too rapidly. Understanding how to prevent this is key to a successful pressure cooking experience.
The “Burn” notice typically appears when there isn’t enough thin liquid to create the necessary steam for pressure buildup. Tomatoes, with their natural sugars, are particularly prone to sticking and scorching if they come into direct contact with the bottom of the pot. To avoid this, a crucial technique is proper layering and, most importantly, *avoiding stirring* after adding certain ingredients.
Here’s how to ensure a smooth, burn-free cooking cycle:
- **Deglaze Thoroughly:** After sautéing your meat and aromatics, add your broth or water and use a wooden spoon to scrape up any browned bits from the bottom of the pot. These bits, known as “fond,” are packed with flavor but can also trigger the burn notice if left behind.
- **Layer, Don’t Stir:** This is the golden rule for thick recipes. After deglazing and adding the liquid, layer your ingredients in the pot. Place the thin liquids at the bottom, followed by meats, vegetables, beans, and finally, diced tomatoes and tomato paste on top. Resist the urge to stir once the tomatoes are added. This layering prevents the sugary tomato-based ingredients from directly touching the heating element.
- **Ensure Enough Liquid:** While this recipe is designed to be thick, it has been carefully formulated with enough liquid to reach pressure. If you’ve made significant alterations, ensure there’s adequate thin liquid.
- **Monitor Initial Pressure Build-Up:** I always recommend staying near your Instant Pot during the initial pressure-building phase for thicker dishes. Once the float valve (the small silver pin) pops up, the pot has achieved pressure, and the countdown timer will begin shortly after. At this point, you can relax, knowing you’re “home free” and your chili won’t burn. If, by chance, the timer starts counting down and the pin is still down, quickly release pressure, add half a cup of water, and reset. This is a rare occurrence with this specific recipe, but it’s a good troubleshooting step to know.
Step-by-Step: How to Make Instant Pot Chili Recipe
Making delicious chili in your Instant Pot is incredibly straightforward when you follow these steps. The key is in the layering technique to ensure perfect results every time.
- **Sauté the Meat:** Set your Instant Pot to the Sauté mode. Once the display reads “Hot,” add your ground meat (beef, turkey, or chicken). Cook, stirring occasionally to break it up, until it’s almost fully browned. If using lean ground beef (93% or higher), you likely won’t need to drain any fat. If using ground turkey or chicken, a little olive oil might be necessary to prevent sticking.
- **Add Aromatics:** Incorporate the bay leaf, chopped onion, diced celery, minced garlic, and Mexican oregano (or regular oregano) into the pot. Continue to sauté for about 5 minutes, stirring occasionally, and making sure to scrape up any browned bits from the bottom of the pot with a wooden spoon. Cook until the onion begins to turn translucent.
- **Stir in Spices:** Add the kosher salt, black pepper, smoked paprika (if using), ground cumin, mild chili powder, and chipotle chili powder (if using, for extra heat and flavor). Stir these spices thoroughly into the meat and aromatic mixture until fragrant, about 1 minute.
- **Introduce Liquid:** Pour in the low sodium chicken broth (or water/beef broth, depending on your meat choice). Stir well, ensuring that the bottom of the pot is completely deglazed and free of any stuck-on food.
- **Cancel Sauté:** Press the “Cancel” or “Off” button on your Instant Pot to turn off the Sauté function.
- **Layer Remaining Ingredients (DO NOT STIR):** From this point forward, it is crucial to layer the remaining ingredients without stirring to prevent the dreaded “Burn” error.
- First, add the diced green chiles and roasted red bell peppers (if using). Do not stir.
- Next, evenly distribute all the rinsed and drained beans (kidney, black, garbanzo, or pinto) over the ingredients. Do not stir.
- Then, pour in the undrained diced tomatoes. Do not stir.
- Finally, dollop the tomato paste over the top of the tomatoes. Do not stir.
- **Secure the Lid and Pressure Cook:** Place the lid on your Instant Pot and lock it into position. Ensure the steam release knob is set to “Sealing” (if your model isn’t self-sealing). Select the “Pressure Cook” (or “Manual”) button, then use the +/- buttons or dial to set the cooking time to 5 minutes on High Pressure. If your Instant Pot has a specific chili setting, confirm it’s set for approximately 5 to 7 minutes.
- **Monitor Pressure Build-Up:** Stay by the pot until it comes to pressure. This will take several minutes. You’ll know it’s at pressure when the float valve pops up. The display will then show the cooking time counting down. (As noted in the Burn Notice section, if the timer starts counting down and the pin is still down, quickly release pressure, add ½ cup of water, and reset.)
- **Natural Pressure Release:** Once the cook cycle is complete, allow the Instant Pot to naturally release pressure for 15 minutes. This is important for tenderizing the ingredients and deepening the flavors.
- **Quick Release Remaining Pressure:** After 15 minutes of natural release, carefully turn the steam release knob to the “Venting” position to manually release any remaining pressure. Do this in short bursts initially to ensure no sauce splatters with the steam. Once the steam stops and the float valve drops, it’s safe to open the lid.
- **Final Stir and Seasoning:** Carefully remove the lid and give your chili a good, thorough stir to combine all the layers. Taste the chili and adjust the salt, pepper, or other seasonings as desired.
- **Serve and Enjoy:** Ladle your delicious Instant Pot Chili into bowls and serve with your favorite toppings and a side of warm cornbread!
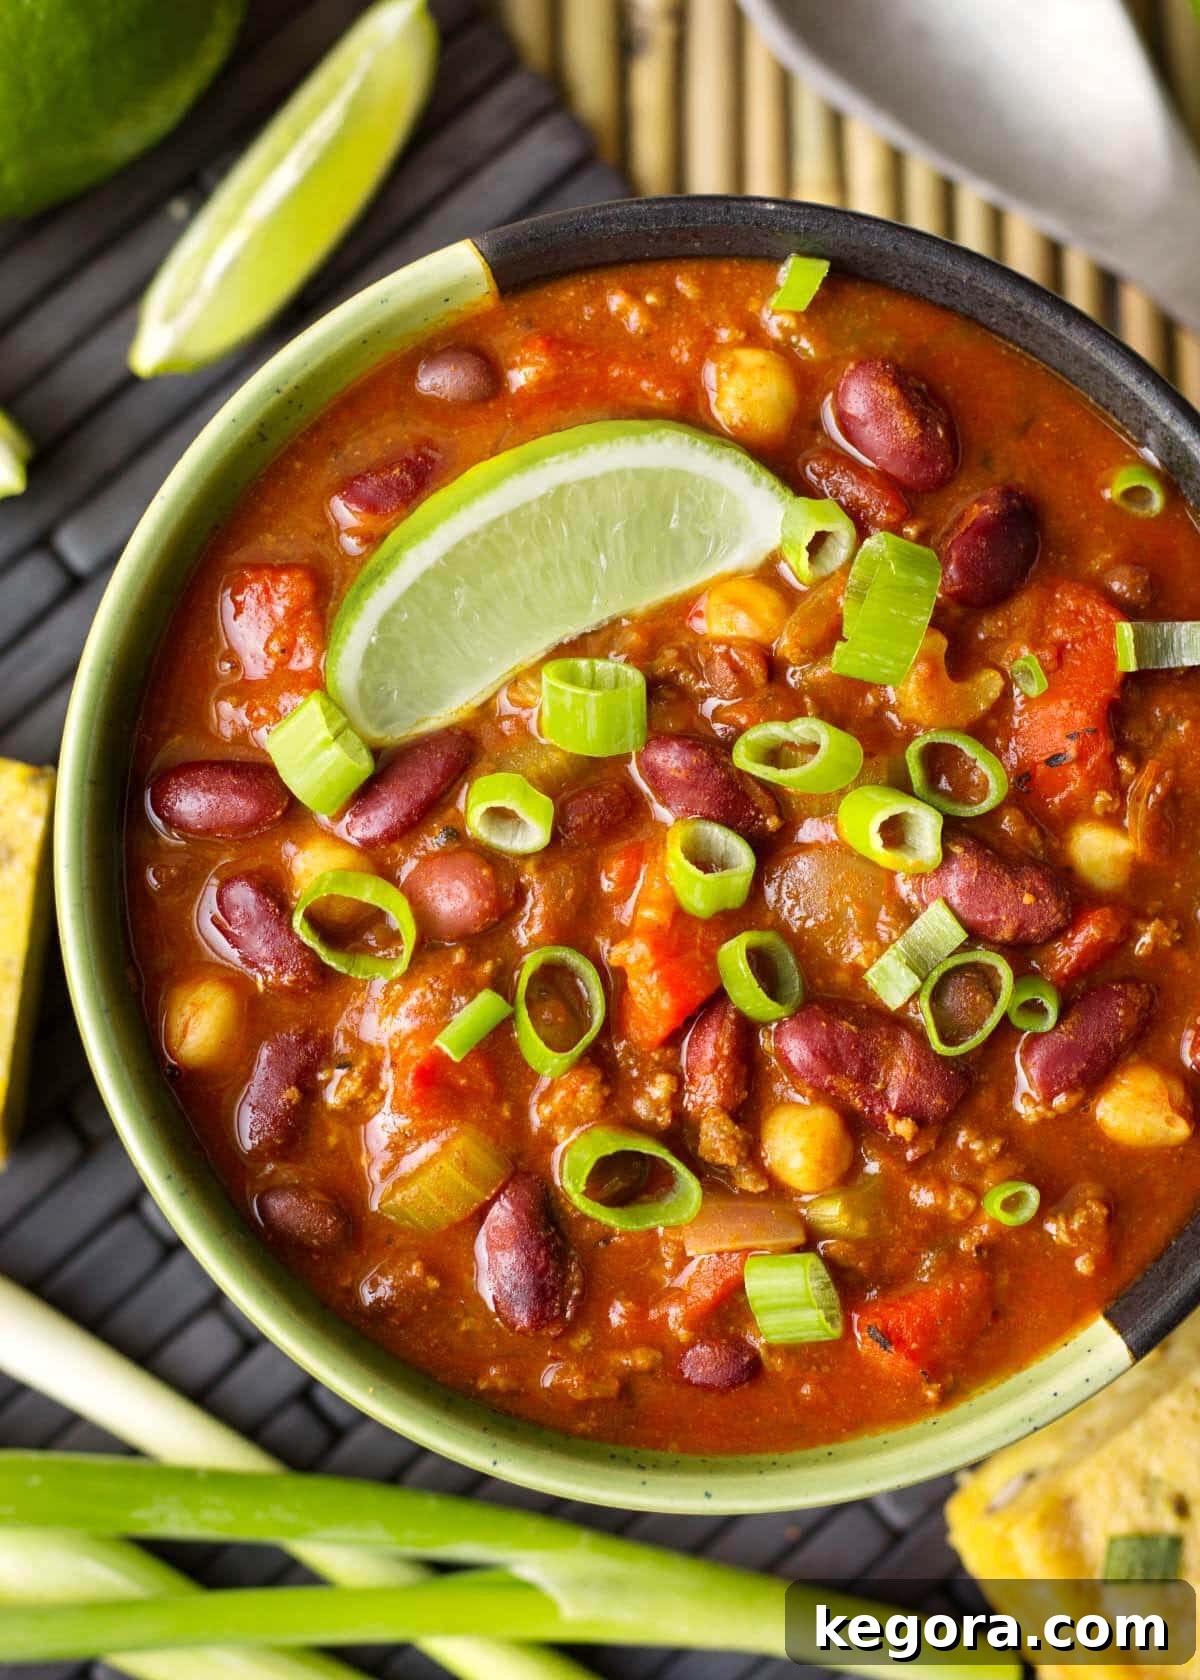
Elevate Your Experience: Best Chili Toppings
The beauty of chili lies not only in the rich stew itself but also in the endless possibilities for customization with toppings. They add texture, flavor, and a touch of personalization to every bowl. Here are some of my favorite chili toppings to inspire your next serving:
- **Creamy Additions:** A generous dollop of sour cream or Greek yogurt adds a cooling, tangy contrast to the chili’s richness.
- **Crunchy Elements:** Crushed tortilla chips, Fritos, or even oyster crackers provide a satisfying crunch.
- **Freshness & Zest:** A squeeze of fresh lime juice brightens the entire dish. Fresh cilantro, diced avocado chunks, or sliced green onions add vibrant color and herbaceous notes.
- **Cheesy Goodness:** Shredded cheddar cheese, Monterey Jack, or a Mexican blend are classic choices that melt into gooey perfection.
- **Heat Seekers:** For those who crave more heat, a dash of your favorite hot sauce, thinly sliced fresh jalapeños, or even a few pickled chili peppers can take things up a notch.
Don’t be afraid to get creative and experiment with combinations to find your perfect chili topping symphony!
Storage and Freezing: Enjoying Your Chili Longer
One of the many benefits of making a big batch of Instant Pot Chili is that it stores incredibly well, making it ideal for meal prep or enjoying leftovers. Simply transfer any cooled leftover chili into an airtight container and store it in the refrigerator for up to 5 days. The flavors often deepen and meld even further overnight, making it taste even better the next day!
Does Chili Freeze Well?
Yes, chili is an excellent candidate for freezing, and it reheats beautifully! This makes it perfect for batch cooking and having a comforting meal ready for busy weeknights. Here’s how to freeze your chili effectively:
- **Cool Completely:** Always allow the chili to cool completely before freezing. Freezing hot food can lower the temperature of your freezer and affect other items.
- **Portion Sizes:** For convenience, I like to freeze chili in individual or family-sized portions. This allows you to thaw only what you need.
- **Airtight Containers:** Use freezer-safe airtight containers or heavy-duty freezer bags. If using bags, lay them flat on a baking sheet until frozen solid to save space.
- **Leave Headspace:** If using rigid containers, leave about an inch of headspace at the top, as liquids expand when frozen.
- **Label and Date:** Don’t forget to label your containers or bags with the date and contents.
Chili will maintain its best quality in the freezer for up to 5 months. To reheat, simply thaw overnight in the refrigerator and then warm gently on the stovetop or in the microwave, adding a splash of broth or water if it’s too thick.

Instant Pot Drunken Beans (Frijoles Borrachos)
Instant Pot Beef Barley Vegetable Soup
Sandy’s Instant Pot Beef Stew
Instant Pot Refried Beans
So, get ready to dive into the ultimate comfort food with this incredible Instant Pot Chili! Its ease of preparation and rich, satisfying flavor make it an indispensable recipe in your culinary repertoire. Serve this up on Game Day, and you’ll easily feed a hungry crowd. Bring it to your next potluck, and be prepared to share the recipe with everyone who tastes it. This isn’t just a meal; it’s a memorable experience waiting to happen.
If you try this easy Instant Pot Chili recipe, I would love to hear from you! Please leave a comment below with a star rating to let me know how it worked out. Your feedback helps others discover and enjoy this fantastic dish!
5 out of 5 stars (based on 15 votes)
Instant Pot Chili
By Sandy Clifton
My original recipe for famous chili, expertly adapted for the Instant Pot electric pressure cooker. This results in a thick, rich, and absolutely delicious chili.
Prep Time: 20 mins
Cook Time: 15 mins
Pressure Building and Release: 30 mins
Total Time: 1 hr 5 mins
Servings: 10 servings
Equipment
- 6-quart or larger Electric Pressure Cooker
Ingredients
- 2 lbs Lean Ground Beef (or 93% Lean Ground Turkey. Use a little olive oil to brown the turkey)
- 1 Bay Leaf
- 1 large Onion, chopped
- 1 cup Diced Celery
- 5 cloves Garlic, minced or pressed
- 2 teaspoons Mexican Oregano (or regular oregano)
- ¼ teaspoon Black Pepper
- 1 ¼ teaspoons Kosher Salt (or 1 tsp table salt) or to taste
- 2 teaspoons Smoked Paprika, optional
- 2 Tablespoons Ground Cumin
- 3 Tablespoons Chili Powder, mild
- 1 Tablespoon Unsweetened Cocoa Powder, optional
- ¼ teaspoon Chipotle Chili Powder, optional (adds the heat and extra flavor. Use more for a spicier chili) or use cayenne pepper
- 2 cups Low Sodium Chicken Broth or Water (or LS beef broth. I like the flavor of chicken).
- (1) 7 oz can Diced Green Chilis (with juice) optional
- 1 cup Roasted Red Bell Peppers, (chopped) optional
- (2) 15.25 oz cans Kidney Beans, rinsed and drained
- (1) 15 oz can Black Beans, rinsed and drained
- (1) 15.5 oz can Garbanzo Beans, rinsed and drained
- (2) 14.5 oz cans Diced Tomatoes (undrained)
- (2) 6 oz cans Tomato Paste
Instructions
- Set the Instant Pot to the Sauté setting. When the display reads “Hot” add the meat. Cook, stirring occasionally, until almost done. (If you use 93% lean or higher, you won’t need to drain the fat. You’ll need a little to cook the onions. If you use ground turkey, you will need a little oil.)
- Add the bay leaf, onion, celery, garlic, and oregano. Cook for about 5 minutes, stirring occasionally, until onion starts to turn translucent.
- Add salt, pepper, smoked paprika, cumin, chili powder, and chipotle chili powder. Stir well.
- Add the broth/water. Stir well.
- Cancel/turn off the Sauté setting.
From this point on, layer the remaining ingredients and Do Not Stir (to avoid the BURN Error)
- Add the green chiles and roasted red pepper, if using. Do not stir.
- Add all of the rinsed & drained beans. Do not stir.
- Add the diced tomatoes. Do not stir.
- Add the tomato paste. Do not stir.
- Place the lid on the pressure cooker and lock it into place. Set the steam release knob to Sealing (if your model is not self-sealing).
- Press the Pressure Cook (or Manual) button and then the +/- button or dial to choose 5 minutes. High Pressure.
- Stay by the pot until it comes to pressure. I wanted to make this as close to my original recipe as possible, which is a thick chili. If the time starts to count down and the pot has NOT come to pressure (the pin in the lid is still down), open the pot, add in ½ cup of water, and reset the lid and cook time. You shouldn’t have to as I make it this way and it always comes to pressure, but just in case. It will take several minutes to come to pressure, but after it does, the time will appear on the display and start counting down.
- When the cook cycle is finished, let the pot sit and naturally release pressure for 15 minutes.
- Manually release the remaining pressure by turning the steam release knob to the Venting position. Do this in short bursts at first, releasing the steam gradually, until you can be sure that none of the sauce will spew out with the steam. Then open the vent all the way.
- Carefully stir the chili and then taste it. Adjust salt and/or seasonings as desired. Serve with your favorite chili fixings and maybe some cornbread!
Notes
- Many Instant Pot users sometimes encounter the dreaded BURN message, especially with thicker foods like chili, preventing the pot from coming to pressure. This usually happens because there is not enough thin liquid to make the steam necessary to build pressure. Once the pin pops up, it is at pressure, and the timer will start counting down after about a minute. At that point, you’re usually in the clear! It’s a good practice to stay near your pot during the pressure-building phase for thicker dishes.
- The layering technique, specifically *not stirring* after adding certain ingredients, is crucial for preventing the tomatoes from touching the bottom of the pot and burning. Tomatoes contain natural sugars that make them prone to scorching.
- Additionally, by avoiding stirring, the mixture doesn’t become too thick prematurely, which could hinder the creation of steam needed for pressure buildup.
Nutrition
Calories: 278kcal
Nutrition information is automatically calculated, so should only be used as an approximation.
Additional Info
Course: Dinner, Soup
Cuisine: American, Mexican
Tried this recipe?
Mention @simply_happy_foodie
Resources for Your Instant Pot Chili Adventure
This post contains affiliate links. As an Amazon Associate, I earn from qualifying purchases.