
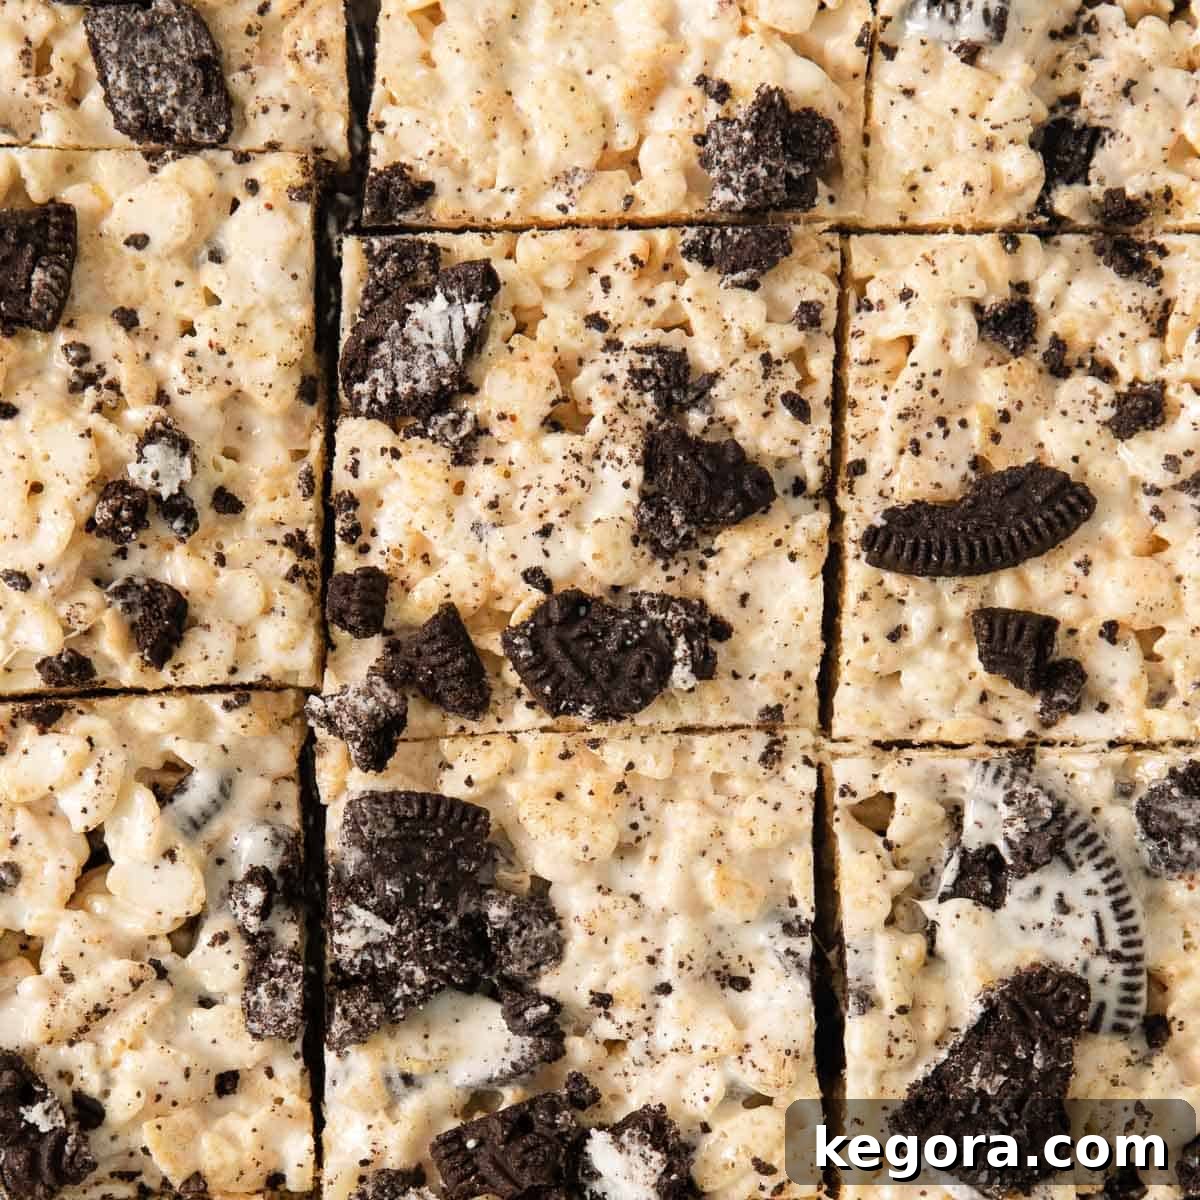
Imagine the classic crispy, chewy goodness of a Rice Krispie treat, now infused with the irresistible flavor and texture of America’s favorite cookie. These buttery, decadent Oreo Rice Krispie Treats are not just an upgrade; they are a glorious reinvention, promising a truly unforgettable no-bake dessert experience. Overflowing with crushed Oreo cookies and perfectly gooey marshmallows, they offer a delightful twist that will have everyone asking for more. Forget the oven and tedious baking – these crave-worthy treats come together in mere minutes, making them the ultimate easy indulgence for any occasion. Whether you’re a seasoned baker or a kitchen novice, preparing these delightful squares is incredibly straightforward, transforming simple ingredients into a show-stopping treat.
Are you ready to elevate your dessert game and dazzle your taste buds with a treat that truly stands out? You’ve landed in the perfect spot! This recipe is designed to be effortlessly simple, requiring minimal effort for maximum deliciousness. It’s an ideal choice when you need a quick dessert solution without compromising on flavor or appeal.
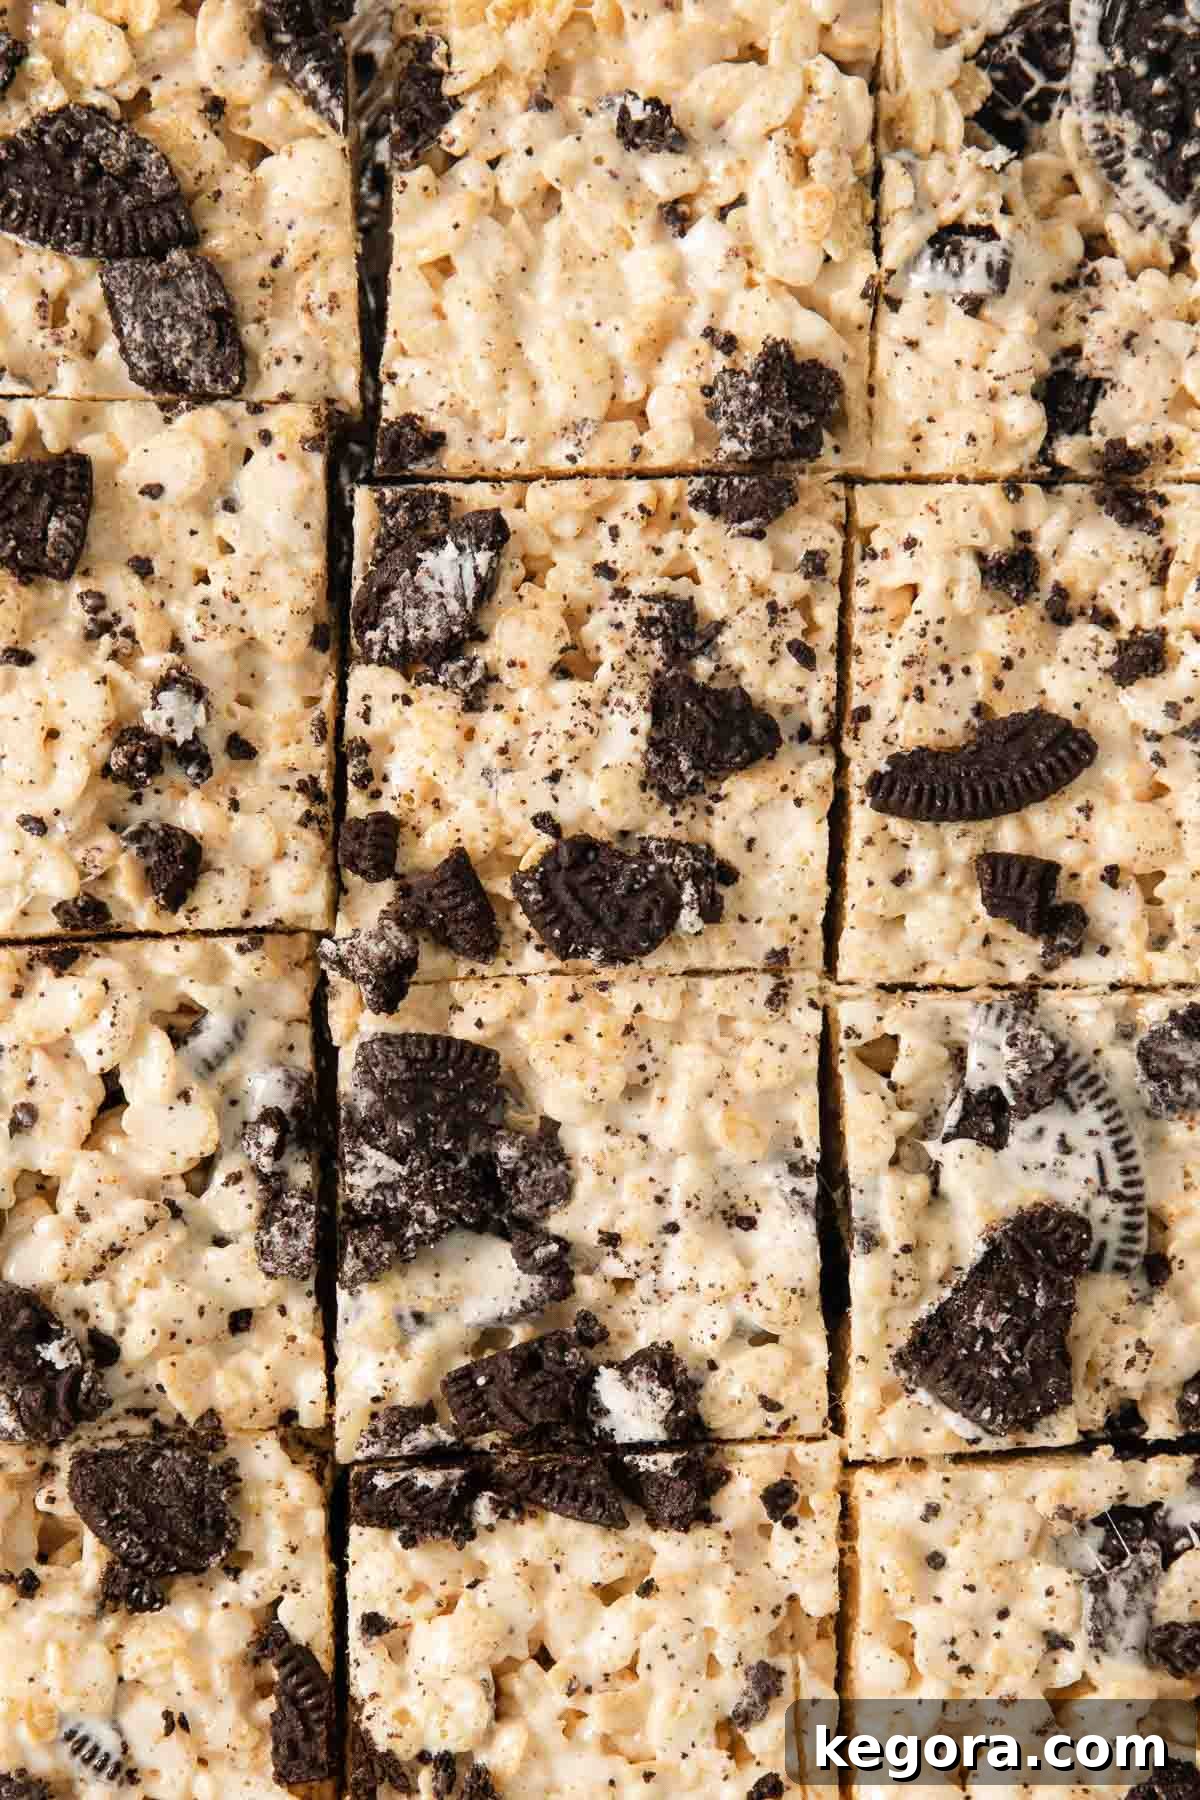
While classic Rice Krispie treats hold a special place in our hearts, these Oreo Rice Krispie Treats take that nostalgic favorite and inject it with an exciting, chocolatey twist. What could possibly be better than the harmonious blend of gooey marshmallows, perfectly crispy rice cereal, deep, nutty browned butter, and chunks of rich, chocolatey Oreos? This combination creates a symphony of textures and flavors that is truly unparalleled. To further enhance this simple yet profound dessert, we add a touch of sea salt to balance the sweetness and a generous splash of pure vanilla extract, bringing a beautiful depth and warmth to every bite. These small additions make an enormous difference, transforming a good treat into an exceptional one.
One of the most appealing aspects of this recipe is its versatility and accessibility. By simply opting for gluten-free crispy rice cereal and gluten-free Oreo cookies, these irresistible no-bake delights become completely safe and enjoyable for those following a gluten-free diet. The best part? The flavor and texture are so authentic that no one will ever suspect they are gluten-free! This makes them a perfect crowd-pleaser for any gathering, accommodating various dietary needs without sacrificing taste or quality.
Beyond being delicious, these treats boast incredible ease of preparation. They come together in just a few minutes, from start to finish, and the best part is that absolutely no baking is required. This makes them an excellent choice for hot summer days when turning on the oven is the last thing you want to do, or for any time you need a quick, impressive dessert without the fuss. Imagine whipping up a batch for a spontaneous kid’s birthday party, a casual family gathering, or an exciting game night. Their quick assembly and universal appeal make them an instant hit!
Why You’ll Adore This Recipe
These Gluten-Free Oreo Rice Krispie Treats are destined to become a staple in your dessert repertoire for countless reasons:
- Effortlessly Simple to Make: Forget complicated baking techniques or extensive ingredient lists. This recipe is straightforward and accessible for even the most novice bakers. You’ll be amazed at how quickly you can create something so incredibly delicious.
- No Baking Required: Perfect for summer days, busy schedules, or when you just don’t feel like turning on the oven. These treats offer all the satisfaction of a homemade dessert without any of the heat or fuss associated with baking.
- Ready in Minutes: From melting butter to pressing into a pan, these crispy treats come together in less than 15 minutes of active preparation. They’re ideal for last-minute cravings, unexpected guests, or simply when you need a quick sweet fix.
- Uses Pantry-Friendly Ingredients: You’ll likely have most of the necessary ingredients on hand, such as marshmallows, butter, and vanilla. The main specialty items are the gluten-free crispy rice cereal and gluten-free Oreos, which are becoming increasingly available.
- A Fun, Irresistible Twist on a Classic: Elevate the beloved Rice Krispie treat with the iconic flavor and crunch of Oreo cookies. This innovative combination provides a nostalgic comfort with an exciting, modern flair that will delight everyone.
- Guaranteed Crowd-Pleaser: Whether for children or adults, these buttery, chocolatey, and chewy bars are universally loved. They are perfect for parties, potlucks, lunchboxes, or simply as a special treat at home. Plus, with the gluten-free option, they cater to more guests!
If you enjoy the delightful simplicity and customizable nature of Rice Krispie treats, you might also like these recipes for classic gluten-free rice krispies treats, indulgent peanut butter balls with rice krispies, rich scotcheroos, and festive Christmas rice krispies treats. For dedicated Oreo enthusiasts, further exploration into deliciousness includes homemade gluten-free oreos, a versatile gluten-free Oreo crust, creamy gluten-free peanut butter pie, bite-sized gluten-free Oreo balls, unique Oreo popcorn, and a spectacular gluten-free ice cream cake.
Essential Ingredients for Perfect Treats
Crafting these delectable gluten-free Oreo Rice Krispie Treats requires just a handful of simple, high-quality ingredients. Here’s a closer look at what you’ll need and why each component is essential for that perfect taste and texture:
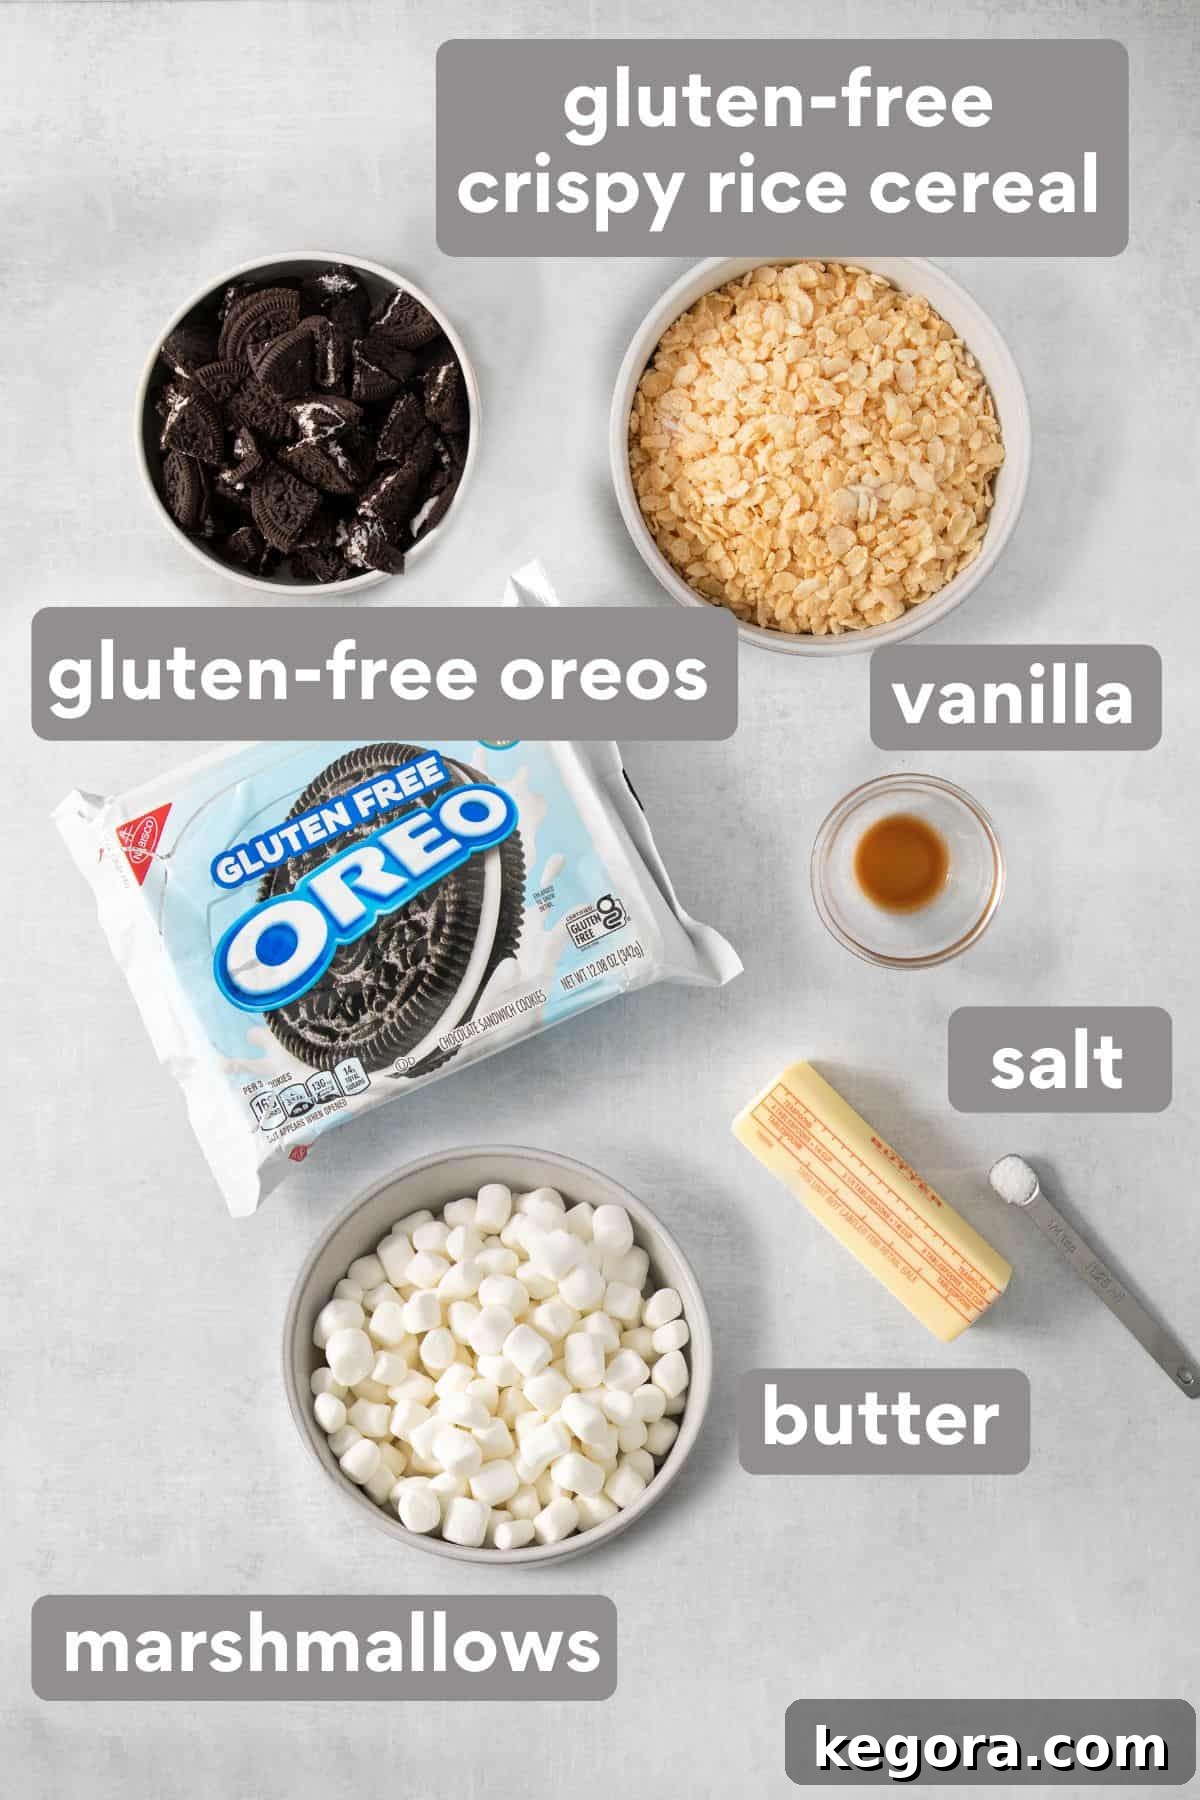
- Gluten-Free Crispy Rice Cereal: This is the foundation of our treats, providing that signature light and airy crunch. It’s absolutely crucial to select a brand specifically labeled “gluten-free.” Many popular crispy rice cereals, like the classic Rice Krispies in the blue box, contain malt flavor derived from barley, which contains gluten. Always check the ingredient list! Excellent gluten-free options include Malt O Meal, Wegmans, Erewhon, and Aldi brand crispy rice cereals.
- Gluten-Free Oreos: The star of the show, these iconic chocolate sandwich cookies bring their distinct flavor and delightful crunch. Just like the cereal, ensure you choose the variety clearly marked “gluten-free” if you’re catering to a gluten-free diet, as regular Oreos are not. If gluten isn’t a concern, feel free to use standard Oreos. You can also experiment with other brands of gluten-free chocolate sandwich cookies. Dive deeper into the topic with our post on are Oreos gluten-free.
- Pure Vanilla Extract: A touch of real vanilla extract is essential. It enhances the overall sweetness, adds a layer of sophisticated flavor, and beautifully complements the chocolate and marshmallow notes. Avoid imitation vanilla for the best results.
- Kosher Salt: Don’t skip the salt! A small amount of kosher salt is a game-changer, acting as a flavor enhancer. It cleverly balances the sweetness of the marshmallows and Oreos, preventing the treats from being cloyingly sweet and adding a subtle depth that makes every bite more satisfying.
- Unsalted Butter: Butter provides richness and acts as the base for our marshmallow mixture. While salted butter can be used, unsalted butter gives you more control over the salt content. The real secret here is to *brown* the butter. This simple step unlocks a wonderfully nutty, caramelized flavor that elevates these treats far beyond the ordinary. It adds a layer of complexity you simply can’t achieve with regular melted butter.
- Fresh Marshmallows: The magical binder that holds everything together and creates that coveted gooey, chewy texture. Both large and mini marshmallows work well. Mini marshmallows tend to melt a bit faster and more evenly, which can be helpful for beginners. Always ensure your marshmallows are fresh for the best melt and chewiness. Curious about their gluten-free status? Check out this post on are marshmallows gluten-free.
Consider pairing these treats with something equally delightful, like this creamy Oreo fluff or some classic peanut butter rice krispie treats for more variety.
Step-by-Step Guide to Making Oreo Rice Krispie Treats
Creating these divine Gluten-Free Oreo Rice Krispie Treats is a wonderfully straightforward process. Follow these simple steps for perfect results every time:
- Prepare Your Pan: Begin by lining a 9×13-inch baking pan with aluminum foil, leaving a slight overhang on the sides. This makes lifting the treats out incredibly easy once they’ve set. Lightly spray the foil with cooking spray to prevent sticking. Set the prepared pan aside.
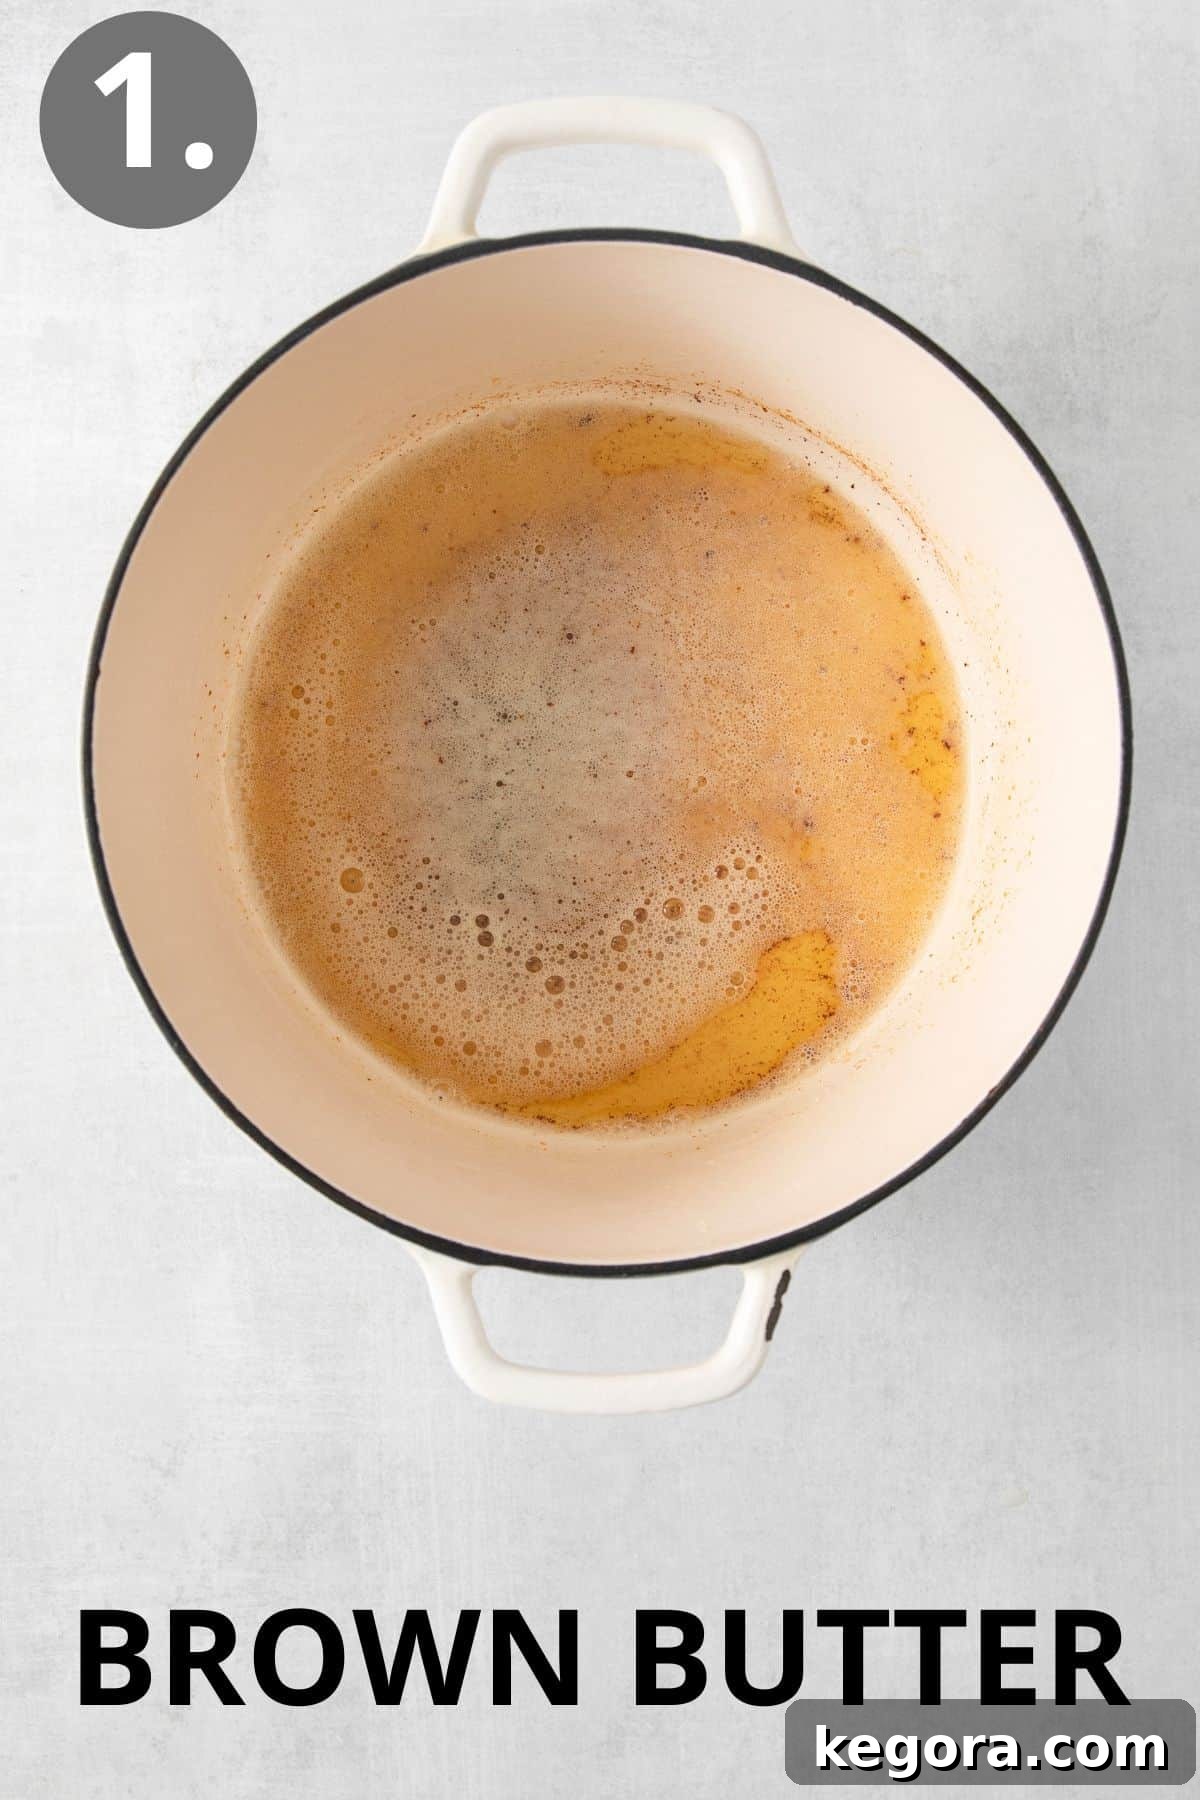
- Brown the Butter to Perfection: In a large, heavy-bottomed saucepan or Dutch oven, melt the butter over low to medium heat. This is a crucial step for adding depth of flavor. Once the butter is fully melted, continue to cook, whisking constantly. The butter will first begin to foam, then the milk solids will separate and start to collect at the bottom of the pan, turning golden brown. Continue whisking until these solids are a rich, amber color and emit a fragrant, nutty aroma. Be careful not to burn it – this usually takes about 5-8 minutes.
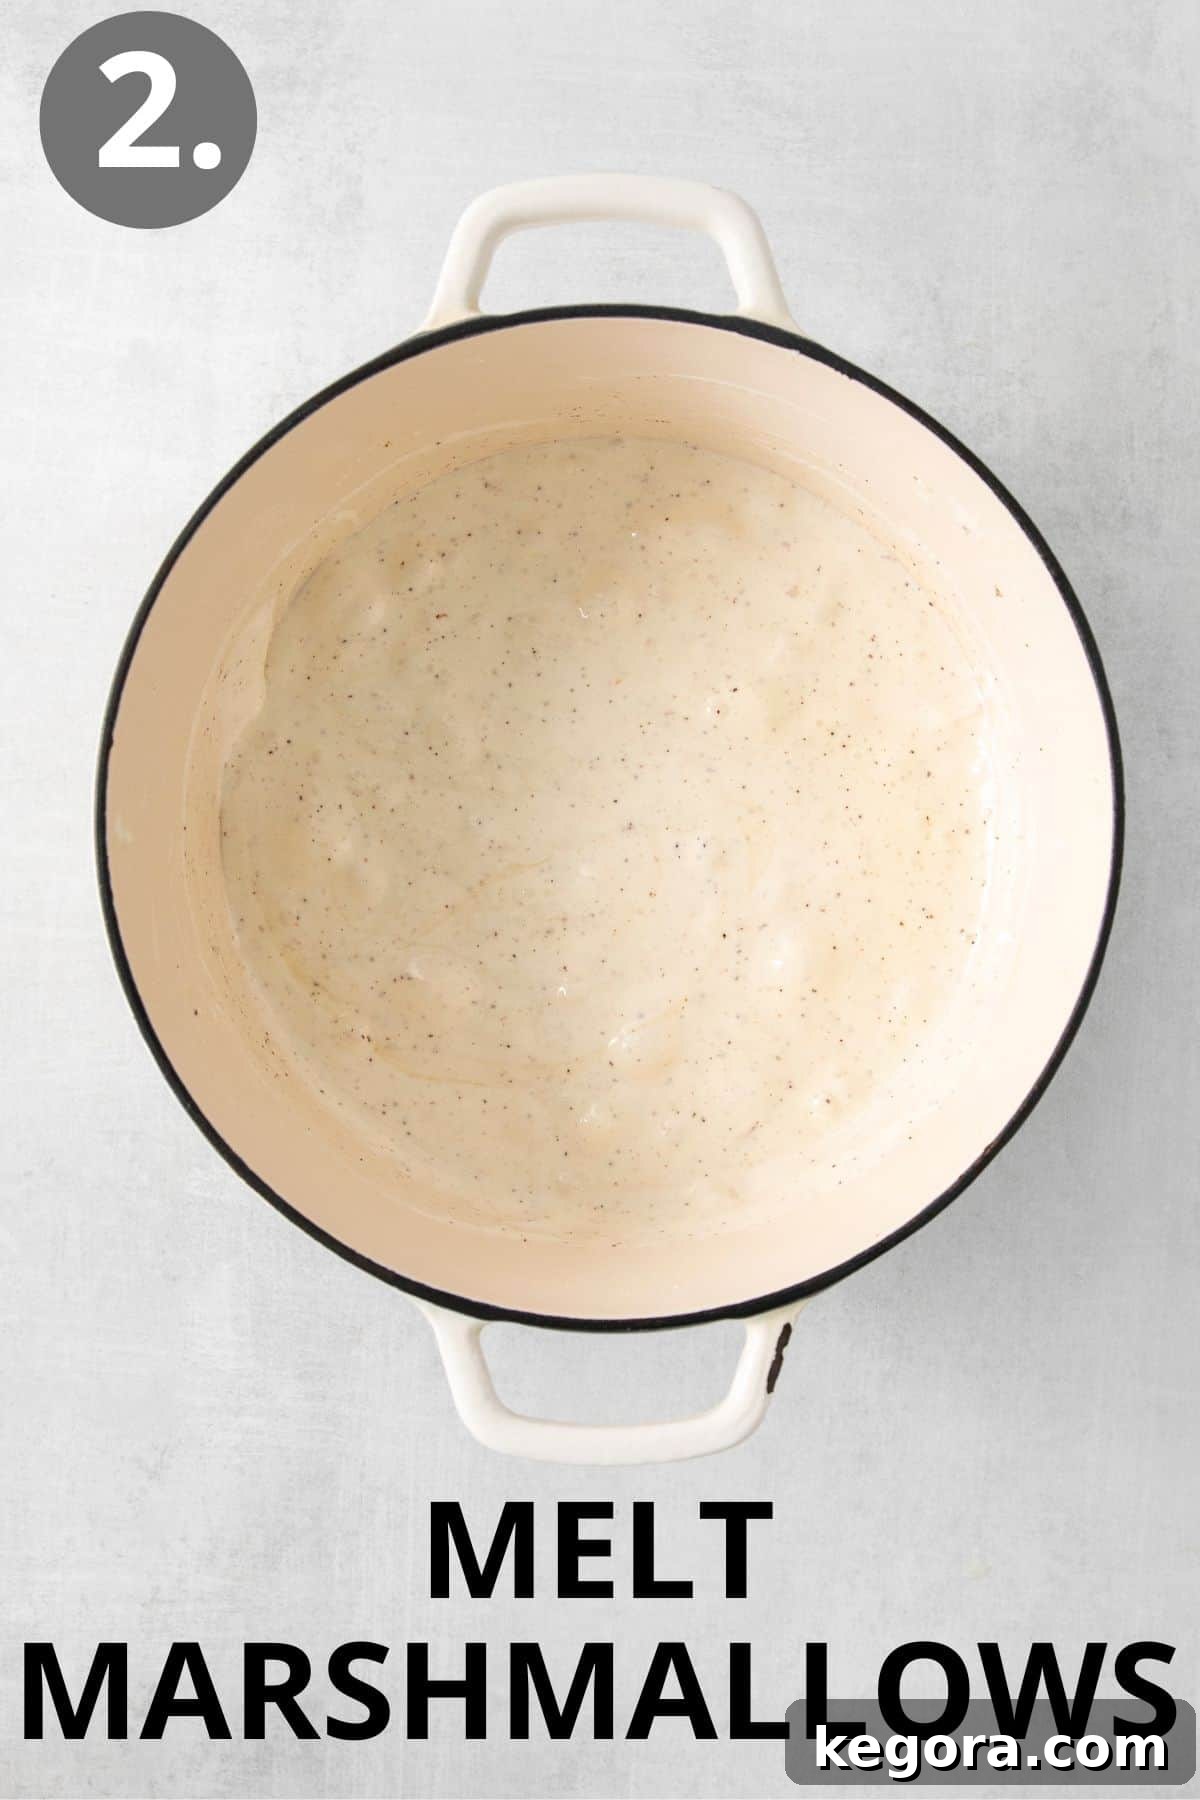
- Melt the Marshmallows: Once the butter is beautifully browned and toasted, immediately add the marshmallows to the saucepan. Continue to cook over low heat, stirring constantly with a rubber spatula or wooden spoon. The goal is to melt the marshmallows until they are mostly smooth and gooey. A few small lumps here and there are perfectly fine and will add to the texture. Avoid high heat, as this can make the treats tough.
- Infuse with Flavor: Remove the melted marshmallow mixture from the heat. Quickly stir in the pure vanilla extract and the kosher salt. Mix until these are thoroughly incorporated, ensuring the flavors are evenly distributed throughout the gooey base.
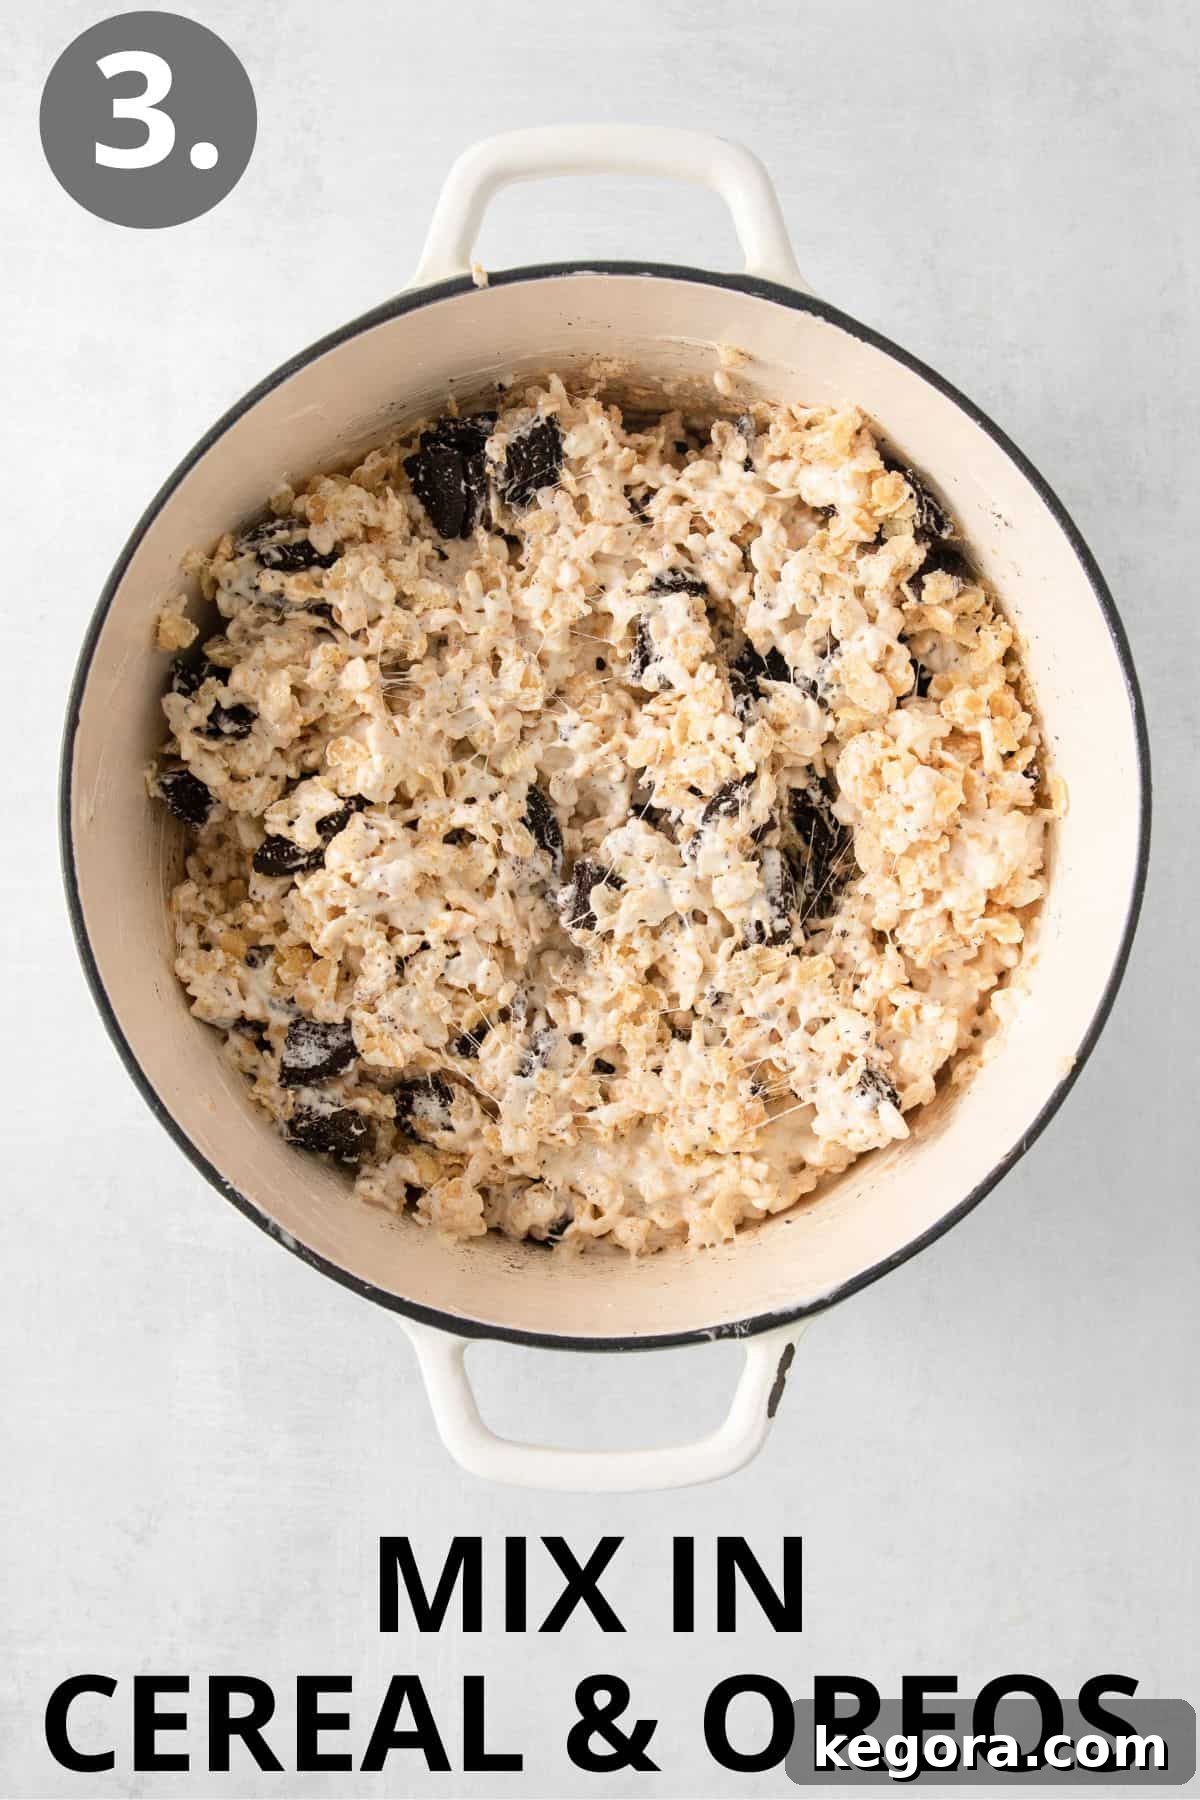
- Combine Cereal and Oreos: Add the gluten-free crispy rice cereal and the coarsely chopped Oreo cookie pieces to the pot with the marshmallow mixture. Using your rubber spatula, gently fold the ingredients together until the cereal and Oreos are completely coated in the gooey marshmallow. Work quickly but gently to avoid crushing the cereal too much.
- Press and Cool: Scrape the entire mixture into your prepared 9×13-inch pan. To prevent sticking, lightly grease your hands with cooking spray or dampen them with a little water. Gently and evenly press the mixture into the pan. The key here is to press *lightly* – too much pressure will compact the treats, making them dense and hard instead of delightfully chewy. Allow the treats to cool at room temperature for at least 20-30 minutes, or until fully set, before slicing into squares and enjoying.
For more effortless and delicious sweet endings, explore other fantastic no-bake desserts like this gluten-free no-bake cheesecake or these delightful gluten-free no bake cookies.
Storage Instructions for Freshness
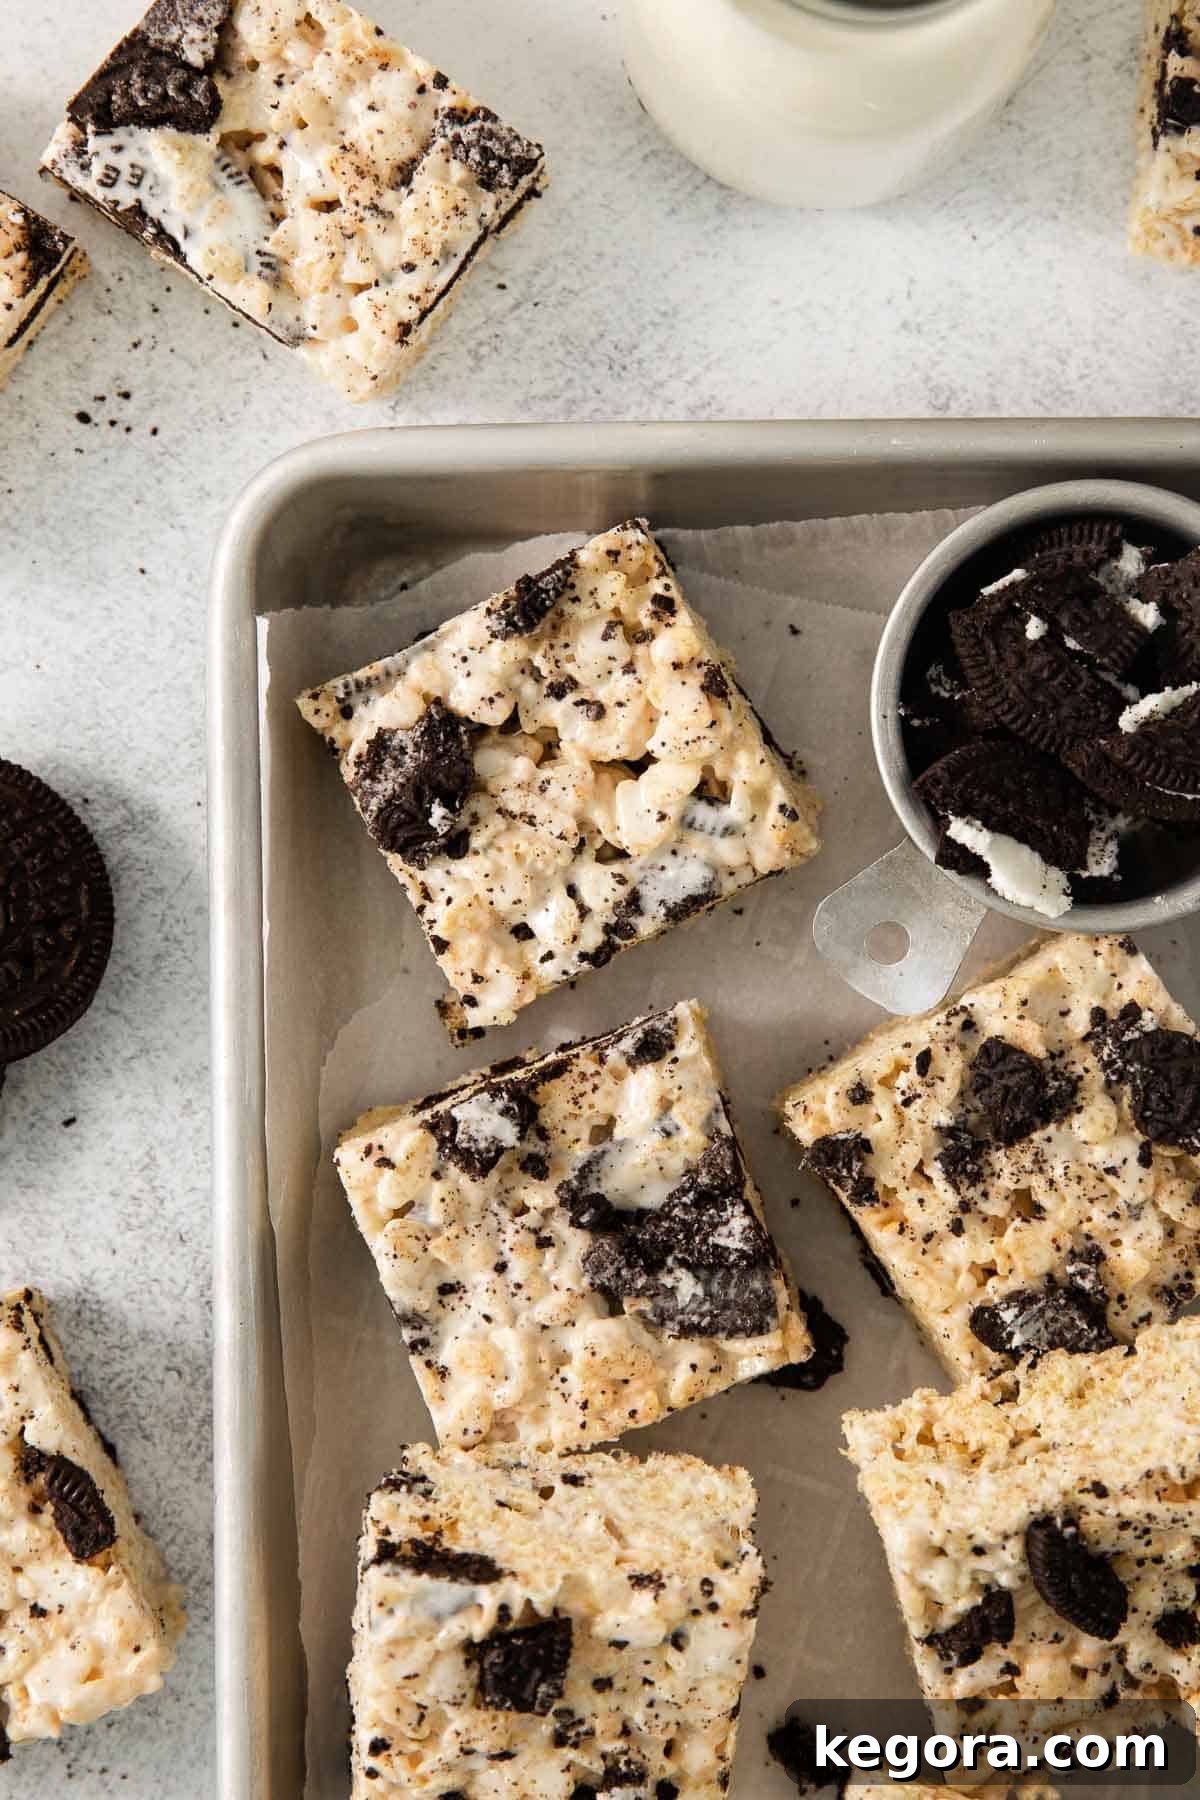
To keep your Gluten-Free Oreo Rice Krispie Treats fresh, chewy, and delicious, proper storage is key. Store them in an airtight container at room temperature. You can also wrap them tightly in plastic wrap or individual servings to maintain their texture. They will remain fresh and enjoyable for up to five days. Avoid refrigerating them, as this can make them hard and less chewy. For longer storage, you can freeze them for up to 1-2 months. Wrap individual squares tightly in plastic wrap, then place them in a freezer-safe bag or container. Thaw at room temperature before serving.
Frequently Asked Questions About Oreo Rice Krispie Treats
Generally, no. Most traditional Rice Krispie treats are not considered gluten-free because the popular Kellogg’s Rice Krispies cereal (in the blue box) contains malt flavoring, which is derived from barley and therefore contains gluten. However, this doesn’t mean you have to miss out! There are several excellent brands that produce certified gluten-free crispy rice cereal. By using these gluten-free cereals, along with gluten-free marshmallows and gluten-free Oreo cookies, you can easily make delicious and safe treats for a gluten-free diet.
No, Kellogg’s Rice Krispies cereal, including their Cookies and Cream variety, is not gluten-free. Like their original counterpart, this cereal is made with malt syrup, which is a gluten-containing ingredient derived from barley. Always check the ingredient list carefully for “malt” or “barley” if you need to adhere to a gluten-free diet.
It depends on the brand and ingredients. While rice is naturally gluten-free, some rice crackers may contain other ingredients that include gluten, such as wheat flour, malt, or certain flavorings. For individuals with celiac disease or gluten sensitivity, it is always essential to read the ingredient list carefully and look for a clear “gluten-free” certification label on the packaging to ensure the product is safe to consume.
Absolutely! To make these treats dairy-free, simply substitute regular butter with your favorite plant-based butter alternative. When using dairy-free butter, you should melt it but avoid browning it, as plant-based butters behave differently and may not brown in the same way. Once melted, proceed with the recipe as directed.
There are a couple of common reasons why your treats might turn out hard instead of wonderfully chewy. The most frequent culprit is overcooking the marshmallows. Marshmallows, when heated for too long or at too high a temperature, can become tough. Another reason is pressing the mixture into the pan too firmly. When you pack the cereal mixture down too tightly, it compresses the air pockets that give the treats their light and chewy texture. Remember to use low heat for melting and press gently into the pan for soft, perfect treats.
Expert Tips & Tricks for the Best Oreo Rice Krispie Treats
Achieving perfectly chewy, flavorful Gluten-Free Oreo Rice Krispie Treats is easy when you follow a few expert guidelines. These tips will help you maximize flavor and texture:
- Always Double-Check Your Cereal for Gluten-Free Certification: This is arguably the most crucial tip for gluten-free recipes. Many crispy rice cereals contain malt flavor, which has gluten. Always look for a clear “gluten-free” label on the packaging. Brands like Malt O Meal, Wegmans, and Aldi are generally reliable. Remember, the blue box of Rice Krispies is NOT gluten-free.
- Embrace the Magic of Browned Butter: Do not skip the step of browning the butter! This simple technique transforms ordinary butter into liquid gold, imparting a rich, nutty, and slightly caramelized flavor that adds incredible depth and complexity to these treats. It makes a significant difference, elevating the taste profile from good to absolutely phenomenal.
- For Extra Gooey Marshmallow Pockets: If you love pockets of soft, melted marshmallow in your treats, try this trick: reserve a handful (about 1 cup) of miniature marshmallows and add them at the very end, along with the cereal and Oreos. Fold them in quickly; they won’t fully melt but will create delightful gooey pockets throughout the treats. Don’t add *extra* melted marshmallows to the base, or the treats may become too sticky to hold their shape.
- Unleash Your Creativity with Mix-Ins: These Oreo Rice Krispie Treats are fantastic as is, but don’t hesitate to customize them! Consider stirring in white chocolate chips, mini semi-sweet chocolate chips, or even a drizzle of melted chocolate over the top once they’ve set. You can also experiment with different Oreo flavors, such as Peanut Butter Oreos or Golden Oreos (ensure they are gluten-free if needed) for unique and exciting variations. Sprinkles also add a festive touch!
- The Golden Rule: Press Gently, Not Firmly: When pressing the mixture into the prepared pan, remember that a light touch is key. Use lightly greased or barely wet hands and press just enough to create an even layer. Over-compressing the mixture will squeeze out all the lovely air pockets, resulting in dense, hard, and less enjoyable treats.
- Patience Pays Off with Cooling: It can be tempting to slice into these delicious treats right away, but allowing them to cool and set for at least 20-30 minutes at room temperature is essential. This cooling time allows the marshmallow to firm up, making the treats easier to cut cleanly and ensuring they hold their shape beautifully.
If you’re a true Oreo aficionado, you’ll definitely want to explore this indulgent gluten-free Oreo cheesecake for another delightful dessert experience.
MORE FAVORITE TREAT RECIPES
Classic Gluten-Free Rice Krispies Treats
White Chocolate Peppermint Rice Krispies Treats
Easy Gluten-Free Blondies
The Best Gluten-Free Brownie Recipe
We truly hope you fall in love with these irresistible Oreo Rice Krispie Treats as much as we do! If you give this recipe a try, please be sure to leave us a comment and a rating below. Your feedback means the world to us, and we’d absolutely love to hear about your delicious experience!
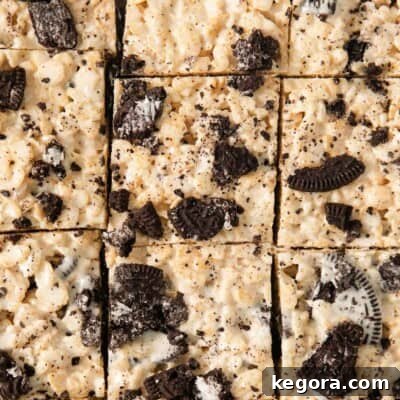
Oreo Rice Krispie Treats (Gluten-Free)
Comments
Ingredients
- ½ cup (113g) unsalted butter, softened
- 20 ounces (567g) marshmallows, large or mini
- 1 teaspoon pure vanilla extract
- ¼ teaspoon kosher salt
- 7 cups (198g) gluten-free crispy rice cereal, see note below
- 20-24 (227-284g) gluten-free Oreo cookies, coarsely chopped or crushed
Instructions
-
Line a 9×13 pan with foil, leaving a slight overhang, and spray thoroughly with cooking spray. Set aside.
-
In a large, heavy-bottomed pot or Dutch oven, melt the butter over low to medium heat. Continue to cook, whisking constantly, until the butter begins to foam and the milk solids at the bottom turn a rich, golden brown, emitting a nutty aroma (about 5-8 minutes). Watch carefully to prevent burning.
-
Once the butter is browned and fragrant, add all the marshmallows to the pot. Reduce heat to low and cook, stirring constantly with a rubber spatula, until the marshmallows are mostly melted and smooth. A few small lumps are acceptable.
-
Remove the melted marshmallow mixture from the heat. Stir in the vanilla extract and kosher salt until well combined.
-
Add the gluten-free crispy rice cereal and the coarsely chopped gluten-free Oreos to the pot. Gently fold the ingredients together with the spatula until all the cereal and cookie pieces are thoroughly coated in the marshmallow mixture.
-
Scrape the mixture into the prepared pan. Using hands lightly greased with cooking spray or slightly dampened with water, gently press the mixture evenly into the pan. Avoid pressing too firmly to ensure soft, chewy treats. Let cool at room temperature for at least 20-30 minutes before slicing and serving. Enjoy!
Notes
- MAKE IT DAIRY-FREE: For a dairy-free version, substitute regular butter with your favorite plant-based butter (like Miyoko’s Kitchen Cultured Vegan Butter or Earth Balance Vegan Butter Sticks). Melt the plant-based butter over low heat but do not attempt to brown it, as it won’t caramelize in the same way as dairy butter. Then, proceed with the recipe as instructed.
- To ensure these treats are completely gluten-free, always use certified gluten-free Oreos.
When selecting your crispy rice cereal, make sure there is no malt flavor listed in the ingredients to ensure the cereal is gluten-free. Traditional Rice Krispies in the blue box are NOT gluten-free due to malt.
Here are some trusted brands of gluten-free crispy rice cereal:
- Malt O Meal (highly recommended for great texture)
- Wegmans (excellent choice)
- Aldi (a fantastic and affordable option)
- Erewhon
- Nature’s Path (some find the texture less desirable than other brands, so try a small box first)
- Barbara’s
- Back To Nature
- One Degree