
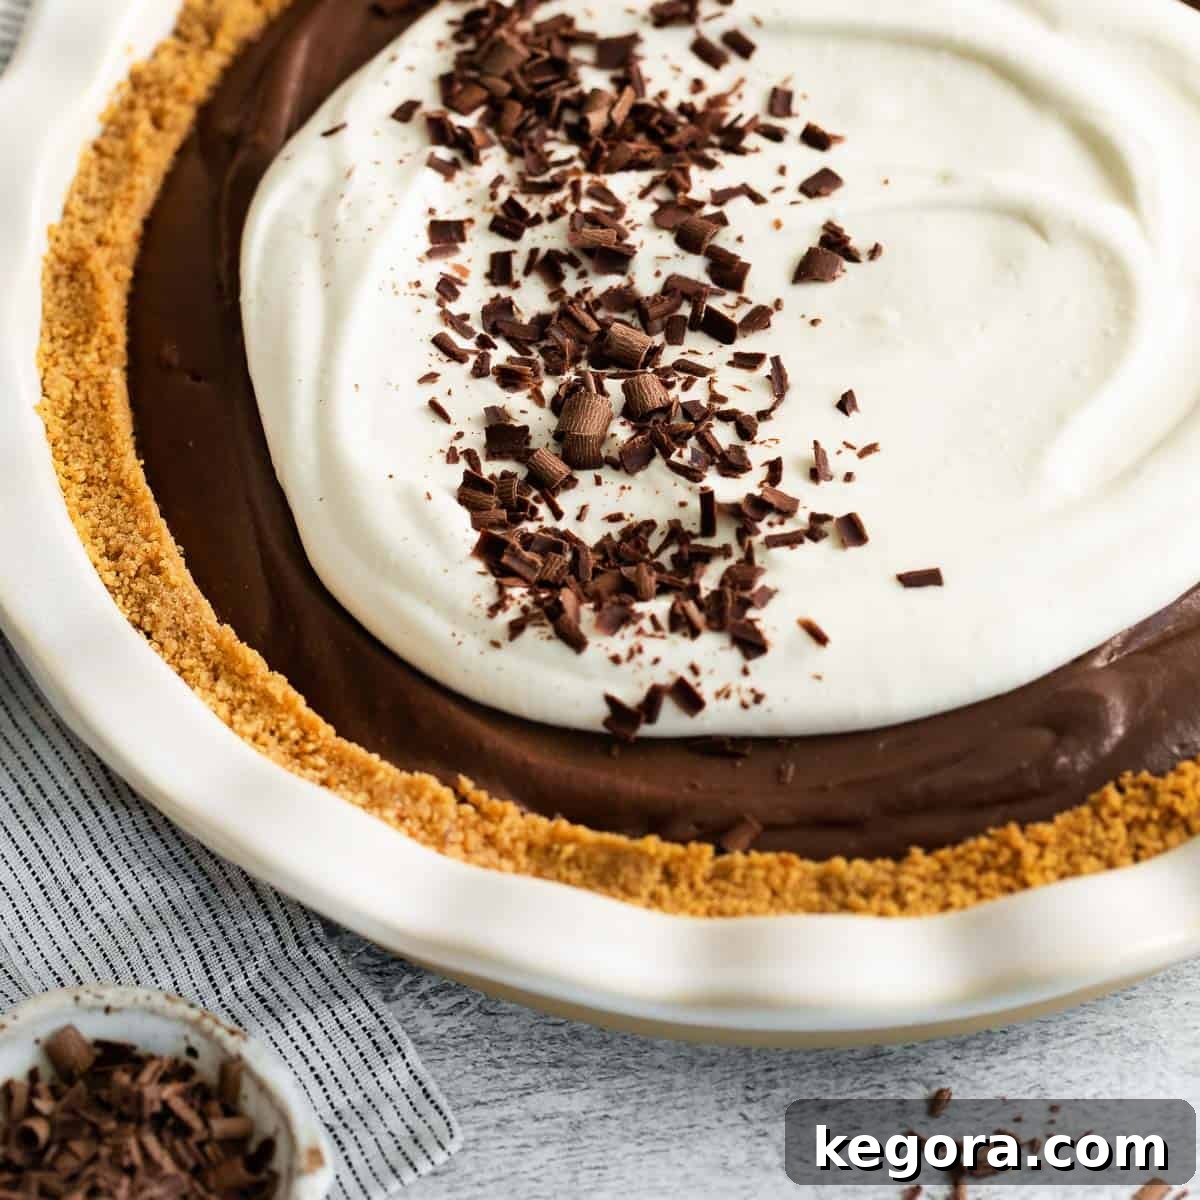
Discover the Decadent Gluten-Free Chocolate Pie: A Family Favorite!
Welcome to a culinary journey that promises pure indulgence without compromise. This extraordinary **gluten-free chocolate pie** is more than just a dessert; it’s a celebration of rich flavors and delightful textures, crafted to be a showstopper for any occasion. Whether you’re navigating a gluten-free lifestyle or simply seeking an incredibly delicious pie, this recipe delivers an unforgettable experience that will quickly become a cherished family favorite. From its buttery graham cracker crust to its silky chocolate pudding filling and a unique cream cheese whipped topping, every component of this pie is designed for maximum enjoyment.
Recipe Highlights: What Makes This Pie Special
Here’s a quick overview of what you can expect from this incredible gluten-free chocolate pie:
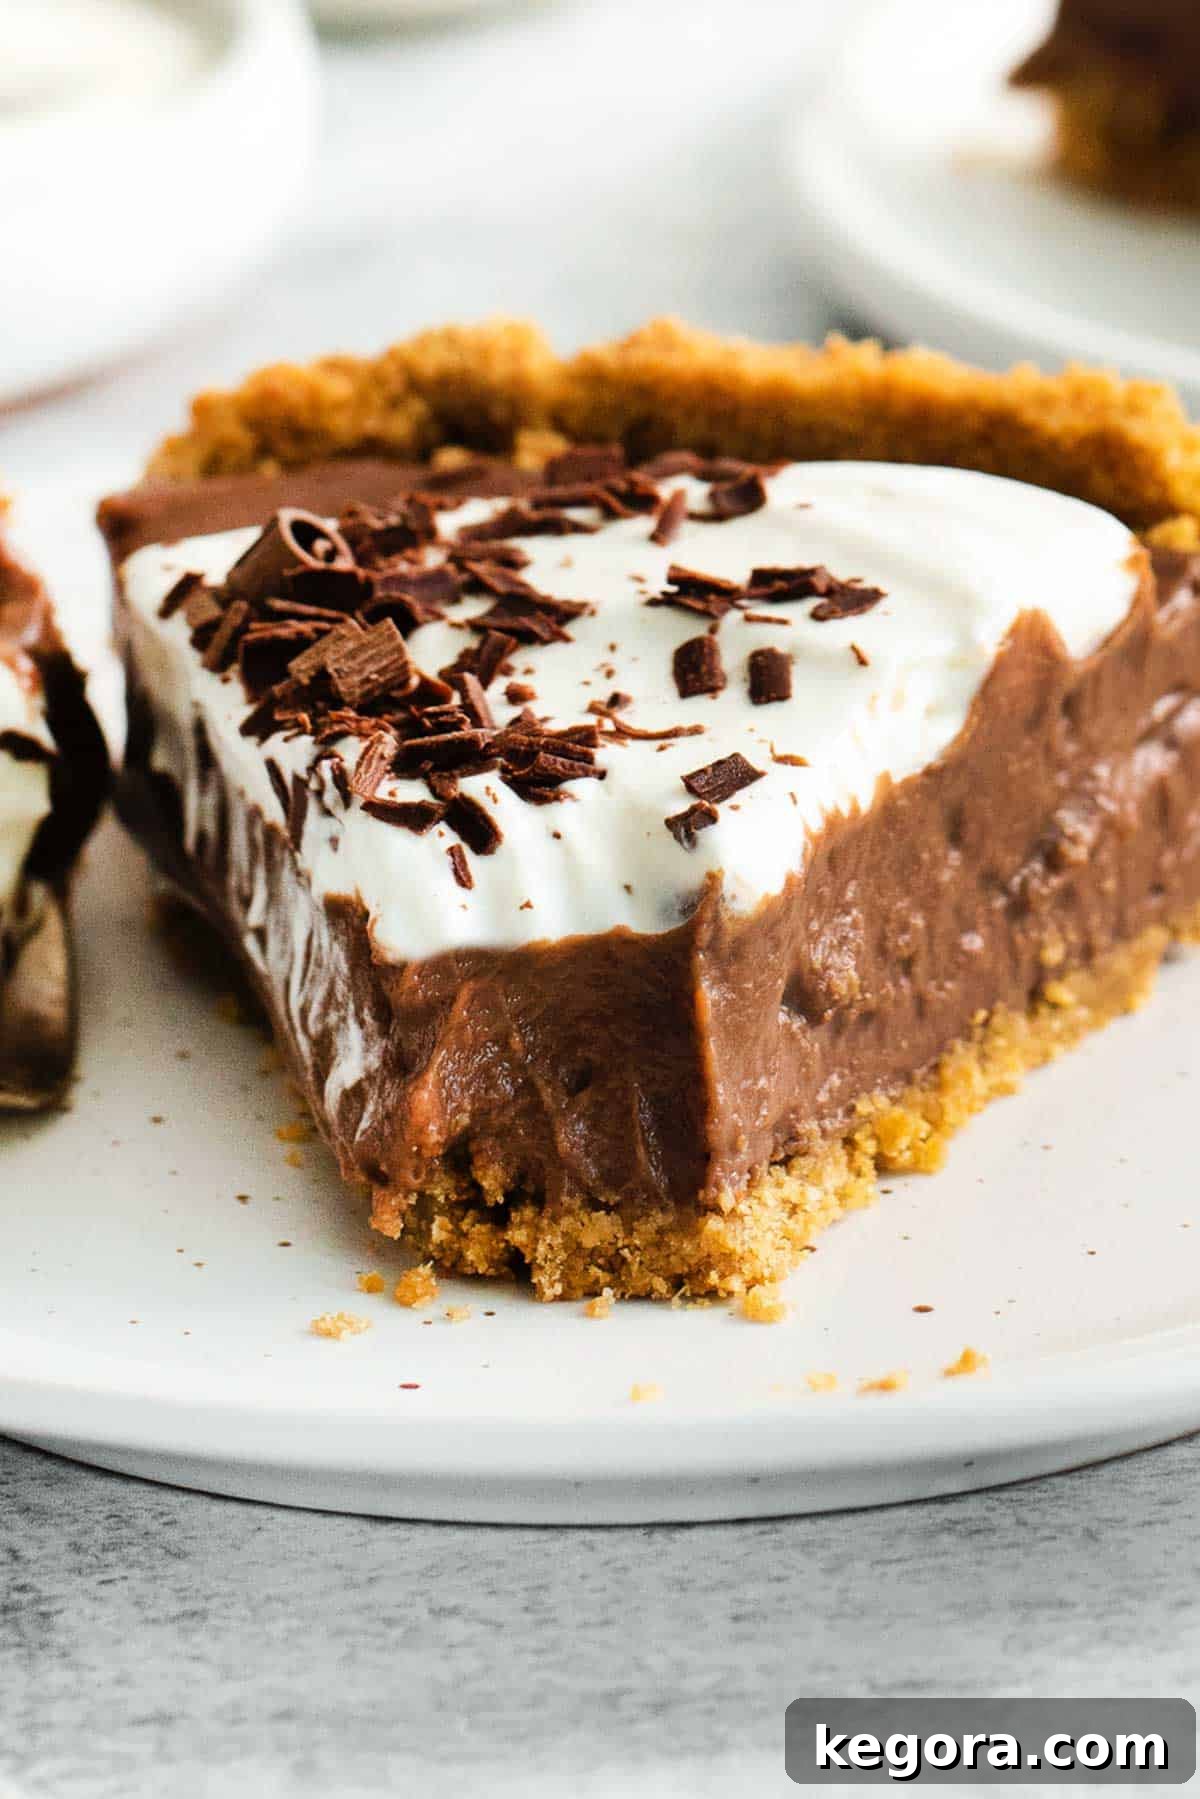
- Texture: Prepare for a symphony of textures! This pie boasts a luscious, silky-smooth chocolate pudding that melts in your mouth, perfectly contrasted by a delightfully crisp, buttery graham cracker crust. Crowning it all is a light and fluffy whipped topping, offering an ethereal finish.
- Taste: Each bite is a harmonious blend of intensely rich, deep chocolate flavor from the homemade pudding. This is beautifully balanced by the subtle tang and creamy sweetness of the whipped topping, elevated by a hint of cream cheese. The classic graham cracker crust adds a comforting, sweet foundation.
- Ease: Don’t let its sophisticated taste fool you; this recipe is surprisingly easy to make! It’s an excellent choice for beginner bakers looking to create an impressive dessert, or for seasoned cooks seeking a straightforward, reliable recipe. Clear steps and helpful tips ensure success every time.
- Top Tips: For the smoothest, most delectable whipped topping, always use room temperature cream cheese – it blends effortlessly without lumps. To achieve an outstanding chocolate flavor that truly shines, invest in high-quality chocolate such as Guittard or Ghirardelli. The difference is truly remarkable!
- Recommended Gluten-Free Flour: This recipe performs wonderfully with various gluten-free flour blends. The key is to select a high-quality blend that includes xanthan gum, which helps with structure and prevents crumbling. Brands like King Arthur Flour and Bob’s Red Mill are consistently reliable choices for their superior performance in gluten-free baking.
- Would I Make This Again? Absolutely, without a doubt! This pie is a perennial favorite, perfect for holiday gatherings, special occasions like Father’s Day, or simply when you crave an extraordinary dessert. Its versatility and widespread appeal make it a recipe you’ll return to time and time again.
xoxo erin
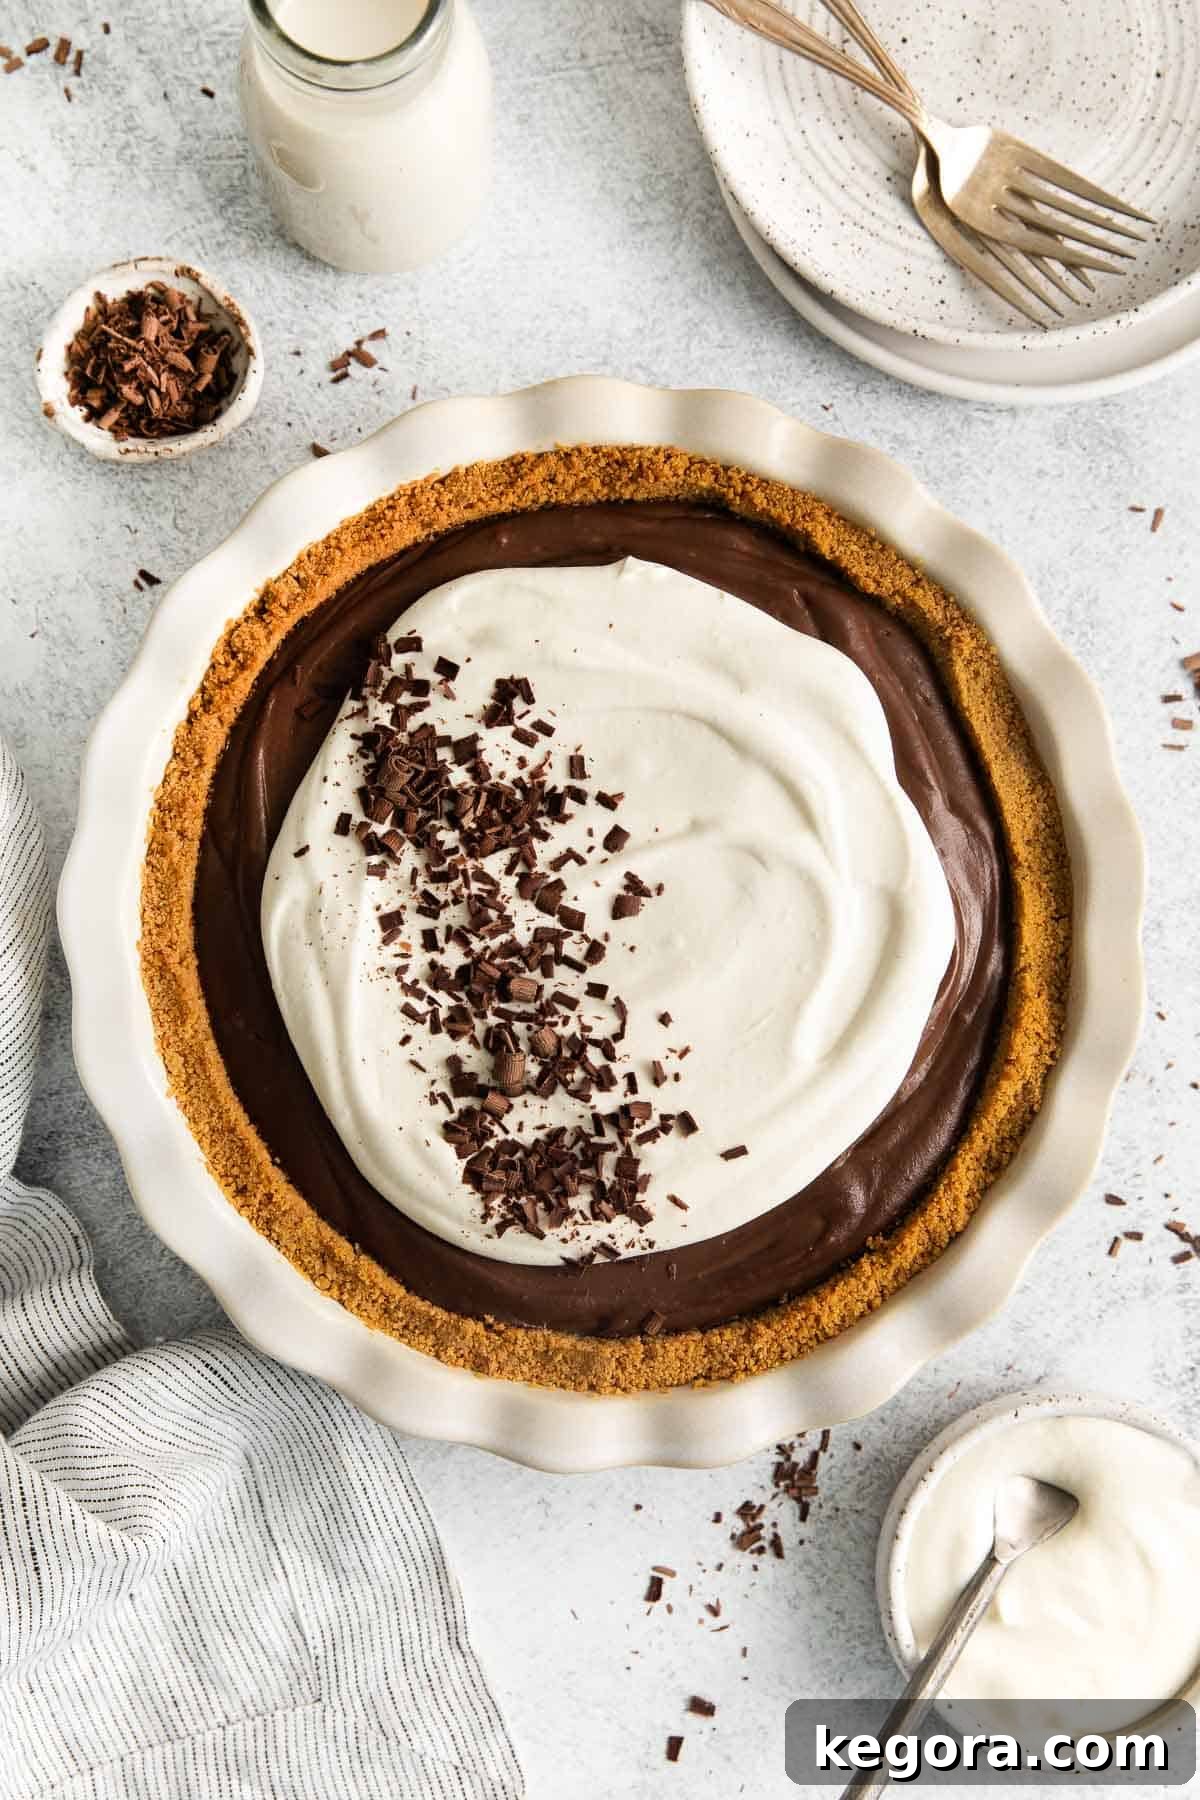
This exquisite gluten-free chocolate pie masterfully combines everything you cherish about rich chocolate desserts with the comforting appeal of a classic pie. The result is an incredibly decadent and deeply satisfying treat that caters to all palates, especially those seeking gluten-free options without sacrificing flavor or texture.
What truly sets this pie apart is the thoughtful integration of flavors and textures. The homemade gluten-free chocolate pudding, made from scratch with premium ingredients, offers a depth of flavor far superior to store-bought alternatives. This luxurious pudding forms the heart of the pie, providing a smooth and intensely chocolatey experience. Complementing this richness is the subtly tangy and wonderfully fluffy cream cheese whipped topping – a “secret ingredient” that elevates the entire dessert, adding a layer of sophisticated creaminess. All of these delightful elements are beautifully cradled within a perfectly crumbly and flavorful gluten-free graham cracker crust, creating a harmonious masterpiece that is nothing short of a chocolate lover’s dream!
Table of Contents
- Discover the Decadent Gluten-Free Chocolate Pie
- Essential Ingredients for Your Gluten-Free Chocolate Pie
- Crafting the Perfect Chocolate Pie Topping
- Step-by-Step Guide: How to Make Gluten-Free Chocolate Pie
- Storage, Make-Ahead, and Freezing Tips
- Can This Chocolate Pie Be Made Dairy-Free?
- Can This Chocolate Pie Be Made Vegan?
- How to Create Elegant Chocolate Curls for Garnish
- Exploring Alternative Pie Crust Options
- Pro Tips & Tricks for Your Gluten-Free Chocolate Pie
- Explore More Gluten-Free Pie Recipes
- Gluten-Free Chocolate Pie Recipe Card
Essential Ingredients for Your Gluten-Free Chocolate Pie
Crafting a truly exceptional gluten-free chocolate pie begins with selecting the right ingredients. Here are some key components and important considerations to ensure your pie is absolutely perfect. For precise measurements, please refer to the detailed recipe card below.
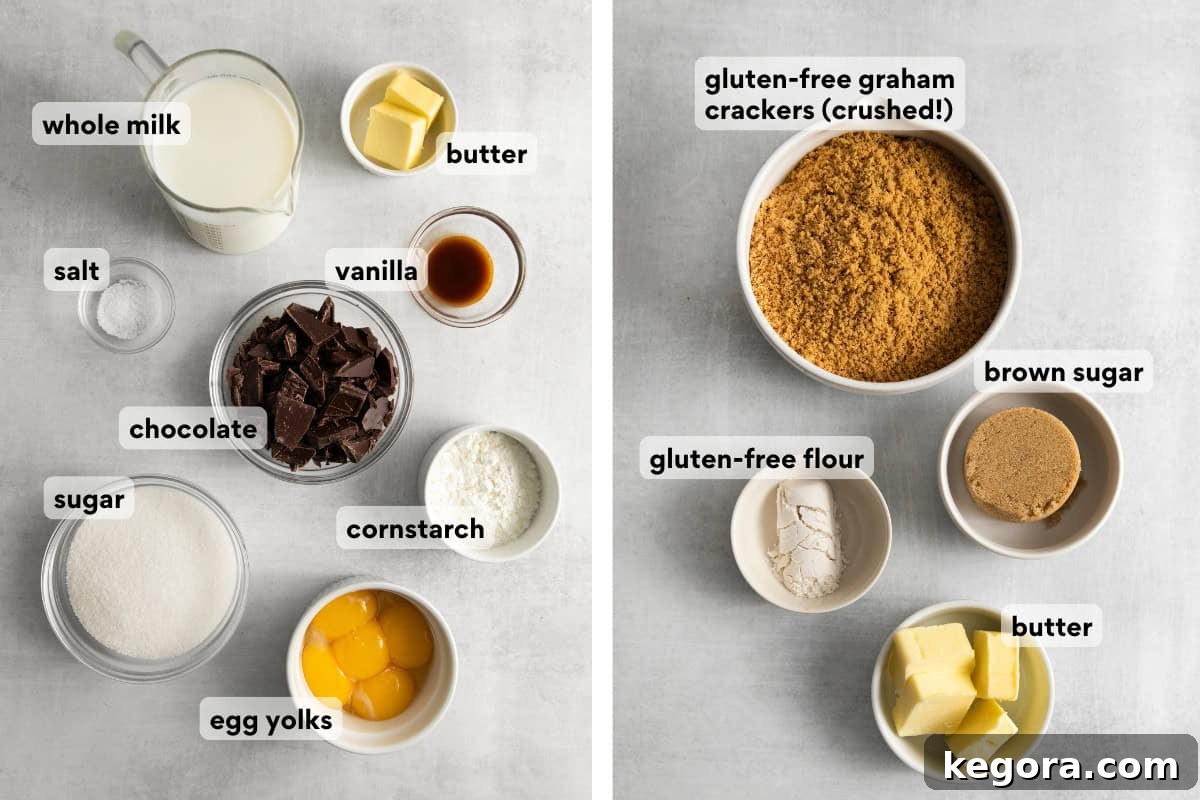
- Gluten-Free Graham Crackers: The foundation of our delightful crust! You can easily crush these yourself using a food processor for fine crumbs, or opt for the convenience of pre-crushed graham cracker crumbs. For those new to gluten-free baking, exploring different brands can be helpful; I’ve compiled a list of the best gluten-free graham crackers to guide your selection. Ensure they are fresh for optimal flavor and texture.
- Gluten-Free Flour: While not typically found in traditional graham cracker crusts, adding a tablespoon of gluten-free measure-for-measure flour is my secret for a sturdier, crispier crust that holds together beautifully. This small addition acts as a binder, preventing the crust from becoming too crumbly and ensuring it bakes to a perfect golden-brown.
- Whole Milk: For the richest and creamiest chocolate pudding, whole milk is highly recommended. Its higher fat content contributes to a luxuriously smooth texture and deep flavor. While 2% milk can be used in a pinch, expect a slightly less decadent result. If you’re looking for a dairy-free alternative, consider adapting the dairy-free chocolate pudding recipe from my vegan pretzel pie, which uses plant-based milks effectively.
- Chocolate: The star of our pudding! The quality of your chocolate directly impacts the flavor of this pie. For the best, most outstanding results, choose a high-quality semisweet or bittersweet chocolate. Brands like Guittard are known for their superior taste and melting properties, yielding a deeply satisfying chocolate experience. Avoid using baking chocolate that contains vegetable oil substitutes, as these can alter the texture and flavor.
- Cornstarch: A crucial, naturally gluten-free thickener that gives our homemade chocolate pudding its signature luscious consistency. It’s essential for achieving that perfect, spoonable texture without any grittiness. Do not substitute cornstarch with flour in this recipe unless specified for gluten-free thickening, as it can affect the pudding’s texture and clarity.
Crafting the Perfect Chocolate Pie Topping
The topping is what truly sets this chocolate pie apart, adding a creamy, dreamy layer that perfectly complements the rich pudding. Here’s what you’ll need for this irresistible addition:
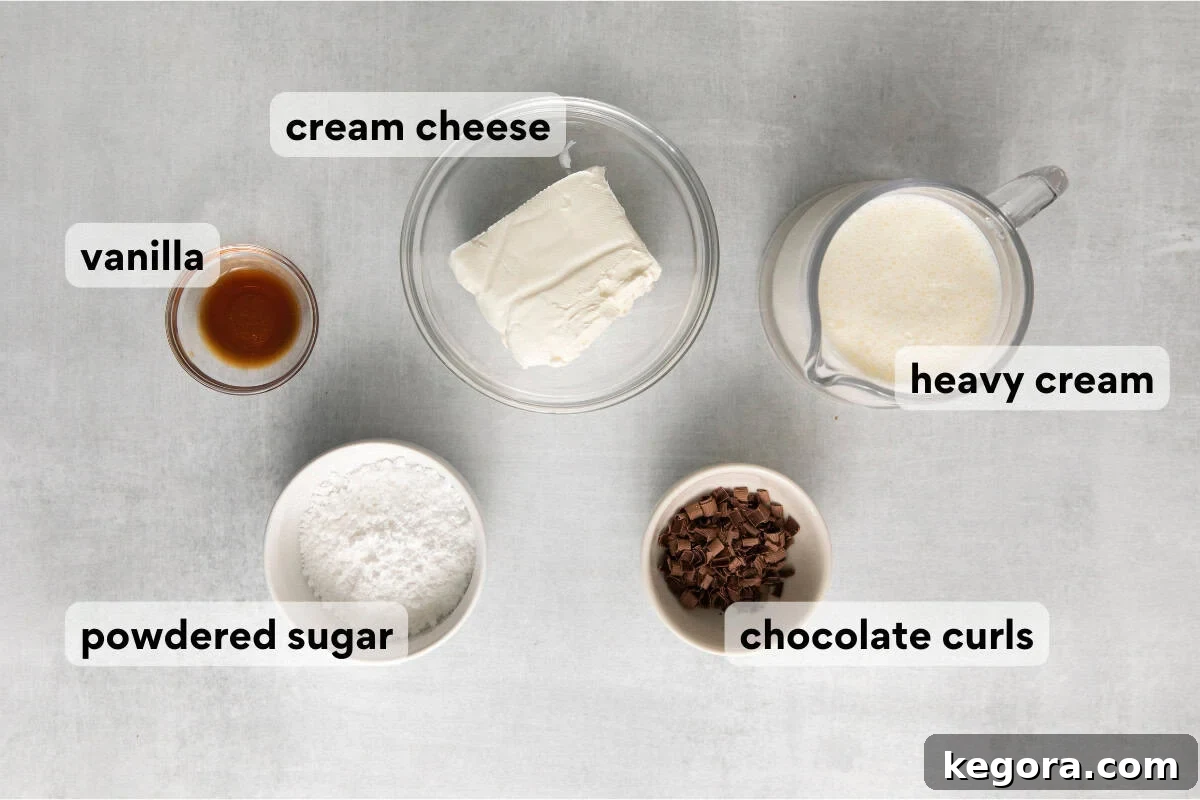
- Heavy Whipping Cream: This is non-negotiable for achieving a stable, voluminous, and wonderfully airy whipped topping. Heavy cream provides the necessary fat content to whip up light and fluffy. Please do not attempt to substitute with half-and-half or pre-made Cool Whip, as these alternatives will not yield the same luxurious texture and robust flavor that makes this topping so special.
- Cream Cheese: Our delightful secret ingredient! While not typically found in traditional chocolate pie toppings, a touch of cream cheese adds an incredible depth of flavor and a unique, tangy creaminess that elevates this whipped topping beyond the ordinary. It contributes a lovely richness and helps stabilize the topping, making it incredibly versatile for many other desserts as well. Ensure your cream cheese is softened to room temperature for smooth blending.
- Powdered Sugar & Vanilla Extract: These classic additions provide the perfect amount of sweetness and a hint of aromatic warmth to the topping, enhancing its overall flavor profile without overpowering the chocolate.
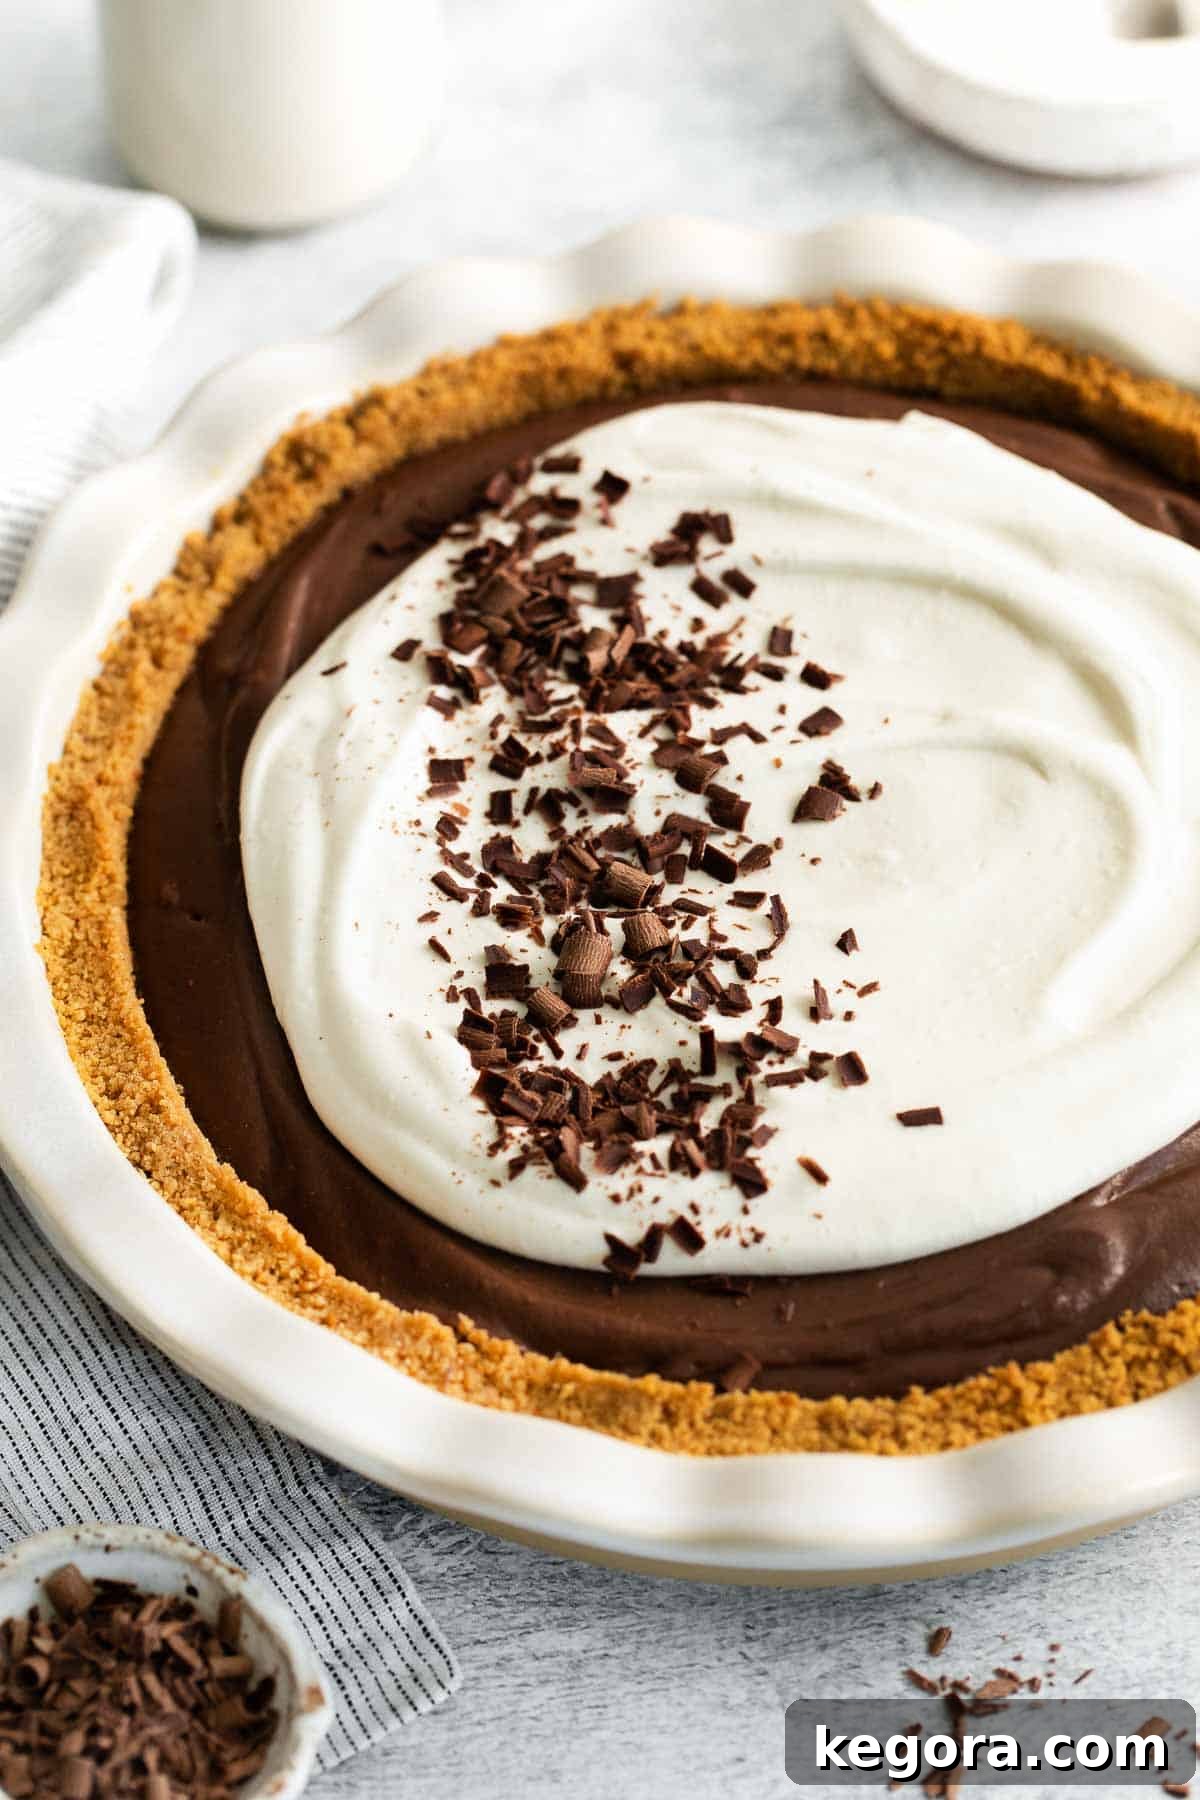
- Chocolate Curls: For a professional touch and added elegance, chocolate curls make a beautiful garnish. They not only enhance the visual appeal of your pie but also add a delicate textural crunch that contrasts wonderfully with the smooth pudding and fluffy topping. Learning to make them is easy and rewarding!
Step-by-Step Guide: How to Make Gluten-Free Chocolate Pie
Creating this show-stopping gluten-free chocolate pie is a rewarding process that’s easier than you might think. Follow these detailed steps for a perfect dessert every time. For comprehensive instructions and exact measurements, you can jump directly to the recipe card below.
Part 1: Crafting the Perfect Gluten-Free Graham Cracker Crust
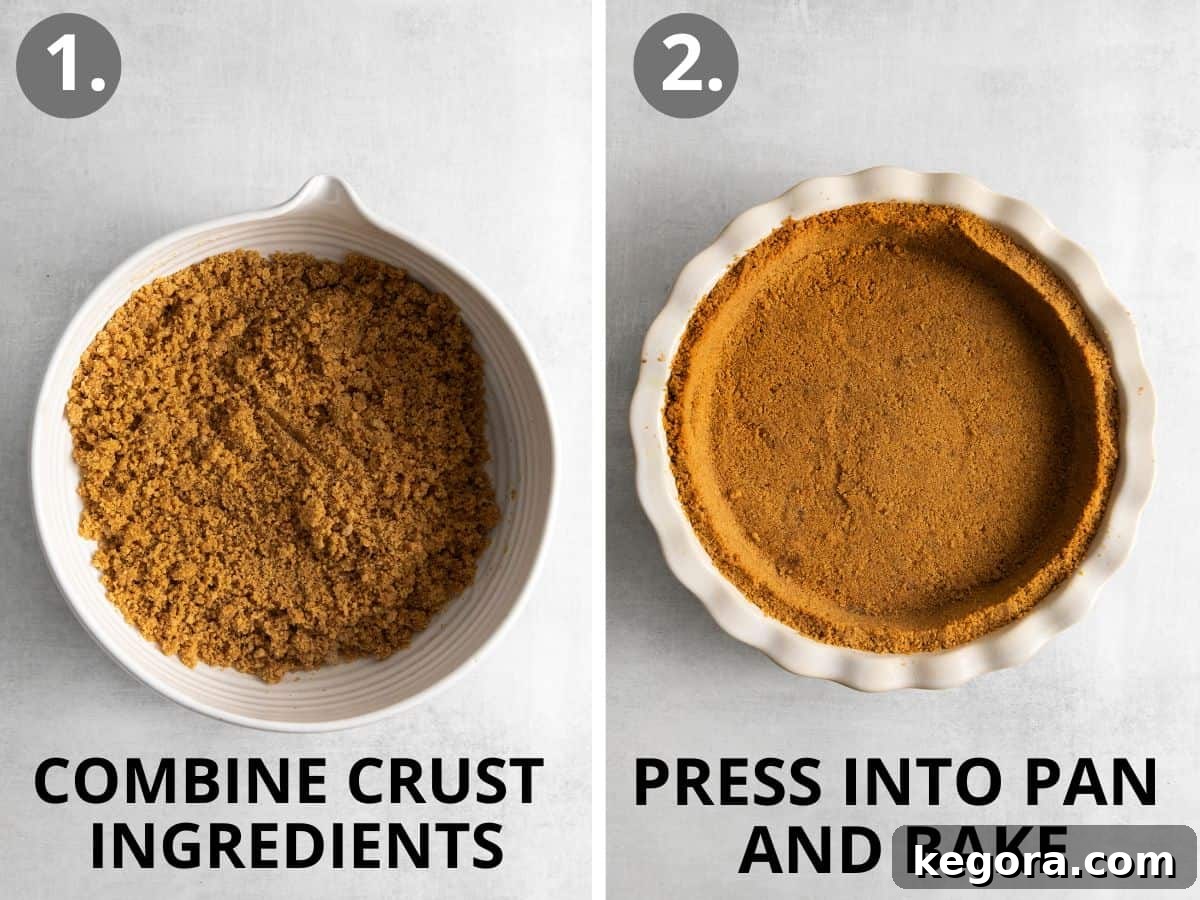
- Prepare the Crust Mixture: Begin by combining your gluten-free graham cracker crumbs, brown sugar, and that crucial tablespoon of gluten-free flour in a medium mixing bowl. Stir these dry ingredients thoroughly until they are uniformly mixed. Next, pour in the melted butter and continue stirring until all the crumbs are evenly moistened, resembling wet sand. This ensures a cohesive crust.
- Form and Bake the Crust: Transfer the crumb mixture into your pie pan. Using the bottom of a glass or your fingers, firmly press the crumbs into the bottom and up the sides of the pan. A helpful tip is to form the sides first, working your way around the perimeter, then pressing the bottom. This creates a sturdy foundation for your pie. Bake the crust for 10 minutes until lightly golden and fragrant. Once baked, remove it from the oven and allow it to cool completely before adding the filling. This cooling step is vital for a crisp crust.
Part 2: Preparing the Silky Chocolate Pudding Filling
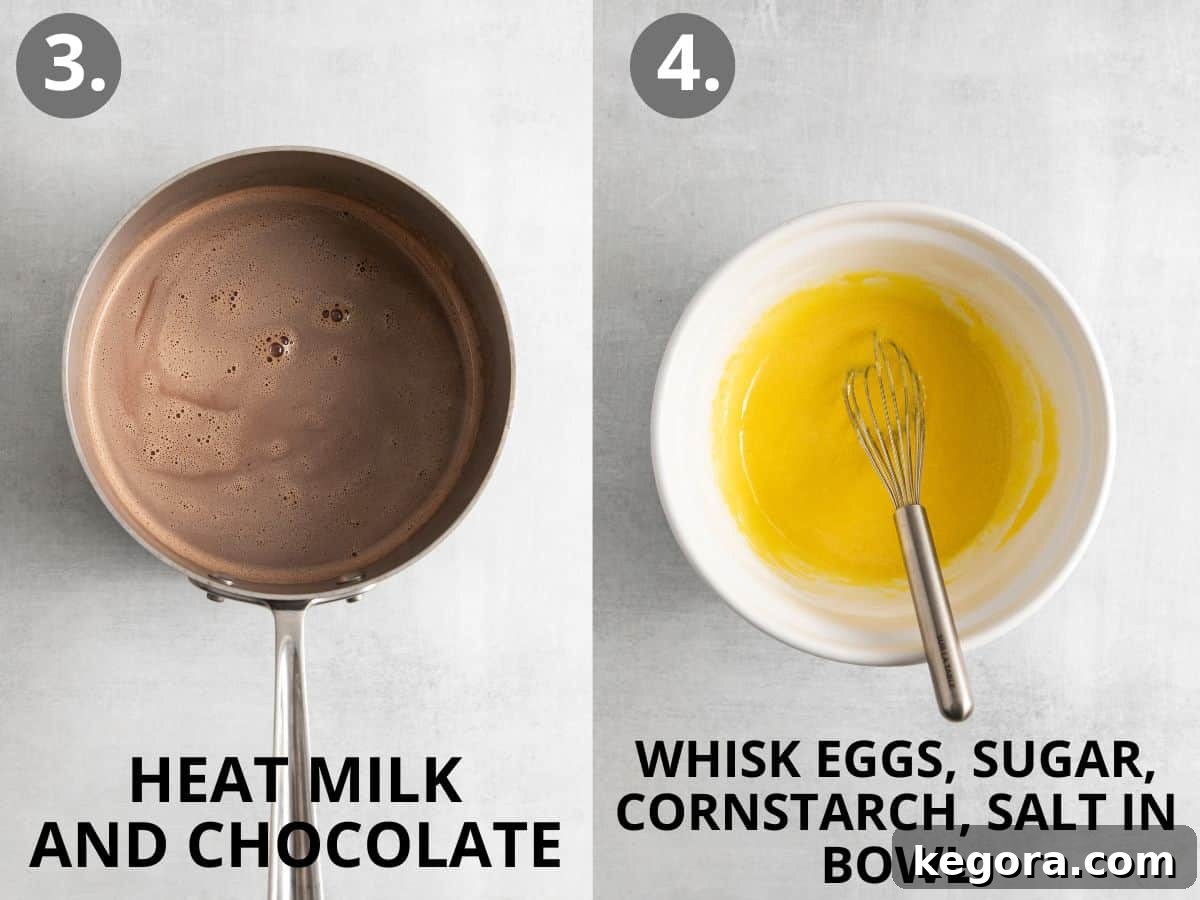
- Melt Chocolate with Milk: In a medium saucepan, combine the whole milk and your chosen high-quality chocolate (ensure it’s chopped into small pieces if using a bar). Heat this mixture over medium-low heat, stirring occasionally, until the chocolate is fully melted and the mixture is warm and smooth. Be careful not to let it boil.
- Temper the Eggs: In a separate medium bowl, vigorously whisk together the egg yolks, granulated sugar, cornstarch, and kosher salt until the mixture is smooth and light in color. This process is crucial for thickening the pudding. Now, carefully ladle about 1/2 cup of the warm chocolate milk mixture into the egg yolk mixture, whisking constantly and rapidly. This “tempering” step slowly raises the temperature of the egg yolks, preventing them from scrambling when they are later added to the hot milk. Continue to ladle in another one or two scoops of the warm milk, whisking continuously, until the egg mixture is completely smooth and warmed through.
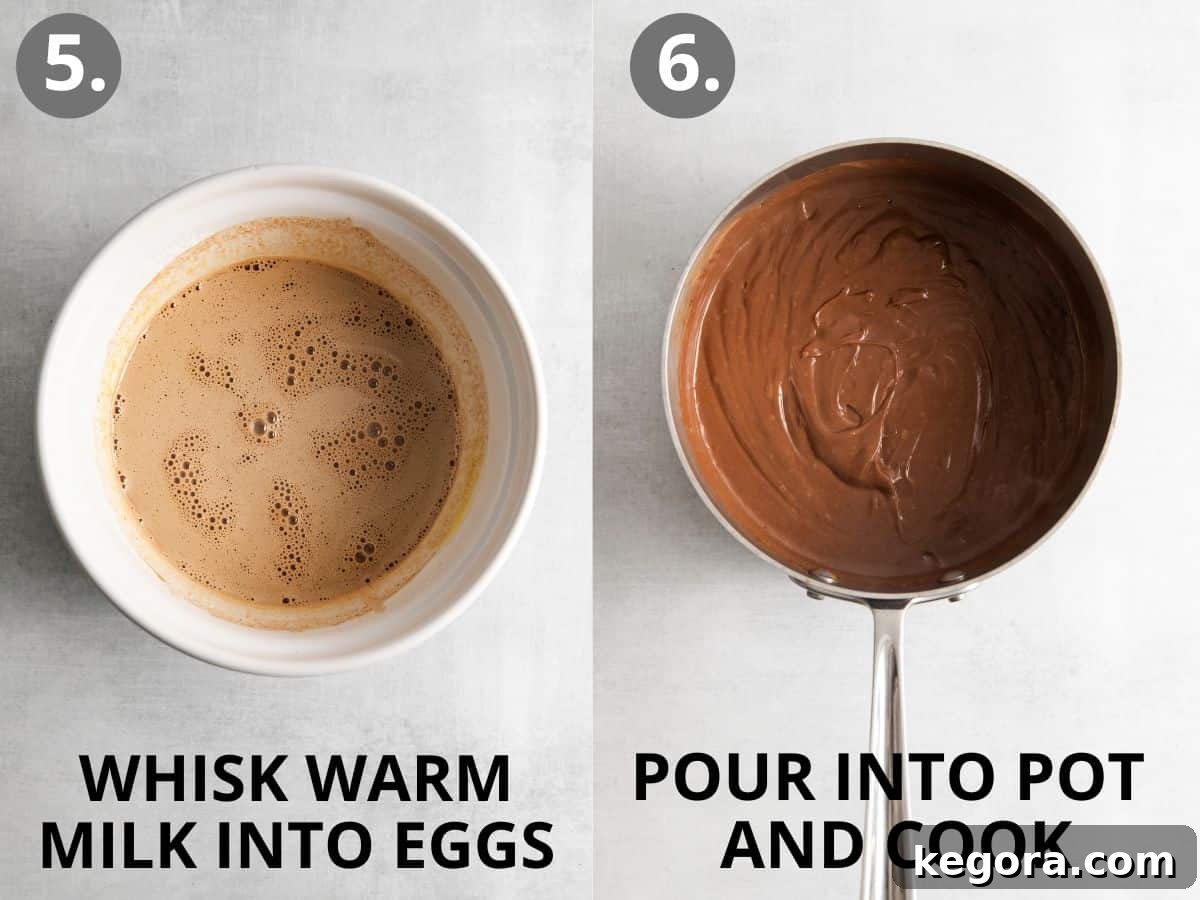
- Combine and Cook Pudding: Gently pour the tempered egg mixture back into the saucepan with the remaining chocolate milk mixture, whisking constantly to ensure everything is thoroughly combined. Continue to cook this mixture over medium heat, stirring continuously with a whisk, until it begins to bubble gently and visibly thickens. This usually takes about 4-5 minutes. The pudding should be thick enough to coat the back of a spoon.
- Finish and Cool the Pudding: Remove the saucepan from the heat immediately. Stir in the butter and vanilla extract until completely melted and incorporated. The butter adds a wonderful sheen and extra richness, while vanilla enhances the chocolate flavor. Transfer the hot pudding into a clean bowl. To prevent a skin from forming, press a piece of plastic wrap directly onto the surface of the pudding. Allow the pudding to cool to room temperature, which typically takes 45 minutes to an hour.
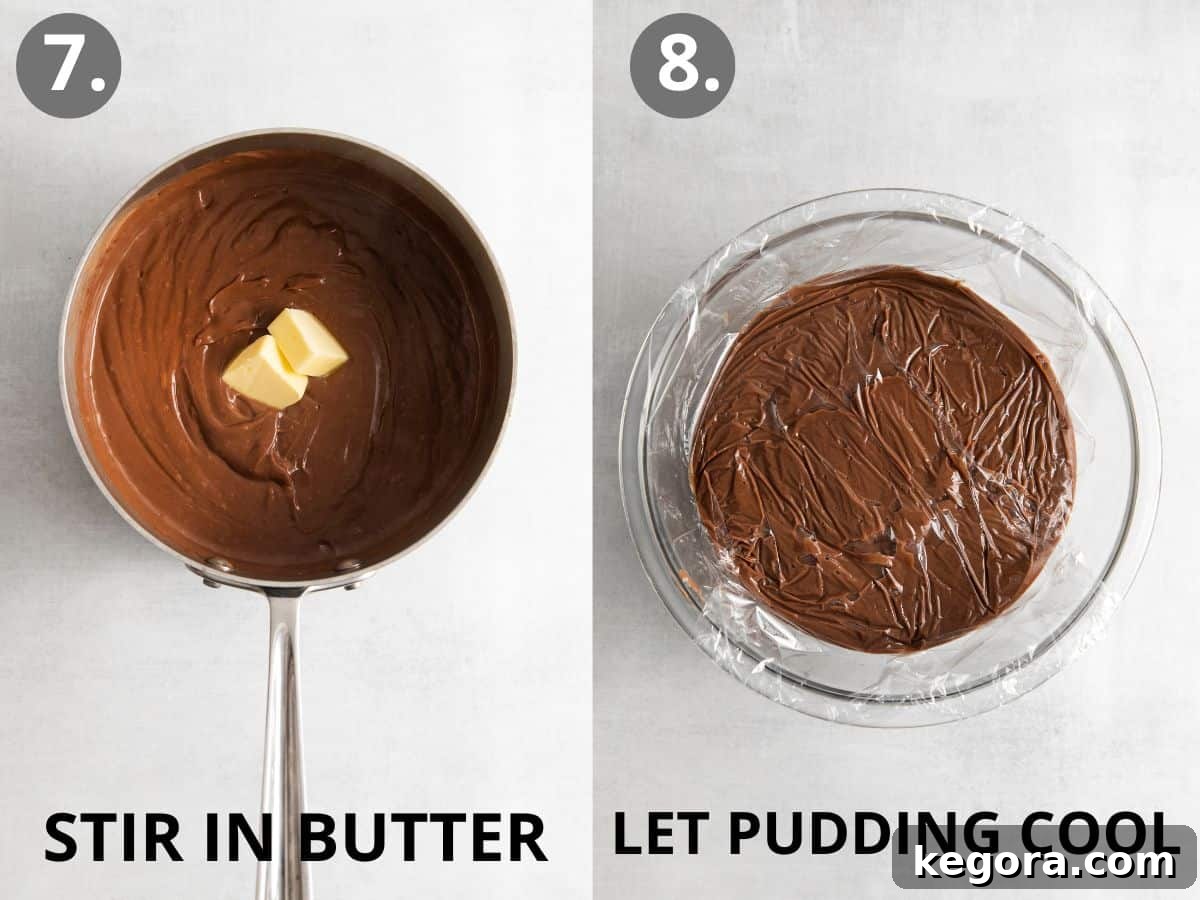
- Assemble and Chill: Once both the crust and the pudding have fully cooled, pour the luscious chocolate pudding evenly into the baked graham cracker crust. Spread it gently to cover the bottom and sides. Cover the pie loosely with plastic wrap and refrigerate for at least 2-3 hours, or until the pudding is completely set and firm. This chilling time is essential for the pie to hold its shape.
Part 3: Whipped Topping and Final Assembly
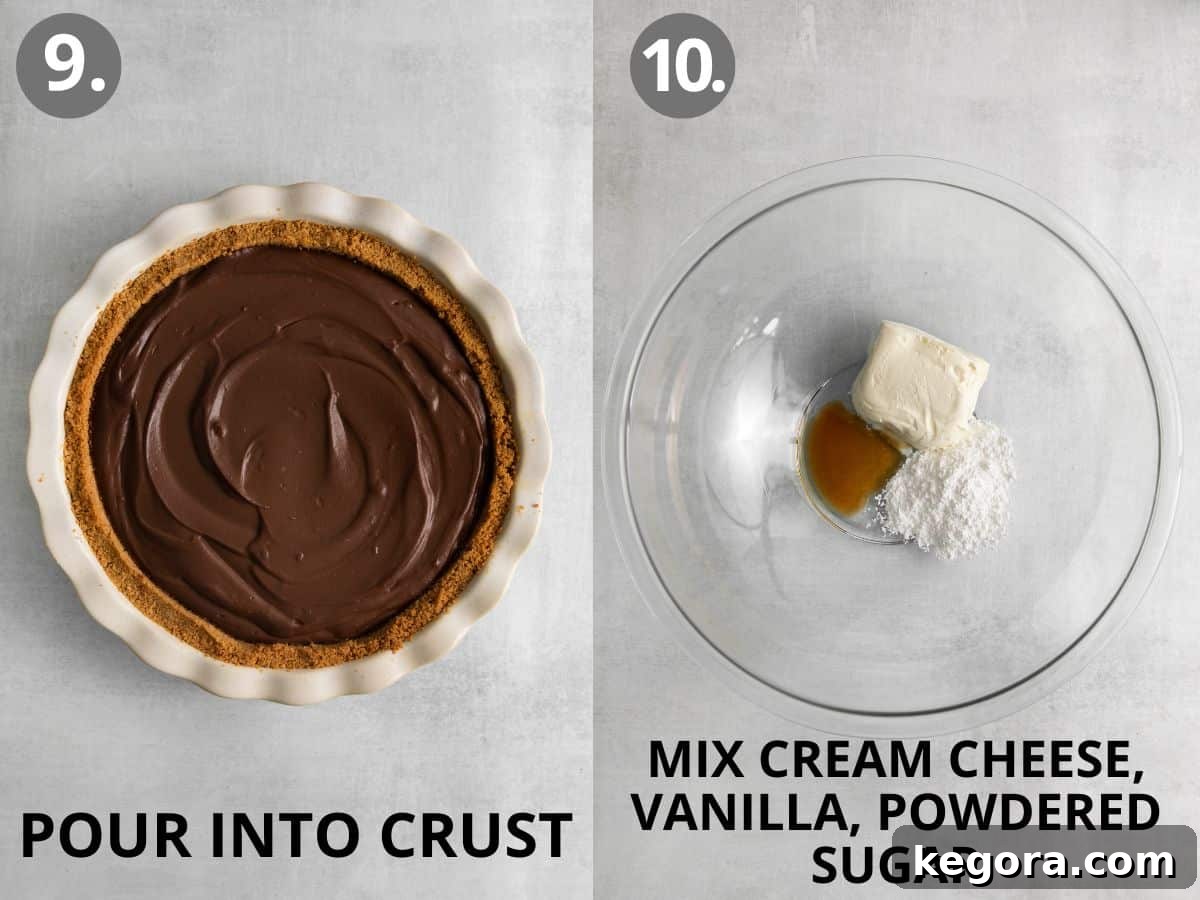
- Prepare the Cream Cheese Base: In a large mixing bowl, combine the softened cream cheese, powdered sugar, and vanilla extract. Beat these ingredients with an electric hand mixer on medium speed until the mixture is beautifully creamy and smooth, with no lumps remaining. Ensure the cream cheese is at room temperature to achieve this perfect consistency.
- Whip in Heavy Cream: With the mixer running on low speed, slowly and gradually pour in the cold heavy whipping cream. Once all the cream has been added, increase the mixer speed to medium-high and continue to whip until the mixture transforms into a light, airy, and fluffy whipped topping that holds soft peaks. Be careful not to overmix, or it may become grainy.
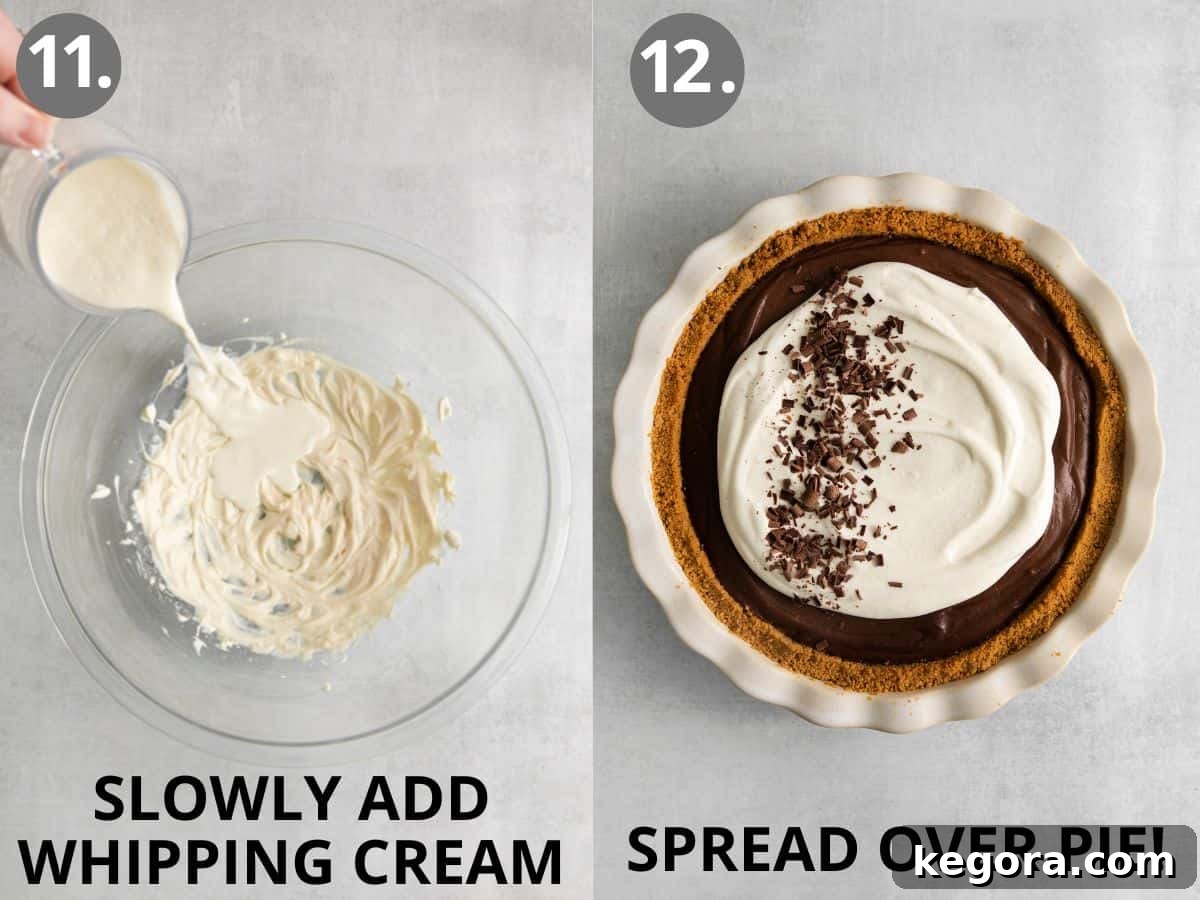
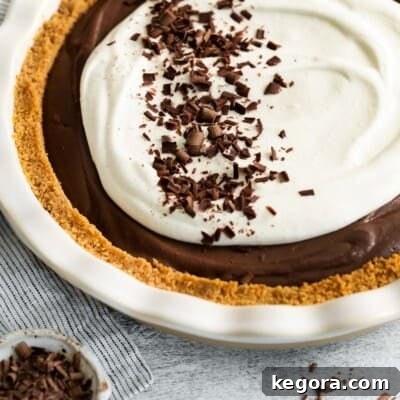
- Spread and Garnish: Carefully spread the creamy, fluffy topping evenly over the set chocolate pudding layer in the pie crust. For an elegant finish, garnish with delicate chocolate curls, if desired. This adds both visual appeal and a delightful textural contrast.
- Final Chill and Serve: For the best texture and flavor, return the assembled pie to the refrigerator for another 1-2 hours to allow the topping to set and the flavors to meld beautifully. Once chilled, slice and serve this truly magnificent gluten-free chocolate pie. Enjoy every decadent bite!
Storage, Make-Ahead, and Freezing Tips for Your Pie
To ensure your gluten-free chocolate pie remains fresh and delicious, proper storage is key. Here are some guidelines for storing, preparing ahead of time, and freezing this delightful dessert:
To Store Leftovers: Any remaining slices of pie should be covered tightly with plastic wrap or transferred to an airtight container. This will protect the pie from drying out and absorbing other refrigerator odors. Stored correctly, your pie will stay fresh and enjoyable in the refrigerator for up to five days.
To Make Ahead: This pie is an excellent candidate for make-ahead preparation, perfect for reducing stress before a gathering. You can prepare the graham cracker crust and the chocolate pudding filling up to three days in advance. Once the pudding has cooled, cover it tightly and store it in the refrigerator. Just before you plan to serve the pie, prepare the cream cheese whipped topping and assemble the pie by spreading the topping over the chilled pudding. This ensures the whipped topping is at its freshest and fluffiest.
To Freeze: For longer storage, this pie freezes beautifully, though it’s best to freeze it without the whipped cream topping. Once the chocolate pudding filling is set in the crust, wrap the entire pie tightly in several layers of plastic wrap, followed by a layer of aluminum foil to prevent freezer burn. It can be stored in the freezer for up to 1 month. When you’re ready to enjoy it, thaw the pie overnight in the refrigerator. Prepare the cream cheese whipped topping just before serving to add that perfect fresh, fluffy finish.
Can This Chocolate Pie Be Made Dairy-Free?
Absolutely! This delectable chocolate pie can be successfully adapted to be dairy-free with a few simple substitutions. For the crust, replace traditional butter with a high-quality dairy-free butter substitute, ensuring your base remains rich and flaky. When preparing the chocolate pudding, swap out whole milk for a suitable non-dairy milk such as almond milk, oat milk, or cashew milk – each will impart a slightly different nuance to the flavor. Additionally, opt for dairy-free chocolate chips or a dairy-free chocolate bar for the filling. For the creamy topping, use a dairy-free cream cheese alternative and substitute the heavy whipping cream with full-fat canned coconut cream (chilled overnight in the refrigerator, then scoop out the thick cream). With these adjustments, you can enjoy a delicious dairy-free version of this classic dessert.
Can This Chocolate Pie Be Made Vegan?
Yes, crafting a vegan version of a chocolate pie is entirely possible! For a completely vegan dessert that’s very similar in spirit to this one, I highly recommend exploring my popular gluten-free vegan chocolate pudding pretzel pie. It’s a longtime reader favorite known for its incredible flavor and texture. Alternatively, you can adapt this specific recipe by first making the crust with a dairy-free butter substitute. Then, for the filling, substitute the egg yolks with a suitable vegan egg replacer (such as a commercial egg replacer mix or a flax egg for binding) and use dairy-free milk and chocolate as mentioned above. For the topping, follow the dairy-free instructions using vegan cream cheese and coconut cream. Achieving a rich vegan chocolate pudding takes a bit of specific ingredient selection, but the results are truly satisfying.
How to Create Elegant Chocolate Curls for Garnish
Adding beautiful chocolate curls is a simple yet effective way to elevate the presentation of your pie, making it look professionally finished. To create perfect chocolate curls, you’ll need a bar of good-quality chocolate and a vegetable peeler. Hold the chocolate bar firmly and run the vegetable peeler along the edge of the bar, applying gentle, even pressure. This will create delicate, curled shavings. For longer, more pronounced curls, try warming the chocolate bar slightly in your hands or by letting it sit at room temperature for a bit before you start shaving. This makes the chocolate more pliable and less prone to breaking into small flakes. Practice makes perfect, and soon you’ll be garnishing like a pro!
Exploring Alternative Pie Crust Options
While the gluten-free graham cracker crust is a beloved classic for this chocolate pie, don’t hesitate to unleash your creativity and experiment with other crust options to suit your preferences or to add a unique twist. For a wonderfully intense chocolate experience, you could create a decadent chocolate cookie crust using my gluten-free Oreo pie crust recipe – it pairs exceptionally well with the rich chocolate pudding. If you prefer a more traditional, flaky pastry texture, consider using my reliable gluten-free pie dough. Both of these alternatives would provide an amazing contrast and complement to the smooth, luxurious chocolate pudding filling, opening up a world of delightful possibilities for your next pie!
Pro Tips & Tricks for Your Gluten-Free Chocolate Pie
Achieving the perfect gluten-free chocolate pie is easy with these expert tips and tricks designed to enhance your baking experience and the final delicious outcome:
- Experiment with Your Crust: While our graham cracker crust is a classic, feel free to get creative! For a more intense chocolate flavor, try making a chocolate cookie crust using my recommended gluten-free Oreo crust. If you’re a fan of a buttery, flaky texture, consider using a traditional gluten-free pie dough as an alternative. Both options promise a fantastic foundation for this rich chocolate filling.
- Ensure Room Temperature Cream Cheese: This tip is crucial for a lump-free, silky-smooth whipped topping. Always allow your cream cheese to soften to room temperature before beating. Cold cream cheese will result in a clumpy topping that is difficult to incorporate smoothly, affecting the overall texture and elegance of your pie.
- Invest in High-Quality Chocolate: The chocolate pudding is the heart of this pie, so the quality of your chocolate makes a significant difference. Using a premium brand like Guittard or Ghirardelli ensures a rich, deep, and nuanced chocolate flavor that truly elevates the entire dessert. Avoid using generic or waxy baking chocolate, as it can lead to a less vibrant taste and a less desirable texture.
- Temper Eggs Slowly: When adding the warm milk mixture to the egg yolks, do so very slowly and whisk constantly. This “tempering” process is essential to gradually raise the temperature of the eggs, preventing them from scrambling and ensuring your pudding remains perfectly smooth and creamy.
- Chill Thoroughly: Patience is a virtue when making this pie! Adequate chilling time for both the pudding and the assembled pie is vital. It allows the pudding to set properly, ensuring clean slices, and lets the flavors meld beautifully for an optimal taste experience. Resist the temptation to cut corners on chilling!
Explore More Gluten-Free Pie Recipes
If you love this gluten-free chocolate pie, you’ll be thrilled to discover a world of other delicious gluten-free pie options. From classic fruit pies to creamy delights, there’s a pie for every craving and occasion. Expand your baking repertoire with these fantastic recipes:
- Gluten-Free Apple Pie (Homemade Crust!)
- Gluten-Free Pumpkin Pie
- Gluten-Free Buttermilk Pie
- The Best Gluten-Free Pecan Pie
- Gluten-Free Coconut Cream Pie
- Gluten-Free Peanut Butter Pie
- Gluten-Free Cherry Pie
- Gluten-Free Vegan Chocolate Pudding Pretzel Pie
- Browse Even More Gluten-Free Pie Recipes
Gluten-Free Chocolate Pie
Erin Collins
20
30
2
8 servings
Pin It
Comments
Ingredients
For the Crust:
- 1 ½ cups (180g) gluten-free graham cracker crumbs I use 1 5.6oz box of Schar graham crackers
- ¼ cup (50g) brown sugar
- 1 tablespoon gluten-free measure-for-measure flour
- 4 tablespoons (56g) butter melted and slightly cooled
For the Pudding:
- 2 ½ cups whole milk
- 5 ounces (142g) semisweet or bittersweet chocolate chips or bar chocolate
- 5 large egg yolks
- ¾ cup (175g) + 2 tablespoons granulated sugar
- ⅓ cup (40g) cornstarch
- ¼ teaspoon kosher salt
- 2 teaspoons vanilla extract
- 2 tablespoons butter
For the Topping:
- 4 ounces (113g) cream cheese softened
- 3 tablespoons powdered sugar
- ¼ teaspoon vanilla extract
- 1 cup heavy whipping cream
- chocolate curls for garnish optional
Instructions
Make the Crust:
-
Preheat the oven to 350°F (175°C). In a mixing bowl, combine the gluten-free graham cracker crumbs, brown sugar, and gluten-free flour. Mix until well combined. Add the melted butter and stir until all crumbs are moistened.
-
Press the crumb mixture firmly into the bottom and up the sides of a 9 x 1.5-inch pie pan. (Tip: Start by pressing the sides first, then the bottom!)
-
Bake at 350°F (175°C) for 10 minutes. Remove the crust from the oven and set it aside to cool completely while you prepare the pudding filling.
Make the Pudding:
-
In a medium saucepan, combine the whole milk and chopped chocolate (if using a bar). Heat over medium-low heat, stirring occasionally, until the chocolate is melted and the mixture is warm and smooth. Do not boil.
-
In a separate medium bowl, whisk together the egg yolks, granulated sugar, cornstarch, and kosher salt until smooth. While vigorously whisking, slowly ladle about 1/2 cup of the warm milk-chocolate mixture into the egg yolk mixture. Continue to whisk constantly to temper the eggs. Add one or two more scoops of the warm milk mixture, whisking until the egg mixture is smooth and warmed through.
-
Pour the tempered egg mixture back into the saucepan with the remaining chocolate milk mixture, whisking constantly. Cook over medium heat, continuing to whisk the entire time, until the mixture starts to bubble gently and thickens significantly (about 4-5 minutes). It should be thick enough to coat the back of a spoon.
-
Remove the saucepan from the heat. Stir in the butter and vanilla extract until fully melted and incorporated. Transfer the pudding to a clean bowl and immediately cover the surface directly with plastic wrap to prevent a skin from forming. Let the pudding cool to room temperature, approximately 45 minutes to 1 hour.
-
Once both the crust and pudding are completely cool, spread the pudding evenly into the baked pie crust. Cover the pie with plastic wrap and refrigerate for 2-3 hours, or until the pudding is fully set.
Make the Topping:
-
In a large bowl, add the softened cream cheese, powdered sugar, and vanilla extract. Using an electric mixer, beat until the mixture is creamy and smooth, ensuring no lumps remain. With the mixer running on low speed, slowly pour in the cold heavy whipping cream. Increase the speed to medium-high and continue to whip until the mixture is light, fluffy, and holds soft peaks. Be careful not to overmix.
-
Spread the creamy whipped topping evenly over the chilled chocolate pudding layer. Garnish with chocolate curls, if desired, for an elegant finish. Refrigerate the pie for another 1-2 hours before serving to allow the topping to set beautifully. Slice and enjoy your decadent gluten-free chocolate pie!
Notes
- To store: Cover any leftovers with plastic wrap, or store in an airtight container for up to five days in the refrigerator.
- To make ahead: This pie can be prepared up to three days in advance. Make the crust and chocolate filling as directed, then refrigerate the filling until ready to assemble. Just before serving, prepare the whipped cream topping and assemble the pie.
- To freeze: Freeze the pie without the whipped cream topping. Wrap it tightly in plastic wrap and store in the freezer for up to 1 month. Thaw in the refrigerator overnight and add the whipped cream topping just before serving.
- Try a different crust. To customize this recipe, consider using a chocolate cookie crust (like a gluten-free Oreo crust) or a traditional gluten-free pie dough for a flaky alternative.
- Use room temperature cream cheese. Softened cream cheese blends much more easily, ensuring a smooth and lump-free whipped topping.
- Use high-quality chocolate. For the best flavor, choose a premium brand of chocolate suchard as Guittard or Ghirardelli, as it forms the foundation of this pie’s taste.