
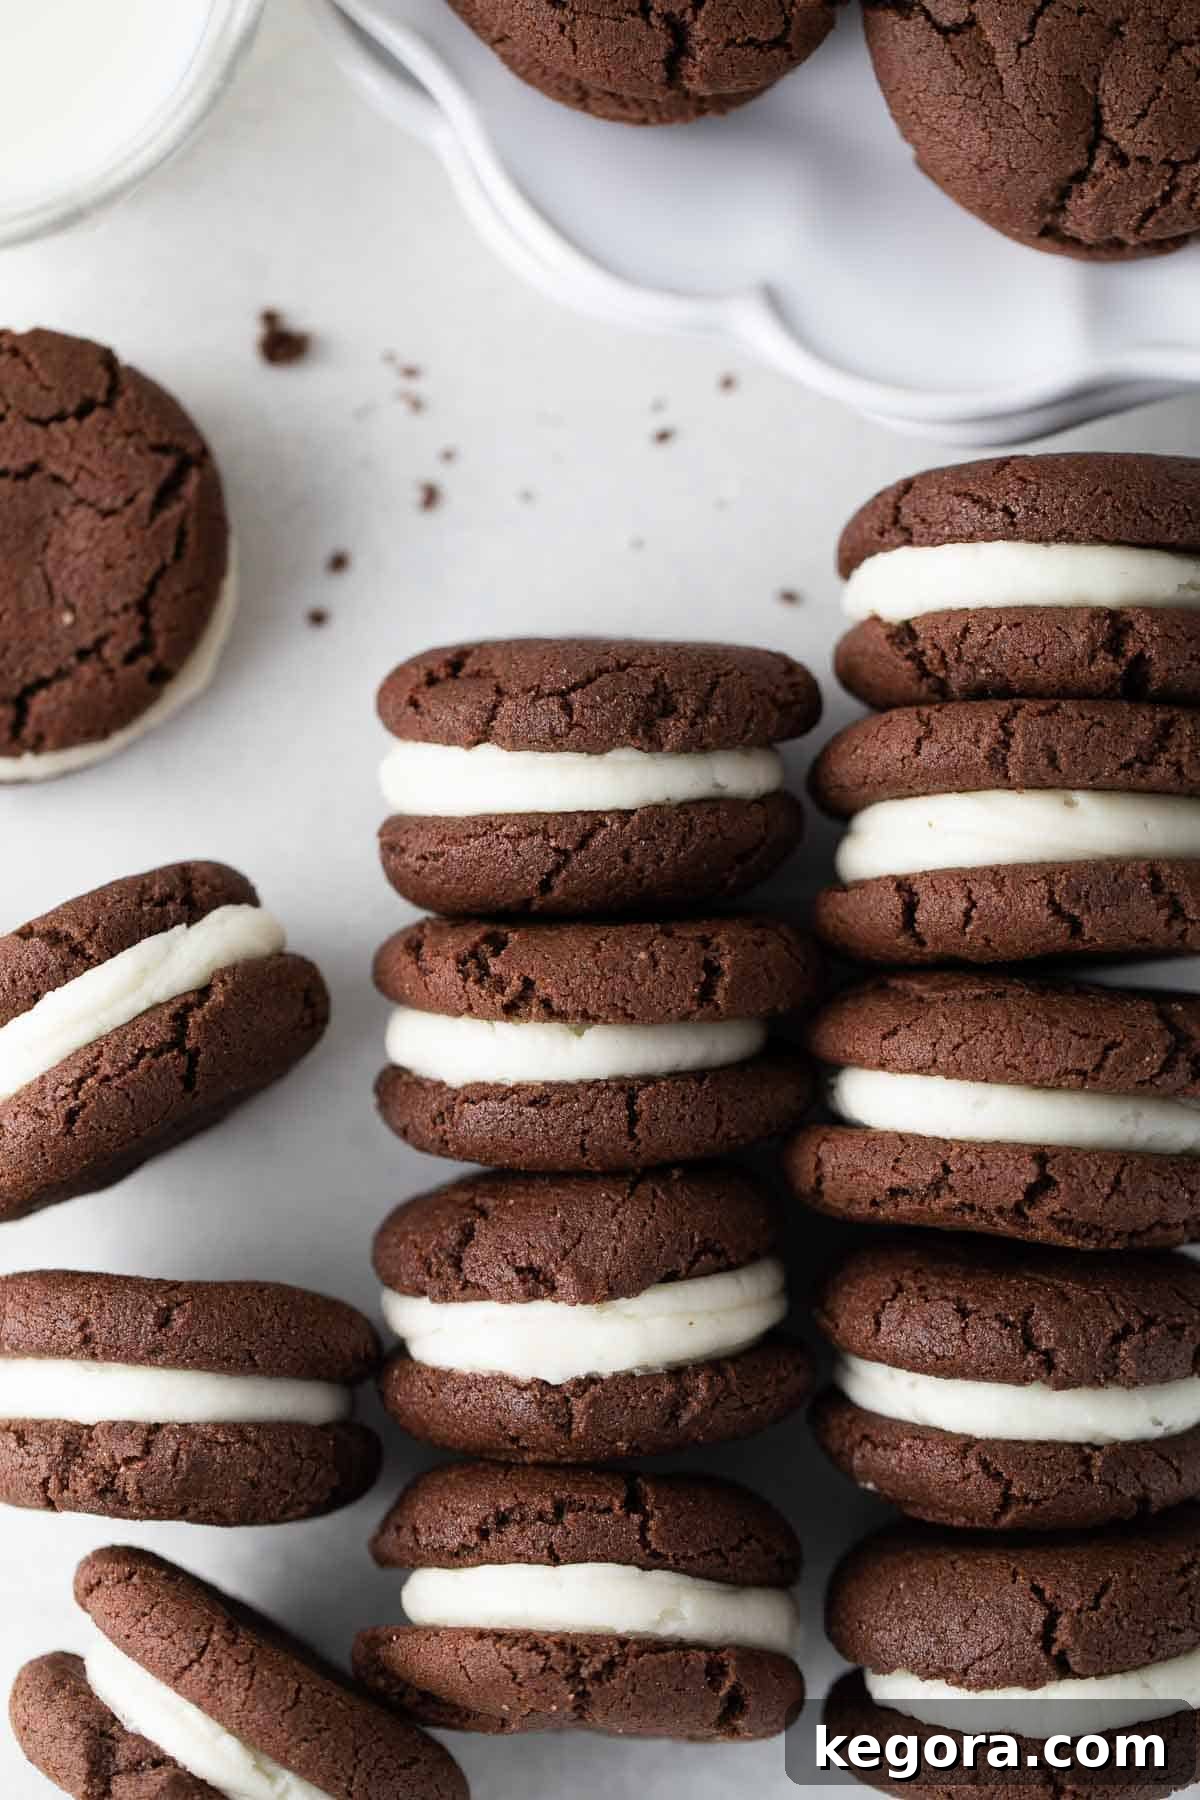
Craving that classic chocolate sandwich cookie but need a gluten-free option? Look no further! These homemade gluten-free Oreos are a dream come true, featuring soft, rich mini chocolate cookies perfectly cradling a luscious vanilla creme filling. Prepare to be amazed; this irresistible recipe is poised to become your new favorite treat, proving that gluten-free can taste even better than the original!
This comprehensive recipe offers the flexibility to choose your ideal filling: a decadent cream cheese frosting for an extra tangy twist or a classic shortening-based creme for an authentic Oreo experience. Whichever you choose, the chocolate cookies themselves are delightfully easy to prepare and boast an intensely satisfying chocolate flavor that forms the perfect foundation for these iconic sandwich cookies. Forget store-bought imitations; your kitchen is about to become a gluten-free cookie factory!
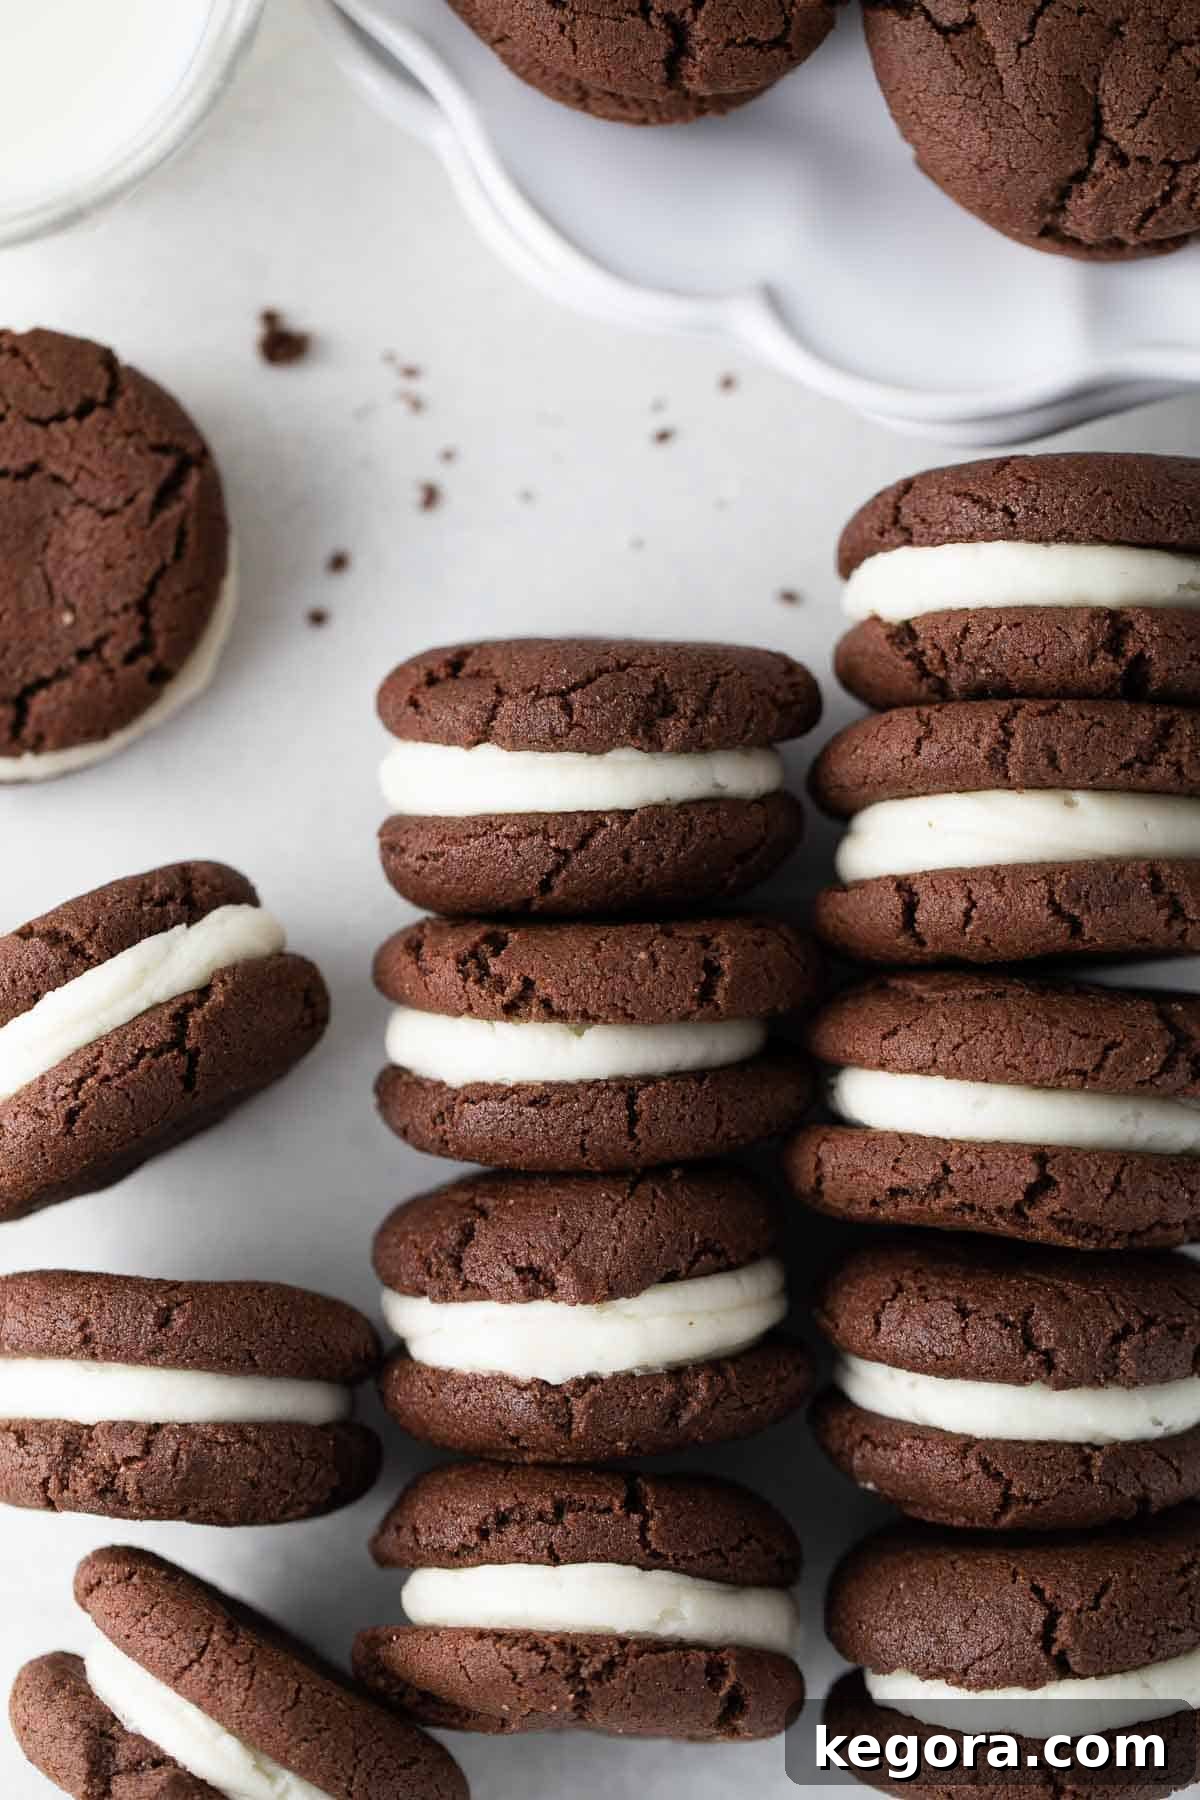
Why You’ll Love This Homemade Gluten-Free Oreo Recipe
Embarking on a baking project can be incredibly rewarding, and making homemade gluten-free Oreos is no exception. This recipe simplifies the process, making it much easier than you might anticipate to recreate these beloved cookies from scratch. Not only do you get to enjoy the therapeutic process of baking, but you also gain full control over the quality of your ingredients, ensuring a wholesome and utterly delicious outcome tailored to your dietary needs. This is especially beneficial for those managing gluten sensitivities or celiac disease, as you can trust every ingredient that goes into your delightful treats.
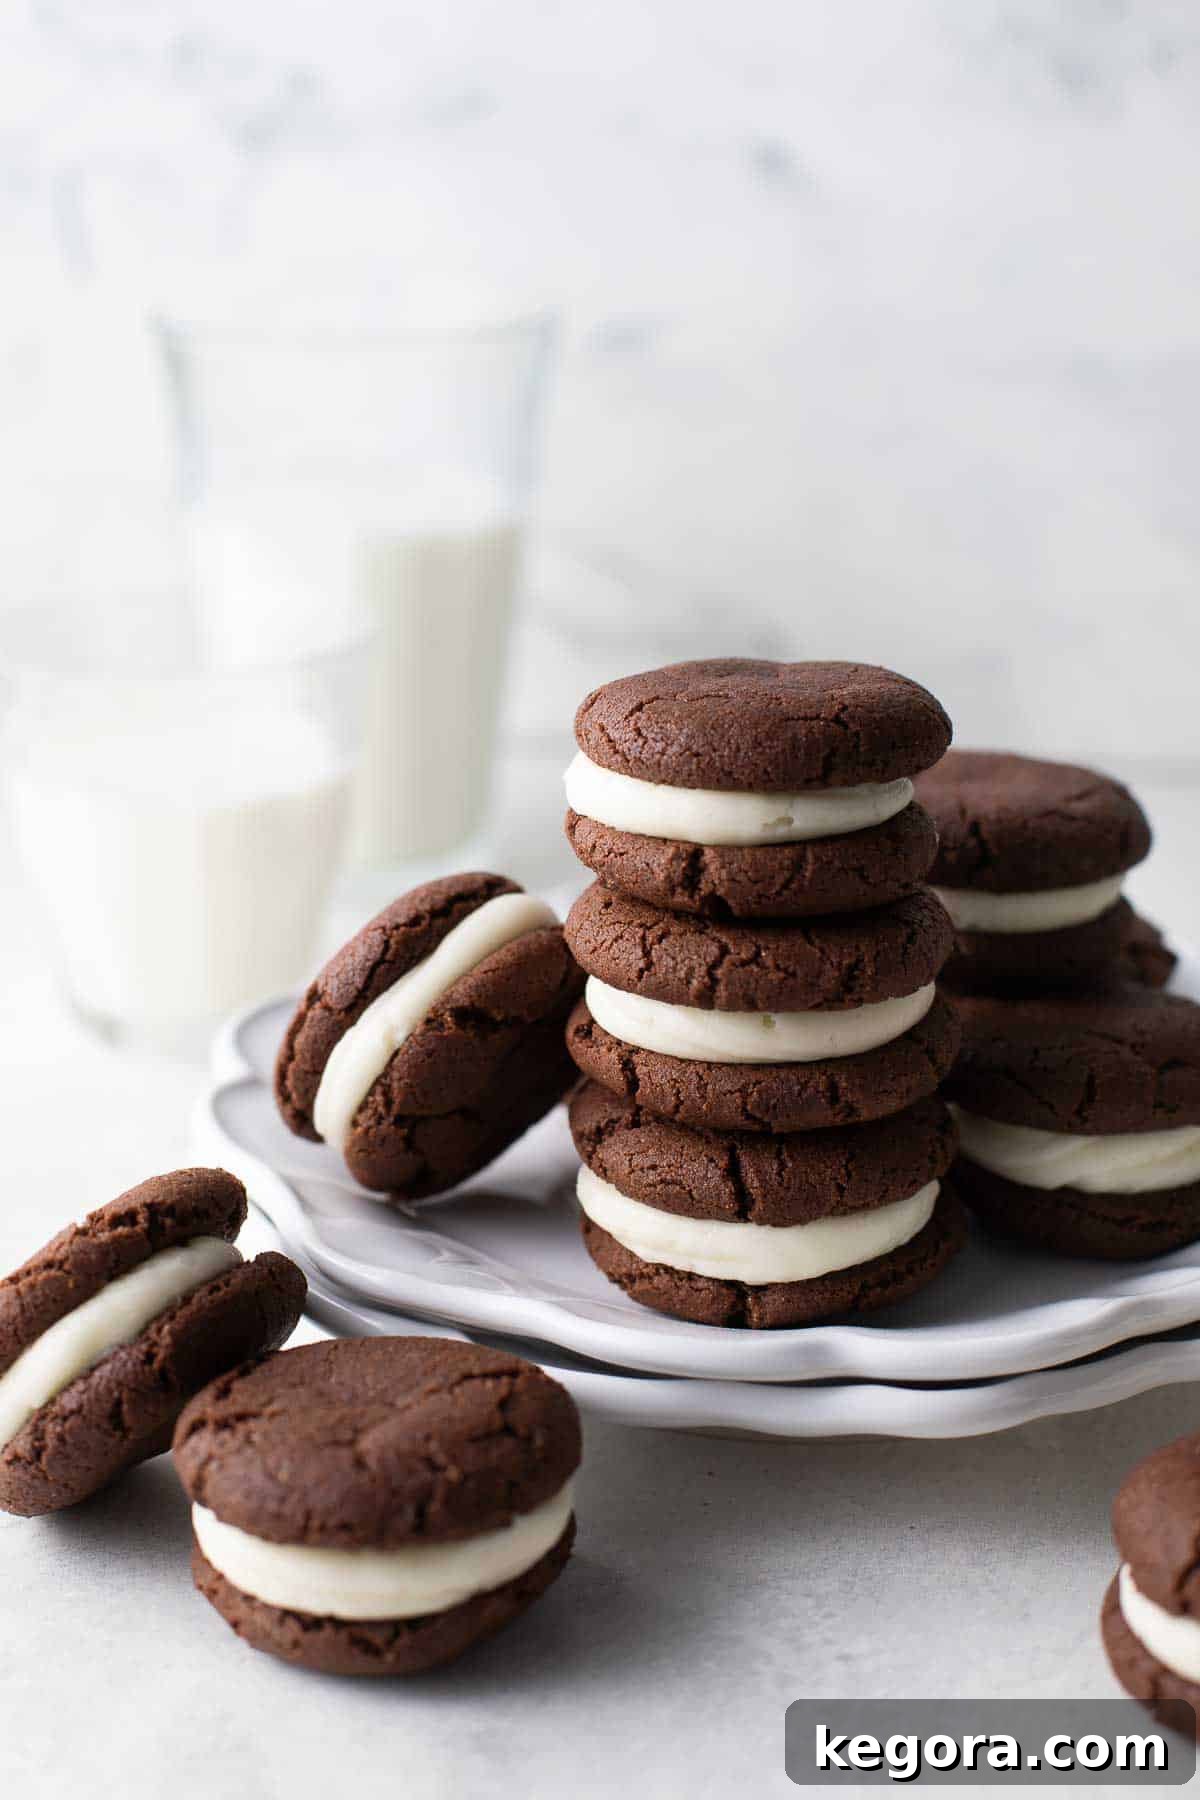
Unlike some gluten-free cookies that can be overly crumbly or dry, these cookies strike a perfect balance. They are not overly cakey like a whoopie pie, nor are they as rigidly crisp as their store-bought counterparts. Instead, they offer a tender, slightly chewy texture that yields beautifully with each bite, creating an “in-between” consistency that many find to be just right – the ideal companion for a cold glass of milk! The rich chocolate flavor of the cookie pairs exquisitely with the sweet, creamy filling, making each bite an experience to savor.
These homemade gluten-free Oreos are more than just a delicious snack; they are fantastic for entertaining and special occasions. Much like our Gluten-Free Chocolate Mint Cookies, Gluten-Free Brownies, Gluten-Free Chocolate Cookies, or these Flourless Chocolate Cookies, they are a guaranteed crowd-pleaser. Imagine serving them at birthday parties, as impressive Super Bowl snacks, or adding them to festive holiday cookie platters. They’re also an excellent choice for lunchbox treats or simply when a craving for a classic cookie strikes. For more delightful gluten-free treats, you might also enjoy our Gluten-Free Oreo Rice Krispies Treats or Gluten-Free Oatmeal Cream Pies!
Essential Ingredients for Your Homemade Gluten-Free Oreos
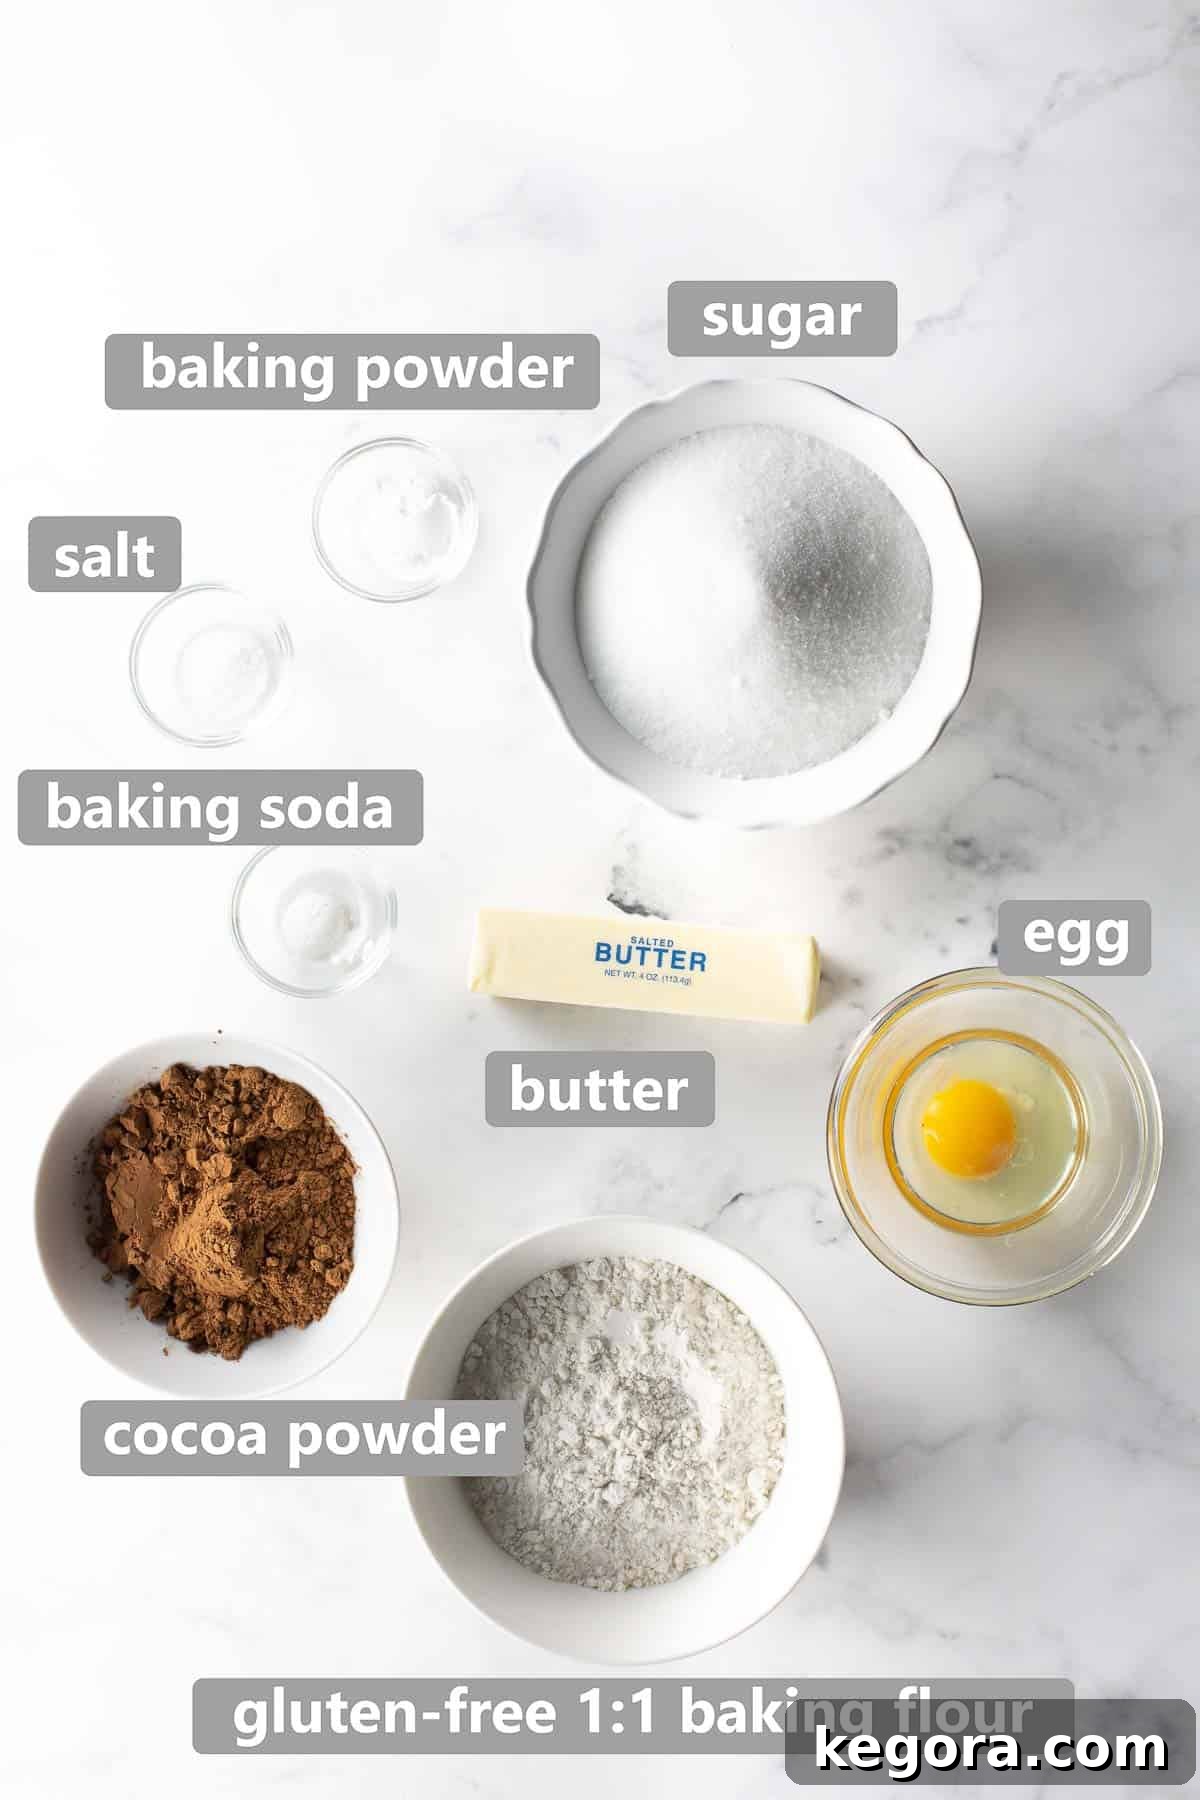
Crafting the perfect gluten-free Oreo begins with understanding your ingredients. Each component plays a vital role in achieving that signature taste and texture. Here are detailed notes on the key components for both the intensely chocolatey cookies and their creamy vanilla filling. Should you have any further questions about substitutions or preparation, please don’t hesitate to ask in the comments below!
For the Rich Chocolate Cookies:
- Gluten-Free 1:1 Baking Flour: The foundation of our gluten-free magic! I highly recommend using a high-quality gluten-free measure-for-measure flour blend like King Arthur Flour. It’s crucial that your chosen blend already contains xanthan gum. This ingredient acts as a binder, mimicking the elasticity of gluten, which is vital for preventing crumbly cookies and ensuring a tender, cohesive texture in gluten-free baked goods. If your blend doesn’t contain xanthan gum, you may need to add about 1/4 teaspoon per cup of flour, but it’s much simpler and more reliable to use a blend that’s already formulated for consistent results.
- Unsweetened Cocoa Powder: This is where the deep, authentic chocolate flavor comes from. You can use any good quality unsweetened cocoa powder; standard varieties like Hershey’s work perfectly. For an even richer, darker, and less acidic chocolate flavor, consider using Dutch process cocoa powder. This type of cocoa has been treated with an alkali to neutralize its acidity, resulting in a smoother, more mellow chocolate taste that truly elevates these cookies to gourmet status.
- Granulated Sugar: Provides essential sweetness and contributes significantly to the cookie’s structure and tenderness. Don’t skimp on the sugar, as it balances the natural bitterness of the cocoa and helps create that desirable crisp-yet-chewy texture. It also aids in the creaming process with butter, incorporating air for a lighter crumb.
- Baking Soda & Baking Powder: These two leavening agents work in tandem to give the cookies a slight lift and contribute to their tender crumb. Ensure they are fresh for optimal leavening power – expired leaveners can result in flat, dense cookies.
- Salt: A pinch of salt is absolutely essential to enhance all the other flavors, particularly the deep chocolate. It prevents the cookies from tasting flat and brings out their richness, creating a more complex and satisfying flavor profile.
- Unsalted Butter: I typically use salted butter in my general baking, but for precision in this recipe, unsalted butter softened to room temperature is preferred. This allows you to control the exact amount of salt added. If you only have salted butter, simply omit the added salt from the dry ingredients to avoid over-salting. Room temperature butter is crucial for creaming with sugar, creating an airy and emulsified base for your dough.
- Large Egg: The egg acts as a powerful binder, holding the cookie dough together, and adds vital moisture, contributing to the cookie’s overall texture and richness. Ensure it’s at room temperature for better emulsification with the butter and sugar mixture.
For the Creamy Vanilla Filling (Two Options!):
- Softened Butter: Essential for both filling options, providing richness and a smooth, stable texture. Just like with the cookies, ensure it’s at room temperature – this is key for a smooth, lump-free filling that creams beautifully.
- Cream Cheese (Option 1): For a less traditional but incredibly delicious and tangy filling. Use full-fat cream cheese, softened completely to room temperature, for the best consistency, flavor, and ease of mixing. This adds a lovely complexity and a subtle tang that wonderfully complements the rich chocolate cookies.
- Vegetable Shortening (Option 2): If you’re aiming for that classic, iconic Oreo creme filling texture and flavor, vegetable shortening is the way to go. It creates a stable, bright white, and perfectly smooth filling that holds its shape exceptionally well, even at room temperature. Ensure it’s also at room temperature for optimal creaming.
- Vanilla Extract: Absolutely crucial for that signature sweet vanilla flavor in the creme filling. Use high-quality pure vanilla extract for the most authentic and robust flavor profile.
- Powdered Sugar (Confectioners’ Sugar): Provides the bulk and sweetness for the filling, dissolving easily to create a silky-smooth texture without any grittiness. Sift it before adding to the other ingredients, especially if it’s lumpy, to ensure a flawless and airy consistency in your creme.
Step-by-Step Guide: Crafting Your Perfect Homemade Gluten-Free Oreos
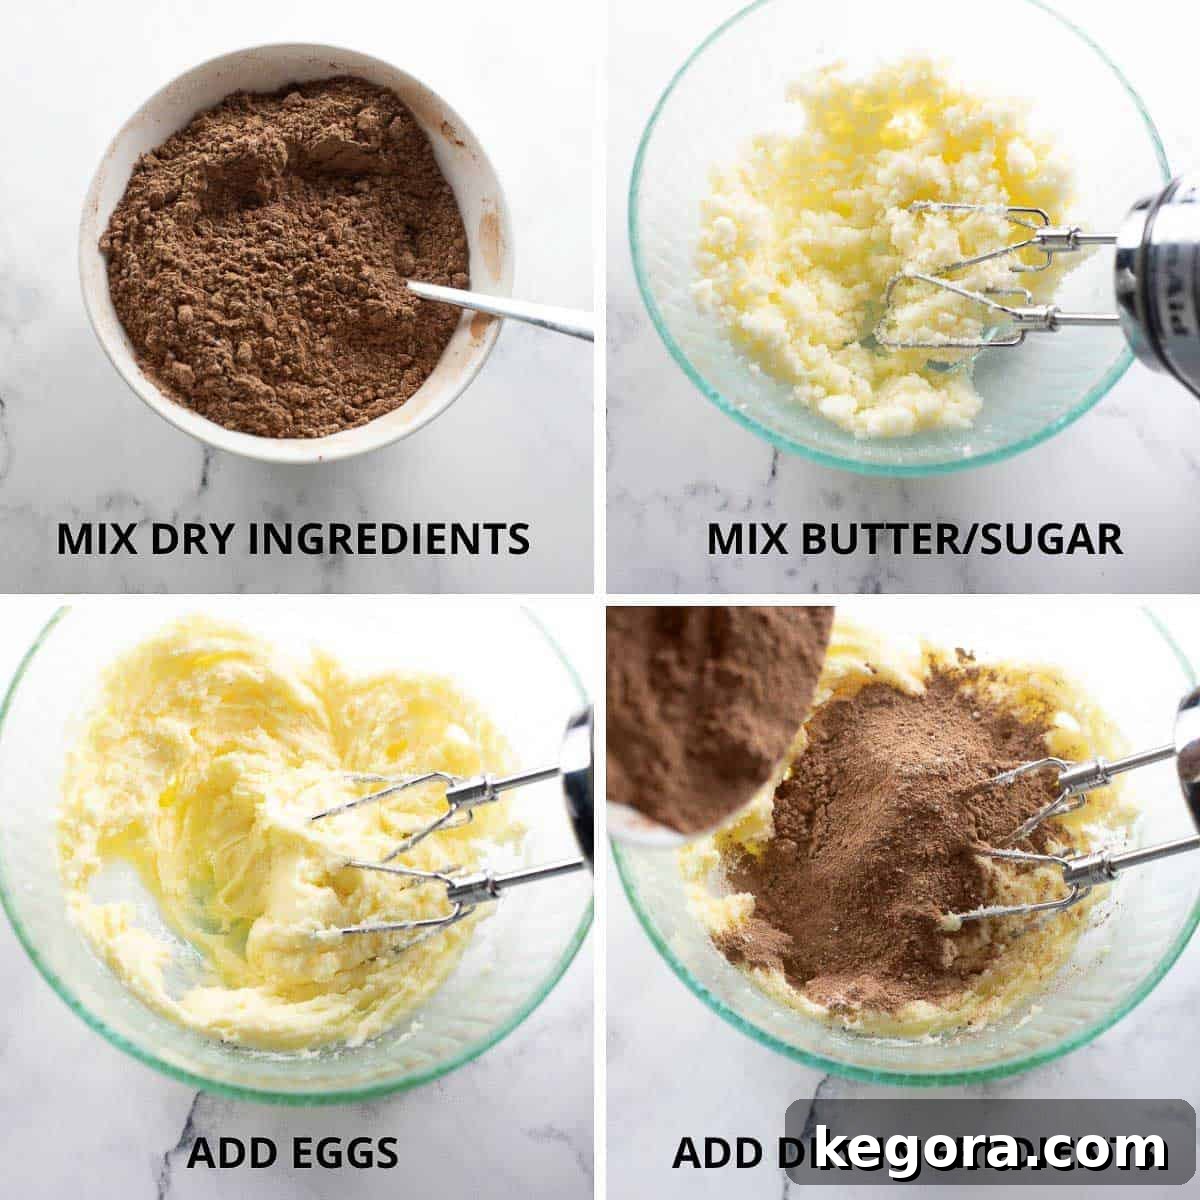
Part 1: Preparing the Gluten-Free Chocolate Cookies
Creating the perfect chocolate cookie base is a precise yet enjoyable process. Follow these steps carefully for the best results:
-
Step 1: Combine Dry Ingredients. In a medium-sized bowl, meticulously whisk together the gluten-free 1:1 baking flour, unsweetened cocoa powder, baking soda, baking powder, and salt. Whisking vigorously ensures these ingredients are thoroughly combined and evenly distributed throughout the mixture, preventing pockets of leavening agents or uneven saltiness in your finished cookies. Set this perfectly blended mixture aside.
-
Step 2: Cream Butter and Sugar. In a large mixing bowl or the bowl of a stand mixer fitted with the paddle attachment, add the softened butter and granulated sugar. Beat with an electric mixer on medium speed for 1 to 2 minutes until the mixture is light, fluffy, and well-creamed. This essential process incorporates air into the butter and sugar, which is crucial for the tender texture of the cookies and helps them spread slightly during baking.
-
Step 3: Add Egg. Scrape down the sides of the bowl with a rubber spatula to ensure all ingredients are incorporated, then add the large egg. Continue mixing for another 1 to 2 minutes until the egg is fully incorporated and the mixture appears smooth and homogenous. Remember to scrape down the bowl again after adding the egg to guarantee everything is evenly blended and no unmixed ingredients remain.
-
Step 4: Gradually Incorporate Dry Ingredients. With the mixer on low speed to prevent a flour cloud, gradually add the dry ingredient mixture to the wet ingredients in three separate additions. Mix briefly after each addition until just combined. It’s important not to overmix the dough once the flour is added, as this can develop any existing gluten (even in GF flours, some starches can become tough) and lead to tougher cookies. Mix just until the dough comes together and no visible streaks of dry flour remain.
-
Step 5: The Crucial Dough Rest. Once your cookie dough is completely mixed, it’s absolutely vital to give it a 30-minute rest period. Cover the dough tightly with aluminum foil or plastic wrap and place it in the refrigerator. This rest allows the gluten-free flour to properly hydrate, absorbing the moisture from the wet ingredients. This hydration process is key to achieving a smooth, non-gritty texture and helps the cookies hold their shape better during baking, preventing excessive spreading. If you chill the dough for longer than 30 minutes, let it sit at room temperature for about 15 minutes before proceeding to make it easier to scoop and roll.
-
Step 6: Preheat and Prepare. While the dough is happily resting, preheat your oven to 375°F (190°C). Prepare two baking sheets by lining them with silicone baking mats or parchment paper. This vital step prevents sticking, ensures even baking, and makes cleanup a breeze.
-
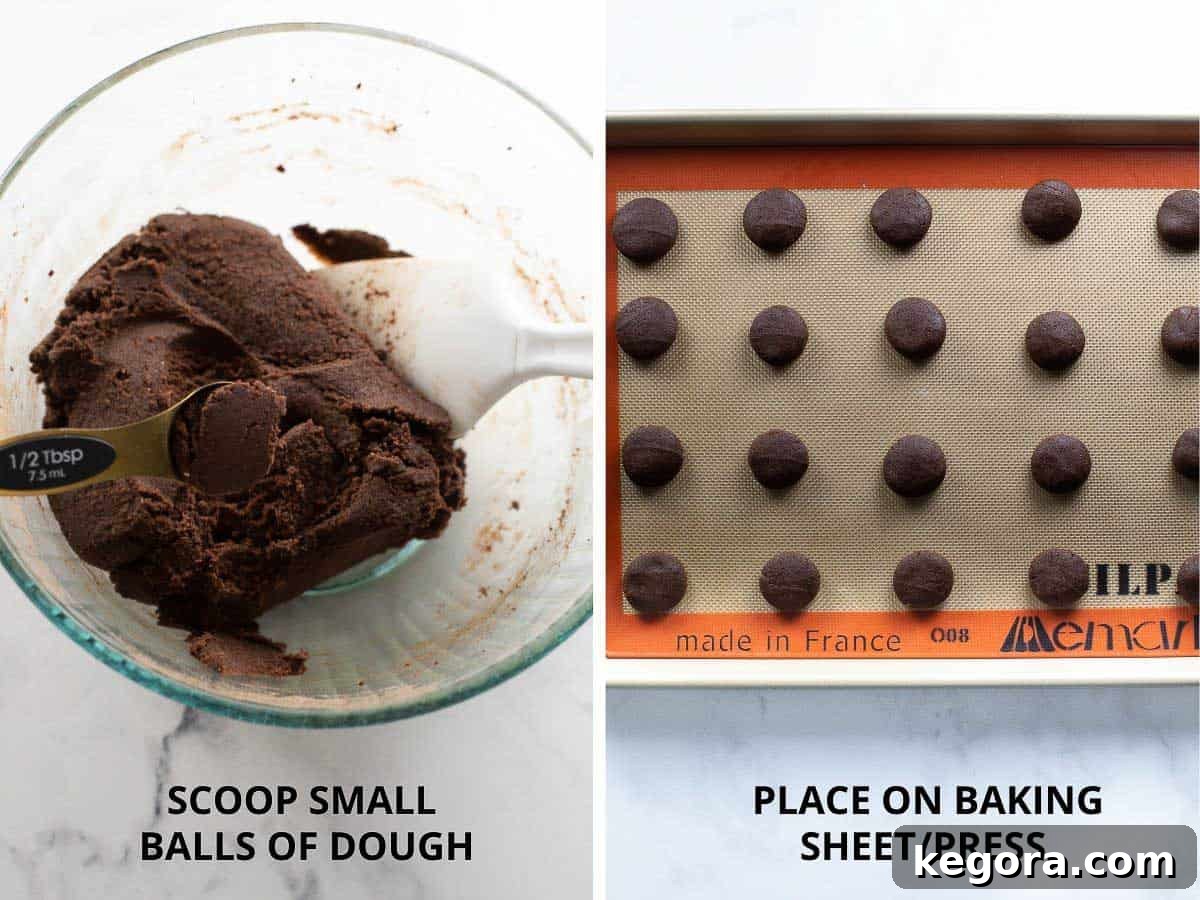
Step 7: Scoop and Shape. Using a 1/2 tablespoon or a 1-2 teaspoon measure, scoop out uniform balls of dough. For perfect consistency in size, I find these gold magnetic measuring spoons, specifically the 1/2 tablespoon, ideal for portioning small cookies. Roll each scooped portion into a smooth ball between your palms, then place them about 1-2 inches apart on the prepared baking sheets to allow for slight spreading. Gently flatten each dough ball slightly with the back of a spoon or your fingertips. This ensures even baking and the perfect cookie shape for sandwiching.
-
Step 8: Bake to Perfection. Transfer the baking sheets to the preheated oven. Bake for 6 minutes if you desire wonderfully soft and chewy cookies. For a crisper cookie, closer to the traditional store-bought texture, extend the baking time to 8-9 minutes. Keep a close eye on them to prevent over-baking, which can make them dry. The cookies will look slightly soft in the center when done, but will firm up beautifully as they cool.
-
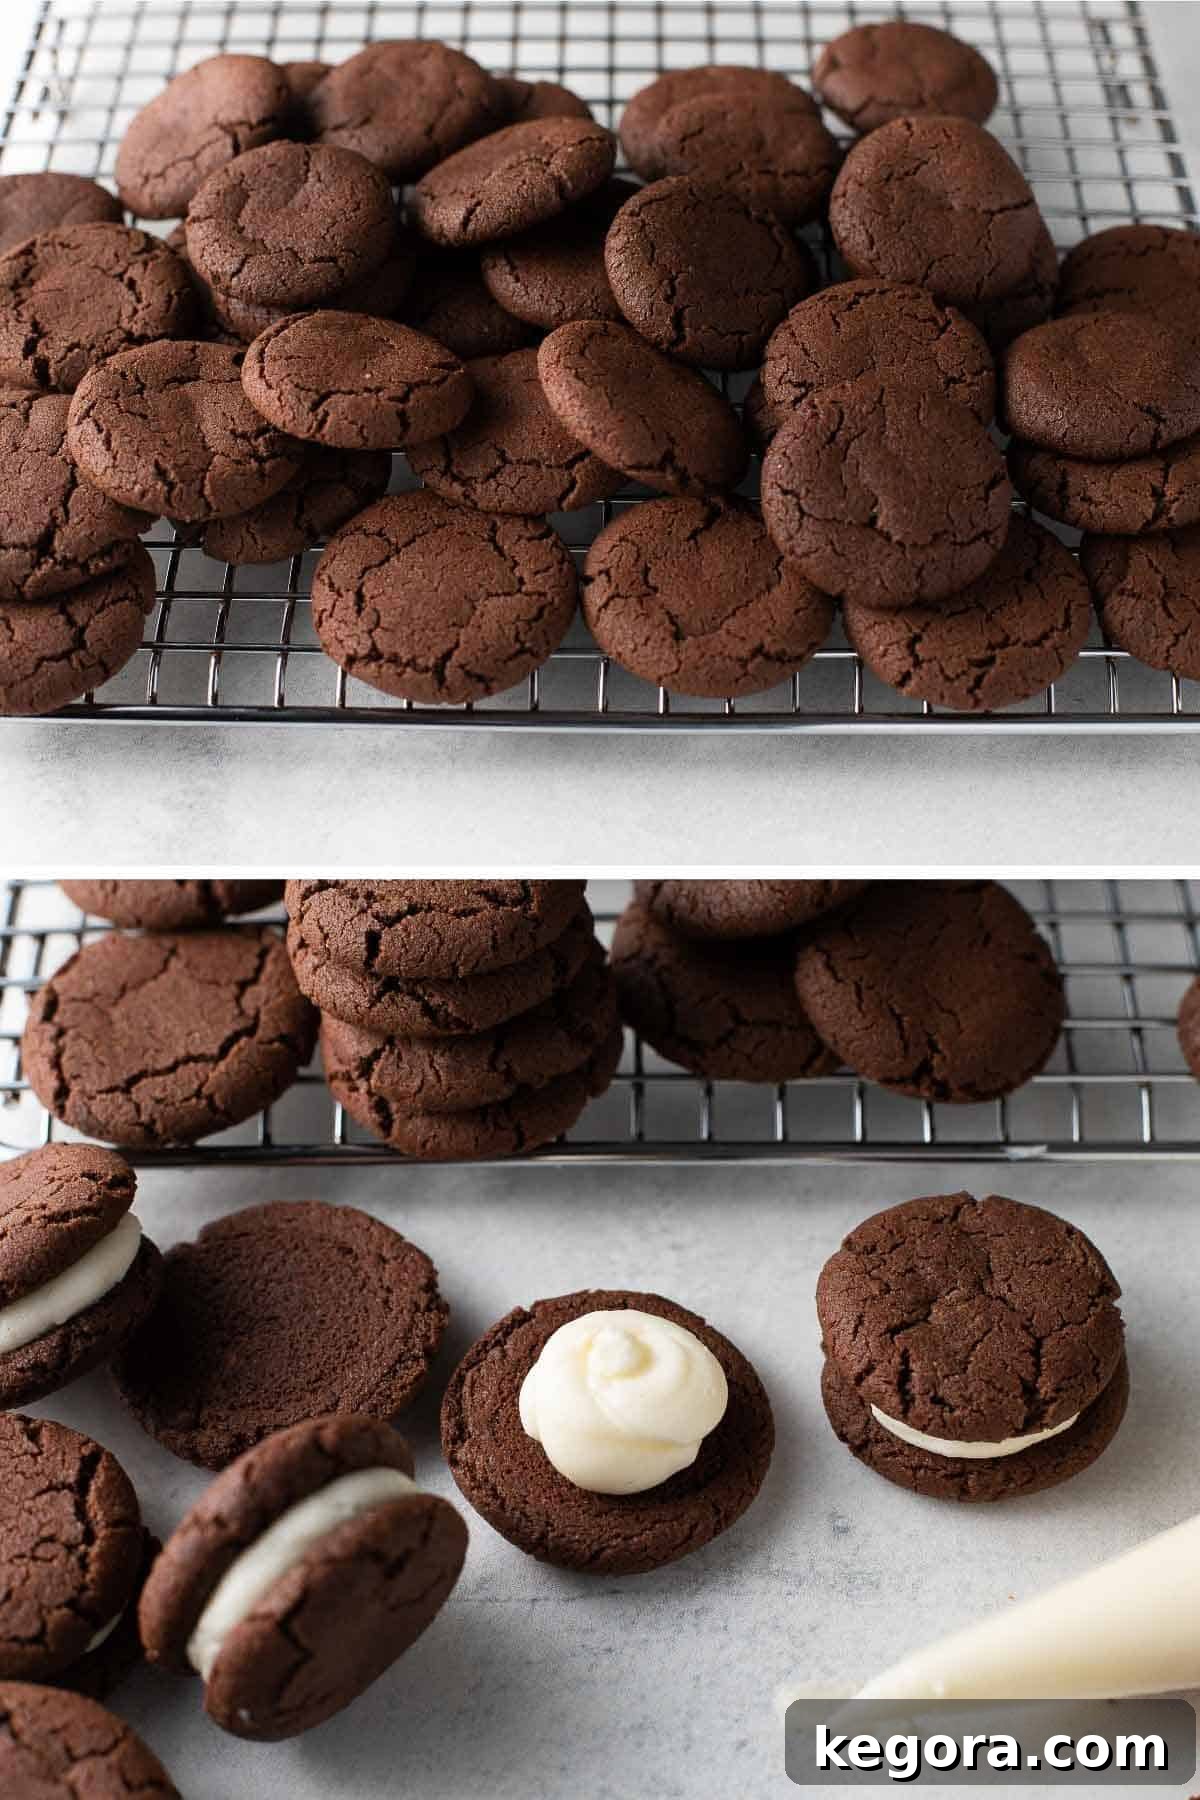
Step 9: Cool Completely. Allow the baked cookies to cool on the baking sheets for about 5 minutes. This allows them to set fully before handling. Then, carefully transfer them to a wire cooling rack to cool completely. It’s crucial for the cookies to be entirely cool before you attempt to fill them; otherwise, the creamy filling will melt and create a messy situation.
The Iconic Vanilla Creme Filling: Two Delicious Paths
Once your delectable gluten-free chocolate cookies are baked to perfection and fully cooled, it’s time to create the heart of these Oreos: the creamy vanilla filling. You have the wonderful flexibility of choosing between two distinct options, each offering a unique flavor profile that beautifully complements the rich chocolate cookies, allowing you to tailor your homemade Oreos to your exact preference.
Option 1: Tangy Cream Cheese Frosting Filling
While not traditional to the classic Oreo, a cream cheese-based filling offers a delightful tang and a wonderfully rich, creamy texture that many find irresistible. It adds a sophisticated twist and extra depth of flavor to the chocolate sandwich cookie experience, making it a favorite for those who enjoy a hint of tartness with their sweet.
-
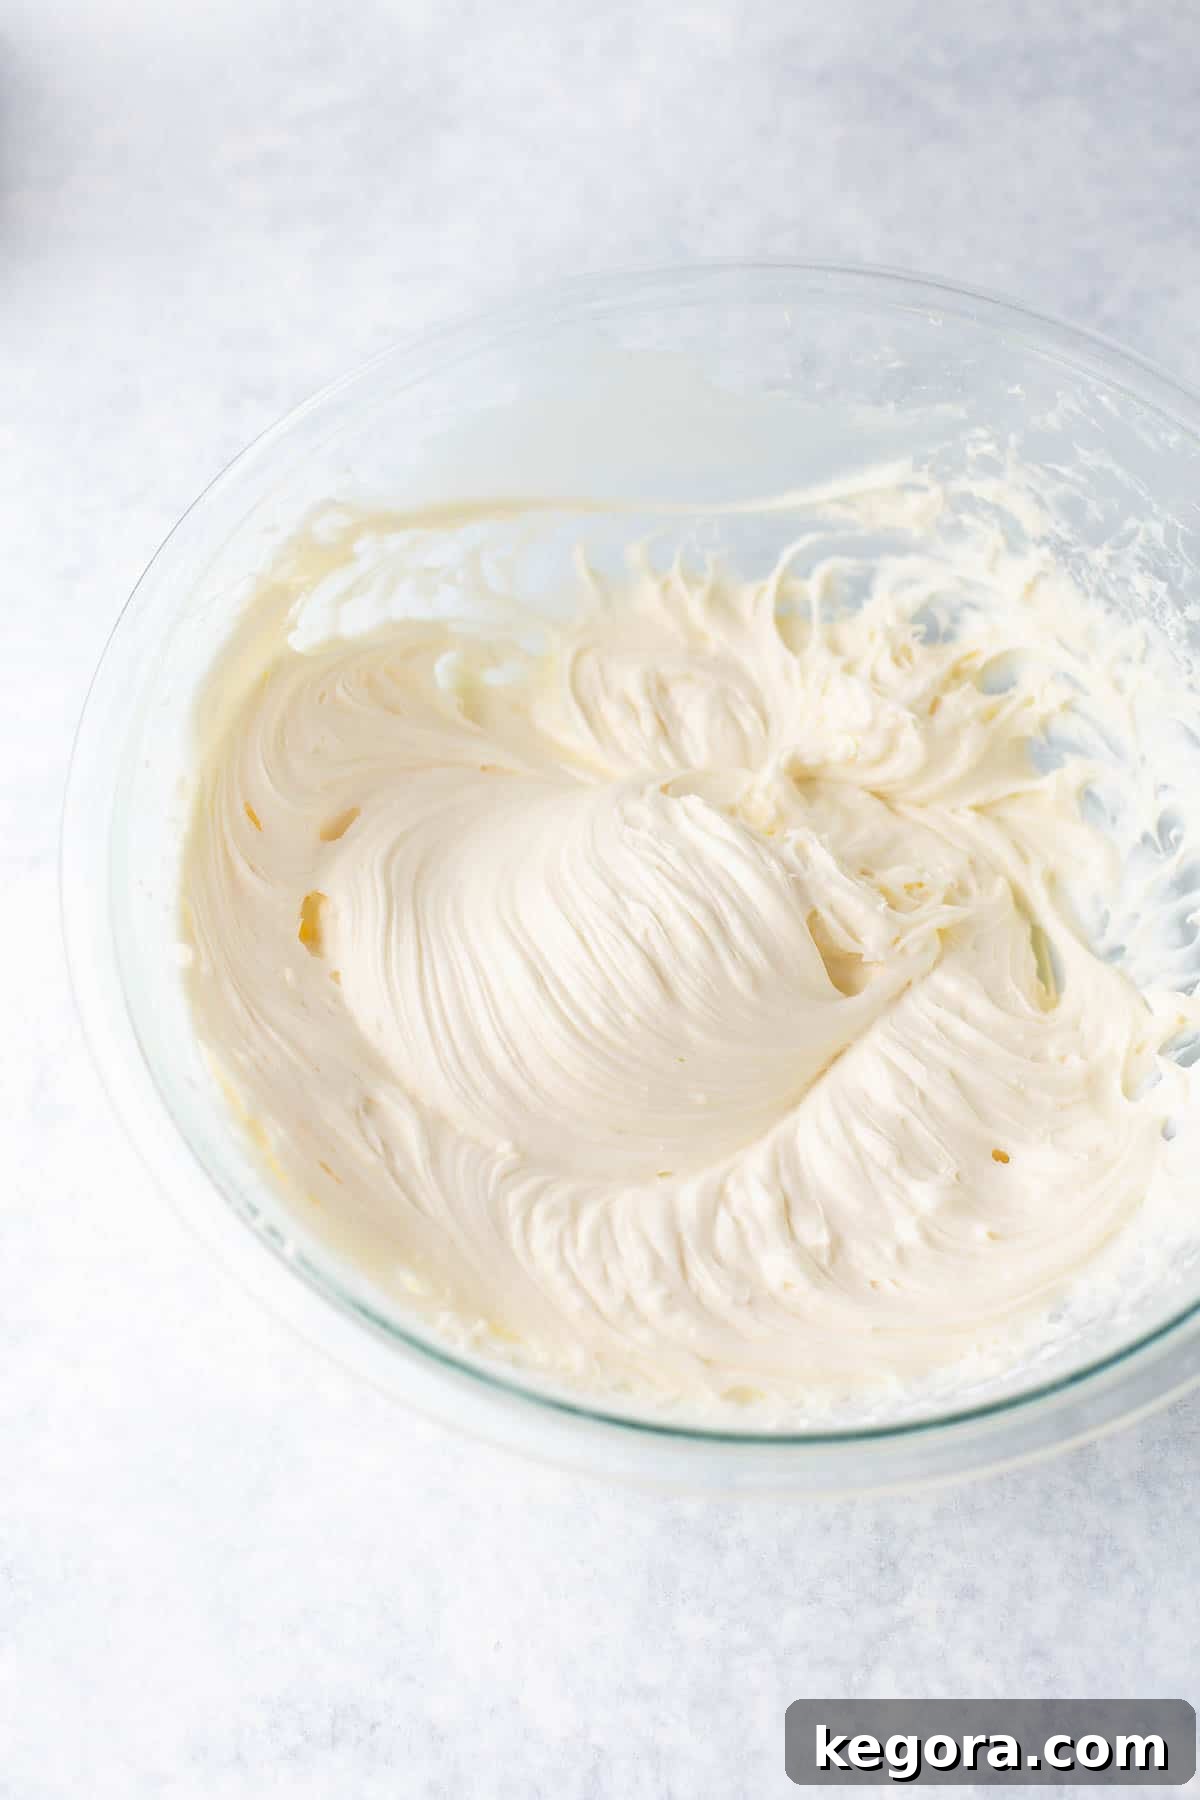
Step 1: Beat Wet Ingredients. In the bowl of a stand mixer fitted with the paddle attachment (or a large bowl with a handheld electric mixer), combine the softened full-fat cream cheese, softened butter, and vanilla extract. Beat at medium-high speed for about 30 seconds to 1 minute until the mixture is thoroughly combined, light, and perfectly smooth. Make sure to scrape down the sides of the bowl with a rubber spatula as needed to ensure even mixing and no lumps.
-
Step 2: Add Powdered Sugar. With the mixer on low speed, gradually add the sifted powdered sugar. Once most of the sugar is incorporated into the wet mixture, increase the speed to medium-high and whip for an additional 1 to 2 minutes until the filling is wonderfully light, fluffy, and absolutely smooth. Be careful not to over-beat, which can incorporate too much air and make the frosting less stable or too soft.
Option 2: Classic Shortening-Based Creme Filling
For an authentic taste and texture that closely mimics the original store-bought Oreo filling, opt for a shortening-based creme. This option yields a brighter white, firmer, and famously smooth filling that holds its shape incredibly well, making it ideal for classic sandwich cookies and warmer climates.
-
Step 1: Cream Shortening and Butter. In a large mixing bowl, beat the softened vegetable shortening and softened butter with an electric mixer until light and fluffy. This can take 1-2 minutes, ensuring the fats are well aerated for a lighter filling.
-
Step 2: Incorporate Vanilla and Sugar. Add the vanilla extract and gradually add the sifted powdered sugar, mixing on low speed until just combined. Once incorporated, increase the speed to medium-high and beat for 2-3 minutes until the filling is very light, airy, and exceptionally smooth. This longer beating time helps achieve that iconic smooth and stable texture.
Assembling Your Gluten-Free Oreo Cookie Sandwiches
Once your irresistible filling is ready and your chocolate cookies are perfectly cooled, it’s time for the most satisfying part: assembling your homemade gluten-free Oreos! Precision here helps create beautifully uniform and picture-perfect cookie sandwiches.
-
Step 1: Prepare for Filling. Transfer your chosen vanilla creme filling into a pastry bag fitted with a 1/2-inch round tip. This helps create a neat, professional-looking swirl of filling. If you don’t have a pastry bag, a sturdy Ziploc bag with a small corner snipped off (about 1/2 inch) will work just as effectively for piping.
-
Step 2: Match Cookies. Carefully sort through your cooled chocolate cookies, pairing up those of similar size and shape. This attention to detail ensures a neat and aesthetically pleasing cookie sandwich where the edges line up perfectly.
-
Step 3: Pipe and Assemble. Take one cookie (the bottom half) and pipe a generous teaspoon-sized blob of cream into its center. Take a matching cookie, place it gently on top of the cream, and lightly press down. The filling should gracefully spread evenly to the edges, creating that iconic Oreo look with a perfect creme-to-cookie ratio. Repeat this process with all the remaining cookies until you have a stack of perfectly assembled, homemade gluten-free Oreos, ready to be devoured!
Tips for Success & Creative Variations
To ensure your homemade gluten-free Oreos turn out perfectly every time, keep these valuable tips in mind. Plus, don’t shy away from experimenting with fun variations!
- Don’t Skip the Dough Rest: As emphasized in the instructions, the 30-minute chill time for the cookie dough is absolutely crucial for gluten-free flour hydration. This leads to a superior cookie texture that isn’t gritty or overly crumbly, ensuring your cookies are perfectly smooth and tender.
- Achieve Uniform Cookie Size: Consistency is key for beautiful sandwich cookies. Use a small cookie scoop or the recommended measuring spoon size (1/2 tablespoon) to ensure all cookies are uniform. This guarantees they bake evenly and pair up nicely for sandwiching without awkward overhangs.
- Ensure Room Temperature Ingredients: For both the chocolate cookies and the creamy filling, make sure your butter, cream cheese (if using), and egg are at proper room temperature. This allows for proper emulsification, resulting in a smooth, lump-free dough and a perfectly creamy, airy filling. Cold ingredients won’t combine properly, leading to a less desirable texture.
- Proper Storage: To maintain their freshness and deliciousness, store assembled gluten-free Oreos in an airtight container. They will keep well at room temperature for up to 3-4 days. If you’ve opted for the cream cheese filling, it’s best to store them in the refrigerator for up to a week. For longer enjoyment, these cookies freeze beautifully for up to 2 months; simply thaw at room temperature before serving.
- Delicious Flavor Variations: Get creative and customize your Oreos! Add a drop of peppermint extract to the vanilla filling for a refreshing mint Oreo variation, or a little orange zest for a delightful chocolate-orange delight. You can also experiment with different types of cocoa powders (e.g., black cocoa for a super dark, intense cookie) for varying chocolate intensities in the cookies themselves.
- Make it Dairy-Free: Adapting this recipe for dairy-free diets is simple! Substitute dairy-free butter sticks (such as Miyoko’s Kitchen or Earth Balance vegan butter) for regular butter in both the cookies and the filling. For the filling, you can either use a high-quality dairy-free cream cheese alternative or opt for the classic shortening-based filling for a completely dairy-free creme.
More Irresistible Gluten-Free Treats to Explore
If you’ve enjoyed making these delightful homemade gluten-free Oreos, you’re in for a treat with our other popular gluten-free dessert recipes. Perfect for any occasion or just a sweet indulgence, these recipes are sure to satisfy your cravings and expand your gluten-free baking repertoire.
- Gluten-Free Little Debbie Christmas Trees
- Classic Gluten-Free Rice Krispies Treats
- The Best Gluten-Free Chocolate Chip Cookies
- Hearty Gluten-Free Oatmeal Raisin Cookies
- Delicious Gluten-Free Peanut Butter Cookies
- Perfectly Spiced Gluten-Free Snickerdoodles
We are confident you’ll adore this homemade gluten-free Oreo recipe as much as we do! It’s a truly special treat that brings the joy of classic sandwich cookies back to those on a gluten-free diet. If you give it a try, please be sure to leave a comment and a rating below. Your feedback truly helps others in our baking community and we’d absolutely love to hear about your baking success and any creative twists you add! Happy baking!

Gluten-Free Oreos {Easy Homemade}
Erin Collins
20
20
40
15 cookie sandwiches
This versatile recipe offers a choice between a tangy cream cheese frosting or a traditional shortening-based filling. The cookies themselves are remarkably simple to prepare, delivering a rich chocolate flavor with a perfectly balanced texture – not too cakey, not overly crisp, but just right.
Comments
Print Recipe
Ingredients
For the Chocolate Cookies:
- 1 cup gluten-free 1:1 baking flour
- 1/2 cup unsweetened cocoa powder
- 1/2 teaspoon baking soda
- 1/4 teaspoon baking powder
- 1/4 teaspoon salt
- 1 cup sugar
- 10 tablespoons butter softened to room temperature
- 1 large egg
For the Filling:
- 1/2 cup butter 1 stick, softened to room temperature
- 8 oz cream cheese softened to room temperature (or vegetable shortening for a more classic filling)
- 1 teaspoon vanilla extract
- 3 1/2 cups powdered sugar
Instructions
Make the Cookies:
-
In a medium bowl, whisk together the flour, cocoa powder, baking soda, baking powder and salt.
-
In a large bowl (or the bowl of a stand mixer) add the sugar and butter. Mix with an electric mixer for 1-2 minutes until creamed. Add the egg and mix for another 1-2 minutes, scraping down the sides.
-
Add the dry ingredients in 3 additions, mixing after each addition. Mix the dough until completely combined. Cover the dough tightly with aluminum foil or plastic wrap and chill for 30 minutes. Chilling is mandatory. If you chill the dough for longer, let it come to room temperature for 15 minutes before scooping.
-
Preheat the oven to 375F (190C). Line 2 baking sheets with silicone baking mats or parchment paper.
-
Using a 1/2 tablespoon or teaspoon measure, scoop out 1-2 teaspoon size balls of dough. Roll into a ball and place on the lined baking sheet. Flatten the dough balls slightly.
-
Bake for 6 minutes for soft cookies or up to 8-9 minutes for crisper cookies. Let cool for 5 minutes then transfer to a wire cooling rack to cool completely.
Make the Filling:
-
Mix the softened cream cheese (if using), softened butter, and vanilla extract at medium-high speed in the bowl of a stand mixer fitted with the paddle attachment (or in a large bowl using handheld mixer) until well combined and fluffy, about 30 seconds to 1 minute, scraping down the bowl with rubber spatula as needed. (If using shortening, cream shortening and butter together first, then add vanilla).
-
Add the powdered sugar gradually on low speed. Once mostly incorporated, increase the speed to medium-high and whip for 1-2 minutes until fluffy and smooth.
-
To assemble the cookies, transfer the filling into a pastry bag with a 1/2 inch round tip (or a Ziploc bag with a hole cut at the end). Pipe teaspoon-size blobs of cream into the center of one cooled cookie. Place another cookie of equal size on top of the cream. Lightly press to gently work the filling evenly to the outsides of the cookie. Repeat with the remaining cookies. Serve and enjoy!
Notes
- Gluten-Free 1:1 Baking Flour: It works best to use a blend that contains xanthan gum in this recipe. My preference is a high quality gluten-free measure-for-measure flour blend like King Arthur Flour.
- Cocoa Powder: Any unsweetened cocoa powder will work (e.g., Hershey’s). For an even richer, darker chocolate flavor, Dutch process cocoa is recommended.
- Butter: I typically use salted butter in my baked goods. If using unsalted, you might add an extra pinch of salt to the cookie dough.
Recipe Notes & Tips
- Dough Hydration is Key: After mixing the dough, a 30-minute rest is crucial for gluten-free flour to hydrate, ensuring non-gritty, smooth cookies.
- Consistent Scooping: For uniform cookies, I recommend using a 1/2 tablespoon scoop. These gold magnetic measuring spoons are excellent for this task.
- Texture Control: Bake for 6 minutes for softer cookies. For a crisper, more traditional Oreo texture, bake for 8-9 minutes.
- Dairy-Free Option: Easily adapt this recipe by using dairy-free butter sticks and either dairy-free cream cheese or solely vegetable shortening for the filling.
- Storage: Store assembled cookies in an airtight container at room temperature for up to 3-4 days, or refrigerate for up to a week (if using cream cheese filling). They freeze well for up to 2 months.
Nutrition