
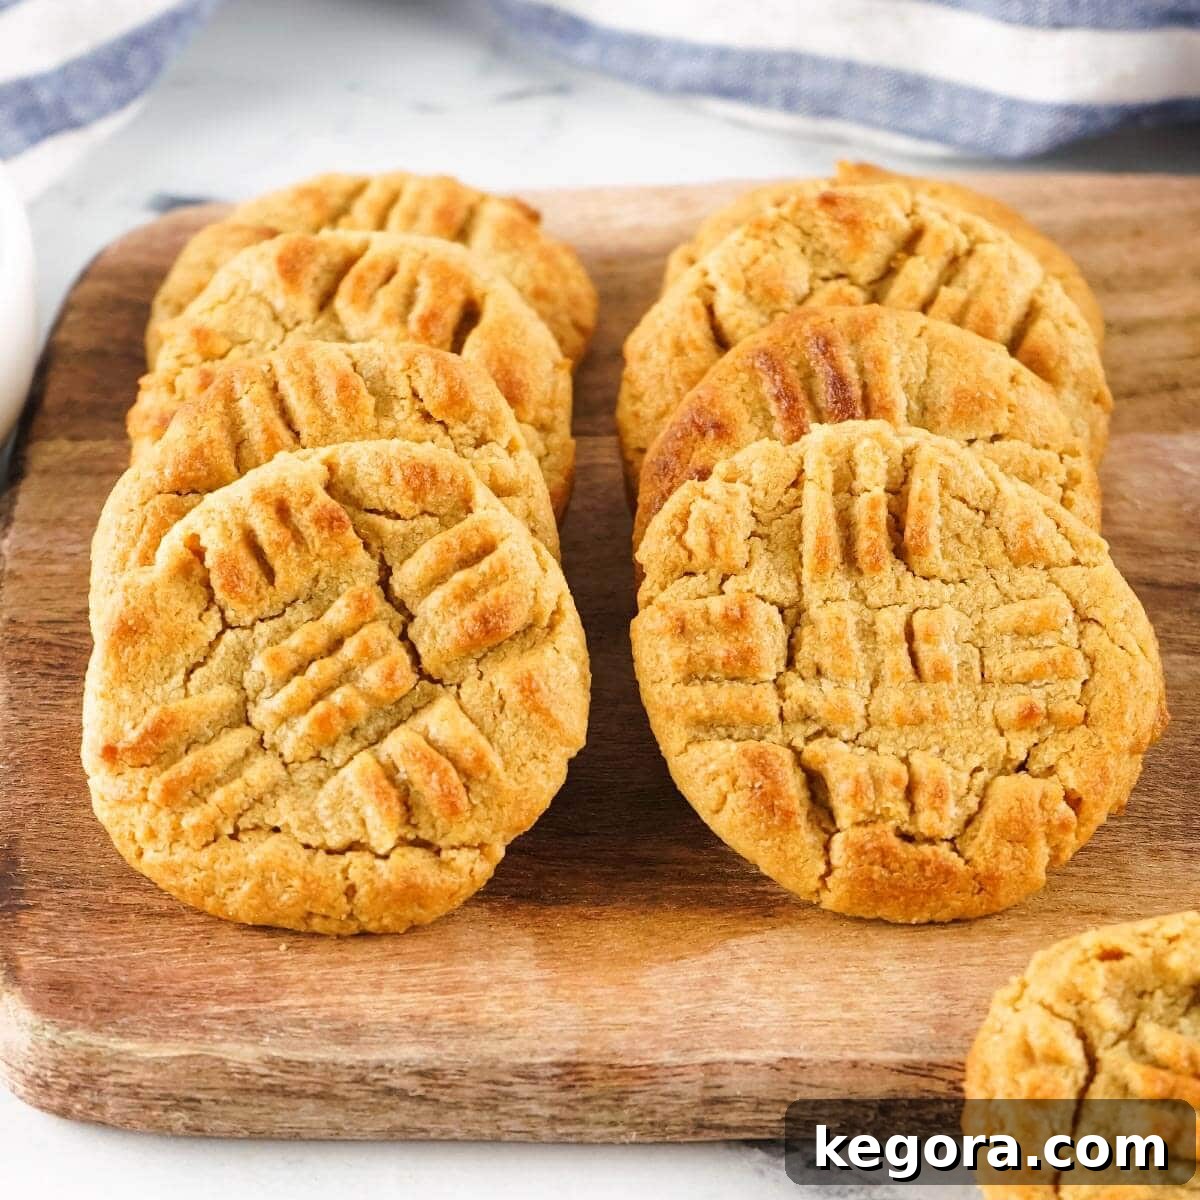
Craving a delightful, homemade treat but short on time or eager to avoid heating up your entire kitchen? Look no further than these incredible Air Fryer Peanut Butter Cookies! This recipe is a game-changer, proving that you don’t need a lengthy ingredient list or a conventional oven to bake up a batch of scrumptious cookies. With just three simple ingredients, you can whip up lightly crisp, yet wonderfully soft and rich peanut butter cookies in your air fryer in mere minutes.
Imagine biting into a warm cookie, fresh from the air fryer, with that classic peanut butter flavor that everyone adores. These aren’t just any cookies; they’re an effortless indulgence designed for convenience without compromising on taste or texture. Perfect for a sudden sweet craving, an after-school snack, or a small gathering, these 3-ingredient air fryer peanut butter cookies are destined to become a staple in your recipe repertoire.
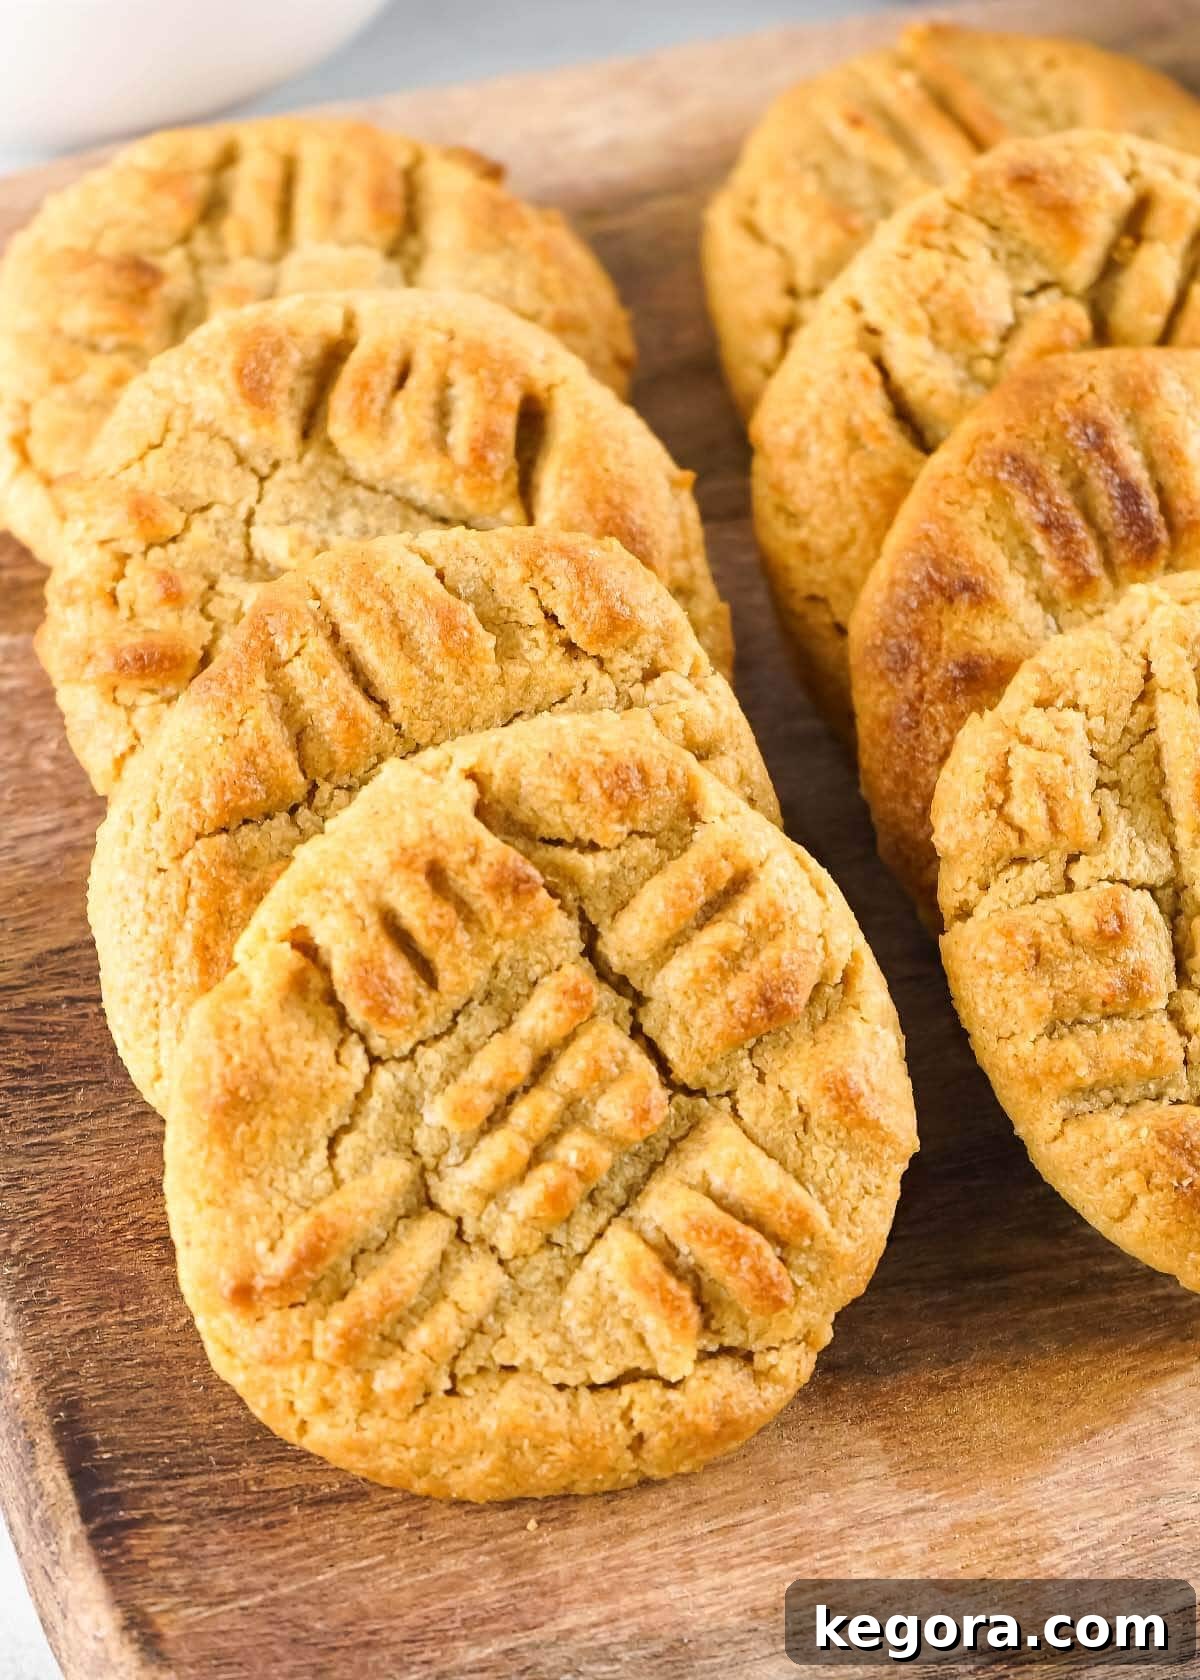
Air Fryer Peanut Butter Cookies: Your Go-To Recipe for Easy Baking
The rise of the air fryer has revolutionized home cooking, offering a healthier, quicker, and more efficient way to prepare countless dishes. While often praised for savory meals and crispy fried alternatives, its potential for baking, especially for cookies, is often underestimated. If you’re a fan of gooey, homemade treats but prefer not to preheat a large oven for a small batch, the air fryer is your best friend. It acts like a miniature convection oven, circulating hot air to cook food evenly and quickly, making it ideal for these peanut butter delights.
Forget the days of waiting for your oven to reach temperature and heating up your entire kitchen. With the air fryer, you get precision and speed, allowing you to enjoy warm, freshly baked cookies in a fraction of the time. This particular recipe for air fryer peanut butter cookies capitalizes on that efficiency, turning a spontaneous craving into a satisfying reality within minutes. It’s truly a marvel how a compact appliance can deliver such delicious results with minimal fuss.
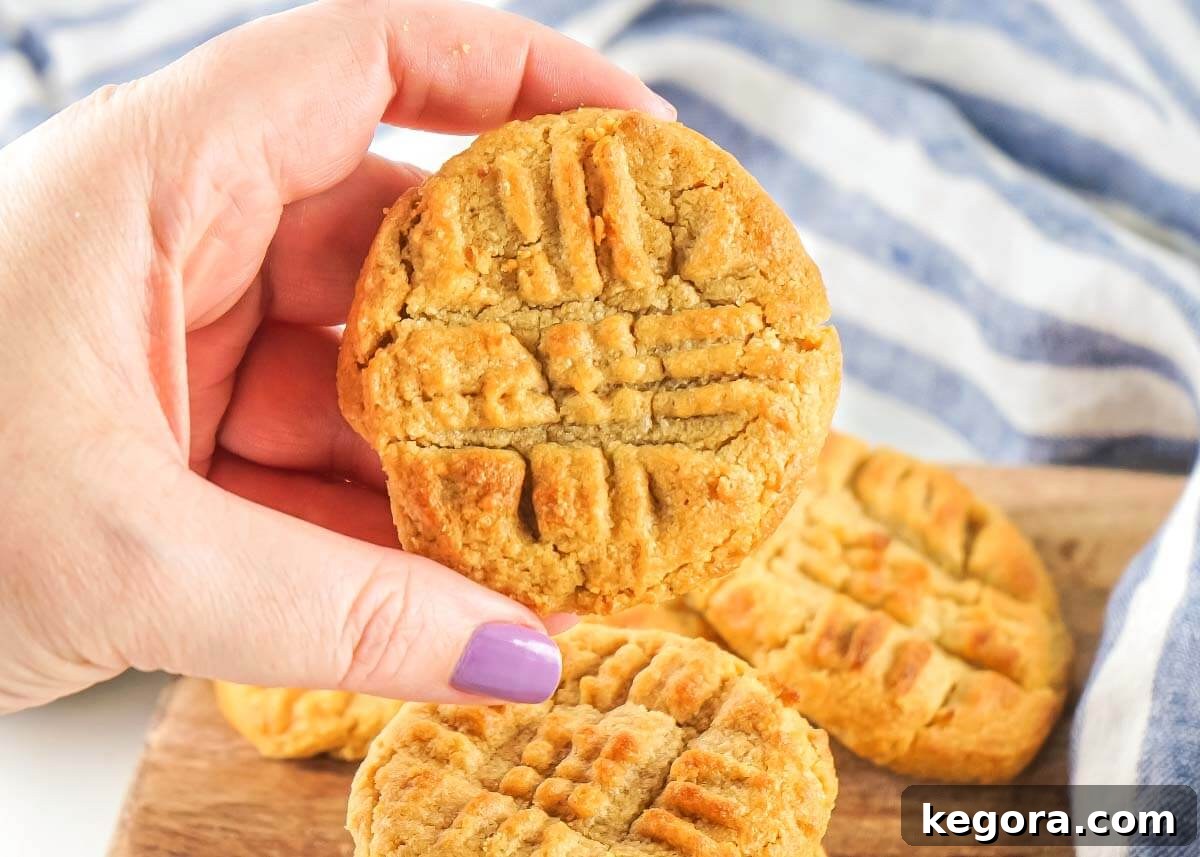
The Magic of Just 3 Ingredients for Ultimate Simplicity
What makes these air fryer peanut butter cookies truly stand out isn’t just their speed, but their incredible simplicity. You only need three basic ingredients, items you likely already have in your pantry:
- Creamy Peanut Butter: The star of the show, providing that signature rich flavor and binding the cookies together. For best results, a smooth, commercial-style creamy peanut butter (like Jif or Skippy) works best due to its consistent texture and added sugar, which contributes to the cookie’s final structure.
- Granulated Sugar: Sweetens the cookies to perfection and plays a vital role in creating that desirable slightly crispy exterior that gives way to a soft interior.
- One Large Egg: Acts as a crucial binder for the dough. Without it, the cookies would be too crumbly to hold their shape, making the egg indispensable for a perfect cookie texture.
This minimalist approach means less shopping, less measuring, and fewer dishes – translating to more time to enjoy your delightful cookies. It’s a testament to how fantastic baking can be when stripped down to its essentials. Even with so few ingredients, these cookies deliver on texture and taste, proving that sometimes, less truly is more. This recipe is a dream come true for novice bakers and seasoned pros alike, offering a foolproof path to deliciousness.
How to Make These Irresistible Peanut Butter Cookies in Your Air Fryer
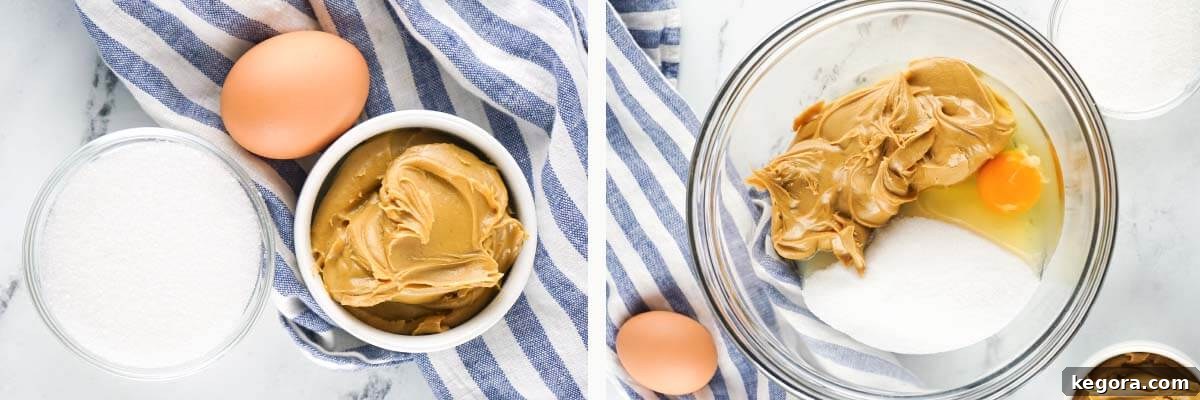
The process for making these 3-ingredient air fryer peanut butter cookies is wonderfully straightforward. Follow these steps for perfect results every time:
- Gather and Combine: Start by bringing together your three essential ingredients: creamy peanut butter, granulated sugar, and a large egg. Add all of them to a medium-sized mixing bowl.
- Mix Until Smooth: Using a sturdy spoon or a hand mixer, combine the ingredients until they are thoroughly mixed and form a smooth, uniform dough. It will be quite thick and sticky, which is exactly the correct consistency for this simple dough. Ensure no streaks of individual ingredients remain.
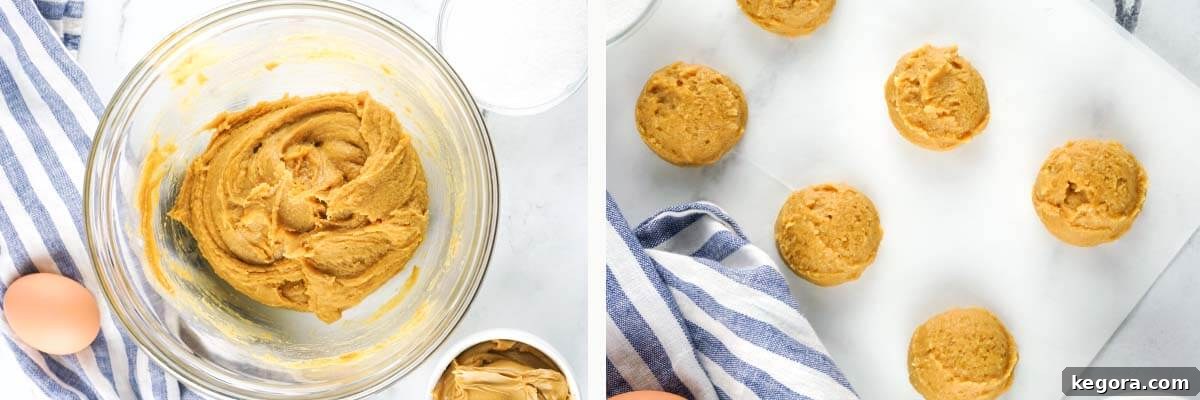
- Chill the Dough (Don’t Skip This!): This is a critical step for air fryer peanut butter cookies that cannot be overstated. Scoop the dough into small, evenly sized balls (about 1 ½ inches in diameter or a heaping tablespoon works well) and place them on a parchment-lined tray. Transfer the tray to the refrigerator and chill for a minimum of 30 minutes. Chilling is vital because the air fryer’s intense, circulating heat can cause unchilled dough to spread excessively and become overly crumbly, making them difficult to handle. Proper chilling helps the cookies hold their shape, ensuring that delightful crisp-on-the-outside, soft-on-the-inside texture that makes these cookies so special.
- Prepare for Air Frying: While your dough is chilling, you can prepare your air fryer. Line the bottom of your air fryer basket with a piece of parchment paper cut to fit perfectly. It’s crucial to ensure there’s no excess paper hanging over the sides, as it could get caught by the circulating air and potentially burn or impede the cooking process.
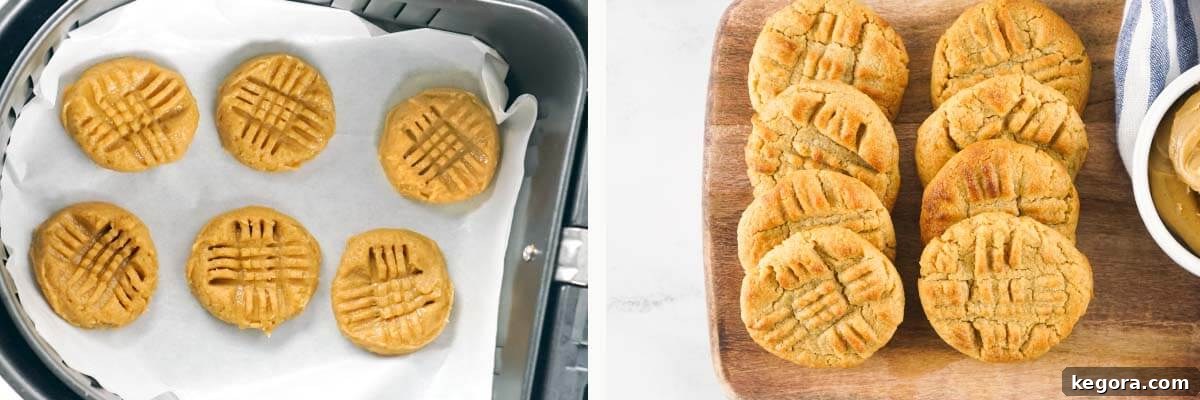
- Shape and Air Fry: Once chilled, gently place the dough balls into the prepared air fryer basket. Make sure to leave about half an inch of space between each cookie to allow for slight spreading and optimal, even airflow. Using a fork, gently press down on each cookie dough ball, first in one direction, then again perpendicularly, to create the classic crosshatch pattern. This not only gives them that iconic look but also aids in more even baking and a slight textural variation.
- Cook and Rest: Set your air fryer to 370°F (185°C) and cook for approximately 4 minutes. Cooking times can vary slightly depending on your specific air fryer model and its power, so it’s always a good idea to keep a close eye on them, especially during your first batch. Once cooked, *do not remove them immediately*. This is another critical step: let the cookies rest undisturbed in the air fryer basket for another 4 minutes. This resting period is crucial as it allows the cookies to set up and firm, preventing them from falling apart when you transfer them.
- Cool and Enjoy: After the essential resting period, carefully transfer the warm cookies to a wire rack to cool completely. For an extra touch of sweetness and visual appeal, you can lightly sprinkle them with a little extra granulated sugar while they are still warm. Repeat the process with the remaining dough until all your delicious peanut butter cookies are baked. Serve them slightly warm or fully cooled – both are equally delightful!
Tips for Achieving Perfect Air Fryer Peanut Butter Cookies Every Time
To ensure your 3-ingredient air fryer peanut butter cookies turn out perfectly with every batch, keep these expert tips in mind. These insights will help you master air fryer baking and create consistently delicious results:
- The Paramount Importance of Chilling: As mentioned, chilling the dough is absolutely paramount. It solidifies the fats in the peanut butter and prevents excessive spreading during the intense air circulation of the air fryer. This ensures your cookies maintain a desirable, thick shape and a perfect chewy texture rather than becoming a thin, crumbly mess. Aim for at least 30 minutes, but an hour won’t hurt.
- Understanding Air Fryer Temperature Settings: Every air fryer model, from basket-style to oven-style, can vary slightly in its heating elements and calibration. If your air fryer doesn’t have an exact 370°F (185°C) setting, always opt for the closest temperature *below* it, rather than above. Air fryers cook quickly and intensely, and overheating can lead to burnt exteriors and undercooked interiors very rapidly. A slightly lower temperature for an extra minute or two is often safer than a higher one.
- Do Not Rush the Resting Period: After cooking, allowing the cookies to rest in the air fryer basket for a minimum of 4 minutes is non-negotiable. This crucial step lets the delicate, hot cookies firm up and develop their structural integrity. Attempting to remove them too soon will almost certainly result in them crumbling apart, as they are extremely fragile when fresh out of the heat. Patience here truly pays off!
- Smart Parchment Paper Use for Ease: To make the process even smoother and minimize mess, consider this handy trick: cut your parchment paper to perfectly fit the bottom of your air fryer basket. You can then remove it from the basket, arrange your dough balls on it, create the crosshatch patterns, and then carefully lift and place the entire piece of parchment paper with the cookies back into the air fryer. This technique avoids the hassle of individually placing sticky dough balls into a hot basket and makes cleanup a breeze.
- Optimal Spacing is Key for Evenness: While it might be tempting to maximize your batch size to get more cookies faster, resist the urge to overcrowd the air fryer basket. Ensure you leave adequate space (at least half an inch) between each cookie. This promotes proper air circulation around each cookie, ensuring they cook evenly, get that beautiful golden color, and achieve the desired crisp exterior and soft interior. Overcrowding inhibits airflow and can lead to uneven cooking and less desirable results.
- Handle Sticky Dough with Care: Peanut butter cookie dough, especially with only three ingredients, tends to be quite sticky. For best results and a mess-free scooping process, use a cookie scoop or two spoons instead of your bare hands. This also helps in creating uniform cookie sizes, which is essential for even baking and consistent results across your batch.
- Adjusting Batch Size: The beauty of air frying small batches is its flexibility. Whether you’re making a small personal batch of two or a slightly larger one of six, you typically don’t need to adjust the cooking time or the resting time. Just ensure you’re not overcrowding the basket, and simply cook in batches as needed until all your dough is used.
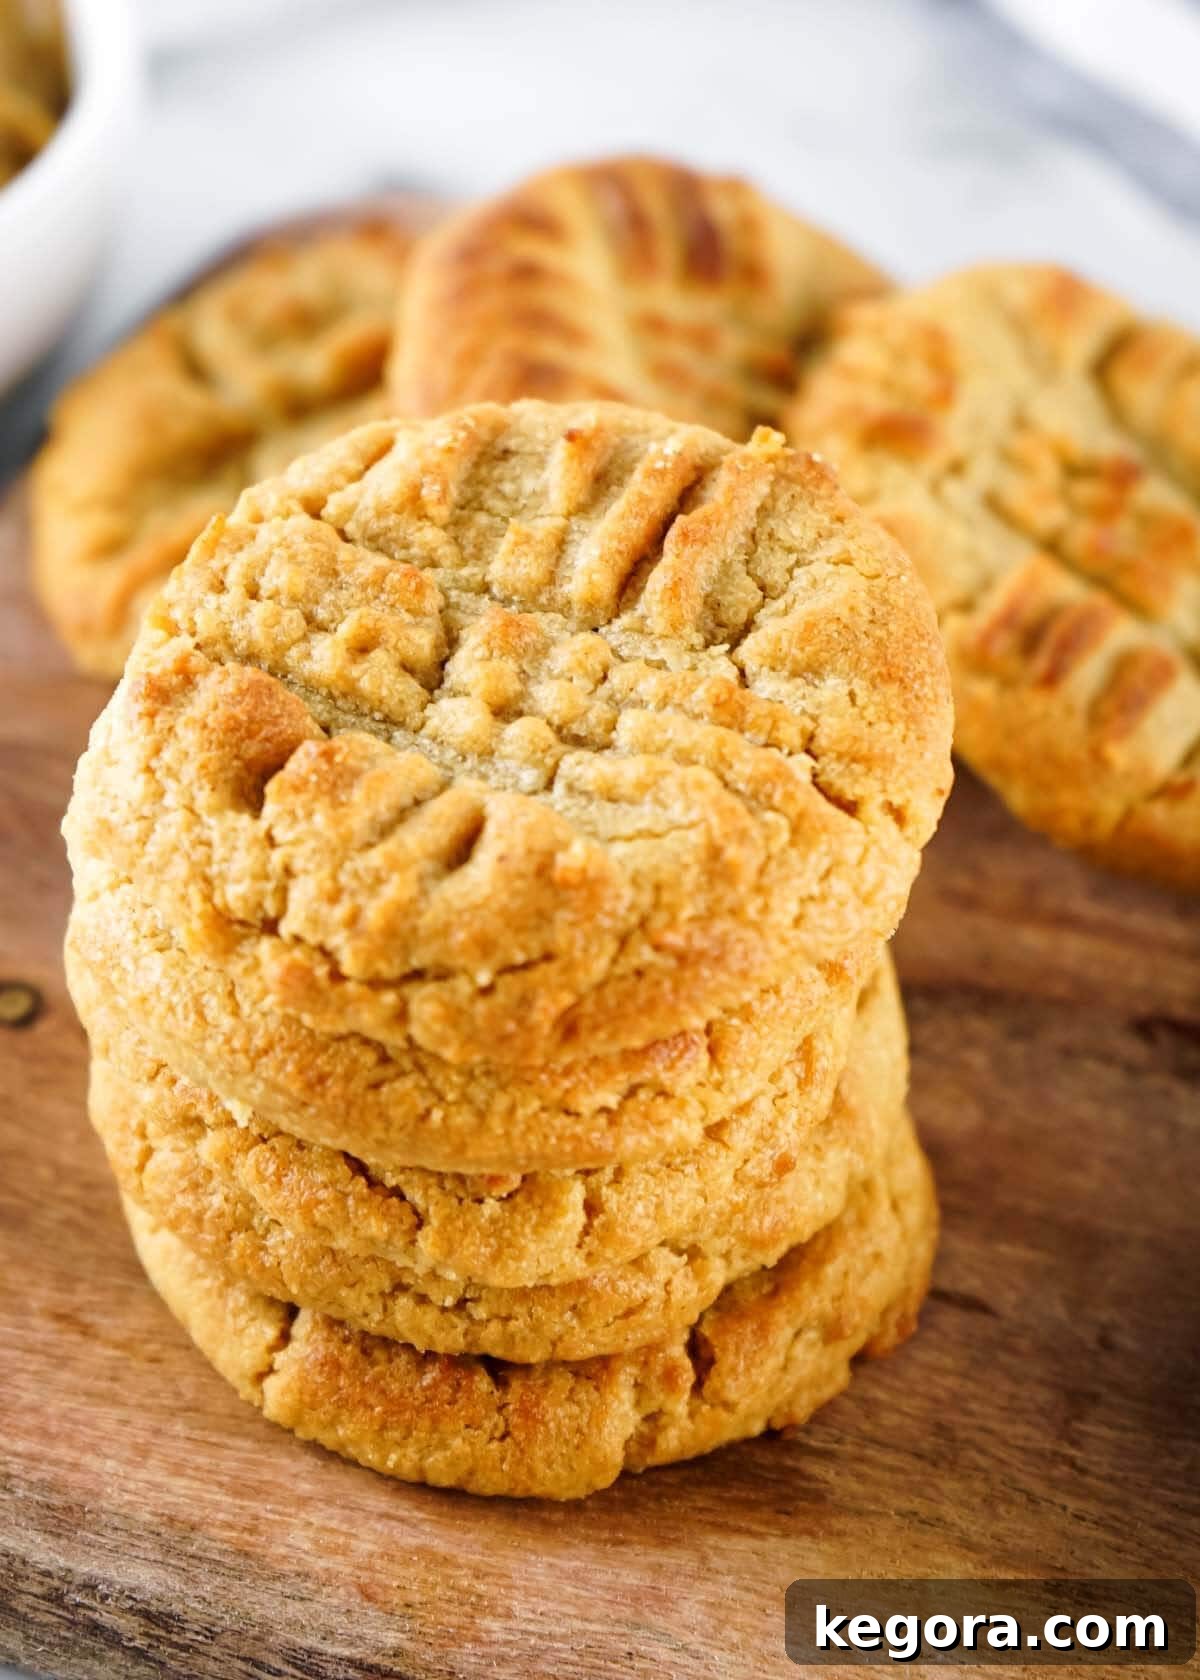
Variations and Customizations for Your Peanut Butter Cookies
While the classic 3-ingredient air fryer peanut butter cookie is delightful on its own, there are many simple ways to customize them to your liking and add extra flavor dimensions:
- Chocolate Chips: For the ultimate sweet and savory combination, fold a handful of mini chocolate chips into the dough before chilling. Dark, milk, or white chocolate chips all work wonderfully.
- Flaky Sea Salt: A tiny sprinkle of flaky sea salt on top of the cookies just after they come out of the air fryer enhances the peanut butter flavor beautifully and provides a wonderful salty-sweet contrast that elevates the experience.
- Vanilla Extract: For a slightly more complex and aromatic flavor profile, add a teaspoon of good quality vanilla extract to the dough along with the other ingredients.
- Spices: A pinch of warm spices like cinnamon or nutmeg can add a subtle, comforting warmth, especially if you’re making these during the fall or winter months.
- Sugar Dusting: Beyond the optional sprinkle of sugar post-cooking, you can roll the dough balls completely in granulated sugar before pressing with a fork for an extra sparkly and crunchy exterior.
- Mini M&Ms or Sprinkles: If you’re making these for kids or a party, folding in some mini M&Ms or colorful sprinkles can make them even more fun and festive.
Storage and Reheating Your Air Fryer Peanut Butter Cookies
These air fryer peanut butter cookies are undeniably best enjoyed fresh and warm, but they also store remarkably well, allowing you to savor them over a few days or save some for later cravings:
- Storing Baked Cookies: Once completely cooled, store the cookies in an airtight container at room temperature for up to 3-4 days. To prevent them from sticking together, you can place a piece of parchment paper between layers. For longer freshness, refrigerate for up to a week.
- Freezing Cookie Dough: If you want to prepare ahead or have fresh cookies whenever you desire, you can freeze the unbaked cookie dough balls. After shaping and creating the crosshatch pattern, place them on a parchment-lined tray and freeze until solid. Once frozen, transfer them to a freezer-safe bag or container, where they will keep well for up to 3 months. When ready to bake, you can air fry them directly from frozen; you might just need to add an extra 1-2 minutes to the cooking time. No need to thaw!
- Freezing Baked Cookies: Fully baked and cooled cookies can also be frozen. Place them in a single layer on a tray to freeze until solid, then transfer them to an airtight freezer-safe container or bag. They will maintain their quality for up to 2-3 months. To enjoy, thaw them at room temperature or reheat gently in the air fryer for a few minutes at a lower temperature (around 300°F/150°C) until warmed through and revived.
Frequently Asked Questions About Air Fryer Peanut Butter Cookies
Q: Can I use natural peanut butter for this recipe?
A: While creamy, processed peanut butter (like Jif or Skippy) is generally recommended for its consistent texture, added sugar, and stabilizers which greatly aid in the cookie’s structure and flavor, you *can* attempt to use natural peanut butter. However, results may vary significantly. Natural peanut butter often requires more chilling time and might yield a slightly drier, more crumbly, or flatter cookie due to less sugar and different oil separation. Ensure it’s very well stirred before measuring and using.
Q: How do I know when the cookies are done?
A: The cookies will appear lightly golden brown around the edges and will look set in the center. It’s important to remember that they will still be very soft and delicate when hot, which is why the resting period in the air fryer is so critically important. Trust the recommended 4-minute cooking and 4-minute resting process, but always keep a close eye on them, especially during your very first batch, as individual air fryers can have different heating intensities.
Q: My cookies spread too much or are too crumbly. What went wrong?
A: The most common culprit for cookies spreading too much is skipping or shortening the chilling time. Adequate chilling helps the dough firm up and prevents excessive spreading in the hot air fryer environment. If they are too crumbly when you try to remove them, it’s almost always because they haven’t rested long enough in the air fryer basket after cooking. Give them that full 4 minutes to set!
Q: Can I double or triple the recipe?
A: Absolutely! This recipe is easily scalable. Just ensure you have a large enough mixing bowl to combine the ingredients properly. Remember that even with more dough, you will still need to cook the cookies in batches in your air fryer to avoid overcrowding and ensure each cookie bakes evenly and perfectly. Don’t try to cram too many into the basket at once.

Discover More Air Fryer Delights
If you’re loving the convenience and delicious results from your air fryer, be sure to explore more fantastic recipes from our collection:
- Air Fryer Cornbread Muffins: A quick and easy way to get fluffy muffins.
- Air Fryer Pumpkin Pie: Yes, you can even make pie in your air fryer!
- Air Fryer Meatloaf: A comforting classic made simpler and faster.
- Air Fryer Sweet Potato Fries: Crispy and healthy, a perfect side dish.
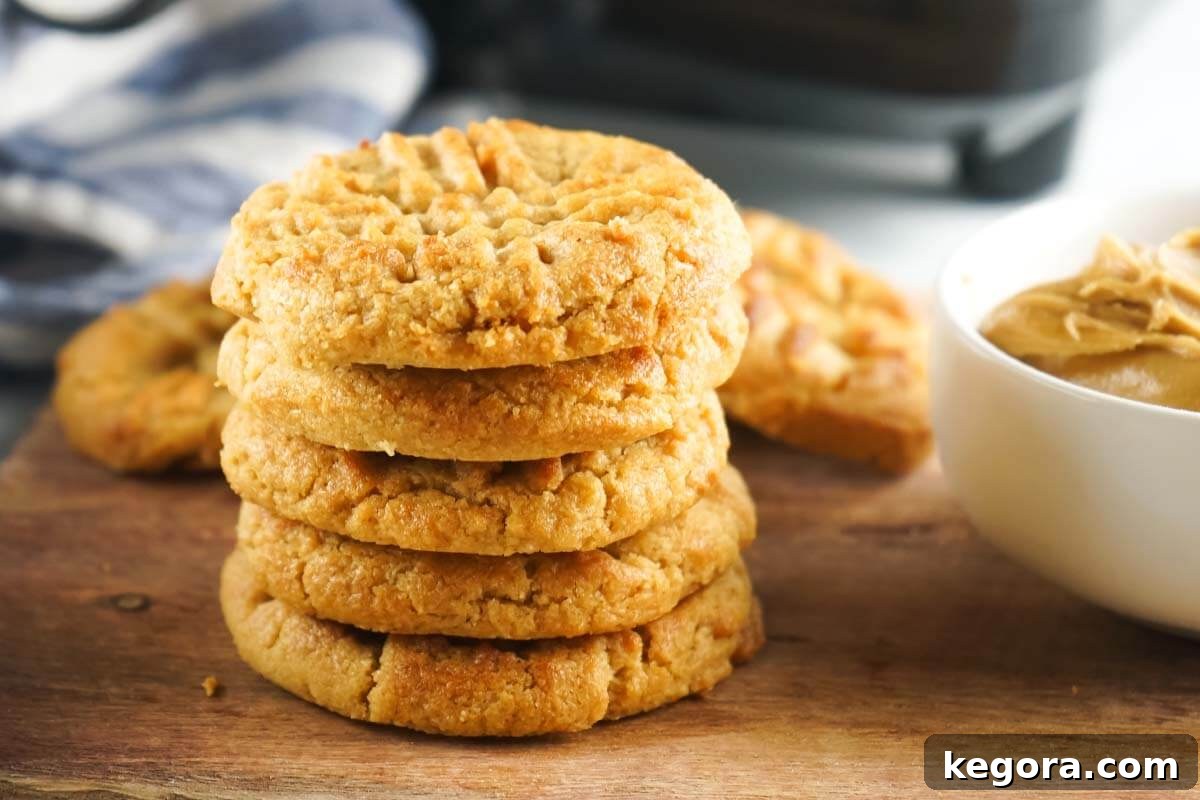
Air Fryer Peanut Butter Cookies Recipe Card
This quick and easy Air Fryer Peanut Butter Cookie recipe yields delicious, homemade cookies with minimal effort and just three ingredients. They are lightly crispy on the outside and wonderfully soft on the inside, perfect for any occasion!
Cuisine: American | Course: Dessert
Yields: 18 cookies | Prep time: 15 minutes | Cook time: 4 minutes | Chill time: 30 minutes | Total time: 49 minutes
Equipment You’ll Need
- Air Fryer
- Medium Mixing Bowl
- Cookie Scoop (approx. 1 ½-inch or heaping tablespoon)
- Parchment Paper
- Dinner Fork
- Wire Cooling Rack
Ingredients List
- 1 Cup Creamy Peanut Butter (recommended: commercial-style like Jif or Skippy)
- ¾ Cup Granulated Sugar (plus an optional extra for dusting)
- 1 Large Egg
Step-by-Step Instructions
- In a medium mixing bowl, combine the creamy peanut butter, ¾ cup granulated sugar, and the large egg. Mix thoroughly with a sturdy spoon or hand mixer until all ingredients are well combined and form a cohesive, sticky dough.
- Cover the bowl and chill the dough in the refrigerator for a minimum of 30 minutes. This chilling step is absolutely crucial for preventing the cookies from spreading excessively and becoming crumbly in the air fryer.
- Using a 1 ½-inch cookie scoop or a heaping tablespoon, form the chilled dough into even-sized balls.
- Place the dough balls on a clean surface or a separate piece of parchment paper. With a fork, gently press down on each cookie dough ball, first in one direction, then again perpendicularly to create the classic crosshatch pattern. This not only gives them their iconic look but also helps with even baking.
- Line the bottom of your air fryer basket with a piece of parchment paper cut to fit perfectly. Ensure no excess paper extends up the sides, as it could interfere with air circulation during cooking.
- Carefully arrange as many cookies as will fit in a single layer in the air fryer basket, ensuring you leave about ½ inch of space between each cookie for optimal air circulation and even cooking. Most air fryers can accommodate 4-6 cookies per batch.
- Set your air fryer to 370°F (185°C) and cook the cookies for 4 minutes.
- After cooking, *do not remove the cookies immediately*. It is vital to let them rest undisturbed in the air fryer basket for an additional 4 minutes. This allows them to firm up and prevents them from crumbling apart when you try to transfer them.
- Once rested, carefully transfer the cookies to a wire rack to cool completely. For an optional touch, sprinkle a little extra granulated sugar on top of the warm cookies for added sweetness and sparkle.
- Repeat the air frying process with the remaining dough until all cookies are baked. Enjoy your freshly made 3-ingredient air fryer peanut butter cookies!
Notes & Pro Tips for Success
- Chilling is Non-Negotiable: Do not skip the 30-minute chilling time. It’s the primary secret to perfectly shaped, non-crumbly cookies when baking in the air fryer.
- The Essential Resting Period: The 4-minute rest in the air fryer after cooking is vital. Hot cookies are extremely delicate; this rest allows them to set and be easily transferred without falling apart.
- Air Fryer Temperature Awareness: Cooking times can vary slightly between different air fryer models. If your air fryer doesn’t have an exact 370°F setting, always choose a slightly lower temperature rather than a higher one to prevent quick burning.
- Parchment Paper Efficiency Hack: Cut parchment paper to fit your air fryer basket perfectly. Prepare your cookie dough balls and crosshatch patterns on this paper outside the air fryer, then simply lift and place the entire sheet into the basket. This method saves time and minimizes mess.
- Proper Spacing is Crucial: Always ensure you leave enough space (at least ½ inch) between cookies in the air fryer for optimal air circulation and to promote even baking and a consistent texture.
- Dealing with Sticky Dough: Peanut butter dough tends to be quite sticky. For easier, cleaner, and more consistent shaping, always use a cookie scoop or two spoons instead of your hands.
We hope you love these incredibly simple and delicious Air Fryer Peanut Butter Cookies as much as we do! If you try this recipe, please share your experience in the comments below and consider leaving a star rating. Your feedback is truly appreciated and helps other bakers!
Tried this recipe? We’d love to see your creations! Share your photos on Instagram and mention @simply_happy_foodie to let us know how your cookies turned out!