
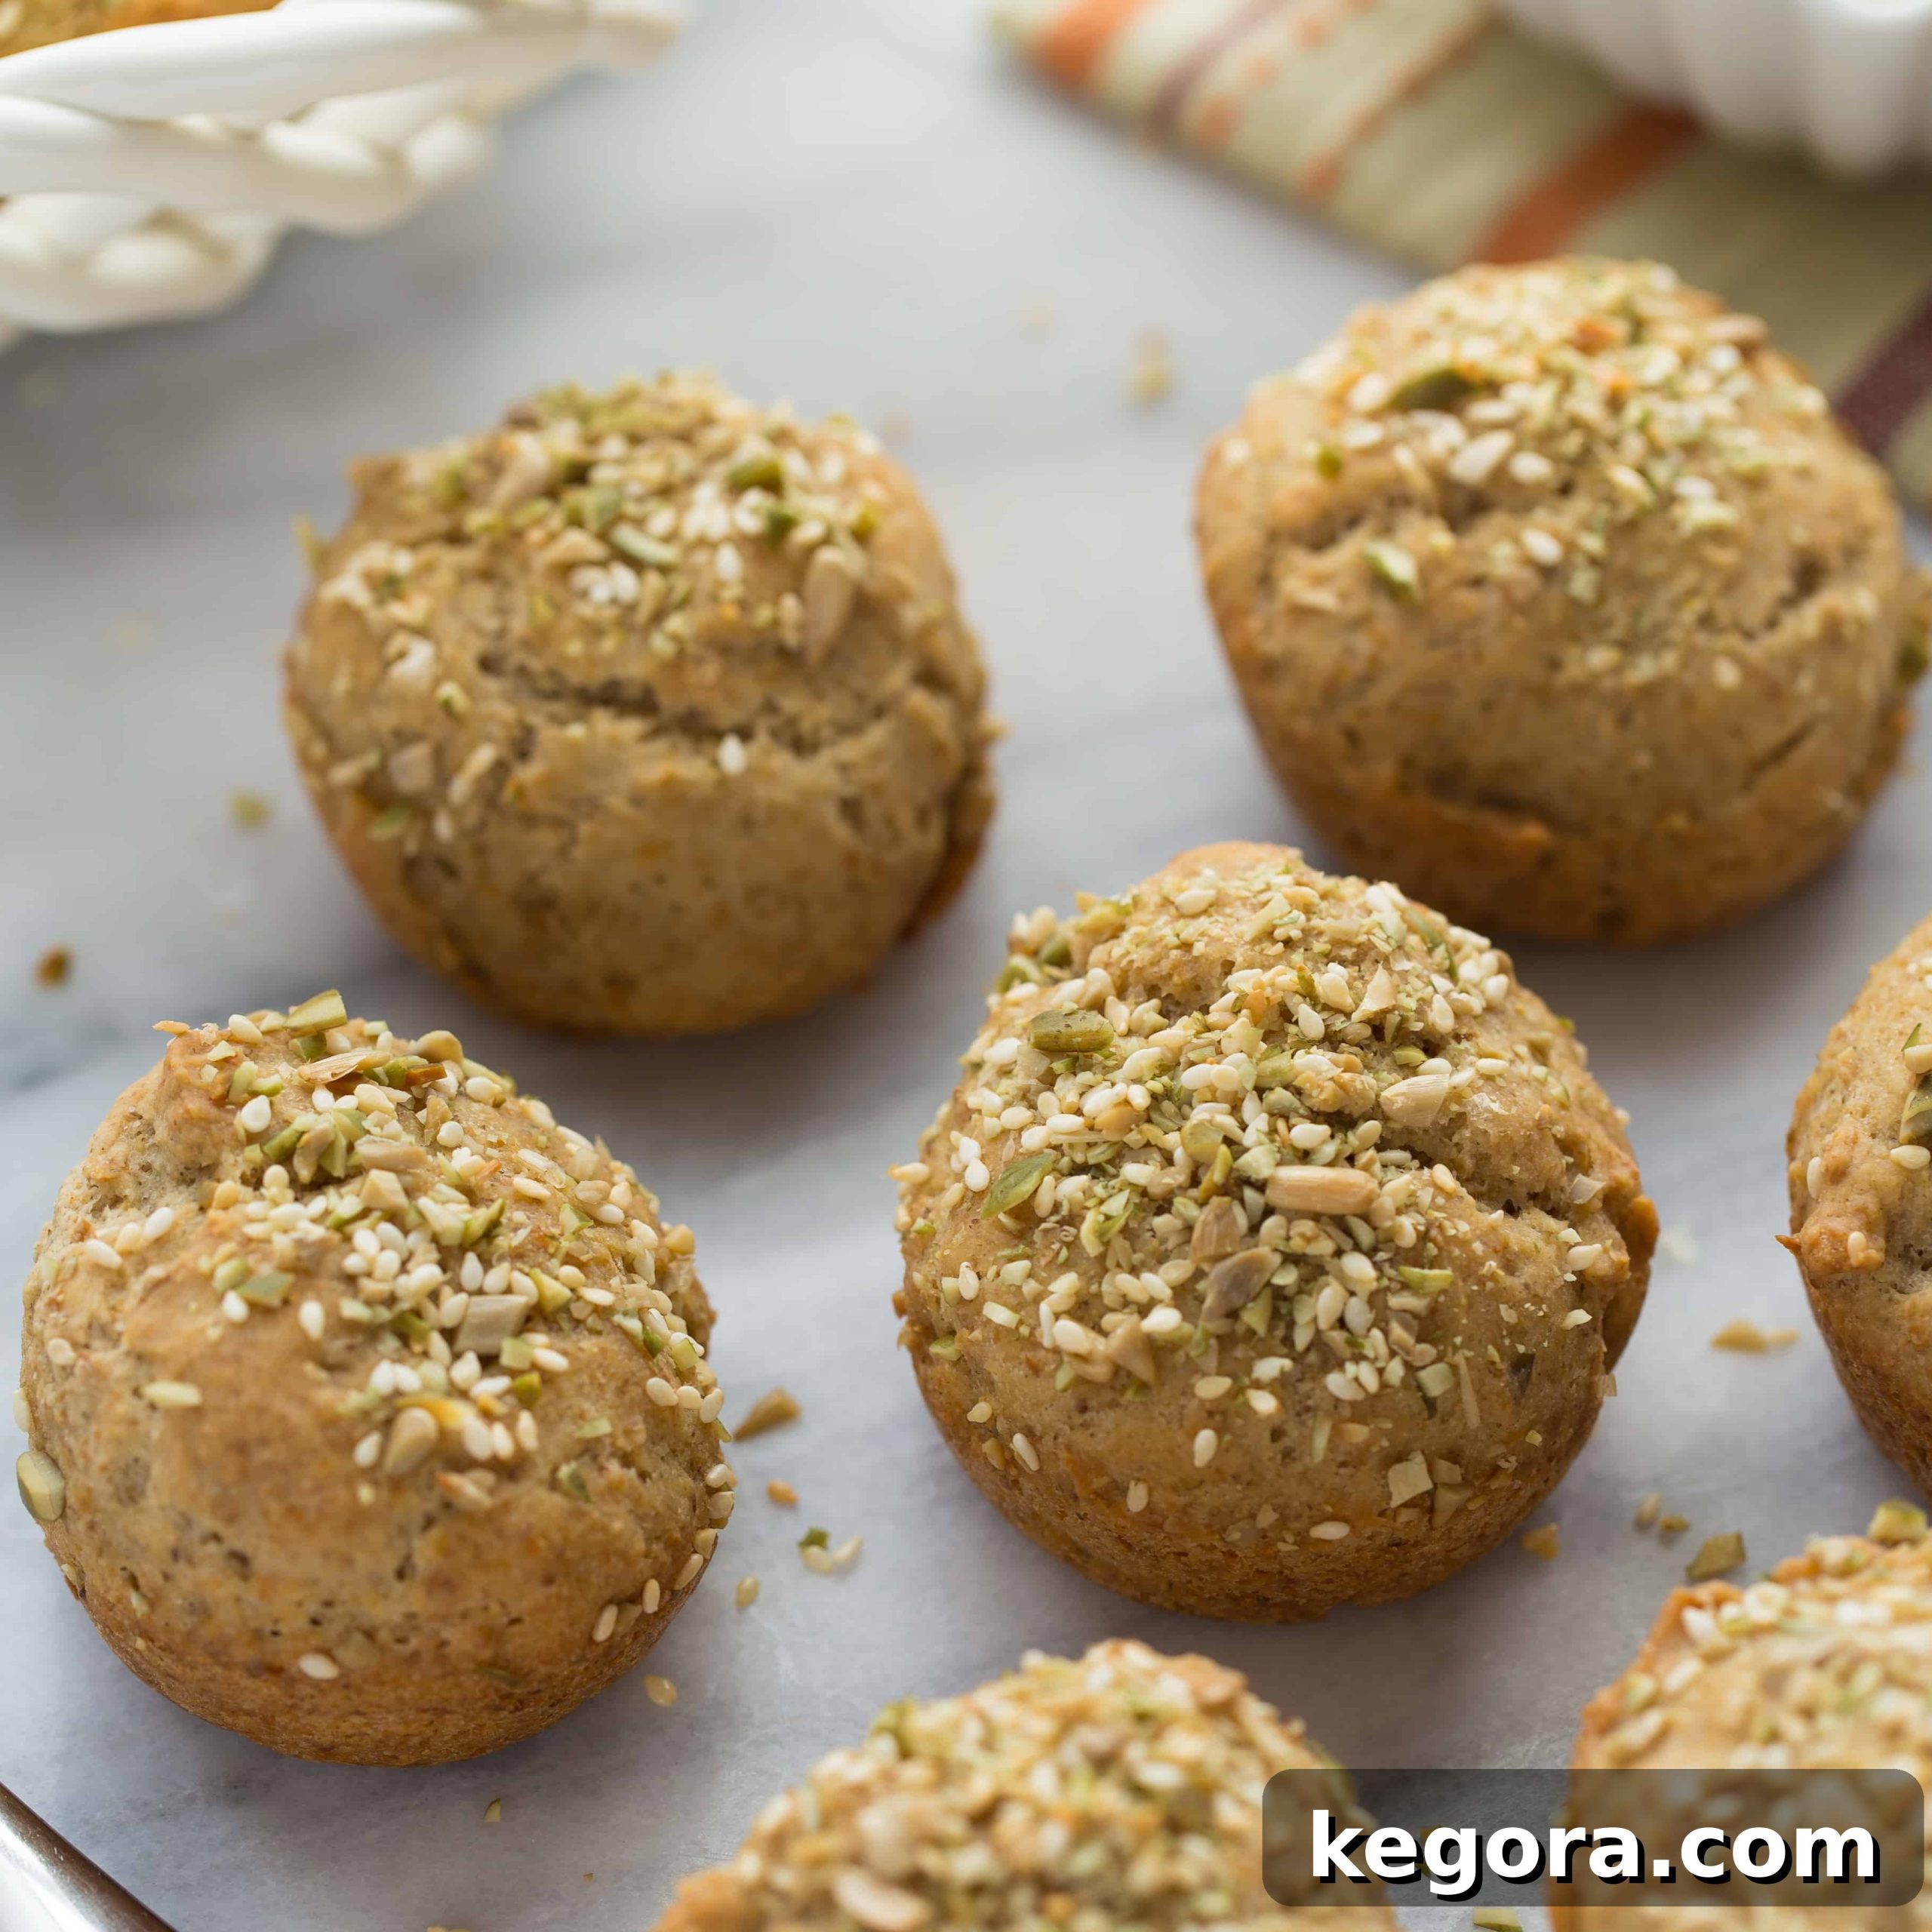
Gluten-Free Crusty Seeded Rolls: Your Ultimate Guide to Perfect Vegan Bread
Discover how to make incredibly chewy, crusty, and wholesome gluten-free seeded rolls. Packed with nourishing superfoods and surprisingly easy to prepare, these rolls are perfect for dipping in olive oil, complementing your favorite meals, or simply enjoying as a delightful snack. Experience the joy of homemade bread without gluten!
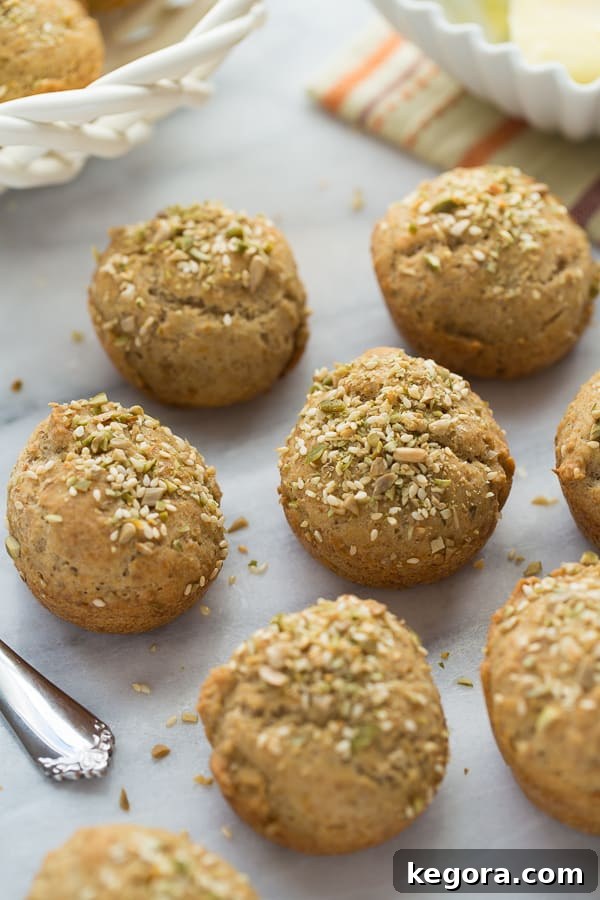
Craving Crusty Bread? These Gluten-Free Rolls Deliver!
There are moments when only a warm, crusty piece of bread can truly complete a meal. For those navigating a gluten-free lifestyle, finding bread that truly satisfies this craving can be a challenge. But prepare to be amazed! These gluten-free crusty seeded rolls are a revelation, offering a texture and flavor profile so close to traditional bread that you might forget they’re gluten-free.
Each bite promises a delightful chewiness, a satisfyingly crisp crust, and a rich, wholesome flavor derived from a blend of nutritious superfoods. And the best part? They are incredibly easy to make right in your own kitchen. Whether you’re looking for the perfect accompaniment to a hearty soup, a delightful vehicle for your favorite olive oil and balsamic vinegar, or simply a delicious roll to enjoy with dinner, this recipe is precisely what you need.
Forget bland, crumbly gluten-free bread. Our recipe for these vegan, gluten-free rolls focuses on achieving that coveted chewy interior and robust crust, ensuring every mouthful is a truly meaningful eat. Get ready to elevate your gluten-free baking game and indulge in bread that doesn’t compromise on taste or texture.
Understanding Gluten-Free Dough: A Different Approach
If you’re accustomed to working with traditional wheat-based bread dough, the texture of gluten-free dough might surprise you. Unlike its gluten-containing counterpart, which develops elasticity and structure from gluten, gluten-free dough behaves quite differently. It tends to be stickier, less elastic, and often resembles a thick cookie dough rather than a pliable bread dough.
It’s crucial not to be alarmed by this difference. This unique consistency is entirely normal for gluten-free baking and is exactly what we’re aiming for with these rolls. Embrace the stickiness, as it’s a sign that your dough is on its way to becoming perfectly chewy and crusty. The key to success lies in understanding and adapting to these characteristics, rather than trying to force it into behaving like traditional dough. With the right techniques, you can achieve remarkable results that will impress even the most discerning bread lovers.
The Secret to Extra Crustiness: Baking in a Muffin Pan
One of the ingenious techniques employed in this recipe to achieve perfectly shaped and extra-crusty rolls is baking them in a muffin pan. This method serves two primary purposes, both essential for the success of gluten-free bread:
- Shape and Uniformity: Gluten-free dough lacks the structural integrity of wheat dough, meaning it often won’t hold its shape on its own during rising and baking. The muffin pan acts as a mold, guiding each roll to form a beautiful, uniform shape and size. This ensures consistent baking and a pleasing presentation.
- Enhanced Crust Development: Baking the rolls in individual muffin cups maximizes the surface area exposed to the oven’s heat. This direct contact with the hot metal of the pan, combined with the enclosed baking environment, promotes the formation of an exceptionally golden and crispy crust on all sides of the roll. The result is a roll that boasts a satisfying crunch from top to bottom, making every bite an experience in texture.
This simple yet effective trick is a game-changer for gluten-free rolls, guaranteeing that coveted crusty exterior that so many gluten-free alternatives lack. It’s a testament to how small adjustments in technique can yield significant improvements in your baking results.
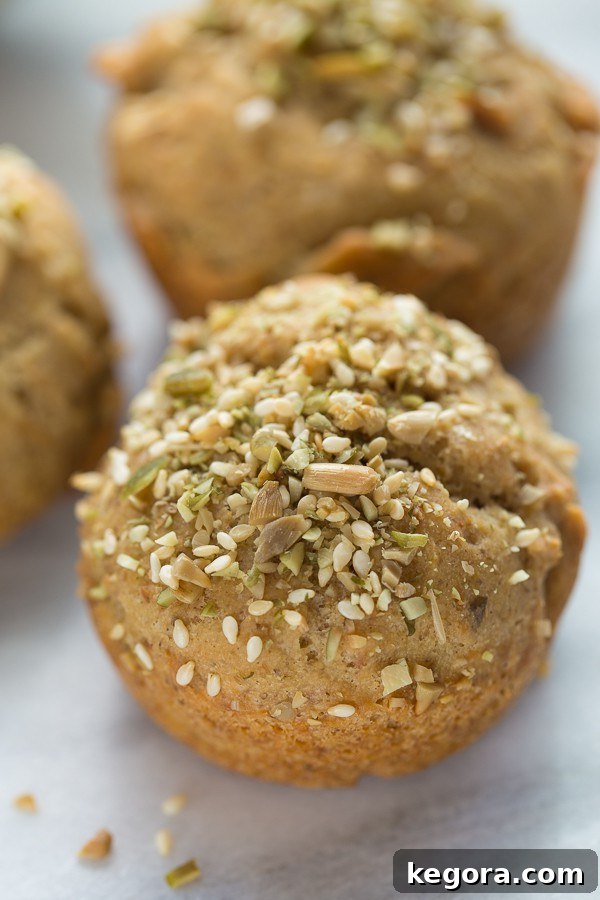
Superfood Powerhouse: The Role of Flax and Chia Seeds
These rolls aren’t just delicious; they’re also brimming with healthy fats and dietary fiber, largely thanks to the inclusion of ground flaxseed and chia seeds. These two super-ingredients are pivotal, not only for their nutritional benefits but also for their functional role in gluten-free baking.
When combined with liquid, ground flaxseed and chia seeds form a gelatinous “slurry” due to their mucilage content. This natural gel acts as a powerful binder, mimicking some of the elastic properties that gluten provides in traditional bread. It’s this binding capability that helps hold the gluten-free dough together, preventing it from crumbling and contributing significantly to the rolls’ wonderfully chewy texture. Without these ingredients, achieving that desirable chew in gluten-free bread would be incredibly difficult.
Beyond their structural contributions, flax and chia seeds are nutritional powerhouses. They are excellent sources of omega-3 fatty acids, which are beneficial for heart health and brain function. Furthermore, their high fiber content aids in digestion and helps promote a feeling of fullness. Incorporating these seeds into your diet through delicious rolls like these is an easy and enjoyable way to boost your daily nutrient intake.
Mastering Gluten-Free Yeast Baking: A Simpler Rise
Working with yeast in gluten-free baking differs slightly from traditional bread making, often simplifying the process. For this recipe, we highly recommend using highly active or instant yeast. These types of yeast are robust and reliable, perfect for ensuring a good rise in gluten-free dough, which can sometimes be denser than its wheat-based counterpart.
A common misconception is that gluten-free bread requires multiple rises, similar to many traditional artisan breads. However, with this specific dough formulation, only one quick rise is needed to achieve the perfect texture and volume. This single rise significantly cuts down on overall preparation time, making these rolls a much more accessible baking project, even for those new to gluten-free bread making.
The highly active yeast, combined with the precise liquid-to-dry ingredient ratio, ensures that your rolls achieve adequate lift and aeration during this single proofing stage. This streamlined process demonstrates that gluten-free baking can be efficient and straightforward, yielding delicious results without unnecessary complexity. Just one rise, and you’re well on your way to enjoying warm, homemade crusty rolls.
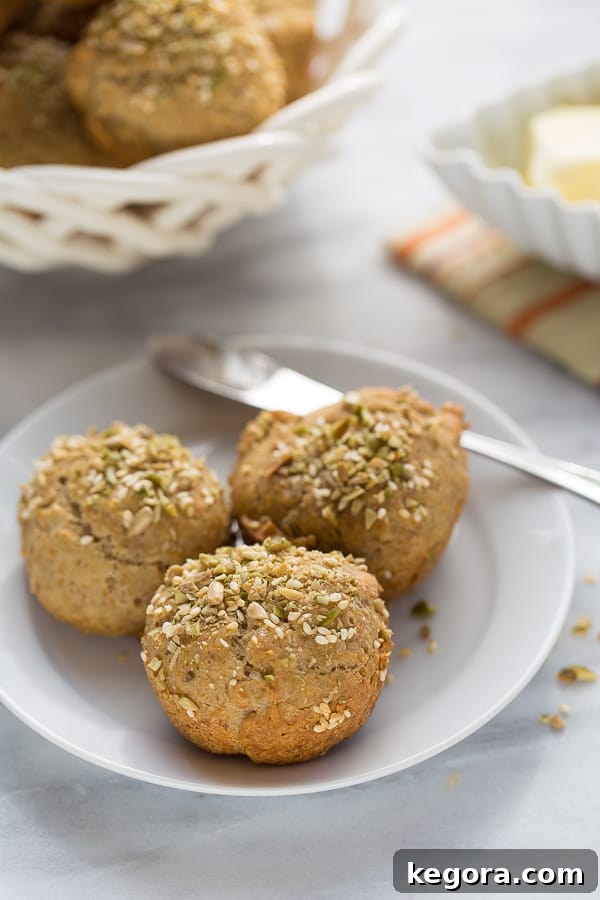
For another fantastic gluten-free bread option, you might also enjoy these Gluten-Free Crescent Rolls from This Vivacious Life.
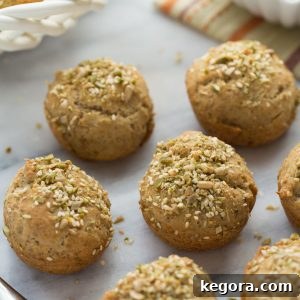
Gluten-Free Crusty Seeded Rolls {Vegan}
Erin Collins
50
40
1
30
12
rolls
Comments
Want to save this recipe for later? Bookmark this page or pin it to your favorite Pinterest board!
Ingredients
For the seeds (topping):
- Any mixture of seeds to equal 5 tablespoons will work. For a classic blend, consider the following:
- 2 tablespoons pumpkin seeds finely chopped, if large
- 2 tablespoons sunflower seeds finely chopped, if large
- 1 tablespoon sesame seeds
Dry Ingredients:
- 2 cups brown rice flour
- 3/4 cup arrowroot powder
- 1 1/2 teaspoons salt
Wet Ingredients:
- 2 cups warm water approximately 110F (43C)
- 1 packet highly active or instant yeast (about 2 1/4 teaspoons)
- 1 tablespoon maple syrup
- 1/2 cup ground flaxseed
- 2 tablespoons ground chia seeds*
- 2 tablespoons olive oil plus more for brushing the tops of the rolls
Instructions
-
Begin by preparing your seed topping. In a small bowl, combine your chosen mixture of seeds. Give them a quick stir to ensure they are well-mixed, then set this bowl aside. These seeds will be sprinkled on top of the rolls just before rising to create a beautiful and flavorful crust.
-
Next, prepare your dry ingredients. In the bowl of a stand mixer fitted with the paddle attachment, combine the brown rice flour, arrowroot powder, and salt. Mix on low speed for about 30 seconds to a minute, ensuring all ingredients are thoroughly and evenly mixed. This prevents pockets of unmixed ingredients in your dough.
-
Now, prepare the wet mixture. In a large measuring cup or separate bowl, combine the warm water (ensure it’s around 110F or 43C, as water that’s too hot can kill the yeast, and too cold won’t activate it), the packet of highly active or instant yeast, and the maple syrup. Stir gently and let this mixture sit for 3-4 minutes until the yeast begins to foam slightly. This “blooming” confirms your yeast is active. Then, add the ground flaxseed, ground chia seeds, and 2 tablespoons of olive oil. Mix vigorously with a fork or whisk for about 1 minute until well combined and smooth. Let this mixture sit undisturbed for 1-2 minutes (no more than 2) to allow the flax and chia to absorb the liquid and form a thick, gel-like slurry. This slurry is crucial for the rolls’ texture.
-
With the stand mixer running on low speed, slowly pour the wet slurry mixture into the bowl containing the dry ingredients. Once roughly combined, add 2 tablespoons of your reserved seed mixture directly into the dough. Increase the mixer speed to medium and continue to mix for 3-4 minutes. At this point, the dough will have a unique consistency—it will be thick, sticky, and resemble a dense cookie dough rather than traditional bread dough. Do not be alarmed by its stickiness; this is exactly how it should look.
-
Prepare your baking vessel. Lightly grease a nonstick metal cupcake or muffin pan with cooking spray. Using wet hands (this prevents the sticky dough from adhering to your fingers) or a wet kitchen scoop, divide the dough evenly among the muffin cups, filling each approximately 3/4 of the way full. Gently smooth the tops of the rolls. Brush each roll generously with a little extra olive oil, which will help create that beautiful golden crust. Finally, sprinkle the remaining seed mixture evenly over the tops of the rolls. Cover the muffin pan lightly with a clean kitchen towel and allow the rolls to rise in a warm, draft-free place for 30 minutes.
-
While the rolls are rising, preheat your oven to 375°F (190°C). Once the rolls have completed their 30-minute rise, place the muffin pan into the preheated oven. Bake for 35-40 minutes, or until the rolls are deeply golden brown and sound hollow when gently tapped on the bottom. The rich color indicates a perfectly crispy crust. Carefully remove the pan from the oven and let the rolls cool in the pan for a few minutes before transferring them to a wire rack. Allow them to cool for at least 20 minutes before serving to ensure they set properly and are easy to handle. Enjoy the fruits of your labor!
Notes
Flour Blend: While this recipe uses brown rice flour and arrowroot powder for an excellent texture, experimentation with other gluten-free flour blends might be possible. However, results may vary. Stick to the specified flours for the best outcome as tested.
Serving Temperature: These rolls are best enjoyed warm, fresh out of the oven. Reheating instructions are provided below for optimal enjoyment of leftovers.
Nutrition
Carbohydrates: 32g |
Protein: 4g |
Fat: 8g |
Saturated Fat: 1g |
Sodium: 298mg |
Potassium: 175mg |
Fiber: 4g |
Sugar: 1g |
Calcium: 47mg |
Iron: 1.4mg
Expert Tips for Gluten-Free Baking Success
Achieving outstanding results with gluten-free bread can be incredibly rewarding. Here are some additional tips to help you master these crusty seeded rolls and other gluten-free baking projects:
- Accurate Measuring: Gluten-free baking is often more precise than traditional baking. Use a kitchen scale for flours and other dry ingredients if possible, or ensure you’re using the “spoon and level” method for measuring flour (spoon flour into the measuring cup, then level off with a straight edge).
- Temperature Control: The temperature of your water for activating yeast is critical. Too hot, and it kills the yeast; too cold, and it won’t activate properly. Aim for a “baby bottle” warm temperature, ideally between 105-115°F (40-46°C).
- Don’t Overmix Dry Ingredients: While you want them well combined, excessive mixing of dry ingredients isn’t beneficial. A quick whisk is usually sufficient.
- Embrace the Dough Texture: As mentioned, gluten-free dough will be sticky and resemble thick batter or cookie dough. Resist the urge to add more flour to make it less sticky, as this will result in dry, crumbly rolls. Wet hands or an oiled scoop are your best tools for handling.
- Proper Proofing Environment: A warm, draft-free place is ideal for rising. If your kitchen is cool, you can turn your oven on to its lowest setting for a minute, then turn it off and let the dough rise inside the slightly warmed oven (with the door ajar if it’s too warm).
- Listen for the Hollow Sound: Tapping the bottom of the baked rolls to hear a hollow sound is a reliable indicator of doneness. This means the interior is fully cooked and the crust is perfectly crisp.
- Patience with Cooling: Allowing the rolls to cool for at least 20 minutes before serving is essential. This allows the internal structure to set, preventing gumminess and making them easier to slice or tear.
Serving Suggestions and Perfect Pairings
These gluten-free crusty seeded rolls are incredibly versatile and can elevate a wide range of meals. Here are some delicious ways to enjoy them:
- Dipping Delight: The quintessential way to enjoy crusty bread! Serve warm with a high-quality olive oil, a splash of balsamic vinegar, and a sprinkle of flaky sea salt.
- Soup’s Best Friend: Pair them with hearty stews, creamy tomato soup, lentil soup, or a robust minestrone. Their sturdy crust is perfect for soaking up every last drop.
- Sandwich Base: While rolls are traditionally used for sliders, these make excellent mini sandwiches. Split them open and fill with your favorite deli meats, cheeses, or vegan spreads and fresh vegetables.
- Breakfast or Brunch: Enjoy them toasted with a dollop of butter or a spread of homemade jam. They also make a fantastic side to scrambled eggs or a vegan breakfast scramble.
- Side Dish: Serve alongside any main course, from roasted chicken to grilled fish or a plant-based lasagna. They add a satisfying texture and absorb flavors beautifully.
- Appetizer Platter: Cut into smaller pieces and serve on a charcuterie board with olives, vegan cheeses, and fruit for an impressive spread.
Storage and Reheating Instructions
To keep your gluten-free crusty seeded rolls fresh and delicious, proper storage is key:
- Short-Term Storage (1-2 days): Store cooled rolls in an airtight container or a bread bag at room temperature. While they are best eaten on the day they are baked, they will remain enjoyable for a couple of days.
- Longer-Term Storage (Freezing): For optimal freshness beyond a few days, wrap individual cooled rolls tightly in plastic wrap, then place them in a freezer-safe bag. They can be frozen for up to 2-3 months.
- Reheating from Room Temperature: To refresh crusty rolls, lightly spritz with water and reheat in a preheated oven at 350°F (175°C) for 5-7 minutes, or until warmed through and crisp.
- Reheating from Frozen: No need to thaw! Place frozen rolls directly into a preheated oven at 350°F (175°C) for 10-15 minutes, or until heated through and the crust is restored. You can also lightly brush with olive oil before reheating for extra flavor.
Frequently Asked Questions About Gluten-Free Rolls
Can I use a different gluten-free flour blend?
This recipe is specifically developed using brown rice flour and arrowroot powder for their unique properties that contribute to the rolls’ chewy and crusty texture. While other gluten-free flour blends exist, substituting them directly may alter the consistency and outcome of the rolls significantly. For the best results, it is recommended to stick to the specified flours. If you do experiment, be prepared to adjust liquid amounts as different flours absorb moisture differently.
Are these rolls suitable for those with other allergies?
Yes, these rolls are inherently vegan as they contain no dairy or eggs. They are also nut-free, making them suitable for individuals with nut allergies. Always double-check ingredient labels for any hidden allergens if you have severe sensitivities, especially with pre-ground seeds or flours from shared facilities.
Why do my rolls not rise much?
Several factors can affect the rise of your gluten-free rolls:
- Inactive Yeast: Ensure your yeast is fresh and the water temperature is correct (105-115°F or 40-46°C). If the yeast doesn’t foam during the “blooming” stage, it’s likely inactive, and you should start with fresh yeast.
- Expired Ingredients: Old flour or seeds can impact the dough’s performance.
- Cold Environment: A cold kitchen can slow down or inhibit rising. Ensure your dough has a warm, draft-free spot to proof.
- Over-mixing or Under-mixing: While over-mixing isn’t as critical with GF dough as it is with wheat, ensure the wet and dry ingredients are thoroughly combined to activate the binders.
Can I make these rolls ahead of time?
Absolutely! These rolls are excellent for making ahead. You can prepare the dough and then bake them fresh, or bake them completely and freeze. For fresh baking on demand, you can prepare the dough up to the point of rising, then cover the muffin pan tightly with plastic wrap and refrigerate for up to 12 hours. Let them come to room temperature for 30-60 minutes before proceeding with the rise and bake steps. Alternatively, fully bake and freeze them as per the storage instructions above for ultimate convenience.