
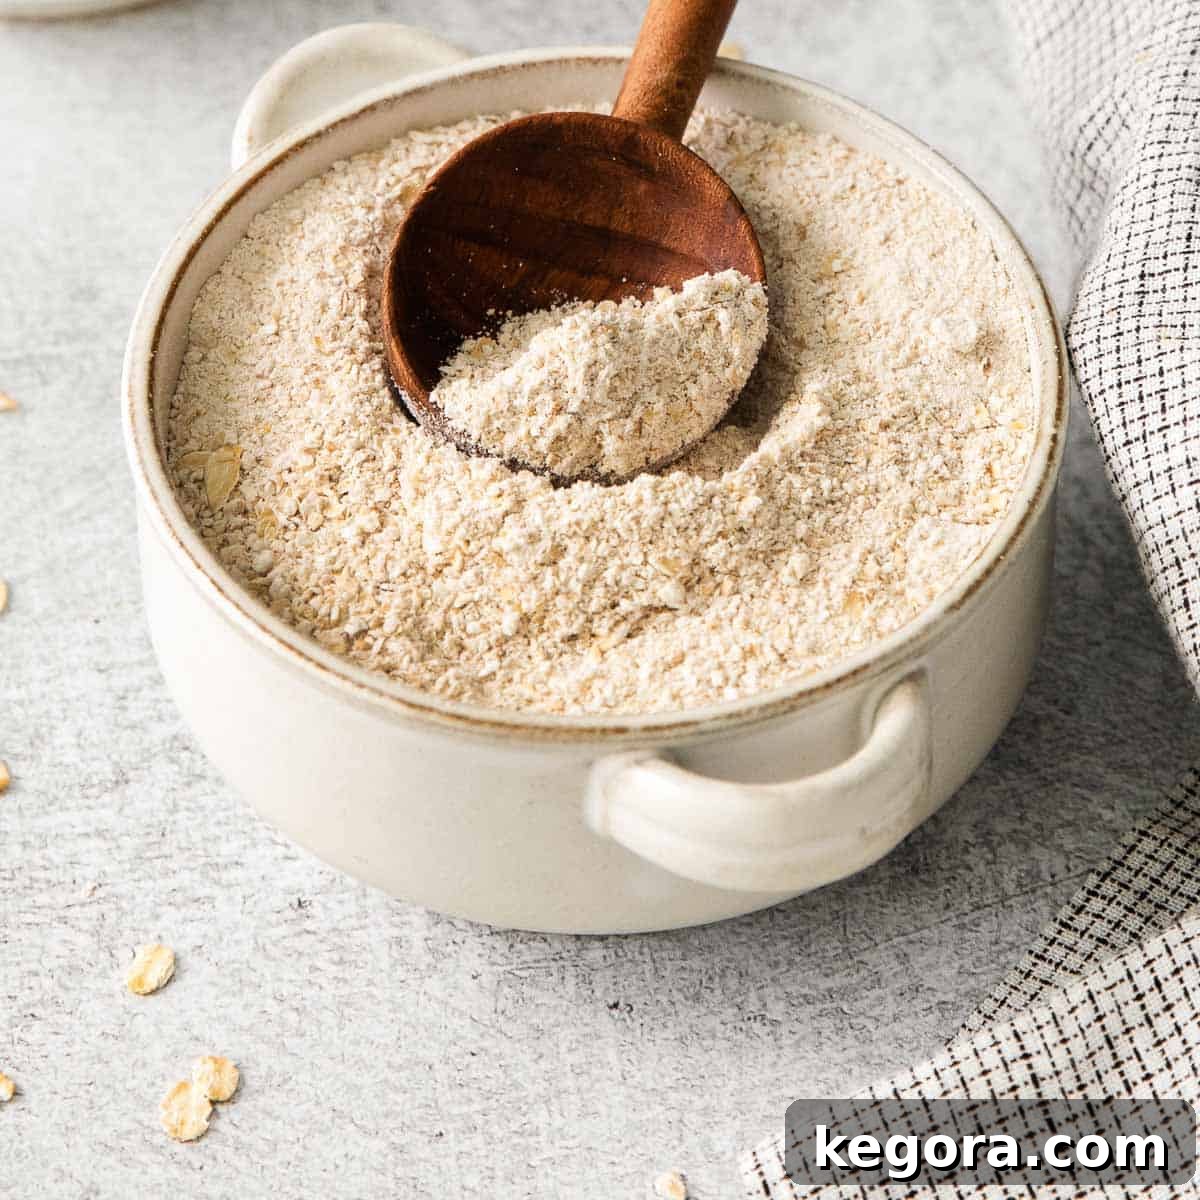
Unlock the secret to healthier baking with **homemade oat flour**! Incredibly easy to make with just oats and a blender, this light, fluffy, and subtly flavored flour is a versatile staple for any kitchen. Forget store-bought versions – create your own fresh, nutritious oat flour at home in minutes and elevate your baked goods to a new level.
Are you ready to transform your pantry and enhance your baking? Making oat flour at home is not only simple but also incredibly rewarding. This comprehensive guide will walk you through every step, from selecting the right oats to perfecting your blending technique, ensuring you achieve the finest, most consistent homemade oat flour possible. Get ready to bake a wide array of delicious and wholesome treats!
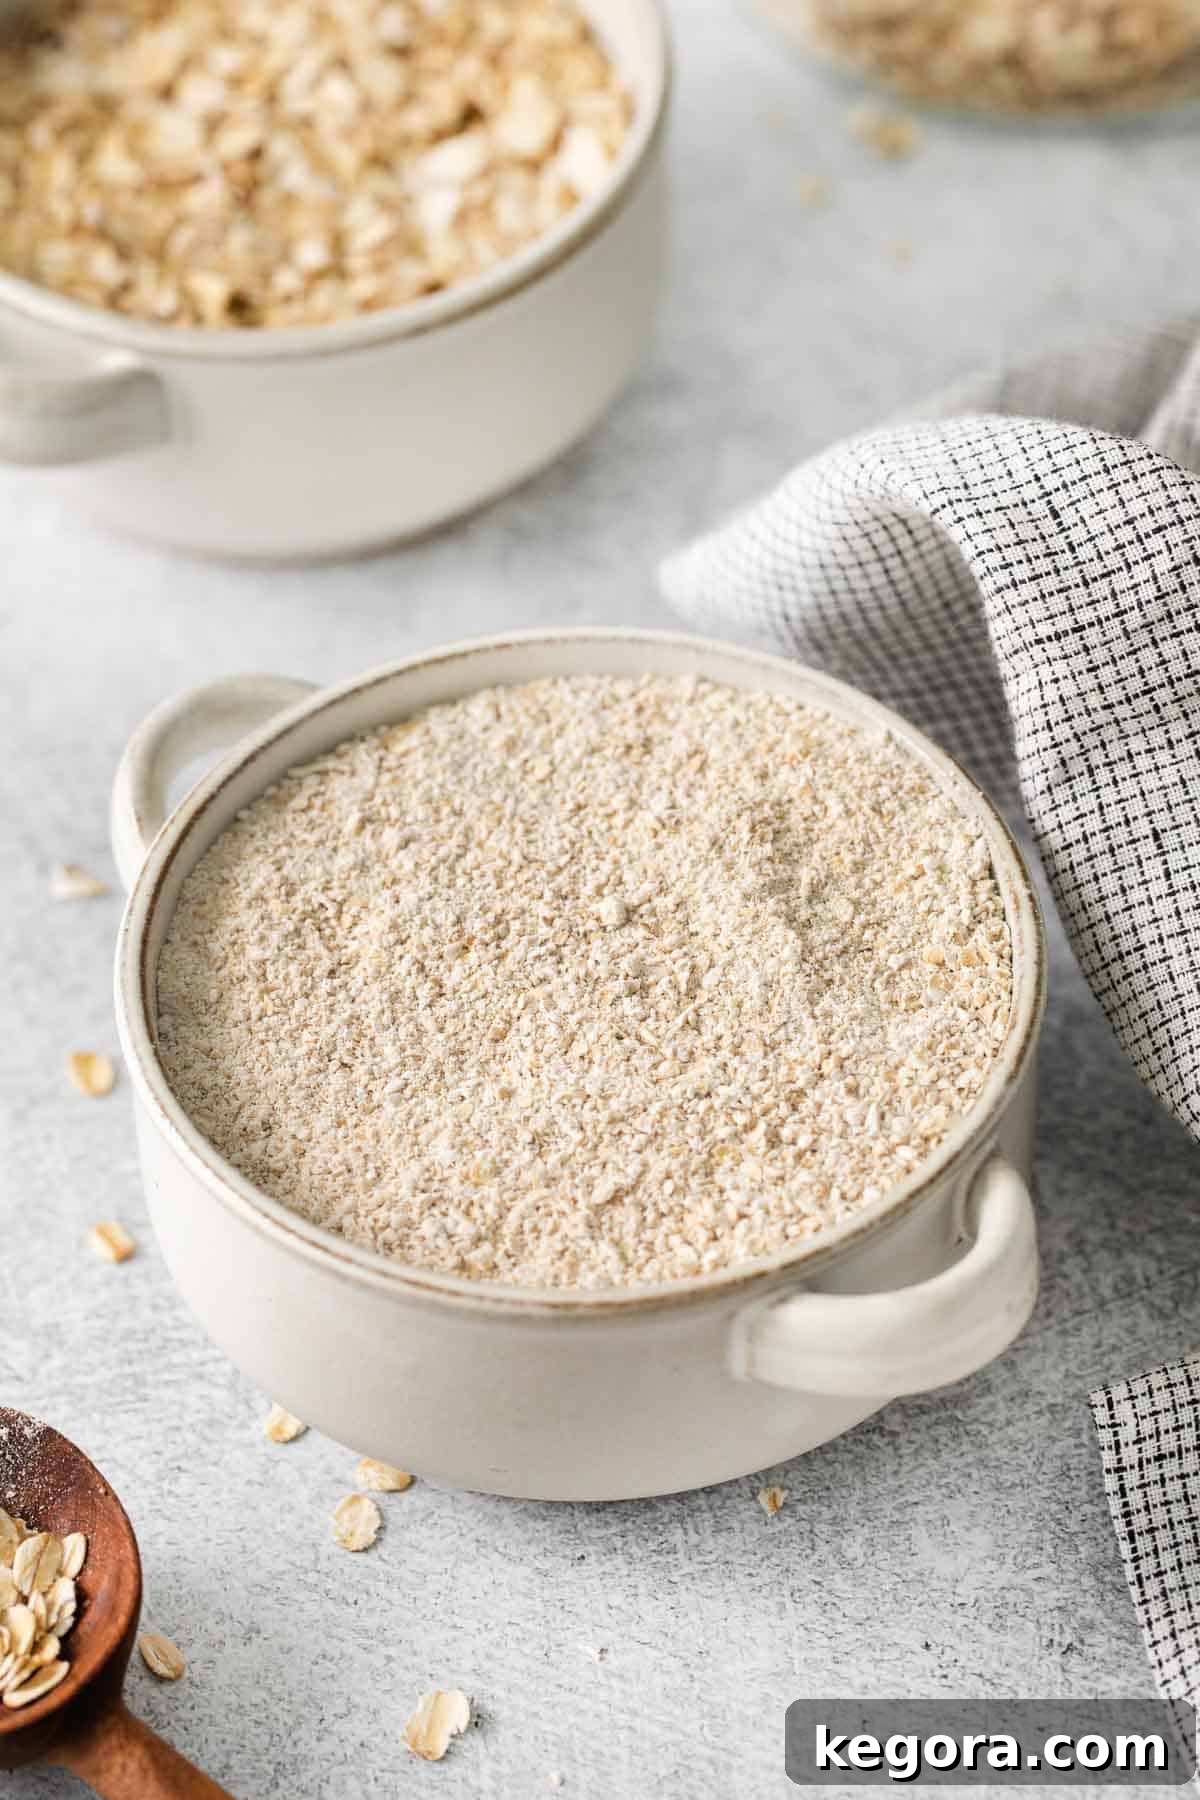
Why Choose Homemade Oat Flour?
There are countless compelling reasons to start making your own oat flour. Whether you’re aiming for delicious gluten-free oat flour muffins, quick breads, cookies, or brownies, or simply seeking a healthier alternative to traditional all-purpose flour, oat flour delivers. It’s packed with nutrients, boasts a light and fluffy texture, and offers remarkable versatility in the kitchen. As a key ingredient in many recipes, it’s quickly becoming a pantry essential for those committed to wholesome and gluten-free baking.
Making your own oat flour offers several distinct advantages:
- Cost-Effective: Buying whole oats is typically more economical than purchasing pre-made oat flour, saving you money in the long run.
- Freshness: Grinding your own oats ensures maximum freshness, which can positively impact the flavor and texture of your baked goods.
- Ingredient Control: You have complete control over the quality and type of oats used, especially crucial for those requiring certified gluten-free options.
- Accessibility: No need to run to the store for a specialized flour; you can whip it up whenever a recipe calls for it.
- Nutritional Benefits: Oats are whole grains, providing fiber, protein, and essential minerals, making your baked treats more nutritious.
Once you have your homemade oat flour, the possibilities are endless! Use it to create delightful oat flour waffles, chewy oat flour chocolate chip cookies, versatile oat flour muffins, and rich oat flour brownies. It also shines in comforting oat flour banana bread, fluffy oat flour pancakes, and wholesome oat flour banana muffins, among many other incredible recipes.
Are Oats Truly Gluten-Free? Understanding the Nuances
While oats are naturally gluten-free, their journey from farm to table can sometimes introduce gluten. This is a critical point for anyone with Celiac disease or gluten sensitivity.
The primary concern is cross-contamination during the harvesting, transportation, and processing stages. Regular oats are often grown in rotation with wheat, barley, or rye, or processed in facilities that also handle these gluten-containing grains. This can lead to trace amounts of gluten finding their way into oat products.
Therefore, if you intend to make gluten-free baked goods, it is absolutely essential to use **certified gluten-free oats**. These oats are specially grown, harvested, and processed in dedicated facilities to prevent cross-contamination. They are also rigorously tested to ensure their gluten content is below the internationally recognized standard of 20 parts per million (ppm), making them safe for individuals on a strict gluten-free diet.
When purchasing oats for your homemade oat flour, always look for a “certified gluten-free” label on the packaging. Brands like Bob’s Red Mill are well-known for offering certified gluten-free oat products. Opting for these ensures your homemade oat flour is genuinely safe for all your gluten-free baking needs.
Choosing Your Oats: The Only Ingredient You Need
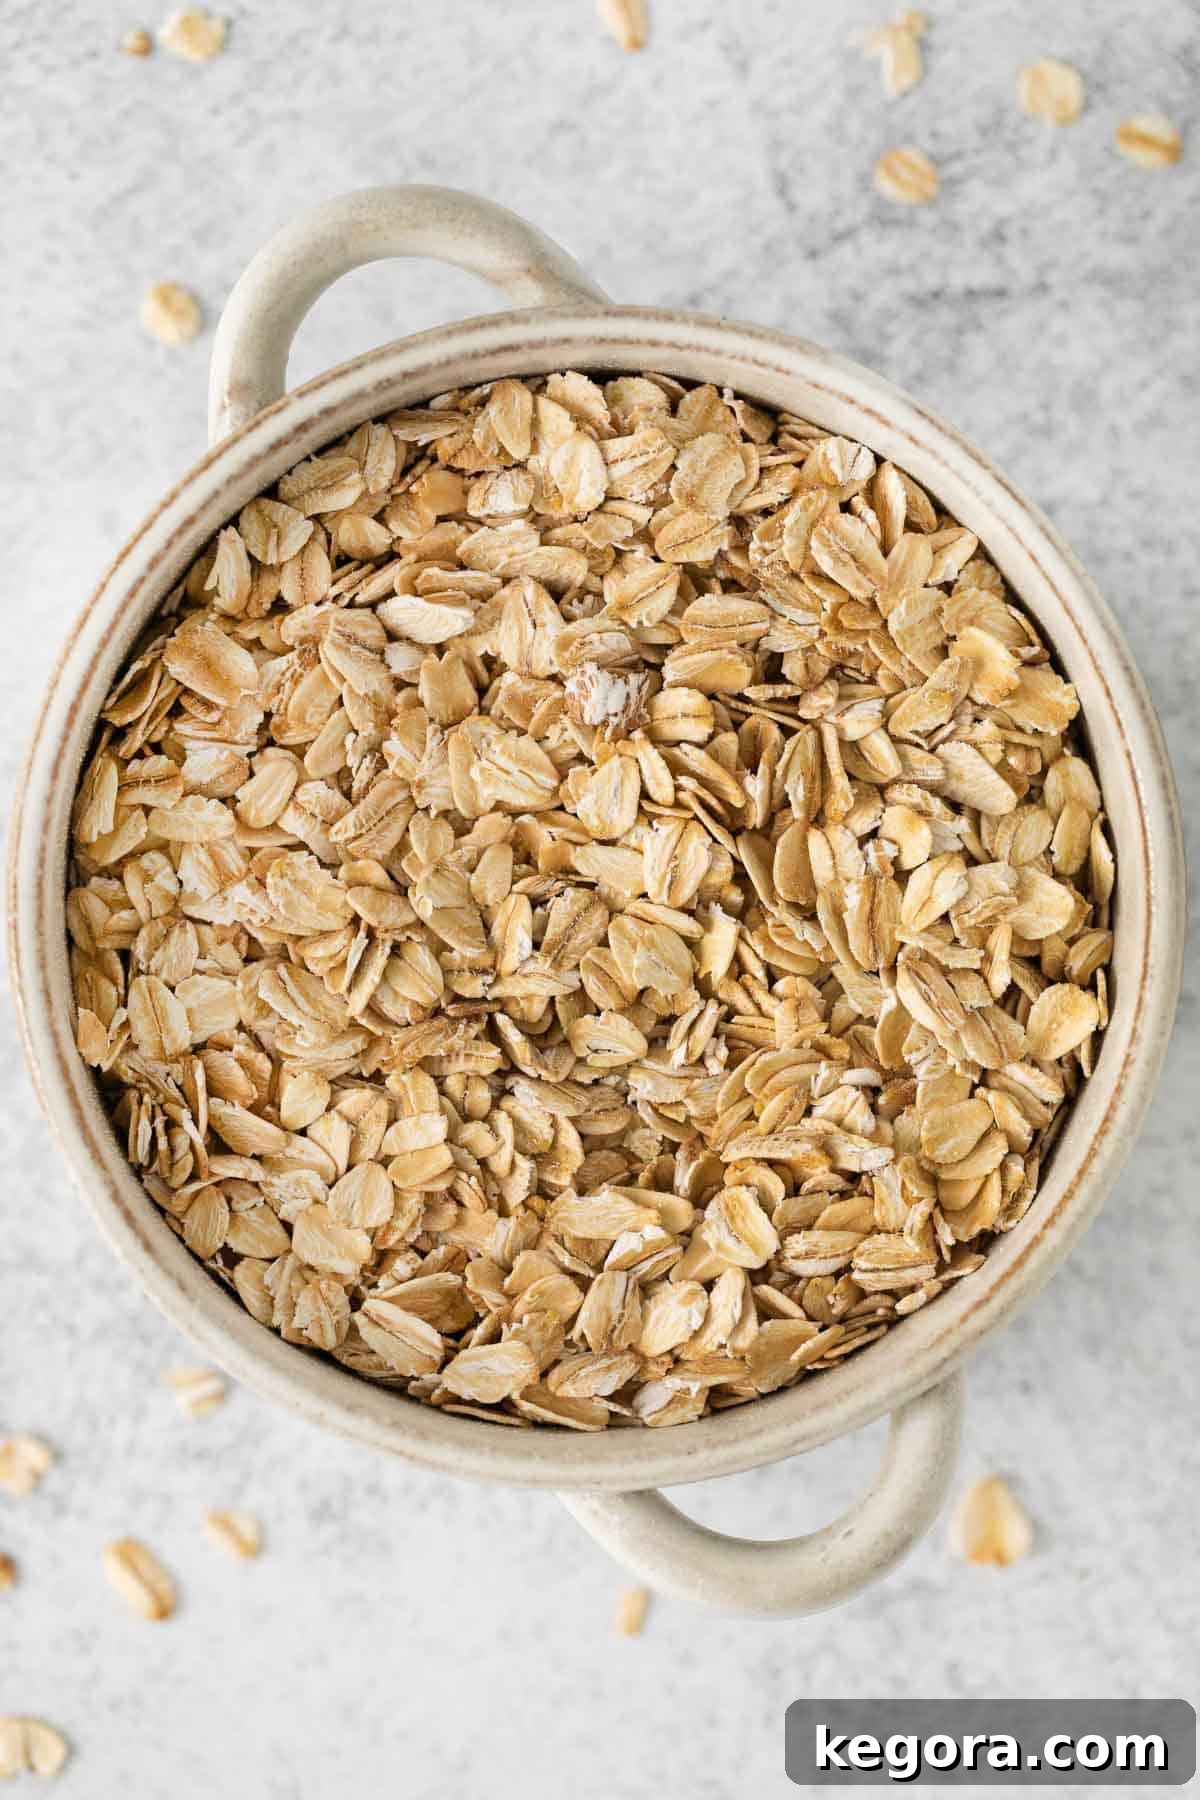
The beauty of making oat flour is its simplicity: oats are the only ingredient required! However, the type of oats you choose can influence the texture and yield of your finished flour.
- Old-Fashioned Oats (Rolled Oats): These are the most commonly recommended type for homemade oat flour. They blend easily into a fine flour, producing a light and consistent result that works well in most recipes.
- Quick-Cooking Oats: Similar to old-fashioned oats, quick-cooking oats can also be used. They are cut into smaller pieces and pre-steamed, which means they might blend a little faster. The resulting flour will be very similar to that made with rolled oats.
- Steel-Cut Oats: These are whole oat groats that have been cut into two or three pieces. They are denser and harder than rolled or quick oats, meaning they will require more blending time and a powerful blender to achieve a fine flour consistency. However, steel-cut oats tend to yield a greater volume of flour compared to the same amount of rolled or quick oats. For example, 1 cup of steel-cut oats might yield closer to 2 cups of flour, whereas rolled or quick oats typically yield slightly less than 1 cup from 1 cup of whole oats.
For best results, especially if you’re new to making oat flour, old-fashioned (rolled) oats are an excellent starting point due to their balanced texture and ease of blending.
How to Make Oat Flour: A Step-by-Step Guide
Making your own oat flour is remarkably straightforward and requires minimal equipment. Here’s how to do it perfectly every time:
Equipment You’ll Need:
- A high-speed blender or a food processor
- Measuring cups
- Airtight container for storage (optional)
Instructions:
- Prepare Your Oats: Ensure you are using certified gluten-free oats if you require a gluten-free flour.
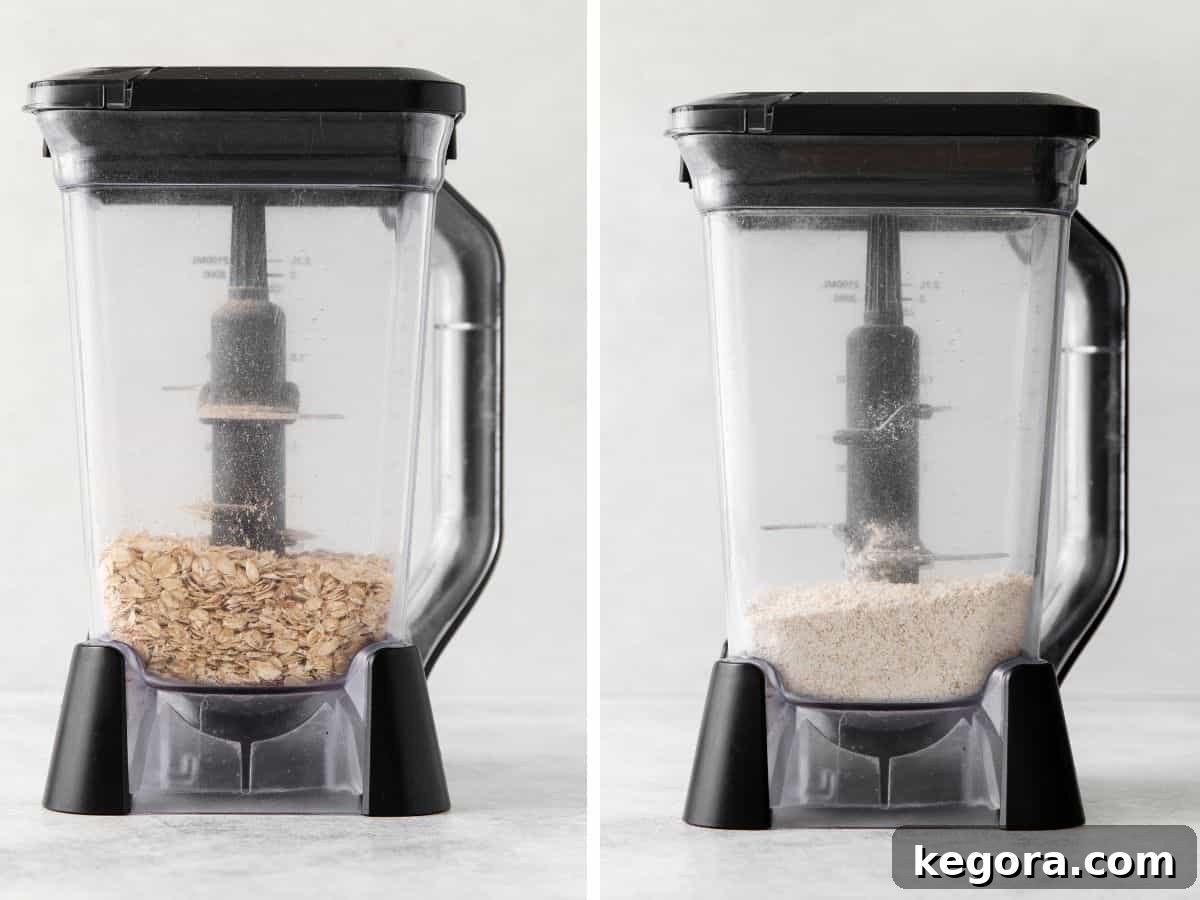
- Load the Blender/Food Processor: Fill your blender or food processor about halfway with oats. Avoid overfilling, as this can prevent the oats from grinding evenly and put strain on your appliance. Working in smaller batches ensures a consistently fine flour.
- Blend Until Fine: Secure the lid and blend the oats on high speed. Initially, the oats will break down into a coarse meal, then progressively become finer. Continue blending until the oats achieve a light, flour-like consistency with no visible whole oats remaining. This typically takes anywhere from 30 to 60 seconds, depending on your appliance’s power and the type of oats used. For an extra smooth flour, you may pause, shake the blender, and blend for another 10-15 seconds.
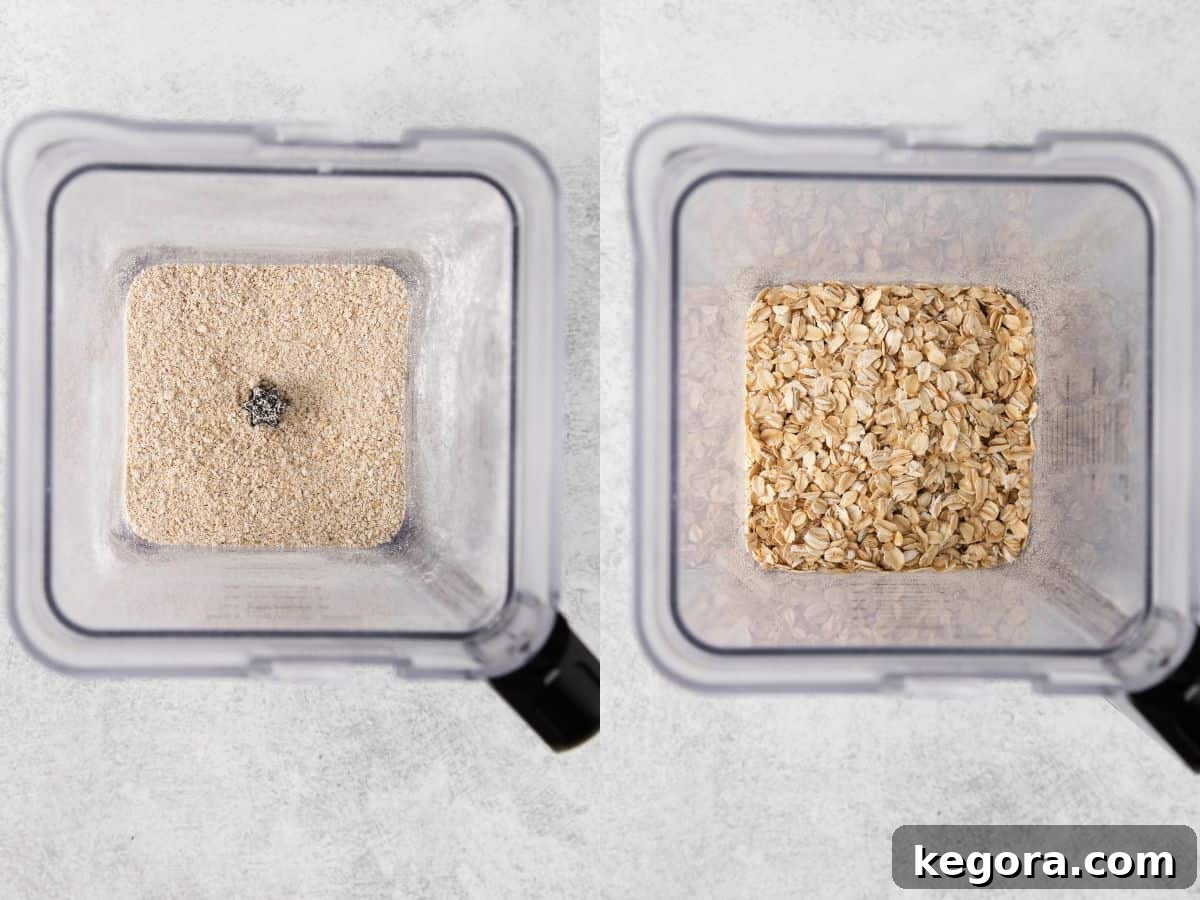
- Check for Consistency: Carefully open the blender and check the texture. The flour should feel soft and powdery, similar to wheat flour. If it feels gritty, blend for a few more seconds.
- Use or Store: Your fresh oat flour is now ready for immediate use in your favorite baking recipes. Alternatively, store it for future culinary adventures.
For more baking inspiration, you might enjoy these oatmeal pancakes!
Storing Your Homemade Oat Flour for Optimal Freshness
Proper storage is key to maintaining the freshness and extending the shelf life of your homemade oat flour. Unlike regular wheat flour, oat flour contains natural oils that can go rancid if not stored correctly.
Transfer your freshly ground oat flour to an airtight container. This helps protect it from moisture, air, and odors that can degrade its quality. You can store it:
- At Room Temperature: In a cool, dark pantry or cupboard, homemade oat flour will remain fresh for up to three months.
- In the Refrigerator: For slightly longer storage, you can keep it in the fridge for up to six months.
- In the Freezer: For the longest shelf life, store oat flour in the freezer for up to one year. Freezing is an excellent option if you make large batches or don’t bake with it frequently.
Always ensure the container is tightly sealed to prevent moisture absorption, which can cause clumping and spoilage.
Frequently Asked Questions About Oat Flour
Is oat flour simply ground-up oats?
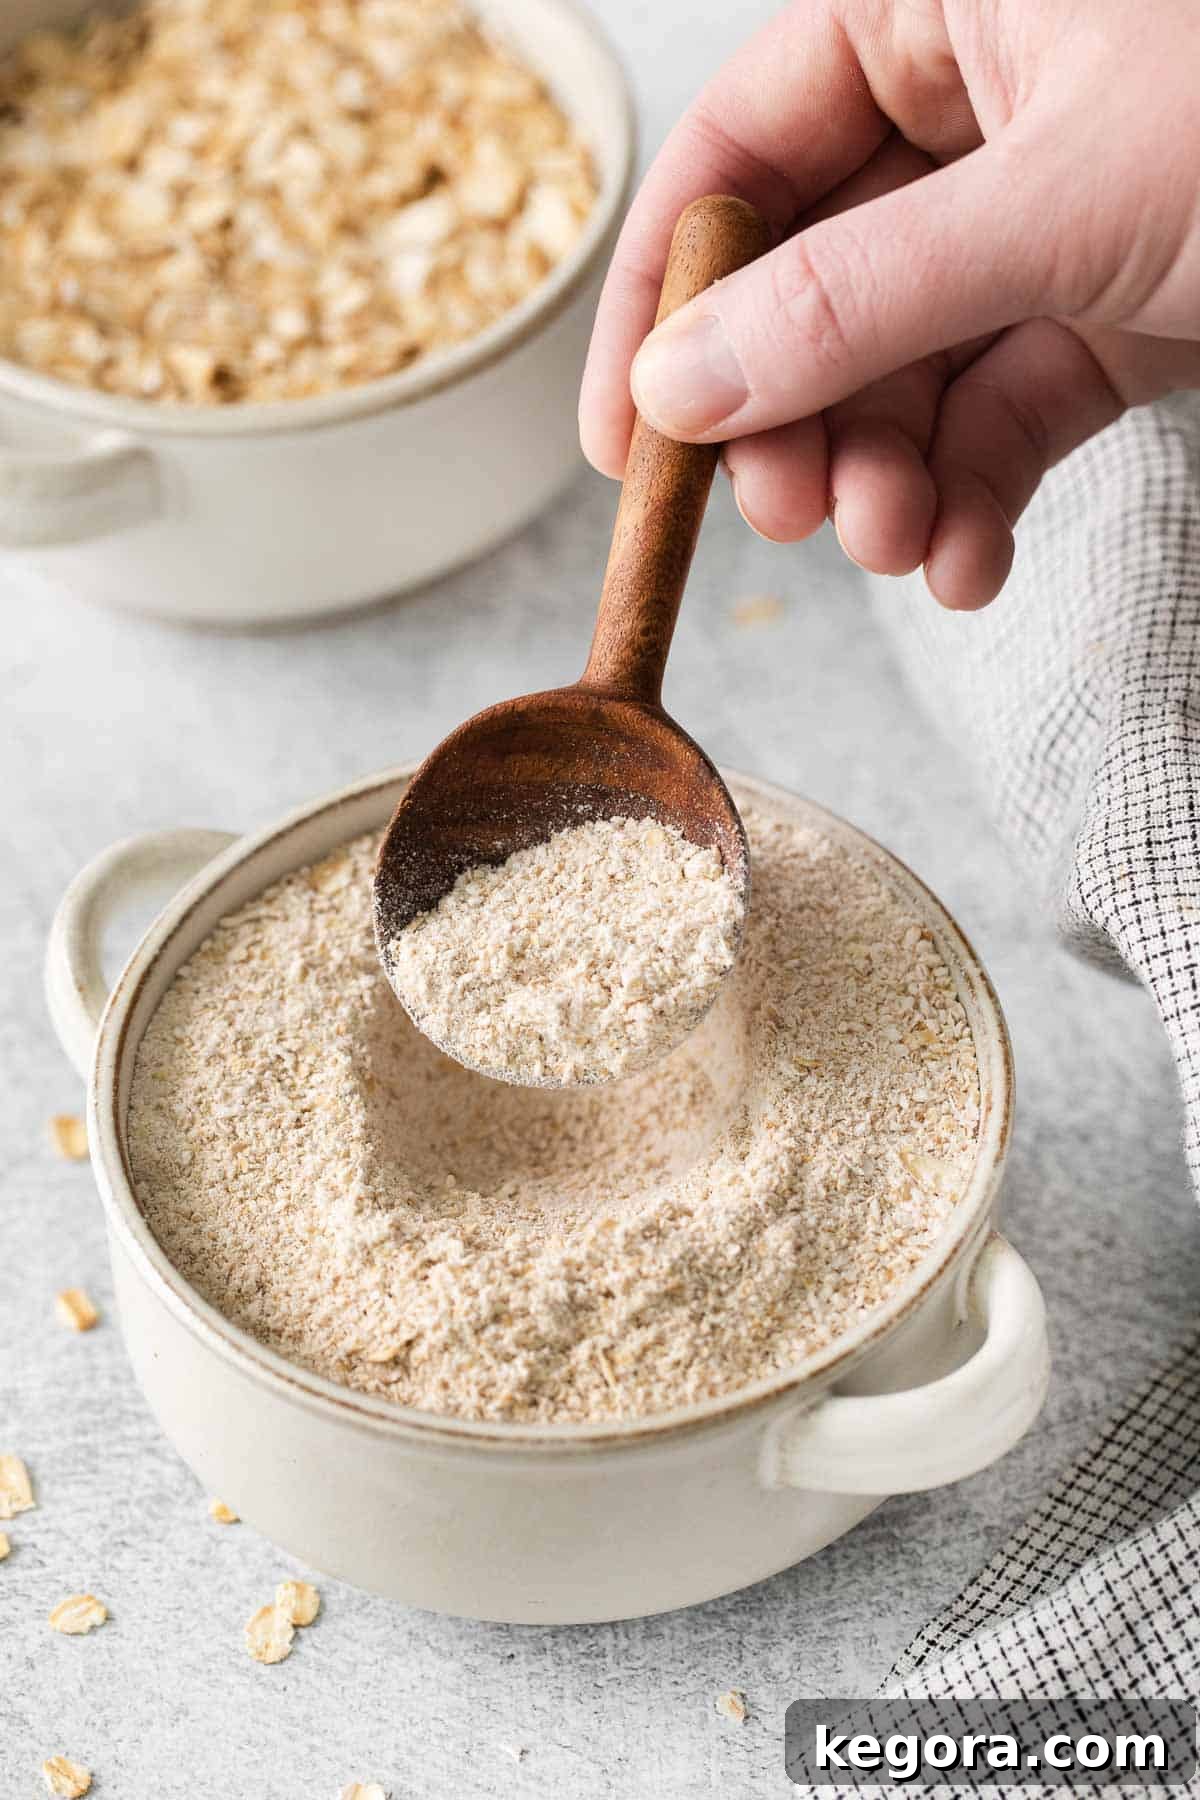
Yes, oat flour is essentially whole oats that have been finely ground into a powdery consistency using a blender or food processor. The process is incredibly simple to do at home, allowing you to create fresh flour whenever you need it. Just remember to use certified gluten-free oats if you require a gluten-free final product.
How do I make oat flour from whole oats?
To make homemade oat flour from whole oats, measure your desired amount of old-fashioned (rolled) oats or quick oats. For example, to yield approximately 1 cup of flour, you’d start with slightly more than 1 cup of whole oats. Place the oats into a high-speed blender or food processor, filling it about halfway to ensure efficient grinding. Blend for about 30-60 seconds, or until a fine, powdery texture is achieved. For steel-cut oats, you’ll need a powerful blender and slightly longer blending time, and 1 cup of steel-cut oats can yield up to 2 cups of flour. Store your freshly ground oat flour in an airtight container at room temperature for up to three months, or freeze it for even longer storage. Oat flour has a shorter shelf life than regular white flour due to its higher oil content.
How do you make 2 cups of oat flour?
To yield 2 cups of oat flour, you’ll typically need to start with approximately 2.5 to 3 cups of old-fashioned or quick oats. If you are using steel-cut oats, which are denser and yield more flour per volume, you would need about 1 to 1.5 cups of steel-cut oats to produce 2 cups of flour. Place the oats in your blender or food processor, ensuring not to overfill, and blend until they reach a fine, flour-like consistency. You may need to blend in two batches if your appliance is smaller. Store the resulting 2 cups of fresh oat flour as described above to maintain its quality.
What can I use oat flour for in baking?
Oat flour is incredibly versatile and can be used in a wide variety of baked goods. It lends a wonderful nutty flavor and soft texture to muffins, pancakes, waffles, cookies, brownies, and quick breads. It’s an excellent choice for gluten-free recipes or when you want to add whole grain goodness to your treats. You can often substitute a portion of wheat flour with oat flour in existing recipes, or use it as the primary flour in recipes specifically developed for it.
Is oat flour healthier than regular wheat flour?
Oat flour is considered a healthier alternative to refined white wheat flour because it’s a whole grain. It retains the bran, germ, and endosperm of the oat groat, which means it’s higher in fiber (especially soluble fiber), protein, and beneficial nutrients like manganese, phosphorus, magnesium, and B vitamins. The soluble fiber in oats, beta-glucan, is known to help lower cholesterol and regulate blood sugar. While regular whole wheat flour also offers whole grain benefits, oat flour has a unique nutritional profile and is naturally gluten-free.
Expert Tips for Baking with Homemade Oat Flour
- Managing Gluten-Free Texture: Since oat flour is naturally gluten-free, it lacks the elasticity that gluten provides in baked goods. To achieve a light and fluffy texture, recipes using oat flour often require additional leavening agents (like baking powder/soda) in combination with acidic ingredients (such as apple cider vinegar or lemon juice) or binders like xanthan gum. For best results, it’s highly recommended to follow recipes specifically developed for oat flour, as these have been carefully formulated to account for its unique properties.
- Certified Gluten-Free Oats are Key: Always reiterate the importance of using certified gluten-free oats if you’re making oat flour for individuals with Celiac disease or gluten sensitivities. This ensures the complete absence of cross-contamination.
- Oat Type Matters for Yield and Texture: While all oat types can be used, old-fashioned (rolled) oats are generally preferred for homemade oat flour due to their balanced texture and ease of blending. If you opt for steel-cut oats, be aware that they will yield roughly double the amount of flour compared to rolled oats for the same initial volume, and they require a more powerful blender and longer processing time to achieve a fine grind.
- Sifting for Finer Flour: For exceptionally light and airy baked goods, you can sift your homemade oat flour after blending. This removes any remaining coarser bits, resulting in a more uniform and delicate texture, although it’s often not strictly necessary for most recipes.
- Need a Substitute? If you’re out of oat flour or looking for alternatives in a recipe, check out a dedicated guide on Substitutions for Oat Flour.
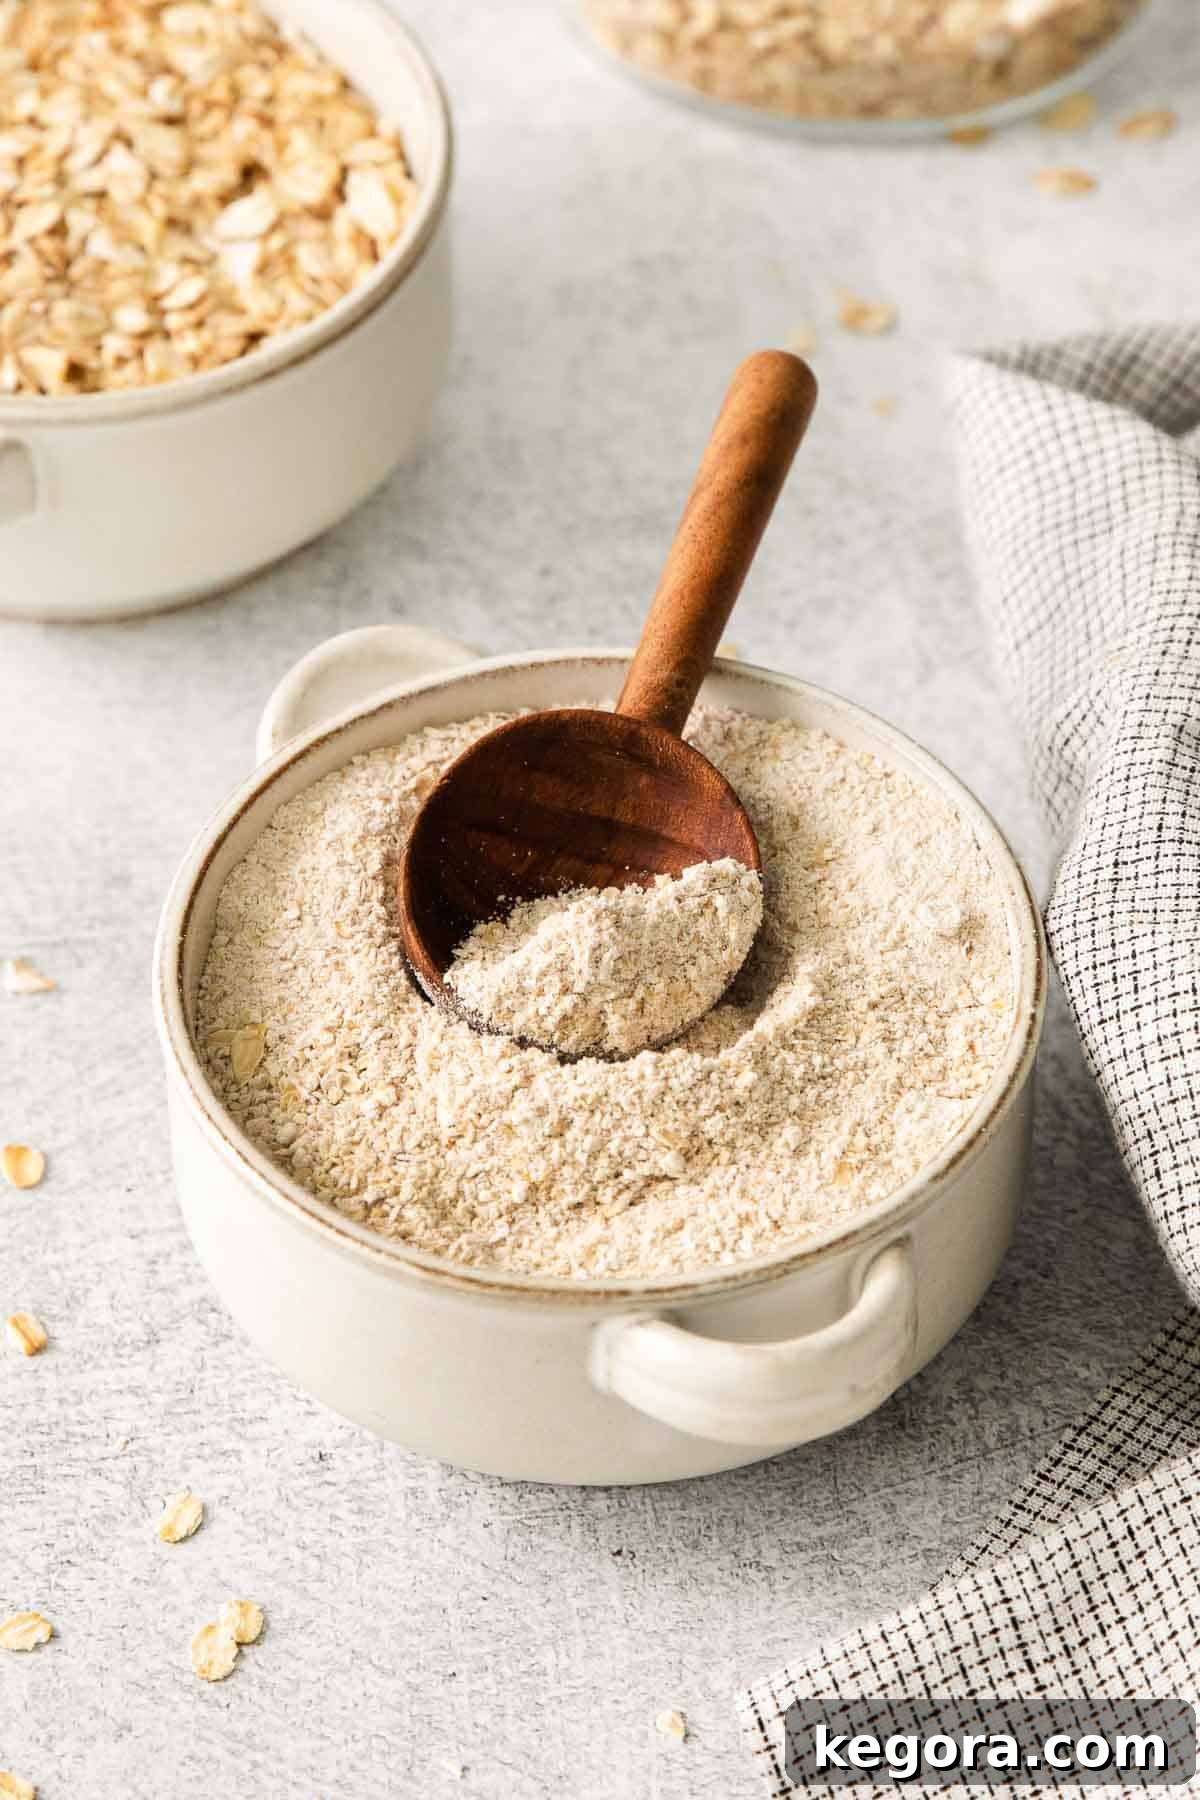
DELICIOUS OAT FLOUR RECIPES TO TRY
Oat Flour Waffles
Oat Flour Banana Bread
Oat Flour Brownies
Oat Flour Chocolate Chip Cookies
Oat Flour Pancakes
Oat Flour Muffins (Endless Mix-Ins!)
We hope this guide inspires you to create your own gluten-free oat flour at home! If you try this easy method, please consider leaving a comment or rating below. Your feedback is greatly appreciated!
How to Make Oat Flour (Easy Blender Recipe!)
Author: Erin Collins
Prep Time: 5 mins
Yields: 2 cups
All you need are oats and a blender to make oat flour at home! Light, fluffy, and neutral in flavor, oat flour is a delicious base for all kinds of baked goods!
Ingredients
- 2 cups oats (old-fashioned, quick cooking, or *steel-cut)
Instructions
- Fill a blender or food processor about halfway with oats.
- Blend until the oats turn into a fine, flour-like consistency, with no whole oats remaining. This usually takes 30-60 seconds. (For extra smooth flour, blend a second time if needed.)
- Use your homemade oat flour immediately for baking, or store it for later use.
Notes
- *Using steel-cut oats will yield approximately four cups of oat flour from 2 cups of whole steel-cut oats, requiring a powerful blender and longer processing time.
- Oat flour does not contain gluten, so you may need to add additional ingredients (like baking powder/soda with apple cider vinegar or lemon juice) to achieve a light and fluffy texture in gluten-free recipes.
- For best results, we recommend following recipes specifically developed for oat flour, many of which are linked in this article.
- To ensure your recipe remains gluten-free, it is crucial to use certified gluten-free oats when making your own oat flour.
- While all oat types work, old-fashioned oats are generally preferred for homemade oat flour due to their consistent results.
Nutrition (per serving, 1 serving = 1/2 cup)
Calories: 153 kcal |
Carbohydrates: 27g |
Protein: 5g |
Fat: 3g |
Saturated Fat: 0.5g |
Polyunsaturated Fat: 1g |
Monounsaturated Fat: 1g |
Sodium: 2mg |
Potassium: 147mg |
Fiber: 4g |
Sugar: 0.4g |
Calcium: 21mg |
Iron: 2mg