
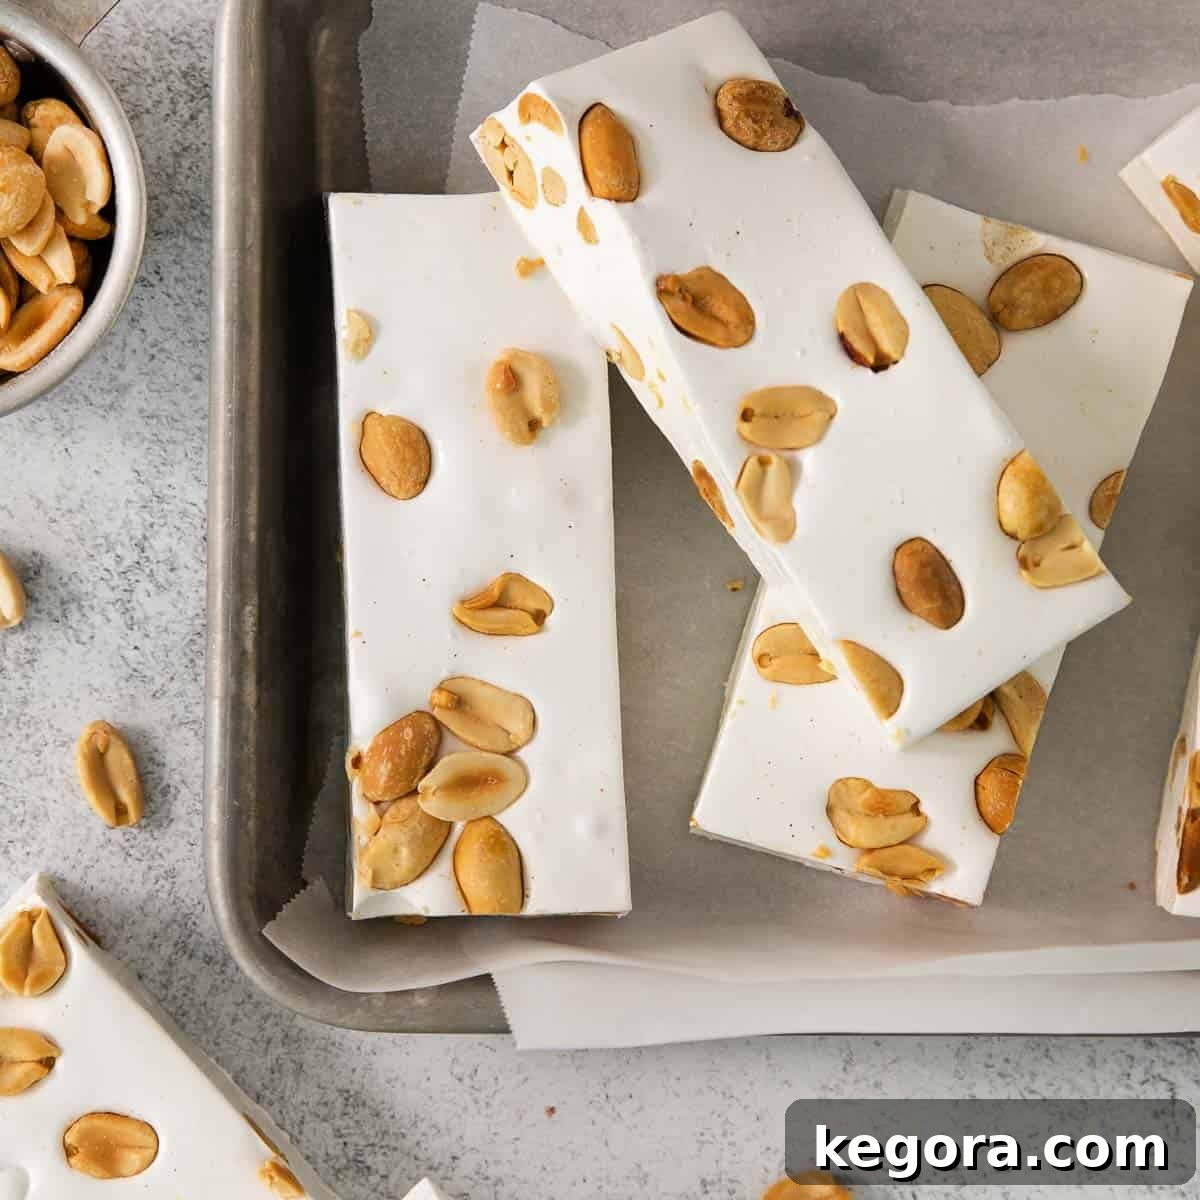
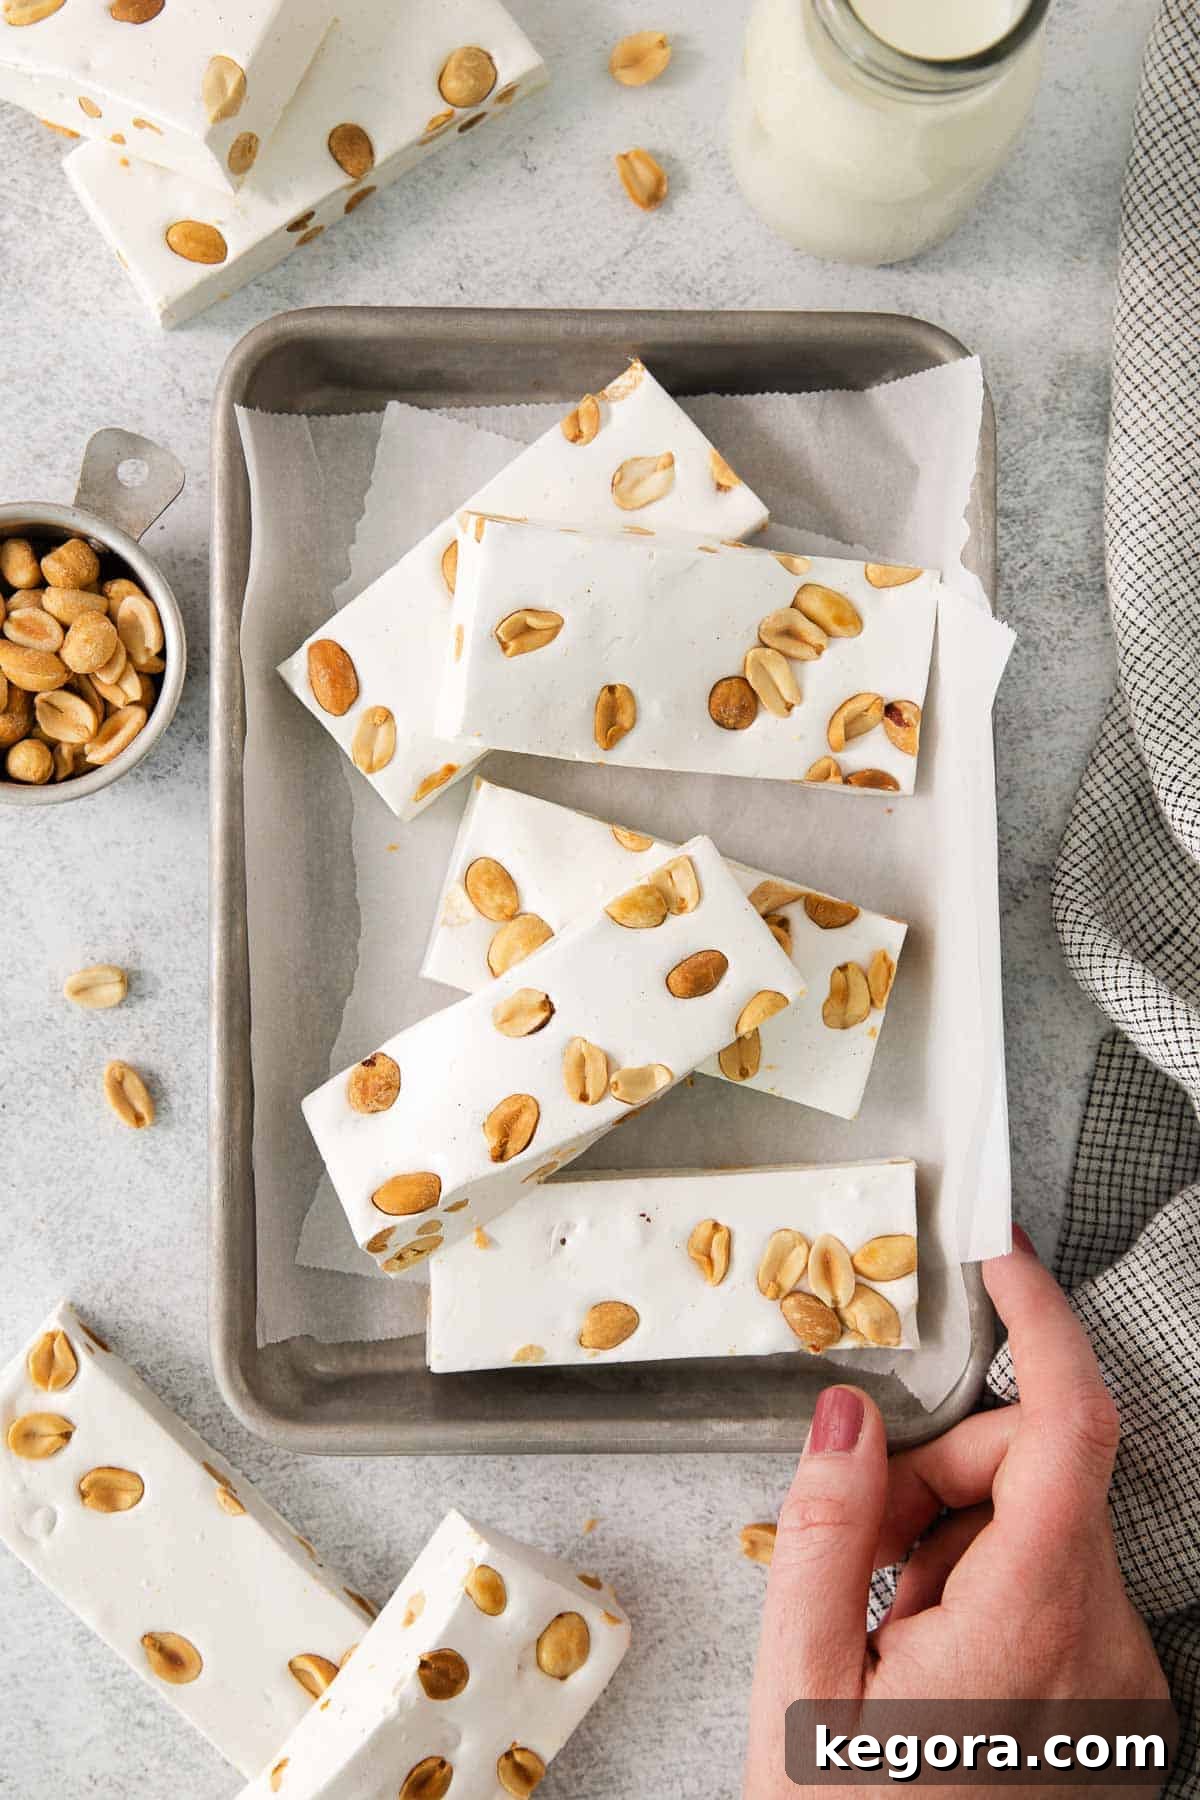
Discover the ultimate homemade nougat recipe, a treasured family favorite passed down from my grandma’s charming, self-published church cookbook. This classic confection, originally presented with vague instructions typical of its 1970s era, has been meticulously enhanced with detailed tips and precise steps to ensure a perfect, reliable batch every time. Prepare to create soft, chewy, and utterly delightful nougat that will become a new tradition in your home.
For more nostalgic candy creations from the same beloved cookbook, you might also enjoy these recipes: Homemade Caramels, Peanut Brittle, English Toffee, and Pecan Log.
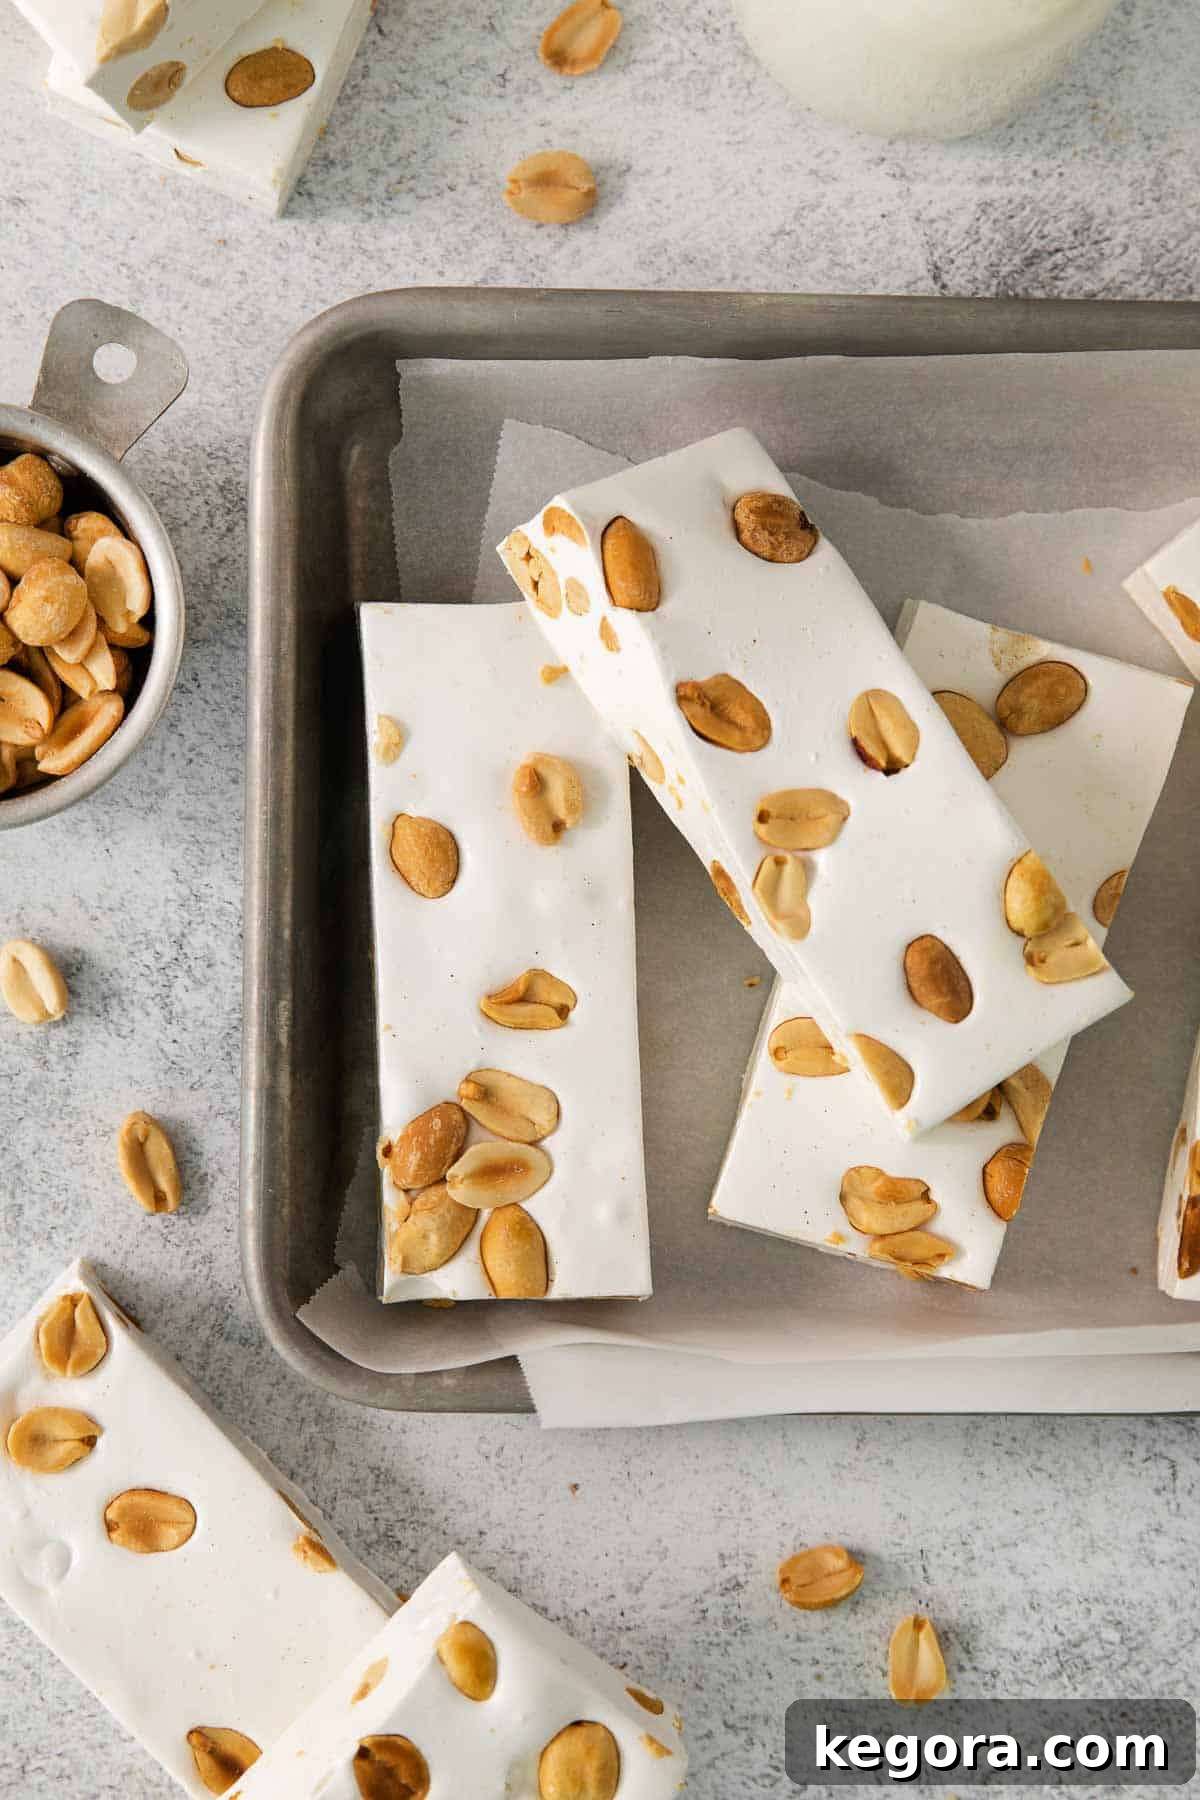
This exquisite nougat recipe holds a special place in my heart, originating from my grandma’s treasured church cookbook, a collaborative effort published with her friends back in the vibrant 1970s. It’s a timeless sweet treat that beautifully marries retro charm with enduring deliciousness. While the original recipe was delightfully vague, embodying the spirit of a time when cooking was often guided by intuition and familial wisdom, its simplicity made it versatile and endearing. Now, I’m sharing it with you, perfected with clear, detailed instructions to guarantee success.
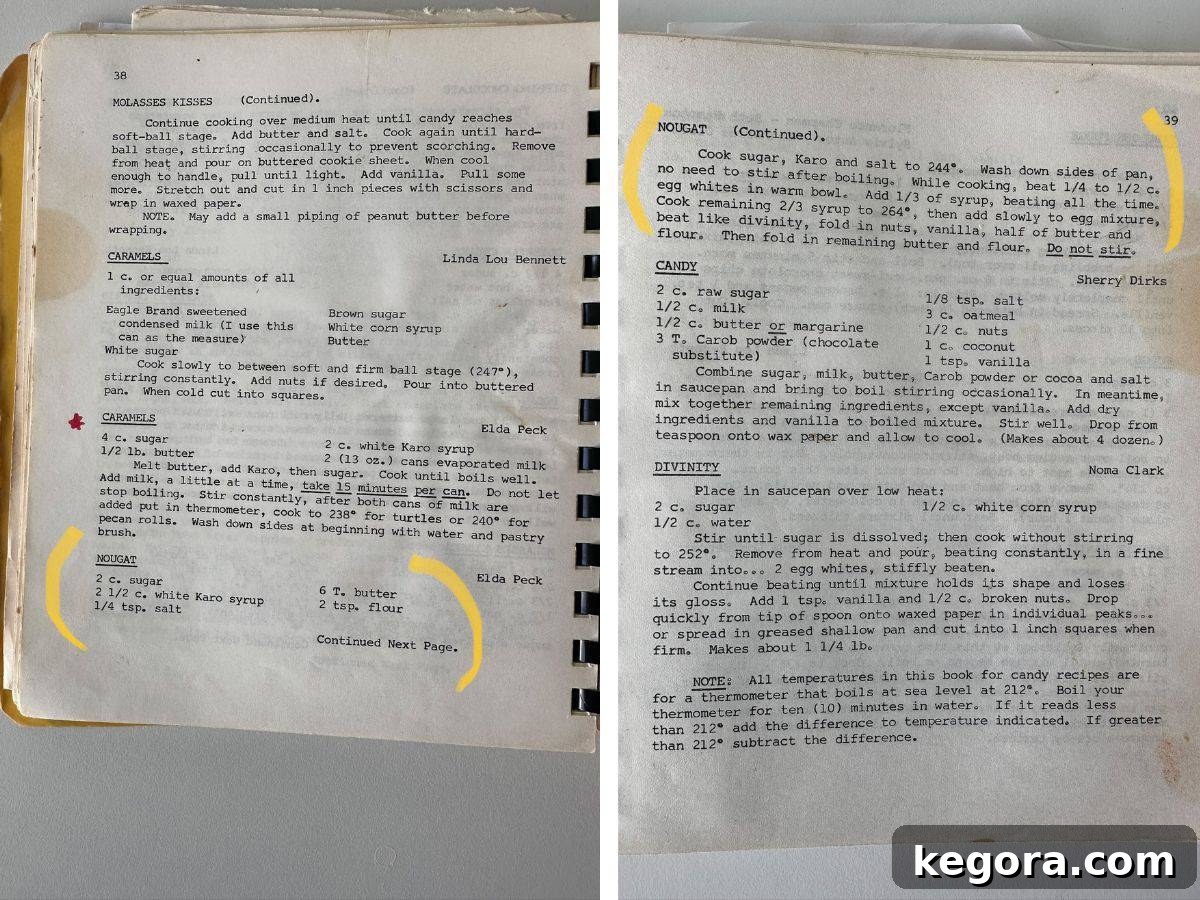
The original instructions, though sparse, offer a charming glimpse into the culinary culture and personalities of the wonderful ladies who compiled the cookbook. It’s a testament to their confidence in the kitchen and the shared knowledge within their community. My goal in refining this recipe has been to preserve its authentic character while providing all the precise details and expert tips you need to recreate this delectable nougat reliably. Dive into the updated guide below and unlock the secrets to perfect nougat!
Looking for more delightful confections? You may also enjoy this best fudge recipe or this vanilla bean marshmallow recipe!
Why You’ll Adore This Classic Nougat Recipe
This nougat isn’t just a candy; it’s an experience. Here’s why this recipe is bound to become a staple in your kitchen:
- Incredibly Soft and Chewy Texture: Experience the perfect balance of a billowy, melt-in-your-mouth base with a satisfying chewiness that sets this nougat apart.
- Remarkably Versatile and Customizable: Whether you prefer classic peanuts, exotic dried fruits, or a decadent chocolate swirl, this base recipe is a blank canvas for your creativity.
- The Ultimate Neighborly or Holiday Gift: Impress your friends, family, and neighbors with homemade nougat, beautifully packaged for any special occasion or holiday celebration.
- A Timeless Holiday Candy Tradition: Recreate the magic of classic holiday confections with a recipe that evokes warmth, nostalgia, and festive cheer.
- Easy to Follow with Reliable Results: Our enhanced instructions remove guesswork, guiding you to a perfect batch of nougat every single time, even if you’re new to candy making.
Essential Ingredients for Perfect Homemade Nougat
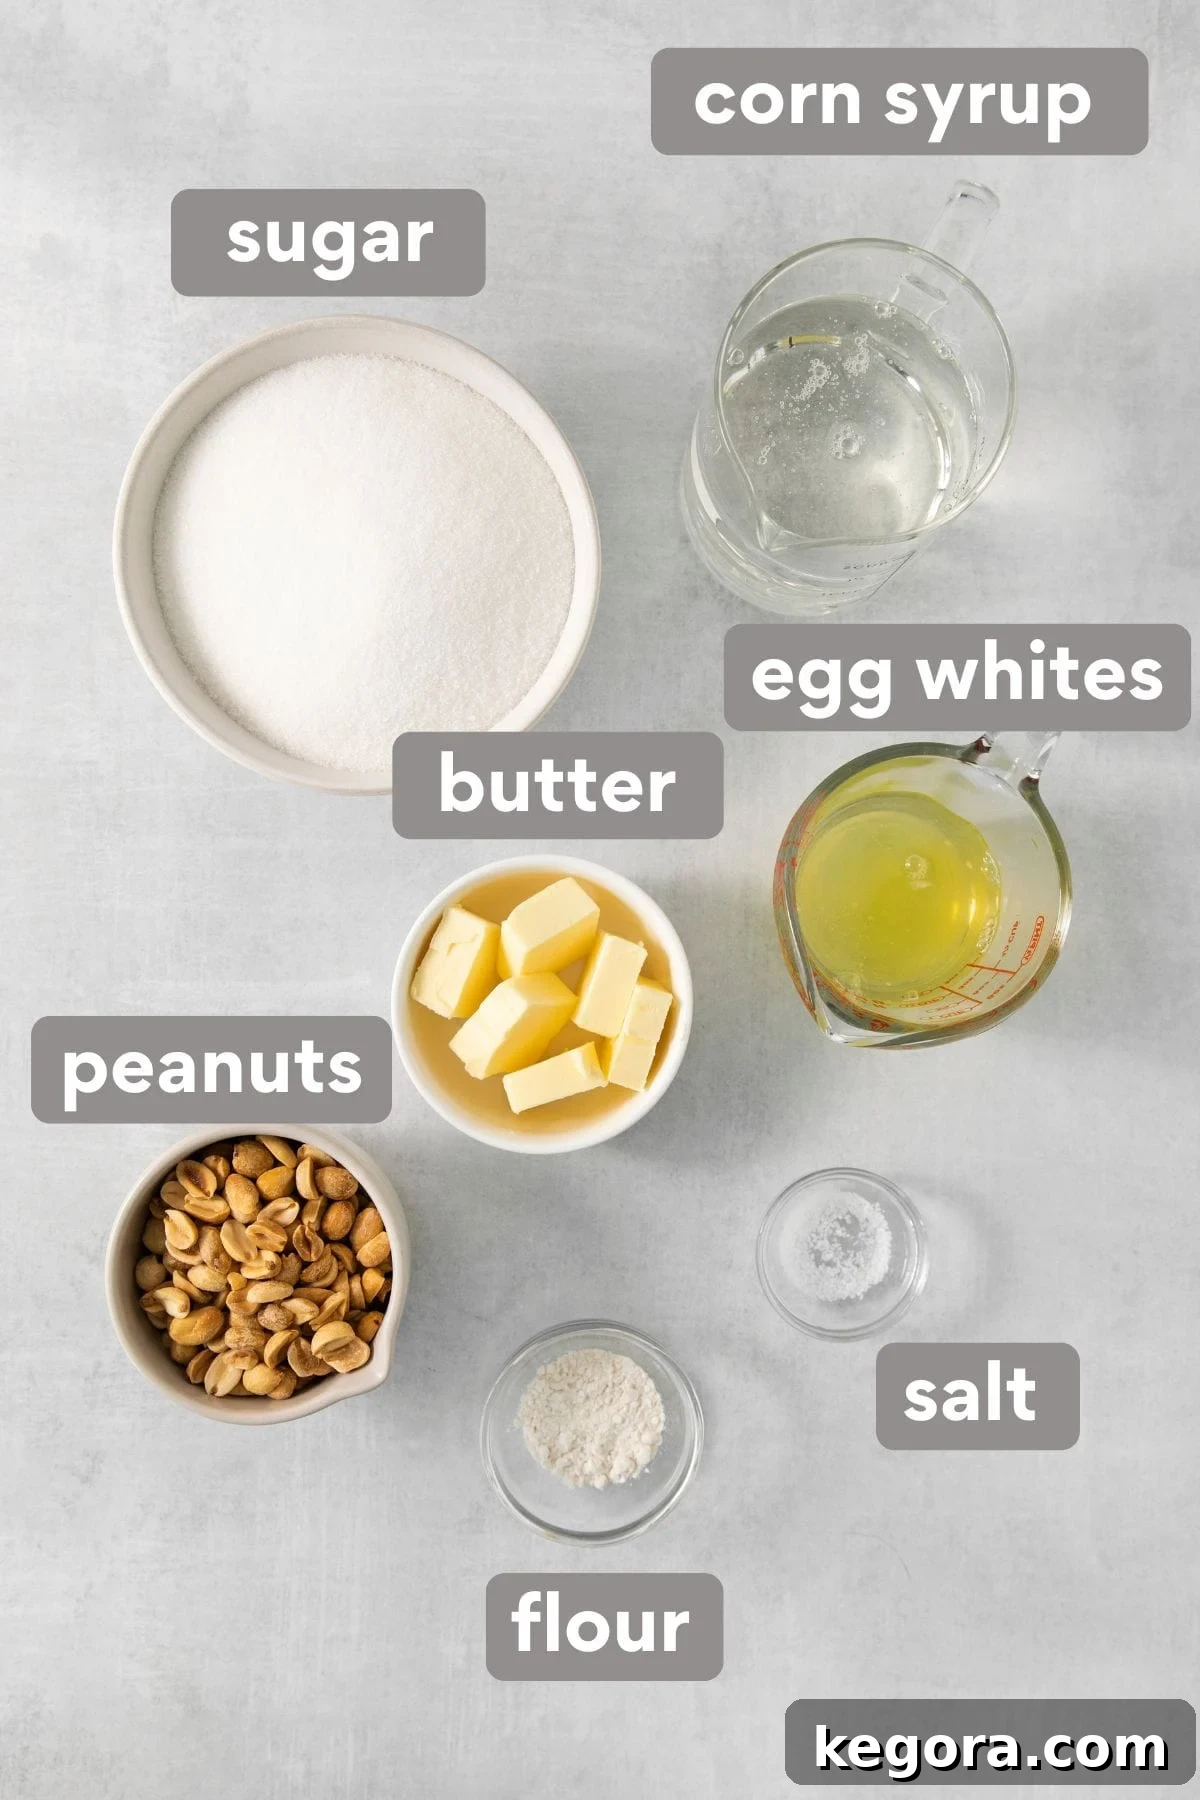
Crafting delicious nougat starts with understanding the role of each ingredient. Here’s a closer look at the key components for this recipe:
- Granulated Sugar: Forms the primary sweet base of the nougat. Ensure you use fine granulated sugar for optimal dissolution and smooth syrup.
- White Corn Syrup: This is arguably the most critical ingredient for achieving the signature fluffy, billowy texture of nougat. White corn syrup prevents sugar crystallization, ensuring your nougat remains soft and pliable. Do not substitute with dark corn syrup, honey, or other liquid sweeteners, as they will alter the flavor, color, and most importantly, the texture of your nougat significantly.
- Salt: A small amount of salt enhances all the flavors in the nougat, balancing the sweetness and adding depth.
- Egg Whites: The backbone of nougat’s airy structure. The recipe calls for 1/4 to 1/2 cup of egg whites. I typically use 3 large egg whites, which yield just under 1/2 cup. Don’t stress too much about the exact beating time for the egg whites before the first syrup addition; a minute or two is usually sufficient to get them foamy and slightly thickened. The key is to have them ready to incorporate the hot syrup.
- Vanilla Extract: Provides the classic, warm flavor profile that defines this nougat. Use a high-quality pure vanilla extract for the best taste.
- Butter: Room temperature, salted butter is my preference for this recipe, adding richness and a lovely depth of flavor. Since the mixture thickens very quickly after the butter and flour are added, it’s crucial to cut the butter into very small cubes. This ensures it incorporates smoothly and evenly into the dense nougat base without creating lumps.
- Flour: A small amount of flour acts as a stabilizer, contributing to the nougat’s final texture and chew. I successfully use gluten-free all-purpose flour to keep this recipe suitable for those with gluten sensitivities. However, traditional all-purpose wheat flour will work perfectly fine as well.
- Peanuts (or your choice of nuts): While the original recipe from grandma’s cookbook didn’t specify nuts, I found that salted peanuts add a delightful crunch and savory counterpoint to the sweet nougat. Feel free to customize! Almonds, cashews, pistachios, or even a mix of your favorite nuts would be fantastic additions. Ensure they are lightly toasted for enhanced flavor, if desired.
Step-by-Step Guide: Crafting Your Perfect Homemade Nougat
Making nougat at home might seem intimidating, but with these clear and detailed instructions, you’ll achieve a perfect, professional-quality candy. Precision in temperature and timing is key, so have all your ingredients measured and ready before you begin.
- Prepare Your Pan: First, line a 9×13 inch baking pan (or a quarter sheet pan) with parchment paper. This is essential for easy removal. Lightly grease the parchment paper with non-stick cooking spray to prevent the sticky nougat from adhering. Set this prepared pan aside.
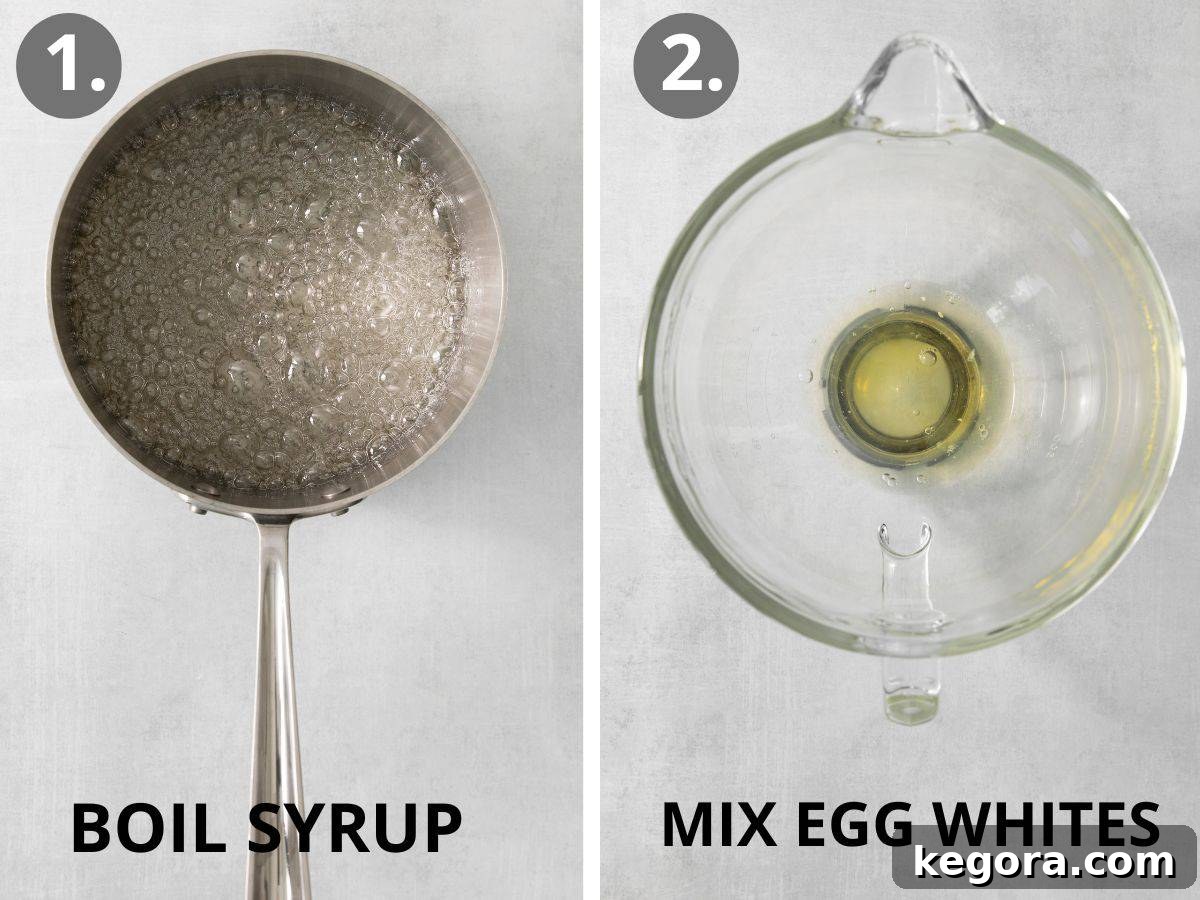
- Begin the Syrup: In a large, heavy-bottomed saucepan (stainless steel is highly recommended for even heat distribution), combine the granulated sugar, white corn syrup, and salt. Place the pot over medium heat and stir constantly until the sugar completely dissolves. This initial stirring is crucial to prevent sugar crystallization.
- Boil the First Syrup Batch: Bring the syrup mixture to a rolling boil. Once boiling, insert a candy thermometer and continue to cook without stirring. If you notice any sugar crystals forming on the sides of the pot, use a wet pastry brush to gently wash them down into the syrup. Boil until the mixture reaches precisely 244°F (118°C) – the soft-ball stage.
- Whip the Egg Whites: While your syrup is coming to temperature, add the egg whites to the clean bowl of a stand mixer fitted with the whisk attachment. Begin beating the egg whites on medium-high speed. Continue beating for approximately 2 minutes, or until they start to thicken and become foamy, holding soft peaks.
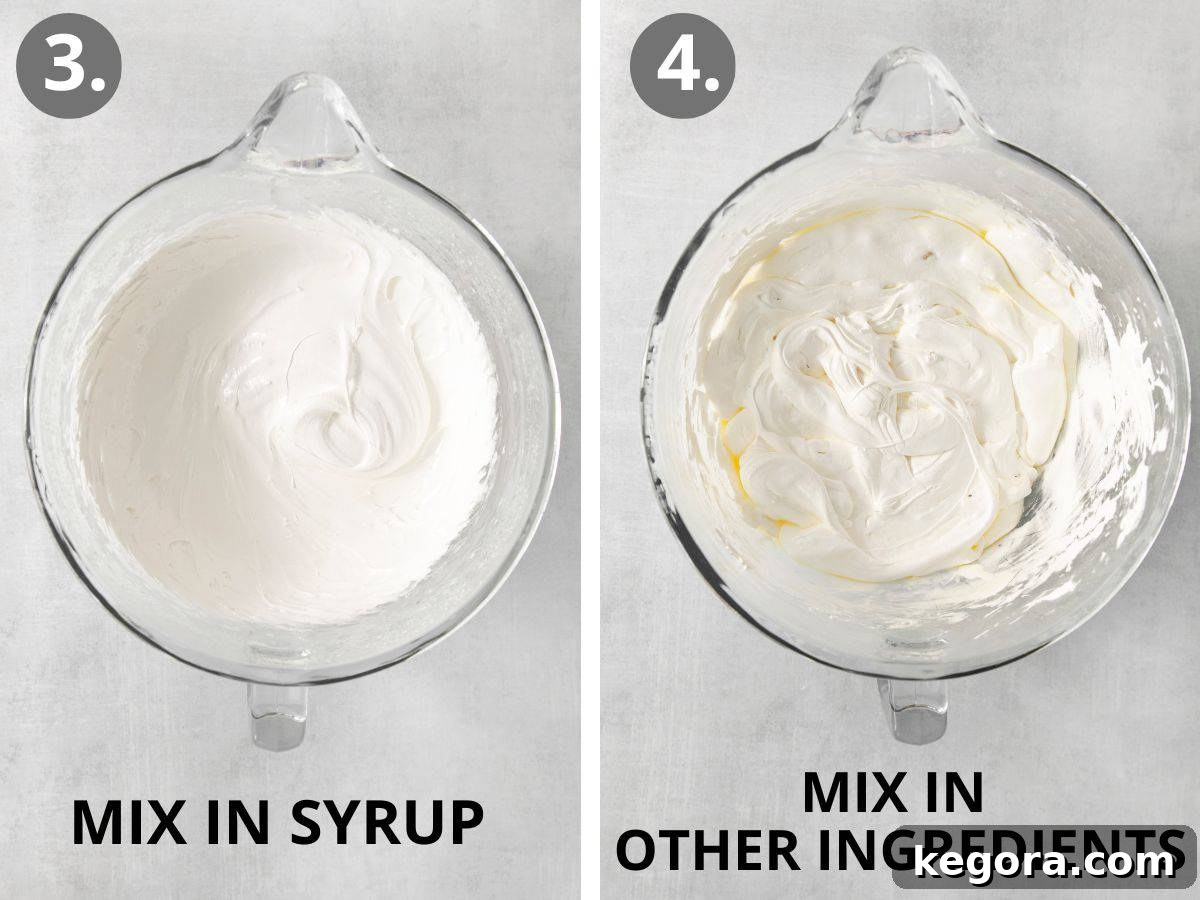
- Combine Syrups and Egg Whites (Part 1): When the hot syrup mixture reaches 244°F, immediately reduce the mixer speed to low. Very slowly and carefully pour about one-third of this hot syrup into the whipping egg whites. It’s vital to pour in a thin, steady stream against the side of the bowl to avoid splattering and ensure it incorporates smoothly into the egg whites. Keep the mixer running on low throughout this process.
- Boil the Second Syrup Batch: Return the remaining two-thirds of the syrup in the pot to the stove. Increase the heat to medium and continue to cook without stirring until this second batch of syrup reaches 264°F (129°C) – the hard-ball stage. This higher temperature is crucial for the nougat’s final firm-yet-chewy texture.
- Combine Syrups and Egg Whites (Part 2): Once the second batch of syrup hits 264°F, with the mixer still running on low speed, slowly and carefully pour the entire remaining hot syrup into the egg white mixture. Continue to beat on medium-high speed for about 5 minutes. The mixture will become very thick, stiff, and start to clump around the whisk attachment. It may not form perfectly stiff peaks, but it will be significantly dense and glossy.
- Add Flavorings and Mix-ins: With the mixer still running on low, gradually add the vanilla extract. Then, incorporate half of the pre-cut room temperature butter and half of the flour. Once partially combined, add the remaining butter and flour, mixing until just incorporated. Finally, stir in your chosen nuts (like the delicious salted peanuts) or any other desired mix-ins. The mixture will be very stiff at this point, so work quickly.
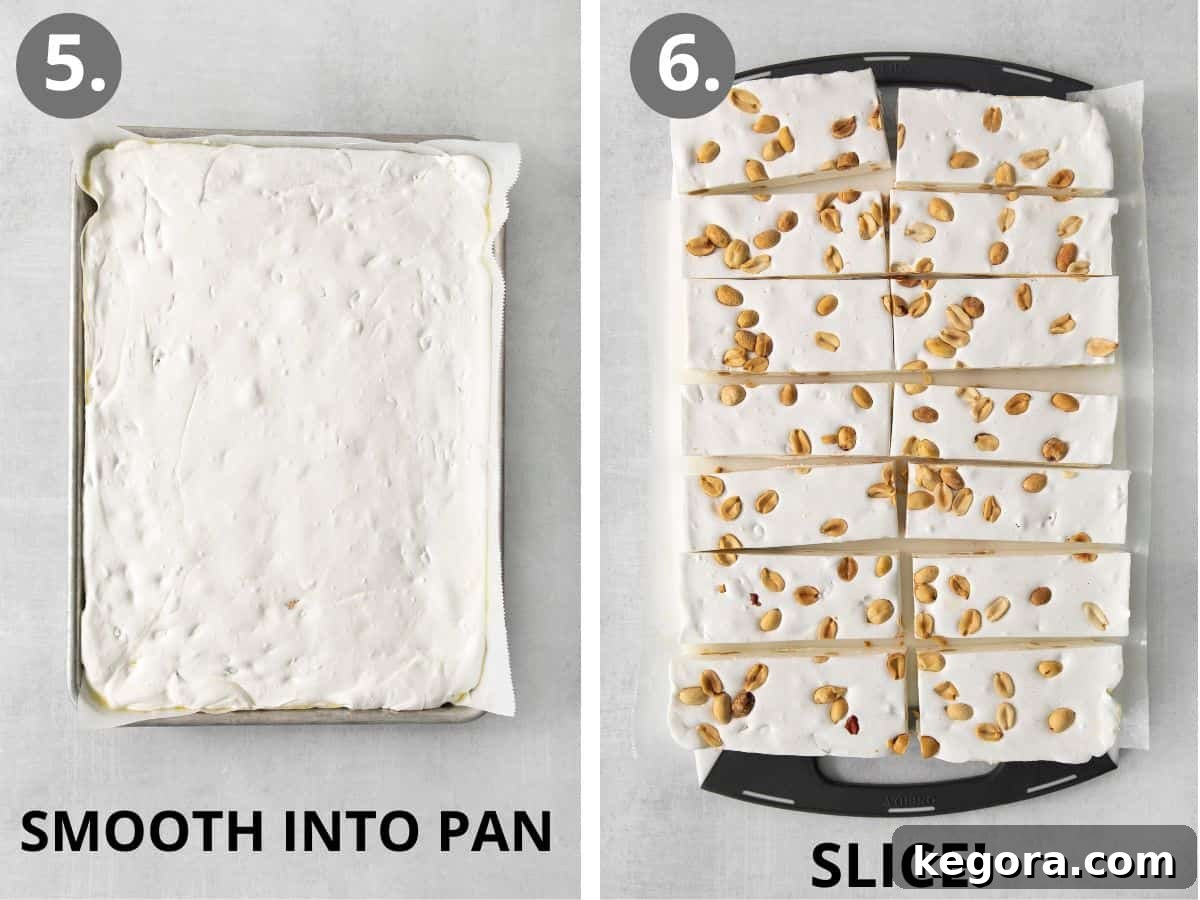
- Set the Nougat: Quickly pour the warm nougat mixture into your prepared pan. Using an offset spatula or a greased hand, smooth it into an even layer. If desired, sprinkle the top with additional nuts or other toppings. Allow the nougat to cool completely and set, ideally for at least 4 hours, or even better, overnight at room temperature.
- Slice and Enjoy: Once firm, use a sharp, greased knife to slice the nougat into individual pieces. You may need to re-grease your knife frequently to prevent sticking. For gifting or longer storage, wrap individual pieces in candy wrappers, parchment paper, or wax paper to prevent them from sticking together. Store in an airtight container. Enjoy this delightful homemade nougat!
This delectable homemade nougat transcends a simple treat, making it the perfect heartfelt gift for friends and neighbors during the holiday season or any special occasion. Simply wrap individual pieces in a square of parchment paper or edible rice paper, then tie them with a festive bow for a truly charming presentation. It’s a gift that speaks volumes of care and culinary craftsmanship.
For another sweet journey back in time, try these candied orange slices!
Storing Your Homemade Nougat for Lasting Freshness
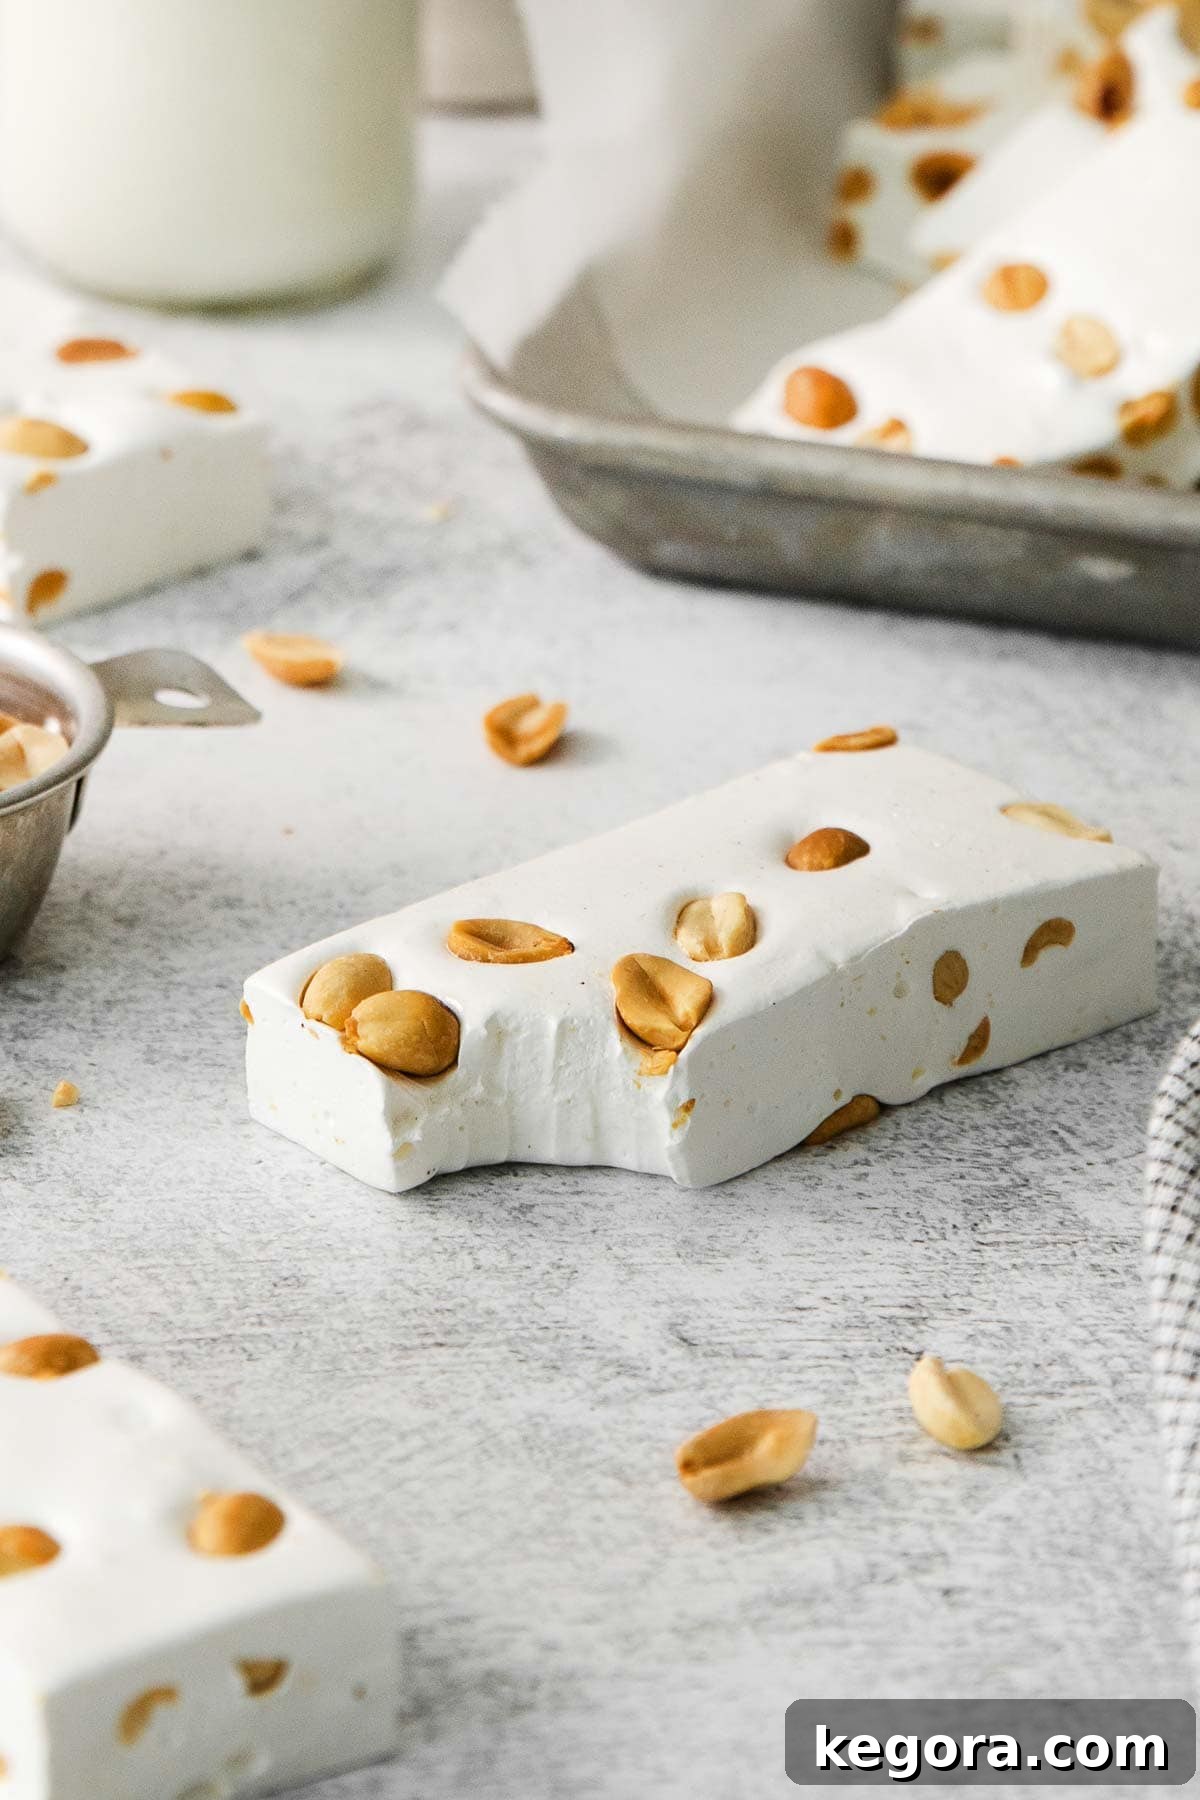
Proper storage is essential to maintain the soft, chewy texture of your homemade nougat. Store the nougat in an airtight container at room temperature for up to seven days. To prevent the pieces from sticking together, be sure to wrap each individual piece in parchment paper, wax paper, or edible rice paper before placing them in the container. Avoid refrigerating nougat, as it can cause it to harden excessively and lose its desirable texture.
Frequently Asked Questions About Nougat
Classic nougat candy is traditionally crafted by carefully melting granulated sugar, corn syrup, and a pinch of salt in a heavy-bottomed pot over medium heat. Once this syrup mixture reaches a specific temperature, it is slowly combined with vigorously whipped egg whites, which gives nougat its signature light and airy texture. Finally, vanilla extract, butter, and a small amount of flour are incorporated, often along with nuts or dried fruits, to complete this delightful confection.
The fascinating history of nougat extends far beyond Italy and France. The earliest known recipes for a confection similar to nougat can be traced back to the Middle East, specifically 10th-century Baghdad. This ancient sweet, often made with honey, nuts, and spices, spread across various cultures. By the 15th century, variations began appearing in Spain, evolving into sweets like “turrón.” The iconic versions we recognize today as nougat, particularly “nougat de Montélimar” in France and “torrone” in Italy, truly flourished by the 17th century, establishing a rich European tradition for this beloved candy.
Nougat is commonly wrapped or lined with various types of paper to prevent its sticky surface from adhering to itself or other surfaces. The most common papers used are parchment paper or wax paper. These are not edible and should be removed before consuming the nougat. However, some traditional nougat varieties, especially those found in artisan shops or European markets, use edible rice paper (also known as wafer paper). This thin, flavorless paper is perfectly safe to eat and provides a convenient, mess-free way to enjoy the candy.
There are a few common reasons why homemade nougat might become too hard. The most frequent culprit is overcooking the sugar syrup. If the syrup reaches a temperature higher than specified (e.g., above 264°F for the second batch in this recipe), the sugar concentration will be too high, resulting in a very firm, brittle nougat. Another factor can be too little moisture, or sometimes, not beating the egg whites sufficiently to incorporate enough air, which contributes to the soft texture. Using a reliable candy thermometer and promptly removing the syrup from heat once it reaches the target temperature is crucial for a perfectly chewy nougat.
While a stand mixer with a whisk attachment makes the nougat-making process significantly easier due to the prolonged beating required, it is possible to make nougat without one. You would need a very powerful hand mixer and strong arms! The egg whites need to be beaten for an extended period, and the mixture becomes very thick and stiff, especially after adding the hot syrup. If using a hand mixer, ensure you have a large, sturdy bowl and prepare for a good workout to achieve the necessary consistency.
Expert Tips & Tricks for Nougat Perfection
Achieving the perfect nougat consistency is a delightful art. These expert tips and tricks, honed through experience, will help you master this classic candy and ensure consistently delicious results:
- Choose the Right Pot: A heavy-bottomed stainless steel pot is your best friend for making candy. Its even heat distribution helps prevent scorching and ensures more precise temperature control. Avoid using an enameled Dutch oven for candy making, as the enamel can make temperature regulation difficult and increase the risk of overcooking your syrup.
- Mastering Egg White Consistency: The original recipe’s instruction to beat “like divinity” can be vague. For reliable results, I recommend beating the egg whites in a stand mixer on medium-high speed for a full 5 minutes after incorporating both syrup batches. The mixture won’t form completely stiff peaks like meringue, but it will become noticeably stiff, glossy, and start to clump firmly around the whisk attachment. This consistency is key for a billowy, chewy nougat.
- Butter Preparation is Key: Once the hot syrup is incorporated, the nougat mixture cools and thickens rapidly, making it incredibly difficult to stir. To ensure your butter and flour blend smoothly, always use room-temperature butter and cut it into very small cubes before you begin. This allows for quick and even incorporation, preventing lumps and ensuring a uniform texture.
- Customize with Confidence: While my grandma’s original recipe didn’t include nuts, I found that salted peanuts add a wonderful textural contrast and flavor dimension. Don’t hesitate to experiment with your favorite mix-ins! Almonds, cashews, pistachios, dried cranberries, chopped dried apricots, or even mini chocolate chips can transform your nougat into a personalized masterpiece.
- Accuracy with a Candy Thermometer: A reliable candy thermometer is absolutely indispensable for nougat making. Precision in sugar syrup temperatures (244°F and 264°F) is non-negotiable for the correct texture. Invest in a good quality thermometer and check its accuracy by testing it in boiling water (it should read 212°F at sea level).
- Work Quickly and Efficiently: Nougat sets relatively fast once all ingredients are combined. Have all your ingredients pre-measured and your pan prepared. Work swiftly when pouring the hot syrup into the egg whites and when incorporating the butter, flour, and nuts. This ensures everything is well mixed before the nougat becomes too stiff to handle.
More Irresistible Candy Recipes to Try
If you’ve fallen in love with homemade candy making, explore these other fantastic recipes from our collection:
- Penuche Vanilla Fudge
- Rolo Pretzel Bites
- Peanut Butter Balls with Rice Krispies
I truly hope you cherish this nostalgic nougat recipe as much as my family and I do! If you try your hand at making this delightful homemade nougat, please take a moment to leave me a comment and rating below. Your feedback means the world to me, and I’d absolutely love to hear about your experience!
Grandma’s Classic Homemade Nougat Recipe (Soft & Chewy!)
Comments
Ingredients
- 2 cups granulated sugar
- 2 ½ cups white corn syrup
- ¼ teaspoon salt
- ⅓ cup egg whites (from 3 large eggs)
- 1 tablespoon vanilla extract
- 6 tablespoons butter (room temperature and cut into small pieces)
- 2 teaspoons flour (I use gluten-free flour)
- 1 cup salted peanuts or nut of choice (optional)
Instructions
-
Line a 9×13 inch baking pan (or quarter sheet pan) with parchment paper. Lightly grease with non-stick cooking spray and set aside.
-
Melt the sugar, corn syrup, and salt together in a large, heavy-bottomed pot over medium heat, stirring until sugar dissolves. (A stainless steel pot works best. An enameled dutch oven pot will make the temperature harder to control and can lead to overcooking.)
-
Bring the syrup mixture to a boil and boil until it reaches 244F on a candy thermometer. Wash down the sides of the pot to remove any sugar crystals if needed, but there’s no need to stir once it’s boiling.
-
Meanwhile, add the egg whites to the bowl of a stand mixer fitted with the whisk attachment. Beat on medium-high speed for 2 minutes until starting to thicken/foam.
-
When the syrup mixture reaches 244F, slowly pour in ⅓ of the syrup while mixing on low speed. Pour the syrup in very slowly and carefully against the side of the bowl, ensuring it’s being mixed the whole time.
-
Put the remaining syrup in the pot back on the stove and cook over medium heat until it reaches 264F.
-
With the mixer running on low, pour the rest of the syrup (slowly and carefully) into the egg whites.
-
Continue mixing on medium-high speed for 5 minutes, or until the mixture is stiff, glossy, and starts to clump around the whisk. It won’t form completely stiff peaks but will thicken quite a bit.
-
With the mixer running on low, stir in the vanilla. Then, add ½ the butter (cut into small pieces) and ½ the flour. Mix briefly, then add the rest of the butter and flour, mixing until just combined. Finally, stir in the nuts.
-
Pour into the prepared pan and smooth into an even layer using an offset spatula or greased hands. Sprinkle with more nuts if desired. Allow to cool for at least 4 hours and preferably overnight at room temperature to set completely.
-
Slice into pieces with a greased sharp knife. You may have to grease the knife in between slices. Wrap individual pieces with candy wrappers, wax paper, or parchment paper if desired, or store in an airtight container between layers of wax paper or parchment so the pieces don’t stick to each other. Enjoy!
Notes
- A heavy-bottomed stainless steel pot works best for this nougat recipe. Its even heat distribution helps prevent scorching and ensures more precise temperature control. An enameled Dutch oven pot, while beautiful, can make temperature harder to control and potentially lead to overcooking your syrup.
- The original recipe vaguely instructs to beat the mixture “like divinity.” To achieve the perfect billowy, chewy consistency, I recommend mixing on medium-high speed in your Kitchenaid (or other stand mixer) for a full 5 minutes after incorporating both syrup batches. The mixture will become stiff, glossy, and start to clump around the whisk, though it may not form completely stiff peaks.
- The nougat mixture quickly becomes very difficult to stir after adding the butter and flour. To ensure proper incorporation, always use room-temperature butter and cut it into very small cubes before you begin. This allows the butter to melt and blend smoothly into the dense mixture.
- The original recipe doesn’t call for nuts, but I found that salted peanuts add a delicious crunch and savory balance. Feel free to customize your nougat with other mix-ins like almonds, cashews, pistachios, dried cranberries, or mini chocolate chips.
- Always use a reliable candy thermometer. Accurate temperature readings for the syrup stages (244°F and 264°F) are crucial for achieving the correct soft and chewy texture.