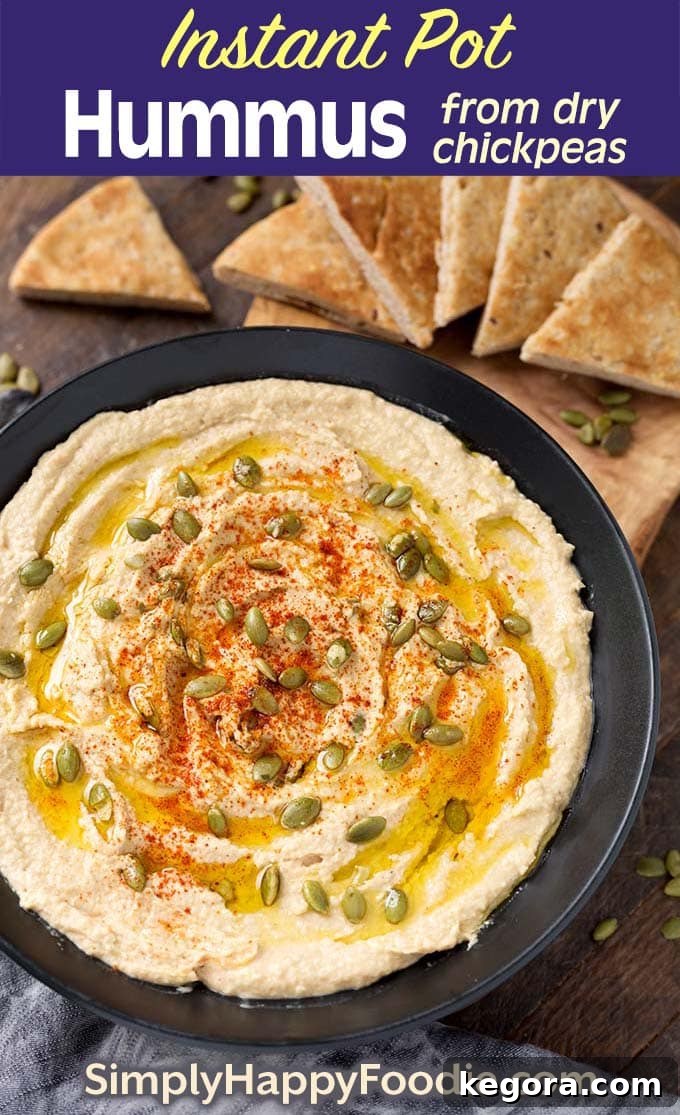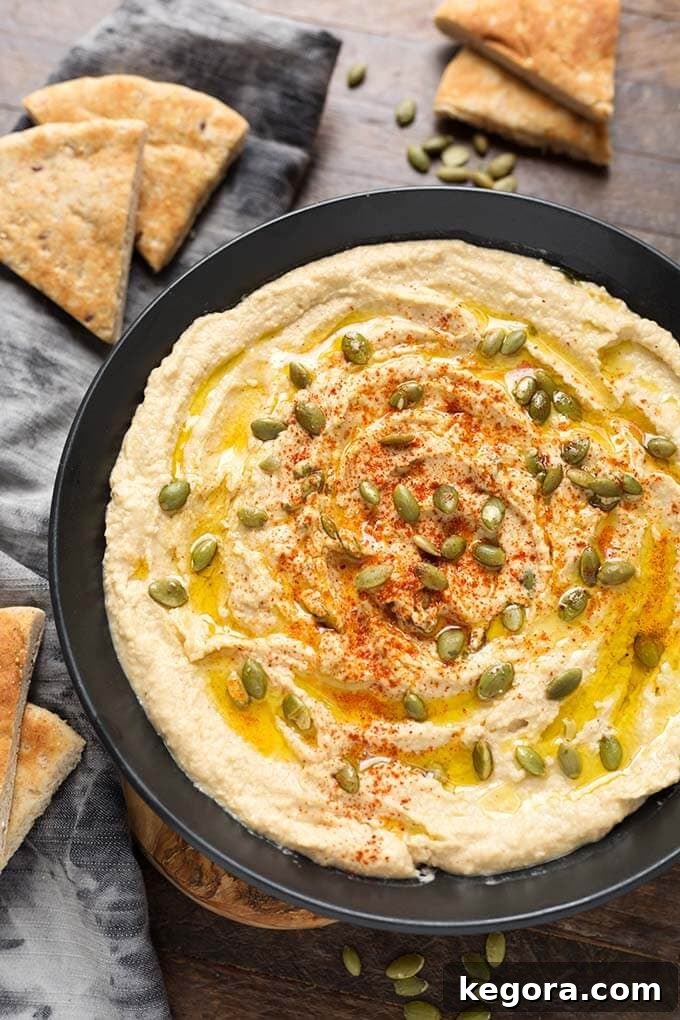
Welcome to the ultimate guide for crafting the most luscious and flavorful Instant Pot Hummus right in your own kitchen! Forget store-bought versions; once you experience the creamy texture and vibrant taste of homemade hummus, there’s no turning back. This recipe transforms humble dry chickpeas into a nutty, garlicky, lemony, and subtly earthy dip that will elevate any meal or gathering. Using your pressure cooker makes the process incredibly simple and yields perfectly cooked chickpeas every time, setting the stage for an unparalleled hummus experience. It’s not just a dip; it’s a healthy, satisfying, and utterly irresistible Mediterranean staple ready to become your new favorite party centerpiece or everyday snack.
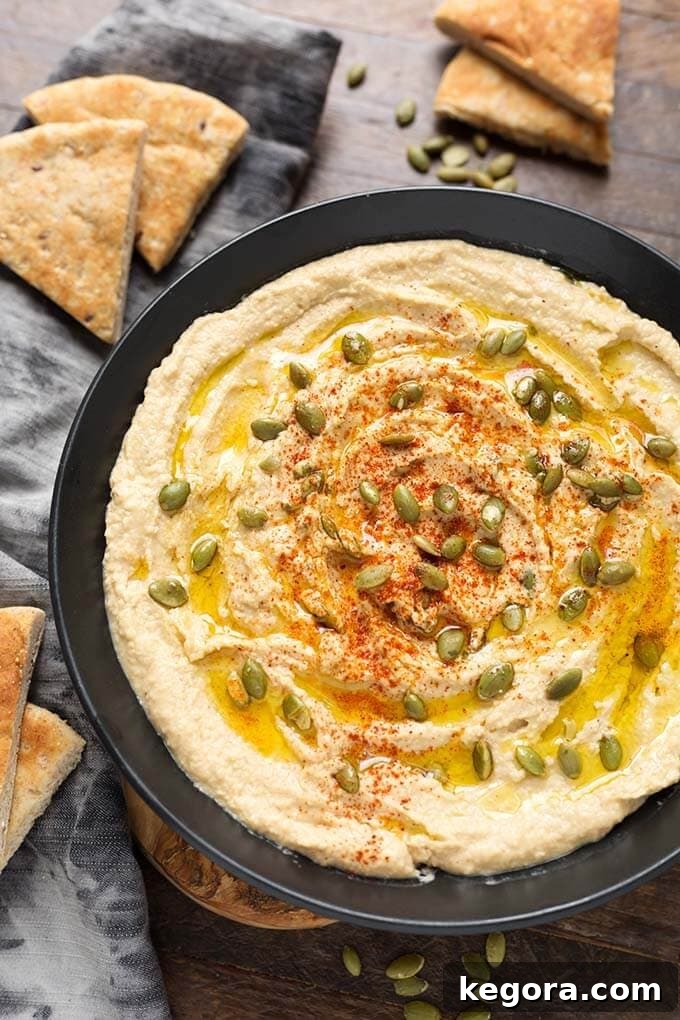
The Ultimate Instant Pot Hummus: Creamy Perfection from Dry Chickpeas
Hummus, derived from the Arabic word for chickpeas (also known as garbanzo beans), is a foundational dish in Middle Eastern cuisine that has captured the hearts and palates of people worldwide. Its versatility makes it a beloved dip, spread, and accompaniment to countless dishes. While many recipes call for canned chickpeas, this Instant Pot method embraces dry chickpeas, unlocking a depth of flavor and a remarkably smooth texture that canned varieties simply can’t match. The pressure cooker drastically cuts down cooking time, turning a traditionally lengthy process into an efficient and enjoyable culinary adventure.
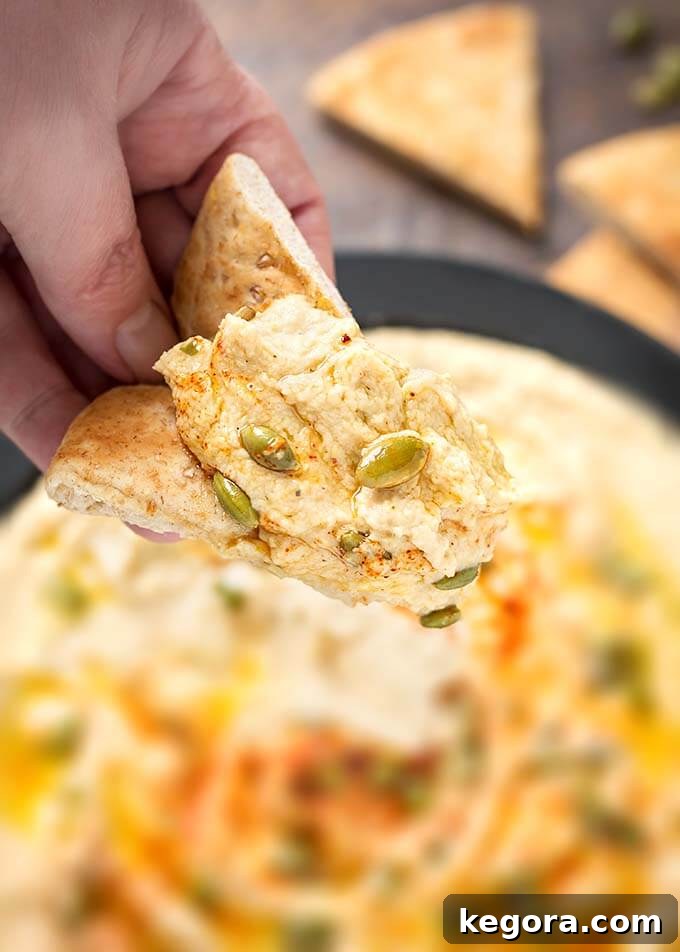
Imagine scooping into a bowl of velvety-smooth hummus, its bright lemon and robust garlic notes dancing on your tongue, perfectly complemented by the rich, earthy chickpeas. Whether you’re reaching for crisp carrot sticks, warm pita bread, or a handful of crunchy chips, this homemade creation will steal the show. And the best part? It’s not only incredibly delicious but also packed with nutrients, making it a guilt-free pleasure for any time of day.
My Journey to Homemade Hummus Perfection
My love affair with hummus began nearly two decades ago. The moment I first tasted its exquisite blend of flavors, I knew I had to learn how to make it from scratch. It quickly became a kitchen staple, a recipe so cherished that I even proudly contributed it to my son’s school cookbook! Little did I know then that this passion for food would eventually lead me to share my culinary adventures as a food blogger. It brings me immense joy to bring this perfected Instant Pot Hummus recipe to you, a testament to years of tinkering and tasting. It’s truly a recipe that has stood the test of time in my own home, and I’m thrilled for it to become a favorite in yours too.
The Secret Ingredient: Why Baking Soda is a Game-Changer
A common hurdle when making hummus from dry chickpeas is achieving that ultra-smooth, creamy consistency. Many traditional recipes suggest laboriously peeling each individual chickpea – a task so tedious it could deter even the most dedicated home cook! This is where baking soda comes into play as our secret weapon. Adding just a small amount of baking soda to the cooking water significantly helps to break down the skins of the chickpeas. This magical ingredient raises the pH of the cooking water, which in turn helps to soften the chickpea skins during the pressure cooking process.
The result? Chickpeas that are incredibly tender, with skins so soft they simply melt away when blended. This means you can skip the arduous peeling step entirely and still achieve that coveted velvety-smooth texture without any gritty bits. It’s a true time-saver and a secret employed by many professional chefs for superior hummus. Just remember one crucial step: always rinse the cooked chickpeas thoroughly after draining. This ensures that any residual baking soda taste is completely removed, leaving you with pure, unadulterated chickpea flavor, ready to be transformed into culinary gold.
Unleashing the Versatility: What to Pair with Pressure Cooker Hummus
One of the many joys of hummus is its incredible versatility. This pressure cooker hummus isn’t just a simple dip; it’s a culinary chameleon that can enhance a multitude of dishes. Here are some delightful ways to enjoy your freshly made batch:
- Classic Dipping: The most popular way to enjoy hummus! Serve it with crunchy pita chips, warm and fluffy pita bread, an assortment of crisp vegetable sticks (carrots, celery, cucumber, bell peppers), or even sturdy tortilla chips.
- Elevated Spreads: Beyond dipping, hummus makes an excellent spread. Use it generously on sandwiches and wraps instead of mayonnaise or other condiments for a healthier, more flavorful option. It adds a wonderful creamy texture and Mediterranean zest.
- Breakfast Boost: Surprise your taste buds by spreading hummus on toast or bagels for a savory breakfast. Top it with a sprinkle of everything bagel seasoning, some sliced avocado, or even a fried egg for a protein-packed start to your day.
- Salad Enhancer: Dollop a spoonful of hummus onto your green salads or grain bowls for an extra layer of creaminess and flavor. You can also thin it slightly with a bit of water or lemon juice to create a delicious salad dressing.
- Savory Swirls: Swirl a generous amount of hummus into your favorite soups or stews for added body and a subtle, earthy flavor. It works particularly well with lentil or vegetable-based soups.
- Mezze Platter Staple: No Mediterranean mezze platter is complete without hummus! Arrange it alongside olives, feta cheese, dolmades, grilled halloumi, and fresh vegetables for a stunning appetizer spread.
Dry Chickpeas vs. Canned Chickpeas: The Choice is Yours
While this recipe champions the superior texture and flavor of hummus made from dry chickpeas, we understand that sometimes convenience is key. If you’re short on time or prefer to use canned chickpeas, you certainly can! However, the process will be slightly different, as canned chickpeas are already cooked and softened. For those occasions, I recommend trying my Classic Hummus recipe, which is specifically designed for canned chickpeas and requires no cooking. It’s a fantastic option for a quick, delicious hummus when you need it in a pinch, but for the truly exceptional, silken texture, the Instant Pot method with dry chickpeas is unmatched. The effort of cooking them from scratch is minimal thanks to the pressure cooker, and the reward in taste and texture is immense.

Here are some other delicious Instant Pot recipes you might enjoy:
- Instant Pot Spinach Artichoke Dip
- Instant Pot Buffalo Chicken Dip
- Instant Pot Lasagna
Pin This Recipe for Later!
Don’t forget to save this incredible Instant Pot Hummus recipe so you can easily find it whenever a craving strikes or you’re planning your next gathering. Pin it to your favorite recipe board and share the deliciousness with friends and family!

Instant Pot Hummus
Sandy Clifton
20
35
10
1
12 – 14
Ingredients
Garnish
Instructions
-
Begin by adding the thoroughly rinsed dry chickpeas, baking soda, and 8 cups of water to the inner pot of your Instant Pot. Give it a good stir to ensure the baking soda is distributed.
-
Secure the lid on your Instant Pot, making sure it’s properly sealed. Set the steam release knob to the “Sealing” position to build pressure effectively.
-
Press the “Pressure Cook” (or “Manual”) button or dial, then use the +/- buttons or dial to adjust the cooking time to 35 minutes. Ensure it’s set to “High Pressure.”
-
Once the pressure cooking cycle is complete, turn off the Instant Pot and allow it to perform a full Natural Release (NR). This means letting the pot sit undisturbed until the float valve (pin in the lid) drops down on its own. This step is crucial for the chickpeas’ tenderness.
-
Carefully open the lid. Transfer the cooked chickpeas into a fine-mesh strainer and rinse them thoroughly under cool running water. This step is important to wash away any baking soda aftertaste. Set the rinsed chickpeas aside.
-
In your food processor, combine the fresh lemon juice and minced garlic. Pulse several times until the garlic is very finely minced.
-
Optional Tip for Milder Garlic Flavor: Gently push the minced garlic into the lemon juice to submerge it completely. Let this mixture sit for a few minutes (5-10 minutes is ideal). The acidity of the lemon juice helps to temper the sharp, raw flavor of the garlic, resulting in a more mellow and balanced hummus.
-
Add the cooked and rinsed chickpeas to the food processor with the lemon-garlic mixture. Pulse a few times to start breaking them down.
-
Next, add the tahini, cumin, kosher salt, pepper, paprika, and cayenne pepper (if you’re using it for a touch of heat). Pulse several more times, then process continuously for about 10 seconds. With the processor running, slowly drizzle in the warm water. You’ll notice the mixture beginning to loosen and transform into a smooth paste.
-
Continue processing and drizzle in the 1 tablespoon of olive oil. Keep processing until the hummus reaches your desired level of creaminess – it should be incredibly smooth and luxurious. Taste the hummus and adjust the salt, lemon juice, or any other seasonings to your preference. Don’t be shy about customizing!
-
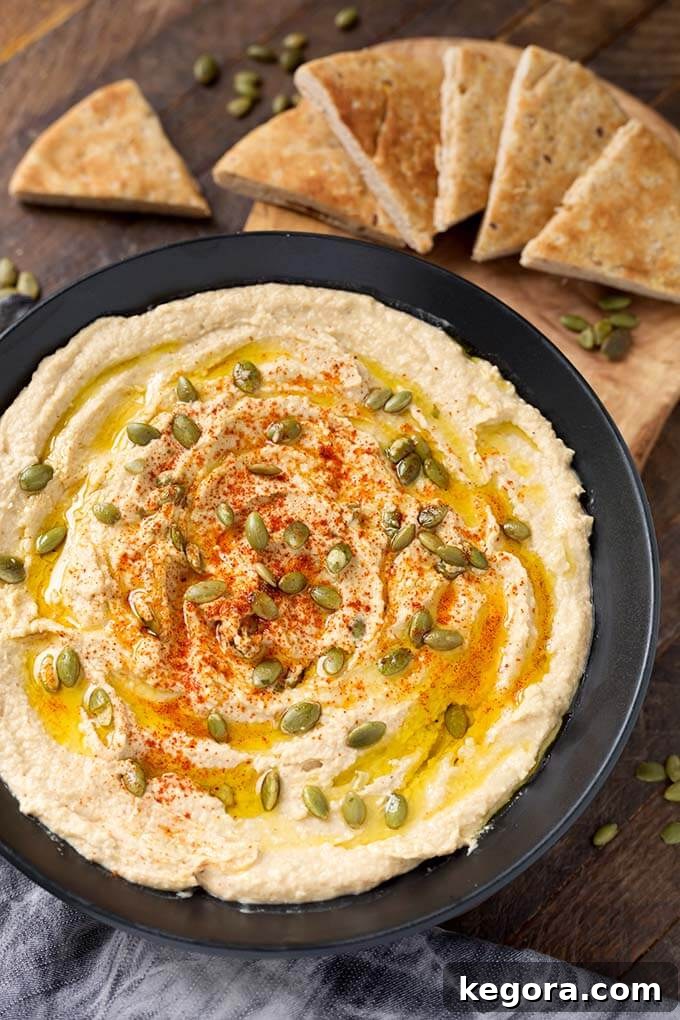
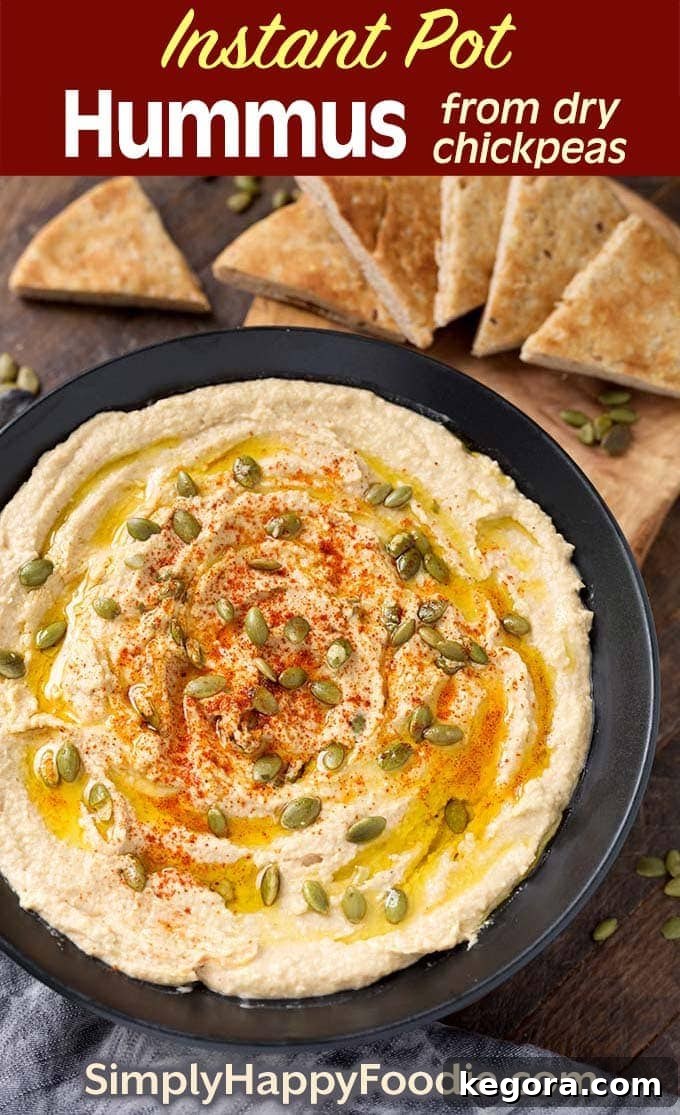
Transfer the finished hummus to a shallow serving dish. Create a small swirl or well in the center with the back of a spoon. Drizzle generously with a little more olive oil, add a few shakes of sweet paprika for color and subtle flavor, and sprinkle with the roasted and salted pumpkin seeds (pepitas) for a delightful crunch.
-
Serve your perfectly creamy Instant Pot Hummus immediately with warm pita bread, an assortment of chips, fresh carrot sticks, or any of your favorite raw vegetables. It’s also fantastic spread on wraps and sandwiches for a healthy and flavorful addition. Enjoy!
Nutrition
Calories:
105kcal
Nutrition information is automatically calculated, so should only be used as an approximation.
Additional Info
Appetizer
Mediterranean
Tried this recipe?
Mention @simply_happy_foodie
Storage and Make-Ahead Tips
Once you’ve made your delicious Instant Pot Hummus, proper storage will ensure it stays fresh and flavorful. Transfer any leftovers to an airtight container and store it in the refrigerator. Hummus will typically last for about 4-5 days. To keep it from drying out and to preserve its vibrant flavor, you can drizzle a thin layer of olive oil over the surface before sealing the container. This creates a protective barrier and helps maintain moisture.
Hummus is also an excellent make-ahead dish. Prepare a large batch at the beginning of the week for easy snacking and meal prep. If you plan to make it several days in advance, consider holding off on the final garnishes (paprika, pumpkin seeds, extra olive oil drizzle) until just before serving for the freshest presentation and texture. This makes entertaining a breeze, as you’ll have a gourmet dip ready to go with minimal last-minute effort.
Troubleshooting Common Hummus Issues
Even with the best recipes, sometimes things can go slightly off track. Here are a few common issues and how to fix them:
- Hummus is too thick: If your hummus is too dense or paste-like, simply add a tablespoon of warm water at a time while the food processor is running until it reaches your desired creamy consistency. The amount of water needed can vary slightly depending on your chickpeas and tahini.
- Hummus is not smooth enough: The key to smooth hummus is well-cooked chickpeas and sufficient blending time. If yours isn’t smooth, continue processing it for another minute or two, scraping down the sides of the bowl as needed. If you still find it gritty, you might need to add a touch more warm water or lemon juice to help it emulsify better. The baking soda step should prevent most texture issues from dry chickpeas.
- Bitter taste: A bitter taste in hummus is often caused by low-quality or old tahini. Always use fresh, good-quality tahini for the best results. If your tahini is the culprit, a little extra lemon juice or a pinch of sugar can sometimes help to balance the bitterness, but prevention is key.
- Too garlicky: If the garlic flavor is too overpowering, refer back to the optional step in the instructions about letting the minced garlic sit in lemon juice. This pre-soak significantly mellows the raw garlic intensity. If it’s already blended, try adding a bit more tahini or chickpeas to dilute the strong flavor, and a touch more lemon juice for brightness.
Elevate Your Hummus with Creative Variations
While this classic Instant Pot Hummus recipe is perfect as is, feel free to get creative and customize it to your taste with these delicious variations:
- Roasted Red Pepper Hummus: Blend in 1/2 cup of roasted red peppers (from a jar, drained) with your chickpeas for a smoky, sweet twist.
- Sun-Dried Tomato Hummus: Add 1/4 cup of oil-packed sun-dried tomatoes (drained) to the food processor for a rich, tangy flavor.
- Spicy Hummus: Increase the cayenne pepper to your liking, or blend in a diced jalapeño or a pinch of red pepper flakes for an extra kick.
- Herby Hummus: Fresh herbs like parsley, cilantro, or mint can add a refreshing zing. Blend in a small handful with the other ingredients.
- Caramelized Onion Hummus: Sauté sliced onions until deeply caramelized, then blend them into the hummus for a sweet and savory depth.
No matter how you choose to enjoy it, this Instant Pot Hummus made from dry chickpeas is a guaranteed crowd-pleaser that offers both incredible taste and nourishing benefits. Enjoy the journey of making your own perfectly smooth and flavorful hummus at home!
Recommended Kitchen Tools
To help you create this delightful Instant Pot Hummus and explore more culinary adventures, here are some tools we recommend:
- Instant Pot: Essential for perfectly cooked chickpeas.
- Food Processor: Key to achieving that ultra-smooth hummus texture.
- Fine Mesh Strainer: For rinsing chickpeas effectively.
- Measuring Cups & Spoons: For precise ingredient measurements.
- Lemon Juicer: To get fresh lemon juice effortlessly.
As an Amazon Associate, we earn from qualifying purchases. This helps support our site at no extra cost to you.