
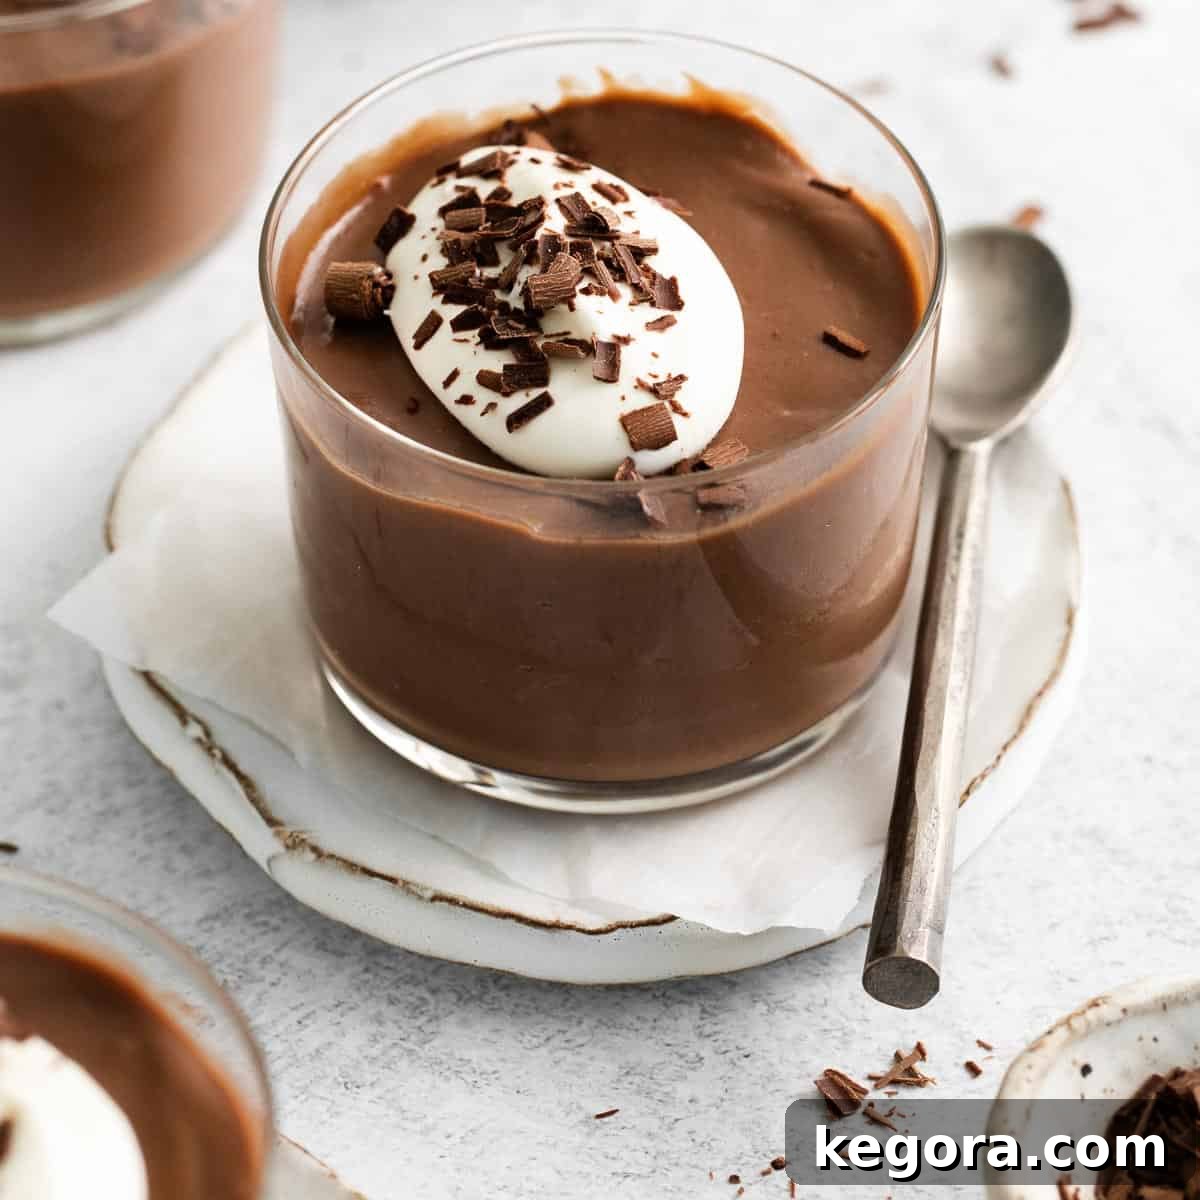
Indulge in Homemade Gluten-Free Chocolate Pudding: A Silky, Decadent Delight
Prepare to fall in love with this rich, impossibly silky gluten-free chocolate pudding! It’s not just a dessert; it’s an experience. Incredibly easy to make ahead of time, this decadent treat is perfect for impressing guests at any gathering or simply satisfying your deepest chocolate cravings.
Looking to elevate your dessert game even further? This luscious pudding makes an exceptional filling for our gluten-free chocolate pie or cradled within a gluten-free Oreo pie crust for a show-stopping creation that will earn you rave reviews!
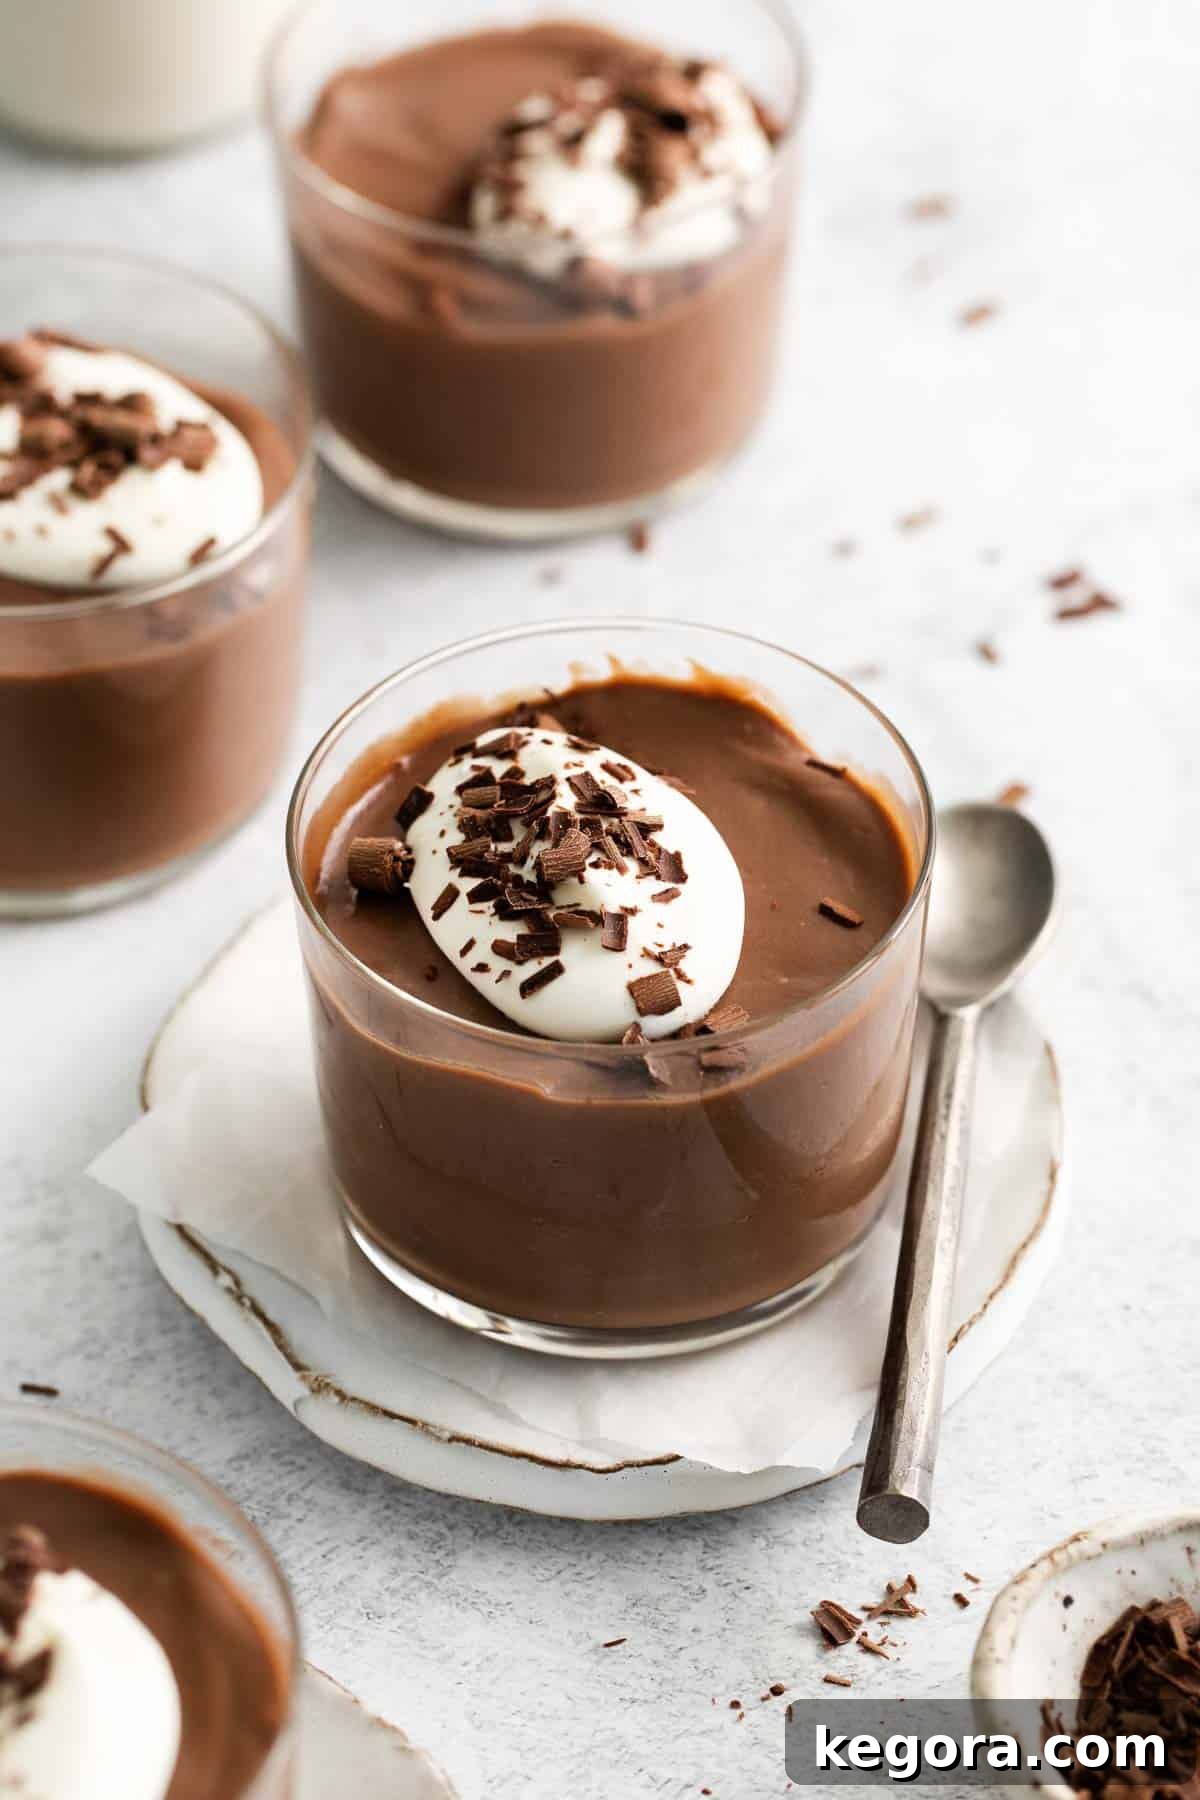
Forget everything you thought you knew about chocolate pudding! This homemade gluten-free chocolate pudding recipe is not just better, it’s WORLDS better than any store-bought alternative (yes, Jell-O chocolate pudding cups, we’re looking at you!). Mass-produced versions simply can’t compare to the depth of flavor and luxurious texture of a truly homemade pudding.
Crafted with simple, wholesome ingredients, this pudding boasts a deep, complex chocolate flavor, a wonderfully rich and decadent mouthfeel, and a perfectly silky-smooth consistency. There’s nothing artificial here – just pure, unadulterated chocolate bliss that tastes like the real deal, because it is!
Why You’ll Adore This Easy Gluten-Free Chocolate Pudding Recipe
This isn’t just another dessert recipe; it’s a testament to how simple ingredients can create something truly extraordinary. Here’s why this gluten-free chocolate pudding will quickly become a cherished favorite in your recipe collection:
- Effortlessly Delicious Dessert: Homemade chocolate pudding strikes the perfect balance between simplicity and sophistication. It’s incredibly straightforward to prepare, yet delivers a gourmet taste and texture that will delight everyone. Its universal appeal makes it a fantastic choice for any occasion, from casual weeknight treats to elegant dinner parties. The beauty of this recipe lies in its ability to be prepared well in advance, freeing you up to enjoy your guests or simply relax.
- Naturally Gluten-Free Goodness: For those with gluten sensitivities or anyone looking for naturally gluten-free options, this pudding is a dream come true. Unlike some traditional recipes that might rely on wheat flour, this one uses cornstarch as its thickening agent. This makes it inherently gluten-free without sacrificing any of its rich, creamy texture. You can confidently serve this dessert knowing it caters to diverse dietary needs, making it ideal for holiday meals, anniversary celebrations, or any gathering where you want everyone to feel included.
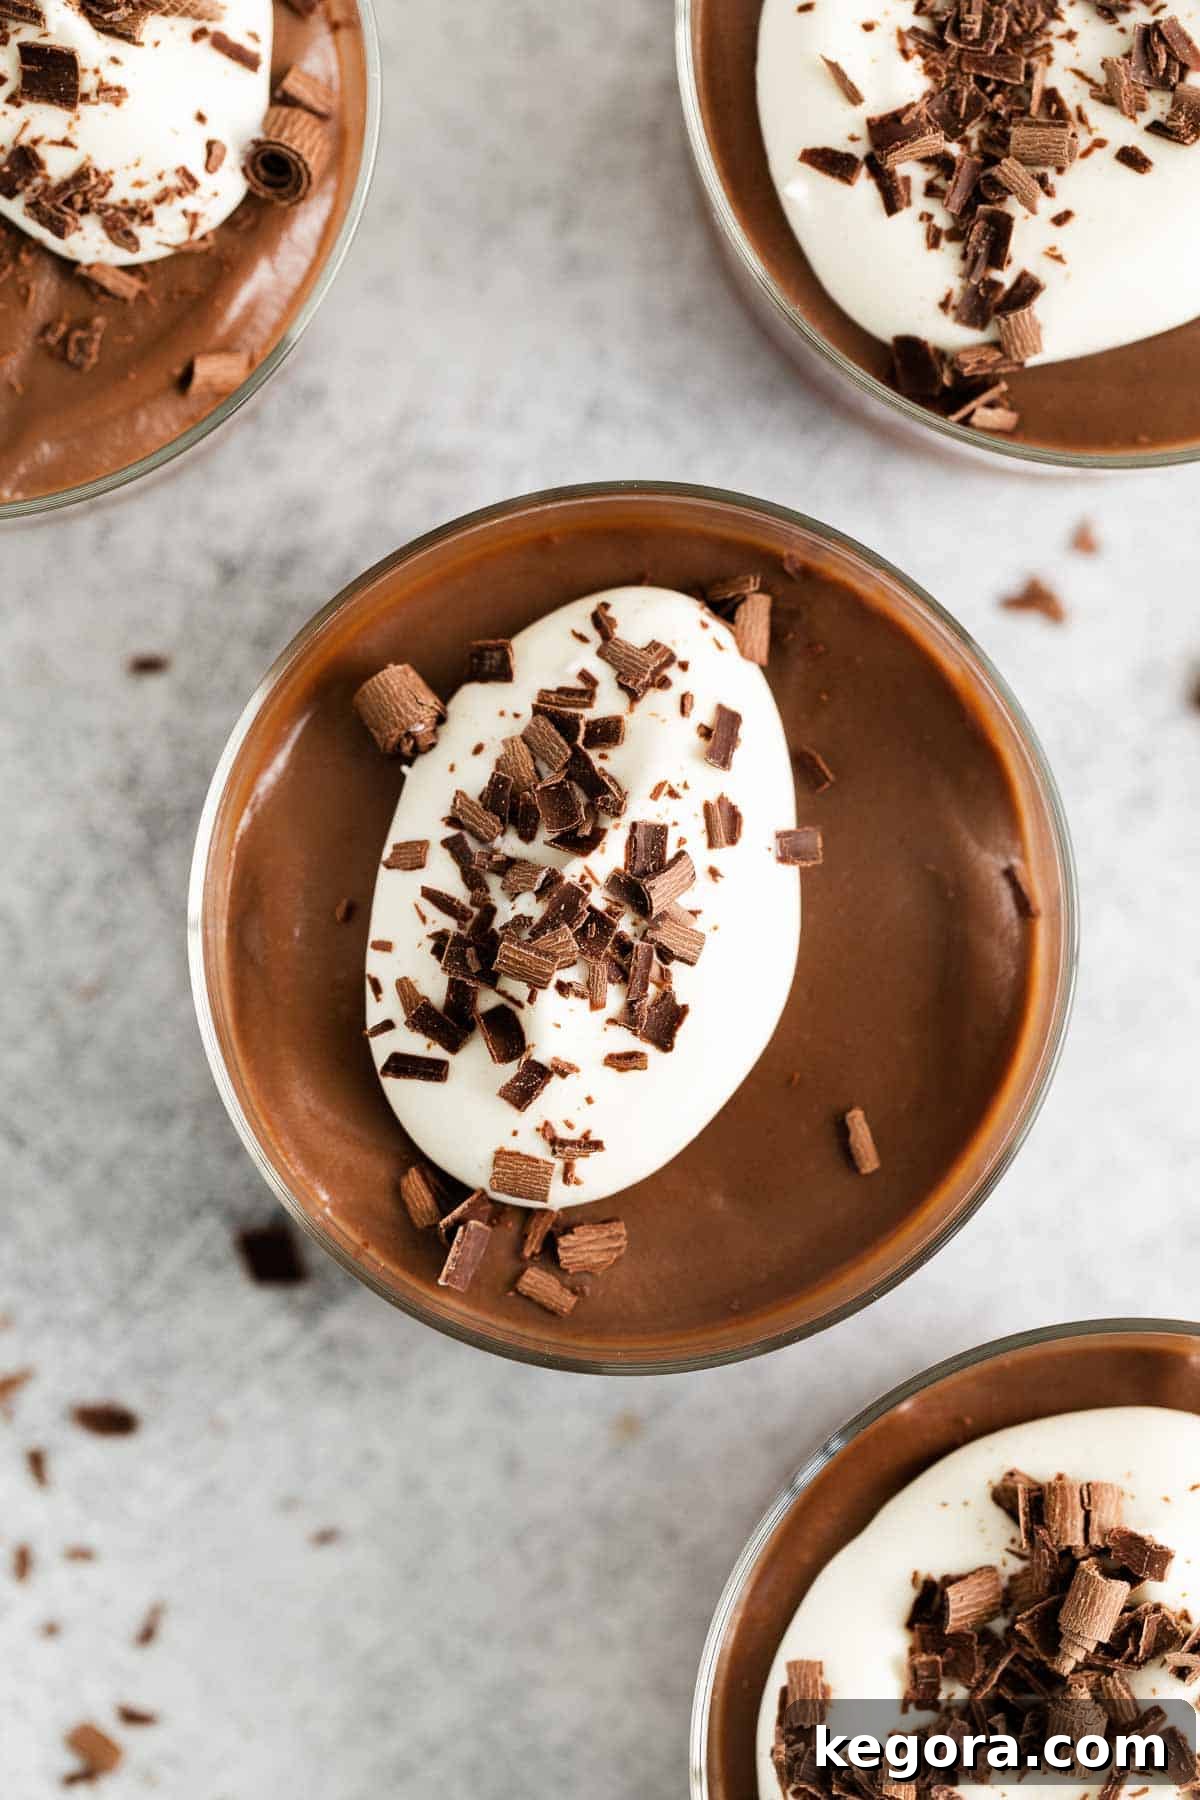
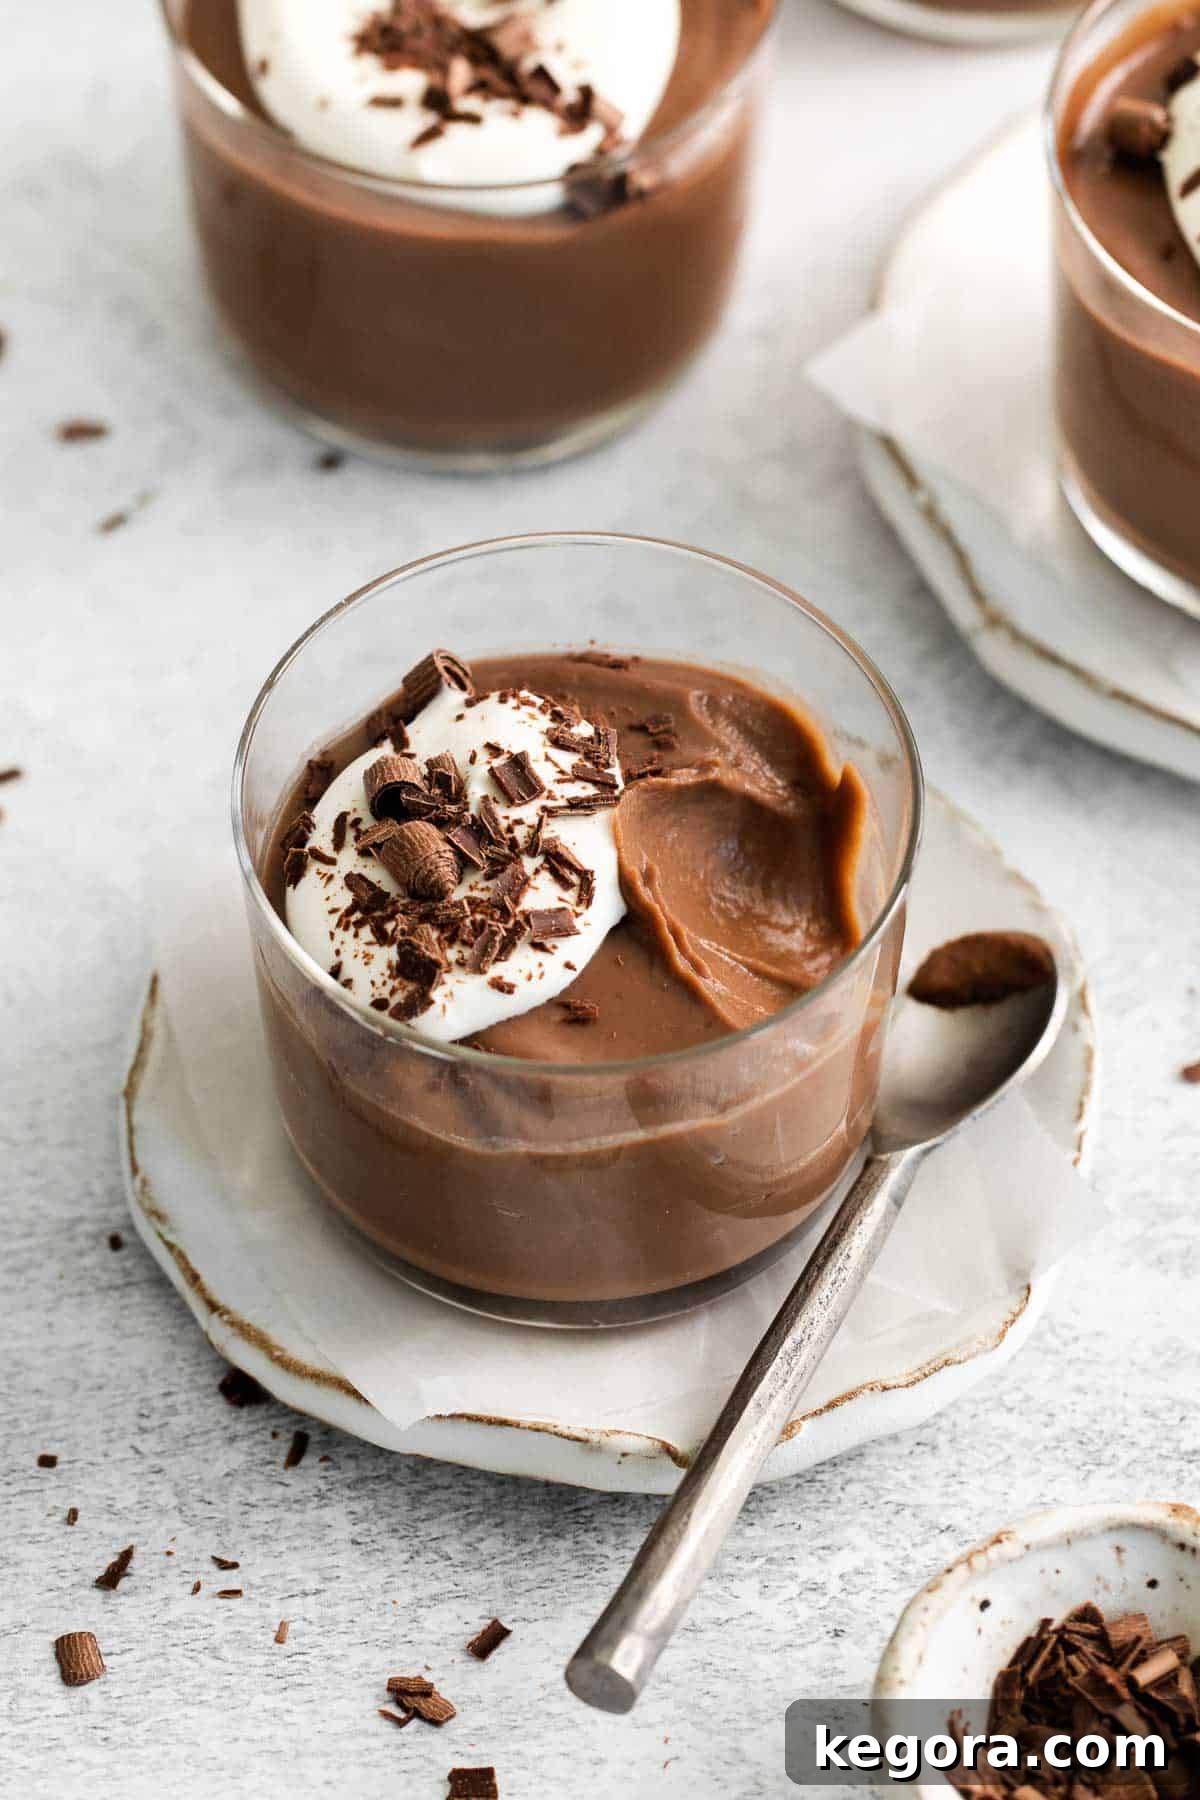
- Endless Customization and Topping Options: One of the most exciting aspects of this gluten-free chocolate pudding is its incredible versatility when it comes to serving. While it’s utterly divine on its own, it also serves as a perfect canvas for countless toppings. Imagine it crowned with a cloud of fresh whipped cream, delicate chocolate shavings, a scattering of vibrant fresh berries like raspberries or strawberries, or even a sprinkle of chopped nuts. The possibilities are truly endless, allowing you to tailor each serving to personal preferences or seasonal themes. Beyond individual servings, it’s also robust enough to be incorporated into other desserts, such as a luxurious pie filling.
- A Superior Taste Experience: Beyond its dietary benefits and ease, the flavor profile of this pudding is simply unmatched. The combination of high-quality chocolate and careful preparation yields a dessert that is deeply chocolatey, perfectly sweet, and wonderfully smooth without being overly heavy. It’s a comforting yet sophisticated treat that truly elevates the humble pudding to new heights.
Essential Ingredients for Your Gluten-Free Chocolate Pudding
Crafting this exceptional gluten-free chocolate pudding requires just a few key ingredients, each playing a vital role in achieving its signature rich flavor and silky texture. Here’s a closer look at what you’ll need and why:
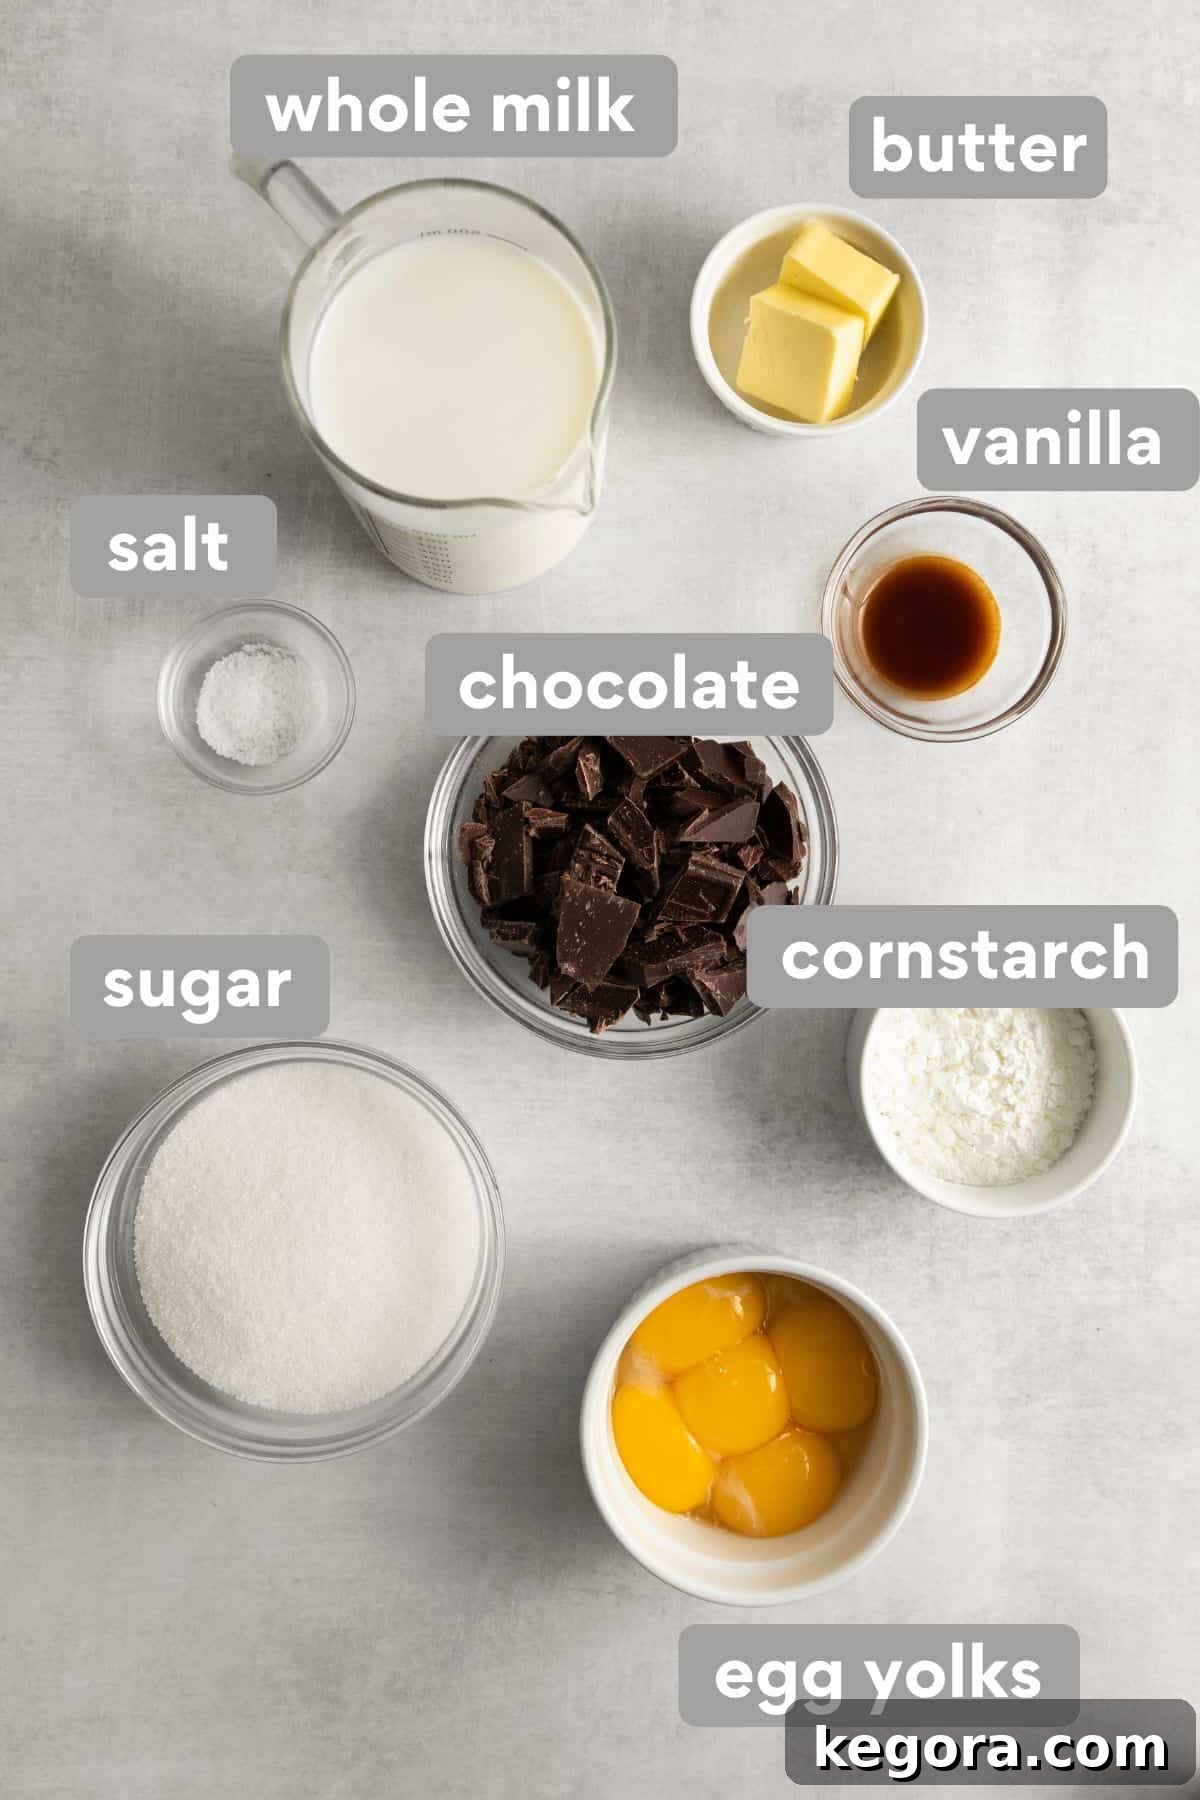
- Whole Milk: The foundation of our creamy pudding! Whole milk provides the essential richness and body that makes this dessert so luxurious. While 2% milk can be used in a pinch, whole milk delivers the best flavor and texture. For those seeking a dairy-free option, I highly recommend exploring my dedicated dairy-free chocolate pudding recipe, which is specifically formulated for plant-based alternatives.
- High-Quality Chocolate: This is where the magic happens! Since chocolate is the star of this dessert, choosing a premium quality semisweet or bittersweet chocolate is paramount. Brands like Guittard or Ghirardelli are excellent choices that promise a superior flavor profile. Avoid using chocolate chips that often contain stabilizers, which can affect the pudding’s final texture. Opt for baking bars and chop them finely for best results. The quality of your chocolate directly impacts the depth and richness of your pudding.
- Cornstarch: Our gluten-free thickening hero! Cornstarch is naturally gluten-free and creates that wonderfully thick, glossy, and smooth consistency we crave in a pudding. It’s a fantastic alternative to wheat flour, ensuring this dessert is safe and delicious for everyone. When mixed with the egg yolks and sugar, it forms a slurry that prevents lumps and ensures even thickening.
- Large Egg Yolks: Egg yolks are crucial for achieving the pudding’s incredibly rich flavor and velvety smooth texture. They act as a powerful emulsifier, binding the ingredients together and preventing a grainy consistency. They also contribute to the beautiful golden hue and substantial body of the pudding. We’ll be tempering them carefully to ensure they don’t scramble.
- Granulated Sugar: Provides the perfect balance of sweetness to complement the bittersweet chocolate. The amount used can be slightly adjusted based on your personal preference for sweetness and the type of chocolate you choose (bittersweet chocolate might require a touch more sugar than semisweet).
- Salt: Just a pinch of salt is essential! It doesn’t make the pudding salty, but rather enhances and brightens the chocolate flavor, making it taste even more profound and complex. Don’t skip it!
- Vanilla Extract: A splash of pure vanilla extract adds a layer of warmth and complexity, beautifully complementing the chocolate and rounding out the overall flavor profile. Use good quality pure vanilla extract for the best results.
- Unsalted Butter: Added at the end, butter contributes to the pudding’s luxurious mouthfeel and glossy finish. It also helps to prevent a skin from forming on top as the pudding cools, ensuring every spoonful is perfectly smooth.
Step-by-Step Guide: Crafting Your Gluten-Free Chocolate Pudding
Making this homemade chocolate pudding is a straightforward process, but paying attention to each step ensures a perfectly smooth, rich, and decadent dessert. Follow these instructions carefully for the best results:
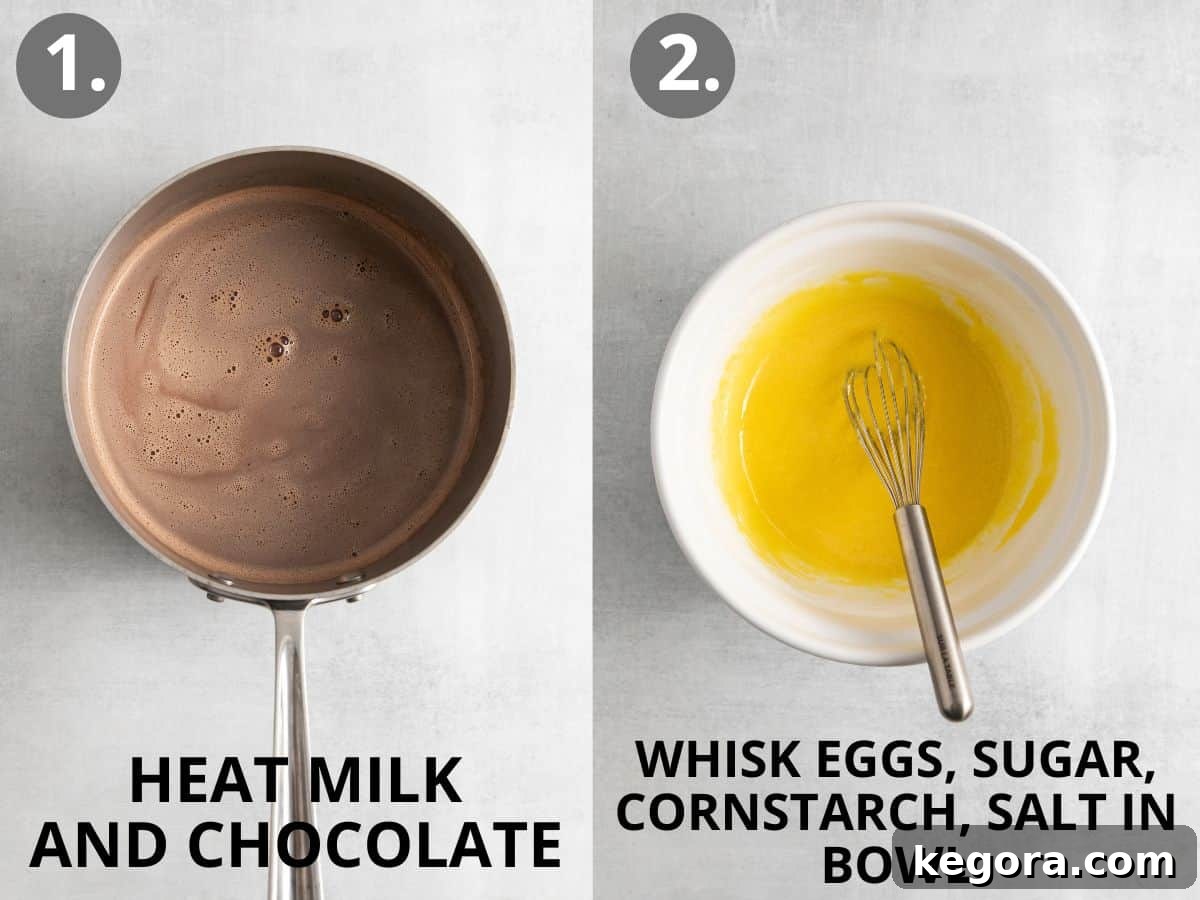
Step 1: Gently Melt Chocolate with Milk. Begin by combining the whole milk and your finely chopped high-quality chocolate (if using a bar) in a medium-sized saucepan. Place the saucepan over medium-low heat. Stir frequently to ensure the chocolate melts evenly and doesn’t scorch. Continue heating until the chocolate is fully melted and smoothly incorporated into the milk, and the mixture is warm to the touch. Be careful not to let it boil at this stage.
Step 2: Prepare and Temper the Egg Mixture. In a separate medium bowl, vigorously whisk together the egg yolks, granulated sugar, cornstarch, and salt until the mixture is completely smooth and pale yellow, with no lumps of cornstarch remaining. This creates a stable base for our pudding. Now, for the crucial tempering step: while continuously whisking the egg mixture, slowly ladle in about 1/2 cup of the warm chocolate milk mixture into the bowl. Whisk vigorously as you pour. This gradually raises the temperature of the eggs without scrambling them. Repeat this process, adding one or two more scoops of the warm milk mixture, whisking constantly until the egg mixture feels noticeably warm and is smooth.
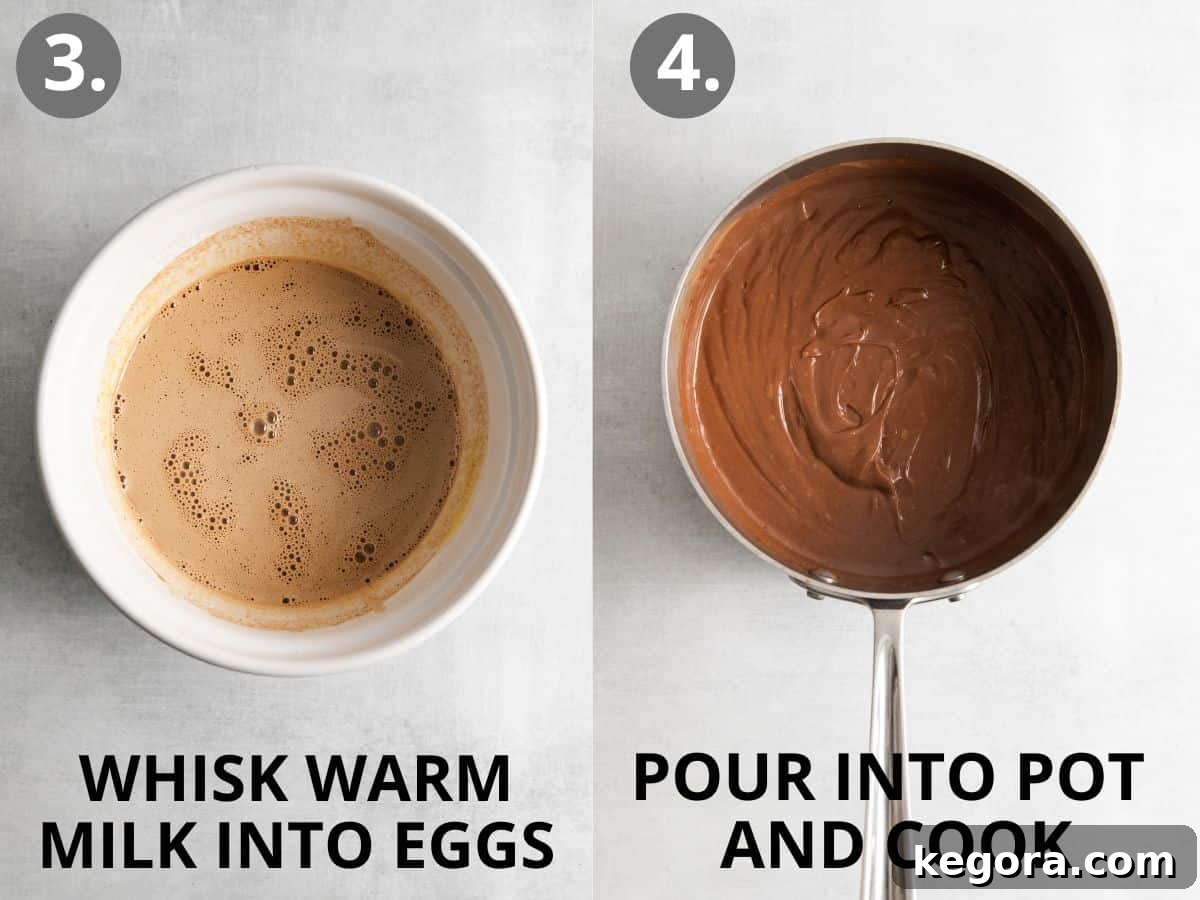
Step 3: Combine and Thicken the Pudding. Carefully pour the now-tempered egg mixture back into the saucepan with the remaining warm chocolate milk. Immediately begin whisking constantly. Continue cooking over medium heat, maintaining a steady whisking motion across the bottom and sides of the pan. This constant stirring is key to preventing lumps and ensuring even thickening. The mixture will gradually thicken and start to bubble gently. Cook for approximately 4-5 minutes after it begins to bubble, or until it reaches a rich, thick consistency that coats the back of a spoon.
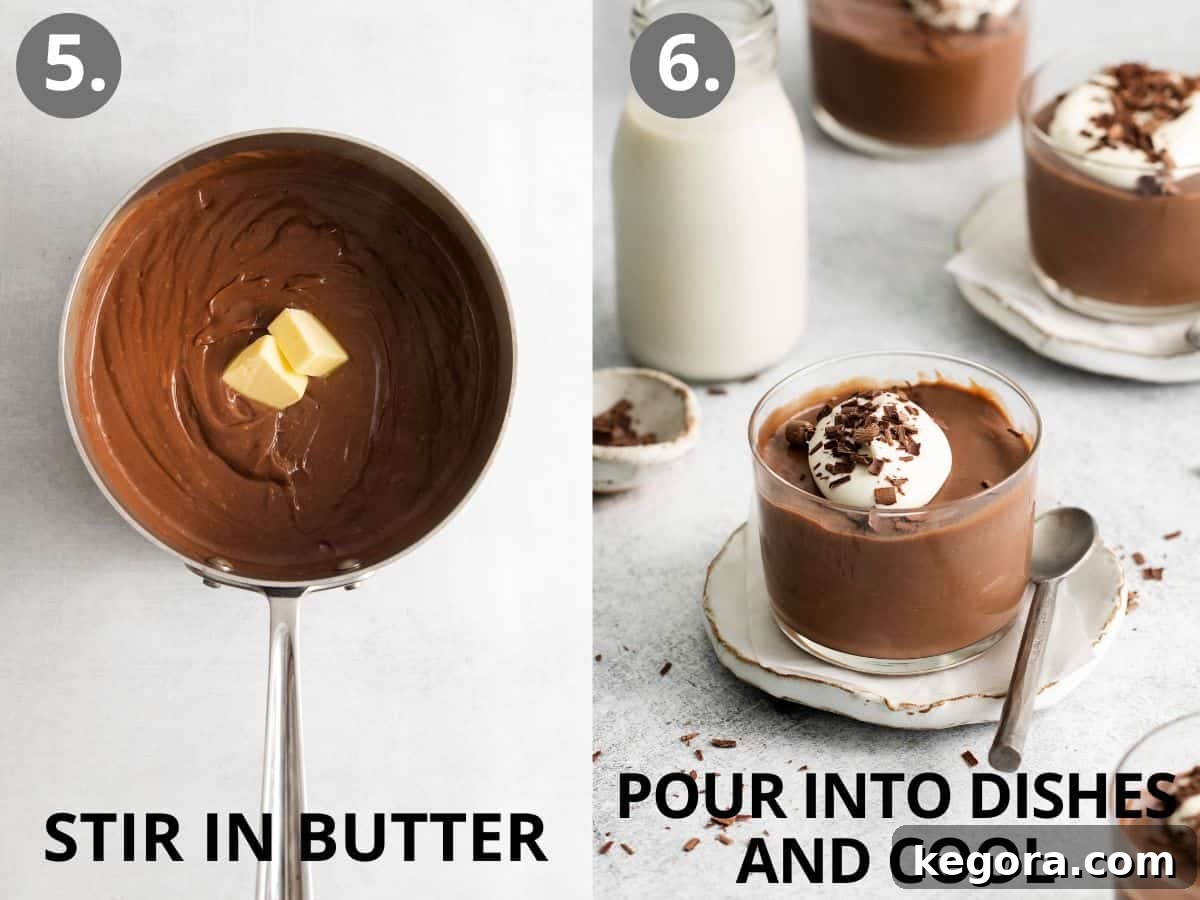
Step 4: Finish and Chill for Perfection. Once the pudding has thickened to your desired consistency, remove it immediately from the heat. Stir in the butter and vanilla extract until fully incorporated and melted, giving the pudding a beautiful sheen and extra richness. Transfer the hot pudding to a clean bowl. To prevent a “skin” from forming on the surface as it cools, press a piece of plastic wrap directly onto the surface of the pudding, ensuring no air gaps. Allow the pudding to cool at room temperature for about 45 minutes to an hour. After it has cooled sufficiently, transfer it to the refrigerator and chill for at least 2-3 hours, or preferably overnight, until it is completely set and thoroughly cold. This chilling process is essential for the pudding to achieve its ultimate silky texture.
Storage and Make-Ahead Instructions for Your Decadent Pudding
One of the many charms of this gluten-free chocolate pudding is its make-ahead potential, making it a perfect dessert for entertaining or simply enjoying throughout the week. Proper storage ensures it retains its incredible flavor and silky texture.
MAKE-AHEAD: This chocolate pudding is an ideal candidate for preparing in advance. You can easily make the entire batch a day or even two days before you plan to serve it. After cooking and cooling to room temperature, cover the pudding with plastic wrap directly touching its surface and refrigerate overnight. For added convenience, you can even portion the warm pudding into individual ramekins or serving dishes before chilling. This way, when it’s time to serve the next day, all you need to do is pull them from the fridge, add your desired toppings, and enjoy the effortless elegance.
STORAGE: To maintain its freshness and prevent any contamination, store any leftover gluten-free chocolate pudding in an airtight container. Keep it in the refrigerator for up to five days. Always ensure the container is well-sealed to prevent the pudding from absorbing any refrigerator odors and to keep it as fresh as possible. The direct plastic wrap method helps a lot with extending its shelf life and preserving texture.
Expert Tips for the Best Gluten-Free Chocolate Pudding
Achieving the perfect, velvety smooth gluten-free chocolate pudding is all about technique and a few key considerations. Keep these expert tips in mind to ensure your homemade dessert turns out flawlessly every time:
- Invest in High-Quality Chocolate: As the primary flavor component, the quality of your chocolate significantly impacts the final taste. Opt for premium brands like Guittard, Ghirardelli, or your favorite high-quality baking chocolate. Avoid using standard chocolate chips, which often contain less cocoa butter and stabilizers that can result in a less smooth, slightly grainy pudding. Chopped chocolate from a bar will yield a superior melt and flavor.
- Whisk Diligently and Constantly: From tempering the eggs to thickening the pudding on the stovetop, constant and vigorous whisking is your best friend. This ensures that the ingredients are thoroughly combined, the eggs are tempered properly (preventing scrambled bits), and the pudding thickens evenly without scorching on the bottom or forming lumps. A good quality whisk with plenty of wires is invaluable here.
- Master the Art of Tempering Eggs: Tempering is critical for creamy pudding. Slowly adding warm milk to the egg mixture while whisking prevents the eggs from cooking too quickly. Take your time, add the liquid gradually, and whisk without pause until the egg mixture is warm before combining with the rest of the chocolate milk. This ensures a beautifully smooth and stable emulsion.
- Prevent That Pesky “Pudding Skin”: Nobody likes a rubbery skin on their beautiful pudding. To avoid this, press a sheet of plastic wrap directly onto the surface of the hot pudding after it’s transferred to a bowl. This creates a barrier that locks in moisture and prevents air from forming a film. Make sure the plastic wrap touches every bit of the surface.
- Patience with Chilling: While it’s tempting to dive in, proper chilling is non-negotiable for this pudding. The cooling time allows the cornstarch to fully set and the flavors to meld beautifully. Refrigerate for at least 2-3 hours, but ideally overnight, for the ultimate firm, silky, and chilled texture.
- Creative Topping Ideas: While the pudding is fantastic on its own, dressing it up adds an extra layer of enjoyment. Beyond classic whipped cream, consider fresh raspberries, sliced strawberries, a sprinkle of sea salt to enhance the chocolate, toasted coconut flakes, mini chocolate chips, or even a drizzle of caramel sauce. Let your imagination guide you!
- For a Dairy-Free Alternative: If you or your guests require a dairy-free option, this recipe can be adapted. However, for truly optimal results and a perfectly formulated dairy-free version, I highly recommend checking out my specific recipe for dairy-free chocolate pudding, which uses plant-based milks and fats for a delicious, equally creamy outcome.
More Irresistible Gluten-Free Dessert Recipes to Explore
If you’ve enjoyed this delightful gluten-free chocolate pudding, you’re in for a treat! Our collection of gluten-free desserts is ever-growing, offering a range of sweet indulgences that prove you don’t have to sacrifice flavor for dietary needs. Here are some other fantastic recipes to inspire your next baking adventure:
- Luxurious Dark Chocolate Pots De Crème
- Classic Homemade Butterscotch Pudding
- Decadent Vegan Chocolate Pie (Gluten-Free)
- The Ultimate Gluten-Free Chocolate Cake
- Rich Gluten-Free German Chocolate Cake (with Dairy-Free Option)
- Elegant Gluten-Free Chocolate Mousse Cake
- Creamy Pumpkin Creme Brulee
- Comforting Gluten-Free Banana Pudding Recipe
- Sweet & Salty Chocolate Drizzle Popcorn
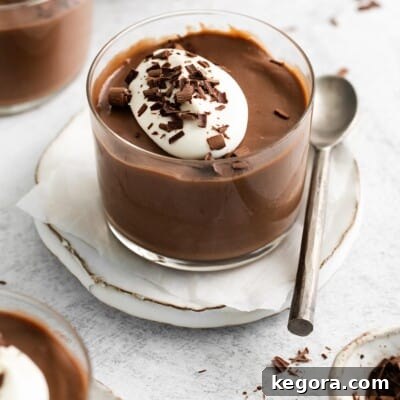
Gluten-Free Chocolate Pudding
Erin Collins
10 mins
10 mins
20 mins
4 servings
Ingredients
- 2 ½ cups whole milk
- 5 ounces semisweet or bittersweet chocolate (142 grams, chips or bar chocolate)
- 5 large egg yolks
- ¾ cup + 2 tablespoons sugar (175 grams)
- ⅓ cup cornstarch (40 grams)
- ¼ teaspoon salt
- 2 teaspoons vanilla extract
- 2 tablespoons butter
Instructions
- In a medium saucepan, combine the milk and chocolate (chop the chocolate into pieces if using a bar chocolate). Heat over medium-low until the chocolate is melted and the mixture is warm.
- In a medium bowl, whisk together the egg yolks, sugar, cornstarch, and salt until smooth. While whisking constantly, ladle in 1/2 cup or so of the warm milk mixture into the bowl, whisking vigorously (this is tempering the eggs so they don’t curdle when cooked on the stovetop). Continue ladling in another one or two scoops of the milk mixture and whisk until the egg mixture is smooth.
- Pour the tempered egg mixture into the saucepan with the remaining chocolate milk mixture, whisking constantly. Cook over medium heat, continuing to whisk the entire time, until the mixture is bubbling and thick, 4-5 minutes.
- Remove from the heat and stir in the butter and vanilla. Transfer the pudding to a bowl and cover with plastic wrap, pressing it directly onto the surface of the pudding. Let the pudding come to room temperature, about 45 minutes to an hour. Then, cover and refrigerate for 2-3 hours, until the pudding is fully set.
Notes
RECIPE NOTES:
- Use high-quality chocolate: Since chocolate is the foundation of this pudding, be sure to choose a high-quality brand (like Guittard or Ghirardelli) for the best flavor.
- Dress it up: There are tons of ways to dress up the top of the pudding. Add fresh whipped cream, shaved chocolate, fresh raspberries, or other fresh berries. Feel free to get creative!
- Apply plastic wrap directly to the pudding: To avoid getting a thick pudding skin after the hot pudding cools, apply the plastic wrap directly to the surface of the pudding (rather than just covering the top of the bowl).
- For dairy-free pudding: If you want this pudding to be dairy-free, I recommend making my dairy-free chocolate pudding recipe for optimal results.
Nutrition Information (Approximate Per Serving)
Calories: 261 kcal | Carbohydrates: 18g | Protein: 9g | Fat: 17g | Saturated Fat: 9g | Polyunsaturated Fat: 1g | Monounsaturated Fat: 5g | Trans Fat: 0.2g | Cholesterol: 276mg | Sodium: 260mg | Potassium: 258mg | Fiber: 0.1g | Sugar: 8g | Vitamin A: 746IU | Calcium: 219mg | Iron: 1mg
Frequently Asked Questions About Gluten-Free Chocolate Pudding
No, not all chocolate pudding is inherently gluten-free. While many recipes and commercial brands rely on cornstarch as a thickener, some traditional homemade puddings, or even certain specialty brands, might use wheat flour. Wheat flour contains gluten, making those particular puddings unsuitable for a gluten-free diet. It’s always crucial to check the ingredient list or recipe instructions carefully to ensure it’s made with gluten-free thickeners like cornstarch or tapioca starch.
Generally, most major brands of boxed pudding mixes are gluten-free, including popular choices like Jell-O brand. These mixes typically use cornstarch, modified food starch (often corn-based), and other naturally gluten-free ingredients to achieve their desired consistency. However, manufacturing processes can sometimes lead to cross-contamination, or ingredients might change. Therefore, to be absolutely certain, it is always the best practice to thoroughly read the ingredient label and any allergen statements on the packaging before purchasing or consuming.
Many widely available pudding brands offer naturally gluten-free options. Jell-O pudding, both instant and cook-and-serve varieties, is generally considered gluten-free as it’s made with ingredients like sugar, cornstarch, cocoa, and salt, which do not contain gluten. Another popular brand, KozyShack pudding, also explicitly states that its puddings are gluten-free. Always remember that product formulations can change, so a quick check of the most current packaging information is recommended to ensure compliance with a gluten-free diet.
While this specific recipe uses whole milk, you can certainly explore dairy-free alternatives. For best results with a dairy-free version, I recommend following my dedicated dairy-free chocolate pudding recipe, which has been specifically formulated to work with plant-based milks and ingredients to achieve a similar rich and creamy texture. Substituting dairy milk directly with all plant-based milks in this recipe might alter the consistency, so it’s better to use a tested dairy-free recipe.