
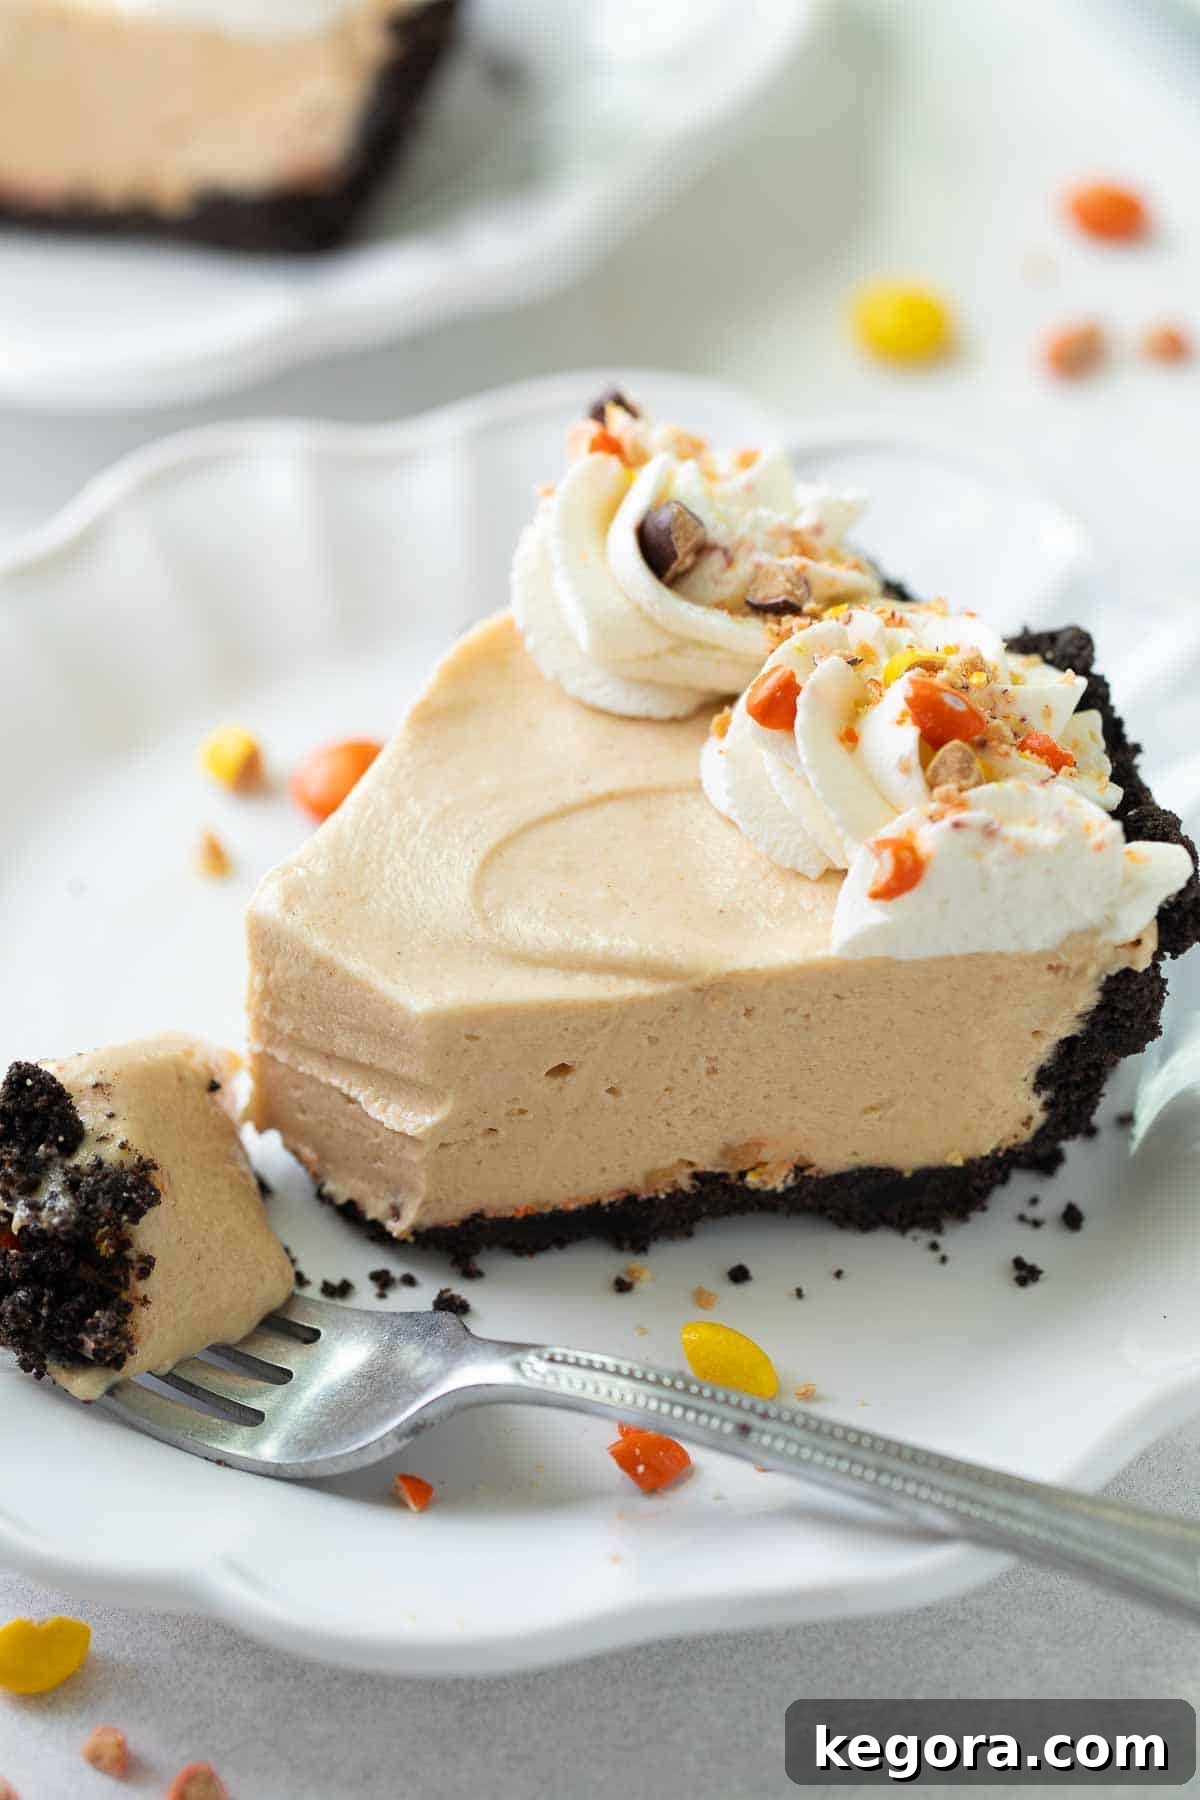
Indulge in the Ultimate Gluten-Free Peanut Butter Pie
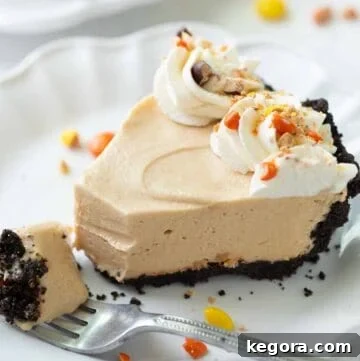
Are you searching for a show-stopping dessert that’s effortlessly delicious and caters to gluten-free needs? Look no further than this incredible gluten-free peanut butter pie! Featuring a silky-smooth, creamy cream cheese-based peanut butter mousse nestled in an easy-to-make, crisp gluten-free Oreo crust, this pie is an absolute dream come true for peanut butter lovers.
Crafted entirely from scratch – with no cool whip in sight – this pie embodies homemade perfection. It’s the ideal dessert for any occasion, from casual family dinners to festive celebrations and backyard BBQs. Despite its impressive appearance and rich flavor, it’s surprisingly quick and straightforward to prepare, guaranteeing to impress everyone who takes a bite.
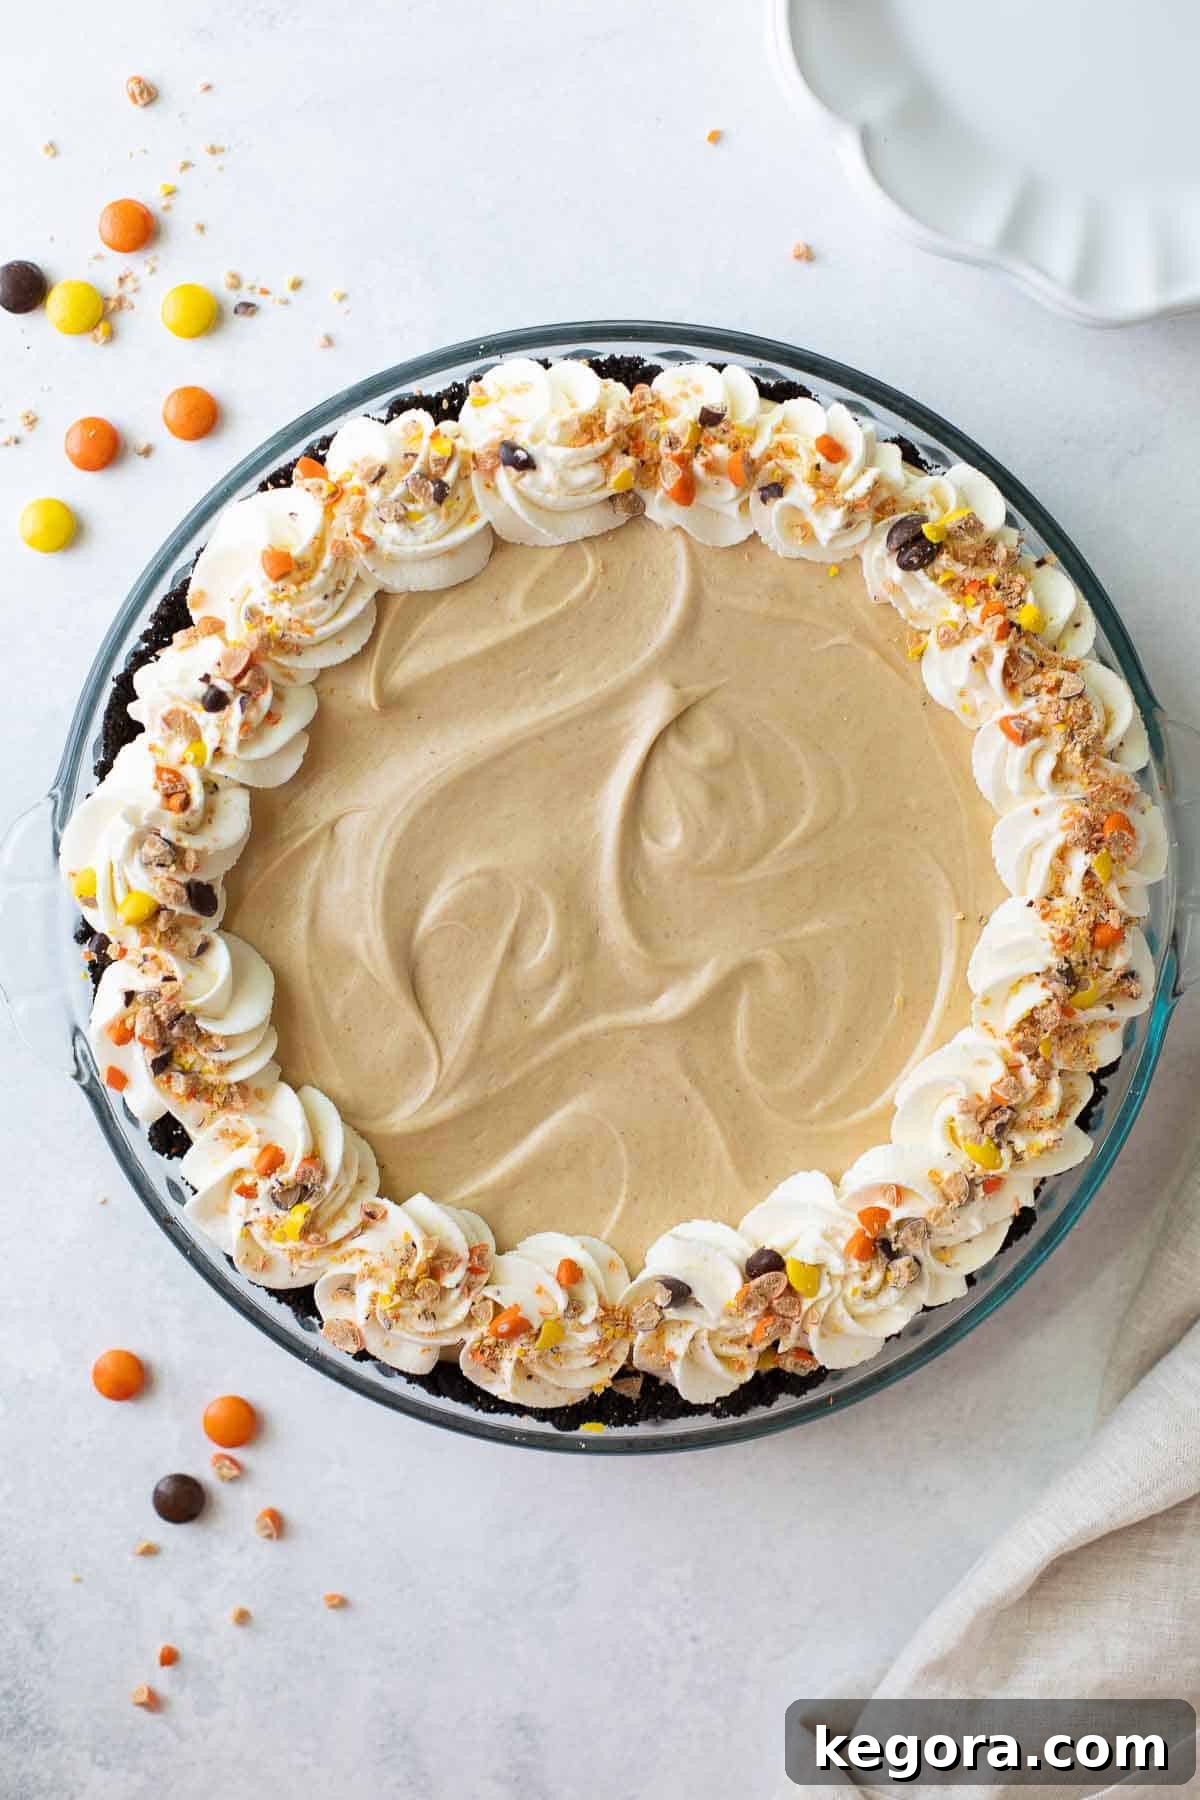
Prepare to meet your new favorite gluten-free dessert! This irresistible pie is wonderfully fluffy, incredibly rich, and bursting with authentic peanut butter flavor. It’s a delightful treat that satisfies even the most intense cravings while being mindful of dietary restrictions. If you’re curious about the ingredients, check out our guide on is peanut butter gluten-free to ensure your choices are compliant.
Why This Gluten-Free Peanut Butter Pie Will Be Your New Favorite
This isn’t just another dessert; it’s a culinary experience designed for ease and indulgence. Here’s why this easy gluten-free peanut butter pie will earn a permanent spot in your recipe collection:
- Unforgettable Flavor: The rich, creamy peanut butter mousse combined with the chocolatey Oreo crust creates a harmonious blend of textures and tastes that is simply divine.
- Effortlessly Elegant: Despite its gourmet appeal, this pie is surprisingly simple to assemble, making it perfect for both novice and experienced bakers.
- Perfectly Gluten-Free: Using gluten-free Oreos ensures that everyone can enjoy a slice of this magnificent pie without compromise.
- No-Bake Filling: While the crust requires a quick bake, the luxurious filling is a no-bake wonder, saving you time and effort.
- Make-Ahead Marvel: This pie can be prepared several days in advance, allowing you to focus on other preparations for your gathering.
I often turn to this recipe when I desire a special dessert that’s also remarkably easy to prepare. For those who love decadent treats, explore other delightful gluten-free recipes like our gluten-free chocolate pie, the refreshing gluten-free key lime pie, or the comforting gluten-free pecan pie. If your love for peanut butter extends beyond pies, you might also enjoy these recipes for peanut butter popcorn, classic peanut butter bars, and fun gluten-free monster cookies!
How to Master the Gluten-Free Peanut Butter Pie Recipe
Creating this spectacular pie involves two main components: the chocolatey Oreo crust and the luscious peanut butter filling. Each step is designed to be straightforward, ensuring a perfect result every time.
Crafting the Perfect Gluten-Free Oreo Pie Crust
The foundation of this incredible pie is its simple, yet delicious, gluten-free Oreo crust. All you’ll need is a food processor (or a good blender) and a 9.5-inch pie plate to bring this crunchy base to life.
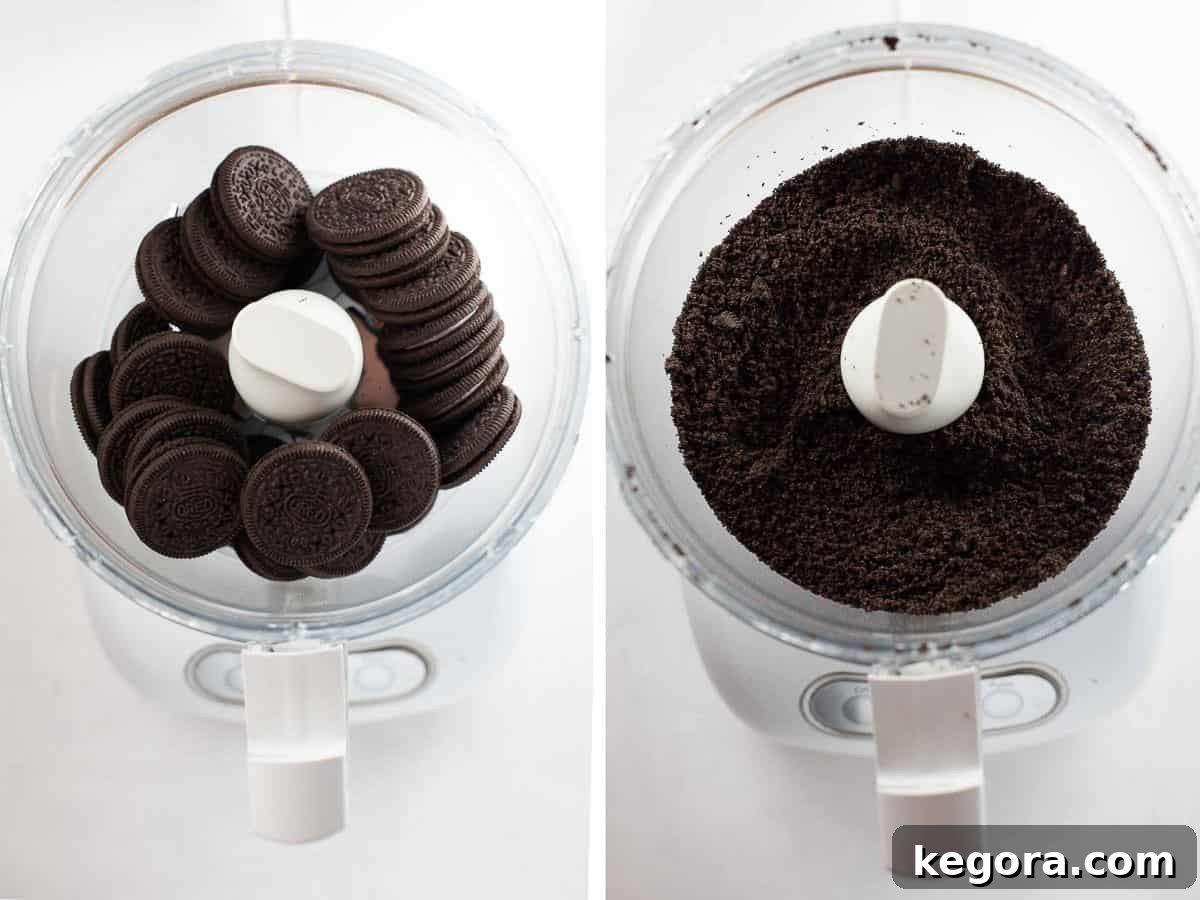
Begin by pulsing your gluten-free Oreo cookies (both the cookie and the cream filling!) in a food processor until they form a fine, uniform powder. If you notice any stubborn large cookie chunks, simply remove them – they make for an excellent chef’s snack! This versatile crust can also be used in other delightful recipes, like my gluten-free peppermint Oreo pie.
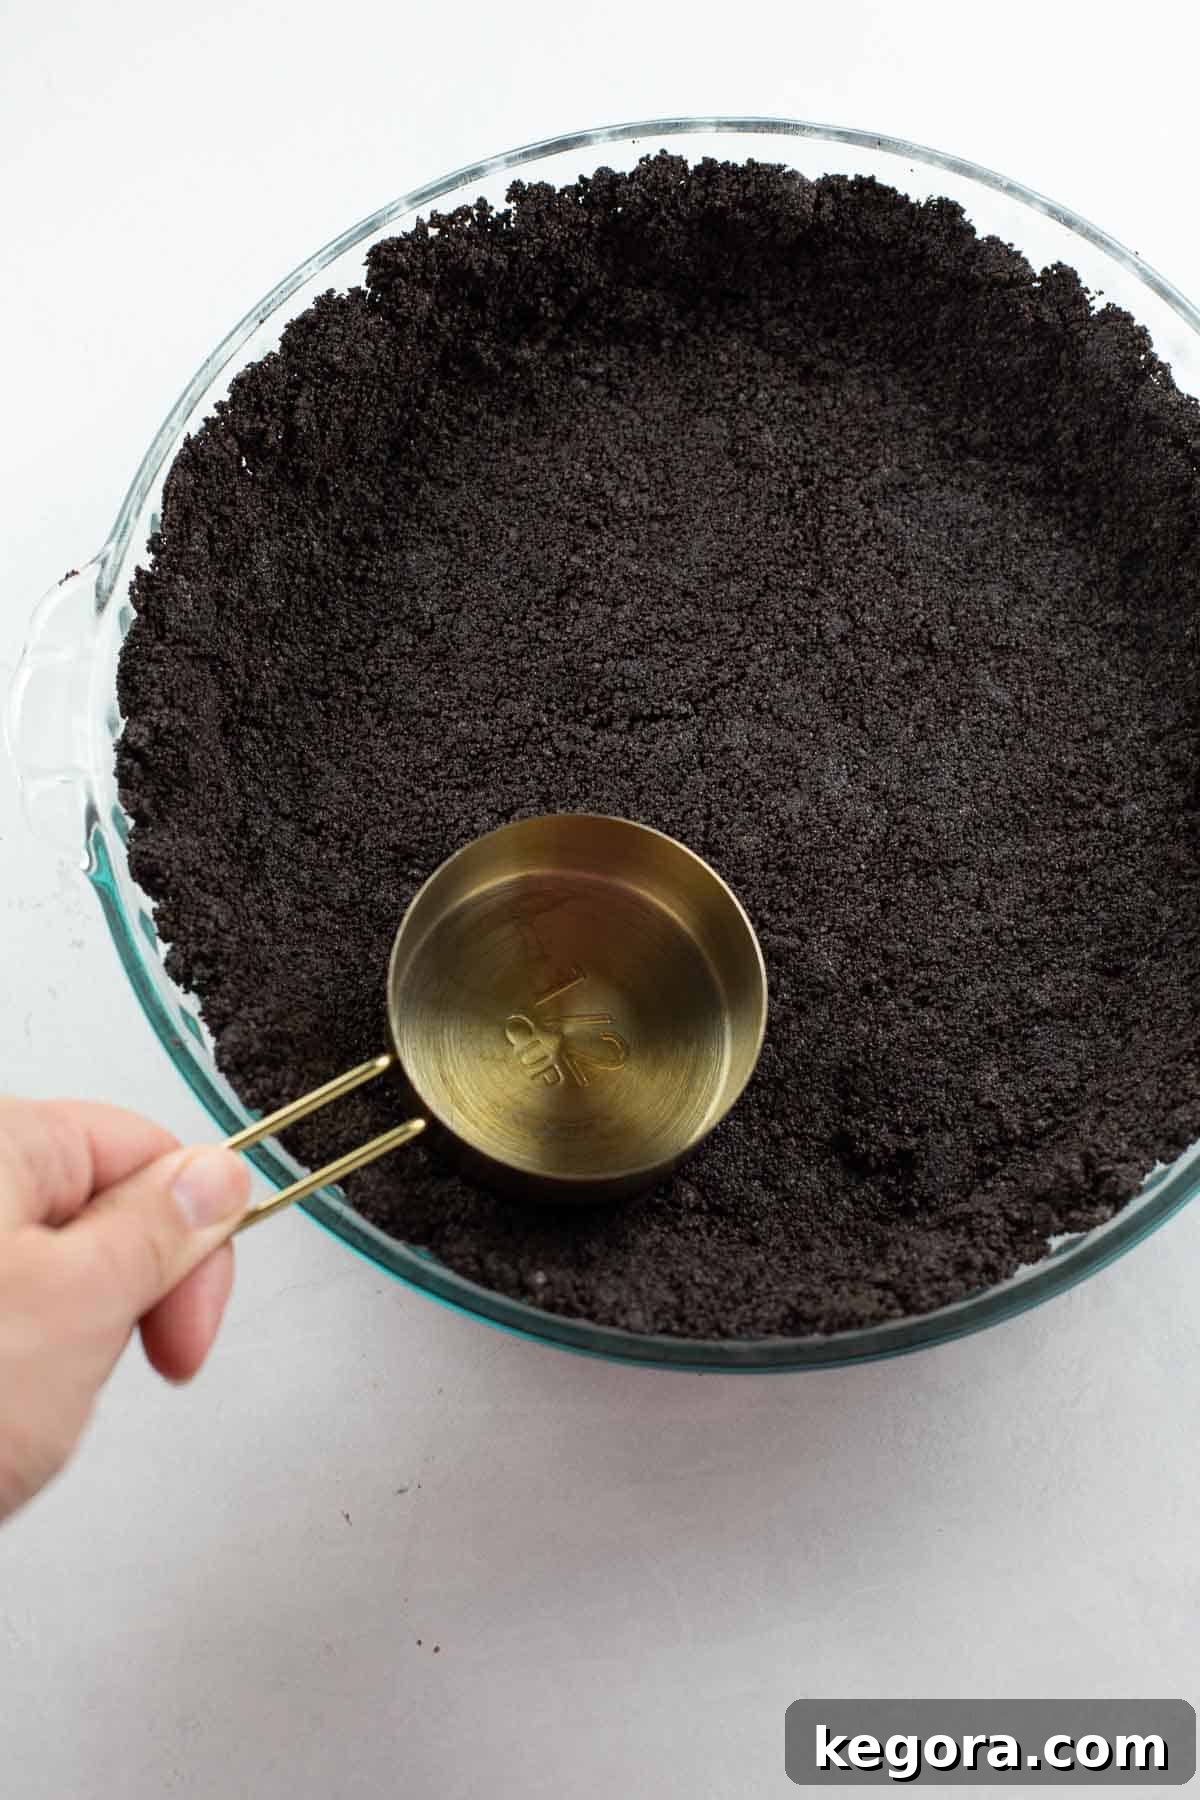
Once you have your fine Oreo crumbs, mix them thoroughly with melted butter until well combined. Then, press this mixture firmly into your pie plate, ensuring it covers the bottom and extends up the sides evenly. Bake the crust for just 10 minutes to set it, then allow it to cool completely before you even think about adding the luscious peanut butter mousse.
Whipping Up the Dreamy Peanut Butter Mousse Filling
The star of this gluten-free dessert is undoubtedly the rich and airy peanut butter mousse. All you need is a stand mixer or a hand mixer and a large mixing bowl. The technique for making this filling is quite similar to my gluten-free chocolate mousse cake, focusing on achieving a light and fluffy consistency.
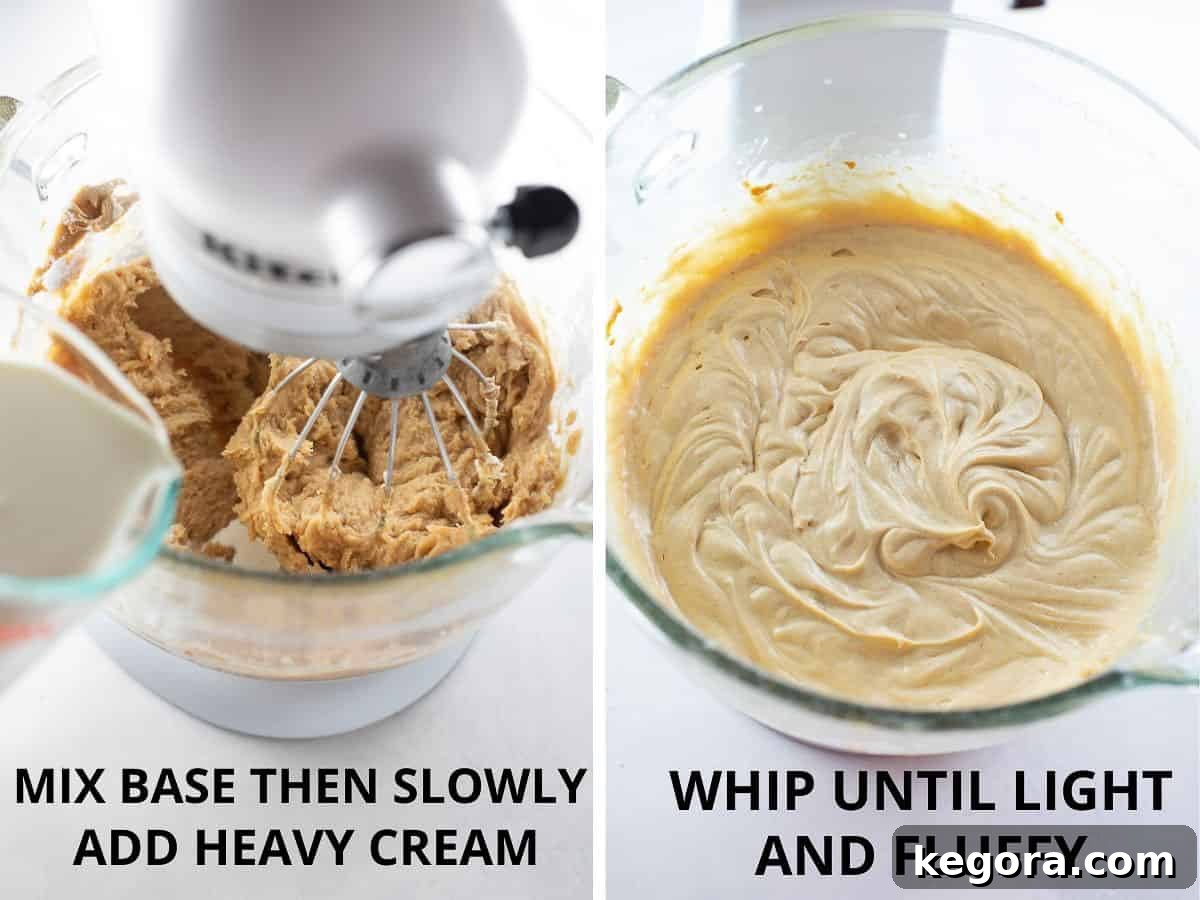
First, combine the base ingredients – cream cheese, creamy peanut butter, powdered sugar, and vanilla extract – in your mixing bowl. Beat them until the mixture is perfectly smooth and lump-free, making sure to scrape down the sides and bottom of the bowl one or two times to ensure everything is incorporated.
Next, with your mixer running on a low speed, slowly pour in the heavy cream. After adding the cream, stop the mixer, scrape down the bowl once more, then increase the speed to medium-high. Continue to whip the mixture for about 3-4 minutes, until it becomes wonderfully light, airy, and fluffy.
Expert Tip for the Filling: The type of cream you use is crucial for the perfect mousse consistency. Always opt for “heavy cream” (sometimes labeled “heavy whipping cream” but check the fat content) with a milk fat percentage of 35% or higher. Many brands of heavy whipping cream contain only 30-35% milk fat, which might not be enough to achieve the desired thickness and stability for this mousse. The higher fat content ensures a stable, rich, and creamy filling. If possible, look for brands that explicitly state 35% or higher milk fat on the carton. I personally recommend Darigold heavy cream, which boasts 40% milk fat, for its exceptional results.
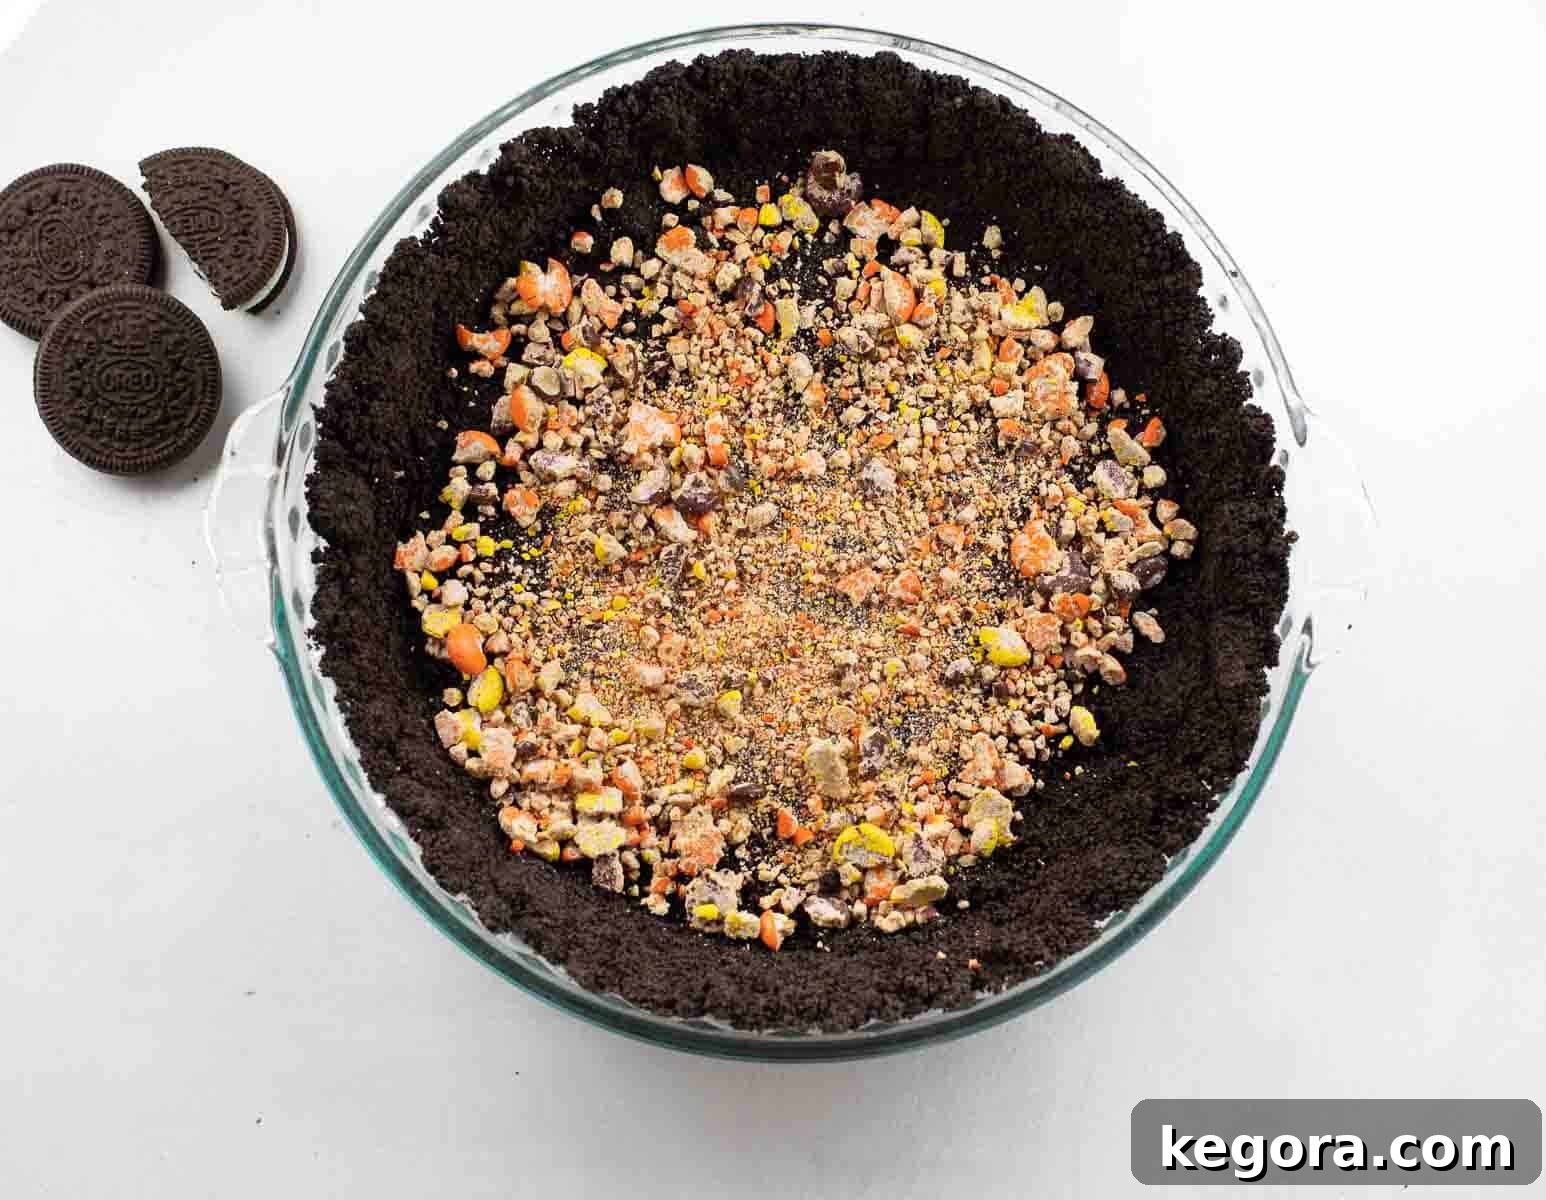
Once your baked crust has cooled completely, you can add an optional, yet highly recommended, layer of crushed Reese’s Pieces to the bottom. This adds a delightful textural contrast and a pop of color that elevates the pie. Feel free to skip this step if you prefer a simpler pie, but it truly adds an extra layer of enjoyment!
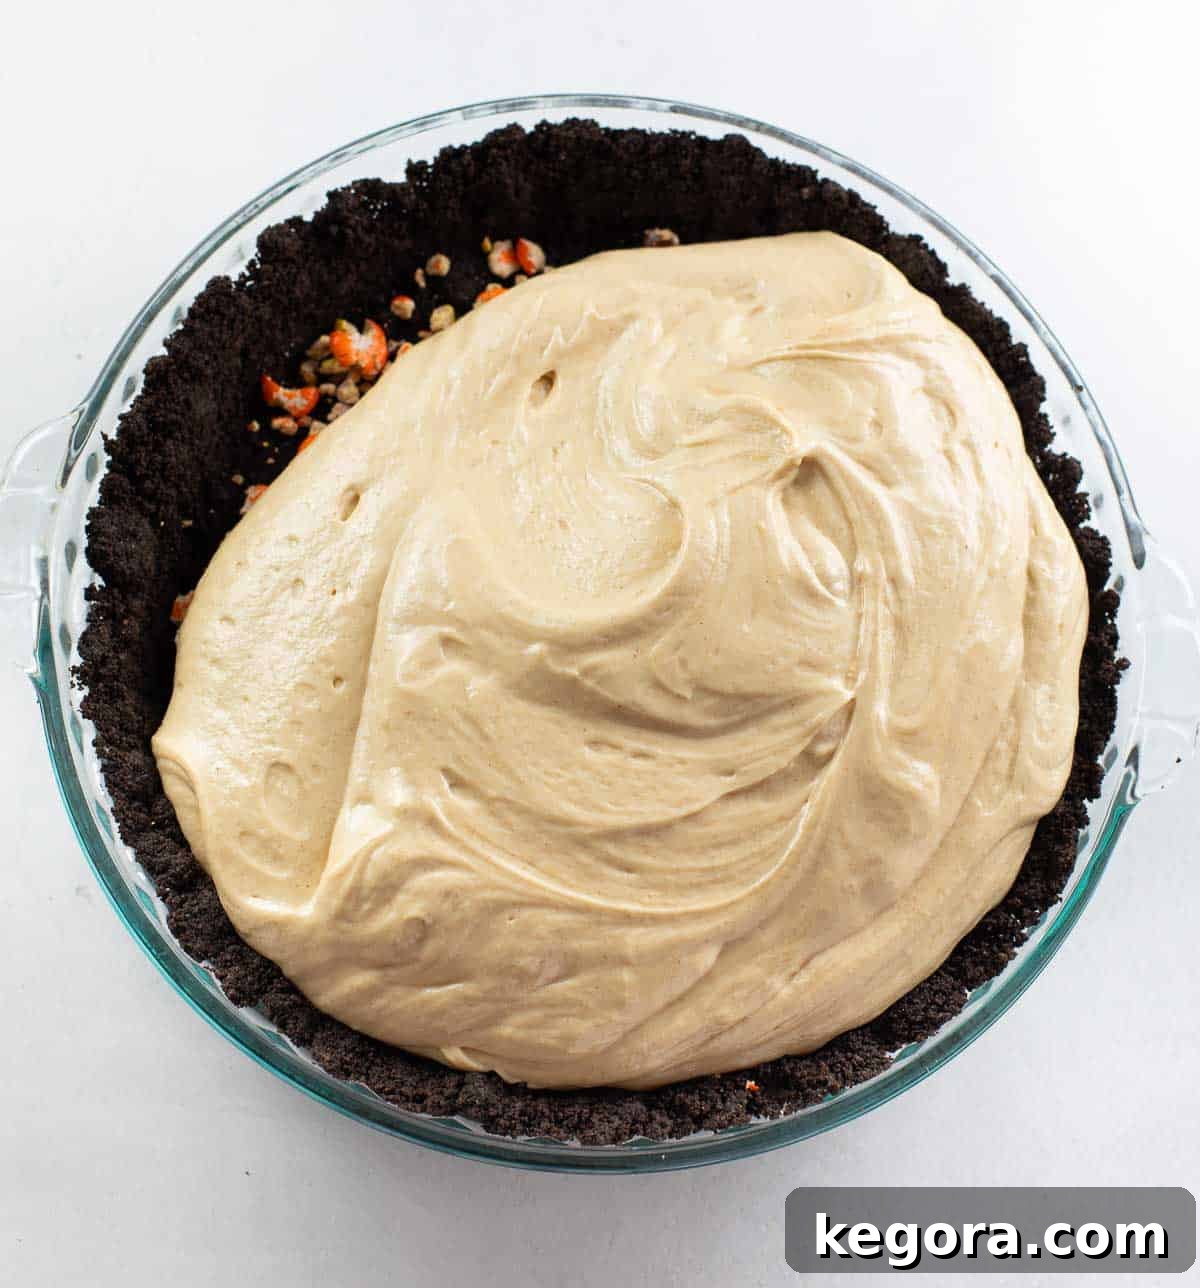
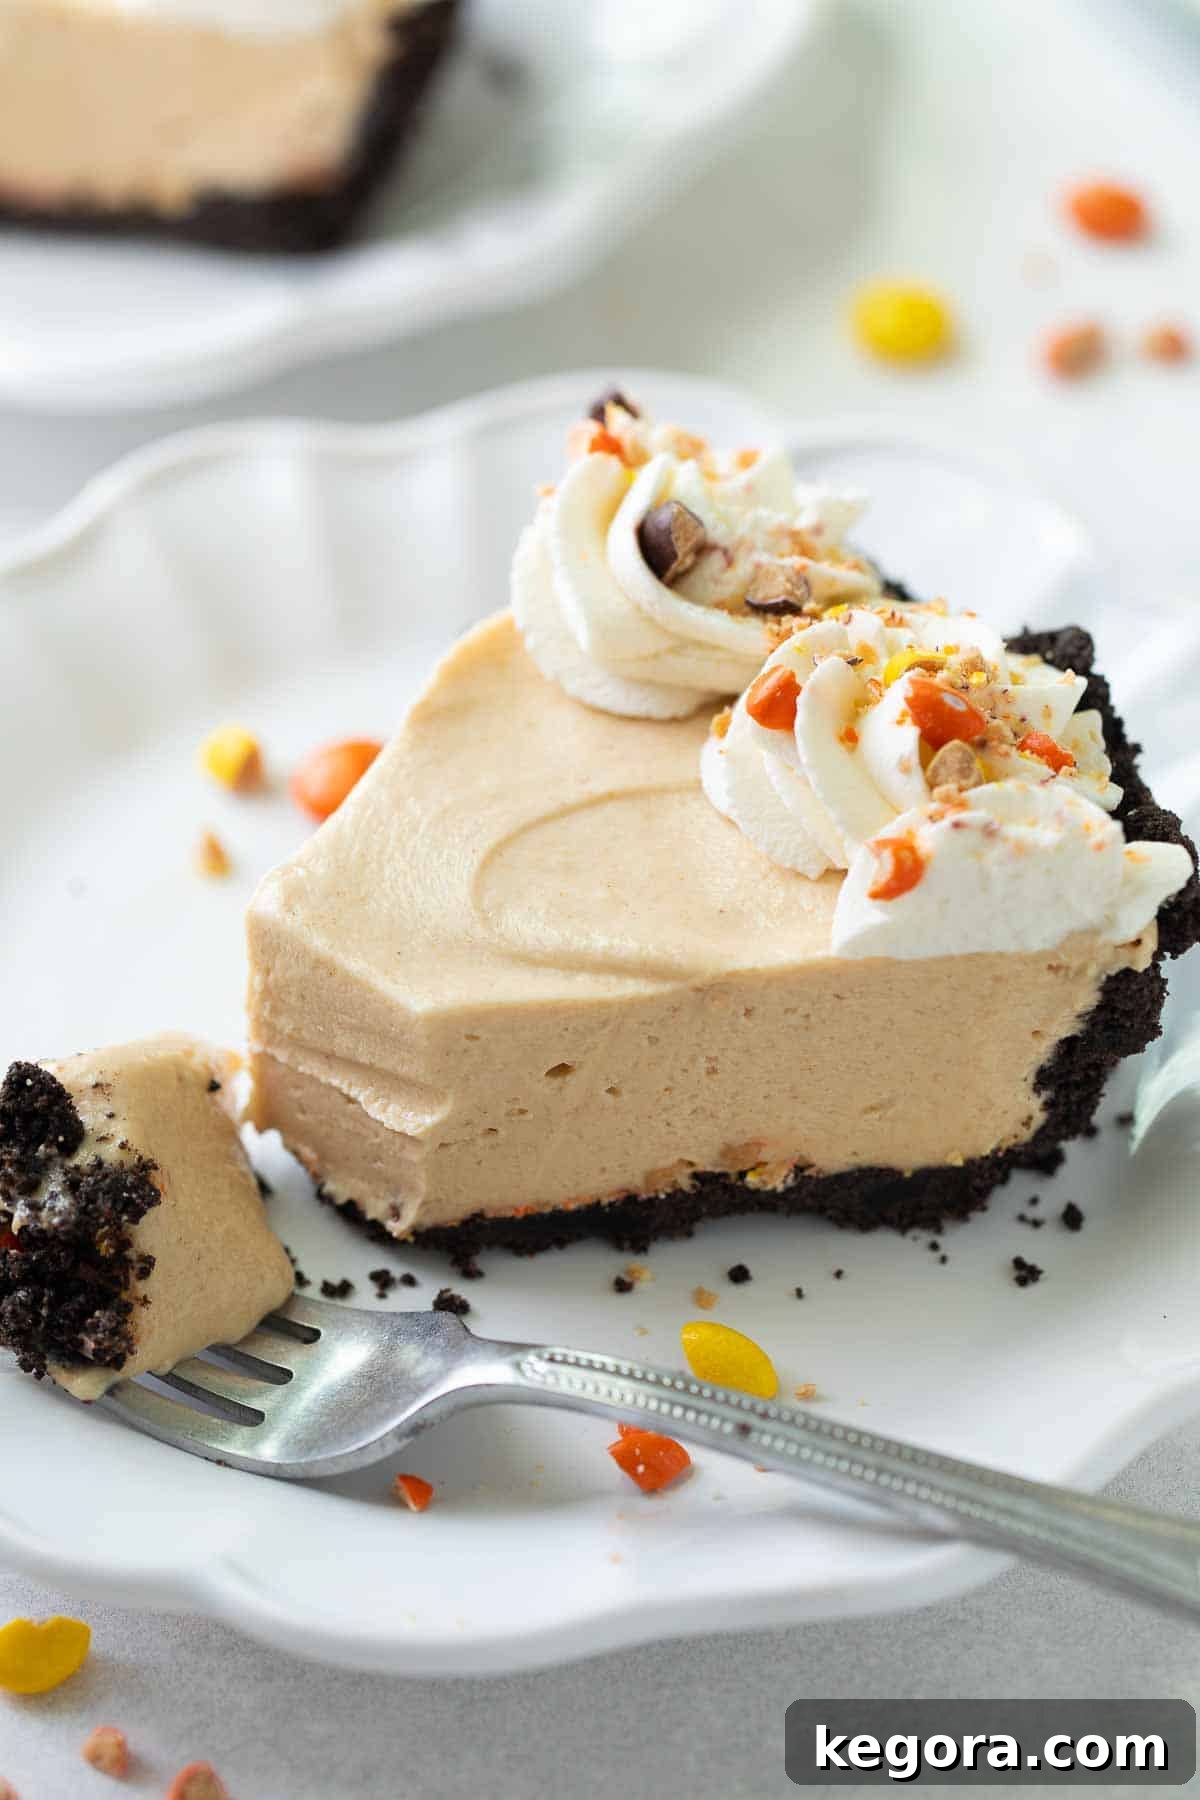
Now, gently spread that dreamy, creamy, fluffy peanut butter filling evenly over the prepared crust. Smooth out the top for a polished look. Cover the pie tightly with plastic wrap and refrigerate it for a minimum of 6 hours, or ideally, overnight, to allow the filling to set beautifully. Before serving, top with freshly made whipped cream and, if desired, a scattering of more crushed Reese’s Pieces for an irresistible finish!
Tips for Gluten-Free Peanut Butter Pie Success
Achieving a perfect pie every time is easy with these simple tips:
- Room Temperature Ingredients: Ensure your cream cheese and peanut butter are at room temperature. This makes them much easier to mix into a smooth, lump-free consistency.
- Quality Peanut Butter: For the best results, use a creamy peanut butter like Jif or Skippy. Natural peanut butter can sometimes separate, affecting the mousse’s texture.
- Heavy Cream is Key: As mentioned, use heavy cream with at least 35% milk fat for a stable and thick filling.
- Don’t Overmix the Mousse: Once the heavy cream is added and the mixture is light and fluffy, stop mixing. Overmixing can cause the mousse to become grainy.
- Chill Time is Crucial: The 6-hour minimum chill time is essential for the pie to set properly, allowing for clean slices and a firm texture. Don’t rush this step!
Make it in Advance: The Perfect Prep-Ahead Dessert
This no-bake peanut butter pie (aside from the crust) is a fantastic make-ahead dessert option, making your entertaining stress-free! It will keep beautifully in the refrigerator for up to 3 days, and often even 4-5 days, without compromising its taste or texture. Unlike many other gluten-free pie crusts that can quickly become soggy, the robust Oreo crust maintains its integrity and delightful crunch longer, ensuring your pie remains delicious throughout its refrigerated life.
Variations & Customizations for Your Peanut Butter Pie
While the classic recipe is outstanding, don’t hesitate to get creative:
- Chocolate Drizzle: A warm chocolate ganache or a simple melted chocolate drizzle over the top before serving adds another layer of decadence.
- Different Candies: Instead of Reese’s Pieces, try chopped peanut butter cups, mini chocolate chips, or even a sprinkle of sea salt flakes for a sweet and salty kick.
- Nutty Toppings: Add chopped roasted peanuts or other nuts for extra crunch and flavor.
- Dairy-Free Option: Explore dairy-free cream cheese and heavy cream alternatives for a completely dairy-free version, ensuring they are suitable for whipping.
Common Questions About Gluten-Free Peanut Butter Pie
Here are answers to some frequently asked questions:
Q: Can I use natural peanut butter for this recipe?
A: While natural peanut butter is great for many things, for this pie, we recommend using a creamy, stabilized peanut butter like Jif or Skippy. Natural peanut butter tends to separate and can make the filling less stable and creamy, potentially leading to an oilier or thinner mousse.
Q: How long does this peanut butter pie last in the fridge?
A: When covered tightly with plastic wrap, this pie will stay fresh and delicious in the refrigerator for up to 3-5 days. It’s an excellent make-ahead dessert!
Q: Can I freeze the gluten-free peanut butter pie?
A: Yes, you can! To freeze, place the pie (without the whipped cream topping) in the freezer until solid, then wrap it tightly in plastic wrap and then in aluminum foil. It can be frozen for up to 1-2 months. Thaw in the refrigerator overnight before adding fresh whipped cream and serving.
Q: What if my filling isn’t getting fluffy?
A: The most common reason for a non-fluffy filling is not using heavy cream with sufficient milk fat (ensure it’s 35% or higher) or not chilling the pie long enough. Also, make sure all ingredients (especially cream cheese) are at room temperature before mixing to ensure smooth incorporation.
More Irresistible Gluten-Free Desserts to Explore
If you love this pie, you’ll definitely want to try these other amazing gluten-free dessert recipes:
- Gluten-Free Chocolate Sheet Cake: A classic, moist chocolate cake that’s perfect for any celebration.
- Gluten-Free Cheesecake: Creamy, rich, and utterly divine.
- Gluten-Free Pumpkin Pie: A seasonal favorite, also available dairy-free.
- Gluten-Free No-Bake Cheesecake: Quick and easy individual servings.
- Gluten-Free Angel Food Cake: Light, airy, and heavenly.
Happy Baking! We truly hope you enjoy this gluten-free peanut butter pie as much as we do. If you try this recipe, please share your thoughts and a rating below!
Gluten-Free Peanut Butter Pie
Erin Collins
40 mins
10 mins
6 hrs
6 hrs 50 mins
12 slices
Comments
Ingredients
For the Crust:
- 24 gluten-free Oreos
- 4 Tablespoons butter melted
For the Peanut Butter Filling:
- 12 oz cream cheese the brick kind in the foil wrapper
- 1 1/2 cups creamy peanut butter
- 1 3/4 cups powdered sugar
- 1 teaspoon vanilla extract
- 1 1/2 cups heavy cream
- Crushed Reese’s Pieces optional
For the Whipped Cream Topping:
- 1 cup heavy cream
- 1/4 cup powdered sugar
- 1/2 teaspoon vanilla extract
Instructions
Make the Crust:
-
Preheat the oven to 350°F (175°C). In a food processor or blender, pulse the whole gluten-free Oreos (including the cream filling) into a fine crumb. Remove any large pieces of Oreos. Stir the Oreo crumbs and melted butter together until fully combined.
-
Using your hands or the bottom of a measuring cup, firmly press the mixture into the bottom and up the sides of a 9.5-inch pie dish. Bake the crust for 10 minutes. Allow the crust to cool completely before adding the filling.
Make the Filling:
-
In the bowl of a stand mixer fitted with the paddle attachment (or using a hand mixer), combine the room temperature cream cheese, creamy peanut butter, powdered sugar, and vanilla extract. Mix until the mixture is completely smooth, stopping once or twice to scrape down the sides and bottom of the bowl.
-
With the mixer running on low speed, slowly pour in the heavy cream. Once all the cream is added, scrape down the sides and bottom of the bowl again. Increase the mixer speed to medium-high and whip until the mixture becomes light and fluffy, typically about 3-4 minutes. Do not overmix.
-
If using, sprinkle the crushed Reese’s Pieces evenly over the bottom of the cooled crust. Carefully spread the prepared peanut butter filling over the crust, smoothing the top with a spatula. Cover the pie tightly with plastic wrap and refrigerate for at least 6 hours, or ideally overnight, to allow the filling to set thoroughly.
Make the Topping:
-
Just before serving, prepare the whipped cream topping. Using an electric mixer, beat the heavy cream, powdered sugar, and vanilla extract in a medium bowl until soft peaks form. Pipe or spread the whipped cream over the chilled pie. Sprinkle with more Reese’s Pieces or a drizzle of chocolate, if desired. Slice and enjoy your delightful gluten-free peanut butter pie!
Notes
Cream Cheese: Always use block-style cream cheese, typically found in a foil wrapper, rather than the softer, spreadable kind that comes in a tub. Block cream cheese has a firmer texture essential for the pie’s stability.
Heavy Cream Importance: It is crucial to use “heavy cream” that has a milk fat percentage of 35% or higher. Many brands labeled “heavy whipping cream” might only contain 30-35% milk fat, which may not provide the necessary richness and stability for the mousse to turn out thick and creamy. For best results, seek out a brand (like Darigold, which has 40% milk fat) that explicitly states 35% or higher milk fat on its carton. This extra fat content ensures your mousse sets perfectly.
Nutrition
Carbohydrates: 29g |
Protein: 11g |
Fat: 48g |
Saturated Fat: 23g |
Trans Fat: 1g |
Cholesterol: 109mg |
Sodium: 292mg |
Potassium: 288mg |
Fiber: 2g |
Sugar: 24g |
Vitamin A: 1226IU |
Vitamin C: 1mg |
Calcium: 75mg |
Iron: 1mg