
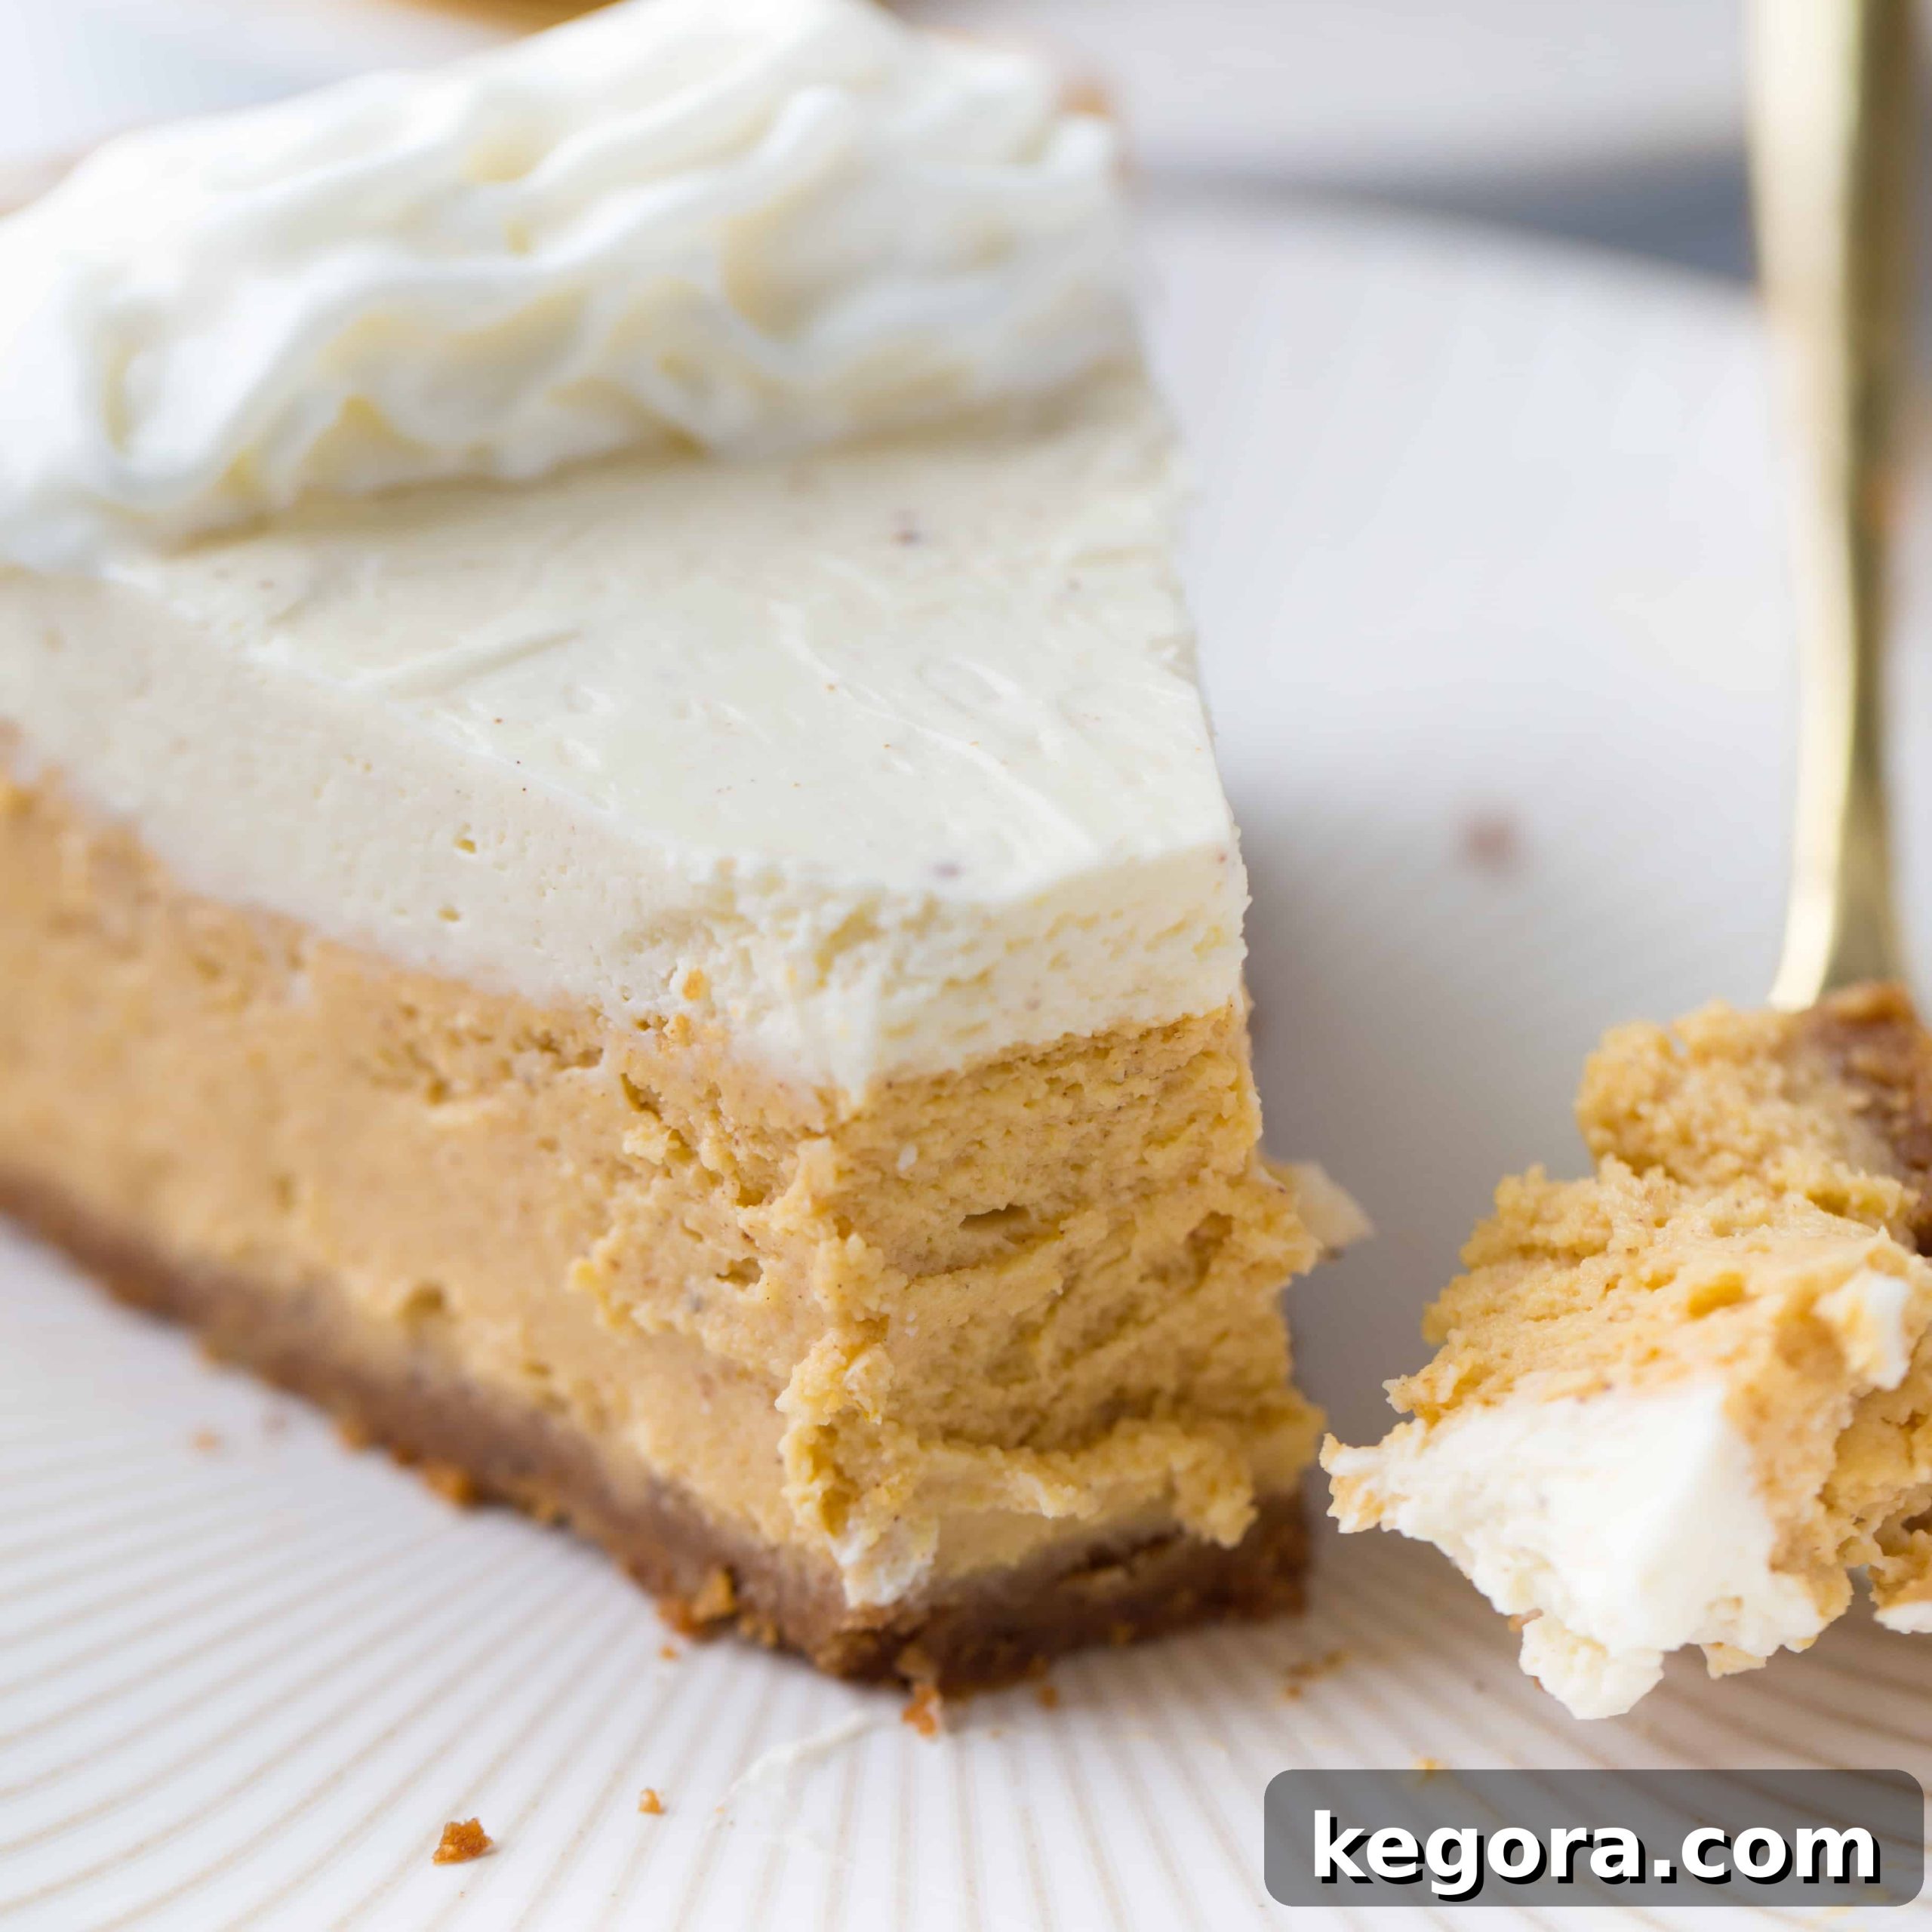
The Ultimate Gluten-Free Pumpkin Cheesecake: A Luxurious Holiday Dessert
Prepare to be amazed by this incredible Gluten-Free Pumpkin Cheesecake! It’s so rich, creamy, and subtly spiced that absolutely no one will guess it’s completely gluten-free. This show-stopping dessert is the perfect grand finale for any festive gathering, especially during the holiday season. Get ready to bake a masterpiece that tastes utterly luxurious and will leave your guests begging for the recipe.
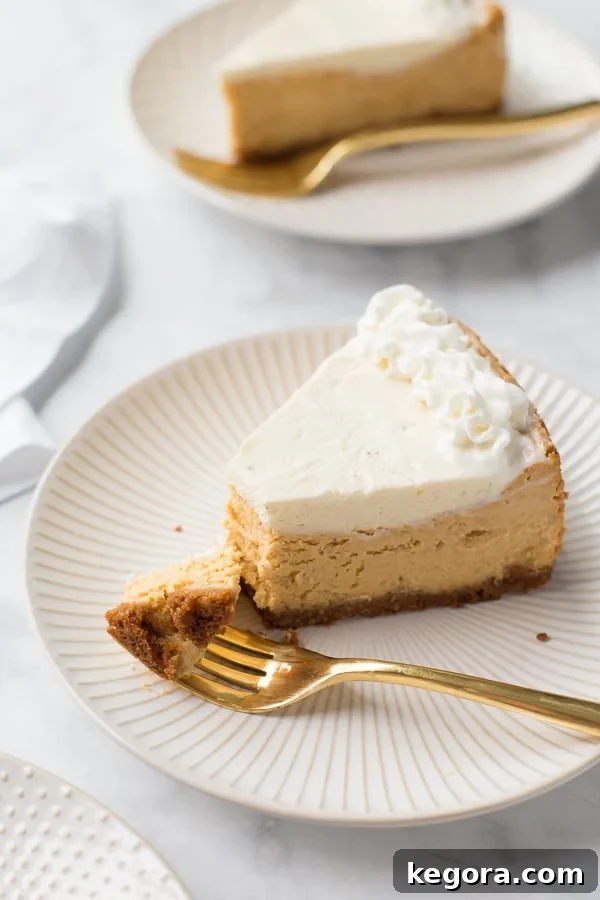
If you’ve been searching for a gluten-free holiday dessert that not only meets dietary needs but also steals the show, your quest ends here. This Gluten-Free Pumpkin Cheesecake isn’t just a favorite gluten-free treat; it’s one of my all-time favorite desserts, period. Its harmonious blend of light spices, incredibly creamy texture, and sheer indulgence makes it a year-round dream for me, not just during the holidays.
Imagine a dessert with three distinct layers of creamy, spiced goodness, each contributing to an unforgettable culinary experience. This cheesecake offers precisely that – a perfectly baked gluten-free graham cracker crust, a velvety smooth pumpkin filling, and a delightful, stabilized whipped cream topping. It’s truly a swoon-worthy creation designed to impress even the most discerning palates.
Crafting the Perfect Gluten-Free Graham Cracker Crust
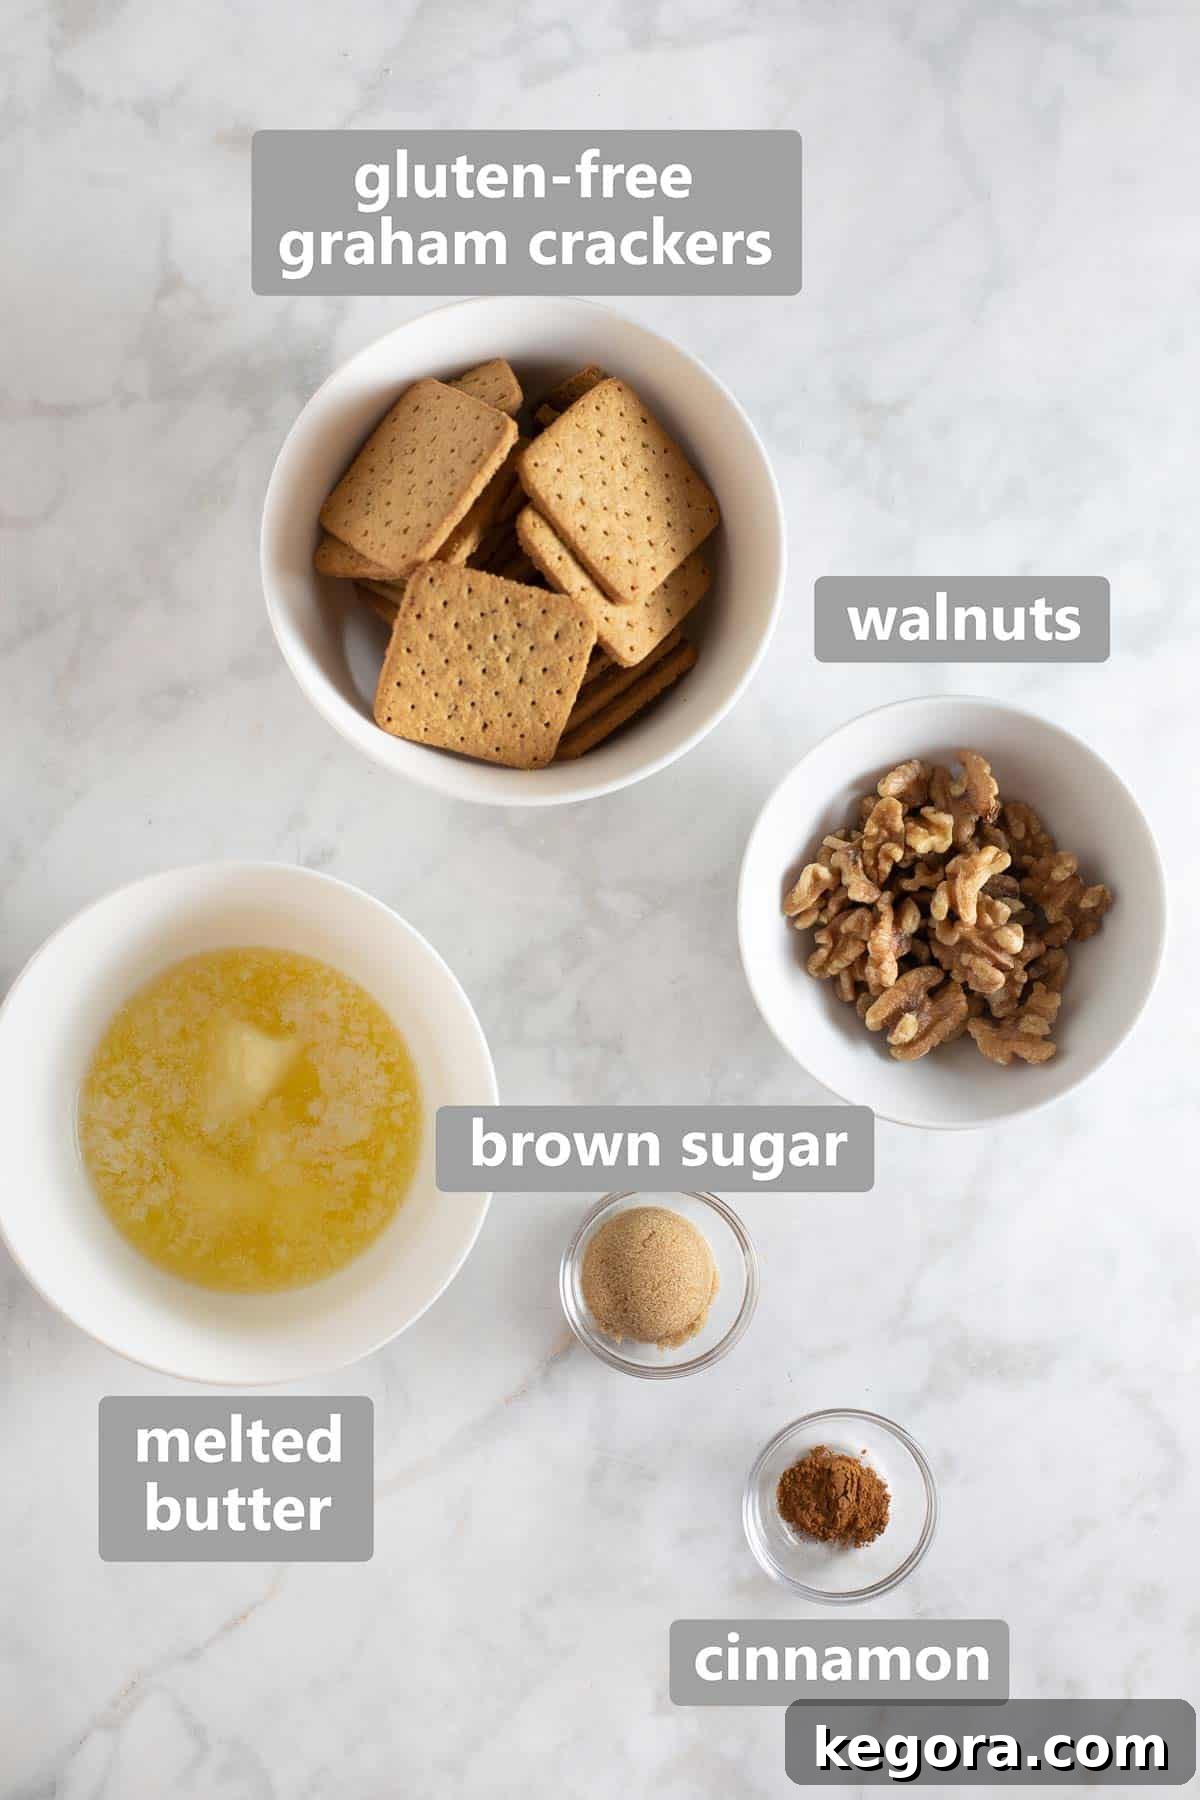
The foundation of any great cheesecake is its crust, and for this gluten-free masterpiece, we begin with an exceptionally easy and flavorful gluten-free graham cracker base. What makes this crust truly stand out is the addition of walnuts. Not only do walnuts contribute a rich, nutty depth of flavor that complements the pumpkin beautifully, but they also play a crucial role in providing structure and stability. Gluten-free graham crackers can sometimes be a bit more delicate than their gluten-containing counterparts, and the walnuts help the crust hold together perfectly, creating a satisfying crunch with every bite.
Choosing the right gluten-free graham crackers is key to the success of your crust. There are several excellent brands available today that offer a taste and texture comparable to traditional graham crackers. For a comprehensive guide and my top recommendations, be sure to check out our detailed post on the best brands of gluten-free graham crackers.
Step-by-Step: Making Your Golden Crust
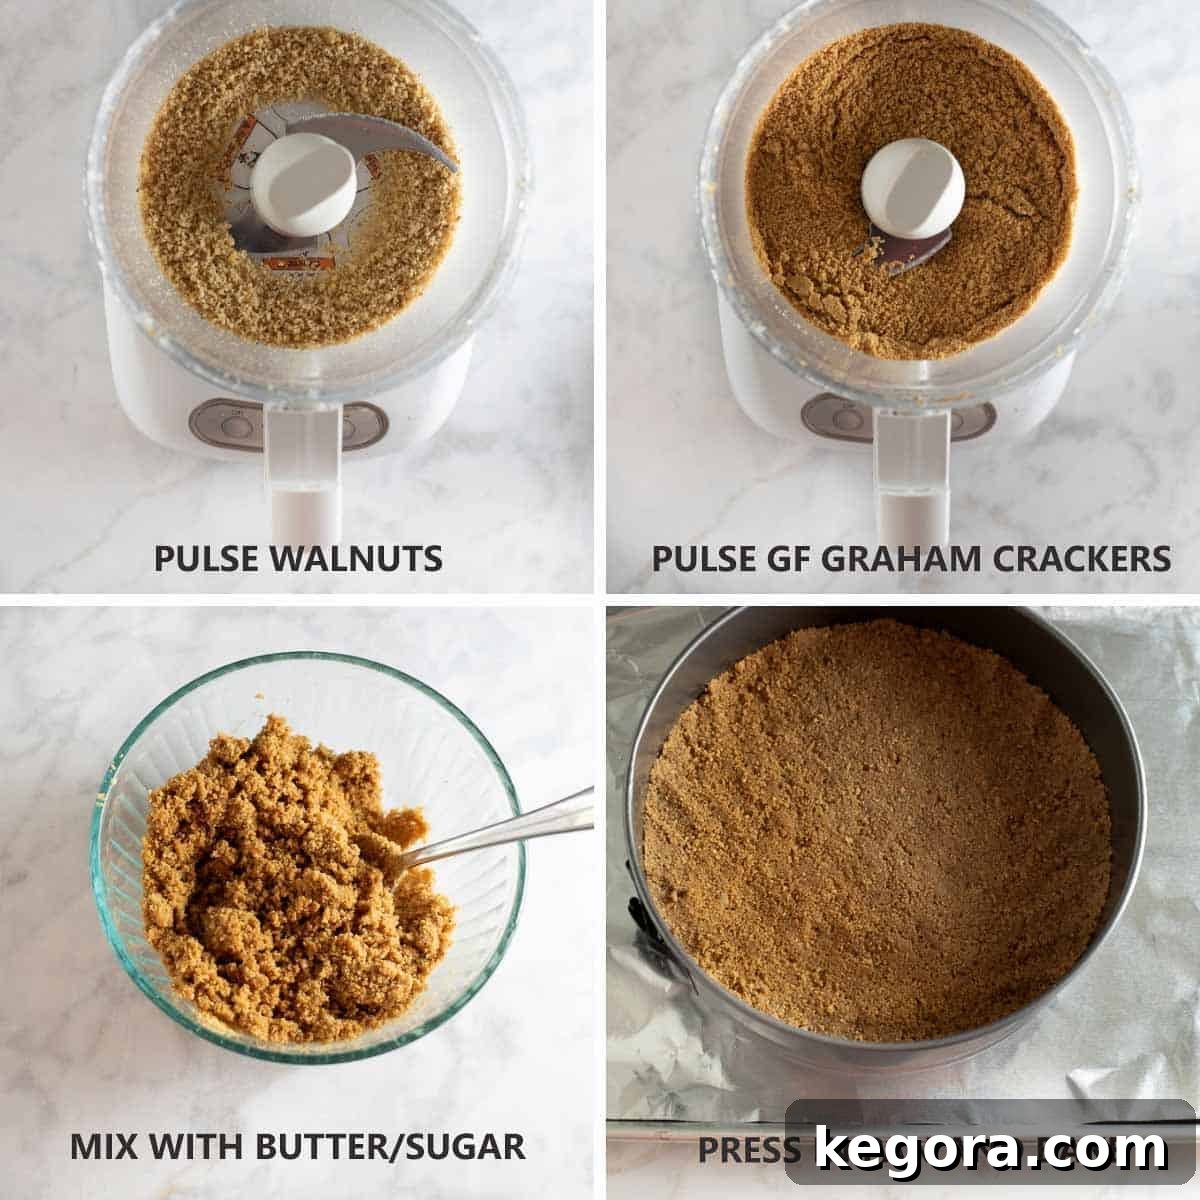
Creating this delicious crust is straightforward, especially with the help of a food processor. This kitchen appliance ensures that your graham crackers and walnuts are perfectly pulverized, resulting in an even and consistent texture. You’ll also need a springform pan, which is essential for baking cheesecakes as it allows for easy release without damaging the delicate sides.
- Begin by pulsing the walnuts in your food processor until they are finely ground. Transfer them to a mixing bowl.
- Next, add the gluten-free graham crackers to the food processor and pulse until they resemble fine sand. Add these crumbs to the bowl with the walnuts.
- In the bowl, combine the ground walnuts and graham cracker crumbs with melted butter, brown sugar, and a hint of cinnamon. Mix thoroughly until all the crumbs are evenly moistened.
- Firmly press this mixture into the bottom of your springform pan. Ensure an even layer that extends slightly up the sides for a perfect crust. Bake it until lightly golden and fragrant.
If you’re a fan of pumpkin and cheesecake flavors, you might also enjoy this quick and easy pumpkin cheesecake dip for a lighter treat!
The Creamy Heart: Pumpkin Cheesecake Filling Without Eggs
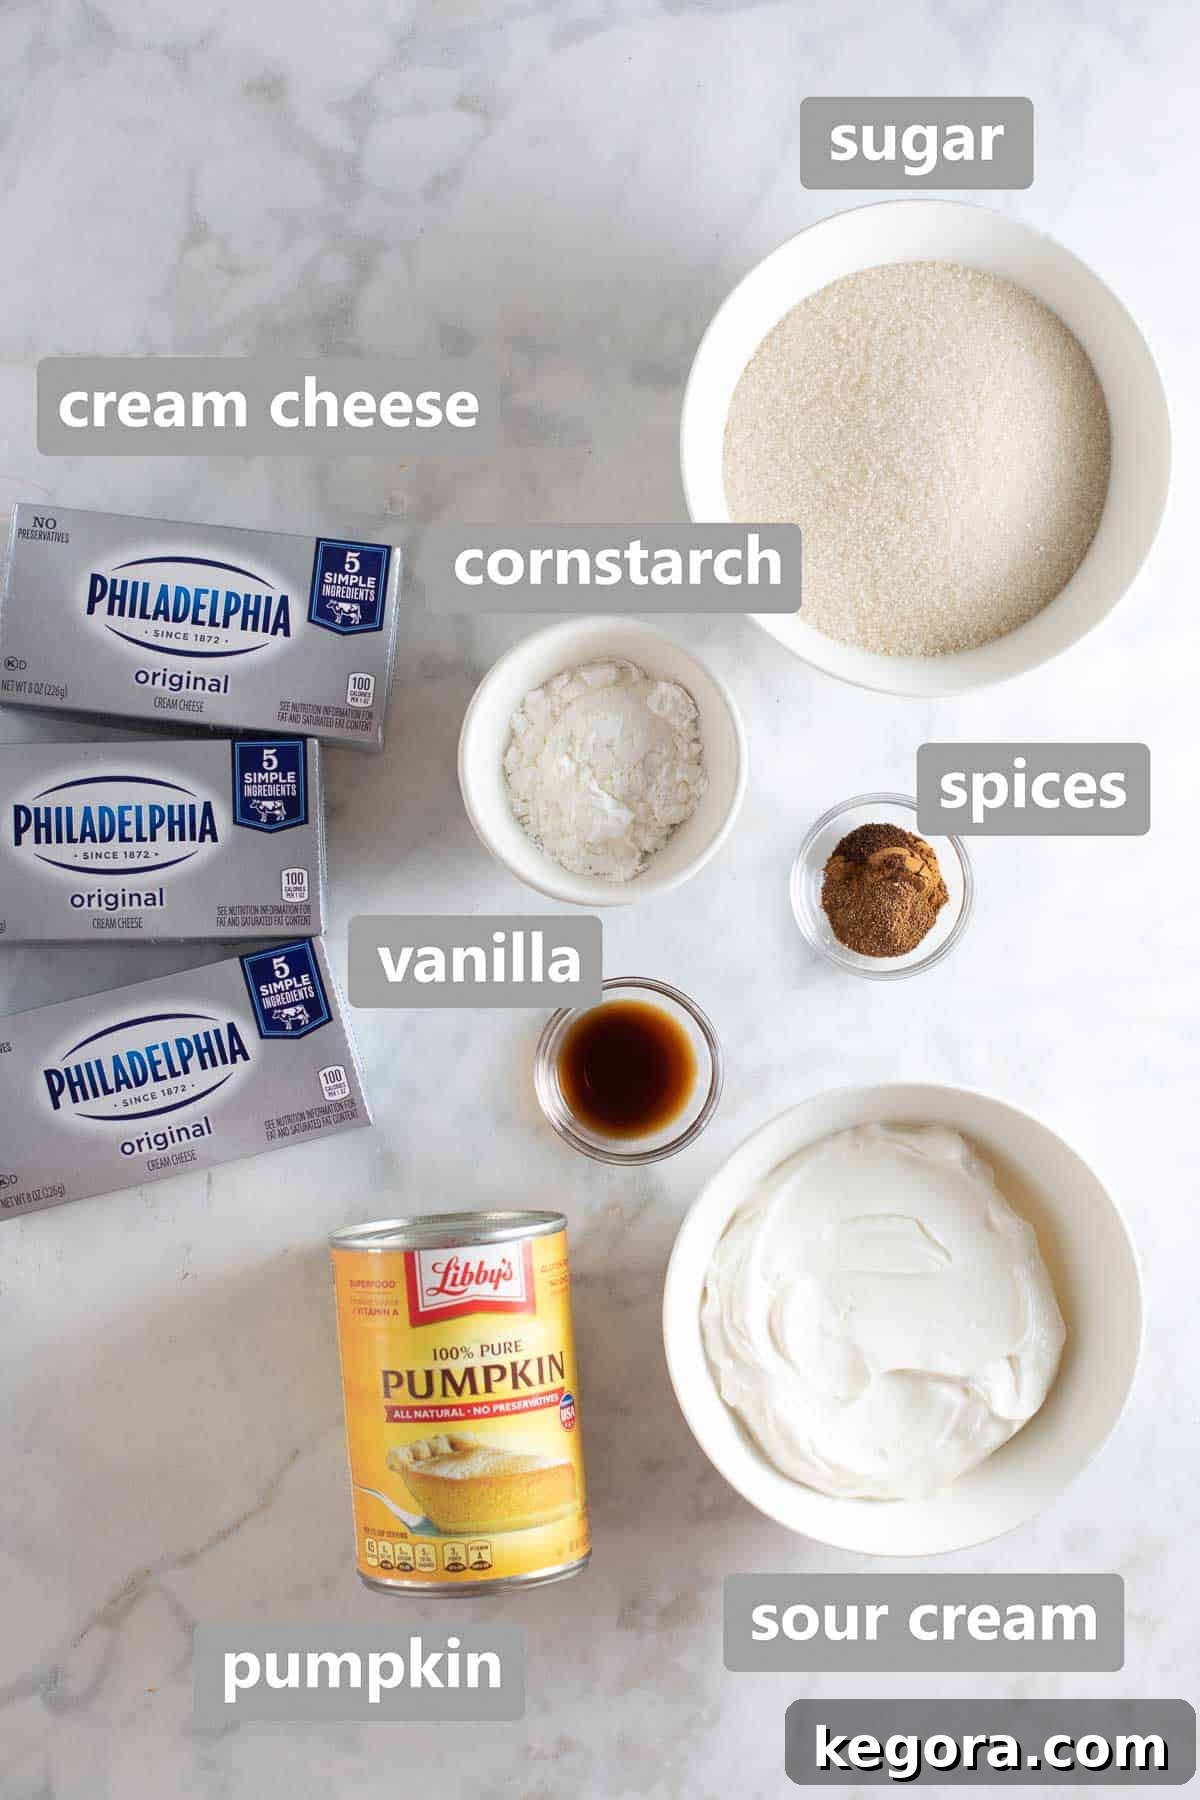
While your delightful graham cracker crust bakes to perfection and then cools, you can begin preparing the star of the show: the rich and creamy pumpkin cheesecake filling. This particular recipe stands out because it doesn’t require any eggs, making it suitable for those with egg allergies or dietary preferences. The ingenious combination of pumpkin puree and cornstarch works wonders, providing the necessary structure and thickness that traditional cheesecakes get from eggs, without compromising on that luscious, smooth texture we all crave.
To ensure the silkiest, most lump-free filling, here’s a crucial tip: make sure your cream cheese is at room temperature before you start mixing. Setting it out on the counter for at least an hour or two allows it to soften completely, making it much easier to whip into a smooth, uniform consistency with the other ingredients. This step is vital for achieving that perfectly luxurious cheesecake texture.
Achieving Silky Smoothness: Mixing the Filling
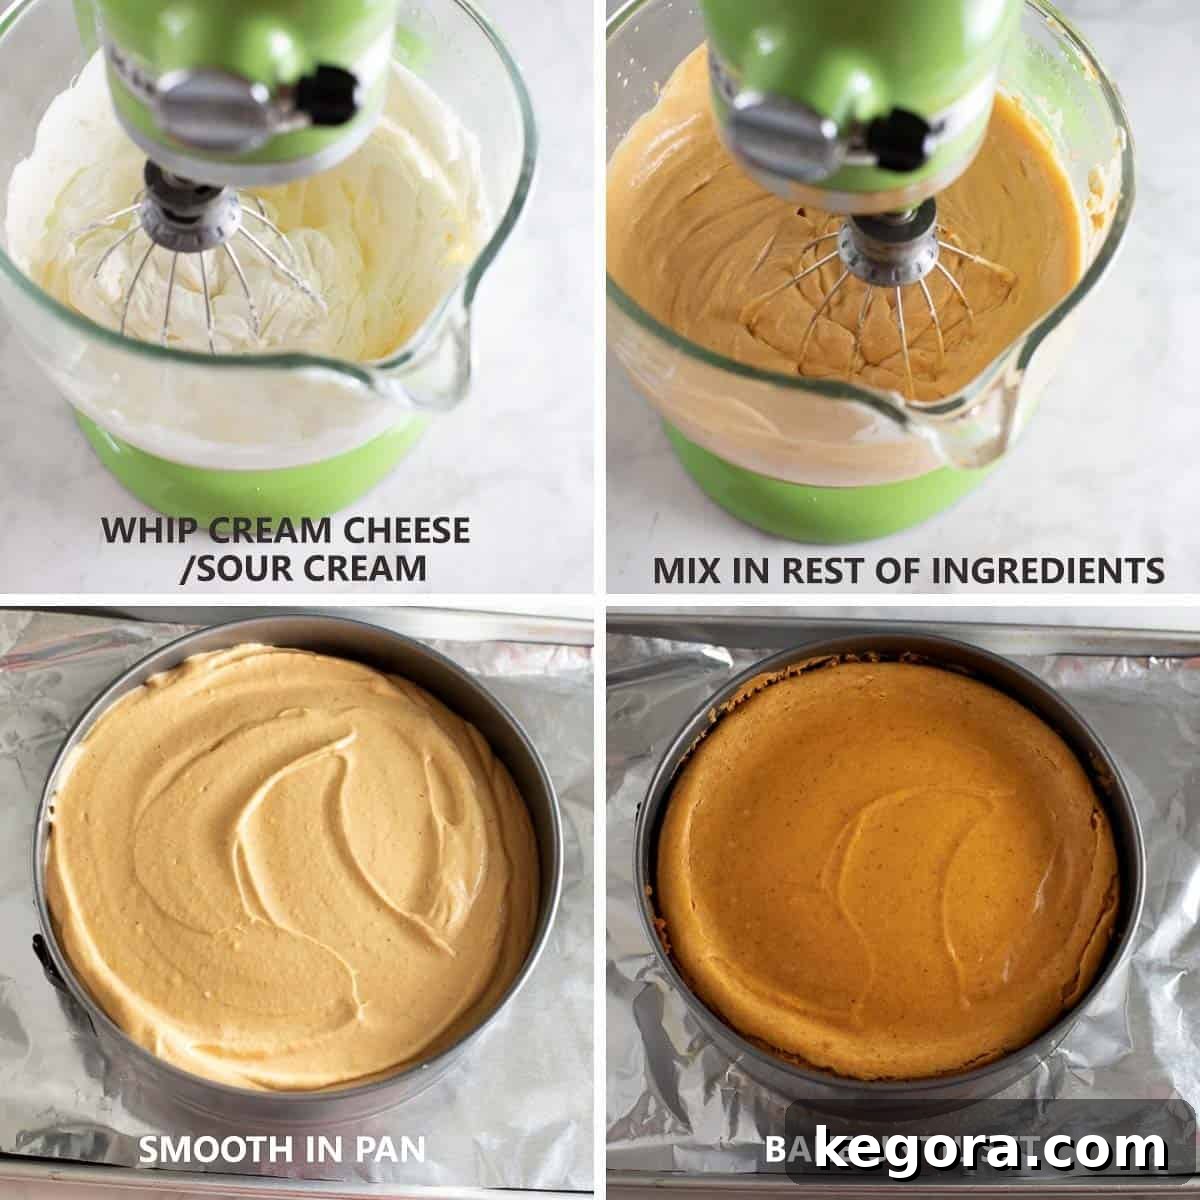
Whether you opt for a powerful stand mixer or a reliable hand mixer, the process of creating this velvety filling is straightforward. Both methods will yield a wonderfully smooth and consistent batter, but a stand mixer can make the job a little easier, especially when starting with firm cream cheese (though softened is always best!):
- Begin by whipping together the softened cream cheese and sour cream until the mixture is completely smooth and creamy.
- Gradually add the granulated sugar, cornstarch, ground cinnamon, nutmeg, and a pinch of cloves. Continue mixing until all ingredients are thoroughly combined and no lumps remain.
- Finally, incorporate the vanilla extract and pumpkin puree. Mix until the pumpkin is fully blended into the cheesecake batter, creating a beautiful, consistent orange hue.
- Carefully pour the smooth filling over your cooled graham cracker crust in the springform pan.
- Bake the cheesecake until the edges are set, but the center still has a slight, delicate wobble when gently shaken. This “jiggle” indicates that it’s perfectly cooked and will firm up beautifully upon cooling.
You’ll know your pumpkin cheesecake is perfectly baked when the edges appear set and firm, but the very center still exhibits a slight, gentle jiggle when the pan is carefully shaken. This slight movement is the key to a creamy, non-cracked cheesecake, ensuring it won’t be overbaked or dry.
The Crown Jewel: Stabilized Whipped Cream Topping
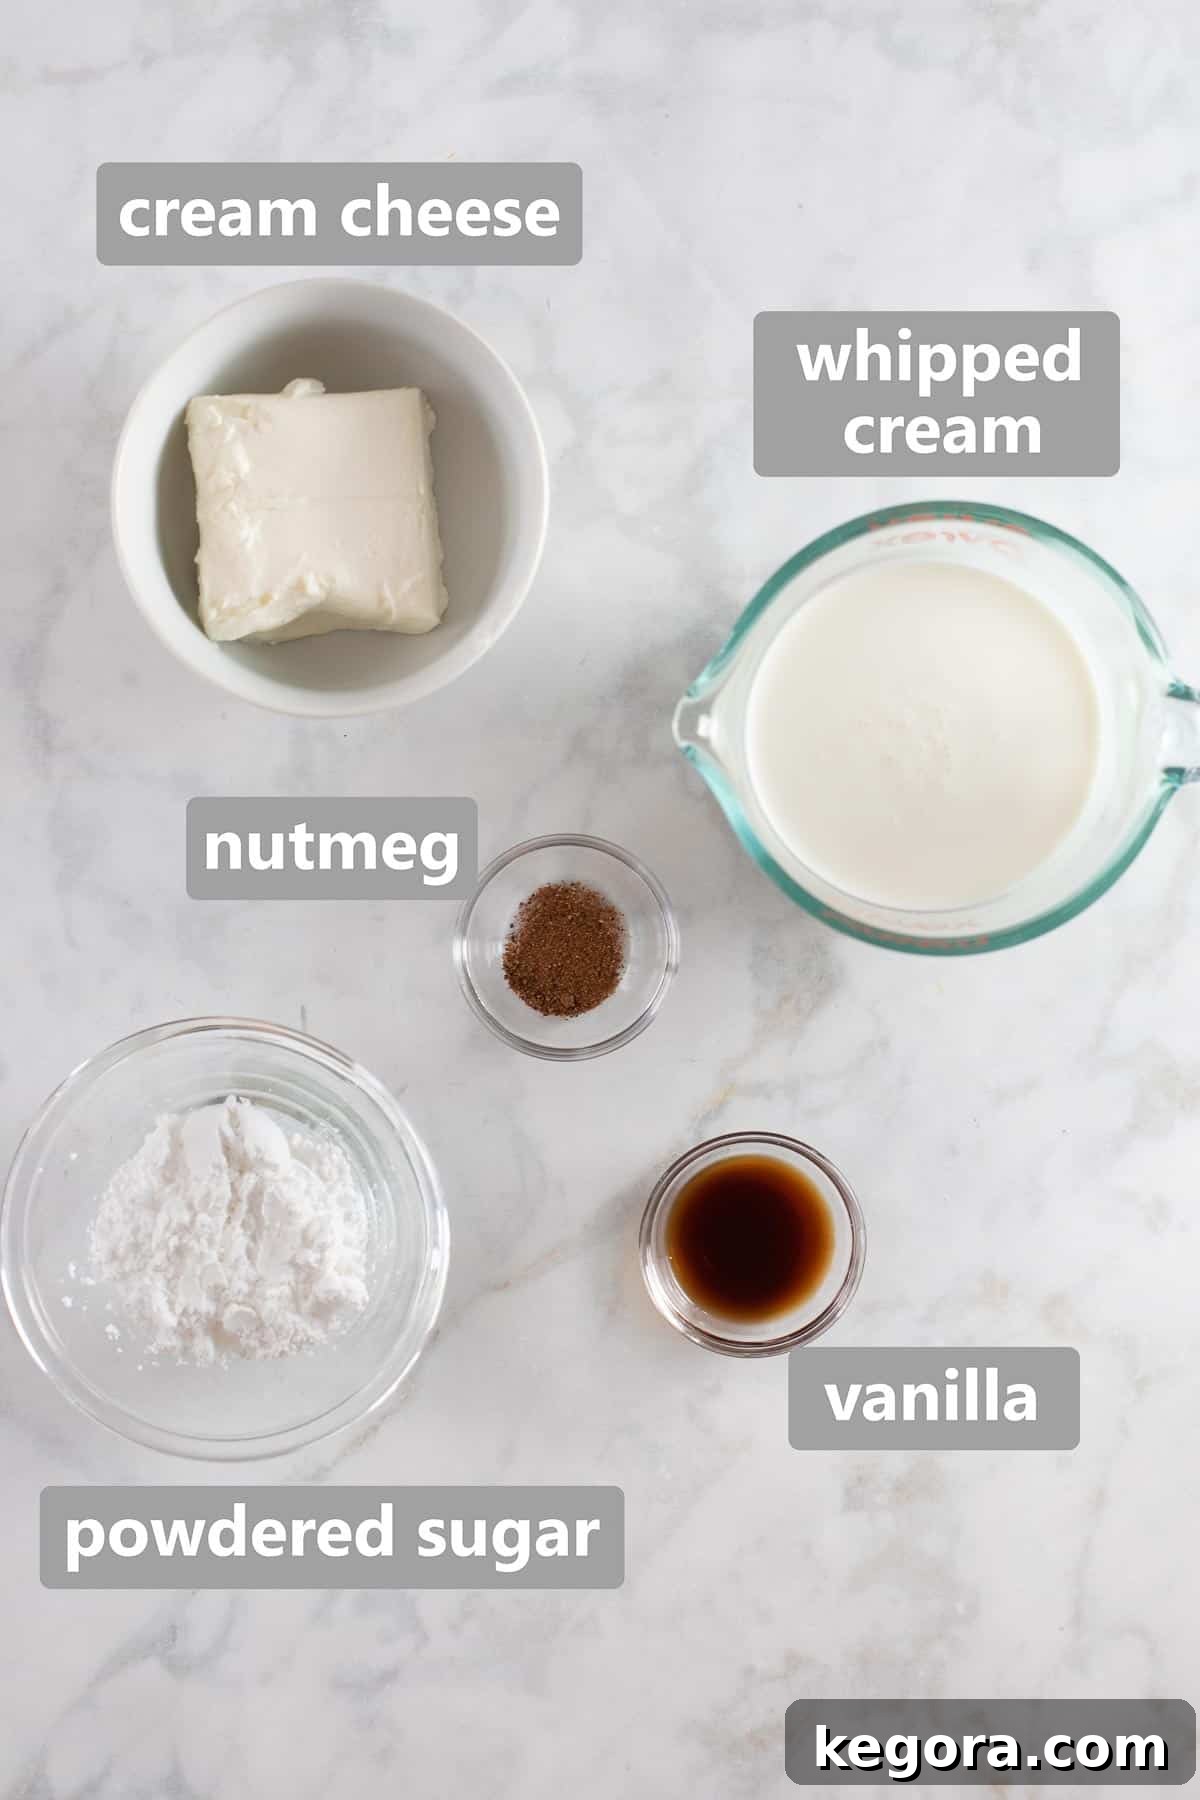
Once your gluten-free pumpkin cheesecake has baked and cooled completely to room temperature, it’s time to add the final, irresistible layer: a luscious whipped cream topping. What makes this topping particularly special and perfect for cheesecake is the thoughtful addition of a small amount of cream cheese. This secret ingredient acts as a stabilizer, preventing the whipped cream from deflating and ensuring it holds its beautiful, fluffy peaks for longer. A touch of freshly grated nutmeg also infuses the topping with an aromatic, warm flavor that perfectly complements the pumpkin spice in the cheesecake below, elevating every spoonful.
Whipping Up Perfection: The Final Layer
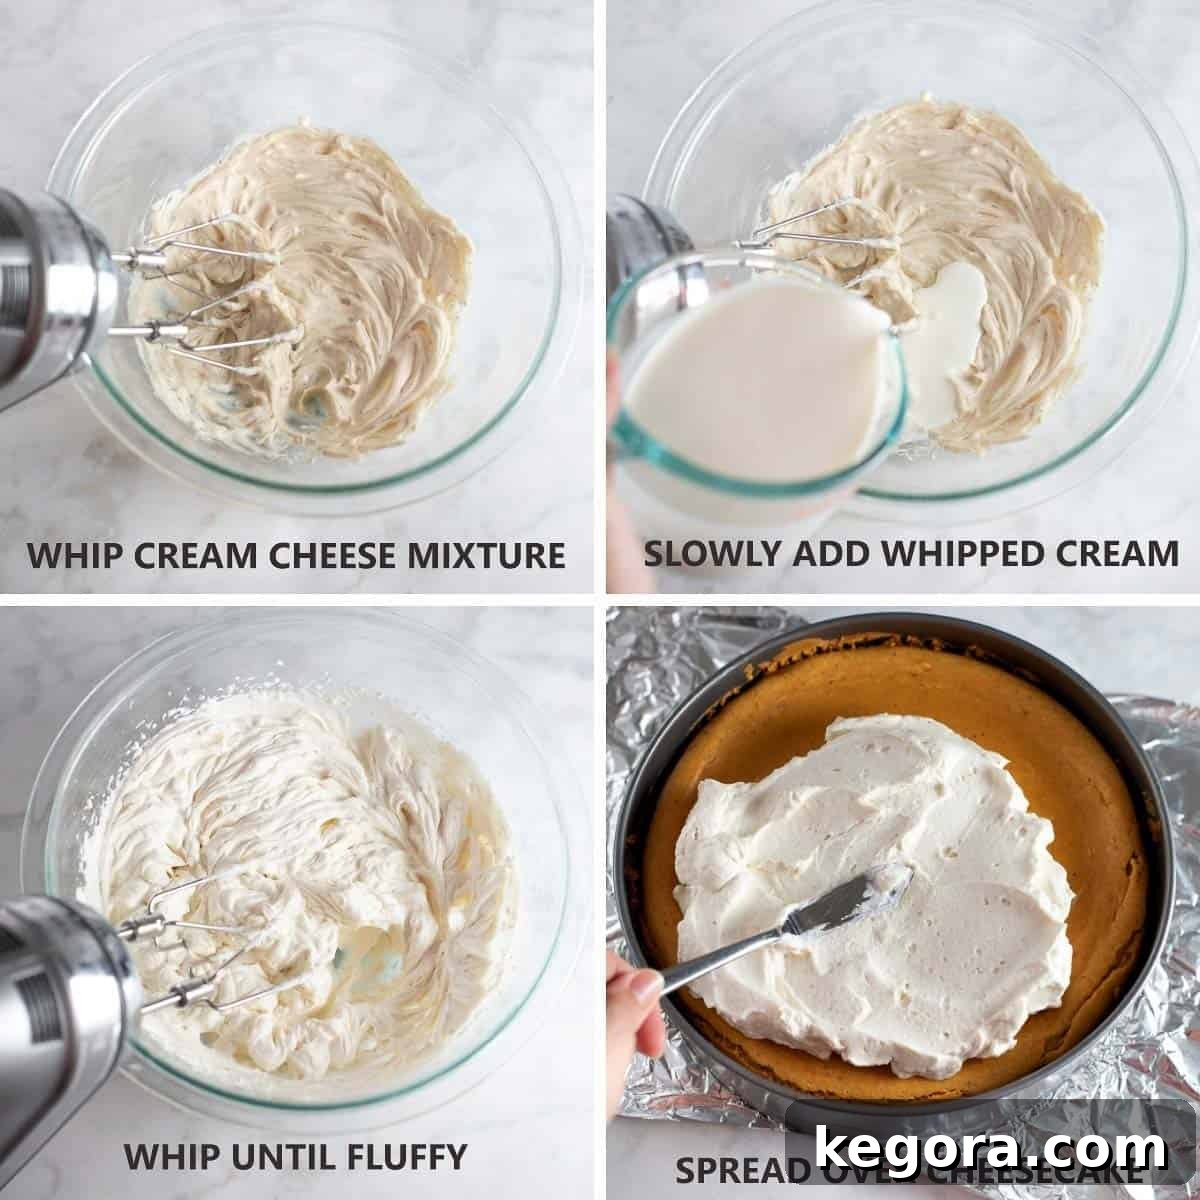
Creating this stable and flavorful topping is simple, making it the perfect finishing touch for your magnificent cheesecake:
- In the bowl of a stand mixer or with a hand mixer, combine the softened cream cheese, powdered sugar, ground nutmeg, and vanilla extract. Mix on medium speed until the mixture is completely smooth and free of lumps. Again, ensuring the cream cheese is at room temperature here is vital for a smooth base.
- With the mixer on low speed, slowly and gradually pour in the cold whipping cream. It’s important to add it slowly to allow it to incorporate properly.
- Once all the whipping cream is added, increase the mixer speed to medium-high and whip until the mixture transforms into a light, airy, and fluffy whipped topping with soft peaks. Be careful not to over-whip.
- Gently spread this divine topping evenly over the completely cooled pumpkin cheesecake.
If you’re a cheesecake connoisseur, you might also appreciate our classic vanilla bean gluten-free cheesecake recipe!
Beyond Gluten-Free: A Dessert for Everyone
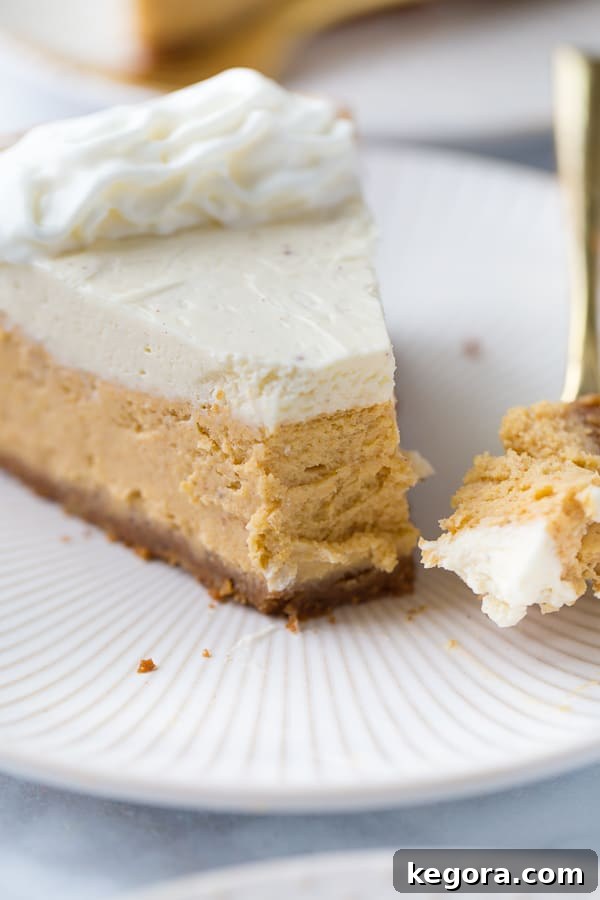
As someone constantly seeking delicious gluten-free baked goods and desserts that can genuinely satisfy a crowd—regardless of their dietary needs—this pumpkin cheesecake has become my secret weapon. It’s the kind of dessert that transcends dietary restrictions, proving that gluten-free can be utterly gourmet.
I once brought this very cheesecake to a large family gathering, and the reactions were astounding. My brother and cousins, who are not typically gluten-free eaters, declared it the best cheesecake they had ever tasted. Its luxurious texture and perfectly balanced flavors are so captivating that no one will ever suspect it’s gluten-free.
What’s more, this cheesecake holds another delightful secret: it’s completely egg-free! Thanks to the natural thickening properties of pumpkin puree combined with cornstarch, eggs are simply not needed to achieve its signature creamy structure. This makes it an ideal dessert option for guests with egg allergies, ensuring everyone at your table can enjoy a slice of this festive delight.
For more gluten-free cheesecake variations, don’t miss our indulgent gluten-free Oreo cheesecake!
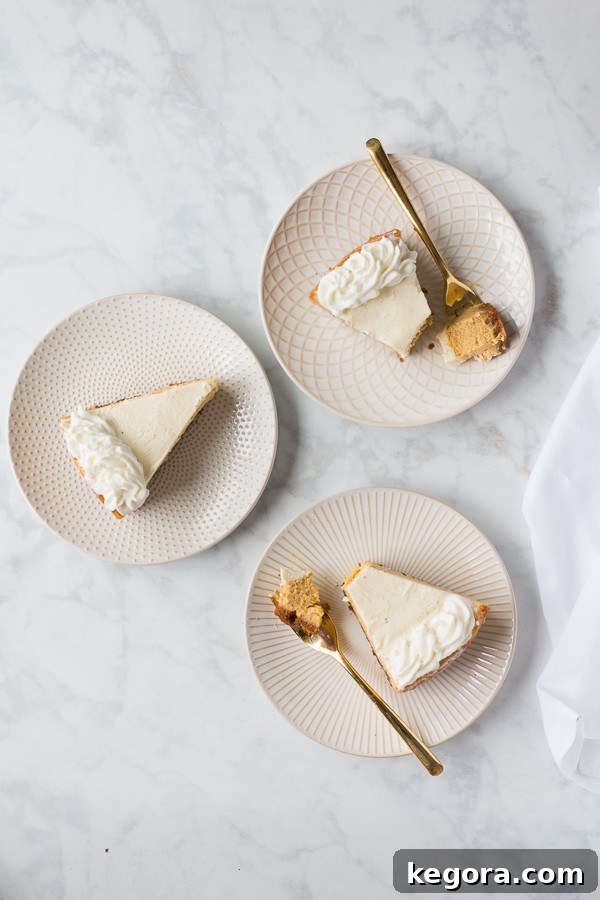
Holiday Hosting Hero: Make-Ahead & Storage Tips
When planning for busy holidays like Thanksgiving, having dessert options that can be prepared in advance is a true lifesaver. This Gluten-Free Pumpkin Cheesecake shines in this regard, making it an excellent non-pie alternative for your holiday table. You can confidently bake and assemble this entire cheesecake a full day ahead of time, allowing you to focus on other aspects of your holiday feast. Unlike some gluten-free desserts that are best enjoyed fresh (apologies to my beloved Gluten-Free Banana Cream Pie, which I still adore!), this cheesecake actually benefits from chilling overnight, giving the flavors ample time to meld and deepen, resulting in an even more delicious treat.
To store your cheesecake: Once fully cooled and topped, cover the springform pan (or the cheesecake itself, if removed from the pan) loosely with plastic wrap. Refrigerate for at least 4 hours, but ideally overnight, for optimal setting and flavor development. It will keep beautifully in the refrigerator for up to 3-4 days. For longer storage, you can freeze individual slices or the whole cheesecake (without the topping) for up to one month. Wrap tightly in plastic wrap and then foil. Thaw in the refrigerator before adding the fresh whipped topping.
Mastering the Art: Essential Tips for Cheesecake Success
Achieving a flawless, crack-free, and incredibly creamy cheesecake isn’t just about following the steps; it’s about understanding a few key principles. These tips are designed to guide you toward baking the perfect gluten-free pumpkin cheesecake every single time:
- Room Temperature Ingredients are Non-Negotiable: This is arguably the most crucial tip. Ensure all your dairy ingredients – cream cheese, sour cream, and even the cream cheese for the topping – are at room temperature. This allows them to blend smoothly without lumps, creating a truly silky filling and topping.
- Invest in a Quality Springform Pan: For easy removal and a beautiful presentation, a 10-inch springform pan is essential. It allows you to release the cheesecake from its sides without disturbing the delicate structure.
- Resist the Urge to Peek: Opening the oven door while the cheesecake bakes can cause drastic temperature fluctuations, which are a common cause of cracks. Trust the process and keep the oven door closed until the suggested baking time is nearing its end.
- Look for the “Jiggle”: The cheesecake is done when its edges are set and firm, but the very center (about a 2-inch diameter) still has a slight, delicate jiggle. Overbaking leads to dry, cracked cheesecake, so pull it out when it has this gentle wobble.
- Score the Edges While Cooling: After removing the cheesecake from the oven, let it sit for about 10 minutes. Then, carefully run a thin knife around the inside edge of the pan. This helps prevent cracks as the cheesecake cools and contracts, allowing it to pull away from the pan without stress.
- Cool Completely at Room Temperature: Do not rush the cooling process by moving the cheesecake directly to the refrigerator. Allow it to cool gradually on a wire rack at room temperature for several hours. This slow cooling also helps prevent cracking.
- Refrigeration is Key for Setting: Once cooled, transfer the cheesecake to the refrigerator. It needs at least 4 hours to firm up completely, but for the best texture and flavor, refrigerate it overnight. It tastes even better the next day!
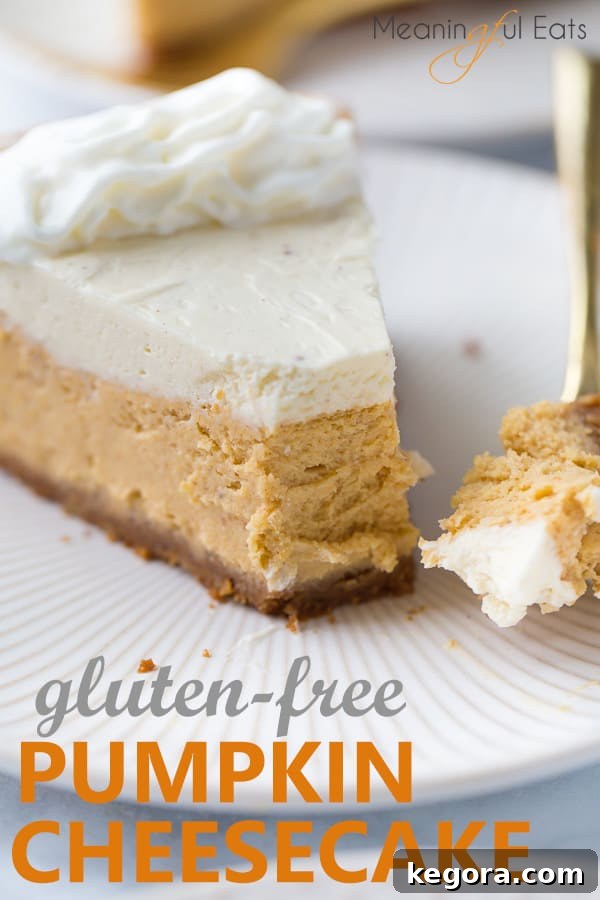
More Festive Dessert Inspirations
Looking for more delightful gluten-free and festive dessert ideas for your holiday table? We’ve got you covered! Explore these other cherished recipes that are sure to be a hit:
- Gluten-Free Apple Crisp: A warm and comforting classic, perfect with a scoop of dairy-free ice cream.
- Pumpkin Sweet Brown Rice Pudding: A unique and creamy gluten-free, dairy-free dessert with subtle pumpkin spice.
- Gluten-Free Pumpkin Pie: The traditional holiday favorite, reinvented to be both gluten-free and dairy-free.
Gluten-Free Pumpkin Cheesecake
Comments
Want to save this recipe? Enter your email to get it sent to your inbox, plus new recipes every week!
Ingredients
For the Crust:
- 5-6 oz gluten-free graham crackers (I use Schar)
- 1/2 cup walnuts
- 1 tablespoon brown sugar
- 1/4 teaspoon cinnamon
- 6 tablespoons butter melted
For the Pumpkin Filling:
- 24 ounces cream cheese, softened
- 1 1/2 cups sour cream
- 3 tablespoons cornstarch
- 1 1/2 cups granulated sugar
- 1 teaspoon ground cinnamon
- 1/2 teaspoon ground nutmeg
- Pinch of ground cloves
- 1 teaspoon vanilla extract
- 15 ounce can pumpkin puree
For the Topping:
- 4 ounces cream cheese softened
- 1/4 teaspoon ground nutmeg
- 1/4 teaspoon vanilla
- 3 tablespoons powdered sugar
- 1 cup whipping cream
Instructions
For the Crust:
- Preheat the oven to 350F (175°C). In the bowl of a food processor, add the gluten-free graham crackers and walnuts. Process until the mixture resembles coarse sand. Add the brown sugar and cinnamon and pulse briefly to combine. Remove the food processor blade and stir in the melted butter. Press the crumbs firmly into the bottom of a 10-inch springform pan. Place the springform pan on a foil-lined larger baking pan (to catch any potential leaks) and bake for 6-8 minutes, until the crust is lightly golden and toasted. Let it cool completely before adding the filling.
For the Cheesecake:
- In the bowl of a stand mixer fitted with the paddle attachment (or using a hand mixer), add the softened cream cheese and sour cream. Whip on medium speed until fully incorporated and smooth. Ensure the cream cheese is softened for best results! Add the cornstarch, granulated sugar, ground cinnamon, nutmeg, and cloves. Mix on low speed until evenly combined, scraping down the sides of the bowl as needed. Mix in the vanilla extract and pumpkin puree until fully incorporated and the filling is smooth.
- Pour the pumpkin filling over the cooled crust. Smooth the top with a spatula. Return the springform pan to the foil-lined baking sheet. Bake at 350F (175°C) for 45-60 minutes, or until the edges are set and the center jiggles just slightly when gently shaken. Turn off the oven, crack the door open, and let the cheesecake cool inside the oven for 30 minutes. Then, remove it from the oven and let it cool completely to room temperature on a wire rack.
For the Topping:
- In the bowl of a hand or stand mixer, combine the softened cream cheese, ground nutmeg, vanilla, and powdered sugar. Mix until smooth and well combined. While mixing on low speed, slowly add the cold whipping cream over 1-2 minutes. Increase the speed to medium-high and whip until the mixture is light, fluffy, and forms soft peaks. Spread evenly over the completely cooled cheesecake.
- Refrigerate the cheesecake for at least 2-3 hours, or preferably overnight, to allow it to set completely and for the flavors to meld. For an extra touch, garnish with a light dusting of freshly grated nutmeg before serving, if desired.
Notes
Tips for Perfect Gluten-Free Cheesecake: For detailed advice on achieving the best results, please refer to the “Mastering the Art: Essential Tips for Cheesecake Success” section above in the article.
Nutrition
Calories: 745kcal | Carbohydrates: 56g | Protein: 7g | Fat: 55g | Saturated Fat: 30g | Cholesterol: 155mg | Sodium: 494mg | Potassium: 289mg | Fiber: 2g | Sugar: 38g | Vitamin A: 8460IU | Vitamin C: 2.2mg | Calcium: 152mg | Iron: 1.1mg
This post was originally published in November 2017. It was updated with new photos and more detailed instructions in October 2020 to enhance your baking experience.