
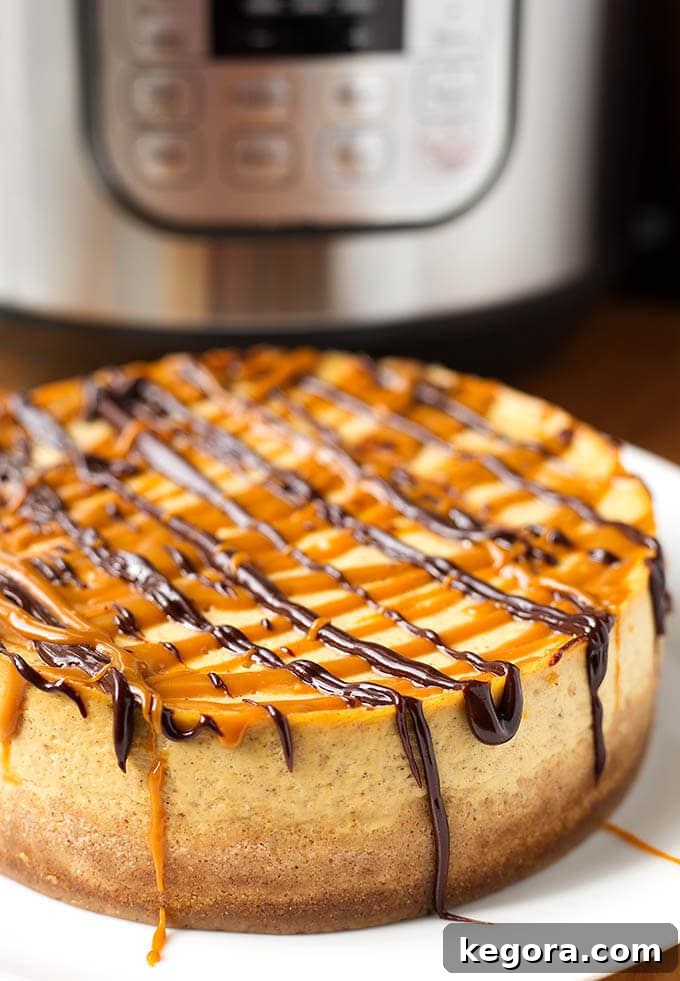
Indulge in Autumn: The Best Instant Pot Pumpkin Cheesecake Recipe
As the leaves begin to turn vibrant hues and a crisp chill fills the air, there’s no denying that fall has officially arrived. And with it, comes the delightful craving for all things pumpkin! This Instant Pot Pumpkin Cheesecake recipe isn’t just a dessert; it’s a celebration of the season, a creamy, spiced masterpiece that has captivated countless palates and become a cherished favorite.
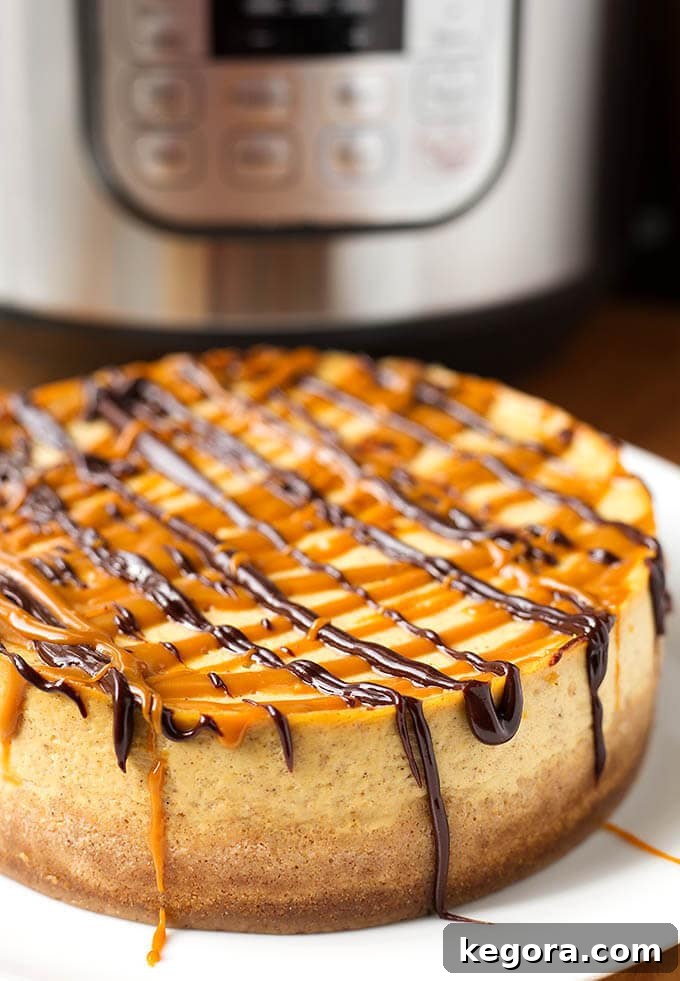
Why an Instant Pot for the Perfect Pumpkin Cheesecake?
When it comes to baking a truly exceptional cheesecake, many home cooks are intimidated by the traditional water bath method, which can be messy and unpredictable. Enter the electric pressure cooker, like the Instant Pot! This modern kitchen marvel revolutionizes cheesecake baking, ensuring a consistently smooth, rich, and incredibly creamy texture without the fuss. The sealed, high-pressure environment creates a steamy atmosphere, preventing cracks and yielding a cheesecake that’s wonderfully dense yet melts in your mouth. Say goodbye to dry, crumbly store-bought cheesecakes and hello to homemade perfection!
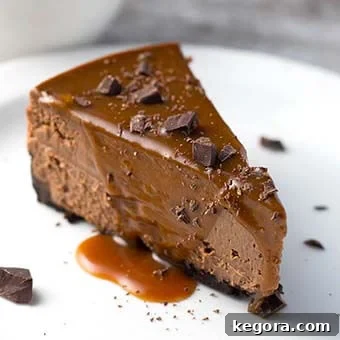
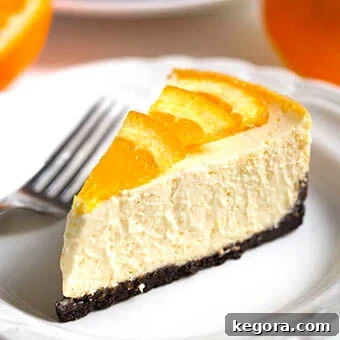
I’ve adapted this beloved pumpkin cheesecake from my highly acclaimed Dreamy Orange Cheesecake recipe, which also leverages the magic of the pressure cooker. And let’s not forget the ever-popular Instant Pot Chocolate Cheesecake. My love for homemade cheesecake runs deep because, frankly, those supermarket versions often fall short, tasting bland and dry. If you share my passion for truly delicious, creamy cheesecake, you’re in for a treat.
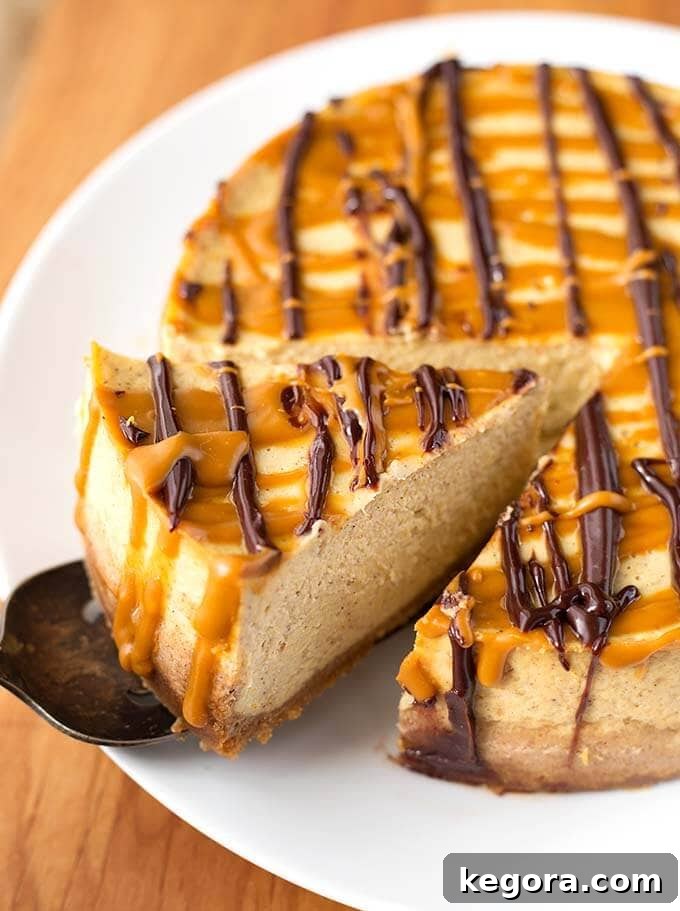
The Unmistakable Flavors of Fall: Pumpkin and Spice
This Instant Pot Pumpkin Cheesecake delivers a harmonious blend of fresh pumpkin flavor and a hint of warm, inviting spices. It’s a taste that truly captures the essence of autumn, reminiscent of a decadent pumpkin pie but with the luxurious creaminess that only a well-made cheesecake can offer. What makes this recipe particularly special is its balanced sweetness and spice level – it’s not overly sweet, allowing the natural goodness of the pumpkin to shine through, and the spices are just right, providing warmth without being overwhelming.
For the best possible flavor, I highly recommend using my Homemade Pumpkin Puree. The difference in sweetness and freshness compared to canned pumpkin is remarkable. However, if you opt for canned pumpkin, please ensure it is pure pumpkin puree and not pumpkin pie filling, as the latter contains added spices and sweeteners that will alter the delicate balance of this recipe.
The carefully chosen spices create a profile that feels both familiar and exciting. You’ll taste the comforting notes of cinnamon, ginger, allspice, and nutmeg, all working in concert to evoke the cozy spirit of fall. If you prefer a bolder spice kick, feel free to adjust the amounts to suit your preference. I’ve also included an optional addition of brown sugar for those who enjoy a slightly sweeter cheesecake, allowing you to customize it perfectly without making it cloyingly sweet.
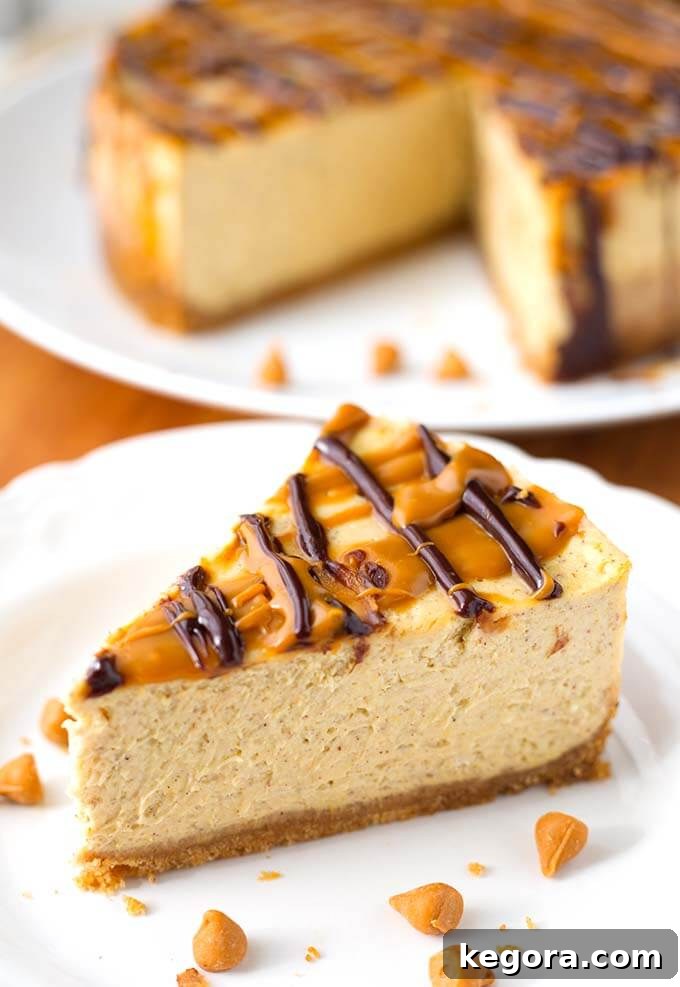
Embracing the Autumn Season
Fall is more than just a season; it’s a feeling. It’s the joy of crunching leaves underfoot, the warmth of a favorite sweater, and the aroma of spiced treats wafting from the kitchen. This Instant Pot Pumpkin Cheesecake perfectly encapsulates that feeling. Just this past weekend, we immersed ourselves in autumn’s charm, visiting a local corn maze and pumpkin patch. There’s nothing quite like coming home after a day of fall adventures to a slice of homemade pumpkin cheesecake. It’s these moments that make the season truly special.
I genuinely hope you make this Instant Pot Pumpkin Cheesecake a part of your own fall traditions. It’s a delightful way to share the warmth and comfort of the season with friends and family, creating memories around a dessert that’s as beautiful as it is delicious. Let the rich flavors and creamy texture transport you to a state of pure autumn bliss!
Watch Me Make This Recipe!
Watch me make this recipe (Disclaimer: I may not be a professional videographer, but I promise the cheesecake is worth it!)
If you adore cheesecake, you’ll love these other scrumptious recipes:
-
Instant Pot Chocolate Cheesecake

-
Pressure Cooker Dreamy Orange Cheesecake
-
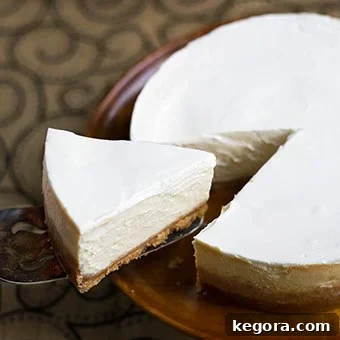
Instant Pot New York Cheesecake
Instant Pot Pumpkin Cheesecake
Ingredients
Graham Cracker Crust
- 8 Graham Crackers
- 2 ½ Tpsp Butter melted
- 2 tsp Sugar*
- ¼ tsp Ginger Powder
- ¼ tsp Cinnamon
Cheesecake Filling
- 2 8oz Pkgs of Cream Cheese room temperature
- ½ cup Sugar
- 2 tsp Vanilla
- 1 cup Pumpkin Puree (pure pumpkin, not pie filling)
- ½ cup Heavy Cream room temperature
- ¾ tsp Pumpkin Pie Spice
- ¾ tsp Allspice
- ¼ tsp Cinnamon
- ¼ tsp Ginger Powder
- ½ tsp Nutmeg
- 2 tsp All Purpose Flour
- 3 Eggs room temperature
Optional (for a sweeter cheesecake)
- ¼ cup Brown Sugar (in addition to the white sugar)
Garnish
- Chocolate or Butterscotch Ganache Drizzle (instructions below)
- Whipped Cream (try adding a little cinnamon to your whipped cream for an extra touch!)
Instructions
Prepare the Pan (Recommended: 7″x3″ Fat Daddio’s push pan)**
-
Choose a 7 or 8-inch cheesecake pan that fits comfortably within your pressure cooker. A push pan or a springform pan both work well.
Lightly spray the interior of the pan with baking spray. For easier removal, cut a piece of parchment paper to fit the bottom of the pan and place it in, then spray the parchment paper as well.
Set Up the Pressure Cooker
-
Pour 1 ½ cups of water into the inner pot of your pressure cooker.
Place the trivet (or steamer rack) into the pot. This will elevate your cheesecake above the water.
Create a Foil Sling
-
To easily lift the cheesecake in and out of the pressure cooker, make a sling. Take a 28-inch length of aluminum foil and fold it lengthwise three times. This will create a sturdy 28″ x 3″ sling.
Prepare the Graham Cracker Crust
-
Break the graham crackers into pieces and place them into a food processor.
-
Add the 2 teaspoons of sugar, ginger powder, and cinnamon to the food processor.
-
Pulse several times until the graham crackers are finely ground into crumbs.
-
Pour in the melted butter and pulse a few more times until the crumbs are moistened and well combined. You may need to scrape down the sides of the food processor bowl to ensure everything is incorporated.
-
Transfer the crust mixture into your prepared cheesecake pan. Use your fingers or the bottom of a small glass to firmly press the mixture across the entire bottom of the pan, extending slightly up the sides. Aim for a crust thickness of about ¼ inch.
-
Place the pan with the crust into the freezer to chill while you prepare the cheesecake filling. This helps the crust set.
Prepare the Creamy Cheesecake Filling
-
Thoroughly clean any crust residue from your food processor bowl.
-
Add the room temperature cream cheese and sugar (and the optional brown sugar, if you’re using it) to the food processor. Process until the mixture is completely smooth and creamy, with no lumps.
-
Next, add the vanilla extract, pumpkin puree, heavy cream, all the specified spices, and the all-purpose flour. Process again until all ingredients are well blended and the filling is smooth and uniform.
-
Add the eggs last. Pulse the food processor just a few times to incorporate them. Then, remove the bowl from the processor and gently finish mixing by hand with a spatula to ensure the eggs are fully blended. It’s crucial not to overmix or whip the eggs, as this can introduce too much air, leading to a cracked or uneven cheesecake texture.
-
Retrieve the chilled crust from the freezer and carefully pour the cheesecake filling into the pan. Gently tap the pan on the counter a few times to release any trapped air bubbles.
-
Cover the pan with a paper towel (this absorbs condensation), then tightly wrap it with a piece of aluminum foil. Crimp the edges of the foil securely around the pan to create a tight seal.
-
Lay your prepared foil sling flat and center the cheesecake pan on it. Gather the two ends of the sling and very carefully lift the pan, placing it onto the trivet inside the pressure cooker. Fold the ends of the sling over the top of the cheesecake pan so they don’t interfere with the lid.
Cook the Cheesecake to Perfection
-
Close the lid of your pressure cooker and ensure the steam release valve is set to the Sealing position.
-
Press the Manual (or Pressure Cook) button and adjust the cooking time to 48 minutes using the + or – buttons. Confirm that it is set to High Pressure.
-
Once the cooking cycle is complete, allow the pressure cooker to naturally release pressure for 20 minutes. After 20 minutes, carefully move the steam release valve to the Venting position to manually release any remaining pressure.
-
When the float valve has dropped and it’s safe to open the lid, do so cautiously, tilting it away from your face to avoid steam.
-
Gently gather the two ends of the foil sling and VERY carefully lift the cheesecake pan out of the pressure cooker and place it onto a wire cooling rack.
-
Keep the cheesecake covered for about 10 minutes on the cooling rack; it will continue to set during this time. After 10 minutes, carefully peel off the foil and paper towel.
-
To check for doneness, gently jiggle the pan. The outer edges should be set, and the center couple of inches should have a slight jiggle, much like gelatin. It will firm up considerably as it cools. If the center is too liquidy or excessively jiggly, re-cover the cheesecake and return it to the pressure cooker for an additional 10 minutes, followed by a 15-minute natural pressure release (cooking times can vary due to factors like altitude, pan size, and pressure cooker model).
-
Allow the cheesecake to cool at room temperature for approximately an hour. Then, transfer the pan (still covered if desired) to the refrigerator to chill for at least 4 hours before serving. For the absolute best results and texture, I highly recommend making your cheesecake in the evening and letting it chill overnight.
-
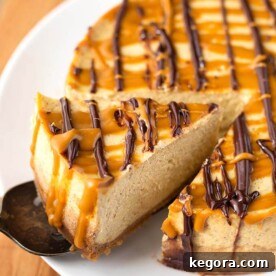
Once thoroughly chilled, carefully remove the cheesecake from its pan. Serve plain to savor its pure flavor, or enhance it with a dollop of whipped cream. For an extra touch of indulgence, garnish with a luscious chocolate ganache drizzle or a sweet butterscotch ganache drizzle.
Quick Chocolate or Butterscotch Ganache Drizzle
-
This isn’t a precise recipe, as you’ll only need a small amount for drizzling. In a microwave-safe bowl, combine a handful of your preferred chocolate or butterscotch chips.
-
Add about two teaspoons of heavy cream to the chips and microwave for approximately 25 seconds.
-
Stir slowly at first to ensure the cream doesn’t splash out, then continue stirring gently. The mixture will come together to form a smooth ganache. If it appears too thick, add a tiny bit more heavy cream (half a teaspoon at a time) and warm for another 10 seconds in the microwave, then stir again. Be patient; it will emulsify beautifully. This is a very forgiving sauce!
-
*Note: Chocolate chips typically melt faster and more easily than butterscotch chips.
Helpful Notes for Success
**If you’re using a smaller pan that is taller (e.g., a 6″x4″), you might need to increase the cook time by an additional 5 minutes.
— The original cook time has been updated to 48 minutes. While I personally achieve excellent results at 40 minutes (likely due to being at sea level), feedback suggests many people benefit from about 5-8 minutes more. Therefore, 48 minutes is recommended for a wider range of altitudes and pressure cooker models.
If you are using a 6″ pan that is 3″ tall, you may find that you cannot fit all of the filling into the pan. Cheesecake tends to puff up during cooking and then settles as it cools. There’s a risk of it overflowing if filled too high. I generally recommend leaving about 2 inches of headroom in the pan. (I have not personally tested this recipe in a 6″x3″ pan). UPDATE: If you do use all the filling in a 6″x3″ pan, increase the cook time by 10 minutes and allow for a 15-minute natural pressure release.
***Cooking times in pressure cookers can be affected by various factors, including altitude and the specific model of your appliance. Please adjust accordingly. If your cheesecake appears too jiggly after the initial cooking and release, simply cover it again and return it to the pressure cooker for an additional 5-10 minutes (depending on how unset it is), followed by another 15-minute natural pressure release.
Nutrition Facts
Calories:
424
kcal
Nutrition information is automatically calculated and provided for general guidance only. It should be used as an approximation and can vary based on specific ingredients and preparation methods.
Additional Recipe Information
Tried this recipe?
Mention @simply_happy_foodie