
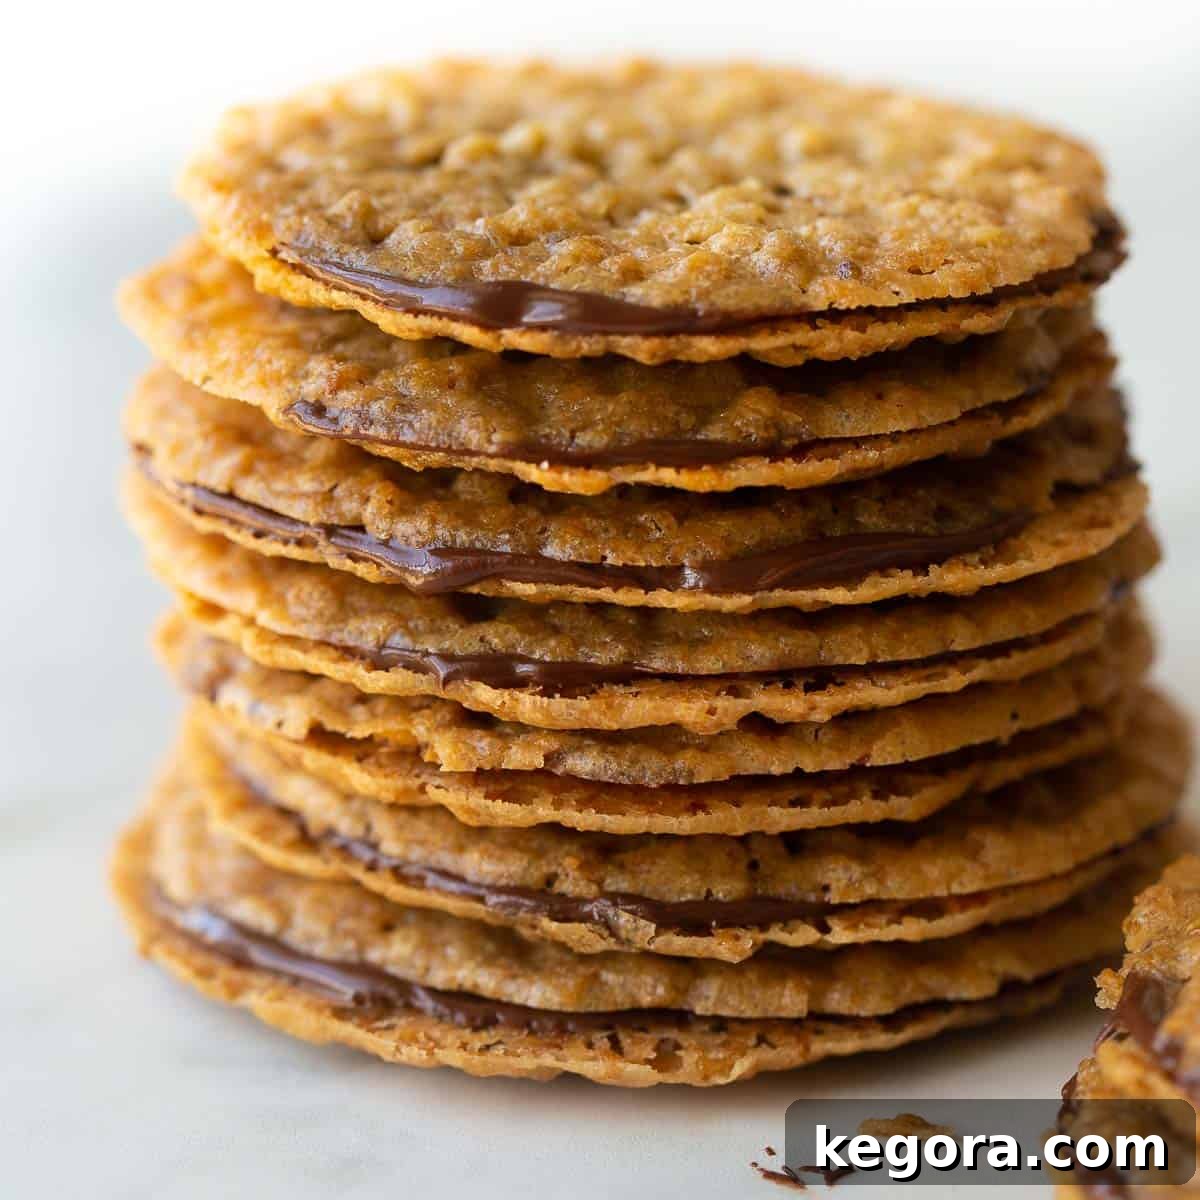
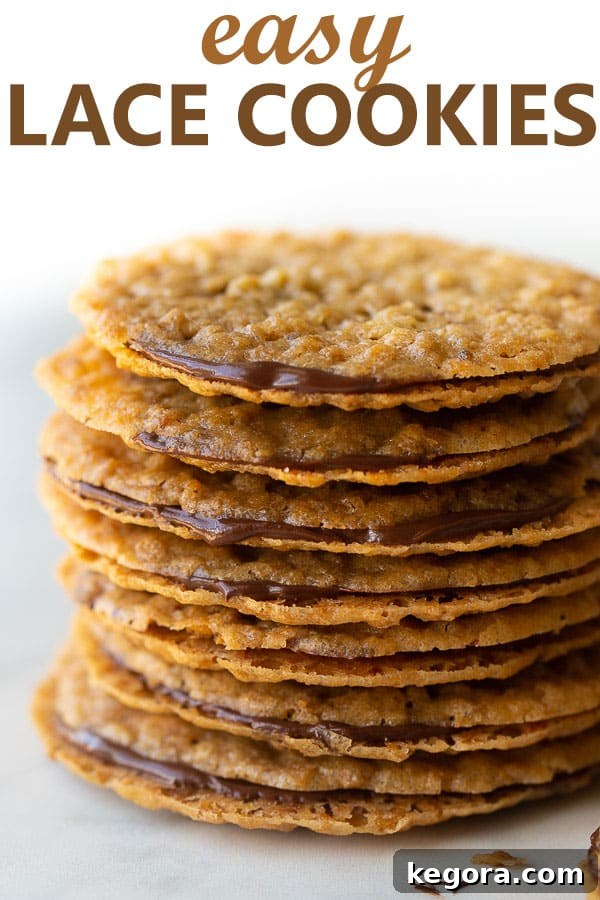
Indulge in the delicate allure of these incredibly crispy, buttery Lace Cookies. This simple recipe promises a delightful treat that captivates with its intricate texture and rich flavor. Elevate your experience by layering these golden wafers with decadent dark chocolate, adding an extra touch of luxury that makes them truly irresistible. Perfectly stackable and wonderfully elegant, these cookies are not just for the holidays; they’re a year-round delight, ideal for thoughtful gift-giving or simply savoring a moment of pure bliss.
If you’re seeking more exquisite cookie creations, explore these delightful Chocolate Coconut Cloud Cookies or discover our full collection of delectable Gluten-Free Desserts for every occasion.
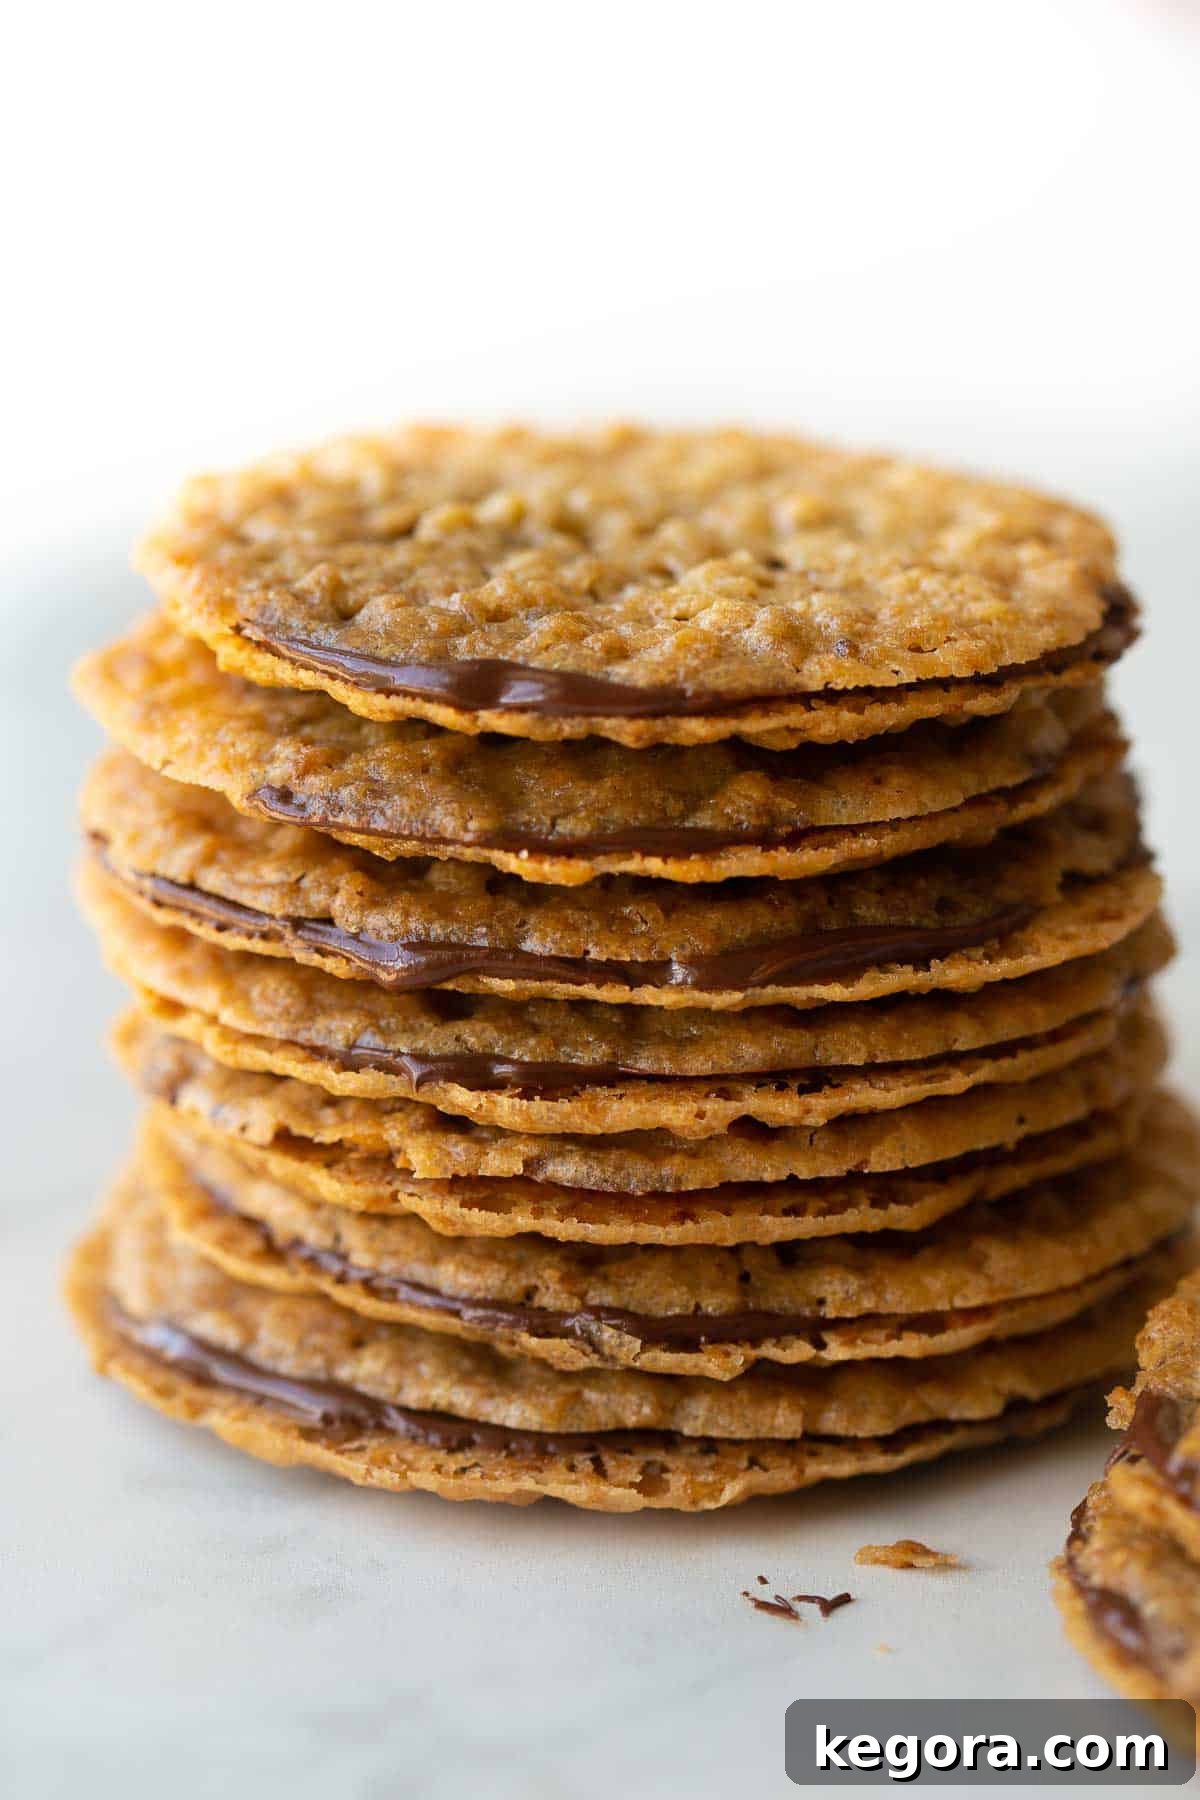
Irresistible Lace Cookies: A Guide to Perfect Crispy & Buttery Delights
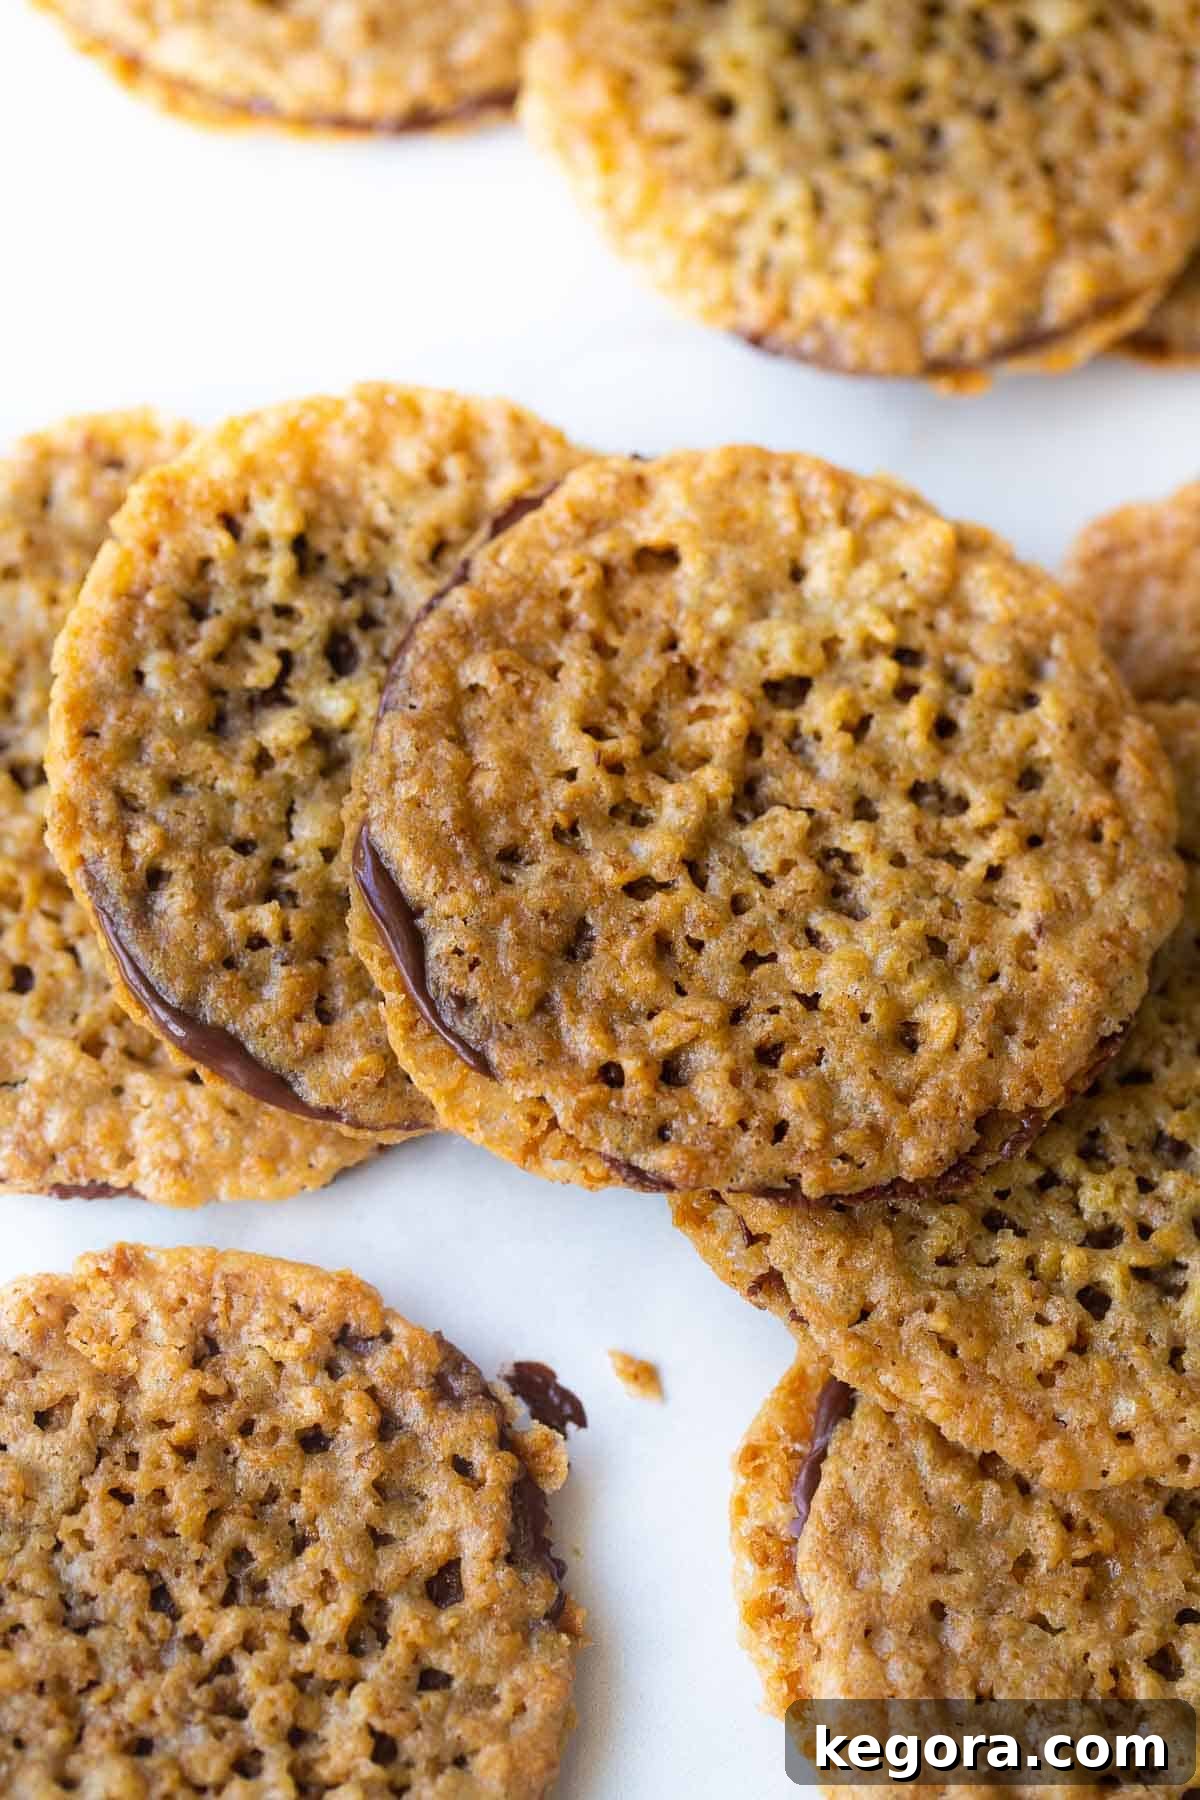
Lace cookies hold a cherished spot in culinary traditions, especially during the holidays, and for good reason. These extraordinary cookies are renowned for their delicate, paper-thin structure, rich buttery taste, and delightfully crisp texture that makes them utterly addicting. What truly sets them apart is their signature lacy appearance, created by the dough spreading thinly during baking, forming beautiful, intricate patterns. When paired with a luscious layer of melted dark chocolate, their deliciousness reaches new heights of indulgence.
Despite their sophisticated look, lace cookies are surprisingly easy to master. This recipe simplifies the process, allowing you to create bakery-quality treats right in your own kitchen. Whether you’re an experienced baker or a novice, you’ll find joy in crafting these elegant cookies that look like they’ve been plucked from a gourmet patisserie.
You might also enjoy our recipe for gluten-free oatmeal cream pies for another comforting treat!
What Exactly Makes a Lace Cookie?
Lace cookies are celebrated for their characteristic delicate, almost translucent texture, which gives them their namesake “lacy” appearance. At their core, these cookies are typically crafted from a simple yet powerful combination of butter, sugar, and a pinch of salt. However, the true magic often comes from the addition of other key ingredients that influence their unique spread and crispness. Depending on the recipe, you might find them made with traditional wheat flour, ground nuts for added richness, or – in our favored method – wholesome oats.
Our preferred way to achieve the perfect lace cookie is by incorporating quick oats. These finely cut oats contribute to a wonderfully even and delicate texture, allowing the cookies to spread beautifully into that signature lacy pattern without becoming too coarse or thick. For those following a gluten-free diet, using certified gluten-free quick oats ensures these treats are safe and enjoyable for everyone. However, if gluten isn’t a concern, any high-quality quick oats will yield equally delicious results.
The Secret to Deep Flavor: Brown Butter
One of the simplest yet most impactful techniques to elevate the flavor of these lace cookies is browning the butter. This process, often referred to as ‘beurre noisette,’ transforms regular melted butter into a golden elixir with a rich, nutty aroma and complex, toasted notes. The milk solids in the butter caramelize, creating tiny brown flecks that infuse the entire batch of cookies with an unparalleled depth of flavor. Since you’re already melting the butter for this recipe, taking an extra two minutes to brown it is an effort well worth the incredible flavor payoff.
Crafting Gluten-Free Lace Cookies: Accessible Indulgence
Making lace cookies gluten-free is surprisingly straightforward and doesn’t compromise on taste or texture. The key lies in choosing the right ingredients, particularly certified gluten-free quick oats and a reliable 1:1 gluten-free baking flour blend. These specialized ingredients ensure that individuals with gluten sensitivities or celiac disease can enjoy these crispy delights without worry. Many modern gluten-free flour blends are expertly formulated to mimic the properties of conventional wheat flour, resulting in cookies that are just as tender, chewy, or crispy as their traditional counterparts. This recipe embraces the gluten-free approach, making these beloved cookies accessible to a wider audience without sacrificing any of their classic appeal.

How to Master the Art of Lace Cookies: A Step-by-Step Guide
Creating these delicate lace cookies is a rewarding experience. Follow these detailed steps to achieve perfect, crispy results every time:
- Prepare Your Workspace: Begin by preheating your oven to 350°F (175°C). Line a baking sheet with a silpat liner or parchment paper. This non-stick surface is crucial for preventing the thin, buttery cookies from sticking to the pan and ensuring easy removal once baked.
- Brown the Butter to Perfection: In a saucepan, melt the butter over medium heat. As it melts, watch for it to foam, then continue whisking constantly. Within a couple of minutes, the milk solids at the bottom of the pan will begin to turn golden brown, and a distinct nutty aroma will emerge. This is your cue to immediately remove the pan from the heat, preventing the butter from burning. This brown butter will infuse your cookies with an unparalleled depth of flavor.
- Combine Wet Ingredients: Transfer the granulated sugar to a medium mixing bowl. Carefully pour the warm brown butter over the sugar, making sure to scrape all the delicious browned milk solids from the bottom of the saucepan into the bowl. Whisk these together until well combined. Next, add the egg and vanilla extract, whisking until the mixture is smooth and evenly incorporated.
- Integrate Dry Ingredients: To the wet mixture, add the gluten-free quick oats, gluten-free 1:1 baking flour, and salt. Using a spatula, gently fold these dry ingredients into the wet mixture until everything is just combined. Avoid overmixing, as this can lead to tougher cookies.
- Portion and Space for Success: Drop the cookie dough onto your prepared baking sheet in very small portions, using precisely one teaspoon of dough per cookie. It’s vital to leave ample space—about 2.5 inches—between each dough mound. These cookies spread significantly during baking, and crowding them will cause them to merge into one large, uneven cookie. Aim to fit no more than 12 cookies per standard baking sheet.
- Bake Until Golden: Bake for 12-14 minutes, or until the edges of the cookies turn a rich golden brown and the centers appear set and beautifully lacy. Once baked, remove the baking sheet from the oven and allow the cookies to cool on the pan for 2-3 minutes. This brief cooling period helps them firm up enough to handle without breaking.
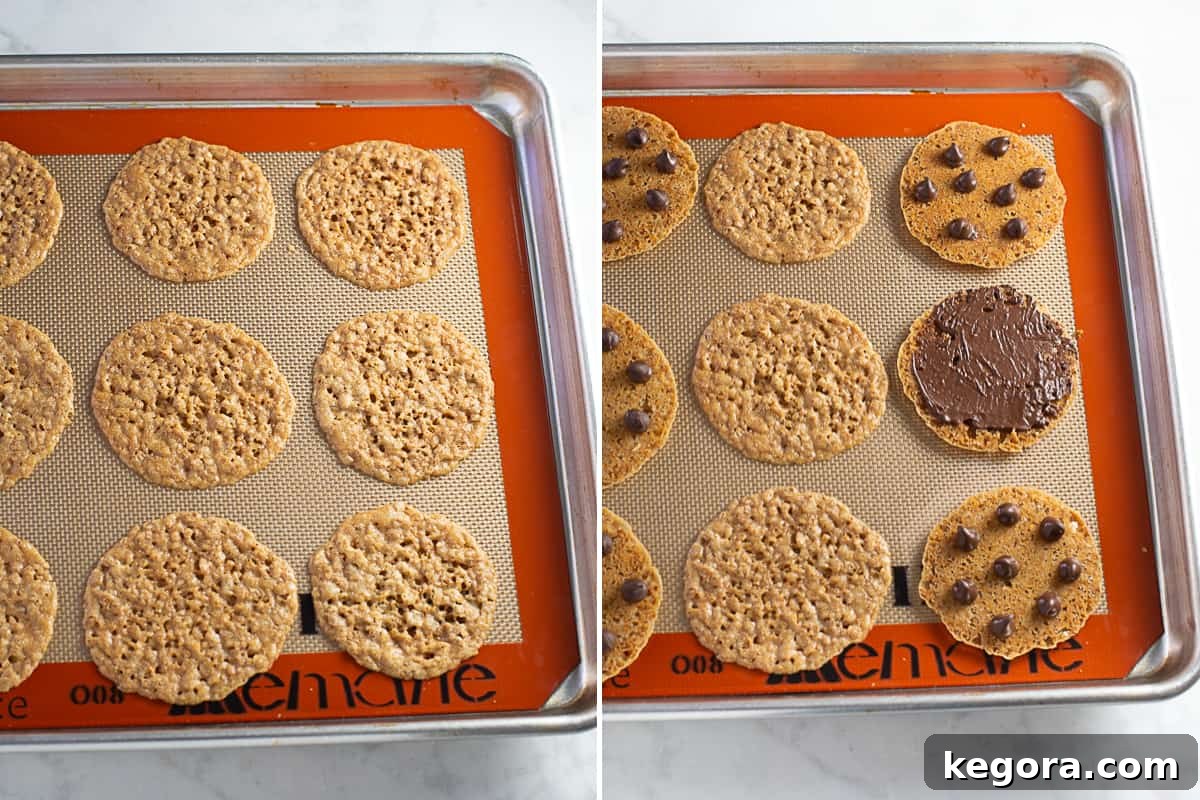
- Add the Decadent Chocolate Layer: While the cookies are still warm on the baking sheet, use a small spatula (like this one) to gently flip over half of your baked cookies (e.g., 6 cookies if you have 12). Sprinkle 10-12 chocolate chips onto each flipped cookie. The residual heat from the pan and cookies will begin to melt the chocolate. If the chocolate isn’t melting sufficiently, return the baking sheet to the oven for just 1 minute. Once melted, spread the chocolate into a thin, even layer using the back of a spoon or the spatula, then immediately top with another cookie to create a delicate chocolate sandwich. Transfer these assembled cookies to a wire cooling rack to cool completely, allowing the chocolate to set.
Expert Tips for Achieving Perfectly Thin, Crispy Lace Cookies
While lace cookies are straightforward to make, a few key techniques can ensure your batch is exquisitely delicate and wonderfully crisp:
- Embrace Brown Butter for Superior Flavor: As highlighted earlier, browning the butter is a non-negotiable step for truly exceptional lace cookies. This simple two-minute addition to the melting process imbues the cookies with a profound, nutty aroma and a complex, caramelized flavor that regular melted butter simply cannot match. It’s an easy upgrade that makes a significant difference.
- Opt for Quick Oats Over Rolled Oats: The type of oats you use dramatically impacts the texture of your lace cookies. Quick oats, being more finely processed than rolled oats, allow for a smoother, more even spread during baking. This results in the delicate, intricate lacy texture that is characteristic of these cookies. Rolled oats, due to their larger size, would create a coarser, less refined cookie that doesn’t achieve the same delicate crispness.
- Precisely Portion the Dough (1 Teaspoon is Key!): Trust us when we emphasize that these cookies spread a lot! It is absolutely critical to use only one level teaspoon of dough per cookie. Any more, and your cookies will spread excessively, potentially merging into a single sheet of cookie. Additionally, ensure you provide ample space—at least 2.5 inches—between each dough portion on the baking sheet to accommodate this spreading.
- Utilize a Silpat Baking Liner: A nonstick silpat liner or quality parchment paper is your best friend when making lace cookies. Their thin, buttery nature makes them prone to sticking to an unlined or improperly greased pan. Using a liner guarantees that your delicate cookies will lift off the baking sheet easily and intact, preserving their beautiful lacy edges.
- Melted Chocolate Adds Both Flavor and Structure: Layering your lace cookies with melted dark chocolate isn’t just about adding another layer of deliciousness. As the chocolate cools and solidifies, it acts as a wonderful adhesive, helping to bind the two delicate cookie halves together. This not only makes them easier to handle and less prone to breakage but also enhances their stackability, making them perfect for transporting to gatherings or packaging as gifts.
Creative Variations and Serving Suggestions
While the classic chocolate-layered lace cookie is exquisite, don’t hesitate to experiment with variations:
- Chocolate Types: Try milk chocolate, white chocolate, or even a blend of chocolates for different flavor profiles.
- Nutty Additions: Finely chopped toasted nuts (like pecans or almonds) can be sprinkled onto the melted chocolate layer before adding the second cookie.
- Spice It Up: A pinch of cinnamon, cardamom, or nutmeg in the cookie dough can add a warm, inviting aroma.
- Citrus Zest: A touch of orange or lemon zest can brighten the flavor of the cookie.
- Toffee Crunch: Sprinkle a few crushed toffee bits onto the melted chocolate for an extra layer of texture and flavor.
- Shaped Delights: While still warm and pliable, you can gently roll individual cookies around a wooden spoon handle to form cigar shapes, or drape them over small bowls to create edible cups for sorbet or mousse.
Lace cookies are versatile in how they can be enjoyed. They are a delightful accompaniment to a cup of coffee or tea, a sophisticated addition to any dessert platter, or a charming gift when packaged elegantly. Imagine them alongside a scoop of vanilla bean ice cream, crumbling slightly with each bite.
Frequently Asked Questions About Lace Cookies
Here are answers to some common questions about making and storing these delicate treats:
How should I store these cookies to maintain freshness?
To keep your lace cookies perfectly crispy and fresh, store them in an airtight container or a resealable bag at room temperature. They will maintain their delicious texture for up to 4 days. Their robust crispness makes them ideal for preparing in advance for gift-giving or cookie exchanges, as they travel and hold up beautifully.
Can I freeze lace cookies?
Absolutely! Lace cookies freeze exceptionally well. Place them in a resealable freezer bag, ensuring they are arranged in a single layer or separated by parchment paper to prevent sticking and breakage. They can be frozen for up to 3 months. When storing them in the freezer, pick a “special spot” where they won’t get crushed by other frozen items – or, perhaps, a secret spot where they won’t get mysteriously eaten before you’re ready to enjoy them!
Can I make the dough ahead of time?
While it’s best to bake lace cookies shortly after mixing the dough for optimal spread and crispness, you can prepare the brown butter ahead of time and store it in the refrigerator. Just ensure it’s brought back to a softened, slightly warm state before mixing with the sugar.
What if my cookies don’t spread properly?
If your cookies aren’t spreading into the classic lacy pattern, it could be due to a few factors. Ensure your butter is adequately melted (and browned). Also, check your oven temperature; a slightly cooler oven might inhibit spreading. Conversely, if they spread too much and become overly thin or burnt, your oven might be too hot, or you might be using too much dough per cookie.
If you’re looking for more delicious cookie ideas, you may want to try these other gluten-free favorites:
- Gluten-Free Pizzelle
- Gluten-Free Oatmeal Scotchies
- Flourless Peanut Butter Milk Chocolate Chip Cookies
- Gluten-Free Christmas Cookies
We love hearing from you! If you try this exquisite lace cookie recipe, please be sure to leave a comment below and share your experience.
Lace Cookies (Gluten-Free) Recipe
A simple recipe for crispy, buttery Lace Cookies that everyone will love! Layer them with some dark chocolate for extra decadence.
Author: Erin Collins
Prep Time: 20 mins
Cook Time: 15 mins
Total Time: 35 mins
Servings: 18 cookies
Pin It |
Comments |
Print
Ingredients
- 1/2 cup butter
- 1 cup granulated sugar
- 1 egg
- 1 teaspoon vanilla extract
- 1 cup gluten-free quick oats
- 1/4 cup gluten-free 1:1 baking flour
- 1/2 teaspoon salt
- 12 oz chocolate chips
Instructions
- Preheat oven to 350°F (175°C). Line a baking sheet with a silpat liner or parchment paper.
- Melt the butter in a saucepan over medium heat. Once the butter is melted, begin to whisk constantly. First, the butter will foam, then after a couple of minutes, it will begin to brown on the bottom of the saucepan. Turn off the heat as soon as the solids turn brown and the butter gives off a nutty aroma.
- Add the sugar to a medium bowl. Pour the brown butter over top, being sure to scrape the bottom of the pot to get all the milk solids. Whisk to combine. Add the egg and vanilla, then whisk until smooth.
- Add the quick oats, flour, and salt, and mix with a spatula until well-combined. Drop the dough by teaspoonfuls onto the prepared baking sheet, leaving about 2 1/2 inches between the cookies. You should be able to fit 12 to a baking sheet; the cookies will spread so do not crowd them.
- Bake for 12-14 minutes until the cookies start to turn golden brown. Remove the cookies from the oven and let cool on the pan for 2-3 minutes.
- Use a small spatula to flip 6 of the cookies over on the baking sheet. Top the flipped cookies with 10-12 chocolate chips and let the heat of the pan melt the chocolate. If the chocolate isn’t melting, place the cookie sheet back in the oven for 1 minute. Spread the chocolate into a thin layer, then top with a second cookie. Transfer to a cooling rack to cool completely.
- Store the cookies in an airtight container or resealable bag at room temperature for up to 4 days. The cookies can be frozen in a resealable bag for up to 3 months. Enjoy!
Notes
- Brown butter gives these cookies an extra delicious flavor. Brown butter imparts a nutty aroma and flavor. Since you’re melting the butter anyway, browning it takes only 2 extra minutes and is well worth the effort!
- Use quick oats instead of rolled oats. Quick oats provide a nice, even texture, creating a more delicate cookie than larger rolled oats.
- Only use 1 teaspoon dough per cookie. These cookies spread significantly! Be sure to use precisely 1 teaspoon of dough per cookie and give them plenty of space for spreading during baking.
- Use a silpat baking liner. A nonstick silpat liner is extremely helpful. The cookies will easily come off a lined pan, but may stick to an unlined pan.
- Melted chocolate will help hold these cookies together. Beyond being delicious, melted chocolate solidifies as it cools, helping to hold the delicate cookie layers together. This is especially recommended if you plan to transport them.
Nutrition (per cookie)
Calories: 210.44kcal | Carbohydrates: 28.21g | Protein: 2.12g | Fat: 10.22g | Saturated Fat: 6.13g | Cholesterol: 25.49mg | Sodium: 126.52mg | Potassium: 25.47mg | Fiber: 1.04g | Sugar: 23.03g | Vitamin A: 213.11IU | Vitamin C: 0.11mg | Calcium: 27.81mg | Iron: 0.55mg