
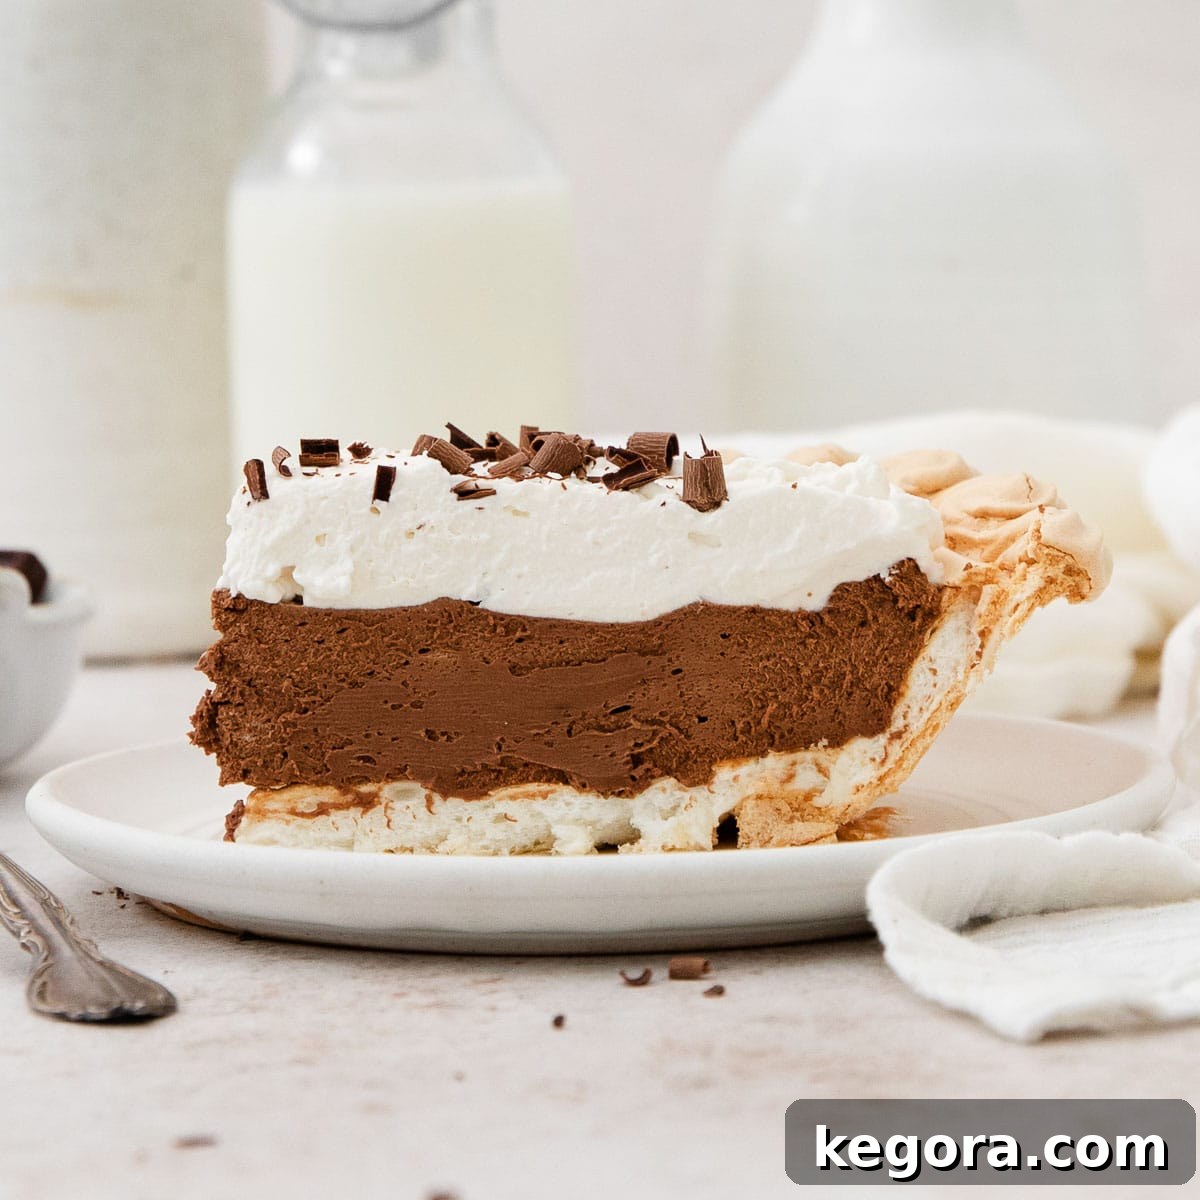
Decadent Chocolate Angel Pie: The Ultimate Gluten-Free & Dairy-Free Dessert
Welcome to a truly heavenly dessert experience! This Chocolate Angel Pie holds a special place in my heart, being one of the first holiday desserts I mastered after my celiac disease diagnosis. It’s a testament to how incredible naturally gluten-free baking can be. Imagine a dessert that seamlessly blends a miraculously **crisp, cloud-like meringue crust** with a rich, velvety filling that tastes exactly like a luxurious **chocolate truffle**. This pie isn’t just a treat; it’s an experience, promising pure indulgence in every single bite.
Why This Chocolate Angel Pie Will Become Your New Favorite
There are countless reasons to fall in love with this Chocolate Angel Pie. Beyond being a fantastic solution for those seeking a **gluten-free and dairy-free dessert**, it offers so much more:
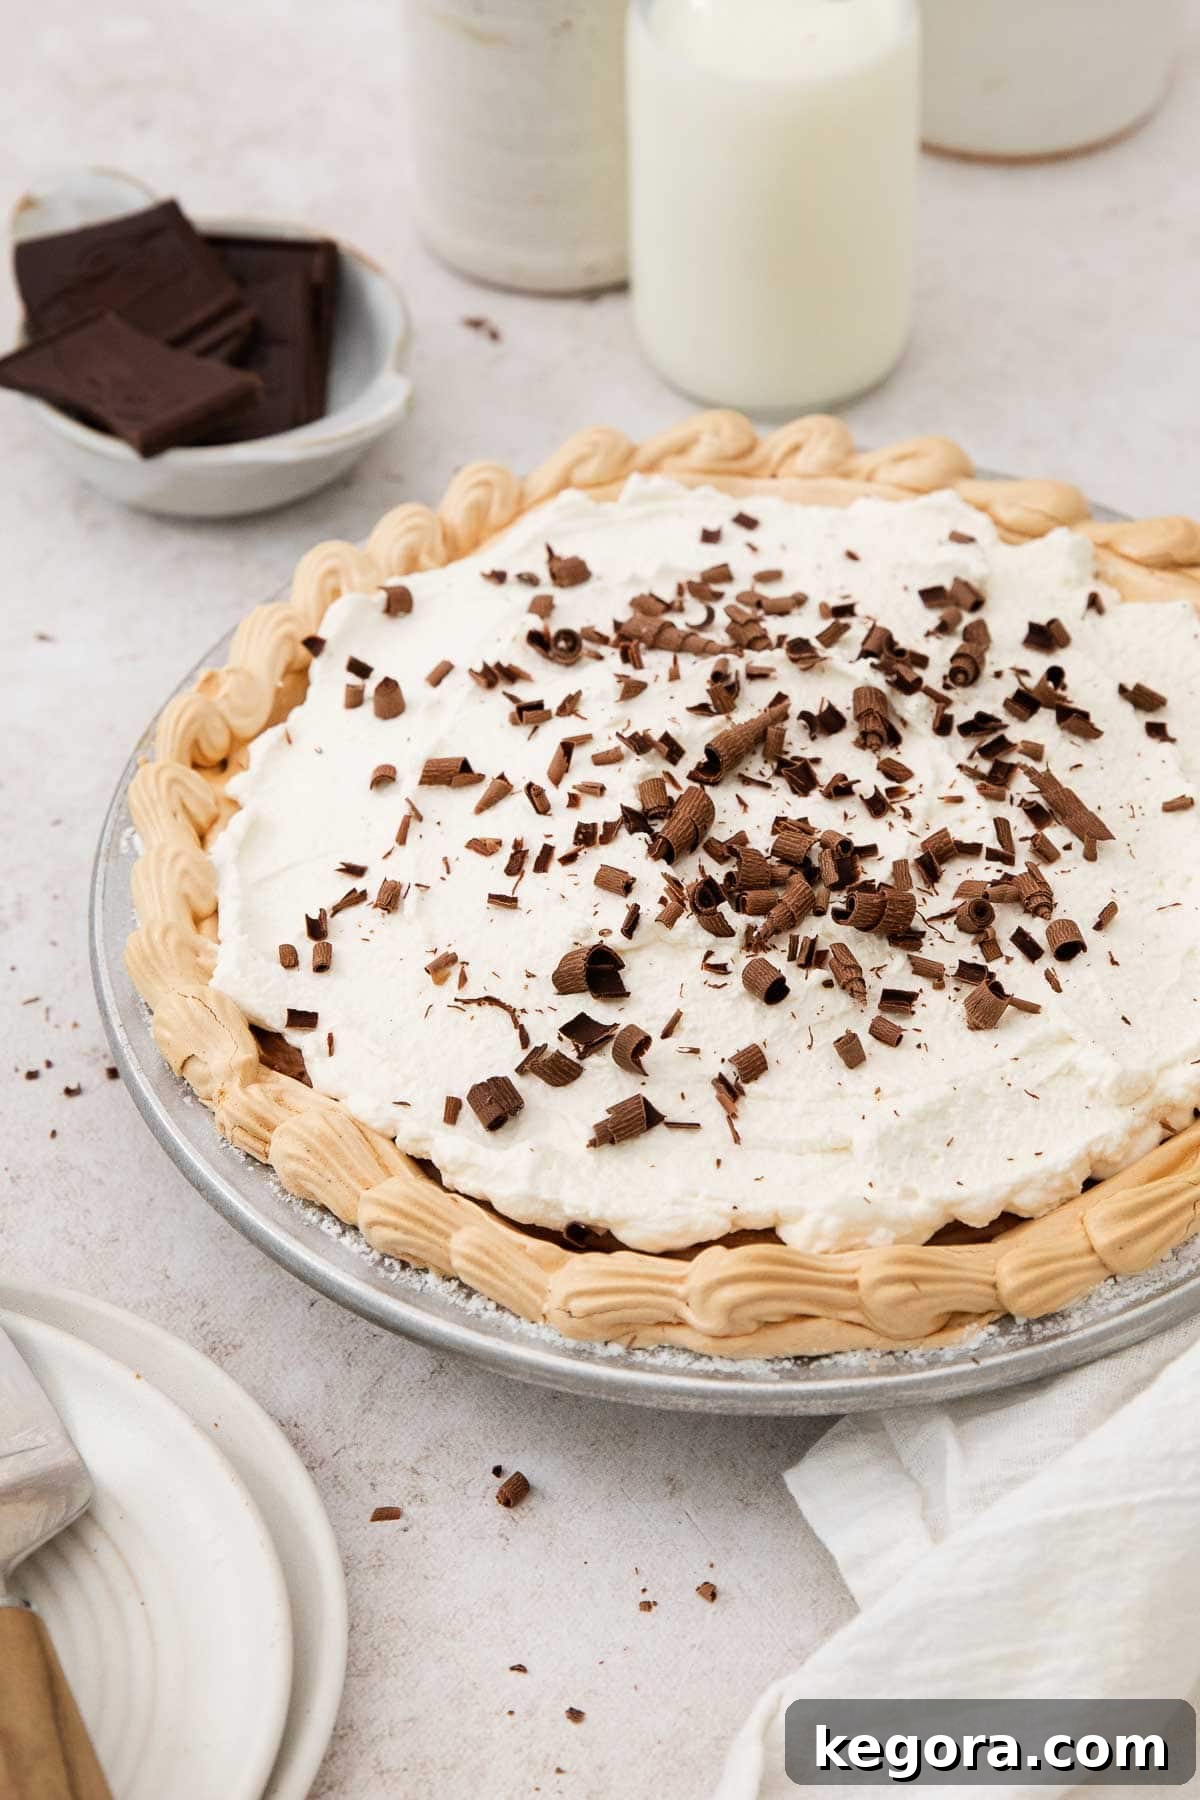
- Effortless Elegance: This pie is an absolute showstopper. Its delicate meringue waves and glossy chocolate filling, crowned with a pillow of whipped cream, create a visually stunning dessert that looks incredibly fancy. Yet, despite its sophisticated appearance, it comes together quite easily, making you look like a pastry pro with minimal stress.
- Perfect Make-Ahead Option: Hosting holidays or special gatherings can be hectic. This pie is a dream come true because it needs to chill for at least four hours (or even better, overnight!). This allows you to prepare it well in advance, freeing up your precious time on the day of the event to focus on other culinary delights or simply enjoy your guests.
- Unforgettable Flavor & Texture: The contrast between the light, ethereal meringue and the dense, rich chocolate mousse is simply sublime. Each spoonful delivers a symphony of textures and flavors that will captivate your taste buds and leave a lasting impression. It’s a guaranteed crowd-pleaser that appeals to all, regardless of dietary restrictions.
- Naturally Gluten-Free: Forget complicated flour blends or crumbly crusts! The foundation of this pie is a beautiful meringue, made from whipped egg whites and sugar, making it inherently gluten-free and wonderfully light.
Expert Tips for a Flawless Chocolate Angel Pie
Achieving perfection with meringue and mousse can seem daunting, but with these pro tips, you’ll create a magnificent pie every time:
- Meringue Perfection: The secret to a crisp, crack-free meringue lies in the cooling process. After baking, **turn off your oven, crack the door slightly, and let the meringue cool completely inside**. This gradual temperature change prevents sudden shrinkage and minimizes cracking, ensuring your crust remains beautiful and intact.
- Dairy-Free Transformation: For a completely dairy-free Chocolate Angel Pie, simply substitute full-fat canned coconut milk for heavy cream in both the chocolate mousse and the whipped topping. Ensure your coconut milk is well chilled before whipping for optimal results. You can also use a store-bought dairy-free whipped cream alternative.
- Spotless Equipment is Key: When whipping egg whites for meringue, ensure your mixing bowl and whisk attachment are impeccably clean and free from any grease or oil residue. Even a tiny speck of yolk or grease can prevent the egg whites from whipping up to their full, fluffy potential. Glass or metal bowls are ideal.
- Room Temperature Egg Whites: For the best volume and stability in your meringue, use fresh, large egg whites that have been brought to room temperature. This allows them to whip more quickly and achieve a much fluffier texture.
- Quality Chocolate Matters: The chocolate is the star of the mousse, so choose a high-quality semi-sweet or dark chocolate bar (around 60-70% cacao is perfect). Chopped chocolate melts much more smoothly and evenly than chocolate chips, which often contain stabilizers that prevent them from melting properly.
- Temper with Care: When tempering the egg yolks for the chocolate mousse, whisk constantly over simmering water and use a candy thermometer to ensure the mixture reaches 160°F (71°C). This step is crucial for both food safety and for creating a rich, smooth, and stable custard base that will perfectly emulsify with the chocolate.
- Gentle Folding: Once your chocolate mixture has cooled, fold it *gently* into the whipped cream. Overmixing will deflate the air from the cream, resulting in a dense mousse. Use a rubber spatula and a light hand to combine until just streak-free and beautifully silky.
If you’re a fan of delightful, gluten-free desserts, you might also enjoy exploring these other fantastic pie recipes from my collection: Classic Gluten-Free Apple Pie, The Best Gluten-Free Pecan Pie, Homestyle Gluten-Free Buttermilk Pie, Indulgent Gluten-Free Vegan Chocolate Pudding Pretzel Pie, and these adorable Crustless Pumpkin Pie Cupcakes.
xoxo Erin
Featured Comment
From Marybelle: “Oh, this is quite a recipe. Not super difficult, but not super easy to make. So worth the work though! The meringue crust is utter perfection!”
Read 4 more comments
Essential Ingredients for Your Heavenly Chocolate Angel Pie
Crafting this exquisite Chocolate Angel Pie begins with understanding the role of each key ingredient. While the full list with precise measurements awaits in the recipe card below, here are some important notes to guide you in selecting and preparing your components:
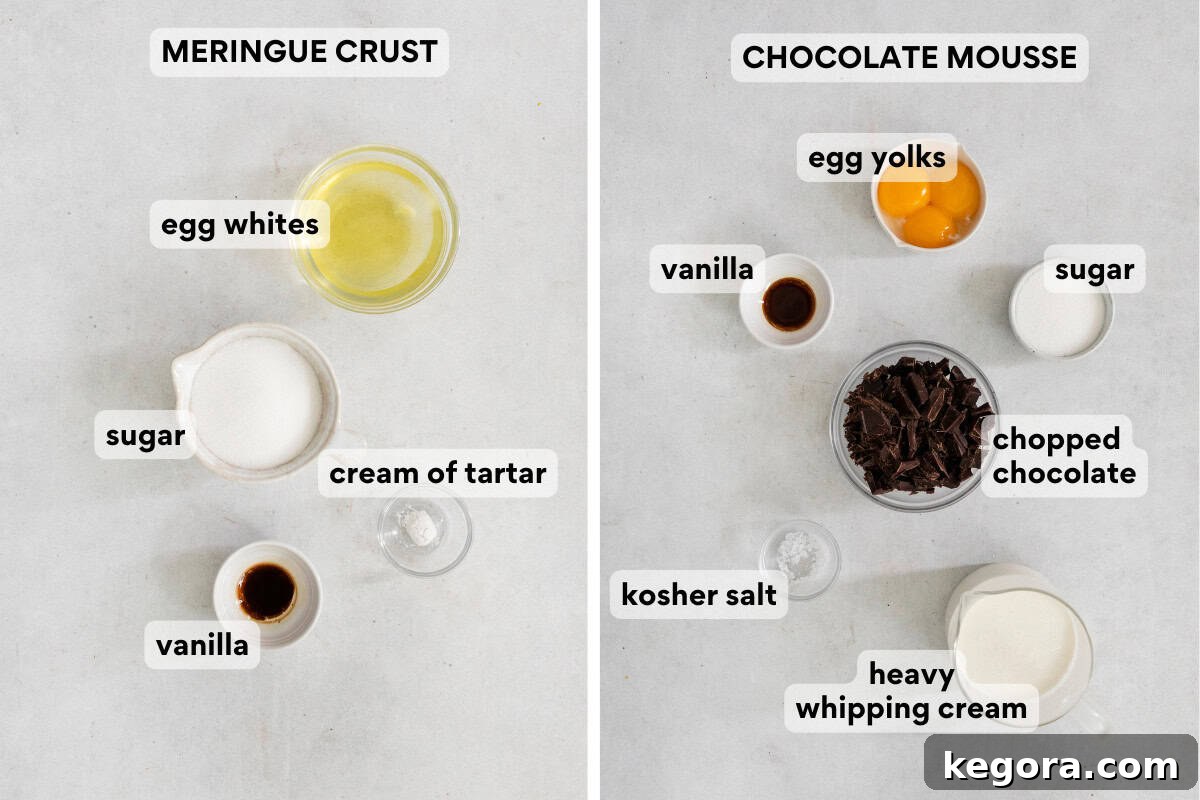
- Egg Whites: These are the foundation of our ethereal meringue crust. For optimal fluffiness and volume, always use fresh, large eggs and ensure they are at room temperature. Take extra care when separating them to avoid any trace of yolk, which can prevent the whites from whipping properly. Absolutely no grease should be present in your mixing bowl or on your whisk.
- Chopped Chocolate: For that rich, smooth, and truly “truffle-like” chocolate mousse, invest in high-quality semi-sweet or dark chocolate bars (aim for 60-70% cacao). Chopping the chocolate yourself ensures it melts evenly and smoothly into a luxurious ganache. Avoid using chocolate chips, as their stabilizers can lead to a grainy texture.
- Cream of Tartar: This humble ingredient is a meringue’s best friend! Just a tiny pinch acts as a stabilizer, helping the egg whites whip up faster, achieve greater volume, and maintain those beautiful, stiff peaks that form the perfect crust. It also contributes to the crispness of the baked meringue.
- Heavy Whipping Cream (or Full-Fat Coconut Milk): This is essential for both the luscious chocolate mousse and the fluffy whipped topping. If you’re making a dairy-free version, full-fat canned coconut milk is an excellent substitute. Make sure to chill the can overnight, then scoop out only the thick cream from the top, discarding any liquid. This ensures it whips up beautifully.
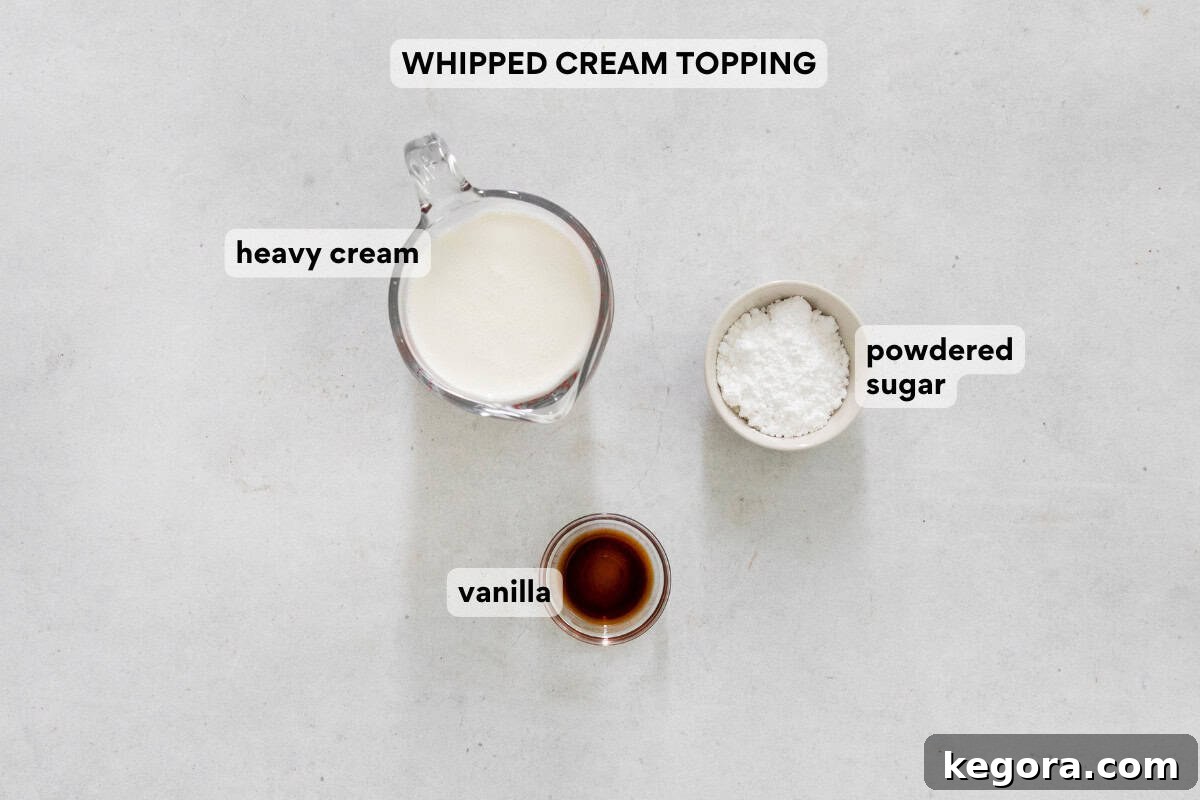
- Vanilla Extract: Pure vanilla extract or vanilla bean paste is crucial for enhancing the depth of flavor in both the meringue and especially the whipped cream topping. Its warm, aromatic notes complement the rich chocolate and create a truly irresistible finish. Avoid imitation vanilla for the best taste.
- Granulated Sugar & Powdered Sugar: Granulated sugar provides sweetness and structure to the meringue and helps temper the egg yolks. Powdered sugar is preferred for the whipped cream topping as it dissolves instantly, ensuring a smooth, silken texture without any grittiness.
- Kosher Salt: A tiny pinch of salt elevates all the flavors, balancing the sweetness and intensifying the chocolate notes in the mousse. Don’t skip it!
Crafting Your Chocolate Angel Pie: A Step-by-Step Guide
Ready to create this spectacular dessert? Here’s a detailed overview of the process, guiding you from fluffy meringue to silky chocolate mousse. For the complete, printable recipe with exact quantities, simply jump to the recipe card!
Part 1: The Meringue Crust
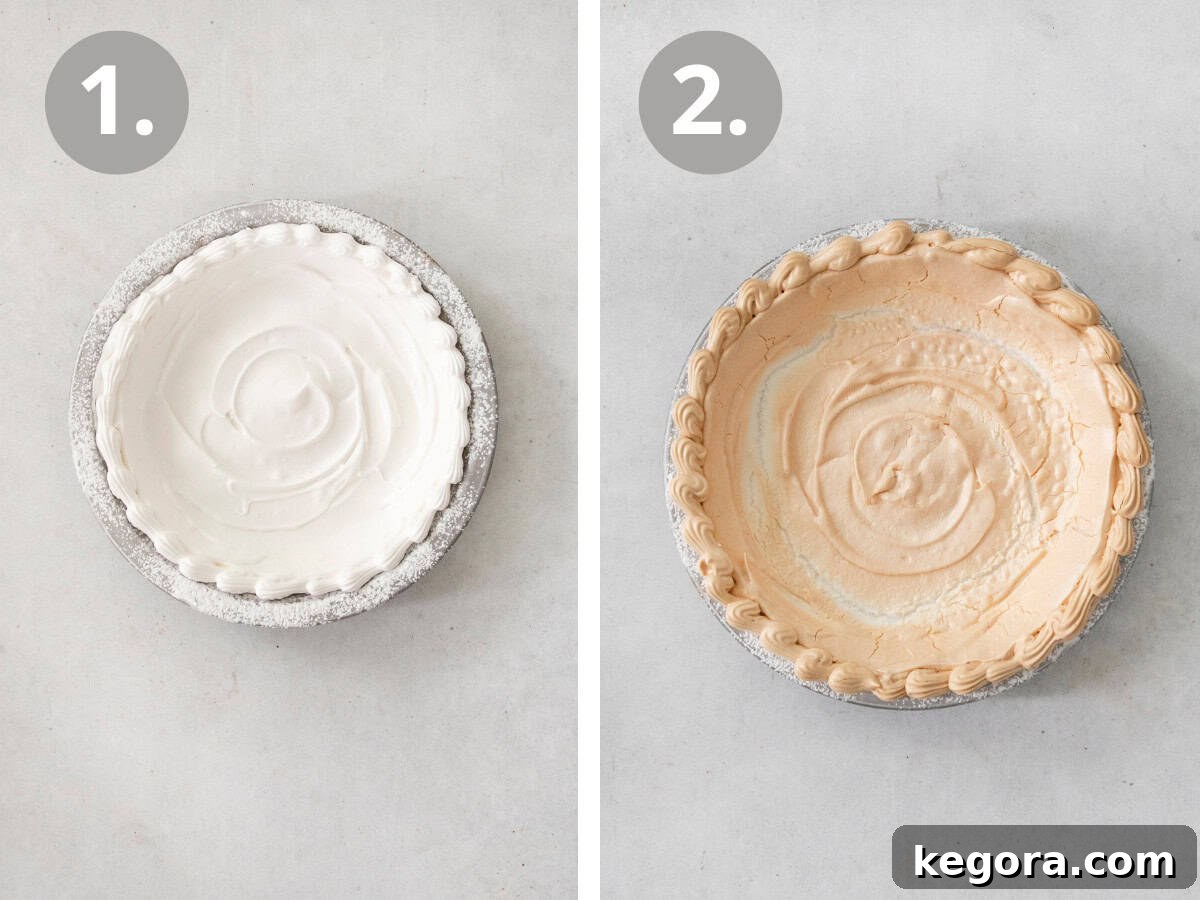
Whip the Meringue to Perfection: Begin by preheating your oven and preparing your pie plate with a light grease and dusting of cornstarch. In a very clean bowl, beat the room-temperature egg whites with cream of tartar on high speed until they transform into soft, billowy peaks. Gradually introduce the granulated sugar, a spoonful at a time, continuing to whip until the mixture becomes thick, glossy, and forms stiff peaks that hold their shape beautifully, often curling slightly at the tip. Beat in the vanilla extract for added aroma.
Shape and Gently Bake: Carefully spread the whipped meringue into your prepared pie plate. Don’t be shy; build up the sides to create a distinct crust shape, almost like a fluffy, edible cloud. Bake until it’s wonderfully crisp and a delicate golden brown. The critical next step is to **turn off the oven, crack the oven door open slightly, and let the meringue cool completely inside**. This slow cooling process is key to preventing cracks and ensuring a perfectly crisp texture.
Part 2: The Decadent Chocolate Mousse Filling
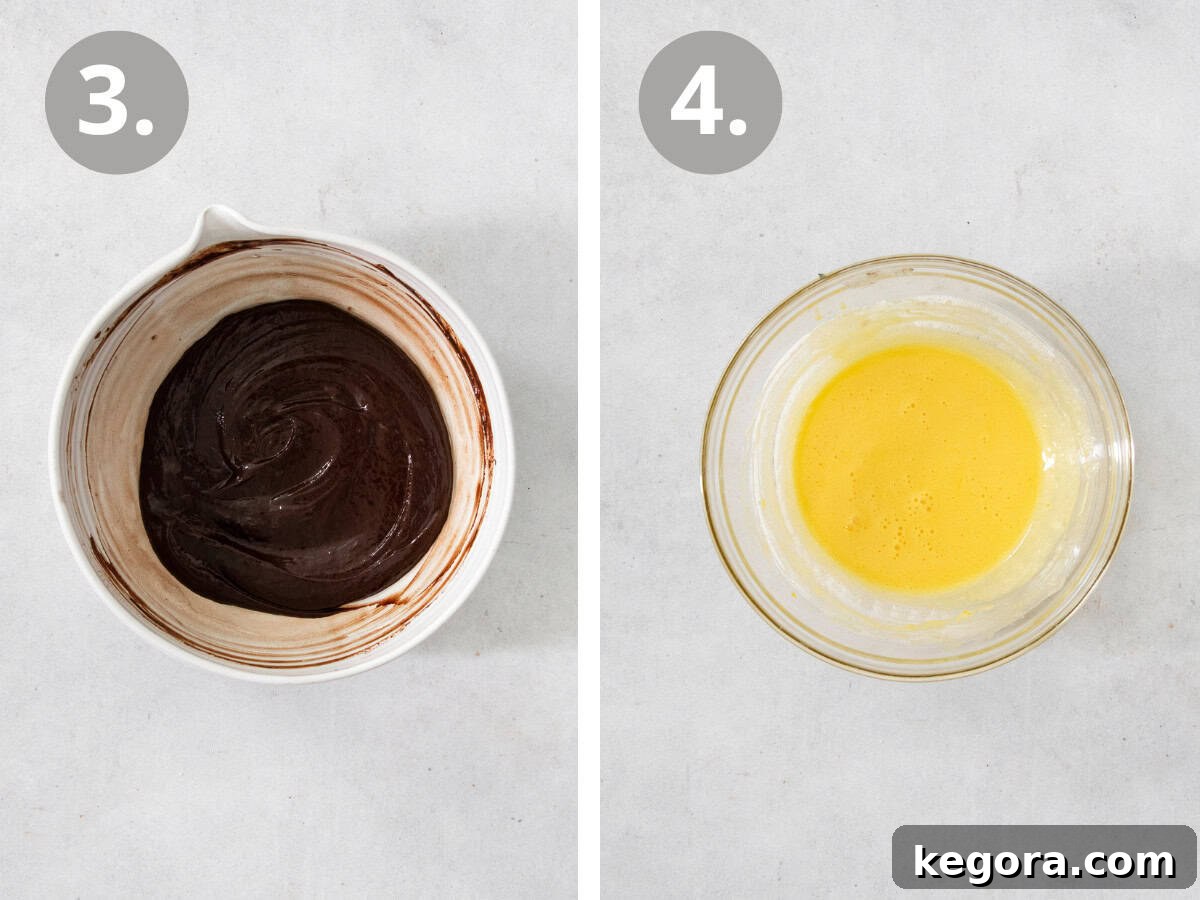
Melt the Chocolate into a Silky Ganache: Place your finely chopped high-quality chocolate into a heatproof bowl. In a separate bowl, heat a portion of the heavy cream (or coconut milk) until it’s just simmering. Pour this hot cream over the chopped chocolate, allowing it to sit undisturbed for a minute or two to soften the chocolate. Then, stir gently until the chocolate is fully melted and the mixture is smooth, glossy, and beautifully emulsified – this is your ganache base.
Temper the Egg Yolks for Richness: In another heatproof bowl, whisk together the egg yolks, sugar, and a pinch of salt until smooth. Place this bowl over a saucepan containing gently simmering water (ensure the bowl doesn’t touch the water). Whisk continuously and diligently until the egg yolk mixture thickens slightly and reaches precisely 160°F (71°C). This tempering step ensures both safety and a smooth, stable custard. Remove from heat and stir in the vanilla extract.
Combine and Cool with Care: Gradually whisk the warm chocolate ganache into the tempered egg yolk mixture until everything is thoroughly blended and homogenous. Set this rich chocolate mixture aside to cool completely to room temperature, whisking occasionally to prevent a skin from forming and ensure it cools evenly. It’s crucial for it to be cool before folding into the whipped cream.
Part 3: Assembly and Finishing Touches
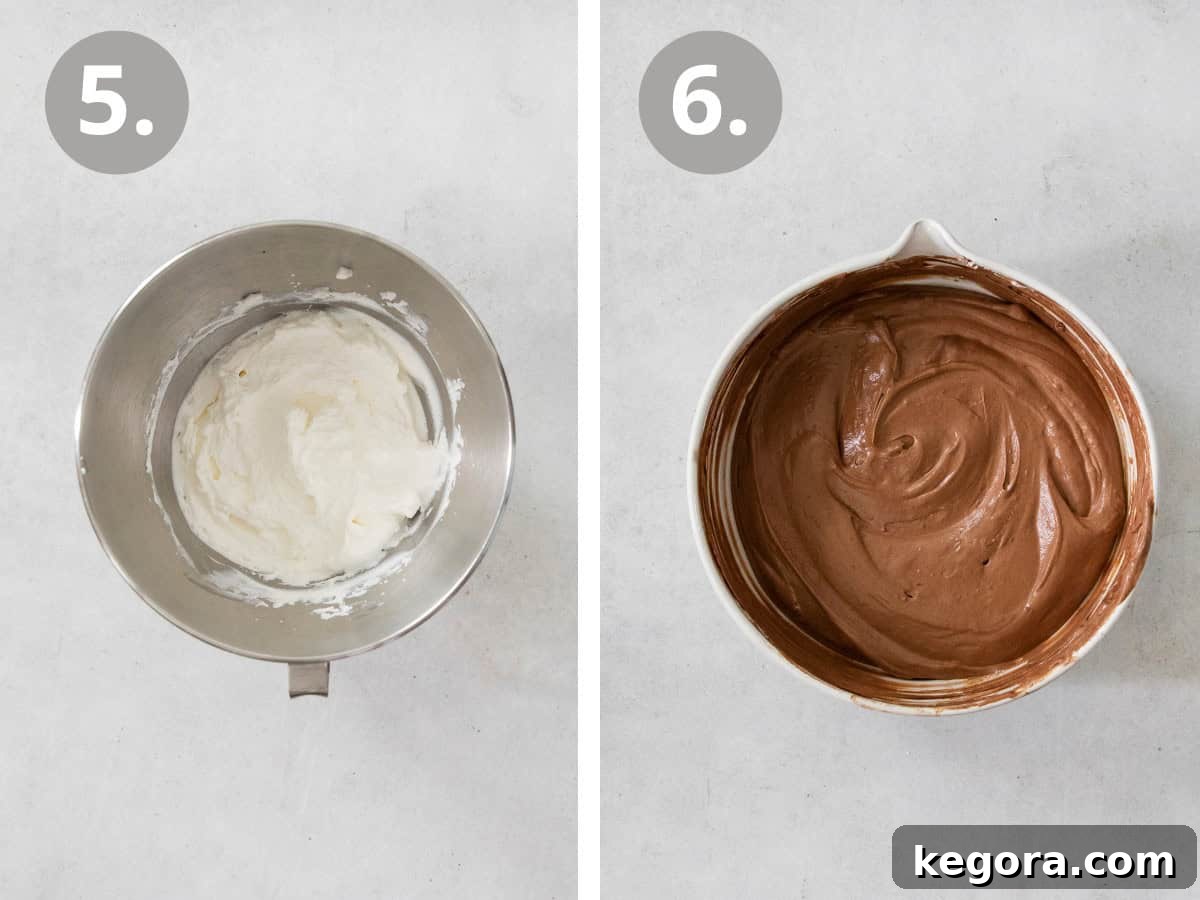
Whip the Remaining Cream: In a separate, chilled bowl, whip the remaining cold heavy cream (or full-fat coconut milk) until soft, fluffy peaks form. This will be the airy component of your mousse.
Gently Fold for Mousse Perfection: With a light hand, carefully fold the cooled chocolate-egg mixture into the whipped cream. Use a rubber spatula and a gentle lifting motion, continuing until the mixture is uniform in color, beautifully silky, and completely streak-free. The goal is to maintain as much air as possible for a light and ethereal mousse.
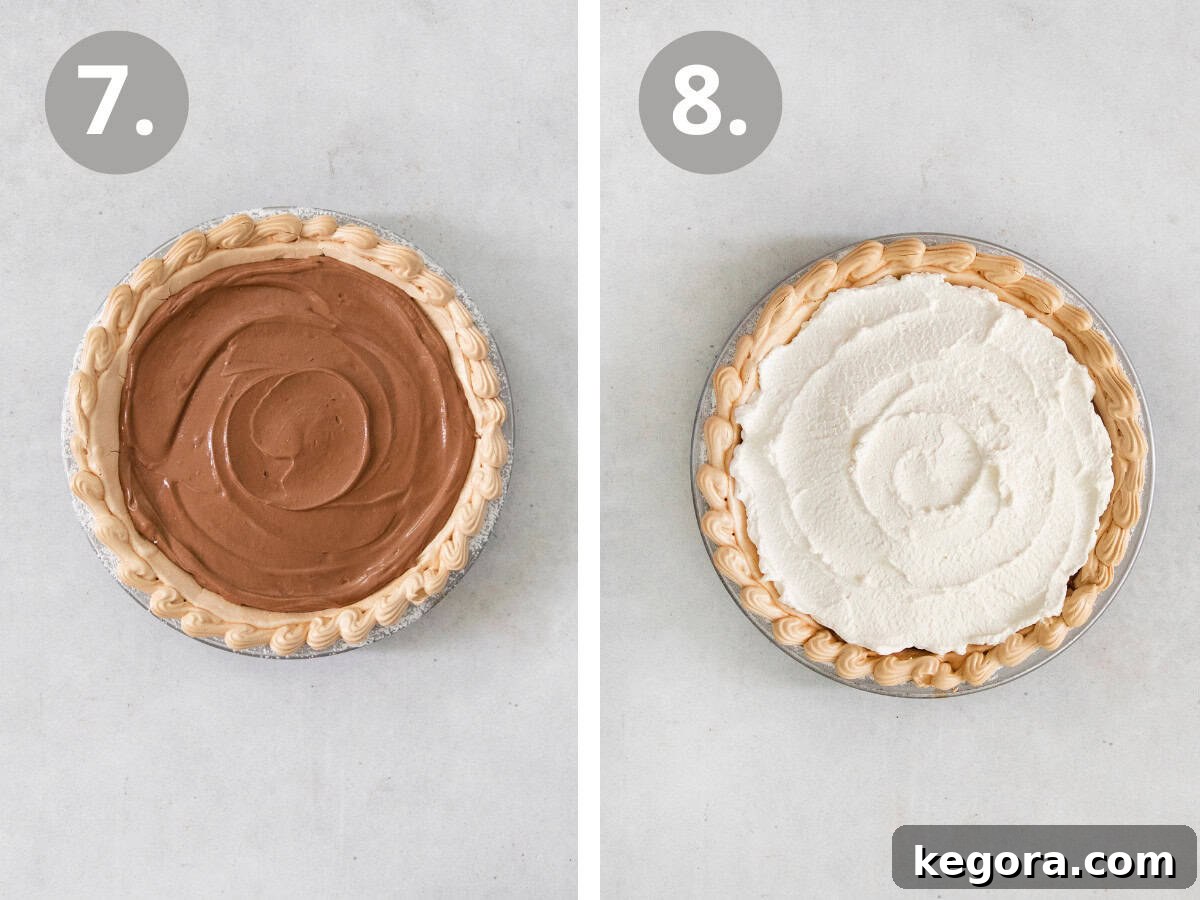
Assemble and Chill: Carefully spoon the silky chocolate mousse filling into the completely cooled meringue crust, spreading it evenly and smoothing the top with a spatula. Cover the pie loosely with plastic wrap and refrigerate for at least 4 hours, or ideally overnight. This crucial chilling time allows the mousse to set perfectly and the flavors to meld beautifully.
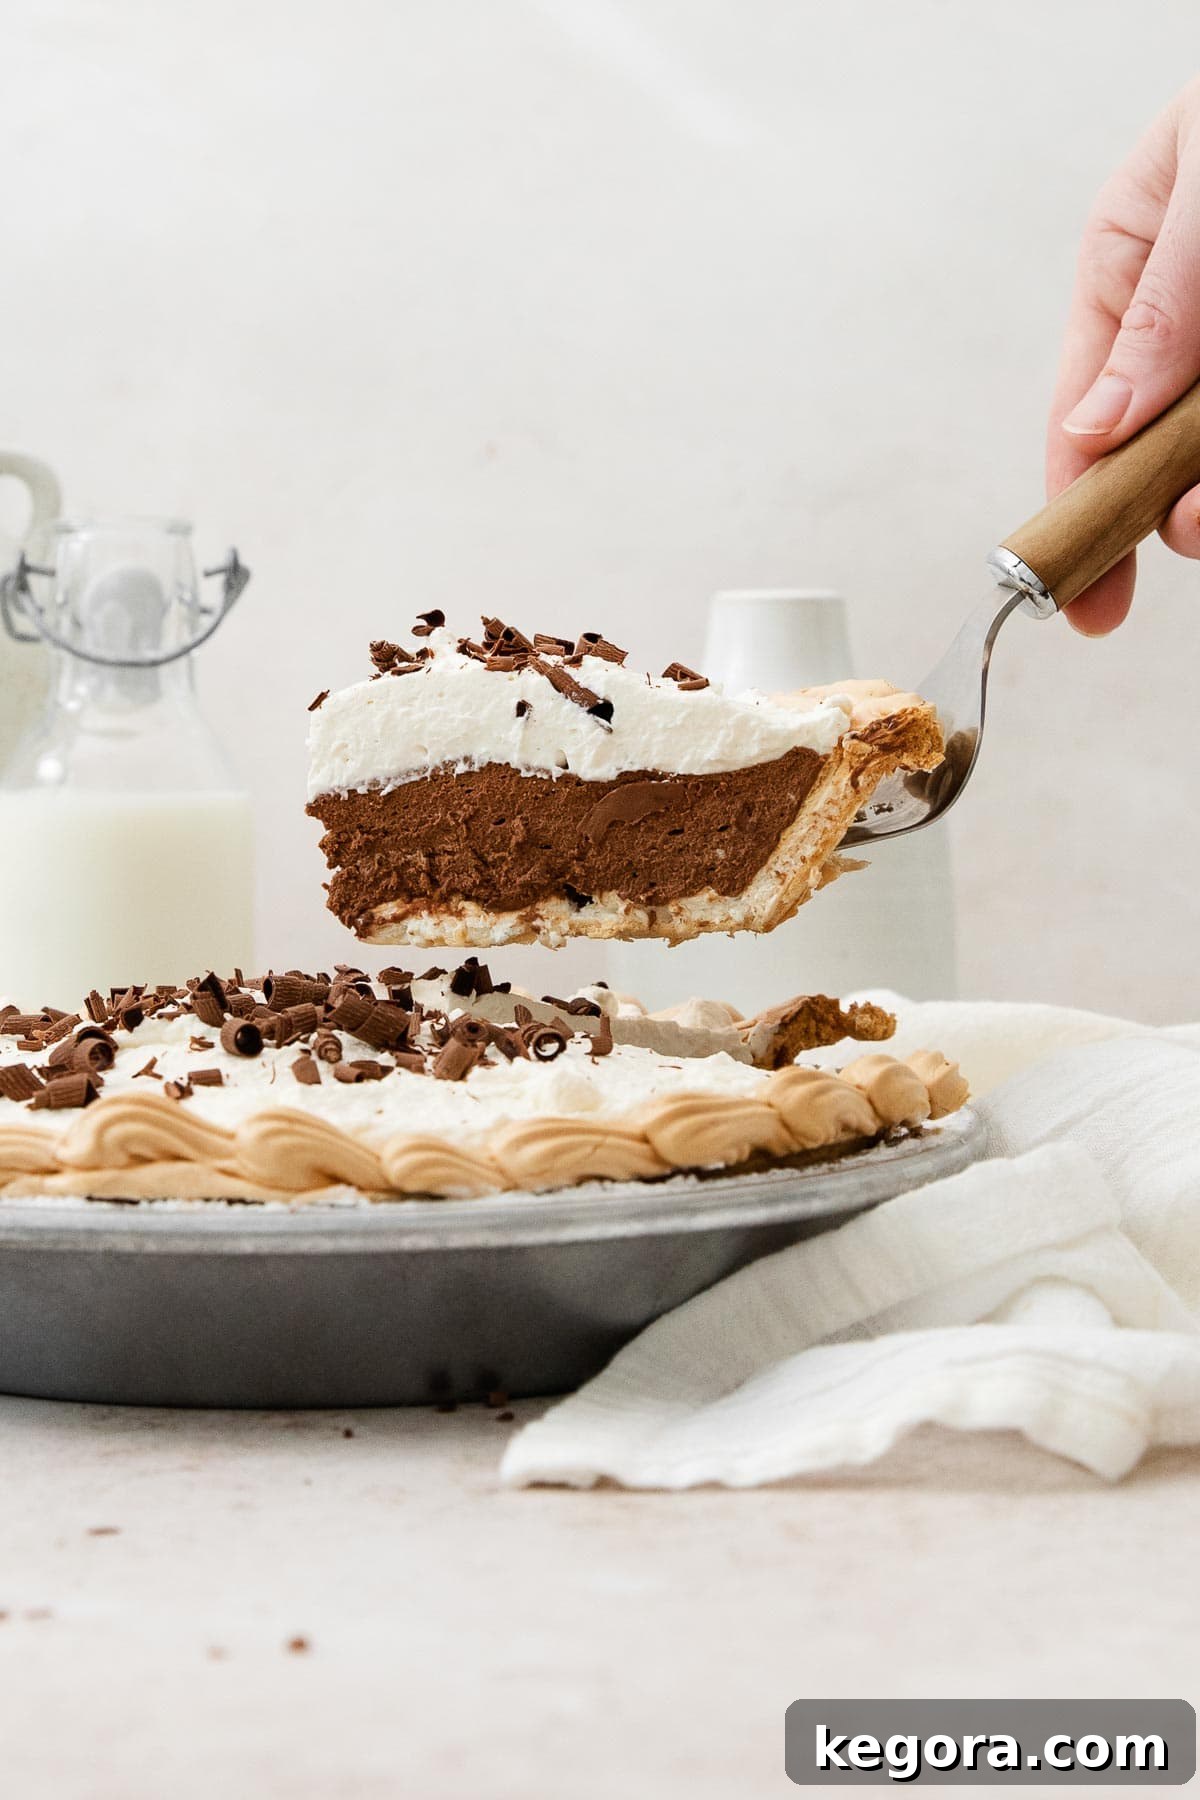
Top, Garnish, and Serve: Just before serving, whip up your final layer of heavy cream (or coconut milk) with powdered sugar and vanilla for the topping. Spread or pipe this luscious whipped cream over the chilled pie. For an elegant finish, dust with a sprinkle of cocoa powder or adorn with delicate chocolate curls. Remember to slice carefully, as the meringue crust is delightfully delicate! Serve immediately and watch your guests swoon.
Chocolate Angel Pie {Gluten-Free, Dairy-Free}
Erin Collins
30 mins
3 hrs
3 hrs 30 mins
8 servings
Comments
Ingredients
Meringue Crust
- ½ cup (100g) granulated sugar
- 3 large egg whites
- ¼ teaspoon cream of tartar
- ½ teaspoon vanilla extract
- cornstarch for dusting the pie plate
Chocolate Mousse
- 6 ounces (170g) semi-sweet or dark chocolate chopped
- 1½ cups (360g) heavy whipping cream divided (or full-fat coconut milk)
- 3 large egg yolks
- ¼ cup (50g) granulated sugar
- pinch of kosher salt
- ½ teaspoon vanilla extract
Whipped Cream Topping
- 1 cup (240ml) heavy whipping cream or dairy-free whipped cream alternative
- 3 tablespoons powdered sugar
- ½ teaspoon vanilla extract
Instructions
For the meringue crust:
-
Preheat the oven to 300°F (150°C). Lightly grease a 9-inch pie plate, then dust evenly with cornstarch, tapping out any excess.
-
In the bowl of a stand mixer fitted with the whisk attachment, or using a hand mixer, beat the egg whites and cream of tartar on high speed until soft peaks form. With the mixer running, gradually add the sugar, a spoonful at a time, until glossy stiff peaks form (this usually takes about 5–6 minutes). Beat in the vanilla extract until just combined.
-
Spread the meringue evenly into the prepared pie plate, building it up the sides to form a crust. Bake for 45–50 minutes, or until the meringue is crisp to the touch and lightly golden. Turn off the oven, crack the oven door slightly, and let the meringue cool completely inside the oven. This crucial step helps prevent cracks and ensures a perfectly crisp crust.
For the chocolate mousse:
-
Place the chopped chocolate in a medium heatproof bowl. In a separate small bowl, microwave ½ cup of the heavy cream (or full-fat coconut milk) until it is simmering, approximately 1 minute. Pour the hot cream over the chopped chocolate and let it sit undisturbed for about 30 seconds to allow the chocolate to soften. Stir until the chocolate is fully melted and the mixture is smooth and glossy. If needed, microwave in 20-second intervals at 50% power, stirring after each, until fully melted. Set aside to cool slightly.
-
In another medium heatproof bowl, whisk together the egg yolks, granulated sugar, and kosher salt until smooth and well combined. Place this bowl over a saucepan of gently simmering water (ensure the bottom of the bowl does not touch the water). Whisk constantly and vigorously until the mixture is smooth, has thickened slightly, and reaches 160°F (71°C), which typically takes about 4 minutes. Remove the bowl from the heat and stir in the vanilla extract.
-
Gradually whisk the prepared chocolate ganache into the tempered egg yolk mixture until it is fully combined and smooth. Let this combined chocolate mixture cool to room temperature, whisking occasionally to ensure it cools evenly and prevents a skin from forming.
-
In the bowl of a stand mixer fitted with the whisk attachment, or using a hand mixer, whip the remaining cold heavy cream (or full-fat coconut milk) on medium-high speed until medium peaks form, about 3–4 minutes. Be careful not to over-whip.
-
Gently fold the cooled chocolate mixture into the whipped cream until no streaks remain and the mousse is light and airy. Take care not to deflate the whipped cream. Spread the chocolate mousse filling evenly into the cooled meringue crust. Cover the pie with plastic wrap and refrigerate for at least 4 hours, or ideally overnight, until it is completely set.
For the whipped cream topping:
-
In the bowl of a stand mixer fitted with the whisk attachment, or using a hand mixer, whip together the heavy cream (or dairy-free whipped cream alternative), powdered sugar, and vanilla on medium-high speed until stiff peaks form, about 4-5 minutes.
-
Spread or pipe this freshly whipped cream over the chilled chocolate angel pie. For an extra touch of elegance, garnish with finely shaved chocolate or a dusting of cocoa powder, if desired. Slice carefully and serve immediately.
Notes
Gluten-Free: This recipe is designed to be naturally gluten-free, featuring a light and airy meringue crust made from whipped egg whites and sugar, making it a perfect dessert for those with gluten sensitivities or celiac disease.
Dairy-Free: To make this pie completely dairy-free, substitute full-fat canned coconut milk for all instances of heavy cream. Ensure the coconut milk is well-chilled, then scoop out the thick cream from the top. For the topping, use whipped coconut milk or your favorite store-bought dairy-free whipped cream alternative.
Nut-Free: This recipe is naturally nut-free, making it a safe and delicious option for those with nut allergies.
To Make-Ahead: This Chocolate Angel Pie is an ideal make-ahead dessert for entertaining. You can prepare the entire pie, including the chocolate mousse filling, up to one day in advance and refrigerate it overnight. For the freshest appearance and texture, add the whipped cream topping and any chocolate dusting just before serving.
To Store: To preserve its delightful texture and flavor, cover the pie gently with plastic wrap and refrigerate for up to three days. Please note that while still delicious, the meringue crust may soften slightly over time due to moisture from the filling.
To Freeze: Freezing is generally not recommended for this pie. The delicate texture of both the meringue crust and the chocolate mousse can be compromised upon thawing, leading to a less enjoyable experience. For the best results, enjoy it fresh and refrigerated.
Nutrition
Carbohydrates: 35g |
Protein: 6g |
Fat: 37g |
Saturated Fat: 22g |
Polyunsaturated Fat: 2g |
Monounsaturated Fat: 10g |
Trans Fat: 0.02g |
Cholesterol: 158mg |
Sodium: 44mg |
Potassium: 234mg |
Fiber: 2g |
Sugar: 32g |
Vitamin A: 1201IU |
Vitamin C: 0.4mg |
Calcium: 72mg |
Iron: 2mg
This post was originally published in November 2015. It was meticulously updated with new photos, enhanced instructions, and valuable expert tips in November 2025 to ensure the best possible experience for our readers.