
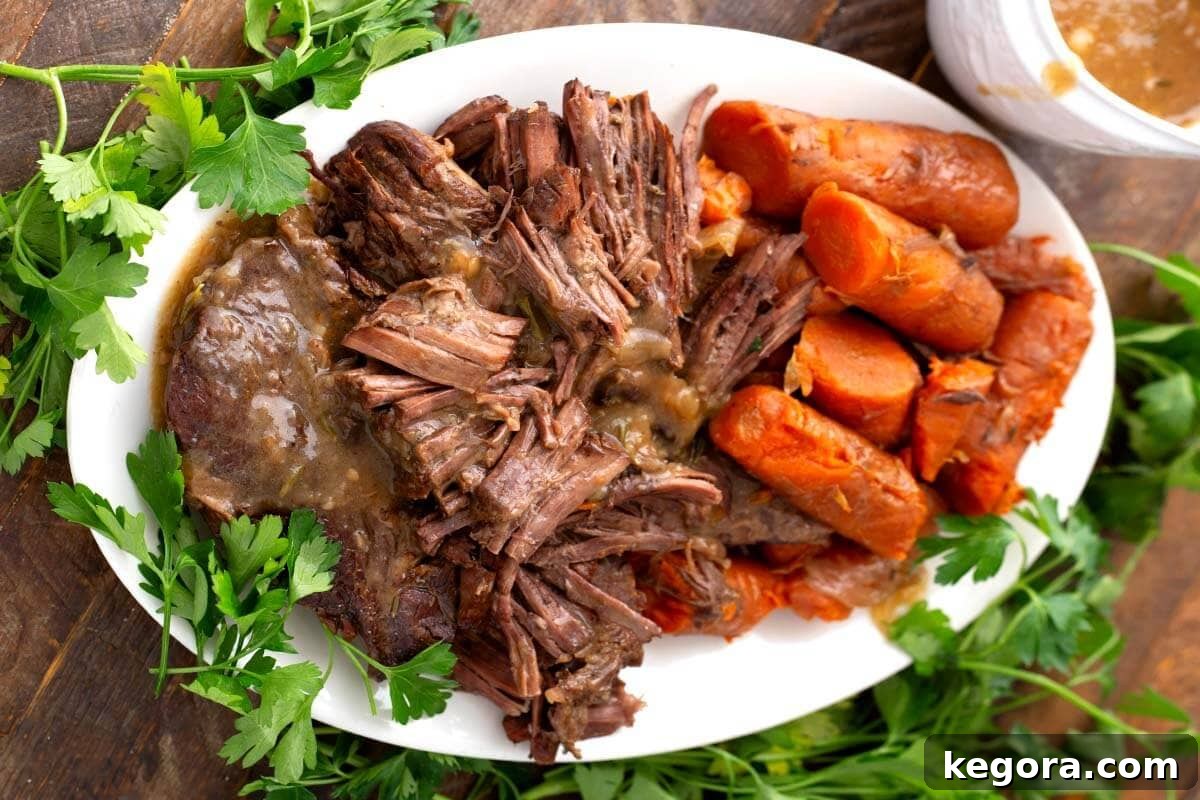
When the craving for ultimate comfort food strikes, this easy Instant Pot Pot Roast with rich, savory gravy is an absolute game-changer! Imagine succulent, fall-apart tender beef, perfectly cooked carrots, and sweet onions, all swimming in a deeply flavorful gravy that tastes like it has simmered on your stovetop for an entire day. Yet, thanks to the magic of your Instant Pot, this culinary masterpiece can be on your dinner table in approximately two hours. This classic pressure cooker pot roast recipe is not just a meal; it’s an experience – perfect for a leisurely Sunday dinner or a hearty, satisfying weeknight feast that will undoubtedly become a family favorite.
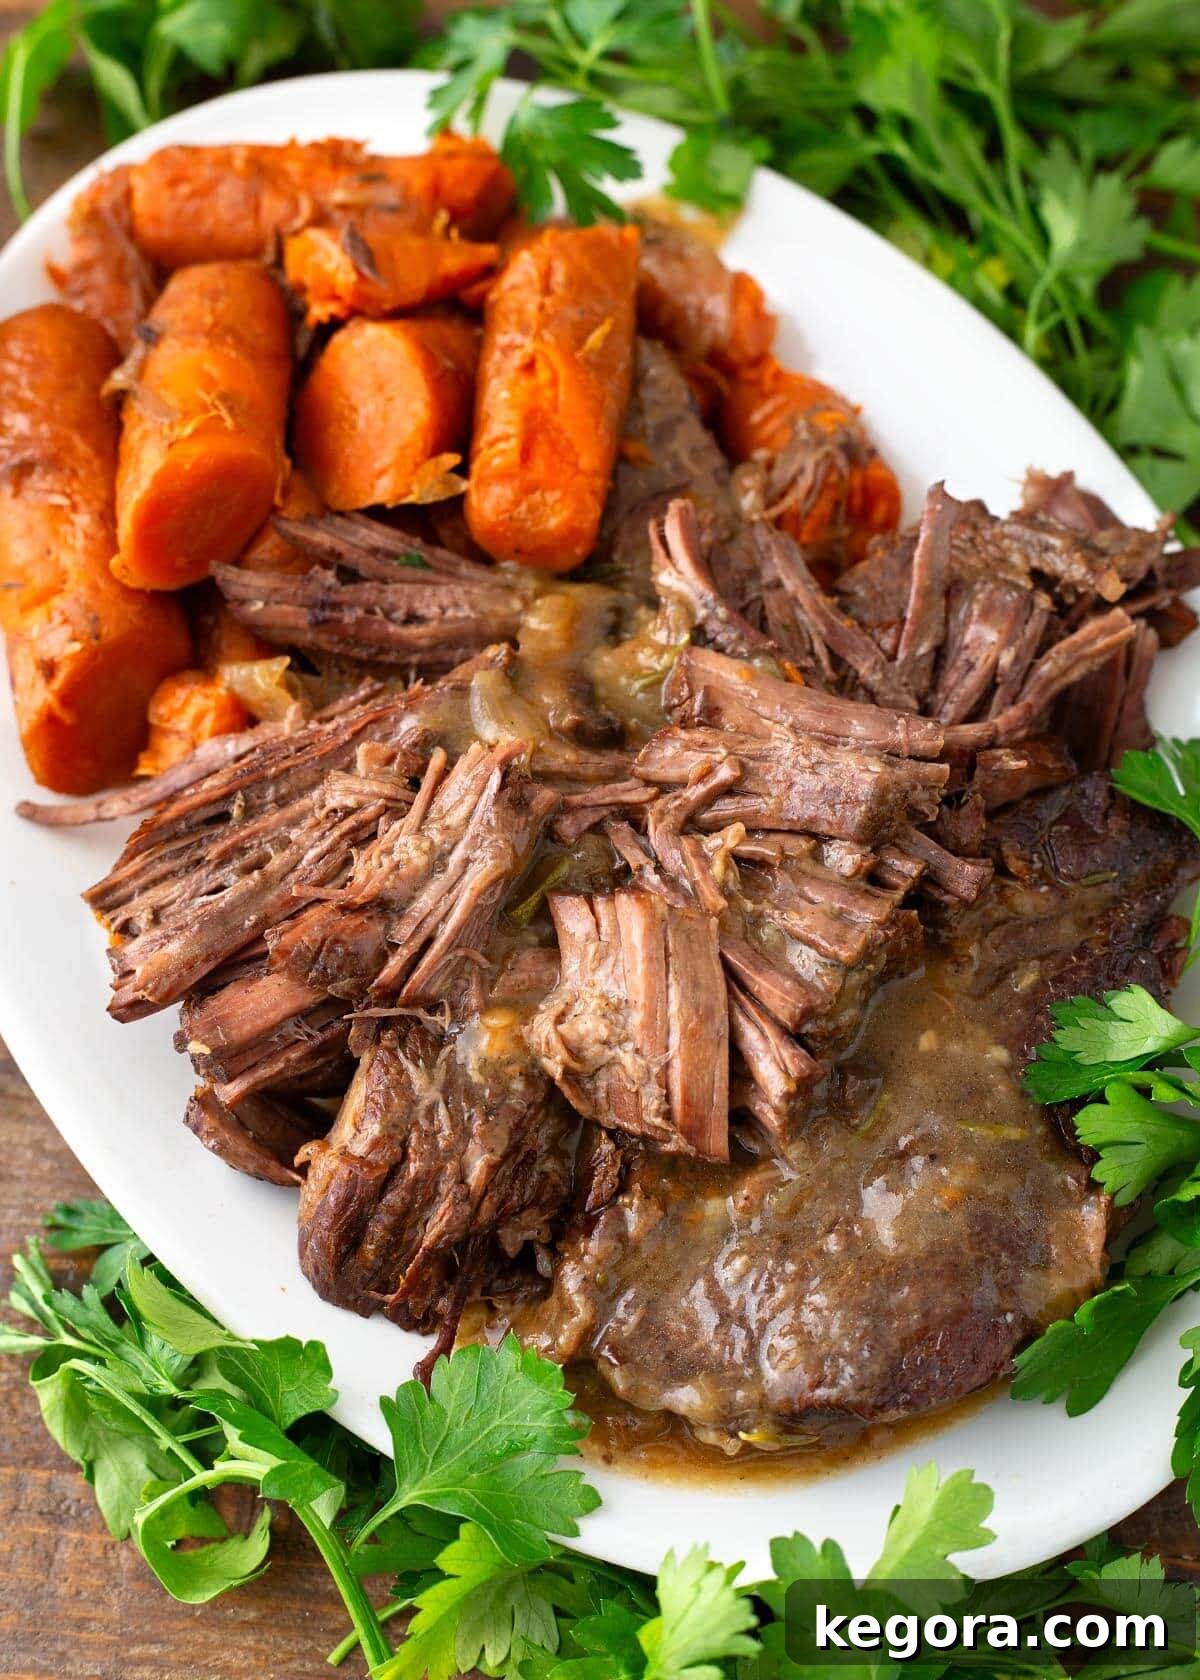
The Ultimate Instant Pot Pot Roast: A Timeless Classic, Modernized
Pot roast holds a special place in the hearts of many, evoking memories of warmth, family gatherings, and the incredible aroma that fills the entire house. It’s a culinary hug in a bowl, a dish that truly nourishes both body and soul. Traditionally, achieving that meltingly tender beef and deeply flavorful gravy required hours of slow cooking in the oven or a dedicated slow cooker. However, with the advent of the Instant Pot, this beloved classic has been revolutionized, allowing home cooks to achieve exceptional results in a fraction of the time without compromising on taste or texture.
Using the Instant Pot for your pot roast not only dramatically cuts down on cooking time but also intensifies flavors. The high-pressure environment tenderizes even the toughest cuts of meat to perfection, infusing them with the aromatic liquids and herbs. This method captures all the rich, slow-simmered beef flavor and fork-tender texture that we cherish in a traditional pot roast, making it one of the most popular Instant Pot recipes for good reason. If you’re looking for another fantastic pressure cooker roast, be sure to try our Instant Pot Mississippi Pot Roast for a tangy, savory twist!
Why This Instant Pot Pot Roast Recipe Will Become Your Go-To
This particular Instant Pot Pot Roast recipe stands out for several compelling reasons. It’s designed to deliver maximum flavor and tenderness with minimal fuss, making it accessible for both novice and experienced cooks alike.
- Unbelievably Tender Beef: Prepare for beef that literally falls apart with a fork, bathed in a rich, homemade gravy that is bursting with savory goodness. The Instant Pot ensures perfect tenderization every time.
- Comfort Food, Fast: Get that deep, comforting flavor typically associated with all-day cooking in a fraction of the time. This means less waiting and more enjoying!
- Versatile Meal Solution: Whether you’re planning a special Sunday dinner to impress guests or seeking an efficient solution for weeknight meal prep, this recipe fits the bill perfectly.
- Easily Customizable: Adapt this pot roast to your family’s preferences. Add fresh mushrooms for an earthy depth, or include potatoes directly in the pot for a complete one-pot meal.
- Freezer-Friendly & Delicious Leftovers: This Instant Pot Chuck Roast reheats beautifully, retaining its tender texture and rich flavor. It’s an ideal candidate for batch cooking and freezing for future busy days.
If you love hearty Instant Pot dinners, make sure to try our Instant Pot Beef Stew next for another satisfying one-pot meal!
Essential Ingredients for Your Instant Pot Pot Roast
Crafting the perfect pot roast begins with selecting high-quality ingredients. Each component plays a crucial role in building the layers of flavor that make this dish so irresistible. Below is a detailed look at what you’ll need and why it matters:
- Chuck Roast: This is our top recommendation for the most tender and flavorful results. Its generous marbling (streaks of fat) breaks down beautifully under pressure, yielding that coveted fall-apart texture and rich mouthfeel. While you can also use brisket or bottom round, be aware they are leaner and may result in a slightly less juicy roast.
- Kosher Salt and Black Pepper: These fundamental seasonings are vital for enhancing the beef’s natural flavors. Don’t be shy – season the roast generously on all sides before searing to create a delicious crust and flavor foundation.
- Olive Oil: Used for searing the beef, olive oil helps create a golden-brown crust, which is essential for developing deep, complex flavors that will form the base of your gravy.
- Yellow Onions: Cut into quarters, these provide a foundational sweetness and aromatic depth that mellows beautifully during pressure cooking, contributing significantly to the overall flavor profile.
- Red Wine (or Beef Broth): A splash of red wine is a secret weapon for deglazing the pot (more on this crucial step below!) and adds an incredible richness and complexity to the gravy. If you prefer to avoid alcohol, high-quality beef broth is an excellent substitute, perhaps with a dash of balsamic vinegar for brightness.
- Garlic Cloves: Smashed rather than finely minced, garlic cloves release a bold, savory aroma and flavor that permeates the entire dish without becoming overpowering.
- Fresh Rosemary and Thyme: These classic, aromatic herbs are indispensable for infusing the cooking liquid with a fragrant, herbaceous essence, elevating the roast from good to gourmet.
- Beef Consommé (or Rich Beef Broth): This forms the foundational liquid for your gravy. Beef consommé, a clarified and concentrated broth, offers a full-bodied, intense beef flavor. Rich beef broth is a fantastic alternative, ensuring a robust and savory gravy.
- Low-Sodium Soy Sauce: A small amount of soy sauce is a powerful umami booster. It deepens the savory notes of the beef and gravy without imparting an obvious soy flavor, thanks to its low-sodium content.
- Carrots: Cut into large 3-inch pieces, carrots add natural sweetness and color. Larger pieces prevent them from turning mushy during cooking, allowing them to remain tender yet intact.
- Sliced Mushrooms (Optional): For those who love an earthy dimension, sliced mushrooms add a wonderful layer of flavor and contribute to an even richer gravy.
- Flour and Butter: These two ingredients are combined to create a smooth, rich roux that will thicken your gravy to perfection after the pressure cooking is complete. Ensure the butter is softened for easy mixing into a paste.
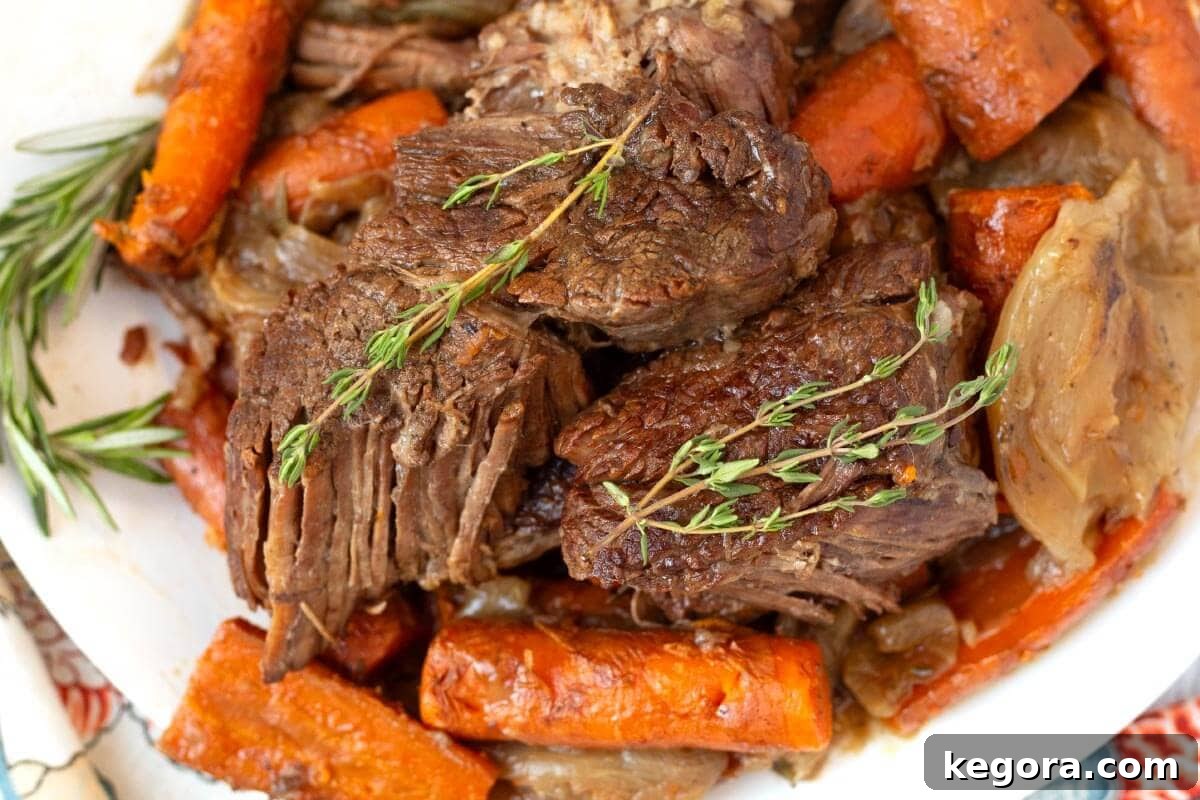
Selecting the Best Cuts of Beef for Instant Pot Pot Roast
The cut of beef you choose is paramount to the success of your pot roast. The Instant Pot excels at breaking down tough muscle fibers, making cuts that are typically slow-cooked perfect for pressure cooking. Here’s a deeper dive into the best options:
- Chuck Roast: The Gold Standard
Chuck roast, often labeled as chuck shoulder, chuck eye, or blade roast, is the classic and highly recommended choice for pot roast. It’s renowned for its excellent marbling—those fine streaks of fat woven throughout the muscle. This fat is critical because it renders during the pressure cooking process, basting the meat from within, ensuring it stays incredibly moist, juicy, and achieves that signature fall-apart tenderness we all crave. The collagen in chuck also breaks down into gelatin, enriching the gravy and providing a luxurious mouthfeel. - Brisket: For a Deeper Flavor
Brisket, particularly the “point” or “second cut,” can also be an excellent choice for pot roast. It’s typically fattier than the “flat” cut and boasts a deep, rich beefy flavor. Brisket tends to hold its shape a bit more than chuck roast, but will still become wonderfully tender under pressure. If using brisket, ensure it has a good fat cap or marbling for moisture. - Bottom Round or Rump Roast: A Leaner Option
If you’re looking for a leaner alternative, bottom round or rump roast can work, but they require a bit more attention. These cuts have less marbling, meaning they can dry out more easily if overcooked. To maximize tenderness and juiciness, ensure you don’t overcook them and always slice the cooked roast very thinly against the grain. This will help break up the muscle fibers and make each bite more palatable. - Blade Roast or Shoulder Roast: Similar to Chuck
These cuts also come from the chuck area of the cow and share many characteristics with chuck roast, including good marbling and rich flavor. They will cook up similarly in the Instant Pot, yielding tender and delicious results.
Pro Tip for Choosing Your Roast: No matter which cut you ultimately decide on, always prioritize beef with visible marbling. Those streaks of fat are your guarantee for a truly tender, moist, and juicy pot roast after the pressure cooking process.
How to Make Instant Pot Pot Roast: A Step-by-Step Guide
Making a show-stopping pot roast in your Instant Pot is simpler than you might think. Follow these detailed steps to achieve perfect results every time:
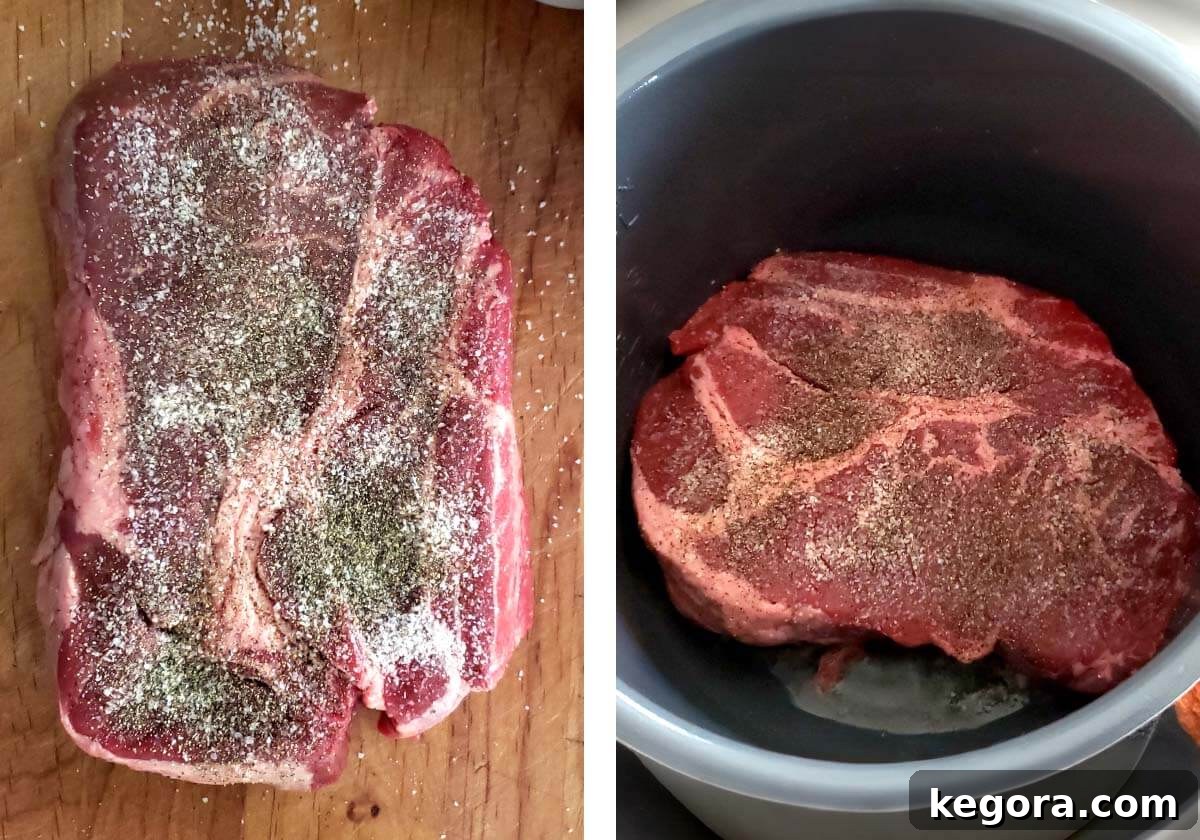
- Season and Sear the Beef: Begin by patting your chuck roast dry with paper towels – this helps achieve a better sear. Generously season all sides of the beef with kosher salt and black pepper. Use the Sauté setting on your Instant Pot (on high) and add olive oil. Once hot, carefully place the seasoned chuck roast in the pot and brown it deeply on all sides until a rich golden crust forms (about 5 minutes per side). This crucial step develops immense flavor. Once seared, remove the roast from the pot and set it aside on a plate.
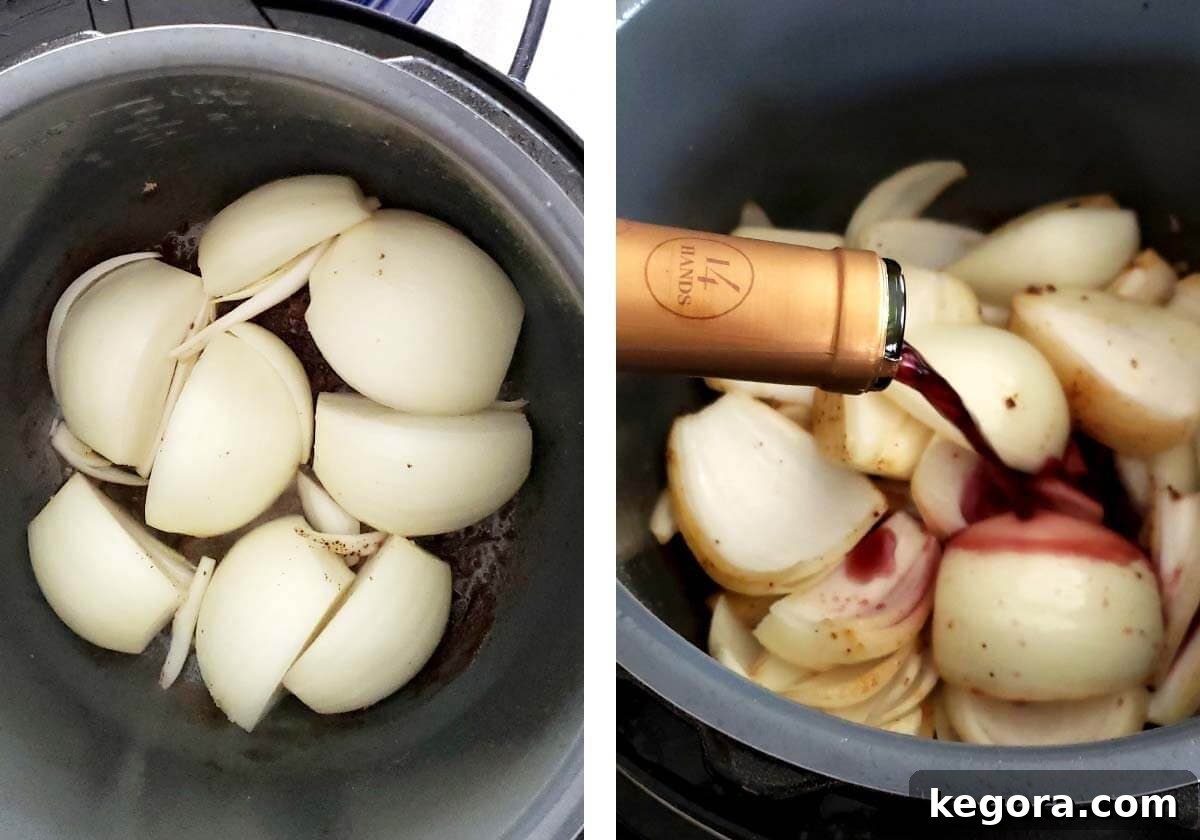
- Sauté Onions and Deglaze: Add the quartered yellow onions to the pot and lightly brown them for a few minutes. Then, pour in the red wine (or beef broth). Immediately scrape up all the delicious browned bits (the “fond”) from the bottom of the pot with a wooden spoon or spatula. This not only adds incredible flavor to your gravy but also prevents the dreaded “burn” warning.
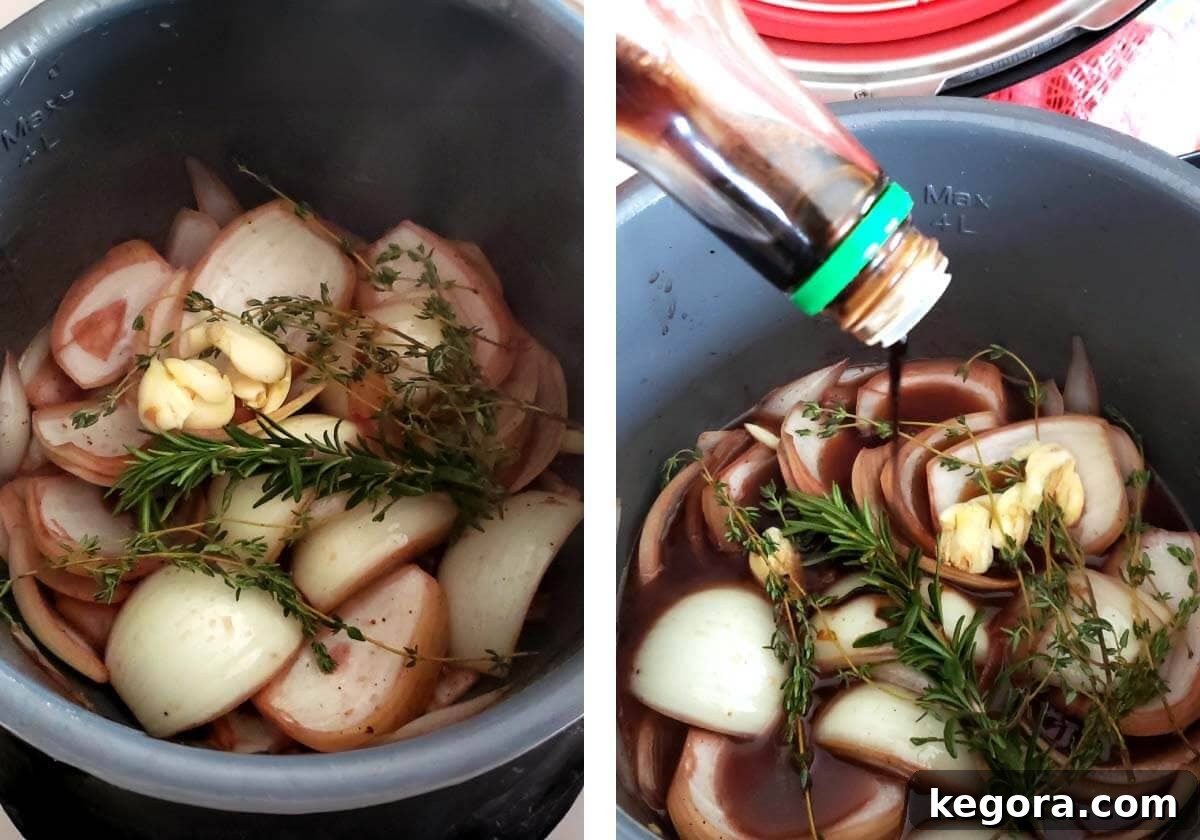
- Build the Flavor Base: Add the smashed garlic cloves, fresh rosemary sprigs, fresh thyme sprigs, and low-sodium soy sauce to the pot. Stir well to combine these aromatic ingredients.
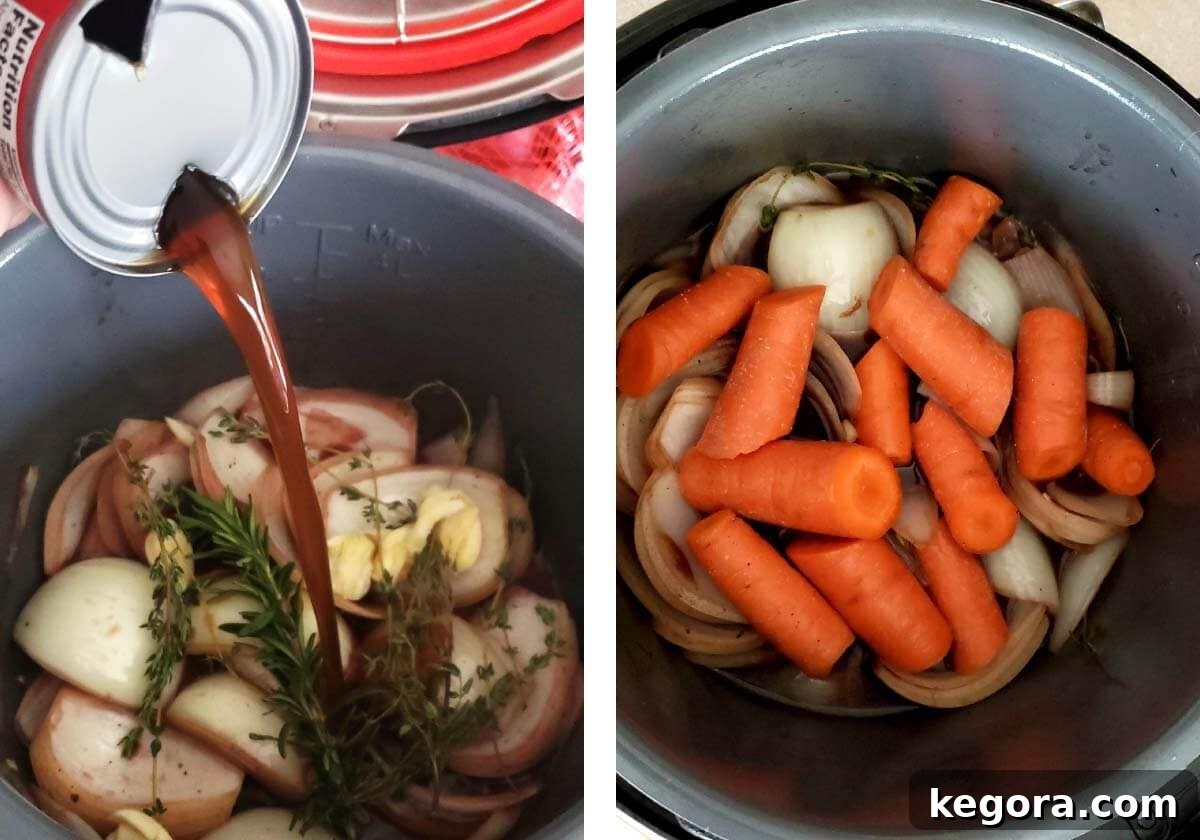
- Add Liquids and Vegetables: Pour in the beef consommé (or rich beef broth). If you want very soft, flavorful carrots that cook with the roast, add your large 3-inch carrot pieces to the pot now.
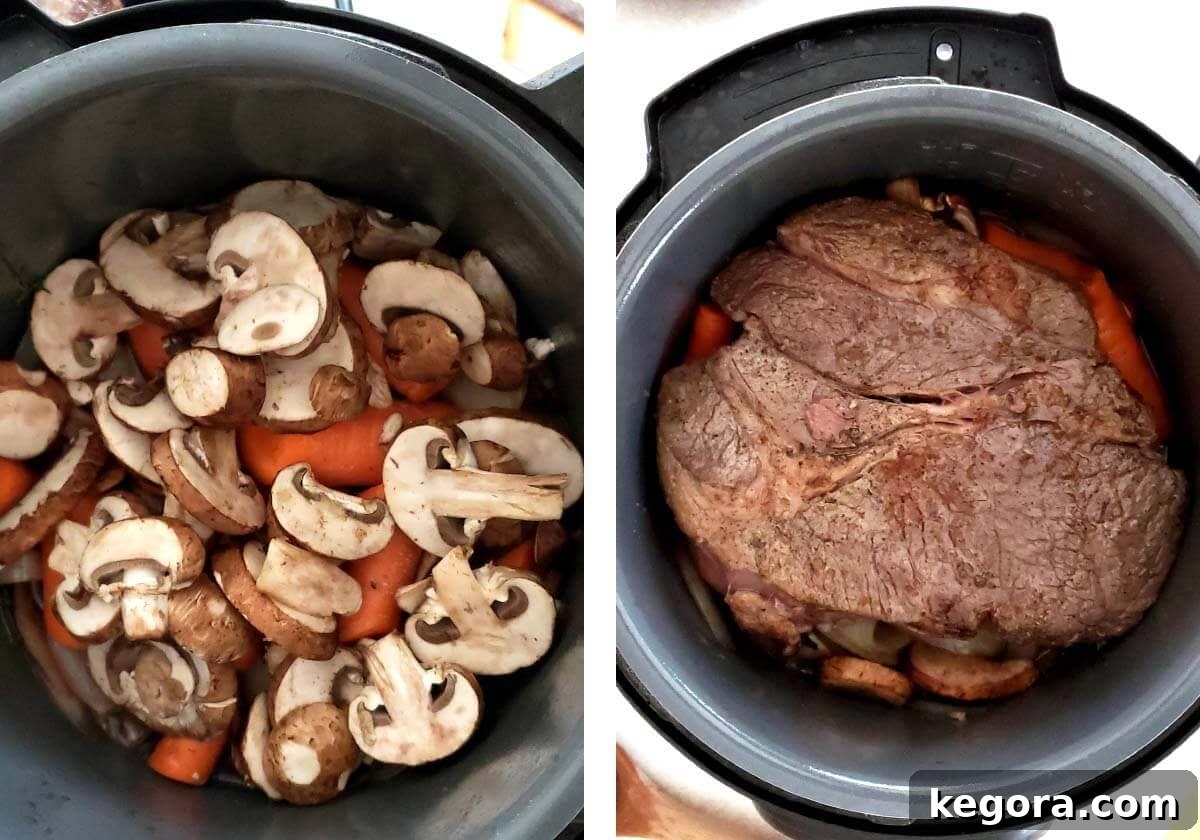
- Final Assembly for Pressure Cooking: If using, add sliced mushrooms to the pot. Gently place the browned beef roast back into the Instant Pot, nestled on top of the vegetables and liquid. Ensure the beef is mostly submerged but not fully covered.
Pressure Cook: Secure the Instant Pot lid and set the steam release valve to the “Sealing” position. Select the “Pressure Cook” or “Manual” setting and set the cooking time for 60-70 minutes on High Pressure. The exact time may vary slightly depending on the size and thickness of your roast (a 3-pound roast typically needs 60 minutes). Once the cooking cycle is complete, allow the pressure to naturally release for 10-20 minutes. This natural release is crucial for tenderizing the meat. After the natural release, carefully turn the steam release valve to “Venting” to quick release any remaining steam. Once the float valve drops, you can safely open the lid.
Cook the Veggies (Optional Second Stage): If you prefer firmer vegetables that retain more of their shape, remove the roast from the pot. Add fresh carrots and/or potatoes (cut into appropriate sizes) to the flavorful liquid in the Instant Pot. Close the lid, seal the vent, and pressure cook for an additional 3-5 minutes on High Pressure (3 minutes for baby carrots, 5 minutes for larger potato chunks). Then perform a quick release of the pressure.
Thicken the Gravy: Carefully remove the beef and cooked vegetables from the pot and set them aside. Turn on the “Sauté” setting (on low). In a small bowl, whisk together the flour and softened butter until a smooth paste forms. Once the liquid in the Instant Pot starts to simmer, gradually stir in the flour-butter mixture. Continue to simmer, stirring occasionally, until the gravy reaches your desired thickness. The gravy will thicken as it cools slightly.
Cooking Tip: For the most tender, succulent results, always allow the pressure to naturally release for at least 10–20 minutes after the cooking cycle. This resting period allows the meat fibers to relax and reabsorb juices, preventing a dry roast.
Expert Tips for the Best Instant Pot Pot Roast
Achieving a truly exceptional Instant Pot Pot Roast is about more than just following steps; it’s about understanding the nuances that elevate the dish. Here are some expert tips to ensure your pot roast is always a resounding success:
- Choose Your Beef Wisely: As mentioned, a well-marbled chuck roast is your best friend for pot roast. The fat content is essential for a truly flavorful and fall-apart tender beef that simply melts in your mouth. Don’t skimp on quality here!
- Master the Deglazing Technique: After searing your beef, deglaze the pot thoroughly. Scrape up every single browned bit from the bottom of the inner pot using a wooden spoon. This isn’t just about adding flavor; it’s critical for preventing the Instant Pot’s dreaded “burn” warning, which can halt your cooking process. Ensuring the bottom is clear allows pressure to build correctly and flavors to meld beautifully. (Learn more about Deglazing here)
- Embrace Red Wine for Depth: A splash of red wine is a game-changer for adding complex, robust flavor to your gravy. Opt for a dry red wine you enjoy drinking. If you prefer to avoid alcohol, an equal amount of rich beef broth with a tablespoon of balsamic vinegar will offer a similar depth and acidity.
- Respect the Natural Pressure Release: Do not rush the natural pressure release! Allowing the Instant Pot to naturally release pressure for at least 10-20 minutes after cooking is vital. This resting period allows the meat to slowly cool, relax, and reabsorb its juices, resulting in a significantly more tender and moist roast. A quick release right away can shock the meat, making it tougher and drier.
- Don’t Overcrowd the Pot: While the Instant Pot is great for one-pot meals, avoid cramming too much into the inner pot, especially during searing. Overcrowding can steam the meat instead of searing it, preventing that beautiful golden crust from forming. Sear in batches if necessary.
- Season in Layers: Season not just the beef, but also the onions and the cooking liquid. Taste the gravy before thickening and adjust salt and pepper as needed. Building flavor in layers ensures a harmonious and well-balanced final dish.
Optimal Cooking for Vegetables: Texture Matters
The timing for adding vegetables can significantly impact their texture. Consider these two methods:
- If you prefer very soft, fully flavored vegetables that meld into the gravy, add your carrots and potatoes at the same time as the roast, before pressure cooking. They will cook down in the rich juices and become incredibly tender.
- For firmer vegetables that maintain their shape and offer a slight bite, add them after the roast is fully cooked and removed from the pot. Then, pressure cook them for an additional 3-5 minutes (depending on size and desired tenderness), followed by a quick release.
- This two-stage method gives you complete control over the texture, allowing you to choose between melt-in-your-mouth soft and saucy, or tender-crisp and distinct.
Thicken the gravy directly in the Instant Pot. After removing the beef, use the Sauté mode to bring the liquid to a simmer. Stir in your pre-mixed flour and butter paste (a “beurre manié”) and whisk continuously until you achieve a beautifully smooth, rich, and perfectly thickened sauce.
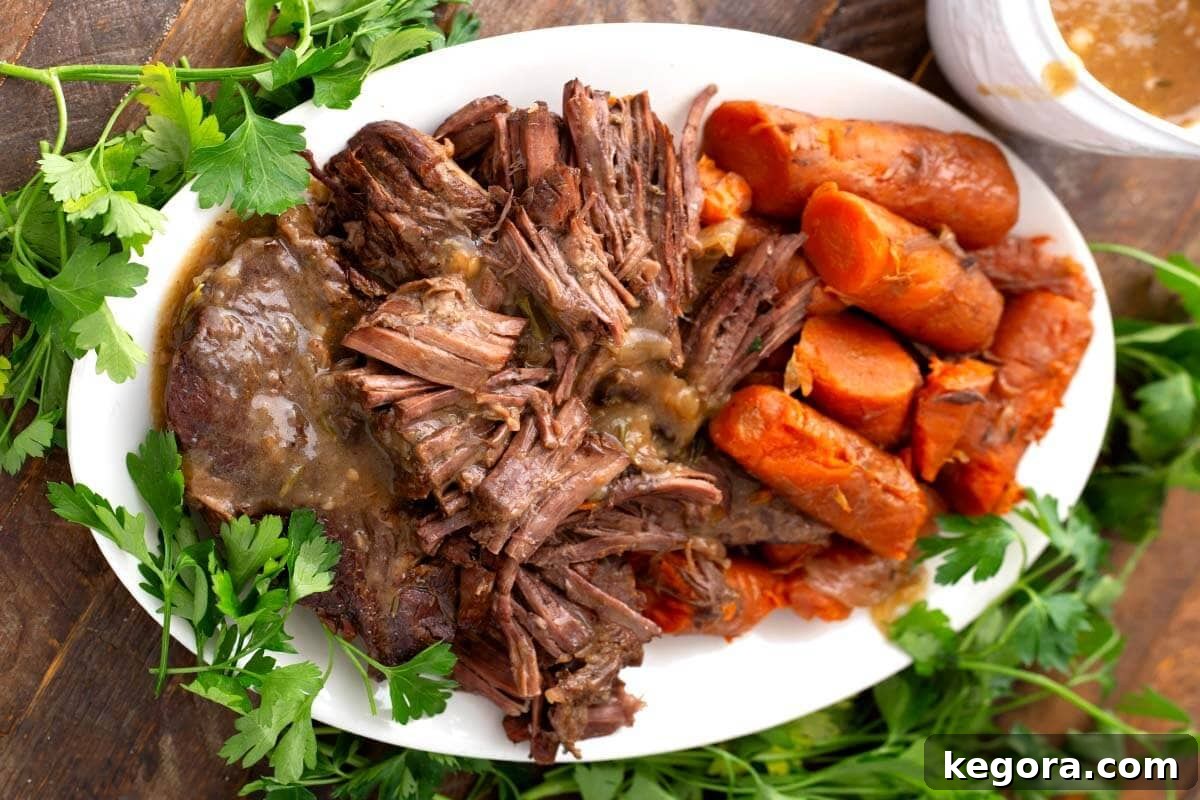
What to Serve With Instant Pot Beef Roast
To complete your ultimate comfort-food dinner experience, consider pairing this succulent Instant Pot Pot Roast with one (or more!) of these delightful Simply Happy Foodie favorites. Each dish is designed to complement the rich flavors of the beef and gravy:
- Instant Pot Creamy Mashed Potatoes: The classic accompaniment, perfect for soaking up every last drop of that amazing gravy.
- Easy Sautéed Green Beans: A vibrant, fresh green vegetable offers a lovely textural contrast and a hint of crispness.
- Loaded Potato Salad: For a heartier side that still feels fresh and flavorful, a loaded potato salad is surprisingly versatile with pot roast.
- Slow Cooker Garlic Herb Potatoes: If your Instant Pot is busy with the roast, these flavorful slow-cooked potatoes are an effortless and delicious alternative.
- Blueberry Spinach Salad: For a refreshing counterpoint, a light and fruity salad can cut through the richness of the pot roast beautifully.
Each of these pairings ensures a well-rounded meal, brimming with comfort and flavor, making your pressure cooker beef roast the star of the show.
Storage and Reheating for Instant Pot Pot Roast
One of the many advantages of Instant Pot Pot Roast is how wonderfully it stores and reheats, making it an excellent choice for meal prep or enjoying delicious leftovers for days. Properly stored, the flavors deepen even further.
- Refrigeration: Store any leftover pot roast, along with its gravy and vegetables, in an airtight container in the refrigerator for up to 4 days. Ensure the beef is submerged in the gravy to keep it moist and prevent drying out.
- Freezing: For longer storage, this pot roast freezes exceptionally well. Transfer the cooled pot roast and gravy to a freezer-safe airtight container or heavy-duty freezer bags, removing as much air as possible. It can be frozen for up to 3 months. Thaw overnight in the refrigerator before reheating.
- Reheating:
- Stovetop: The best method for reheating. Place the pot roast and gravy in a pot over medium-low heat, stirring occasionally, until heated through. Add a splash of extra beef broth or water if the gravy seems too thick or the meat appears dry.
- Microwave: For individual portions, microwave on medium power, stirring every minute or so, until warmed through. Again, a little extra broth can help maintain moisture. Avoid overheating, which can make the meat tough.
With careful storage and gentle reheating, your Instant Pot Pot Roast will remain juicy, tender, and incredibly flavorful, ready to provide another comforting meal whenever you desire.
More Easy Instant Pot Recipes to Explore
If you’ve fallen in love with the convenience and delicious results of this Instant Pot Pot Roast, you’re in luck! We have a wide array of easy Instant Pot Dinner Recipes that are sure to become new family favorites:
- Instant Pot Chicken and Dumplings: A soulful, classic dish made effortlessly.
- Instant Pot Honey Garlic Pork Tenderloin: Quick, flavorful, and incredibly tender pork.
- Instant Pot Mississippi Chicken: A zesty, comforting chicken dish with minimal ingredients.
- Instant Pot Chicken Adobo Filipino: Experience the rich, tangy flavors of this Filipino classic.
- Instant Pot Country Style Ribs: Fall-off-the-bone ribs made in record time.
Expand your Instant Pot repertoire and discover how this versatile appliance can bring delicious, comforting meals to your table with ease.
If you make this delicious pressure cooker pot roast recipe, we’d love to hear about it! Please leave a comment with a star rating below to share your experience and feedback.
Instant Pot Pot Roast
Equipment
-
6-quart Electric Pressure Cooker
Ingredients
- 1 ½ teaspoons Kosher Salt (plus more to taste)
- 1 teaspoon Pepper
- 3 lbs Chuck Roast, well marbled
- 2 Tablespoons Olive Oil
- 2 large Yellow Onions, cut in quarters
- ½ cup Red Wine, what you like to drink (or use beef broth)
- 3 cloves Garlic, smashed
- 2 sprigs Rosemary
- 3 sprigs Thyme
- 1 can Beef Consommé, (or 2 cups rich beef broth)
- 1 Tablespoon Soy Sauce, low sodium
- 4 large Carrots**, cut in large 3″ pieces
- 8 oz Sliced Mushrooms (optional)
To Thicken the Gravy
- ⅓ cup Flour
- 4 Tablespoons Butter, softened
Instructions
Season the Roast
-
Sprinkle salt and pepper over all sides of the roast. Set aside.
Brown the Roast
-
Turn on the Sauté setting of the pressure cooker and when it is hot add the olive oil. Then add the roast and brown it for 5 minutes on each side. Remove to a plate.
Deglaze the Pot (See Note 1)
-
Add the onion quarters and brown them on each side.
-
Pour in the red wine (See Note 2) and deglaze the pot by stirring, scraping up all of the browned bits (called fond) from the bottom of the pot. Feel free to replace the wine with more beef broth, if you don’t do wine.
Build the Base
-
Add the garlic, rosemary, thyme, beef broth, soy sauce, carrots, and mushrooms. Give the contents of the pot a good stir. Make sure the herbs and garlic are submerged in the broth.
-
Add the roast back into the pot, then place the lid on and set the steam release knob to the Sealing position.
Pressure Cook the Roast
-
Cancel the Sauté function, then press the Pressure Cook/Manual button or dial, then the +/- button or dial to select 60 minutes. High Pressure. The pot will take several minutes to come to pressure.
-
When the cooking cycle has finished, let the pot sit undisturbed for 10 to 20 minutes. Then turn the steam release knob to the Venting position to manually release any remaining steam/pressure.
-
When the pin in the lid drops down you can open the lid. Skim off the fat with a spoon, then carefully take out the roast and set it on a plate. Also remove the stems from the rosemary and thyme and discard.
Mix the Thickener for Gravy
-
Meanwhile, mix the flour and butter together very well. If you have to, microwave for 5-10 seconds to soften butter further. Set aside.
If Cooking Veggies Separately from Roast
-
** If you are cooking carrots and/or potatoes separately from the roast, add them in and place the lid back on, seal it, and set the cook time for 3 to 5 minutes (this will depend on how large the veggie pieces are. Baby carrots will only take 3 minutes). Then Quick Release the steam and continue.
Make the Gravy
-
Turn the Sauté setting on and when it starts to simmer, stir in the flour/butter mixture. Let that simmer, stirring occasionally, for just enough time as it takes for the gravy to thicken. Then turn off the pot.
Serve
-
Serve the roast with a big spoonful of the veggies and gravy. This goes well alongside mashed potatoes.
Notes
- Deglazing well after searing is key to avoiding a burn warning and gives the gravy deep flavor.
- For an alcohol-free version, replace red wine with beef broth.
- You can cook the carrots and potatoes together with the roast, or separately after pressure cooking for firmer texture.
Storage and Freezing
- Store leftovers in an airtight container in the refrigerator for up to 4 days.
- Reheat gently with a splash of broth to keep the beef moist.
- Freeze with gravy for up to 3 months.
- Thaw overnight in the fridge before reheating.
Nutrition
Nutrition information is automatically calculated, so should only be used as an approximation.
Additional Info
FAQs About Instant Pot Pot Roast
Yes, you absolutely can, but we highly recommend searing. Searing the beef develops a rich, deep flavor profile and creates a beautiful crust that significantly enhances the overall taste of both the beef and the gravy. If you skip this step, the roast will still be tender, but it may lack some of that complex, savory depth.
Chuck roast is widely considered the best choice for Instant Pot Pot Roast due to its excellent marbling. The fat renders beautifully under pressure, resulting in an incredibly tender, juicy, and flavorful roast. Brisket or bottom round can also be used, but they tend to be leaner, so be mindful not to overcook them.
For a 3-pound chuck roast, we recommend cooking it on High Pressure for approximately 60 minutes. This should be followed by a natural pressure release of at least 15 minutes. This combination ensures optimal tenderness and allows the meat to relax and reabsorb its juices, preventing dryness.
The most crucial step to prevent the “burn” notice is to thoroughly deglaze the pot after searing. Make sure to scrape up all the browned bits (fond) from the bottom of the inner pot using a wooden spoon. Additionally, ensure there is at least 1 cup of thin liquid (like broth or wine) in the pot before sealing and beginning the pressure cooking cycle. Avoid thick sauces or ingredients directly on the bottom.
Absolutely! Instant Pot Pot Roast is fantastic for meal prep. It reheats incredibly well, maintaining its tender texture and rich flavor. For best results, store the pot roast submerged in its gravy to ensure the meat stays moist and delicious when reheated. It can be refrigerated for up to 4 days or frozen for up to 3 months.
If you prefer not to use red wine, you can easily substitute it with an equal amount of beef broth or any other flavorful broth you have on hand. For an added layer of brightness and acidity that mimics some of the complexity of wine, we suggest adding about a tablespoon of balsamic vinegar to the broth substitute.
What Does “Deglaze” Mean (and Why It Matters)?
If you’re new to the world of Instant Pot cooking or looking to enhance your culinary skills, one quick yet impactful step you’ll encounter in many recipes, especially for richer dishes like pot roast, is deglazing. Understanding this technique is not only key to preventing common Instant Pot issues but also to unlocking profound layers of flavor in your meals.
Deglazing is a simple cooking technique that involves adding a small amount of liquid – such as broth, wine, beer, or even just water – to a hot pan or pot immediately after searing meat or vegetables. Once the liquid is added, you use a wooden spoon or spatula to vigorously scrape up all the delectable browned bits that have stuck to the bottom of the pan during the searing process.
These flavorful browned bits are called fond (pronounced “fahn”), derived from the French word for “base” or “foundation.” They are caramelized remnants of sugars and proteins from the seared food, and they are little powerhouses of concentrated flavor. When you scrape them up and incorporate them into your cooking liquid, they dissolve and infuse the entire dish, particularly the gravy or sauce, with an incredibly rich, deep, and complex taste. This process transforms what might otherwise be plain cooking liquid into a luxurious, full-bodied sauce.
In the context of the Instant Pot, deglazing takes on an additional layer of importance: it actively prevents the dreaded “burn warning.” The Instant Pot’s sensitive sensors detect when food residue sticks to the bottom of the pot and begins to overheat, triggering an error message and halting the pressure building process. A thorough deglaze effectively cleans the bottom of the inner pot, ensuring that your Instant Pot can come to pressure smoothly and cook your recipe perfectly from start to finish without interruption.
While crucial for pressure cooking, it’s important to remember that deglazing is a time-honored classic cooking technique used across various cuisines and dish types, from soups and stews to pan sauces for chicken or fish. It’s a fundamental method for maximizing flavor extraction and ensuring that no delicious caramelized goodness goes to waste.
Pro Tip for Unforgettable Flavor: Never skip the deglazing step! It’s the secret weapon for achieving restaurant-quality depth of flavor in your Instant Pot Pot Roast and guaranteeing a perfectly smooth, rich gravy every single time.