
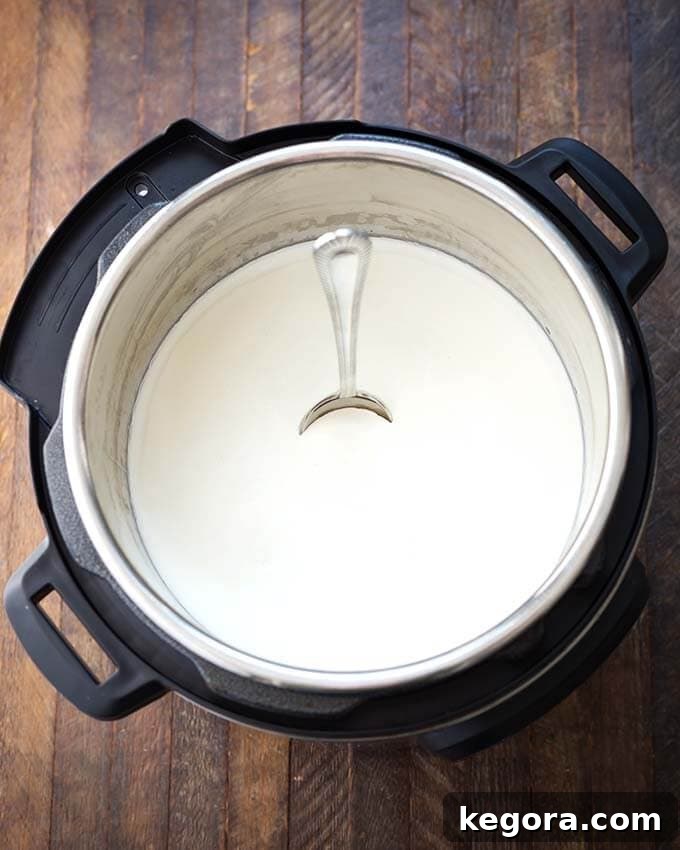
Discover the effortless joy of making lusciously thick and creamy yogurt right in your own kitchen with the Instant Pot No-Boil Yogurt method. Also widely known as Instant Pot Cold Start Yogurt, this revolutionary approach simplifies homemade yogurt to an unprecedented degree. Forget the days of meticulous milk heating and cooling; your electric pressure cooker’s built-in yogurt function handles the precise incubation with zero fuss. This recipe delivers a consistently delicious, rich yogurt that rivals any store-bought variety, all while saving you precious time and effort. Say goodbye to the complexities of traditional methods and hello to a quicker, more convenient way to enjoy fresh, probiotic-rich yogurt at home.
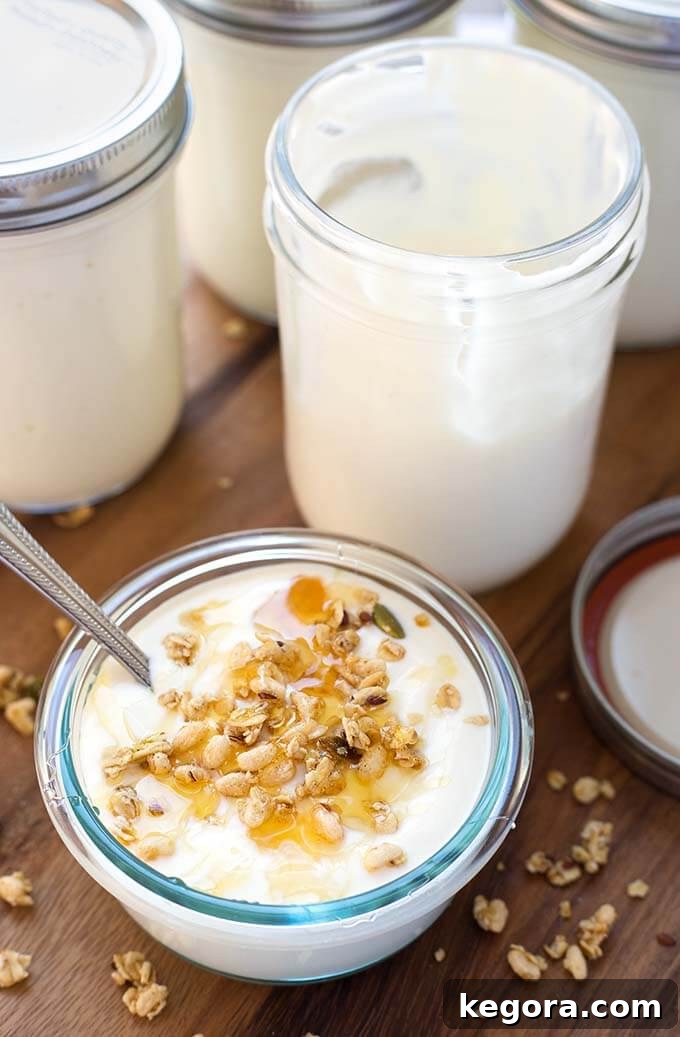
Mastering Instant Pot No-Boil Yogurt
For many, the thought of making homemade yogurt used to conjure images of intricate steps, temperature monitoring, and a significant time commitment. Before owning an Instant Pot electric pressure cooker, the traditional “boil method” was the standard. This involved carefully heating milk to a precise 180°F to denature proteins and kill unwanted bacteria, then patiently cooling it to 110°F before introducing a live yogurt starter. Finally, it would incubate for 8 hours or more. While certainly achievable, this process was often seen as a deterrent for busy individuals, adding unnecessary layers of complexity to a seemingly simple food.
The traditional method, while yielding good yogurt, often results in a slightly thinner consistency compared to the cold start approach. It requires more hands-on time, particularly with the careful heating and cooling phases. This is where the Instant Pot truly shines, offering a game-changing alternative that streamlines the entire process, making homemade yogurt accessible to everyone.
My first experience with Instant Pot No-Boil Yogurt was nothing short of a revelation. This ingenious method perfectly caters to a desire for efficiency without compromising on quality. The primary benefit is the elimination of the tedious boiling and cooling steps, drastically cutting down preparation time. Furthermore, the yogurt consistently emerged from the Instant Pot with an appealing thickness, often eliminating the need for straining – another win for those who appreciate simplicity and ease in the kitchen. The sheer convenience of setting it and forgetting it, knowing a batch of perfect yogurt is incubating, makes the Instant Pot an indispensable tool for yogurt enthusiasts.
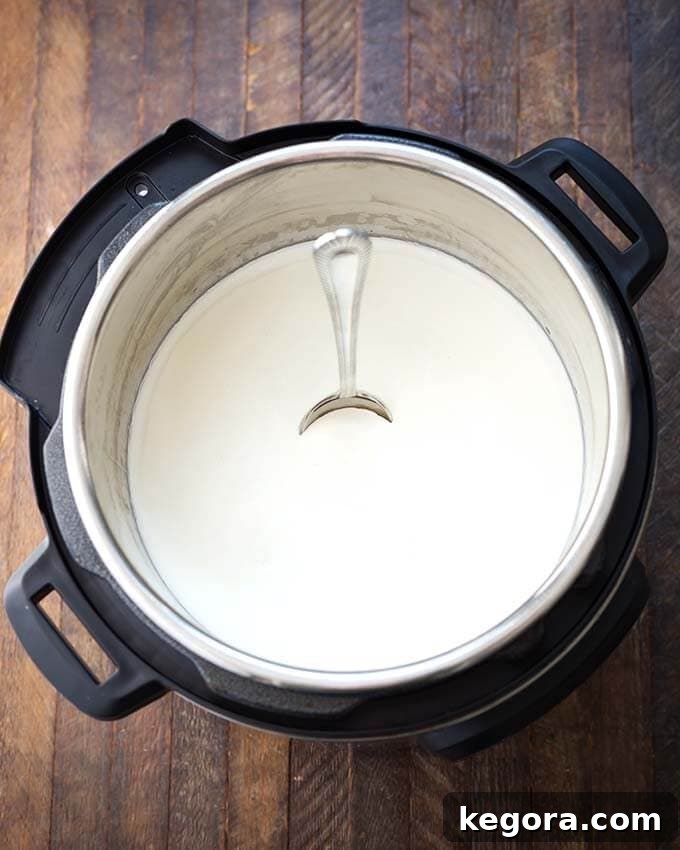
Instant Pot No-Boil Yogurt, often referred to as “Fairlife yogurt” due to the popular milk brand, or simply “Cold Start yogurt,” consistently produces a delightfully creamy and thick texture. While some also refer to it as a loose interpretation of Vietnamese yogurt, the core principle remains the same: utilizing specific milk properties to bypass the boiling stage. This method has become a go-to for many home cooks seeking a healthier, cost-effective, and highly customizable alternative to store-bought options.
The Secret Ingredient: Ultra-Filtered Milk
The magic behind the no-boil method lies in the type of milk used. This particular version of Instant Pot yogurt specifically calls for ultra-filtered milk, which has already undergone a pasteurization and filtering process. This advanced processing heats the milk sufficiently to kill undesirable bacteria and also filters out some of the natural sugars and water, concentrating the protein. Because the milk has been thoroughly heated and treated, it eliminates the need for you to perform the initial boiling step at home. Several brands offer ultra-filtered milk, but Fairlife® stands out as the most recognized and widely available option in many regions. It comes in various fat percentages – whole, 2%, and nonfat – allowing you to choose the richness and calorie content that best suits your dietary preferences. The higher protein content in ultra-filtered milk is also a key factor contributing to the characteristic thickness of cold start yogurt, often eliminating the need for additional straining.
Essential Tips for Making Instant Pot No-Boil Yogurt
- Selecting Ultra-Filtered Milk: As mentioned, ultra-filtered milk like Fairlife® is the cornerstone of the no-boil method. This milk has been pre-heated to temperatures that eliminate bacteria which could interfere with your yogurt cultures, making the home boiling step redundant. You can experiment with whole milk for a richer, creamier yogurt, 2% for a balanced texture, or nonfat for a lighter option. The fat content will directly influence the final texture and mouthfeel of your homemade yogurt, with higher fat percentages generally yielding a thicker, more decadent product. Always ensure your chosen milk is ultra-pasteurized for this method.
- Choosing Your Yogurt Starter with Active/Live Cultures: A crucial component is your starter culture. Since the milk has been highly processed, it lacks the beneficial bacteria necessary to transform it into yogurt. You need a good quality yogurt that explicitly states “Active Live Cultures” on its label. Brands like Fage are excellent choices due to their robust bacterial strains. For a half-gallon of milk, two generous tablespoons of fresh starter yogurt are typically sufficient. Ensure your starter is fresh and active for optimal results, as expired or inactive cultures may lead to a failed batch.
- Sweetening Your Yogurt: The decision to sweeten your yogurt during preparation is entirely up to your personal preference. For a subtly sweet batch, a can of sweetened condensed milk, thoroughly whisked in, works beautifully and contributes to an even creamier consistency. If you prefer unsweetened yogurt, or simply don’t have sweetened condensed milk on hand, feel free to omit it. You can always add sweeteners later, such as a drizzle of honey, maple syrup, or a touch of vanilla extract, when serving. This allows for greater versatility and caters to individual taste buds.
- Adding Heavy Cream for Extra Decadence: For an exceptionally rich and velvety yogurt, consider incorporating about a cup of heavy cream into your mixture. This optional addition elevates the creaminess and makes for a truly luxurious treat. While it adds extra calories, the indulgent texture and flavor are often worth it, transforming your homemade yogurt into a gourmet delight.
- Flavor Variations: Beyond sweeteners, you can infuse your yogurt with various flavors. A few drops of pure vanilla extract, almond extract, or even a scraped vanilla bean can add a wonderful aroma and taste. For a fruity twist, consider swirling in fruit purees after the yogurt has chilled.
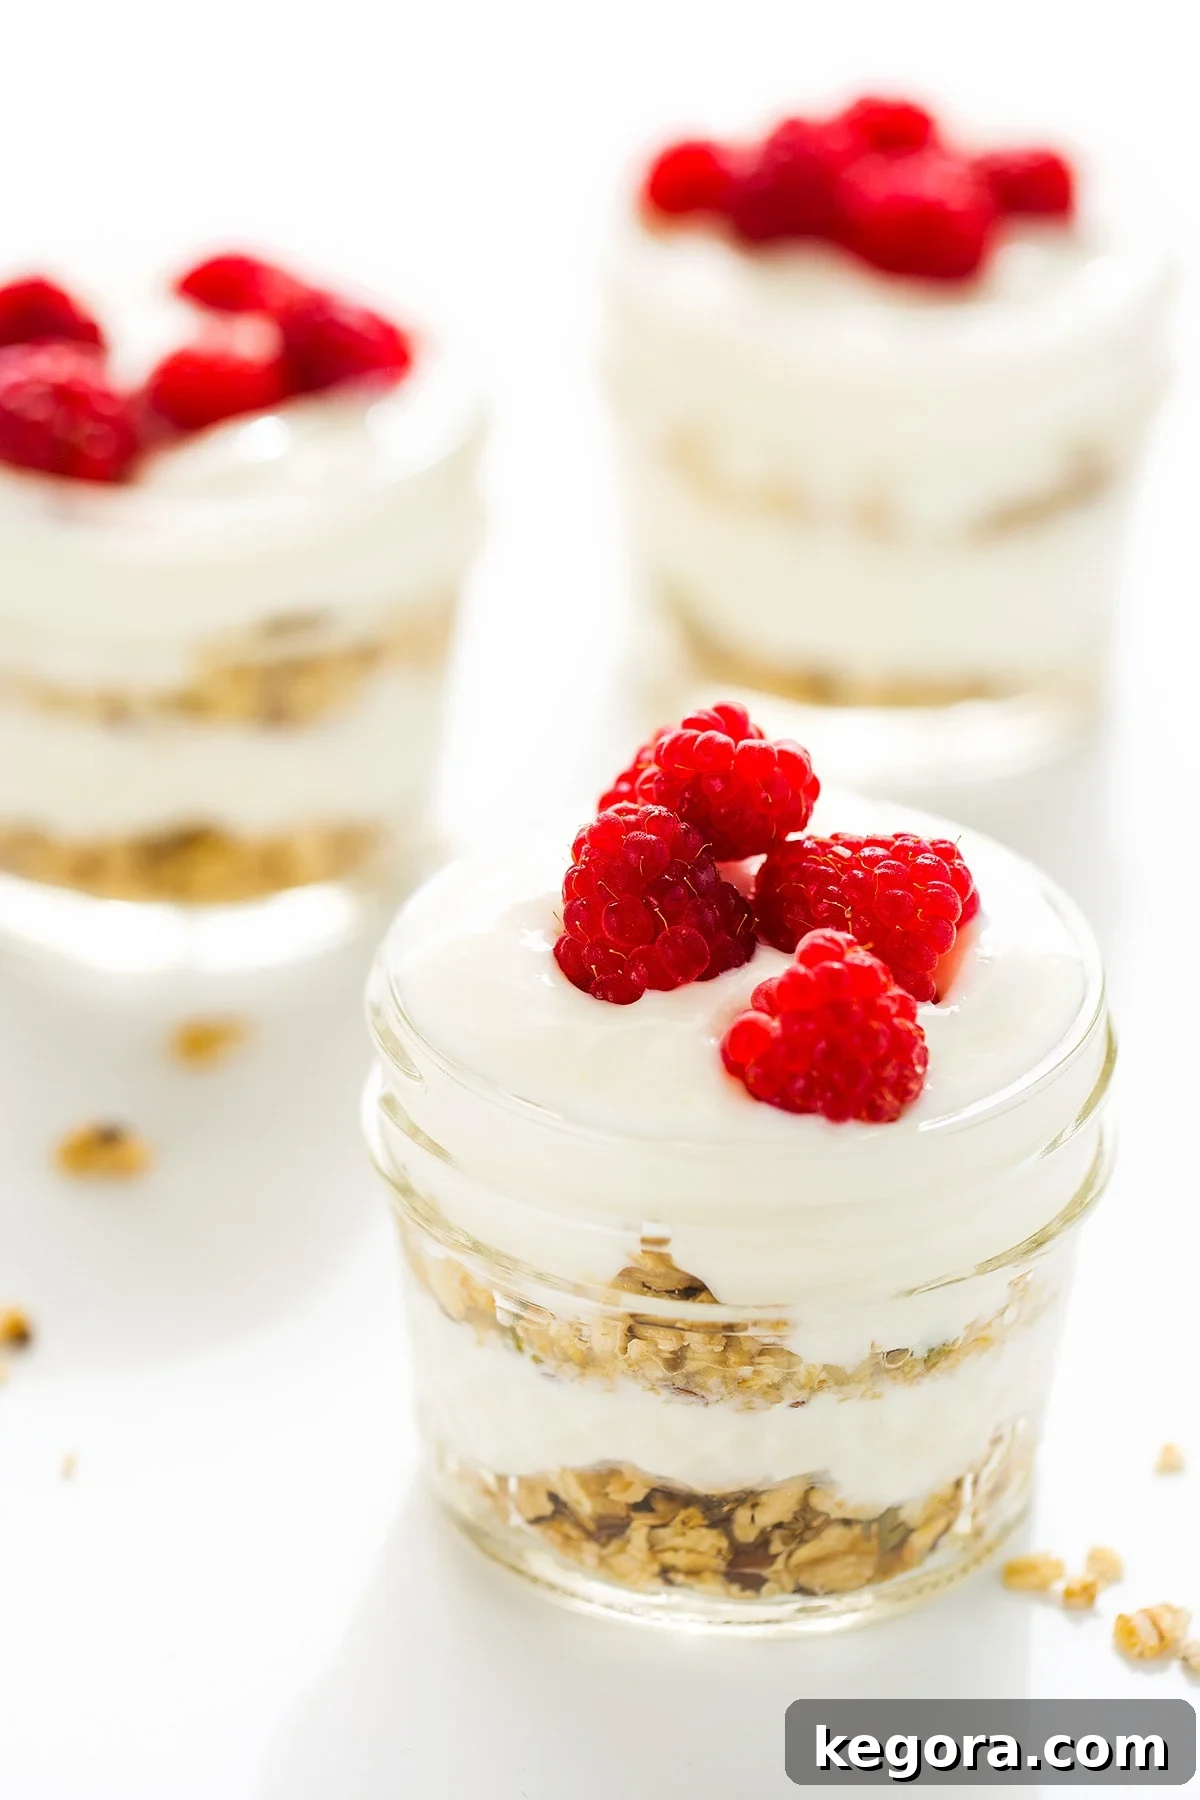
Enjoy your homemade yogurt in a delightful Vanilla Yogurt Parfait.

Instant Pot Vanilla Extract
Instant Pot Hot Sauce
Instant Pot Lemon Curd
Instant Pot Dulce de Leche Caramel
Pin This Recipe for Later!
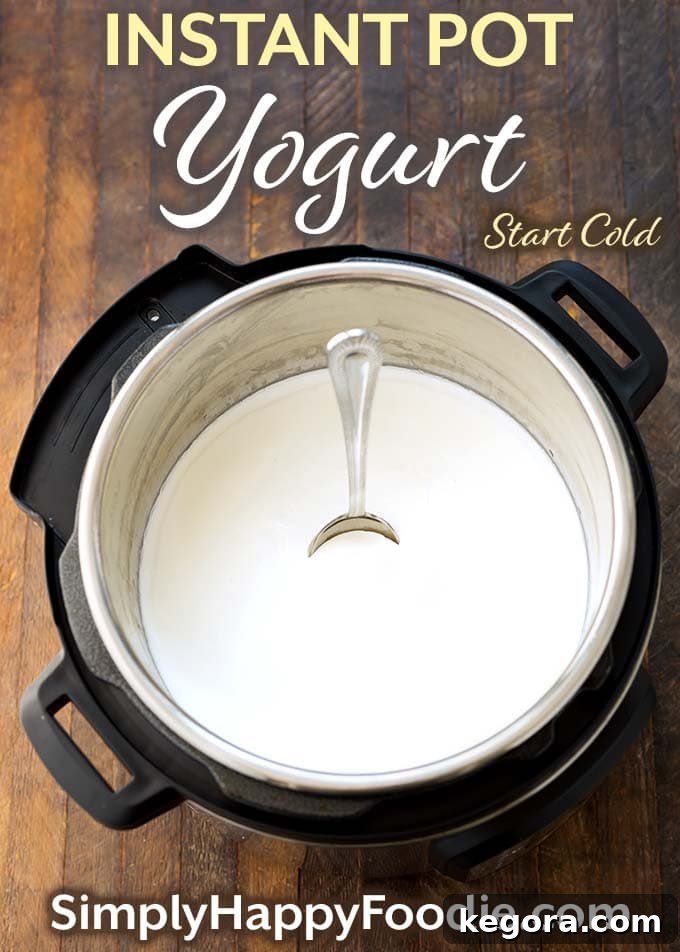
Instant Pot No-Boil Yogurt
Equipment
-
6 or 8-quart Electric Pressure Cooker
Ingredients
- 52 oz Fairlife® Ultra Filtered Milk, divided
- 2 Tablespoons Yogurt Starter (use a yogurt with live, active cultures)
- 1 14-ounce can Sweetened Condensed Milk (optional), such as Eagle Brand®
- 1 cup Heavy Cream (optional)
- 2-3 teaspoons Vanilla (optional)
Instructions
-
Pour ¼ of the ultra-filtered milk into the inner pot of your Instant Pot.
-
Add 2 heaping Tablespoons of your chosen yogurt starter, ensuring it contains active, live cultures (Fage is a recommended brand for its effectiveness). Whisk thoroughly until the starter is completely dissolved and evenly incorporated into the milk. This initial mixing is crucial for uniform fermentation.
-
If you opt for sweetened yogurt, add the sweetened condensed milk at this stage. Whisk vigorously for several minutes to ensure the condensed milk is fully dissolved and well combined with the milk and starter, preventing any clumping.
-
Incorporate the heavy cream and vanilla (if using) along with the remainder of the ultra-filtered milk. Whisk everything together one final time to ensure all ingredients are uniformly mixed before incubation.
-
Place a lid on the Instant Pot. You can use the standard Instant Pot lid (ensuring the vent is set to “Venting” or “Open” as pressure is not built for yogurt), a glass lid designed for Instant Pots, a silicone cover, or even a dinner plate. The goal is simply to cover and protect the mixture during incubation.
-
Press the “Yogurt” button (or select the Yogurt function via the dial, depending on your model). Use the +/- buttons or dial to set the incubation time. The default is typically 8 hours, which produces a mild, creamy yogurt. For a tangier flavor profile, extend the incubation to 9 hours or even longer (up to 10-12 hours). Remember, longer incubation equals a more tart yogurt.
-
Once the incubation time is complete, carefully remove the inner pot from the Instant Pot. Place a paper towel over the pot’s opening, then cover it with a lid (the same lid used during incubation works well). Transfer the covered pot to the refrigerator to chill thoroughly for at least 4-6 hours, or preferably overnight. It’s crucial not to stir the yogurt until it has completely chilled, as this helps it set properly and achieve the best possible texture.
-
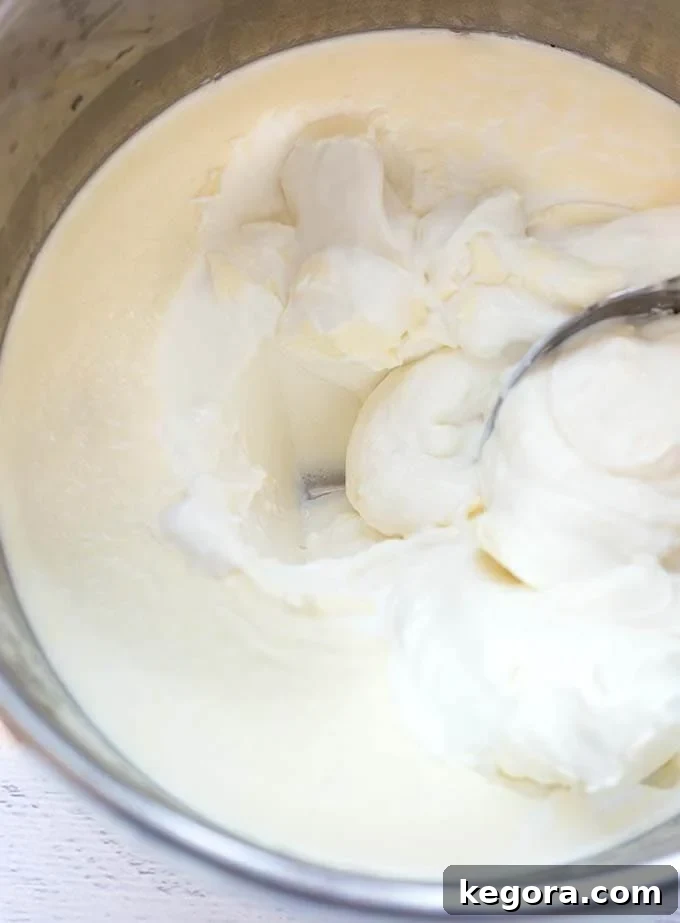
After chilling, remove the pot from the fridge and gently stir the yogurt. It should be wonderfully thick and creamy*. Your delicious homemade Instant Pot No-Boil Yogurt is now ready to enjoy!
Notes
To strain the yogurt, line a colander or fine-mesh strainer with several layers of cheesecloth or large coffee filters. Set this lined strainer over a deep bowl to catch the whey. Carefully pour the chilled yogurt into the lined strainer. Place the entire setup back into the refrigerator and allow it to strain until your desired thickness is achieved. This can take anywhere from 2 to 8 hours, depending on how thick you want it.
If you happen to strain it too much and find your yogurt is too thick, simply stir some of the collected whey back into the yogurt until it reaches your preferred consistency. Don’t discard the whey; it’s rich in protein and can be used in smoothies, baking, or even as a base for soups.
Nutrition
Nutrition information is automatically calculated, so should only be used as an approximation.
Additional Info
Resources to Make Instant Pot Cold Start Yogurt Recipe and more
We are a participant in the Amazon Services LLC Associates Program, an affiliate advertising program designed to provide a means for us to earn fees by linking to Amazon.com and affiliated sites.