
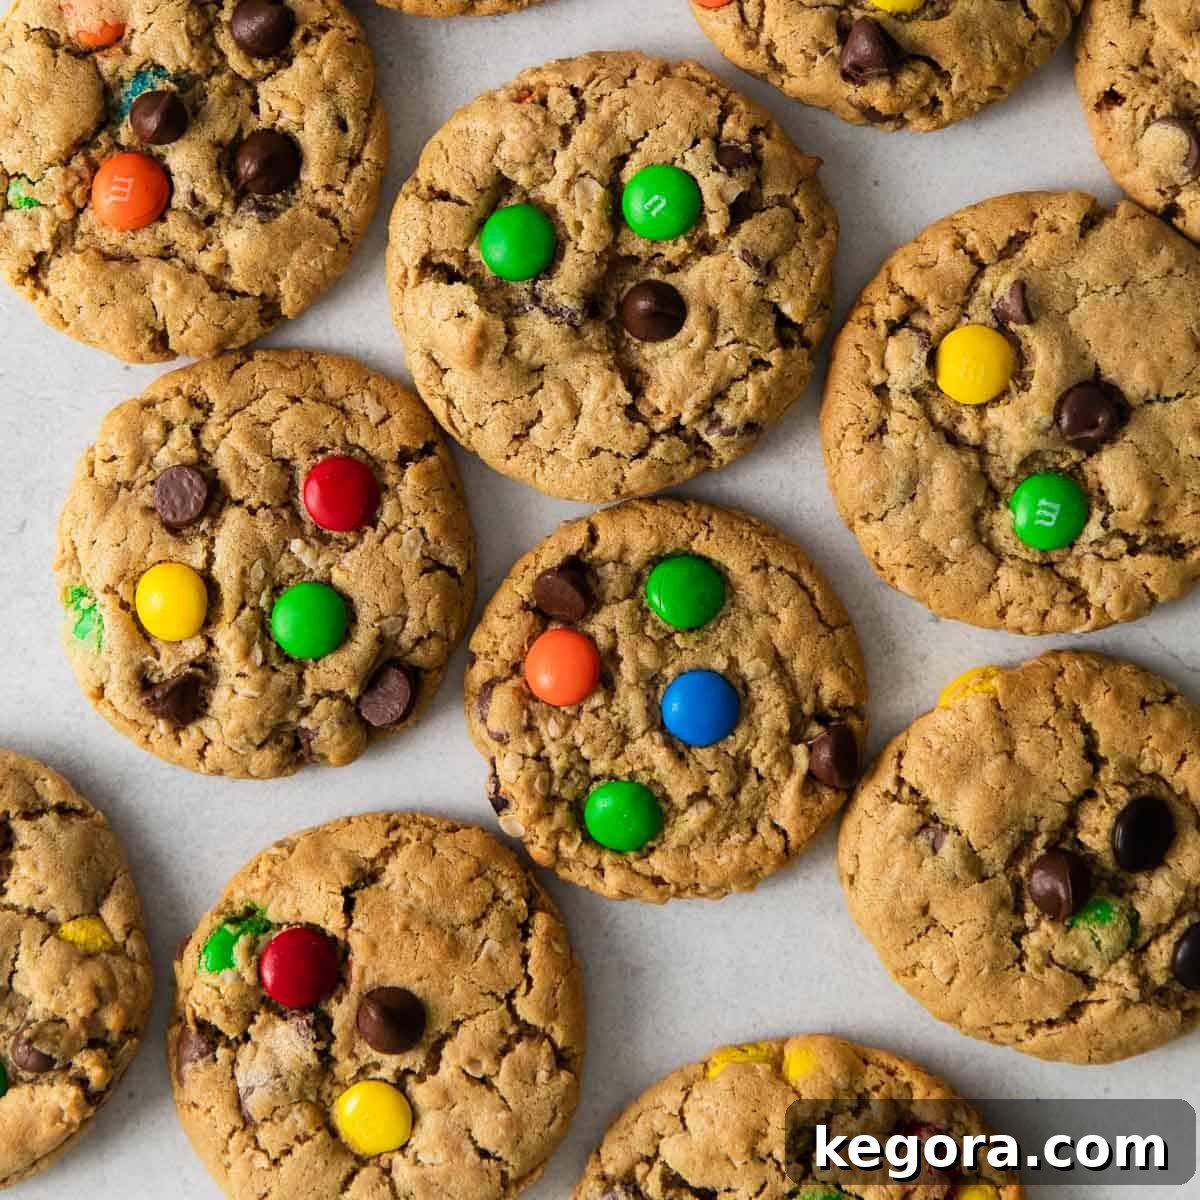
Irresistibly Chewy & Flourless Gluten-Free Monster Cookies: A Family Favorite Recipe
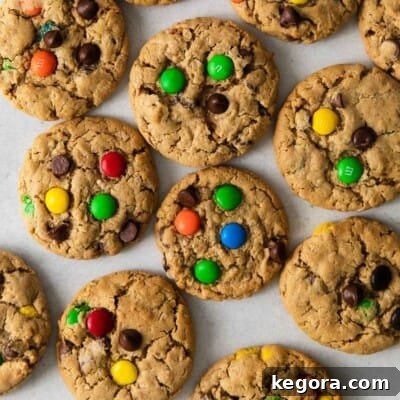
Discover the magic of these incredibly chewy and flavorful gluten-free monster cookies! Crafted without a single speck of traditional flour, they rely on humble gluten-free quick oats and other readily available pantry staples to create a treat that’s bursting with creamy peanut butter, vibrant M&M’s, and rich chocolate chips. This recipe isn’t just a dessert; it’s a cherished family favorite, guaranteed to bring smiles with every bite.
If you’re a fan of peanut butter and oat-infused delights, you might also enjoy our gluten-free peanut butter oatmeal cookies or these classic gluten-free oatmeal chocolate chip cookies.
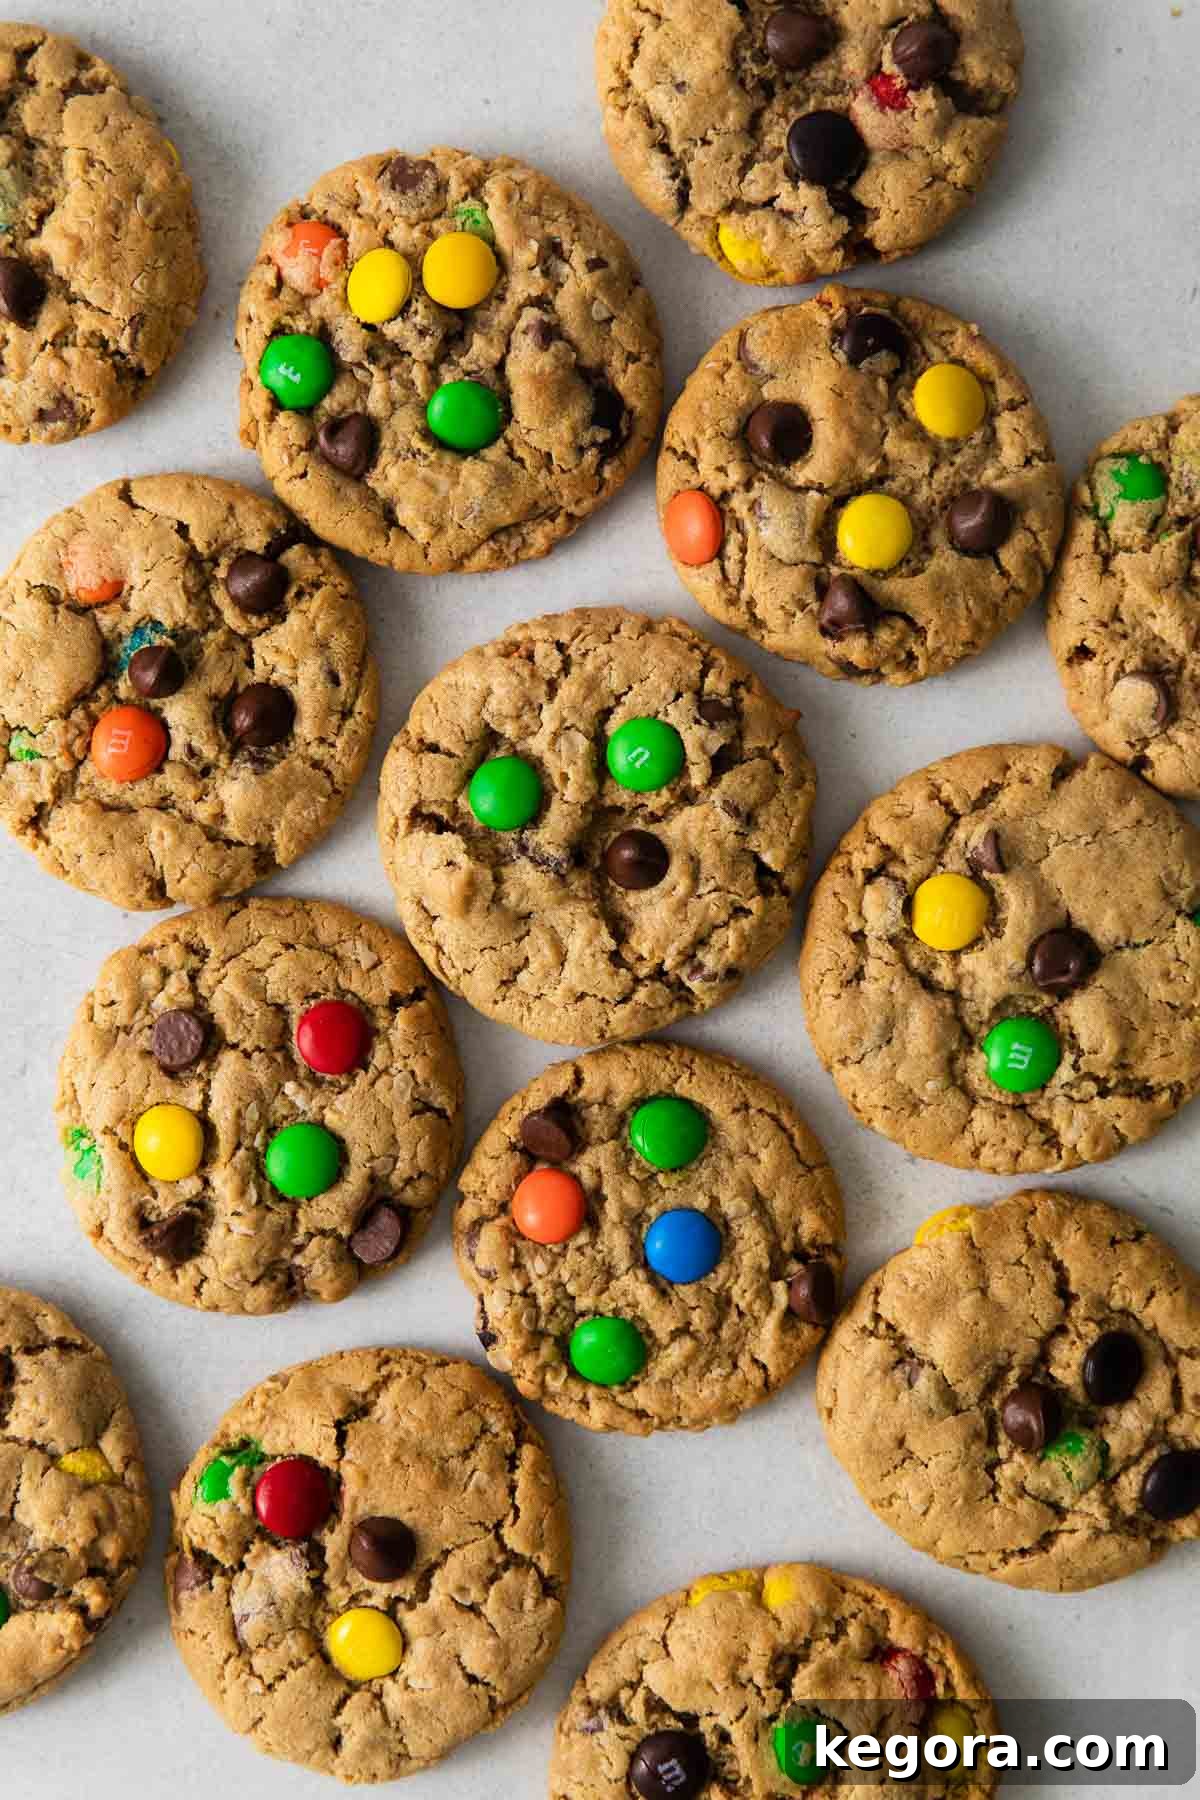
What Exactly are Monster Cookies?
At their heart, monster cookies are a symphony of beloved cookie elements, harmoniously blended into one extraordinary treat. Imagine the rich, nutty depth of a classic peanut butter cookie perfectly fused with the hearty, wholesome chewiness of an oatmeal chocolate chip cookie. Then, elevate that experience with a generous scattering of colorful M&M’s, adding a playful crunch and a pop of extra chocolatey goodness. This delightful combination results in a cookie that is truly monstrous in flavor and appeal.
What sets our recipe apart and makes these gluten-free monster cookies truly special is their flourless nature. By utilizing certified gluten-free oats – both whole and ground into oat flour – we achieve an incredibly satisfying texture that’s both chewy and substantial, all while keeping them naturally gluten-free. Forget specialty flours or complex ingredients; this recipe champions simple pantry staples, making it accessible for every home baker.
Essential Ingredients for Your Gluten-Free Monster Cookies
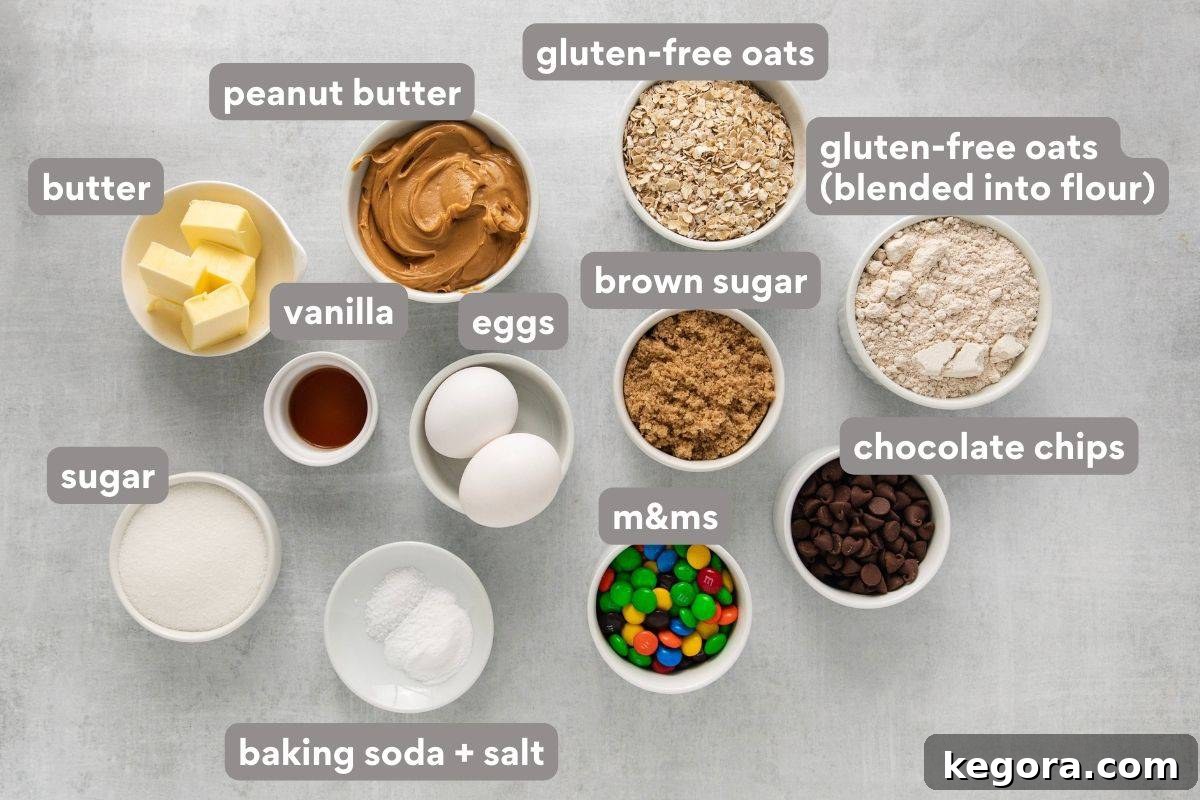
Crafting the perfect monster cookie starts with selecting the right ingredients. Here’s a closer look at the key components and why they matter for achieving the best flavor and texture in your gluten-free batch:
- Butter: For an unparalleled depth of flavor, we strongly recommend using salted butter. The hint of salt expertly balances the sweetness of the cookies, enhancing all the other wonderful flavors. Ensure your butter is softened to room temperature before you begin. This is crucial for creating a smooth, evenly mixed dough that cream’s beautifully with the sugars and peanut butter.
- Peanut Butter: The type of peanut butter you choose can significantly impact your cookies. For a consistently moist and perfectly textured cookie, we highly recommend a creamy, processed peanut butter like Jif or Skippy. Natural peanut butter, which often separates and requires stirring, can sometimes lead to drier, more crumbly cookies if not thoroughly mixed. If you opt for natural peanut butter, be sure to stir it exceptionally well until it’s completely smooth and homogeneous before measuring.
- Gluten-Free Oats: This is the star of our flourless recipe! It’s absolutely essential to use certified gluten-free oats. While oats are naturally gluten-free, they are frequently processed and packaged in facilities that also handle wheat, leading to cross-contamination. Look for clear labeling to ensure your cookies remain safe for those with gluten sensitivities. You’ll need both quick oats and rolled oats, or you can use all quick oats. For the best texture – a delightful chewiness that holds its shape – quick oats are preferred. A portion of these oats will be blended into a fine oat flour, providing structure, while the remaining whole oats contribute to the characteristic chew.
- M&M’s: Good news for candy lovers! Standard plain M&M’s are naturally gluten-free, making them a perfect, colorful addition to these monster cookies. They add a delightful crunch and extra chocolatey bursts.
- Salt: Don’t underestimate the power of salt in baking. It’s a flavor enhancer that prevents cookies from tasting overly sweet and brings out the nuances of the chocolate and peanut butter. We recommend using Diamond Kosher Salt for its pure taste and easy dissolution.
- Sugars (Brown and Granulated): The combination of brown sugar and granulated sugar is key. Brown sugar adds moisture and a rich, molasses-like depth, contributing to the cookies’ chewy texture. Granulated sugar provides sweetness and helps with spreading and crisping the edges.
- Eggs: Eggs act as a binder, holding the cookies together, and contribute to their rich flavor and moisture. Large eggs are typically used in baking recipes unless specified otherwise.
- Vanilla Extract: A touch of pure vanilla extract elevates all the flavors, adding a warm, aromatic note that is essential to any great cookie.
- Baking Soda: This leavening agent reacts with the acidic brown sugar to create a soft, slightly raised cookie that spreads beautifully.
How to Bake Irresistible Gluten-Free Monster Cookies
Get ready to whip up a batch of these glorious gluten-free monster cookies! Follow these detailed steps for a perfect bake every time:
-
Prepare Your Workspace and Oven: Begin by preheating your oven to 350°F (175°C). Line several large baking sheets with parchment paper or silicone baking mats. This prevents sticking and ensures even baking, making cleanup a breeze.

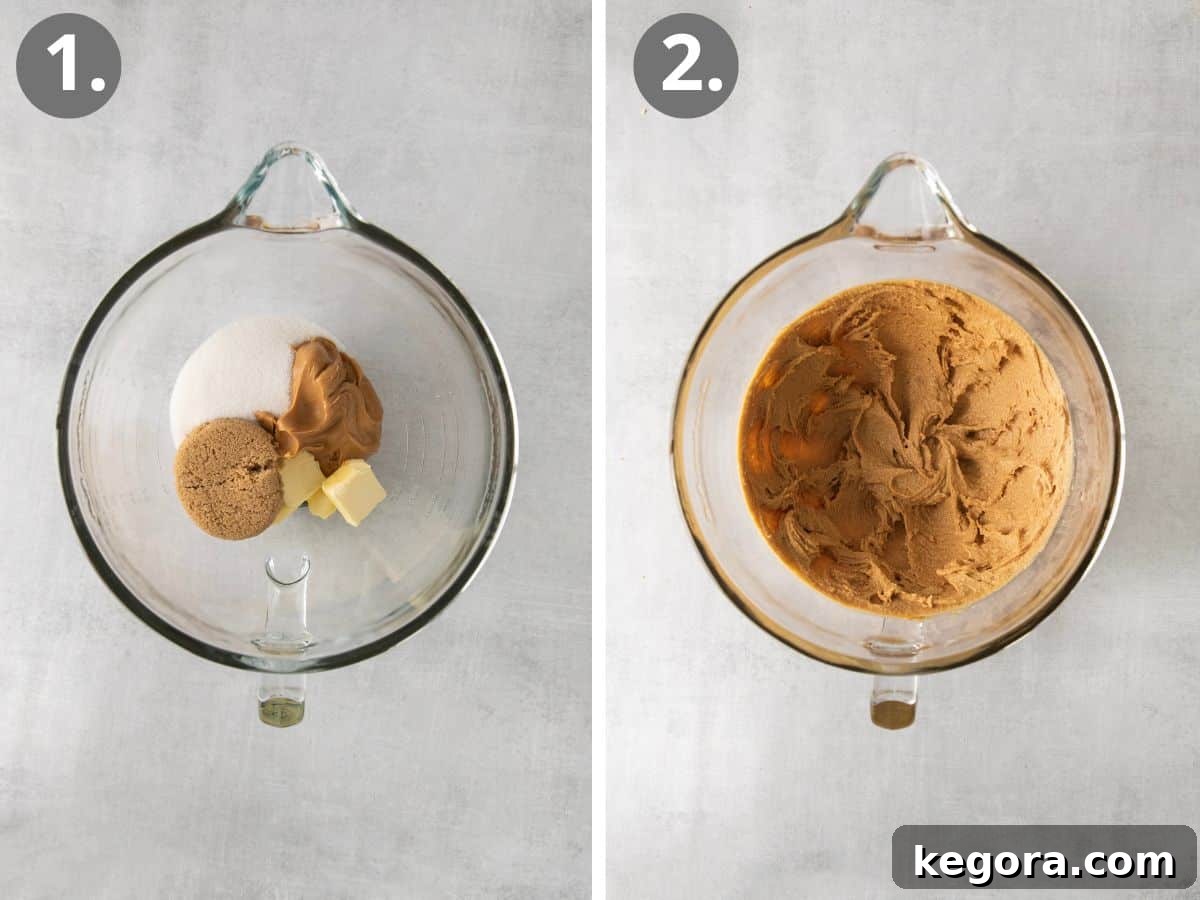
Creaming together butter and sugars for the cookie base. -
Cream Wet Ingredients: In a large mixing bowl, combine the softened butter, brown sugar, granulated sugar, and creamy peanut butter. Using an electric stand mixer fitted with the paddle attachment, or a hand mixer, beat these ingredients on high speed for 1-2 minutes until the mixture is light, fluffy, and well-combined. Ensure the sugars are fully incorporated and no gritty texture remains.
-
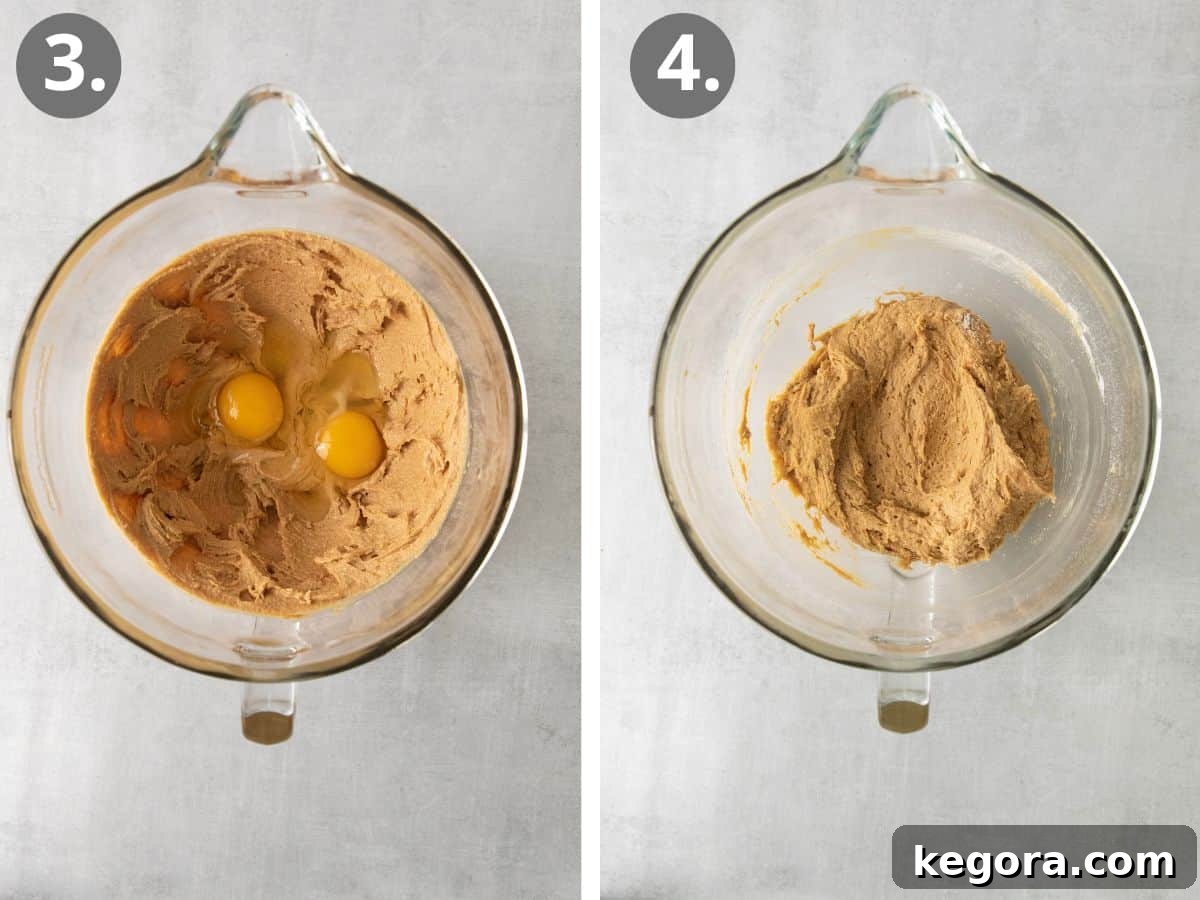
Incorporate Eggs and Vanilla: Add the eggs and vanilla extract to the creamed mixture. Continue to beat on medium-high speed for another minute until the mixture is beautifully creamy and smooth. Scrape down the sides of the bowl as needed to ensure everything is thoroughly mixed.
Adding eggs and vanilla to enrich the dough. -
Combine Dry Ingredients (Except Whole Oats and Mix-ins): In a separate medium bowl, whisk together the oat flour (ground from gluten-free oats), baking soda, and kosher salt. It’s important to combine these dry ingredients separately first to ensure they are evenly distributed throughout the dough. Uneven distribution can lead to inconsistent leavening or salty spots.
-
Add Dry to Wet Mixture: Gradually add the dry ingredient mixture to the wet mixture in the stand mixer. Mix on very low speed, just until the ingredients are combined. Be careful not to overmix, which can result in tough cookies.
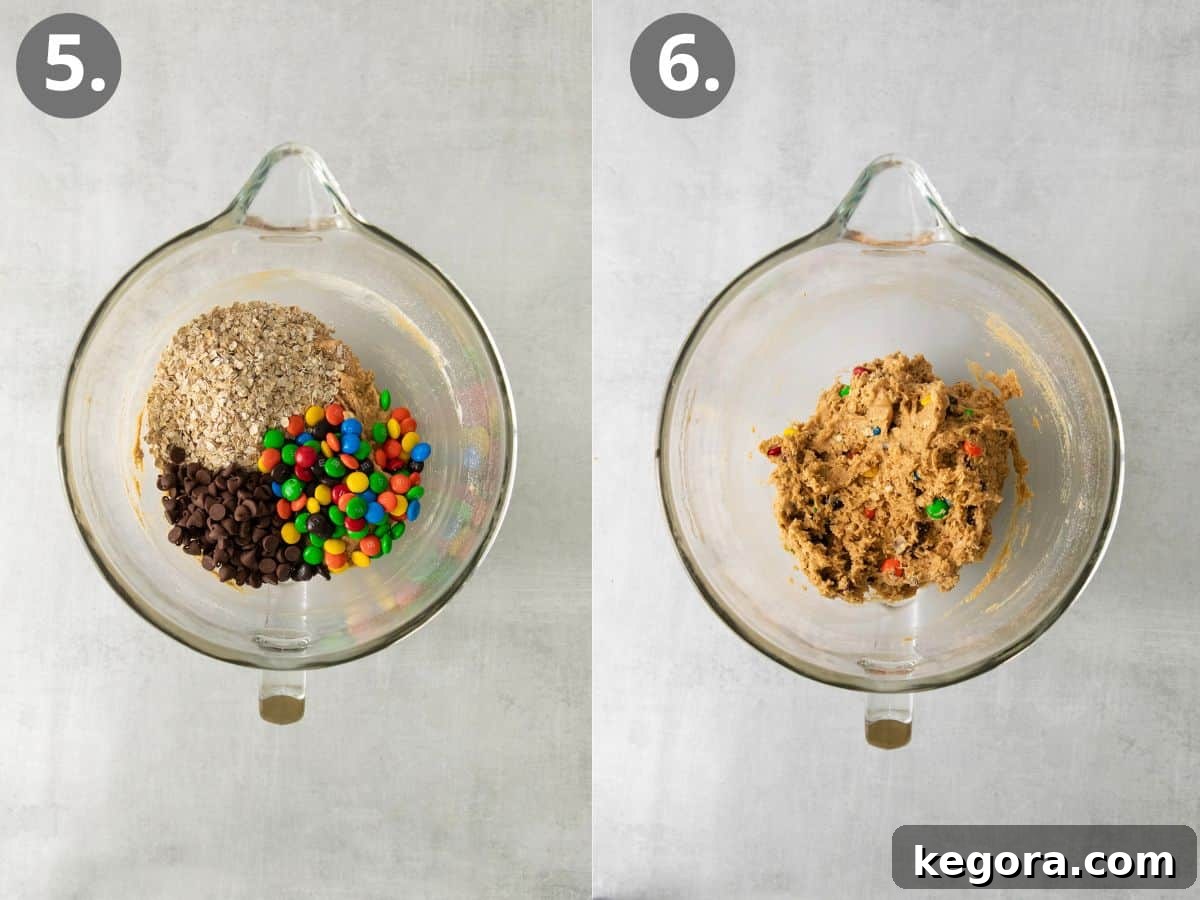
Combining dry ingredients and then folding them into the wet mixture. -
Fold in Whole Oats and Mix-ins: With the mixer still on its lowest speed (or by hand with a sturdy spatula to prevent scattering), add the remaining whole gluten-free oats, M&M’s, and chocolate chips. Mix just until these add-ins are evenly distributed throughout the dough. Again, avoid overmixing.
-
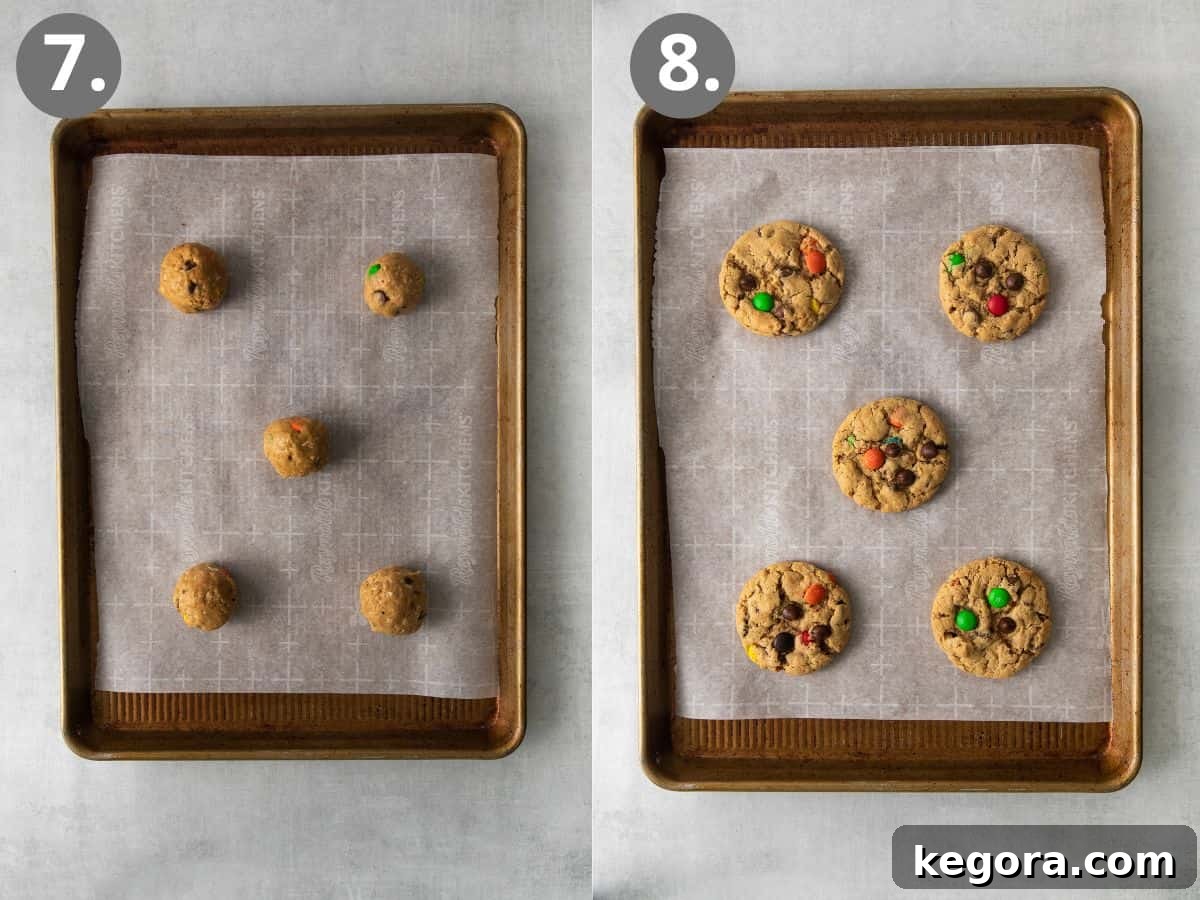
Portion and Shape the Dough: Using a cookie scoop (approximately 1½ tablespoons per scoop) ensures uniform cookie size, which is vital for even baking. Roll the scooped dough into smooth, round balls. This step helps create perfectly round cookies with a pleasant texture.
-
Arrange on Baking Sheets: Place the dough balls on your prepared baking sheets, leaving about 2-3 inches of space between each cookie. This generous spacing allows the cookies to spread without merging into each other during baking.
Dough balls ready for the oven, and the delicious result after baking. -
Bake to Golden Perfection: Bake for 10-12 minutes, or until the edges of the cookies are beautifully golden brown, but their centers still appear slightly soft and chewy. Remember that cookies continue to cook slightly even after being removed from the oven.
-
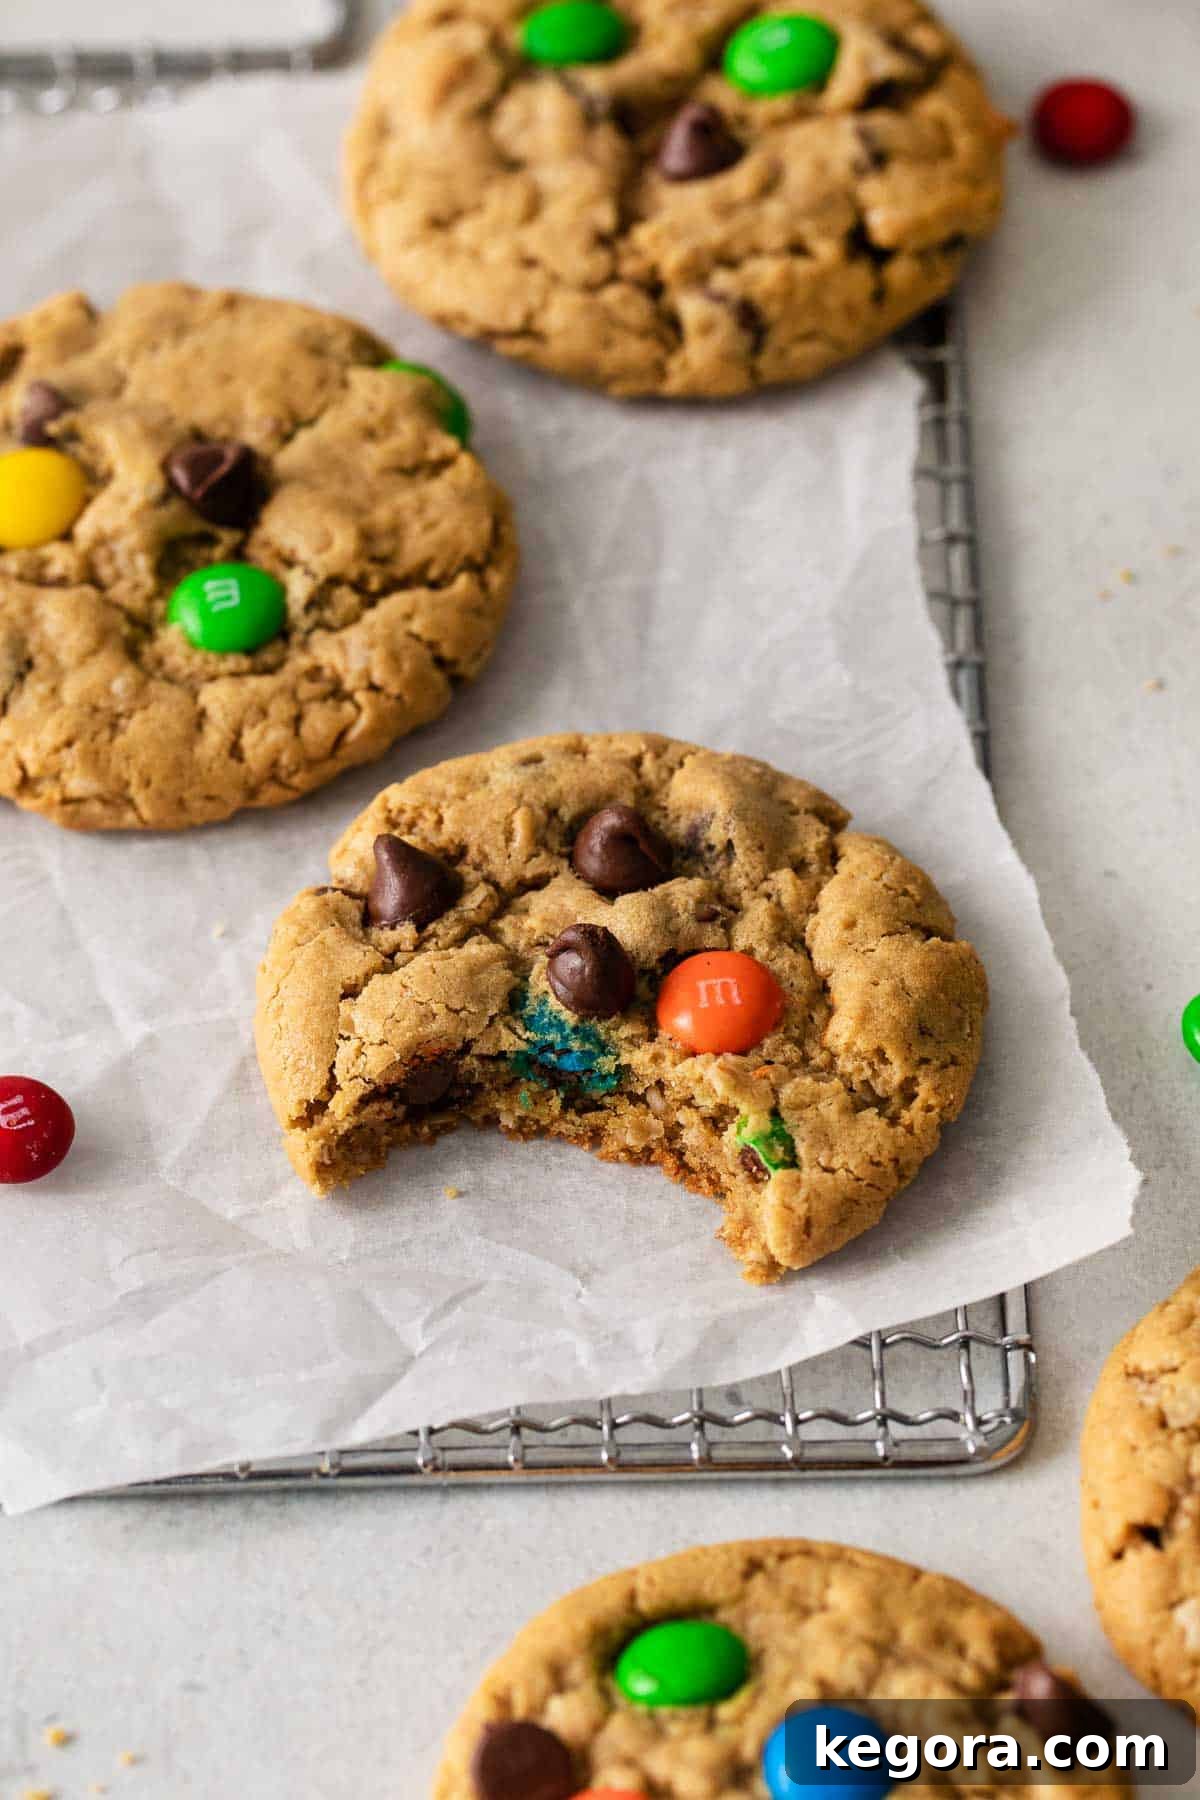
Cool and Enjoy: Once baked, remove the baking sheets from the oven and let the cookies cool on the pan for about five minutes. This allows them to firm up before handling. Then, carefully transfer them to a wire rack to cool completely. Allowing them to cool fully will give you the best chewy texture.
Storage & Freezing Instructions for Ultimate Convenience
Whether you’re planning ahead or simply have leftovers (a rare occurrence with these!), knowing how to properly store your gluten-free monster cookies ensures they stay fresh and delicious.
- To Store Freshly Baked Cookies: Once completely cooled, place any leftover cookies in an airtight container. They will maintain their deliciousness and chewy texture at room temperature for up to five days. An airtight container is key to preventing them from drying out or becoming stale.
- Make-Ahead Magic: Freezing Cookie Dough Balls: This is a fantastic trick for always having fresh-baked cookies at your fingertips!
- Scoop the cookie dough into individual balls (about 1½ tablespoons each) onto a small baking sheet lined with parchment paper.
- Place the entire sheet into the freezer and flash freeze the dough balls until they are solid, usually about 1-2 hours.
- Once frozen solid, transfer the dough balls to a resealable freezer-safe bag or container. Label with the date and freeze for up to three months.
- To bake from frozen: Simply place the frozen dough balls on a prepared baking sheet and add an extra 2-3 minutes to the standard bake time. For optimal spreading, you might gently shake the pan halfway through the baking process. Enjoy warm, freshly baked cookies anytime!
- Freezing Baked Cookies: You can also freeze your baked gluten-free monster cookies. Once they are completely cool, arrange them in a single layer on a baking sheet and flash freeze until solid. Then, transfer them to an airtight, freezer-safe bag or container. They will keep well for up to three months. Thaw them at room temperature or gently warm them in the microwave for a few seconds before serving.
Frequently Asked Questions About Monster Cookies
Are M&M’s Truly Gluten-Free?
Yes, good news for M&M lovers! Most standard M&M’s flavors are naturally gluten-free. This includes the classic plain chocolate M&M’s used in this recipe. However, it’s always wise to double-check packaging if you are highly sensitive, as some specialty flavors or seasonal varieties, particularly those containing pretzel or crispy bits, might contain gluten. Always read the ingredient list to be certain.
Can I Adapt This Recipe to be Dairy-Free or Vegan?
Absolutely! With a few simple substitutions, you can easily make these delicious monster cookies suitable for dairy-free or vegan diets:
- For Dairy-Free: Replace traditional butter with your favorite plant-based butter alternative. Brands like Country Crock Plant Butter or Miyoko’s Kitchen Cultured Vegan Butter work wonderfully and perform similarly to dairy butter in baking.
- For Vegan: In addition to plant-based butter, you’ll need to swap out the eggs. A reliable egg replacer, such as Bob’s Red Mill Egg Replacer, works effectively in this recipe. Follow the package instructions for the correct amount needed to substitute two large eggs.
- Dairy-Free/Vegan Mix-ins: Instead of standard M&M’s, opt for dairy-free chocolate candies like Unreal Dark Chocolate M&M’s or No-No’s. Alternatively, simply use your preferred brand of dairy-free chocolate chips. The possibilities are endless for customizing your delicious, diet-friendly cookies!
Is It Possible to Make Flour from Oats at Home?
Yes, and it’s surprisingly easy! You don’t need to buy expensive oat flour from the store. To make your own, simply place certified gluten-free quick-cooking oats into a high-speed blender or food processor. Process or grind the oats until they reach the consistency of a fine flour. This process usually takes less than 60 seconds, and you’ll save money while ensuring the freshest oat flour for your baking.
Why Do My Monster Cookies Sometimes Fall Apart?
The primary culprit behind crumbly monster cookies is often the type and consistency of peanut butter used. Natural peanut butter, especially if it’s very dry or hasn’t been stirred thoroughly to reincorporate the oils, can lead to a less cohesive dough. For the best results – moist, chewy cookies that hold their shape – we strongly recommend using a creamy, processed peanut butter. In this particular recipe, the combination of creamy peanut butter, softened butter, and eggs provides ample moisture and binding. Additionally, using quick-cooking oats (as opposed to thick-cut rolled oats) helps absorb moisture more effectively and creates a dough that’s easier to work with, contributing to a stable, delicious cookie.
Expert Tips for Baking the Best Gluten-Free Monster Cookies
Elevate your cookie game with these essential tips to ensure your gluten-free monster cookies are nothing short of spectacular:
- No Need for Fancy Gluten-Free Flours: One of the best aspects of this recipe is its simplicity. You don’t need to hunt for expensive, specialized gluten-free flour blends. Our recipe calls for gluten-free oat flour, which you can easily make at home by grinding certified gluten-free quick oats in a blender. This method is not only cost-effective but also ensures you have fresh oat flour that provides a fantastic texture. Just remember: if baking for individuals with celiac disease or severe gluten sensitivity, always use certified gluten-free quick oats to avoid cross-contamination that can occur with regular oats.
- Scale Up Your Batch: These monster cookies are always a hit, making them perfect for gatherings, school events, or simply ensuring you have enough for hungry family members. The recipe is easily doubled or even tripled without compromising on quality. Prepare a large batch and store some dough in the freezer for future impromptu cookie cravings!
- The Magic of Gluten-Free Quick Oats: For that ideal chewy texture without the risk of cookies crumbling apart, prioritize using gluten-free quick oats. When ground into flour, quick oats provide better binding and moisture absorption compared to traditional rolled oats, which can sometimes lead to a drier or more fragile cookie. While rolled oats can be used, quick oats are highly recommended for their superior performance in this flourless recipe.
- Unleash Your Creativity with Mix-ins: While M&M’s and chocolate chips are classic, these cookies are incredibly versatile! You can customize them with up to 1 cup of your favorite mix-ins. Consider adding mini peanut butter cups for an extra layer of peanut butter decadence, white chocolate chips for a different sweetness profile, or even toasted nuts for added crunch. For seasonal fun, swap out the traditional M&M’s for holiday-colored varieties, like red and green for Christmas or pastels for Easter. The possibilities for flavor and visual appeal are truly endless!
- Room Temperature Ingredients are Key: Ensure your butter and eggs are at room temperature. This allows them to cream together more smoothly with the sugars and peanut butter, creating a uniform emulsion that traps air. This trapped air is essential for light, fluffy, and evenly textured cookies.
- Don’t Overbake: Keep an eye on your cookies during the last few minutes of baking. They should be golden brown around the edges but still appear slightly soft in the center. Overbaking can lead to dry, hard cookies. Remember, they will continue to set as they cool on the baking sheet.
Explore More Delicious Gluten-Free Cookie Recipes
If you loved these monster cookies, be sure to check out some of our other fantastic gluten-free cookie creations:
- Gluten-Free Iced Oatmeal Cookies
- Gluten-Free M&M Cookies
- Flourless Peanut Butter Milk Chocolate Chip Cookies
- The Best Gluten-Free Chocolate Chip Cookies
- Gluten-Free Oatmeal Cream Pies
- Gluten-Free Cadbury Egg Cookies
Rated 5 out of 5 stars from 15 votes
Easy, Gluten-Free Monster Cookies
Erin Collins
15
10
25
24 cookies
Comments
Ingredients
- 1 cup (250g) creamy peanut butter
- 1/4 cup (56g) butter at room temperature
- 1/2 cup (106g) brown sugar
- 1/2 cup (100g) granulated sugar
- 2 large eggs
- 1 teaspoon vanilla extract
- 1 cup (85g) gluten-free oats ground to flour in blender
- 1 teaspoon baking soda
- 1/2 teaspoon kosher salt
- 1 cup (85g) gluten-free oats I prefer quick oats
- 1/2 cup M&M’s
- 1/2 cup chocolate chips
Instructions
-
Preheat the oven to 350°F (175°C). Line large baking sheets with parchment paper or silicone baking mats.
-
In the bowl of a stand mixer, or using a hand mixer, beat the peanut butter, butter, brown sugar, and granulated sugar until light and fluffy, about 1-2 minutes.
-
Add the eggs and vanilla and beat for 1 minute, until creamy and well-combined. Then, add the oat flour, baking soda, and salt. Mix on low speed until just combined.
-
Add the remaining gluten-free oats, M&M’s, and chocolate chips. Stir or mix on low speed until combined, being careful not to overmix.
-
Scoop the cookie dough into round balls, using about 1½ tablespoons per ball. Place them on the prepared baking sheet, ensuring they are about 3 inches apart.
-
Bake for 10-12 minutes, or until the edges are golden brown but the centers are still soft and slightly underbaked.
-
Remove from the oven and let cool on the baking sheet for 5 minutes. This allows them to firm up. Then, transfer to a wire rack to cool completely.
Notes
Make-ahead – freeze dough balls! Scoop cookie dough balls onto a small sheet pan, then freeze until solid. Transfer to a resealable bag and freeze for up to three months. Bake directly from frozen, adding 2-3 minutes to the bake time. Shake the pan halfway through for proper spreading.
To freeze baked cookies: Freeze completely cooled baked cookies in an airtight, resealable bag for up to three months.
Nutrition
(Approximate values per serving, based on 24 cookies)
- Calories: 147 kcal
- Carbohydrates: 16g
- Protein: 4g
- Fat: 8g
- Saturated Fat: 2g
- Cholesterol: 18mg
- Sodium: 171mg
- Potassium: 104mg
- Fiber: 1g
- Sugar: 9g
- Vitamin A: 80IU
- Calcium: 14mg
- Iron: 0.6mg