
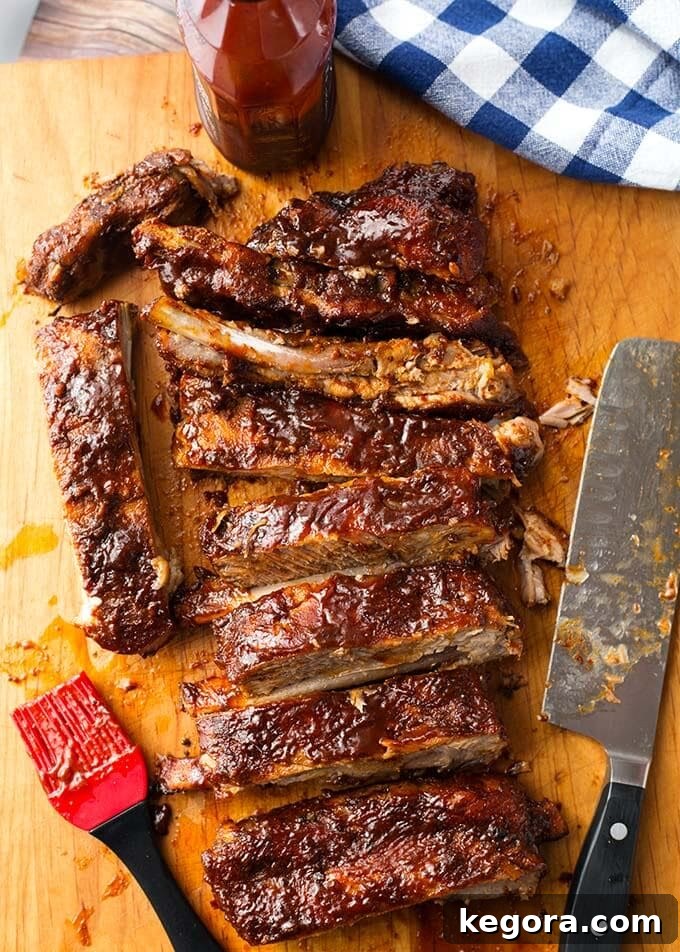
The Easiest Instant Pot Baby Back Ribs: Tender, Juicy, and Ready in About an Hour
Prepare to amaze your taste buds with the absolute easiest recipe for incredibly delicious Instant Pot Baby Back Ribs. Forget about checking the weather forecast or waiting hours for perfectly cooked ribs; with your Instant Pot, you can create fall-off-the-bone tender, juicy, and flavorful ribs indoors, in approximately an hour! You truly have to make these pressure cooker ribs to believe how exceptionally good they are. Get ready to experience the best Instant Pot ribs you’ve ever tasted!
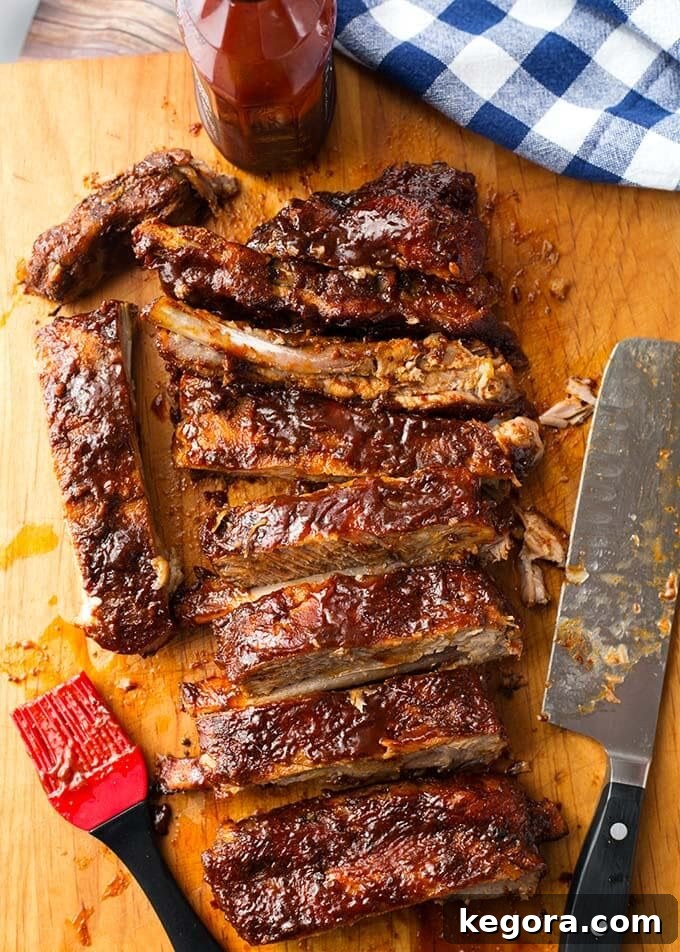
Unlocking the Magic of Instant Pot Ribs
At Foodie Central, we share a deep love for the smoky char and irresistible flavor of grilled ribs. However, living in Western Washington means embracing a reality where rain often dominates the skies for a significant portion of the year. This often makes outdoor grilling a seasonal luxury rather than a spontaneous option. But a craving for succulent baby back ribs shouldn’t be dictated by the weather!
This is precisely where the Instant Pot becomes an indispensable kitchen hero. When that undeniable desire for smoky, tender, juicy, and meaty baby back ribs strikes, and the rain is pouring outside, or you simply need dinner on the table fast, the Instant Pot delivers. It’s not just a workaround for bad weather; it’s a revelation. This method is so incredibly easy, remarkably fast, and consistently produces ribs that are nothing short of awesome!
Achieving Perfection: Tender, Not Dry Instant Pot Ribs
The beauty of cooking ribs in the Instant Pot lies in its ability to tenderize the meat to perfection. However, it’s crucial to understand that even with the pressure cooker’s efficiency, there’s a fine line between perfectly tender and overcooked. The goal is to achieve ribs that are “falling apart juicy,” not “falling apart dry.” There’s a distinct difference, and mastering it is key to truly exceptional Instant Pot Baby Back Ribs.
The secret to juicy, tender ribs lies in precise cooking time and the post-cooking resting phase. Cook your ribs for the recommended duration, and once the cooking cycle concludes and your Instant Pot beeps, resist the urge to immediately release the pressure. Instead, allow the meat to sit in the pressure cooker for a period of Natural Pressure Release (NPR).
This natural release process is akin to letting a steak rest after grilling; it allows the muscle fibers to relax and reabsorb all those incredible juices, preventing them from escaping as soon as you open the lid. For our Instant Pot Baby Back Ribs, I typically recommend a Natural Pressure Release of 10-15 minutes. This brief resting period makes all the difference, ensuring every bite is moist and packed with flavor.
Selecting the Best Ribs for Your Instant Pot
When it comes to baby back ribs, fresh is always best, but frozen can work too—just ensure they are fully thawed before preparation. Look for racks with good meat coverage and even thickness for consistent cooking. While this recipe focuses on baby back ribs, you can certainly adapt it for other cuts like spare ribs, though cooking times may vary slightly.
How Many Racks of Ribs Can Fit in an Instant Pot?
One of the most common questions is about capacity. In a standard 6-quart Instant Pot, you can comfortably fit two full racks of baby back ribs. The trick is to curl them into a “C” shape and place them upright, around the sides of the inner pot. If you have a larger 8-quart Instant Pot, you might even manage three racks. For even more flexibility or if your ribs are particularly large, you can cut each rack into two or three smaller sections, allowing for easier stacking and maximizing space within the pot. This also makes them easier to handle post-cooking.
The Essential Rib Membrane Removal
Before you even think about seasoning, there’s one crucial step: removing the thin membrane from the back of the ribs. This silvery layer, often called silver skin, can become tough and chewy when cooked, preventing your seasonings and sauces from truly penetrating the meat. It also hinders the ribs from becoming as tender as they possibly can. To remove it, simply find a loose edge, usually at one end of the rack, and grip it with a paper towel (for better traction). Pull it firmly across the length of the rack. It should peel off in one satisfying piece. If it tears, just find another spot and continue pulling.
Crafting the Perfect Flavor Profile: Rubs and Sauces
The foundation of great ribs is a fantastic spice rub. This recipe calls for a generous application of dry spice rub, which builds a delicious crust and infuses the meat with deep flavor. You can use your favorite store-bought rub, or for an artisanal touch, try making a batch of my Homemade Rib Spice Rub. It’s a game-changer! After cooking, a smoky BBQ sauce adds the perfect finish, creating a sticky, caramelized glaze under the broiler. Choose a BBQ sauce you love; whether it’s sweet, tangy, spicy, or deeply smoky, it will complement the tender pork beautifully.
Beyond the Pot: Broiling for the Perfect Finish
While the Instant Pot achieves incredible tenderness, a quick trip under the broiler is essential for developing that coveted caramelized crust and intensifying the BBQ sauce. This step is optional if you’re in a hurry or trying to avoid heating up your kitchen, but it truly elevates the ribs from great to extraordinary. Just a few minutes under high heat will transform your sauced ribs into a visually appealing and utterly delicious masterpiece. Keep a close eye on them to prevent burning and ensure they remain juicy.
Watch the Instant Pot Ribs Video Tutorial
For those who are new to the Instant Pot or simply prefer visual guidance, I’ve created a helpful video. While I might not be a professional videographer, this step-by-step guide walks you through the entire process of making these delicious ribs in your Instant Pot. It’s especially useful for newer Instant Pot users who want to see exactly how each step is performed, from membrane removal to saucing and broiling. Watch the video of me making ribs in the Instant Pot here!
Pin This Delicious Instant Pot Baby Back Ribs Recipe
Don’t forget to save this incredible recipe for later! Pin it to your favorite recipe board on Pinterest so you can easily find it whenever a rib craving hits.
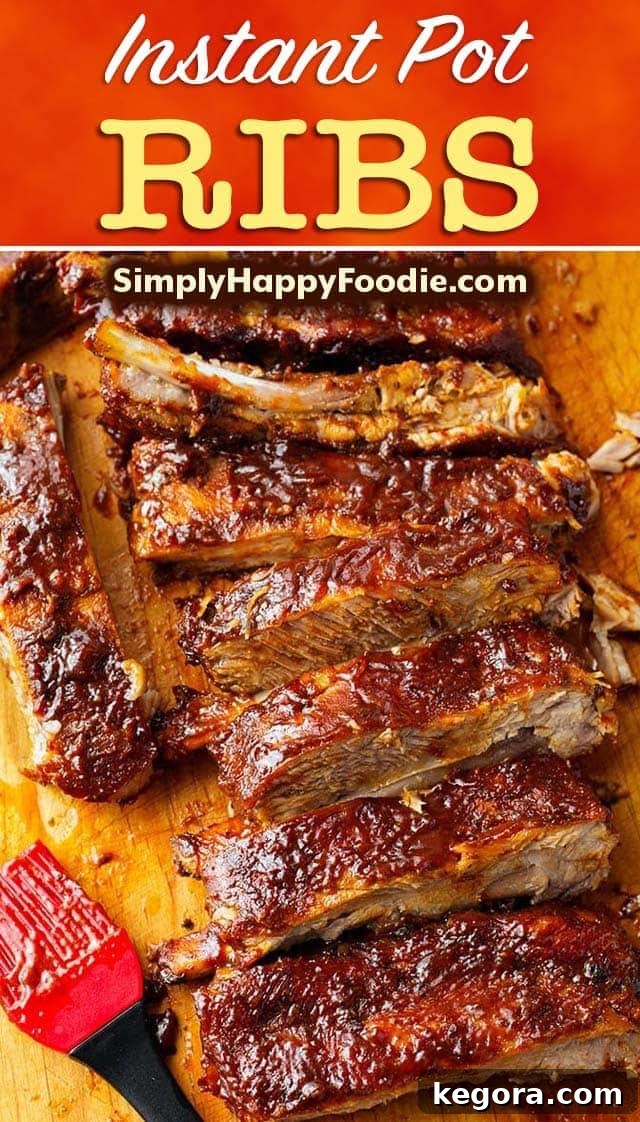
Instant Pot Baby Back Ribs
Ingredients
For the Instant Pot
- 1 ½ cups Water (or Apple Juice/Cider for added flavor)
- 2-3 Tbsp. Liquid Smoke (added directly to the water for a smoky aroma)
- ⅓ cup Apple Cider Vinegar (provides a nice hint of apple and tanginess)
For the Ribs
- 1-2 racks Baby Back Ribs (or other pork ribs like spare ribs, adjust cooking time as needed)
- ½ – 1 cup Dry Spice Rub Use your favorite blend, or try my recommended Rib Spice Rub recipe
- 1 cup BBQ Sauce A smoky BBQ sauce works wonderfully here.
Instructions
Prepare the Instant Pot
-
Place a trivet (or a steamer rack) at the bottom of the inner liner pot of your Instant Pot. This keeps the ribs above the liquid. Add the water (or apple juice/cider), liquid smoke, and apple cider vinegar to the inner pot. This flavorful liquid will generate the steam needed for pressure cooking and infuse the ribs.
Prepare and Cook the Ribs
-
Lay out the rack of ribs, meaty side down, on a clean baking sheet or work surface. Locate the thin membrane (silver skin) on the bone side of the ribs. Grasp it firmly with your bare hands or use a paper towel for a better grip, and pull it down the length of the rack. It should come off relatively easily. Discard the membrane.
-
Liberally sprinkle your chosen dry spice rub over one side of the ribs and gently rub it in with your hands. Flip the rack over and repeat the process on the other side, ensuring the ribs are thoroughly coated.
-
Carefully roll the seasoned rack of ribs into a “C” shape, with the meaty side facing outwards. Place it into the Instant Pot, standing it upright on the trivet. If cooking multiple racks or if the ribs are too large, you can cut the rack into a few pieces and stack them within the pot.
-
Securely place the lid on your Instant Pot. Ensure it is closed properly, and turn the venting knob to the Sealing position to build pressure.
-
Press the “Pressure Cook” (or “Manual” depending on your model) button or dial. Use the +/- buttons or dial to set the cooking time to 25 minutes for tender baby back ribs.
-
The Instant Pot will take several minutes to come to full pressure. Once pressure is reached, the cook time countdown will begin. After the 25-minute cooking time ends and the unit beeps, do not immediately release the pressure. The Instant Pot will automatically enter the “Keep Warm” phase, which is ideal for Natural Pressure Release (NPR). The display will start counting up from L0:00.
-
Allow the pot to Natural Pressure Release (NPR) for 10 minutes. This resting period is crucial for juicy ribs. After 10 minutes, use a wooden spoon or similar utensil to carefully turn the venting knob to the Venting position, releasing any remaining pressure. Wait until the silver float valve in the lid drops down, indicating that it is safe to open the lid.
-
Carefully remove the rack(s) of ribs from the Instant Pot using tongs and transfer them to a clean baking sheet.
-
OPTIONAL BROILING STEP: For a delightful caramelized crust, preheat your oven to BROIL at 400°F (200°C). Position an oven rack about 8-10 inches from the heating element. While this step is fantastic for enhancing flavor and texture, you can skip it if you prefer to avoid turning on the oven, especially on a warm day.
-
Generously pour your favorite BBQ sauce over the hot ribs on the baking sheet. Use a basting brush or spatula to ensure they are completely and evenly coated with the sauce.
-
If broiling, place the pan under the broiler for just a few minutes, watching closely. Broil until the BBQ sauce becomes bubbly, slightly thickened, and beautifully caramelized. Be extremely careful not to leave them in for too long, as they can dry out quickly under the broiler. Remove from the oven, slice between the bones, and serve immediately. Enjoy your perfectly tender and flavorful Instant Pot Baby Back Ribs!
Nutrition
Nutrition information is automatically calculated, so should only be used as an approximation. Actual values may vary based on specific ingredients and preparation methods.
Additional Info
FAQs About Instant Pot Baby Back Ribs
- Can I use frozen ribs?
- While it’s always best to start with thawed ribs, if absolutely necessary, you can cook frozen ribs. However, they will require a significantly longer pressure cooking time (possibly 40-50 minutes) and might affect the final texture. For best results, thaw completely in the refrigerator before preparing.
- What if my ribs aren’t fall-off-the-bone tender?
- Ribs that aren’t tender enough usually indicate they need more cooking time. Factors like the thickness of the ribs, your specific Instant Pot model, or even altitude can influence cooking. If they’re not as tender as you like, you can return them to the Instant Pot with the lid sealed, cook for an additional 5-10 minutes under pressure, and then perform another 10-minute natural release.
- Can I make these ribs without liquid smoke?
- Yes, you can. Liquid smoke adds a delicious smoky flavor that mimics traditional grilling, but it’s optional. If you omit it, your ribs will still be incredibly tender and flavorful from the rub and BBQ sauce.
- What are good side dishes for Instant Pot Baby Back Ribs?
- These ribs pair beautifully with classic BBQ sides. Think creamy coleslaw, baked beans, corn on the cob, potato salad, mashed potatoes, or a fresh green salad. You can even use your Instant Pot to make some of these sides!
- Can I store and reheat leftover ribs?
- Absolutely! Leftover ribs can be stored in an airtight container in the refrigerator for up to 3-4 days. To reheat, you can use the oven (wrapped in foil at 300°F/150°C until heated through), microwave, or even back in the Instant Pot (using the ‘steam’ function with a bit of water for a few minutes).
- Can I use this method for other pork ribs like St. Louis style or spare ribs?
- Yes, this method works well for other pork ribs. However, St. Louis style or spare ribs are thicker and meatier, typically requiring a longer cooking time. Increase the pressure cook time to 30-35 minutes, followed by a full natural pressure release (15 minutes or more) for optimal tenderness.
More Delicious Instant Pot Recipes You Might Love
If you enjoyed these Instant Pot Baby Back Ribs, you’ll be thrilled to discover how versatile your pressure cooker truly is. Explore more easy and satisfying recipes from our collection:
- Instant Pot Country Style Ribs: Another fantastic rib option, perfect for a hearty meal.
- Instant Pot Turkey Meatloaf: A comforting classic made quickly and moistly in your Instant Pot.
- Instant Pot Chicken and Noodles: A soulful and easy weeknight dinner solution.
- Instant Pot Beef Barley Vegetable Soup: A warm, hearty, and flavorful soup that’s perfect for any season.
Resources for Your Instant Pot Ribs Recipe and Beyond
We are a participant in the Amazon Services LLC Associates Program, an affiliate advertising program designed to provide a means for us to earn fees by linking to Amazon.com and affiliated sites. These links help support our work at no extra cost to you.