
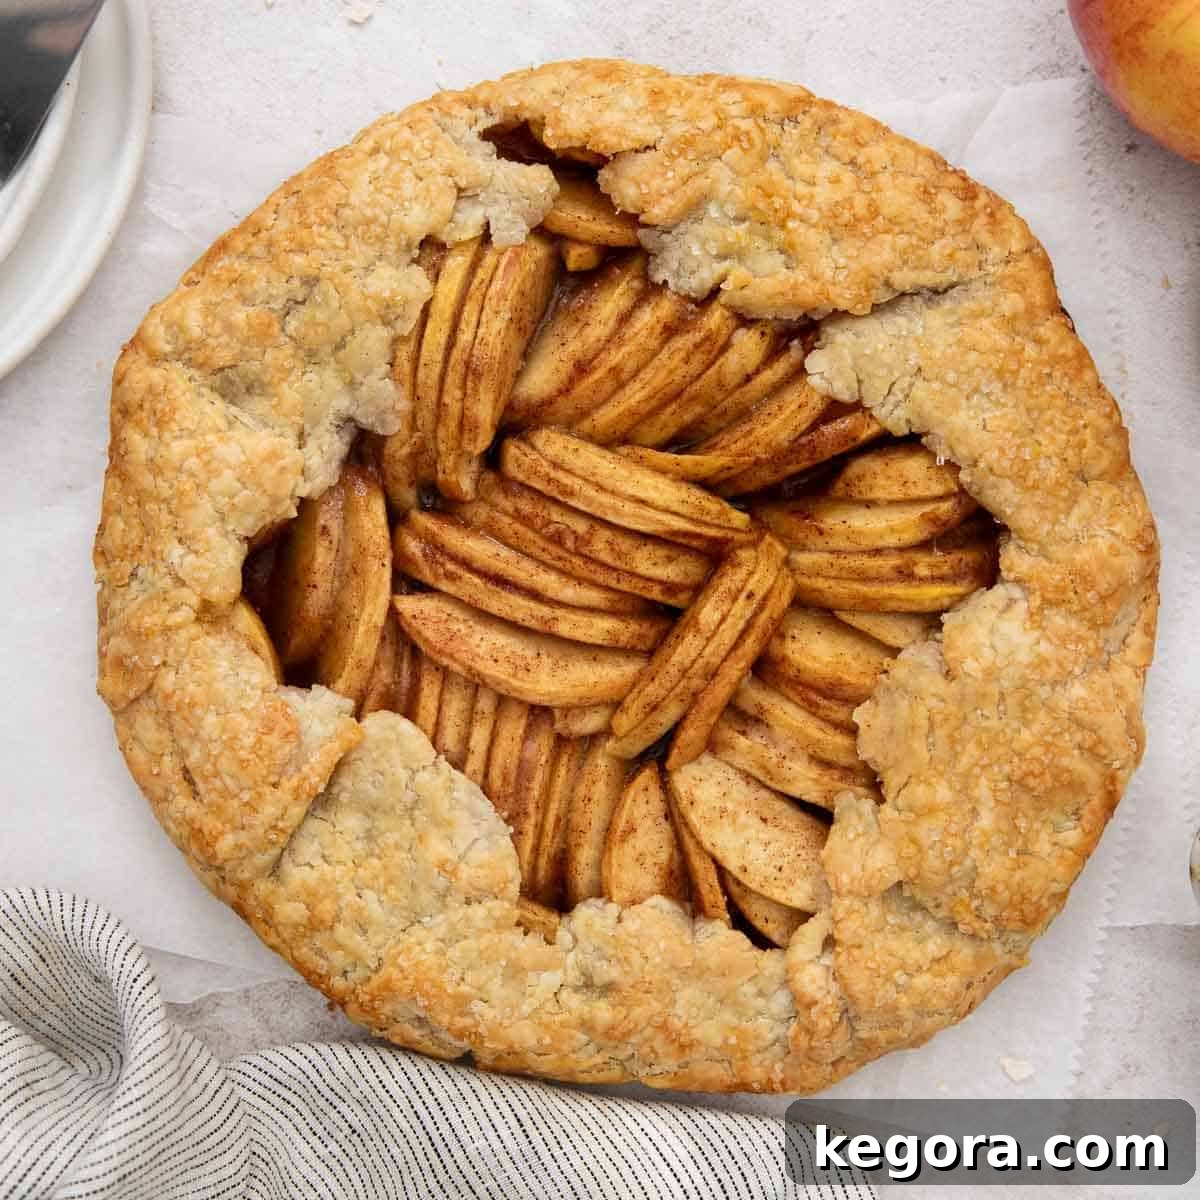
Irresistible Gluten-Free Apple Galette: A Fall Dessert Masterpiece

Discover the ultimate fall dessert with this incredibly easy and utterly delicious gluten-free apple galette recipe. Perfect for gathering with loved ones, this rustic apple tart is a fantastic crowd-pleaser and an ideal gluten-free Thanksgiving dessert option that promises to impress everyone, even those without dietary restrictions.
Why You’ll Fall in Love with This Apple Galette
This isn’t just another apple dessert; it’s a celebration of simplicity and flavor. Here’s why this gluten-free apple galette will quickly become a cherished recipe in your kitchen:
- Effortlessly Elegant: Forget the complexities of traditional pies. This “no-fuss” galette embraces a beautifully imperfect, rustic charm that requires minimal shaping, making it far less intimidating for bakers of all skill levels. Its free-form style is part of its allure!
- Flaky, Buttery Gluten-Free Crust: At the heart of this galette is a sensational gluten-free pie crust. It bakes up incredibly crisp, golden, and wonderfully flaky, proving that gluten-free baking can be just as delicious and satisfying as its gluten-containing counterparts.
- Warm, Cozy Spices: The apple filling is generously infused with classic fall spices like cinnamon and nutmeg, enhancing the natural sweetness and tartness of the apples. Each bite delivers a comforting warmth that perfectly captures the essence of the season.
- Versatile for Any Occasion: While it shines as a fall or Thanksgiving treat, this apple galette is simple enough for a weeknight dessert and elegant enough for a special gathering. It’s a versatile recipe that always hits the spot.
Top Tips for the Perfect Crispy Crust
Achieving a perfectly crisp bottom crust is paramount for any galette, especially a gluten-free one. Here’s the secret to ensuring every slice is texturally perfect:
The Pizza Steel Advantage: For an unbeatable crispy crust, baking your galette on a preheated pizza steel is a game-changer. A pizza steel (or even a pizza stone) retains and conducts heat much more efficiently than a standard baking sheet. This intense, even heat transfer from the bottom prevents sogginess and ensures a beautifully golden, crackly crust from edge to center. If you don’t have a pizza steel, a preheated heavy-duty baking sheet can also work wonders, though the steel offers superior results.
For even more delightful apple-inspired creations, explore these fantastic gluten-free apple crisp, gluten-free apple crumble, gluten-free apple cake, gluten-free apple pie, or these baked apples!
Warmly, Erin
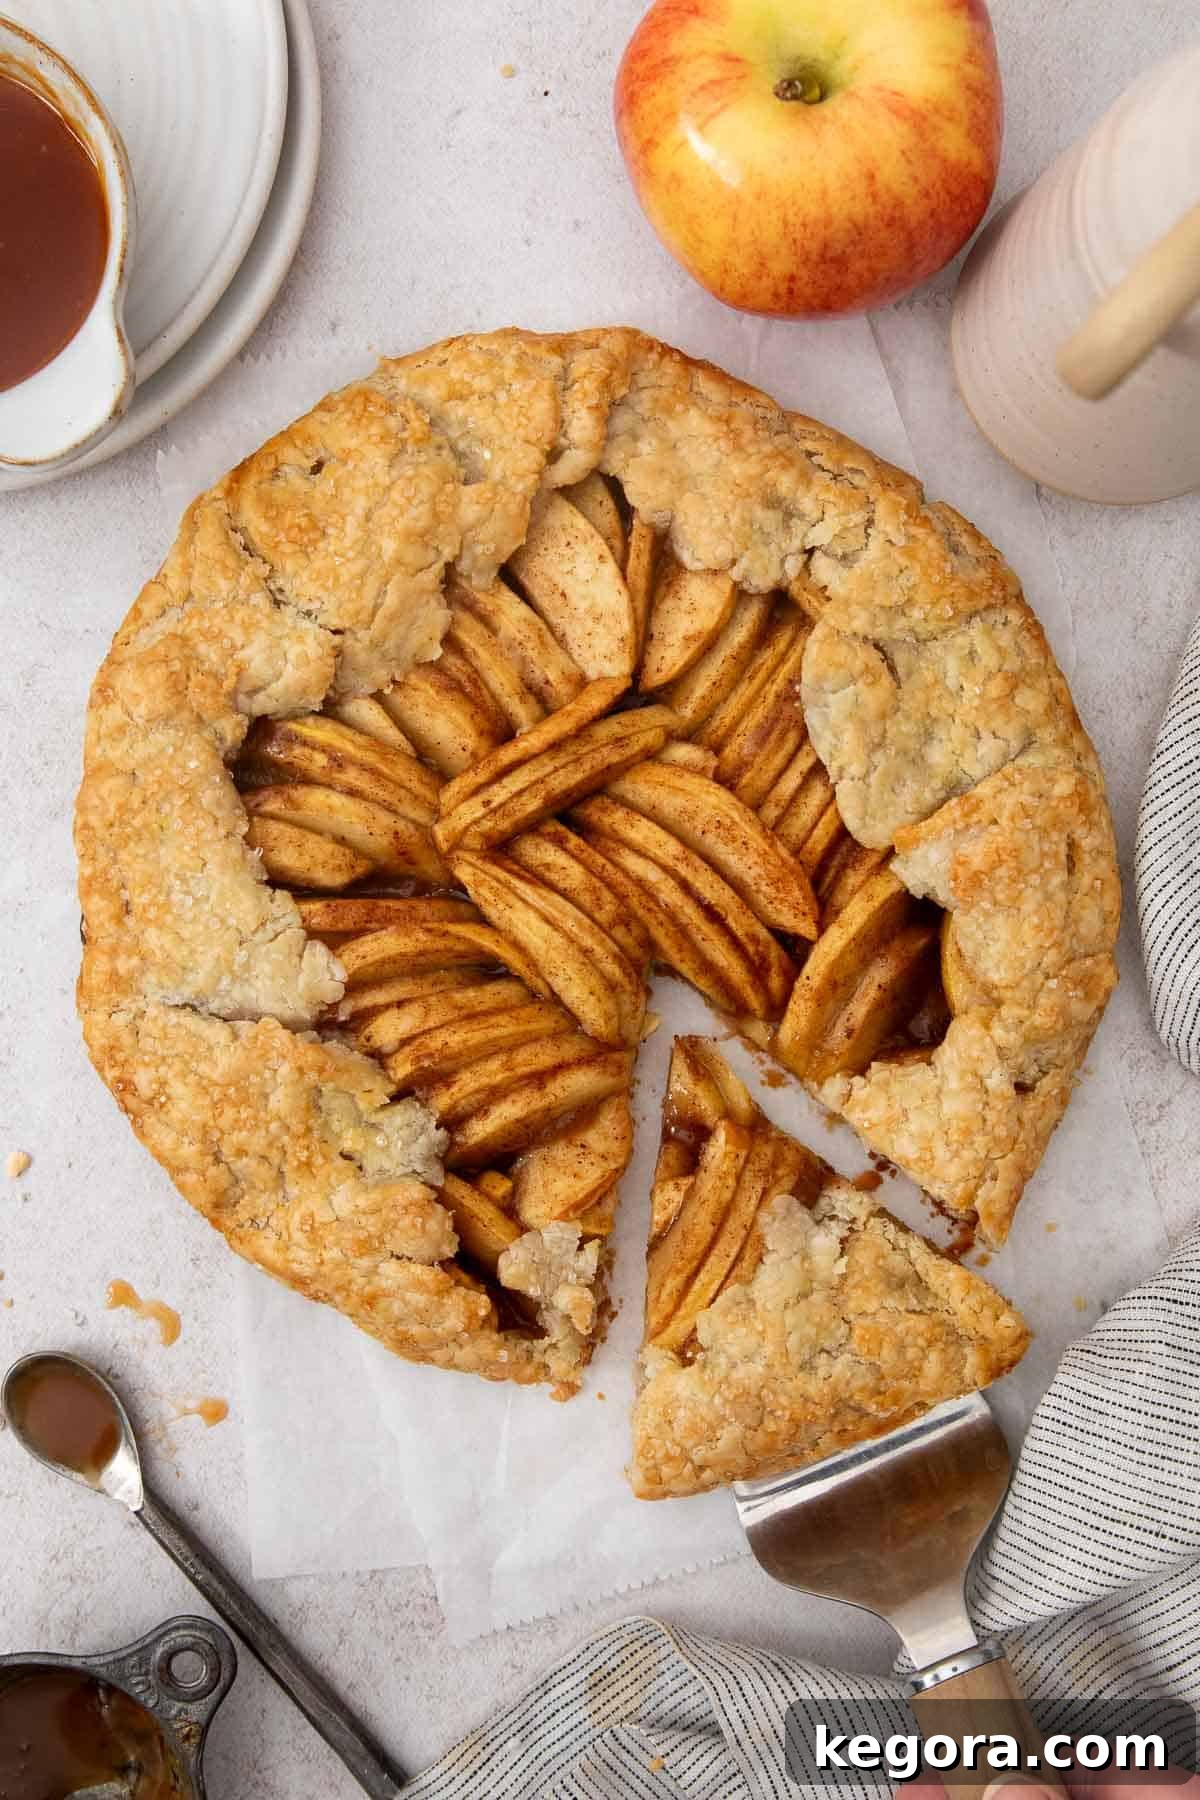
Essential Ingredients for Your Gluten-Free Apple Galette
Crafting this delightful galette starts with a selection of fresh, high-quality ingredients. While the full list with precise measurements can be found in the recipe card below, here are some key components and helpful notes to guide you:
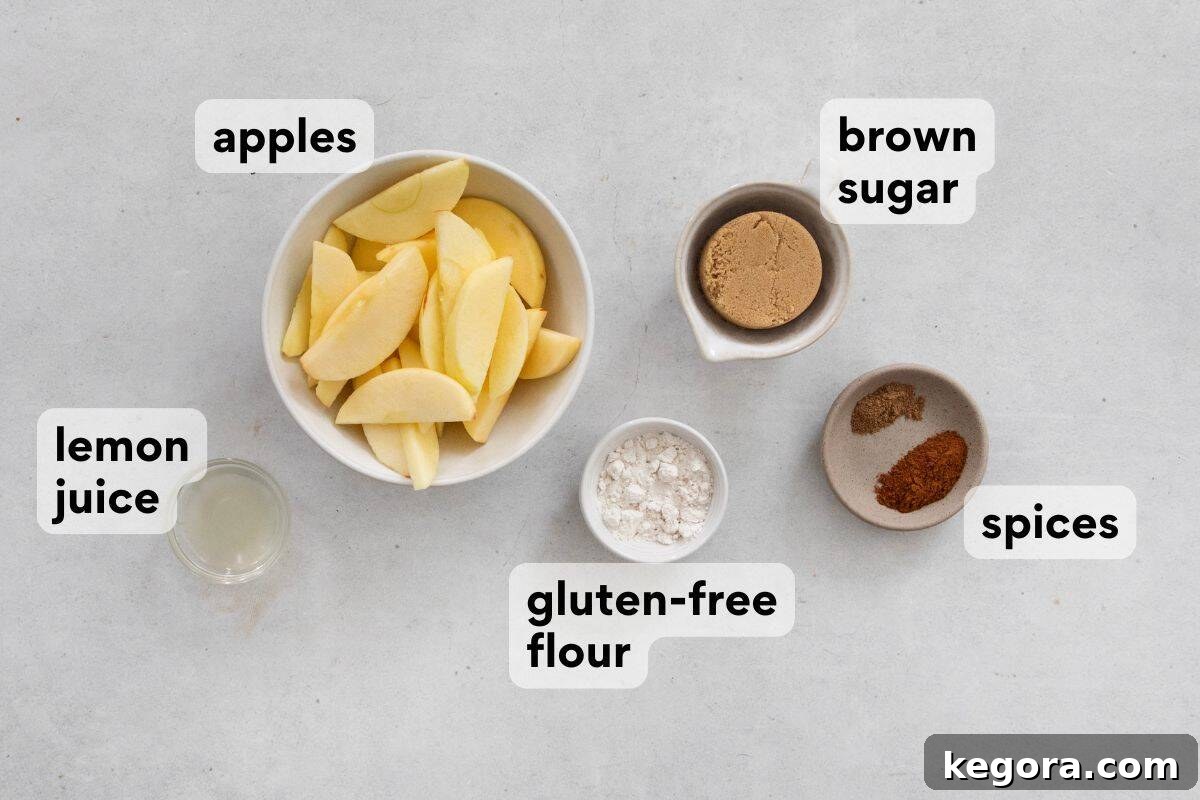
- Gluten-Free Pie Crust: The foundation of this galette is my reliable, buttery gluten-free pie crust. Its rich flavor and tender-flaky texture are crucial for a truly exceptional galette. While the recipe is included, you can also prepare this crust up to two days in advance to save time.
- Apples: The star of the show! For the best structure and a balanced sweet-tart flavor, I highly recommend using firm, tart apple varieties such as Granny Smith or Pink Lady. Other excellent choices include Honeycrisp or Fuji. Aim for consistent 1/4-inch slices to ensure even cooking and a beautiful presentation.
- Gluten-Free Measure-for-Measure Flour: A small amount of gluten-free flour is essential for thickening the apple filling. This prevents the galette from becoming too runny and helps create a luscious, cohesive fruit layer. My top recommendation is King Arthur Gluten-Free Measure-for-Measure Flour for its consistent results.
- Brown Sugar: Adds a deep, caramelized sweetness that complements the tart apples and warm spices beautifully.
- Fresh Lemon Juice: A splash of lemon juice brightens the apple flavor and helps prevent the apples from oxidizing (browning).
- Ground Cinnamon and Nutmeg: These classic autumnal spices elevate the apple flavor, infusing the galette with comforting aromas and tastes that define fall baking.
- Egg Wash: A simple mixture of egg, water, and a pinch of salt brushed over the crust before baking gives the galette a gorgeous golden sheen and a professional, bakery-style finish.
- Sanding Sugar (Optional): For an extra sparkle and a slight crunch, a sprinkle of sanding sugar on the crust adds a lovely decorative touch.
- Salted Caramel Sauce (Optional): Drizzling warm salted caramel over the finished galette takes it to an entirely new level of decadence.
How to Craft Your Gluten-Free Apple Galette: A Step-by-Step Guide
Creating this stunning gluten-free apple galette is simpler than you might imagine, and the results are incredibly rewarding. Below is a comprehensive overview of the process. For detailed, exact instructions and measurements, please refer to the complete recipe card at the bottom of this page!
1. Prepare Your Flaky Pie Crust
Your gluten-free pie crust can be prepared up to two days in advance and kept chilled in the refrigerator. If it has been chilled for more than an hour, allow it to sit at room temperature for about 15 minutes before rolling. This gentle warm-up makes the dough more pliable and easier to work with, reducing the likelihood of cracks. This is the ideal time to start preparing your apple filling.
2. Craft the Irresistible Apple Filling
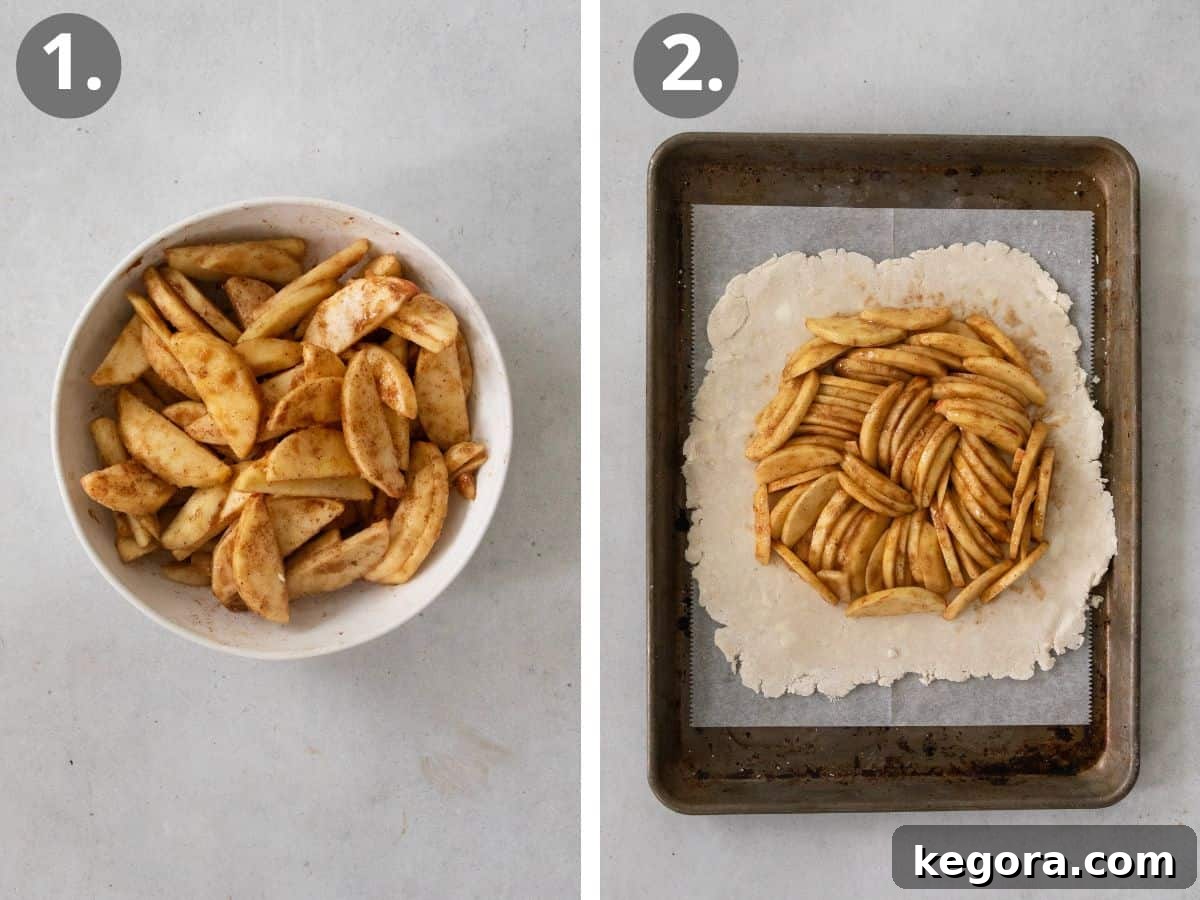
In a large bowl, combine your peeled, cored, and uniformly sliced apples with brown sugar, gluten-free measure-for-measure flour, fresh lemon juice, ground cinnamon, and ground nutmeg. Toss gently until all the apple slices are evenly coated. The flour will help thicken the juices released during baking, creating a luscious, not watery, filling.
3. Shape Your Rustic Galette
Lightly flour a pastry mat or a silicone baking mat, then roll out your chilled pie dough into a roughly 12-inch diameter circle. Don’t worry if the edges aren’t perfectly round or if they show small cracks; this is completely normal for gluten-free dough and contributes to the galette’s rustic appeal. Simply press any small breaks gently back together. Once rolled, carefully transfer the dough to a baking sheet lined with parchment paper or a silicone mat. This prevents sticking and makes cleanup a breeze.
Pour the apple filling, along with any accumulated juices, onto the center of the dough, leaving a generous 2 to 3-inch border. For an aesthetically pleasing presentation, you can arrange the apple slices in a circular pattern, overlapping them slightly. This creates a beautiful spiral effect when baked.
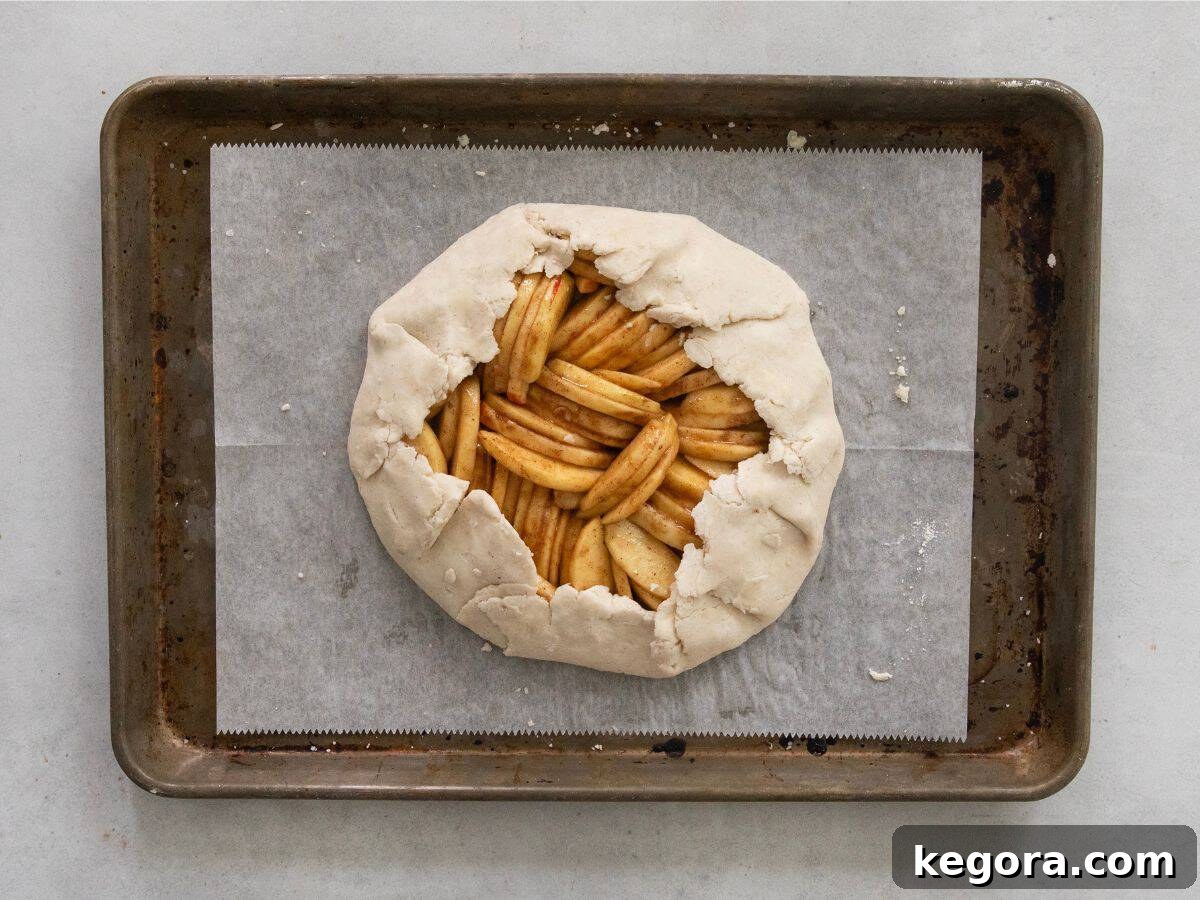
4. Fold, Chill, and Preheat
Once the apples are arranged, gently fold the edges of the pie dough over the filling. The dough will naturally overlap in places, creating a beautiful, organic border. Lightly press the folds to seal them, ensuring the apples are securely encased. This rustic folding technique is what gives a galette its distinctive charm.
After shaping, refrigerate the galette for 15-20 minutes. This chilling period helps the crust firm up, preventing it from shrinking or becoming too soft during baking. While your galette chills, begin preheating your oven to 400°F (200°C). Crucially, place your pizza steel (or heavy baking sheet) inside the oven as it preheats. This allows the steel to reach the optimal temperature, guaranteeing that signature crispy bottom crust.
During this time, prepare your egg wash: simply whisk together one large egg, one tablespoon of water, and a tiny pinch of kosher salt in a small bowl. This mixture will give your galette a beautiful, glossy finish.
5. Bake to Golden Perfection
Using a pastry brush, lightly coat the exposed edges of your galette crust with the prepared egg wash. If desired, sprinkle a little sanding sugar over the egg-washed crust for added sparkle and a delicate crunch. Carefully transfer the chilled galette on its parchment-lined baking sheet directly onto the preheated pizza steel in the oven.
Bake for approximately 35-40 minutes, or until the gluten-free crust is deeply golden brown, and the apple filling is visibly bubbling and tender. The enticing aroma of baked apples and cinnamon will fill your kitchen, signaling that your masterpiece is nearly ready. Once baked, remove the galette from the oven and allow it to cool on the baking sheet for at least 15 minutes before slicing. This cooling time allows the filling to set properly.
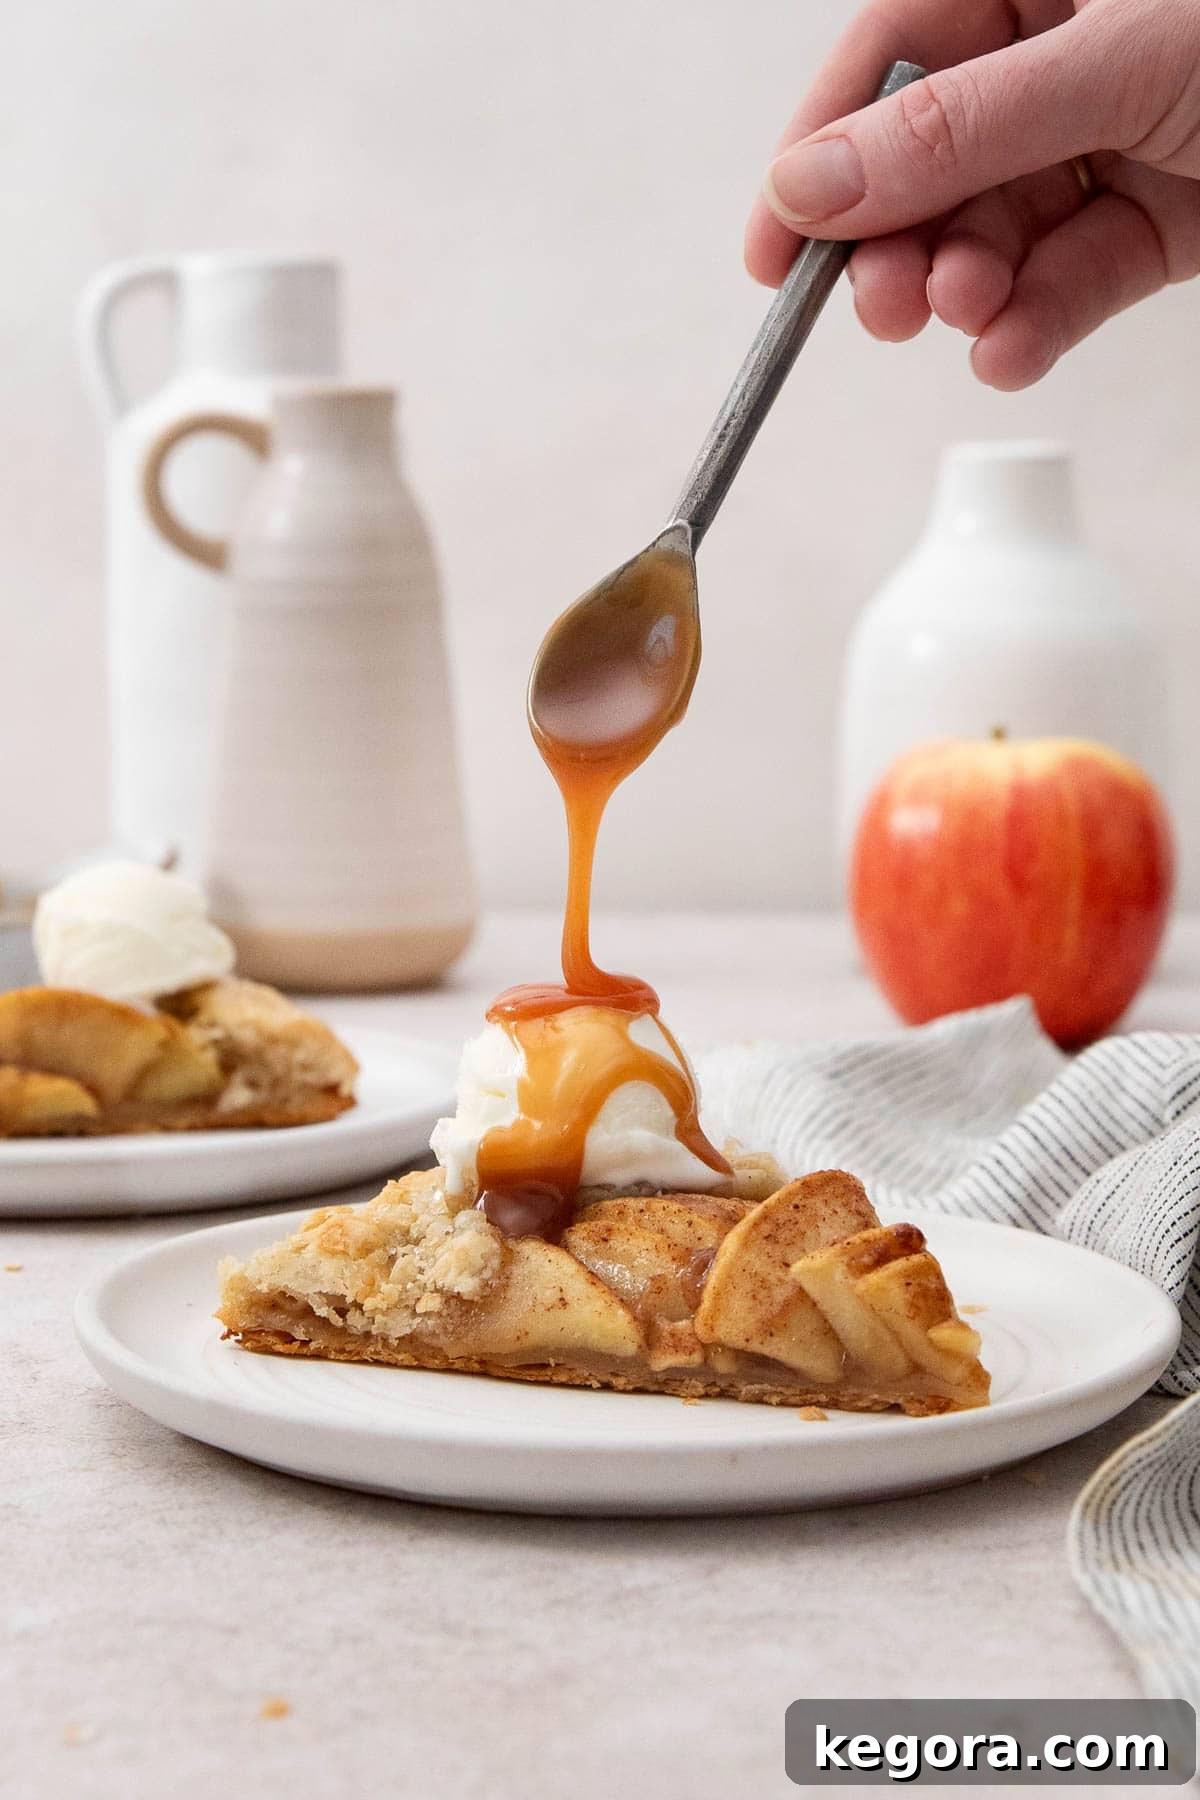
For an extra touch of indulgence, drizzle warm salted caramel sauce over individual slices before serving. This decadent addition perfectly complements the sweet-tart apples and flaky crust.
Gluten-Free Apple Galette
Erin Collins
25 mins
40 mins
20 mins
1 hr 25 mins
8 servings
Erin’s #1 Tip: For an exceptionally crisp bottom crust that prevents sogginess, always bake your galette on a preheated pizza steel!
Comments
Ingredients
- 1 gluten-free pie crust recipe, prepared through step 7 of its specific instructions
Apple Filling
- 3-4 (500-600g) apples, peeled, cored, and sliced into 1/4-inch pieces (Granny Smith or Pink Lady recommended)
- ¼ cup (53g) brown sugar
- 1 tablespoon gluten-free measure-for-measure flour
- 2 teaspoons fresh lemon juice
- 1 teaspoon ground cinnamon
- ¼ teaspoon ground nutmeg
Egg Wash
- 1 large egg
- 1 tablespoon water
- pinch of kosher salt
Optional Garnishes
- Sanding sugar for topping
- Salted caramel sauce for serving
Instructions
-
Line a large baking sheet with parchment paper or a silicone baking mat. In a medium bowl, combine the sliced apples, brown sugar, gluten-free flour, lemon juice, cinnamon, and nutmeg. Stir until the apples are evenly coated with the mixture.
-
If your pie dough has been refrigerated for longer than 1 hour, allow it to sit at room temperature for about 15 minutes before rolling. This will make it more pliable.
-
Place the dough on a lightly floured pastry mat or a silicone baking mat. Roll the pie crust into a circle approximately 12 inches in diameter. Gluten-free pie crust can sometimes be a bit delicate; if it cracks or breaks along the edges, gently press it back together.
-
Carefully transfer the rolled dough onto your prepared, lined baking sheet.
-
Spoon the apple filling and any accumulated juices onto the center of the dough, leaving a clear 2 to 3-inch border around the edges. You can either spoon the apples randomly or arrange the slices in an appealing circular pattern for a more polished look. Gently fold the edges of the dough over the apples, overlapping where necessary, and lightly press to seal the folds.
-
Refrigerate the assembled galette for 15-20 minutes. While it chills, place a pizza steel or heavy-duty baking sheet in your oven and preheat the oven to 400°F (200°C). This preheated surface is key for a crispy bottom crust.
-
In a small bowl, whisk together the egg, water, and a pinch of salt to create the egg wash.
-
Using a pastry brush, lightly brush the exposed edges of the galette crust with the egg wash. For an extra touch of sparkle and crunch, sprinkle with sanding sugar if desired.
-
Bake for approximately 35-40 minutes, or until the gluten-free crust is beautifully golden brown and the apple filling is bubbling vigorously.
-
Once baked, remove the galette from the oven and let it cool on the baking sheet for at least 15 minutes before serving. This allows the filling to set. For a truly decadent experience, drizzle with warm salted caramel sauce just before serving.
Recipe Notes & Expert Tips
Making it Dairy-Free: While the included pie crust recipe contains dairy, the apple filling and egg wash are naturally dairy-free. To make this entire galette dairy-free, simply substitute my crust with your preferred gluten-free and dairy-free pie crust recipe. Ensure any butter substitutes used in your crust are suitable for baking.
Preparation in Advance (Make-Ahead): To simplify your baking day, both the pie crust and the apple filling can be prepared ahead of time. The pie crust can be made up to 2 days in advance, tightly wrapped in plastic wrap and stored in the refrigerator. The apple filling can also be prepared 1 day ahead; store it in an airtight container in the fridge. Before assembling, remember to drain any excess liquid that may have accumulated from the apples to prevent a soggy crust.
Storing Leftovers: Any leftover galette can be stored loosely covered at room temperature for up to 1 day. For longer freshness, refrigerate it in an airtight container for up to 3 days. Reheat gently in the oven for the best texture.
Freezing for Later: This apple galette freezes beautifully! Once completely cooled, wrap the entire galette (or individual slices) tightly in plastic wrap, then aluminum foil, and freeze for up to 1 month. To serve, thaw overnight in the refrigerator, then warm in an oven preheated to 350°F (175°C) until heated through and the crust is crisp again.
Nutrition Facts (per serving)
Calories: 74 kcal | Carbohydrates: 17g | Protein: 1g | Fat: 1g | Saturated Fat: 0.2g | Polyunsaturated Fat: 0.1g | Monounsaturated Fat: 0.2g | Trans Fat: 0.003g | Cholesterol: 20mg | Sodium: 11mg | Potassium: 92mg | Fiber: 2g | Sugar: 14g | Vitamin A: 67IU | Vitamin C: 4mg | Calcium: 16mg | Iron: 0.3mg
Please note: Nutritional information is an estimate based on ingredients used and typical serving sizes. It may vary depending on specific brands and preparation methods.
Frequently Asked Questions About Gluten-Free Apple Galette
Here are answers to some common questions that might pop up while you’re making this delicious apple galette:
What is the difference between a galette and a pie?
The main difference lies in their presentation and ease of preparation. A pie is typically baked in a pie dish with a fully enclosed crust (top and bottom), requiring precise crimping and shaping. A galette, on the other hand, is a free-form, rustic tart baked on a flat baking sheet. It features a single crust that is simply folded over the edges of the filling, leaving the center exposed. Galettes are much simpler and quicker to assemble, making them an excellent choice for beginners or when you want a less formal, yet equally impressive, dessert.
Can I use other fruits instead of apples?
Absolutely! Galettes are incredibly versatile. You can easily adapt this recipe to use other seasonal fruits. Berries (strawberries, blueberries, raspberries), peaches, plums, pears, or a combination of fruits all make wonderful galette fillings. Adjust the amount of sugar and flour/cornstarch thickener based on the sweetness and juiciness of your chosen fruit. Generally, stone fruits and berries might require slightly more thickener.
How can I prevent a soggy bottom crust?
Preventing a soggy bottom is crucial for any fruit tart! My top tip is to bake the galette on a preheated pizza steel or heavy-duty baking sheet. This ensures a burst of high heat directly to the bottom of the crust, creating a crisp barrier. Additionally, making sure your apple slices are not too thick and that you’ve used enough gluten-free flour to absorb excess moisture from the fruit filling will also help significantly.
My gluten-free pie crust is difficult to roll out and keeps cracking. What should I do?
Gluten-free doughs can indeed be more fragile than traditional wheat-based doughs. Patience is key! If your dough is cracking, it might be too cold. Let it sit at room temperature for an extra 5-10 minutes to soften slightly. Rolling it between two sheets of parchment paper or on a silicone mat can also make a huge difference, preventing sticking and making it easier to transfer. Don’t worry if it’s not perfectly smooth; a rustic look is part of the galette’s charm. Simply press the cracks together gently with your fingers as you roll.
Can I make this galette dairy-free?
Yes, you can! The apple filling and egg wash are naturally dairy-free. The main component to address is the pie crust. While my provided crust recipe uses butter, you can substitute it with a high-quality gluten-free and dairy-free pie crust recipe that uses a plant-based butter alternative or coconut oil. Ensure your chosen dairy-free crust is suitable for rolling and baking in this manner.
What are the best apples for baking a galette?
For baking, it’s generally best to use firm, crisp apples that hold their shape well and offer a good balance of sweetness and tartness. Granny Smith apples are a classic choice for their tartness and firm texture. Pink Lady, Honeycrisp, Fuji, or Braeburn are also excellent options. Avoid very soft or mealy apple varieties, as they can turn to mush during baking and release too much moisture.
Conclusion: Your New Favorite Gluten-Free Fall Dessert
This gluten-free apple galette is more than just a recipe; it’s an invitation to enjoy the simple pleasures of home baking without compromise. With its buttery, flaky crust, warmly spiced apple filling, and beautifully rustic appearance, it’s a dessert that speaks of comfort, celebration, and deliciousness. Whether you’re serving it at a Thanksgiving feast, a casual family dinner, or simply treating yourself to a cozy evening indulgence, this galette is guaranteed to become a new favorite. So gather your ingredients, embrace the rustic charm, and get ready to bake a truly unforgettable fall dessert!