
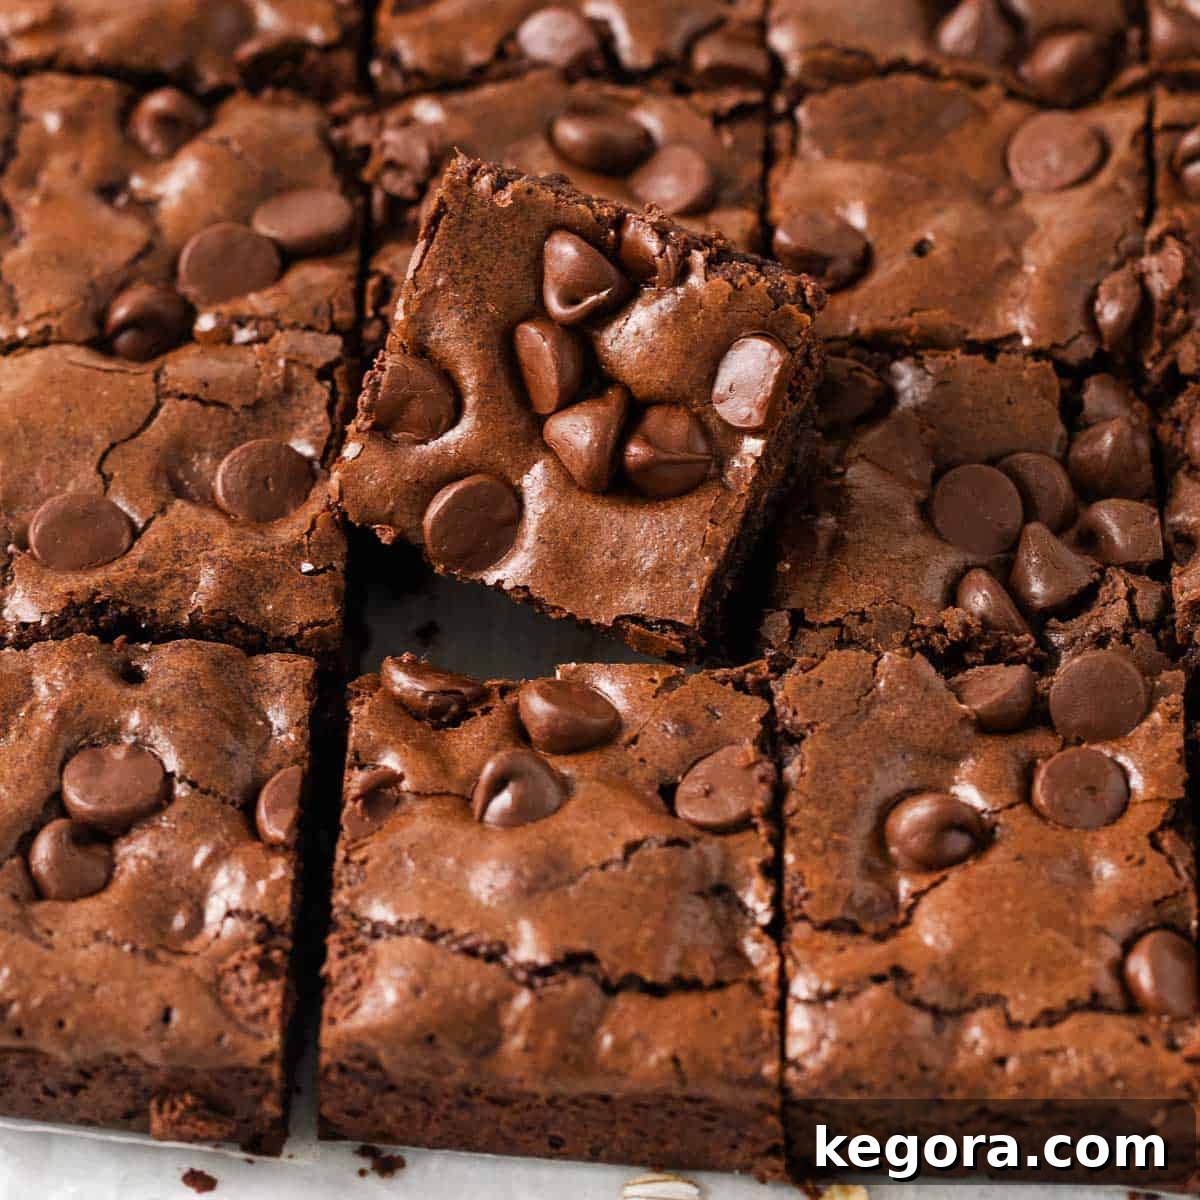
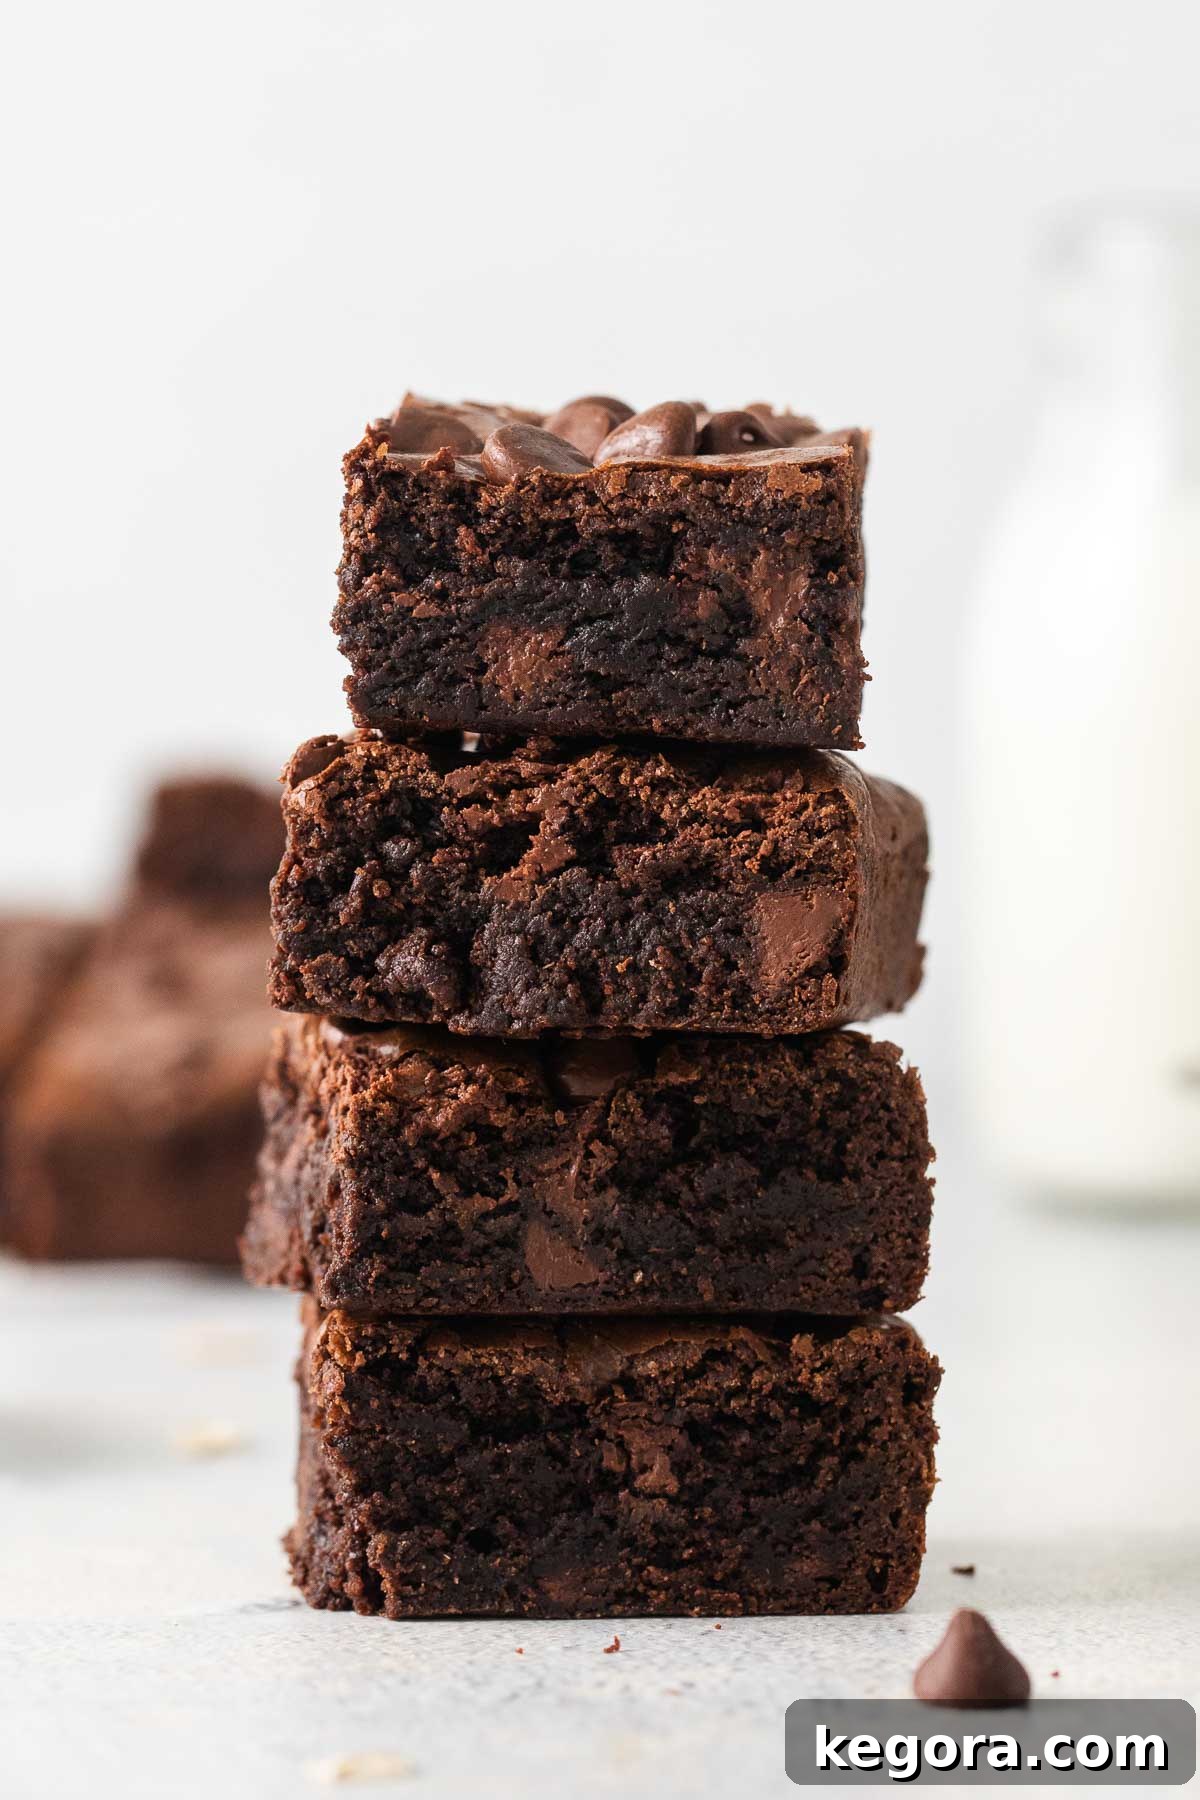
Chewy, moist, and utterly fudgy! This incredibly EASY, one-bowl oat flour brownie recipe delivers a decadent, delicious, and naturally gluten-free dessert that will satisfy any chocolate craving.
Are you on the hunt for the best oat flour brownies recipe that promises a rich, chocolatey experience without the gluten? Look no further! I’m thrilled to share all my perfected tips and tricks for crafting truly exceptional brownies that are guaranteed to impress everyone, whether they’re gluten-free or not.
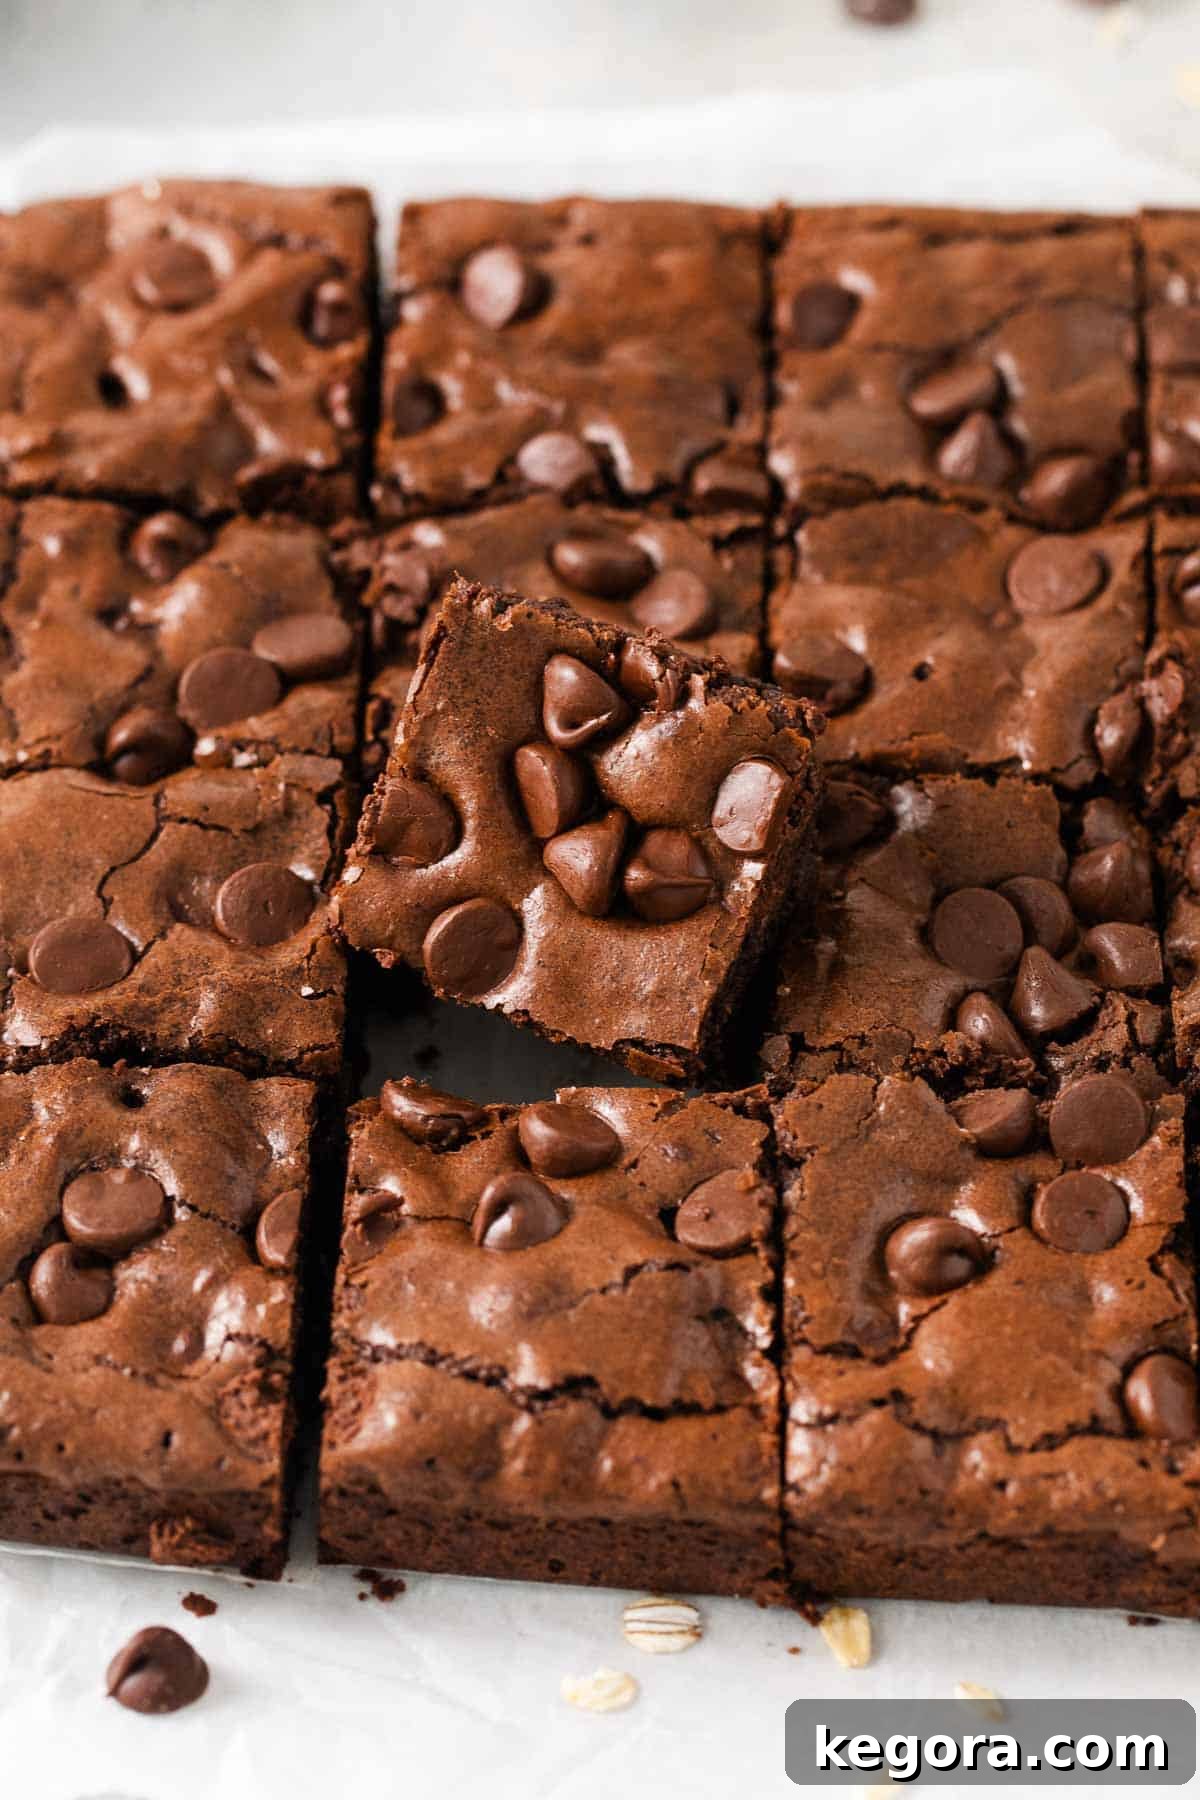
Why These Oat Flour Brownies Are a Must-Try
Is there any dessert more universally loved than a perfectly moist, deeply fudgy brownie? It’s a simple, classic indulgence that, for me, truly never gets old. While a warm brownie is satisfying on its own, elevate it with a scoop of vanilla ice cream or a generous drizzle of hot fudge and gooey caramel, and you’ve got a dessert masterpiece worthy of any occasion. Brownies are effortlessly easy to whip up, ideal for feeding a crowd, and always hit that sweet spot just right!
That’s precisely why this oat flour brownie recipe has become one of my absolute favorite go-to desserts for everything from casual game nights and cozy movie evenings to festive family dinners. Yes, these brownies are proudly gluten-free (provided you use certified gluten-free oats), but here’s the best part: no one will ever suspect! My rich, intensely chocolatey oat flour brownies are every bit as delightful and indulgent as their traditional counterparts. In fact, prepare yourself – they just might claim the title of your new favorite brownie recipe!
Key Features of This Recipe
- Rich & Fudgy: Achieve that signature dense, gooey texture every time.
- Effortless to Make: Simple steps for beginners and seasoned bakers alike.
- One-Bowl Wonder: Minimal cleanup means more time to enjoy your treats.
- Naturally Gluten-Free: A delicious option for those avoiding gluten, without compromising on taste.
- Wholesome Oat Flour Base: Enjoy the benefits of oat flour, adding a subtle nutty flavor and extra nutrients.
Understanding Oat Flour: Your Gluten-Free Baking Secret
Oat flour is an incredible ingredient that brings a unique tenderness and subtle chewiness to baked goods, making it perfect for brownies. It’s naturally free of gluten, packed with dietary fiber, protein, and essential nutrients like iron, potassium, magnesium, calcium, and zinc, making it a healthier alternative to traditional white or wheat flour. The higher fiber content also contributes to a feeling of fullness and supports digestive health.
A Crucial Note on Gluten-Free Oat Flour
While oats themselves are inherently gluten-free, there’s a significant risk of cross-contamination with wheat, barley, or rye during the farming, harvesting, and processing stages. This means that regular oats and oat flour may contain gluten if not handled properly.
Therefore, if you are baking for someone with celiac disease or gluten sensitivity, it is absolutely essential to use certified gluten-free oat flour. These products are specifically processed in dedicated gluten-free facilities and are tested to ensure they contain less than 20 parts per million (ppm) of gluten, which is the international standard for “gluten-free.” Always look for the clear “certified gluten-free” label on any oat flour you purchase.
You can also easily make your own homemade oat flour by blending certified gluten-free rolled oats in a food processor or high-speed blender until a fine flour forms. This is a cost-effective way to ensure your oat flour is truly gluten-free.
Oat flour is incredibly versatile! Beyond these fantastic brownies, you might also enjoy exploring other oat flour creations such as oat flour waffles, oat flour pancakes, oat flour banana bread, oat flour chocolate chip cookies, and various oat flour muffins. For more detailed information, check out my guides on how to make oat flour and finding the best substitutes for oat flour.
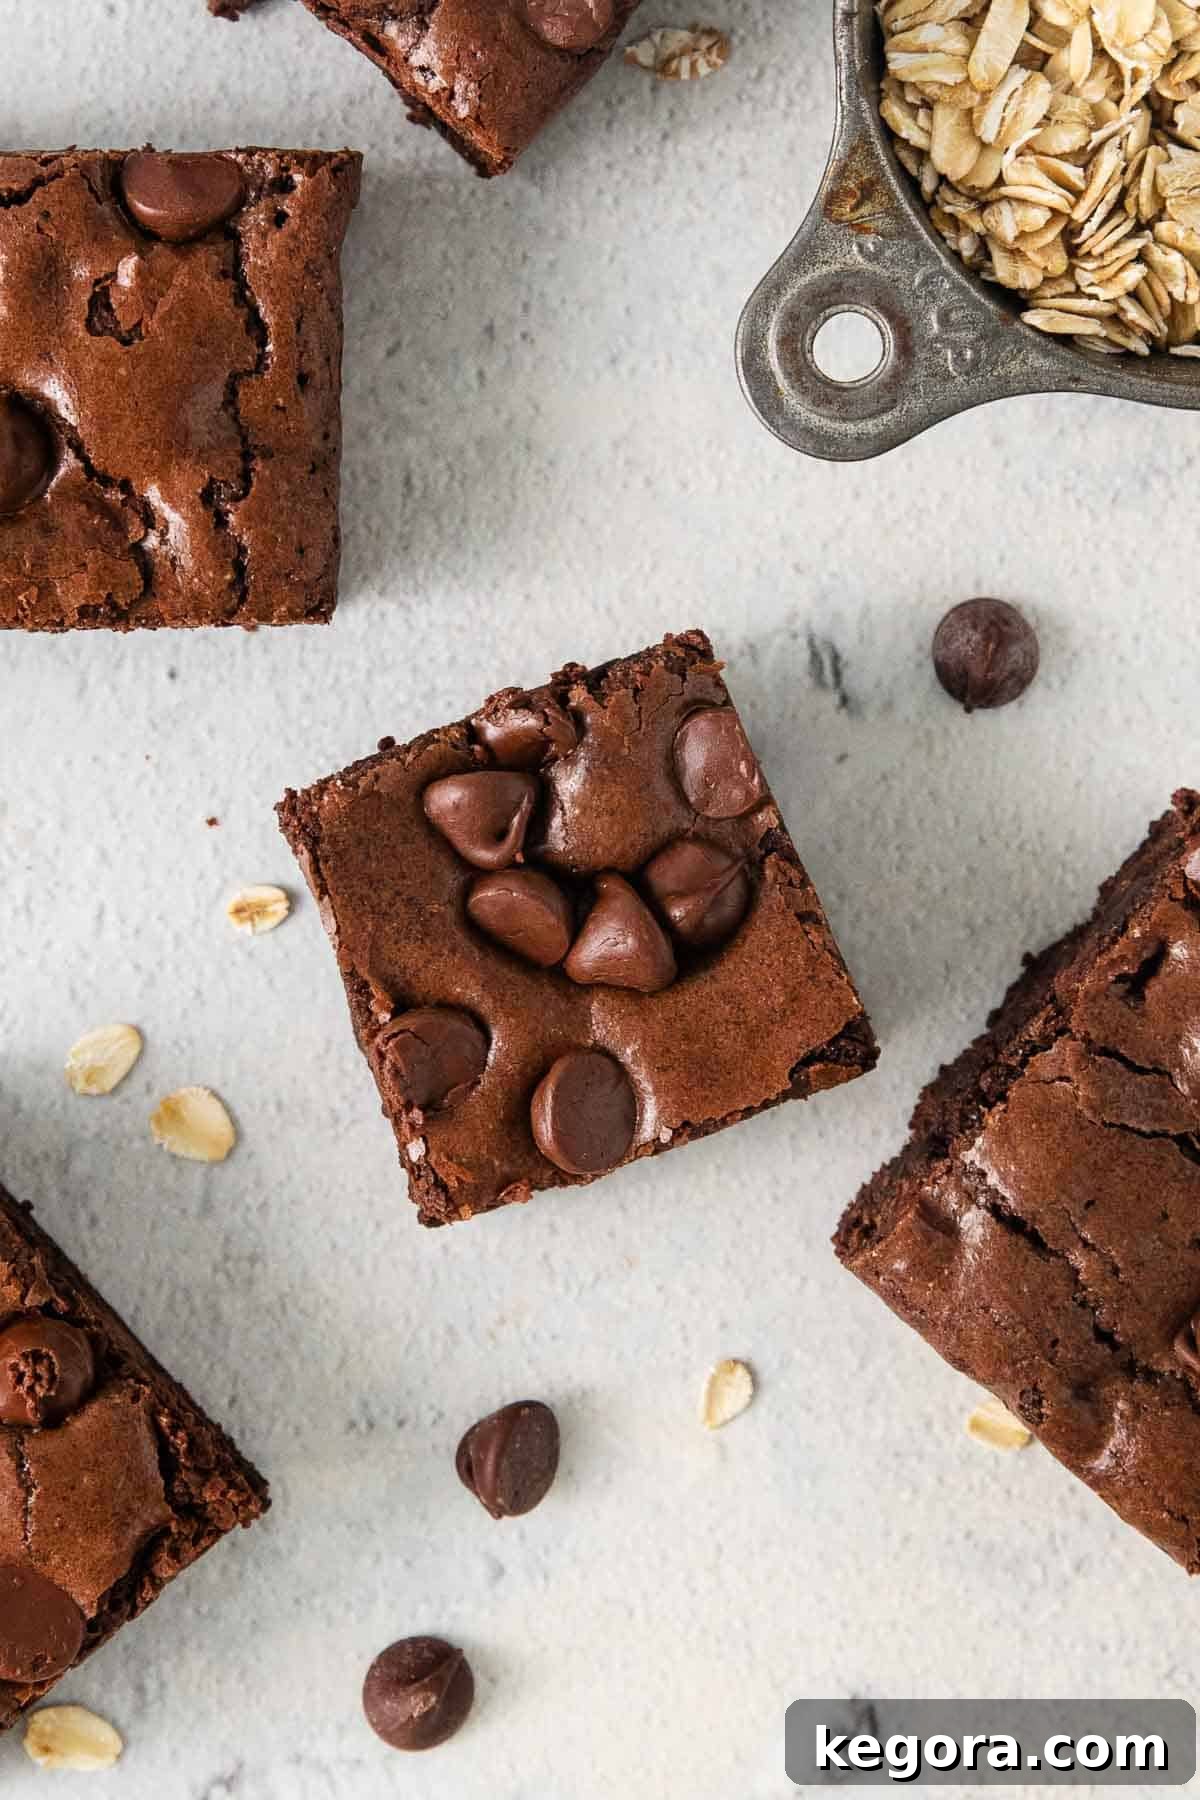
Gather Your Ingredients for Fudgy Perfection
Achieving truly fudgy and rich oat flour brownies starts with a selection of simple, high-quality ingredients. Here’s what you’ll need, along with some important tips for each:
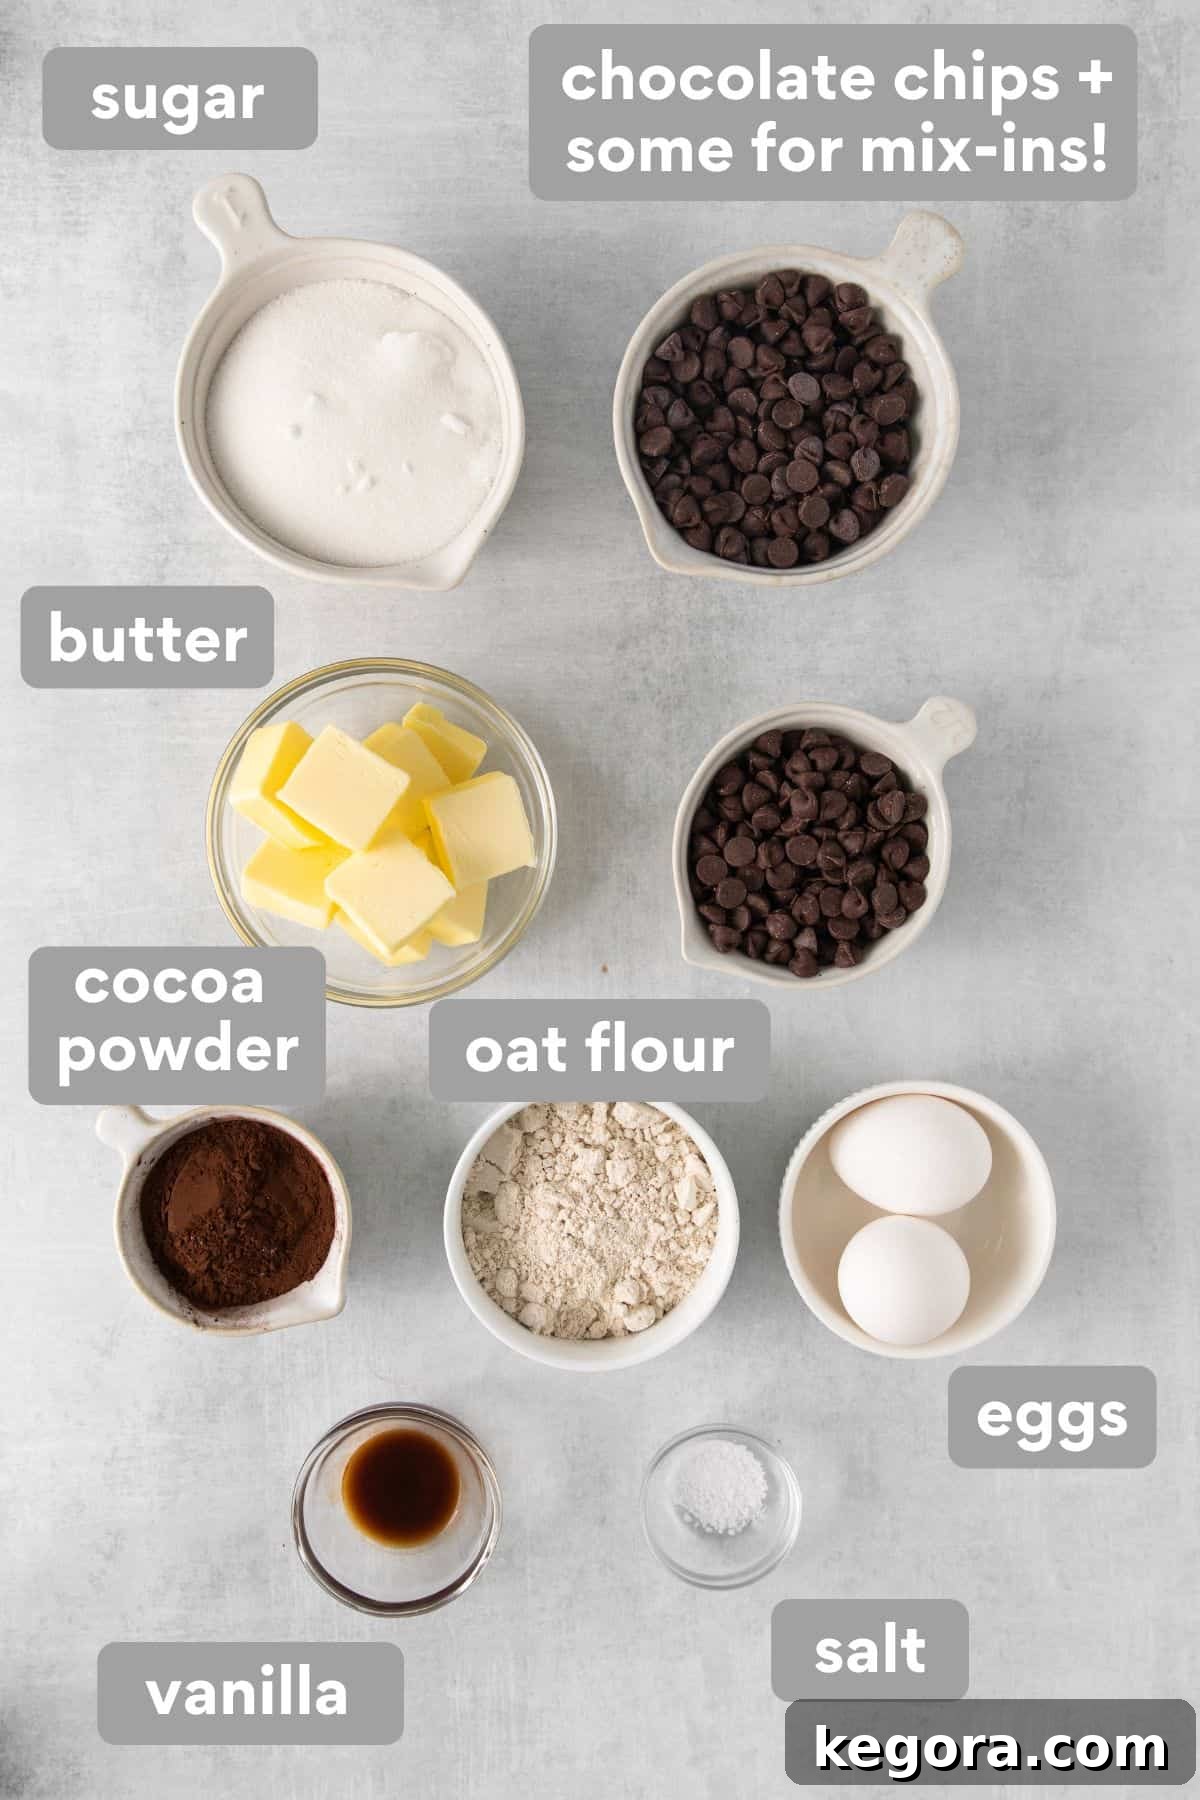
- Granulated Sugar: I prefer using standard granulated sugar for all my gluten-free baking, including these brownies. It’s crucial for both sweetness and contributing to that classic shiny, crackly top and moist texture. I strongly advise against swapping granulated sugar with liquid sweeteners like pure maple syrup or honey, as this will significantly alter the brownie’s delicate texture and consistency.
- High-Quality Chocolate Chips: For an exceptionally delicious and intensely chocolatey brownie, don’t skimp on quality. Use premium semi-sweet chocolate chips or chopped chocolate chunks. Guittard is a personal favorite brand that melts beautifully and delivers rich flavor. Feel free to add a few extra chocolate chips to the batter for an even more decadent and fudgy final result.
- Salted Butter: I opt for salted butter in this recipe because it adds a wonderful depth of flavor that unsalted butter sometimes lacks, helping to balance the sweetness. You’ll melt the butter with some of the chocolate chips, creating the luscious base for your brownie batter before incorporating the dry ingredients.
- Cocoa Powder: You have a choice here between Dutch-process cocoa powder and natural unsweetened cocoa powder. Dutch-process cocoa is treated with an alkali, giving it a darker color and a milder, less acidic chocolate flavor, which results in a richer, deeper brownie. Natural unsweetened cocoa powder, on the other hand, provides that classic, slightly more intense and familiar brownie taste. Both work beautifully in this recipe, so choose based on your preference for chocolate depth.
- Certified Gluten-Free Oat Flour: As discussed, this is key for a truly gluten-free brownie. Ensure your oat flour is specifically labeled as “certified gluten-free” to avoid cross-contamination.
- Large Eggs: For the best texture and proper emulsification, use room temperature large eggs. This helps them incorporate more smoothly into the batter, leading to a consistently fudgy brownie.
- Fine Sea Salt: A half teaspoon of fine sea salt is essential to enhance the chocolate flavor and balance the sweetness. For an extra touch of gourmet appeal and a subtle crunch, consider sprinkling a bit of flaky sea salt on top of the batter before baking.
- Pure Vanilla Extract: Always use real vanilla extract for superior flavor. Imitation vanilla simply doesn’t compare in depth and aroma, especially in a rich chocolate dessert like brownies.
Explore my full collection of oat flour recipes for more gluten-free baking inspiration!
Step-by-Step Guide: Crafting Your Perfect Oat Flour Brownies
Making these fudgy oat flour brownies is a simple, one-bowl process that yields incredible results. Follow these clear steps for success:
- Prepare Your Pan: Preheat your oven to 350°F (175°C). Lightly grease a 9×9 inch baking dish with cooking spray, or line it with parchment paper for easy removal. Using a light metal pan is recommended for better heat conduction, but glass works too!
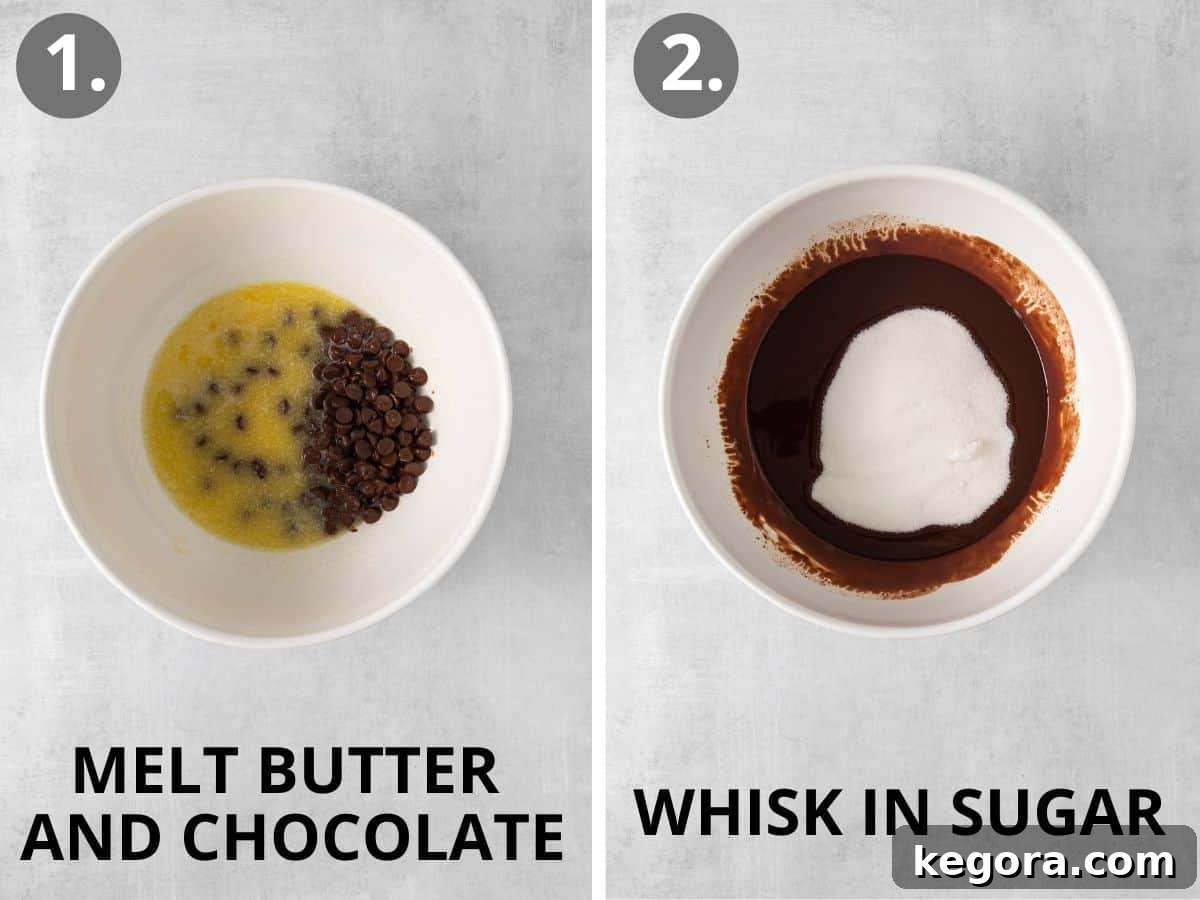
- Melt Chocolate & Butter: Cut the salted butter into tablespoon-sized pieces. In a large, microwave-safe mixing bowl, combine the butter and 1/2 cup of your high-quality chocolate chips. Microwave in 30-second intervals, stirring well after each, until the mixture is completely melted and smooth. This typically takes about 60-90 seconds total.
- Incorporate Sugar: Add the granulated sugar to the melted chocolate and butter mixture. Whisk vigorously for about 30 seconds until well combined. The mixture should become glossy.
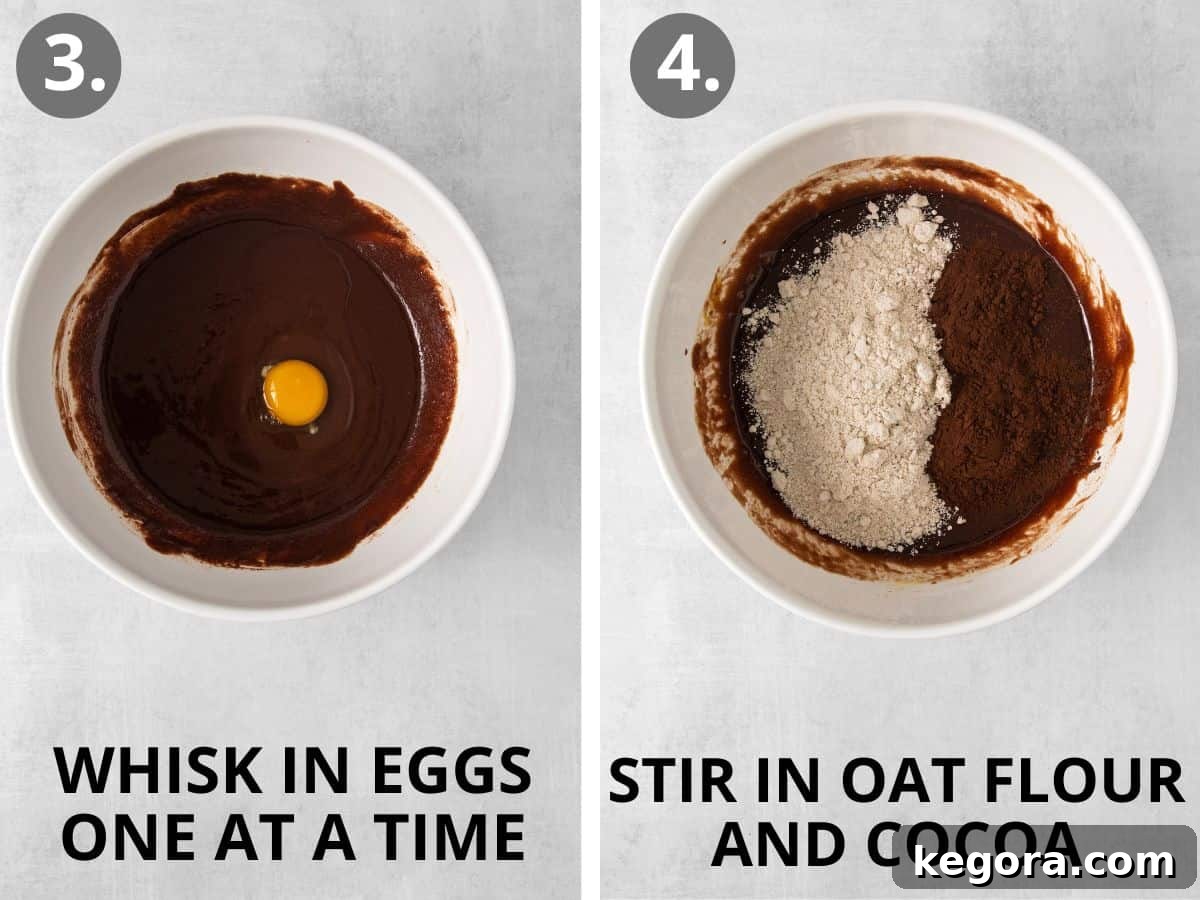
- Add Wet Ingredients: Stir in the room temperature large eggs, one at a time, whisking for a full 20 seconds after each addition. This step is crucial for achieving that desirable fudgy texture and shiny top. Finally, whisk in the pure vanilla extract and fine sea salt.
- Mix Dry Ingredients: Using a rubber spatula, gently fold in the cocoa powder and certified gluten-free oat flour. Mix until just combined, being careful not to overmix, which can lead to dry brownies.
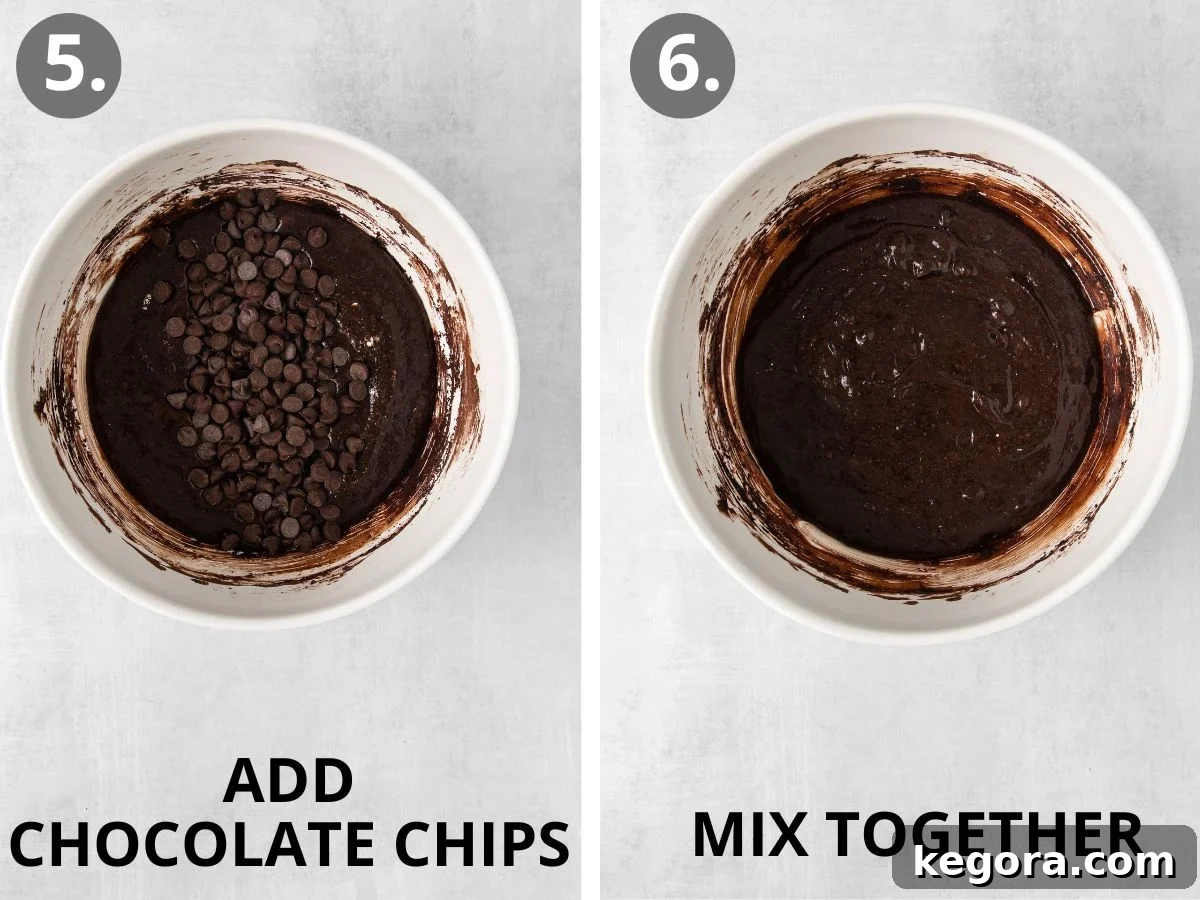
- Fold in Remaining Chocolate: Stir in the remaining 1 cup of chocolate chips. This adds pockets of melted chocolate throughout the brownies.
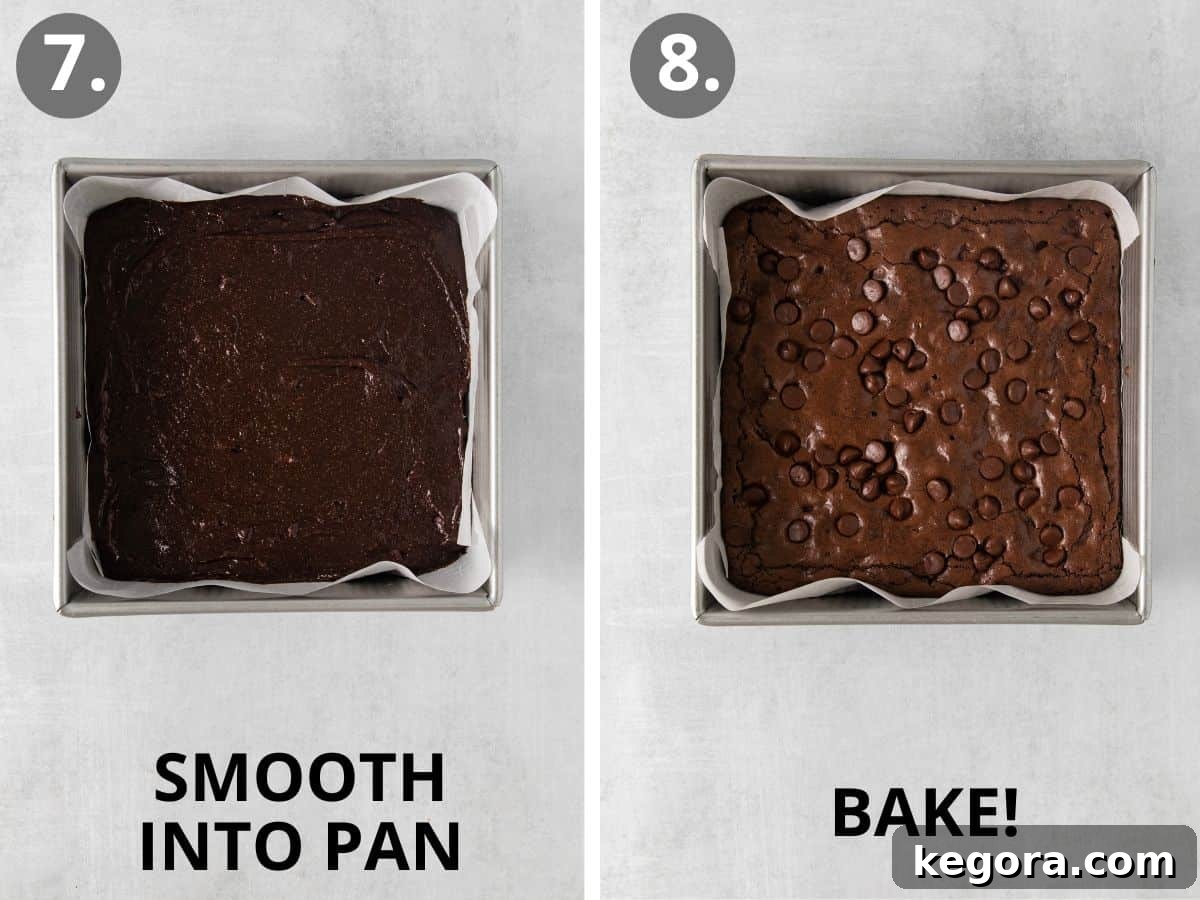
- Bake to Perfection: Pour the luscious brownie batter into your prepared 9×9 inch baking pan. Smooth the top into an even layer with your spatula. Bake for 30-35 minutes, or until the edges are set and a toothpick inserted into the center comes out with moist crumbs, but not wet batter.
- Cool & Enjoy: Allow the brownies to cool completely in the pan for at least 30 minutes before cutting into squares. This cooling time is essential for them to set properly and develop their ultimate fudgy texture. Slice, serve, and savor one of your new favorite dessert recipes!
Pro Tips for Bakery-Style Oat Flour Brownies
- Choose the Right Pan: Whenever possible, use a light-colored metal baking pan. Metal pans conduct heat more efficiently and evenly, which is particularly beneficial for gluten-free baked goods, helping them to cook through without drying out. My preference is a USA Pan 9×9 inch pan. If you only have a glass pan, it will still work, but you might need to slightly adjust baking time.
- Double Chocolate Power: The secret to truly rich and deeply flavored brownies is using both melted chocolate chips AND cocoa powder. The melted chocolate provides a fudgy density and helps create that desirable shiny, crackly top, while the cocoa powder adds an intense chocolate depth. Always opt for a high-quality chocolate like Guittard for the best flavor.
- Don’t Overmix: Once you add the dry ingredients (oat flour and cocoa powder), mix only until just combined. Overmixing can develop the gluten (even in gluten-free flours, to some extent) and lead to tougher, drier brownies.
- Room Temperature Eggs: As mentioned in the ingredients, room temperature eggs emulsify better with the fat and sugar, resulting in a smoother batter and a more uniform, fudgy texture.
- Cool Completely: Patience is key! Resist the urge to cut into hot brownies. Allowing them to cool completely (at least 30 minutes, ideally longer) allows them to firm up and become perfectly fudgy. Warm brownies tend to be crumbly.
Serving Suggestions & Delightful Variations
These oat flour brownies are phenomenal on their own, but they also serve as a fantastic base for customization. Here are some ideas to make them even more special:
- Classic A La Mode: Serve warm brownies with a scoop of your favorite vanilla bean ice cream. The contrast of warm and cold, fudgy and creamy, is irresistible.
- Saucy Toppings: Drizzle with homemade caramel sauce, hot fudge, or a raspberry coulis.
- Nutty Crunch: Fold in a half cup of chopped walnuts, pecans, or almonds with the chocolate chips for added texture and flavor.
- Minty Fresh: Add 1/2 teaspoon of peppermint extract along with the vanilla for a festive mint chocolate brownie.
- Espresso Boost: A teaspoon of instant espresso powder (mixed with the cocoa powder) will deepen the chocolate flavor without making the brownies taste like coffee.
- Cream Cheese Swirl: For an extra layer of decadence, dollop spoonfuls of a simple cream cheese mixture (softened cream cheese, a little sugar, and an egg yolk) over the brownie batter before baking, then swirl with a knife.
Storage Instructions
Your delicious oat flour brownies will stay fresh and fudgy when stored properly. Place any leftover brownies in an airtight container at room temperature for up to five days. For longer storage, you can individually wrap cooled brownies in plastic wrap and then place them in a freezer-safe bag or container for up to 2-3 months. Thaw at room temperature or gently warm in the microwave for a fresh-baked experience.
Frequently Asked Questions About Oat Flour Brownies
Can you bake with just oat flour?
Yes, absolutely! Oat flour can be used as a standalone flour, as demonstrated in this very recipe. While it pairs well with other gluten-free flours like almond flour or arrowroot starch, it performs wonderfully on its own, providing a soft, tender crumb.
Is baking with oat flour healthy?
Baking with oat flour can be a healthier alternative to using refined white flour. It is generally higher in fiber, protein, and beneficial nutrients such as calcium, potassium, iron, and magnesium. This makes it a more nutrient-dense choice that can contribute to a more balanced diet.
Why is oat flour healthier than white flour?
Oat flour stands out as a healthier option compared to white flour because it is a whole grain. Unlike white flour, which is refined and stripped of much of its nutritional value, oat flour retains the bran and germ, which are rich in dietary fiber, minerals, antioxidants, and vitamins. These components contribute to better digestive health, more stable blood sugar levels, and a greater intake of essential micronutrients.
Do oat flour brownies taste different?
While oat flour imparts a very subtle, slightly nutty flavor, it is largely masked by the rich chocolate in these brownies. Most people won’t notice a significant difference in taste compared to traditional brownies, especially when they are so fudgy and flavorful. The texture is often praised for being exceptionally moist and tender.
Can I use homemade oat flour?
Yes, you can! Just make sure that the oats you use to make your homemade flour are certified gluten-free if you need the brownies to be gluten-free. Simply blend rolled oats in a powerful blender or food processor until a fine, flour-like consistency is achieved.
Discover More Gluten-Free & Oat Flour Recipes
Gluten-Free Cake Pops
Gluten-Free Dairy-Free Banana Protein Pancakes
Gluten-Free Peppermint Meltaways
16 Gluten-Free Christmas Cookies
Gluten-Free Chocolate Turtle Cookies
Christmas Tree Crispy Treats
I hope you adore this recipe as much as my family and I do! If you bake these fudgy oat flour brownies, please take a moment to leave a comment and rating below. Your feedback truly helps other bakers!
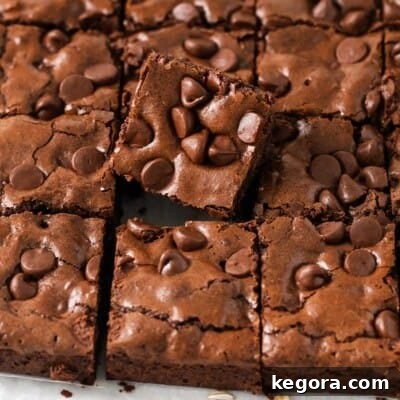
The Best Oat Flour Brownies
Chewy, moist, and fudgy! These EASY, one-bowl oat flour brownies are decadent, delicious, and naturally gluten-free!
Comments
Print Recipe
Ingredients
- 10 tablespoons salted butter (melted, 140 grams)
- ½ cup high-quality chocolate chips (85 grams)
- 1 cup granulated sugar (200 grams)
- 2 large eggs (room temperature)
- 2 teaspoons pure vanilla extract
- ½ teaspoon fine sea salt
- ¾ cup certified gluten-free oat flour (90 grams)
- ¼ cup unsweetened cocoa powder (25 grams)
- 1 cup chocolate chips (for folding in, 170 grams)
Instructions
- Preheat your oven to 350°F (175°C). Lightly grease a 9×9 inch baking dish with cooking spray or line with parchment paper; set aside.
- Cut the butter into tablespoon-sized pieces. In a large, microwave-safe mixing bowl, combine the butter and 1/2 cup of chocolate chips. Microwave for 30 seconds, stir well. Microwave for another 15 seconds, then stir well again. Repeat in 15-second intervals until the chocolate and butter are completely melted and smoothly combined.
- Add the granulated sugar to the melted mixture and whisk vigorously for 30 seconds.
- Stir in the eggs one at a time, whisking for 20 seconds after each addition. This helps create that fudgy texture. Whisk in the vanilla extract and salt.
- Using a rubber spatula, gently mix in the cocoa powder and oat flour until they are just fully combined. Be careful not to overmix the batter.
- Fold in the remaining 1 cup of chocolate chips.
- Pour the brownie batter into the prepared baking pan. Use the spatula to smooth it into an even layer.
- Bake for 30-35 minutes, or until the edges are set and a toothpick inserted into the center comes out with moist crumbs (not wet batter).
- Allow the brownies to cool in the pan for at least 30 minutes before slicing and enjoying! This cooling time is crucial for optimal fudgy texture.
Notes
- Pan Choice: For best results, use a light metal baking pan, which conducts heat more evenly than glass.
- Chocolate Quality: Using both melted chocolate chips and cocoa powder, especially high-quality brands like Guittard, ensures a deep, rich chocolate flavor and a beautiful shiny top.
- Storage: Store leftover brownies in an airtight container at room temperature for up to five days to maintain their freshness and fudgy consistency.
Nutrition Facts (per serving)
(Based on 12 servings)
- Calories: 270 kcal
- Carbohydrates: 33g
- Protein: 3g
- Fat: 15g
- Saturated Fat: 9g
- Polyunsaturated Fat: 1g
- Monounsaturated Fat: 3g
- Trans Fat: 0.4g
- Cholesterol: 55mg
- Sodium: 195mg
- Potassium: 69mg
- Fiber: 2g
- Sugar: 26g
- Vitamin A: 365 IU
- Vitamin C: 0.1mg
- Calcium: 31mg
- Iron: 1mg