
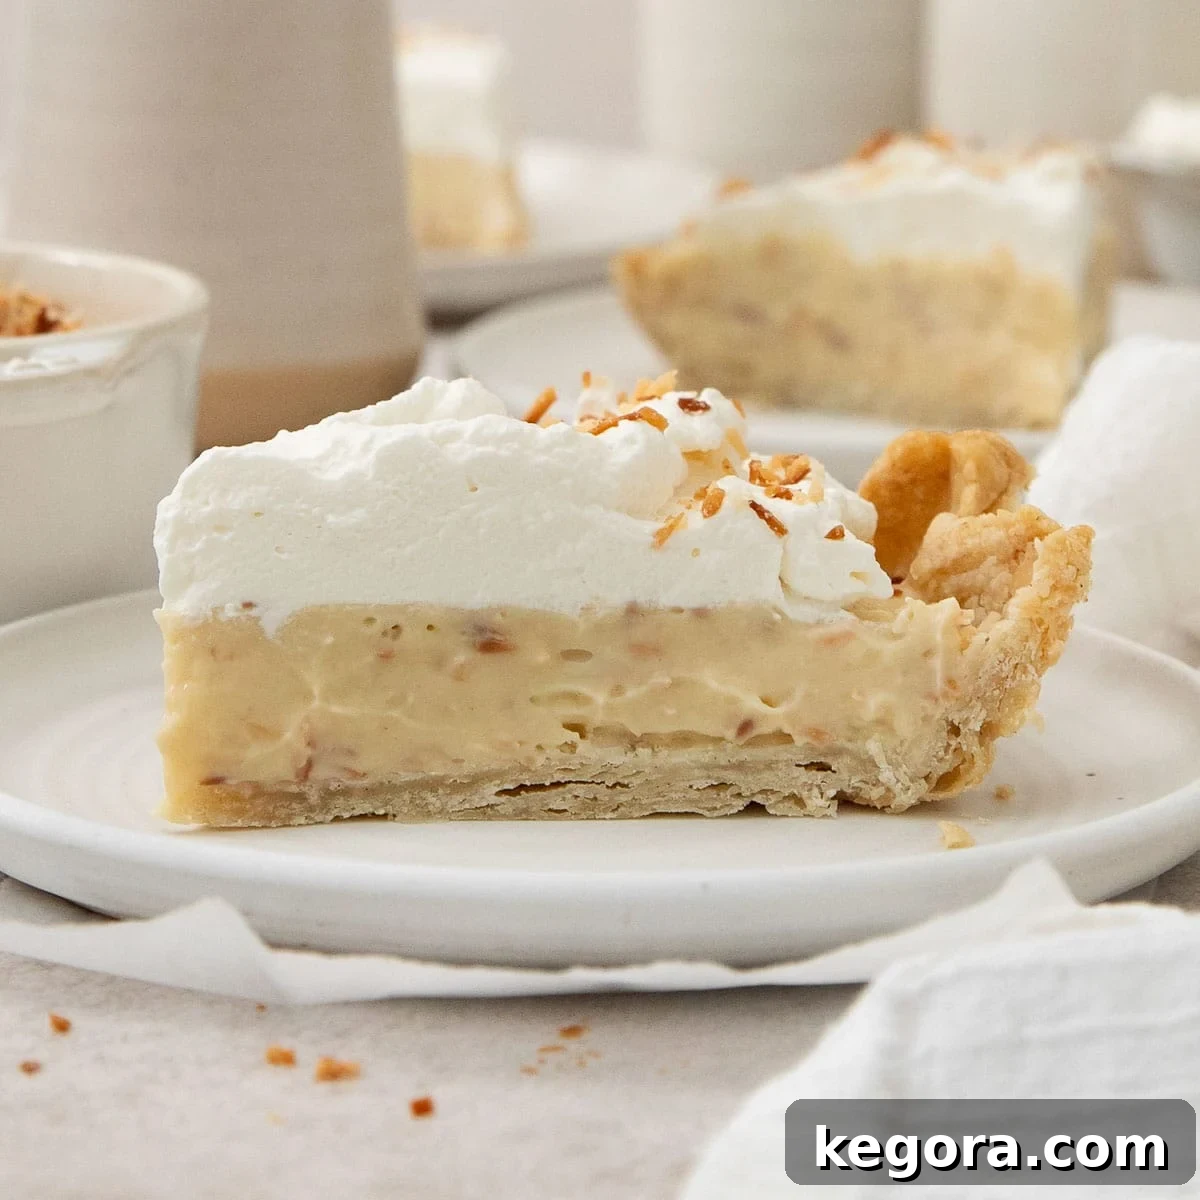
Erin’s Ultimate Gluten-Free Coconut Cream Pie: A Southern Delight

Welcome to a truly special recipe! For those who adore the rich, tropical flavors of coconut cream pie but need a gluten-free option, your search ends here. This isn’t just any recipe; it’s a labor of love, perfected over countless trials to bring you a dessert that is not only naturally gluten-free but also embodies the classic Southern charm and indulgence you crave. From its silky-smooth custard to its perfectly flaky crust, every element of this pie promises an unforgettable experience.
A Peek into Perfection: Erin’s Recipe Rundown
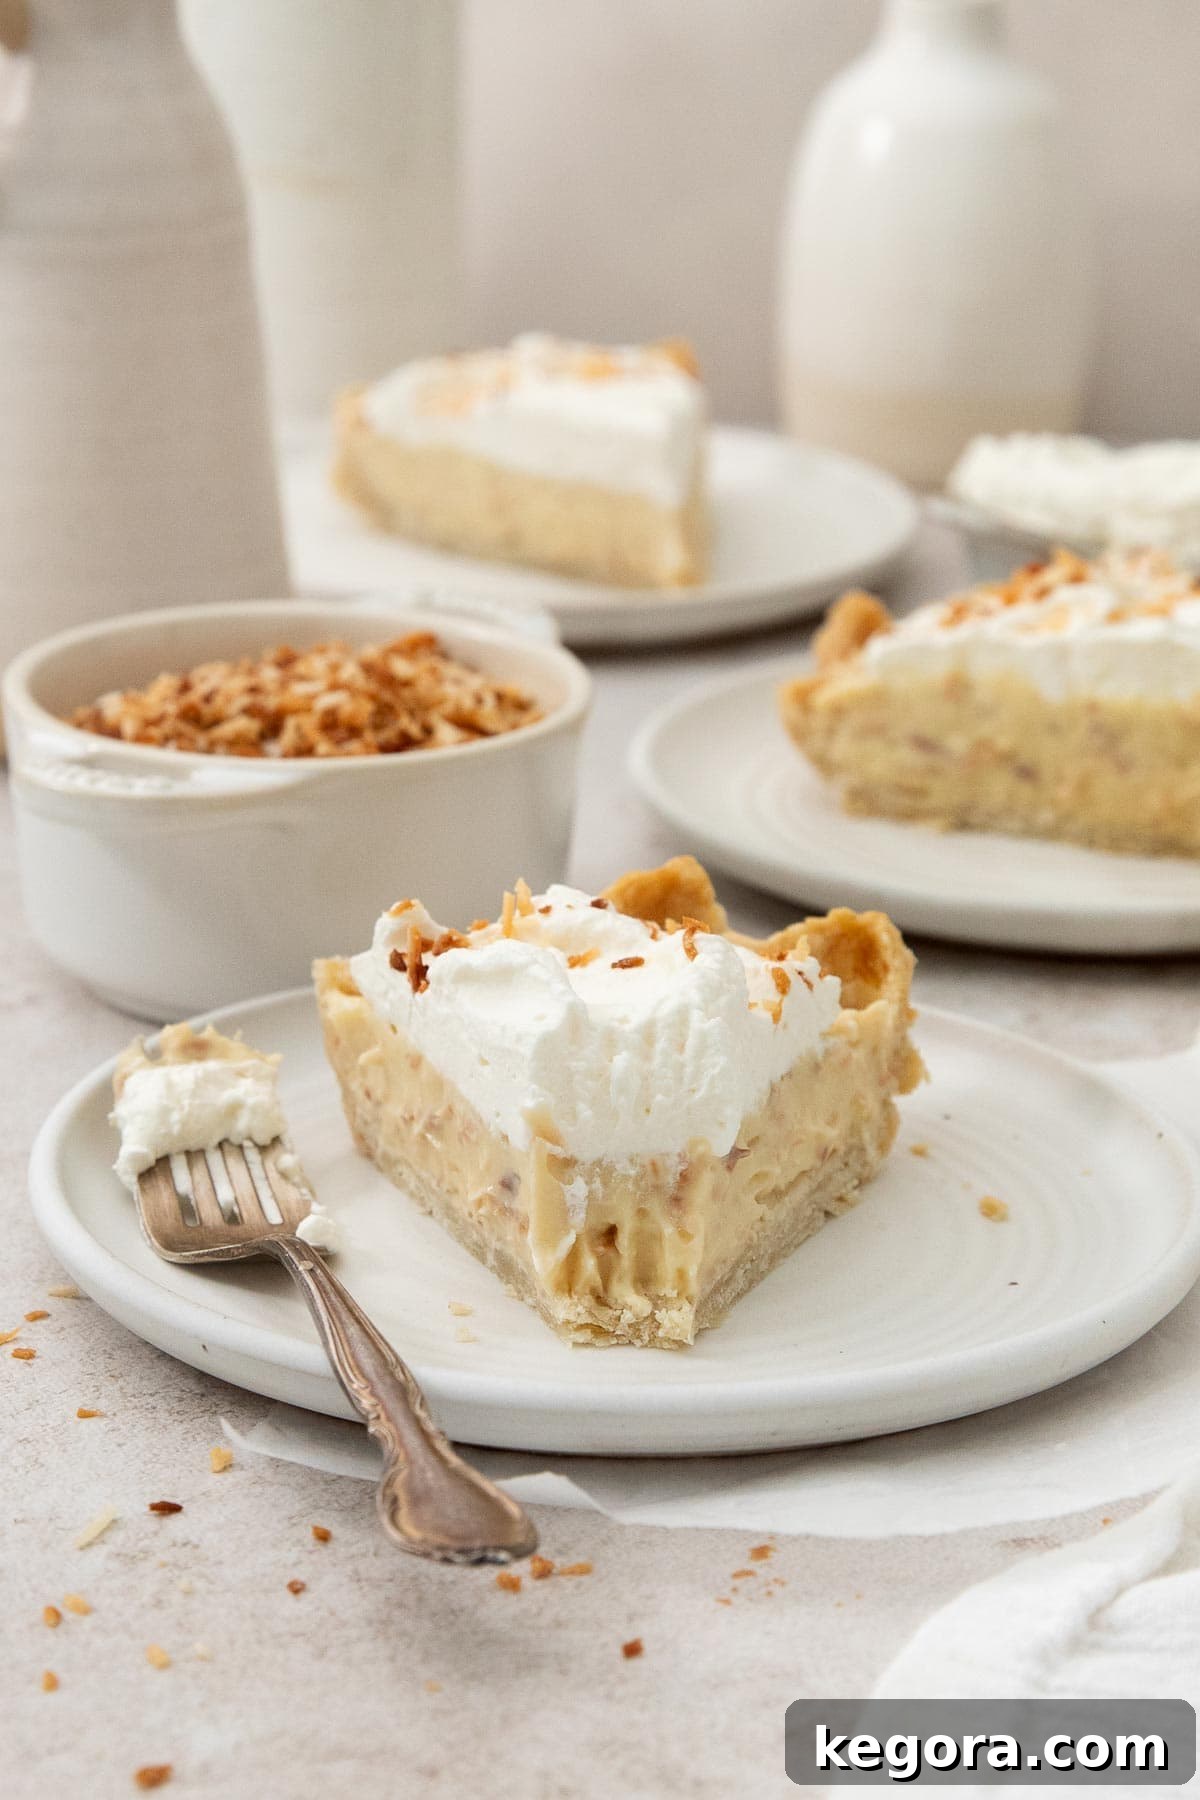
Texture: Prepare for a sensory delight! The filling boasts an incredibly silky-smooth, luscious custard that melts in your mouth, beautifully contrasted by the delightful crunch of perfectly toasted coconut flakes. This combination creates a dynamic and satisfying mouthfeel with every spoonful.
Taste: Each bite is a symphony of sweet, creamy coconut, enhanced by the subtle, comforting warmth of vanilla. It’s a taste that transports you to a sun-drenched beach, offering a perfect balance of tropical sweetness without being overly cloying. The toasted coconut adds a depth of flavor that is simply irresistible.
Ease: Don’t let the “from-scratch pudding” intimidate you! While this recipe delivers an authentic, Southern-style custard, it’s designed to be surprisingly straightforward and easy to follow for home bakers. The main consideration is the necessary refrigeration time of at least 4 hours, which allows the pie to properly set and develop its full flavor. Plan ahead, and you’ll be rewarded with a masterpiece.
Top Tips: The secret to a perfect, lump-free custard lies in tempering the eggs slowly and patiently. This crucial step prevents the eggs from scrambling, ensuring a velvety-smooth filling. Follow this tip, and you’re well on your way to success!
Would I make these again? Absolutely, without a doubt! This recipe has become my ultimate go-to for coconut cream pie. It’s not just a favorite; it’s *the* favorite. Furthermore, it proudly features my meticulously tested and perfected gluten-free pie crust, ensuring a truly exceptional dessert experience every time.
xoxo erin
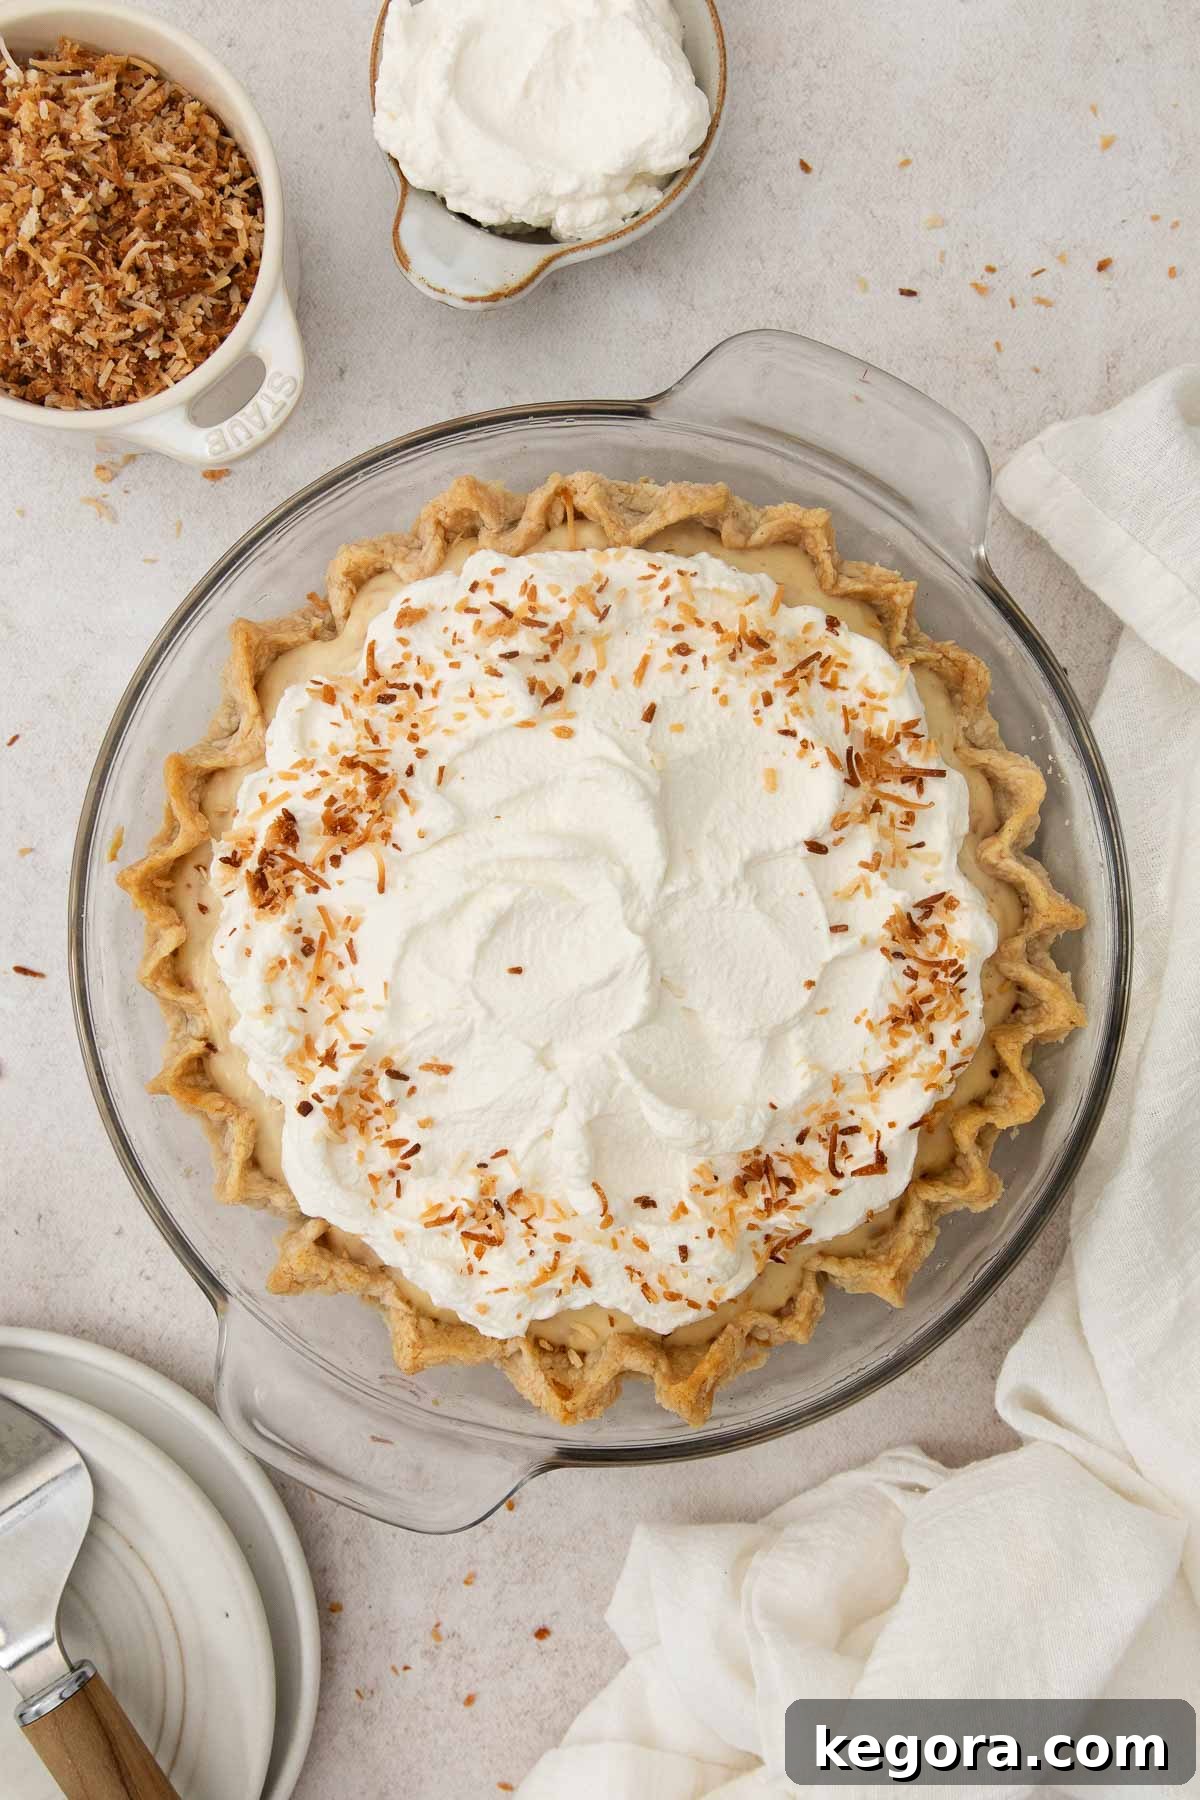
Imagine a dessert featuring a thick, sumptuously creamy custard, generously studded with tender bits of toasted coconut, all crowned with the fluffiest, cloud-like whipped cream. This magnificent filling is lovingly cradled within my signature gluten-free pie crust, a recipe I dedicated years to perfecting, ensuring it’s just the right balance of buttery and flaky.
This gluten-free coconut cream pie isn’t merely a dessert; it’s the REAL DEAL. Its authentic Southern-style flavor and irresistible texture are guaranteed to make it the star of any party, holiday gathering, or special occasion. But don’t save it just for big events—it’s equally perfect for those cozy evenings when you simply crave a comforting and decadent treat to brighten your day.
Table of Contents: Your Guide to Gluten-Free Coconut Cream Pie Excellence
- Erin’s Ultimate Gluten-Free Coconut Cream Pie: A Southern Delight
- Essential Ingredients for Your Dream Coconut Cream Pie
- The Secret to Success: My Perfected Gluten-Free Pie Crust
- Step-by-Step: Crafting Your Gluten-Free Coconut Cream Pie
- Make-Ahead, Storage, and Freezing Tips
- FAQ: Can This Gluten-Free Coconut Cream Pie Be Made Dairy-Free?
- FAQ: Mastering the Art of Toasted Shredded Coconut
- FAQ: Achieving Perfect Pie Slices
- Explore More Gluten-Free Pie Recipes
- Gluten-Free Coconut Cream Pie (Southern-Style!) Recipe Card
Essential Ingredients for Your Dream Coconut Cream Pie
Crafting the perfect gluten-free coconut cream pie begins with selecting the right ingredients. Each component plays a vital role in achieving that rich, creamy texture and unforgettable flavor. Below, I’ve highlighted a few key ingredients with notes to help you understand their purpose and ensure your pie turns out flawlessly. For precise measurements and the full ingredient list, please refer to the comprehensive recipe card below.
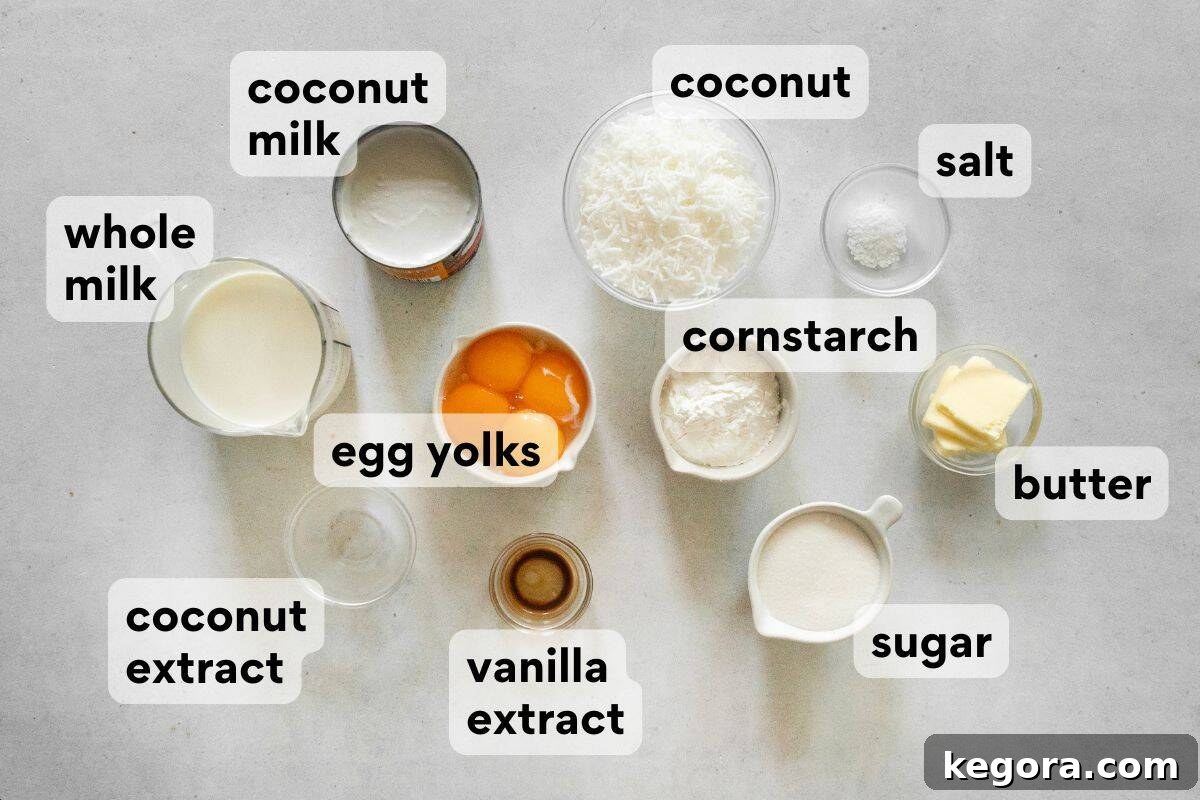
- Egg Yolks: These are the heroes of our custard, acting as a crucial thickening agent while imparting a beautiful richness and an incredibly silky texture to the filling. Using only the yolks ensures a decadent, smooth consistency without the more gelatinous properties of egg whites.
- Cornstarch: Essential for a stable and perfectly set custard, cornstarch helps create a smooth, thick consistency that will hold its shape beautifully within the pie crust. It works in tandem with the egg yolks to give the filling its luxurious body.
- Whole Milk: I highly recommend using whole milk for this recipe. Its higher fat content contributes significantly to the overall creaminess of the custard and blends harmoniously with the richness of the coconut milk. If you’re aiming for a dairy-free version, any unsweetened dairy-free milk alternative will work well, though the texture might vary slightly.
- Full-Fat Unsweetened Coconut Milk: This is a non-negotiable ingredient for authentic coconut flavor and the right consistency. Be sure to use the full-fat variety that comes in a can, as its high fat content is vital for achieving the desired richness and mouthfeel. It infuses the pie with a deep, natural coconut essence, especially when combined with the coconut extract.
- Butter: Added at room temperature, butter contributes to the custard’s smoothness and helps the filling set properly as it cools. Its creamy texture enhances the overall indulgence of the pie. For those following a dairy-free diet, a high-quality dairy-free butter substitute can be used effectively.
- Extracts (Coconut and Vanilla): The coconut extract is a flavor powerhouse, truly boosting the primary coconut flavor and ensuring it “pops” in every bite. A touch of vanilla extract adds a lovely sweet warmth and complexity, rounding out the flavor profile and making the pie even more aromatic and inviting.
- Sweetened Shredded Coconut: While optional, I highly recommend using sweetened shredded coconut for the filling. Toasting it beforehand is key; this step deepens its flavor, brings out its natural sweetness, and provides a wonderful crunchy contrast to the creamy custard. Reserve some for garnish to add a beautiful finish.
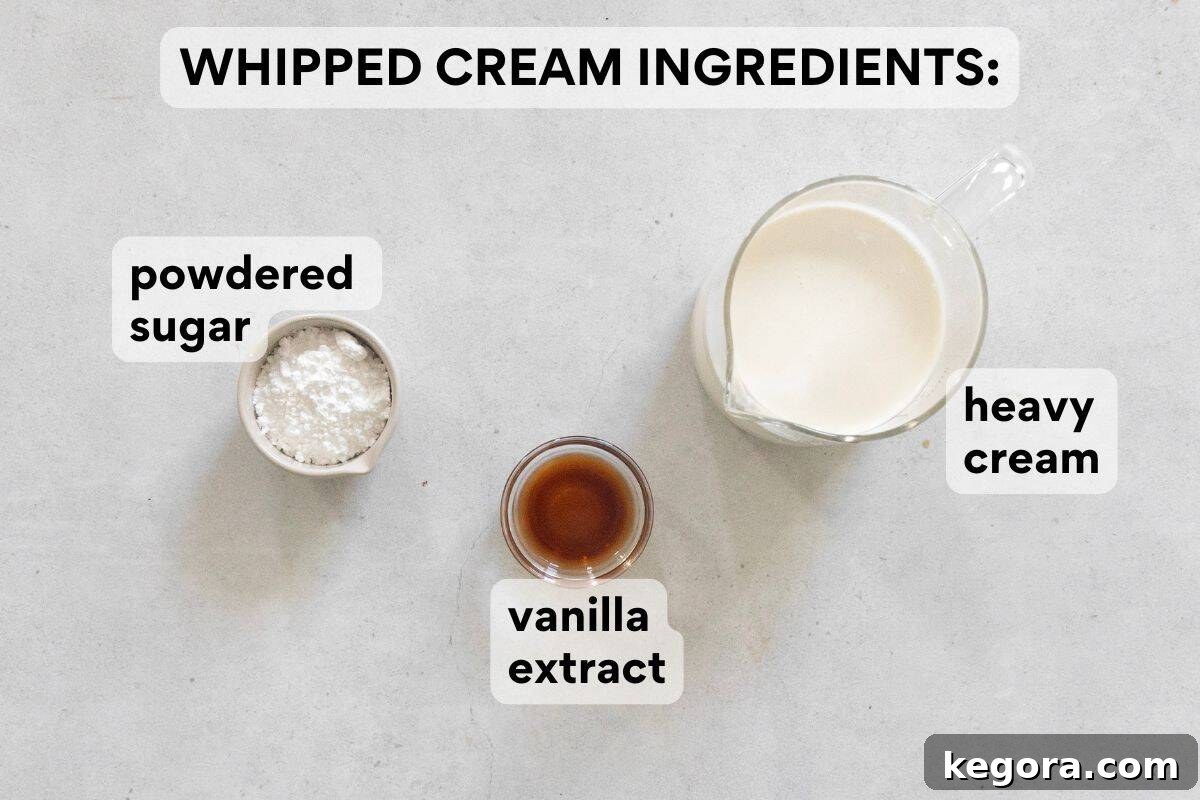
- Heavy Cream: This is the fundamental ingredient for our light and airy whipped cream topping. Its high fat content is what allows it to whip up into those beautiful, stable, fluffy peaks that are the hallmark of a truly great cream pie.
- Powdered Sugar: Finely milled powdered sugar (confectioners’ sugar) is ideal for sweetening the whipped cream. It dissolves effortlessly, ensuring a perfectly smooth, silky texture without any grittiness, contributing to the ethereal quality of the topping.
If you’re a fan of luscious, creamy desserts, you might also enjoy exploring other pudding recipes like my delightful butterscotch pudding or the intensely satisfying gluten-free chocolate pudding!
The Secret to Success: My Perfected Gluten-Free Pie Crust
Achieving a truly exceptional gluten-free pie crust was a personal quest for me, one that spanned years of dedicated testing and refining. I wasn’t content with merely “good enough”; my goal was to develop a crust that rivaled traditional pastry in every aspect—buttery, flaky, and robust enough to hold its shape perfectly once baked. After countless iterations and a relentless pursuit of perfection, I am incredibly proud to say that this gluten-free pie crust recipe finally hits all the right notes!
This meticulously crafted crust provides the ultimate foundation for our lusciously creamy coconut filling. Its delicate texture and rich flavor complement the sweet, tropical custard beautifully, creating a harmonious balance. The result is pure perfection in every single bite, making this pie truly stand out from the rest. You can find the detailed recipe for this crust linked above, and I encourage you to try it for an unparalleled gluten-free baking experience.
Step-by-Step: Crafting Your Gluten-Free Coconut Cream Pie
Creating this exquisite gluten-free coconut cream pie is a rewarding process, and I’m here to guide you through each step to ensure your success. This overview will walk you through the key stages of making the pie. For detailed instructions, exact measurements, and printable format, feel free to jump to the full recipe card located at the bottom of this post!
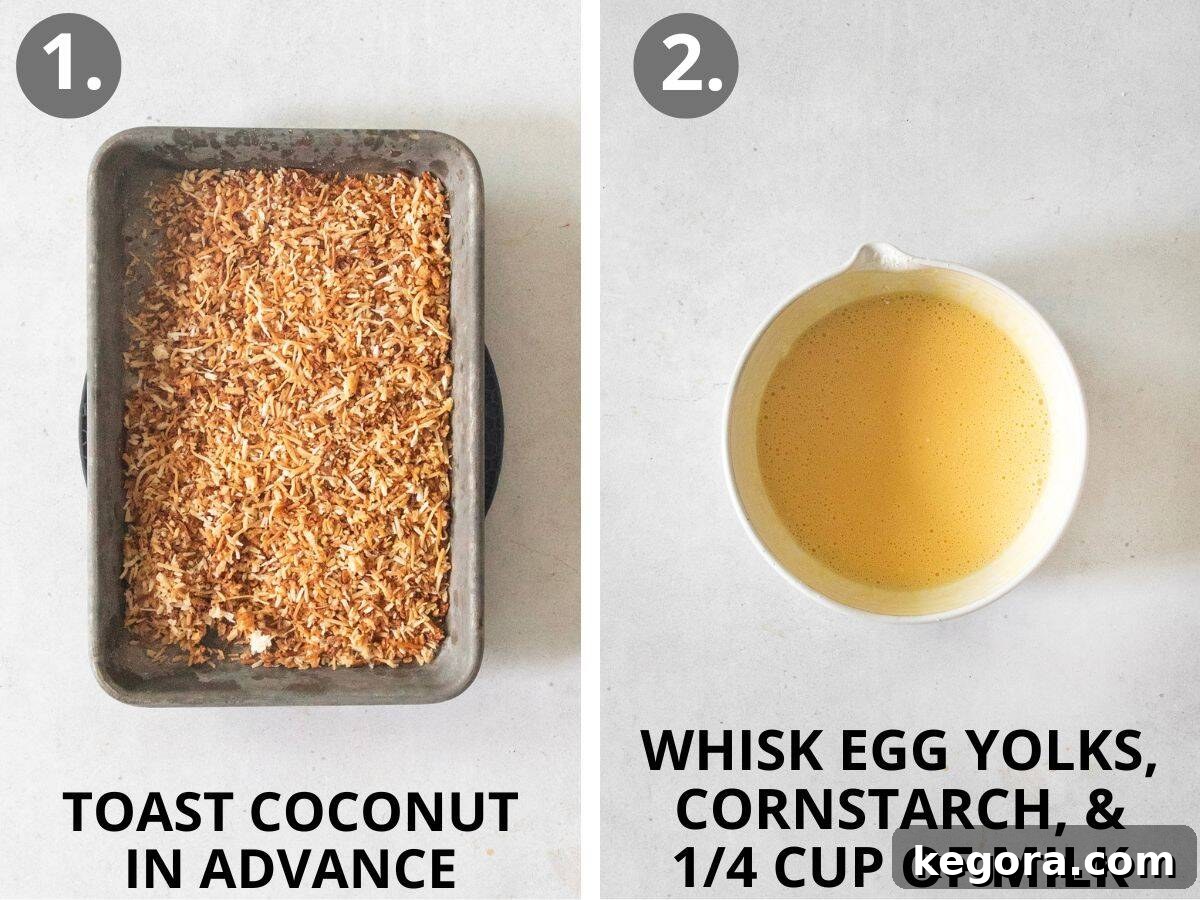
- Prepare the Toasted Coconut: Begin by spreading your sweetened shredded coconut in a thin, even layer on a baking sheet. Toast it in the oven until it reaches a beautiful golden brown. This step enhances the coconut’s flavor and adds a delightful crunch to the pie. Make sure to toast it ahead of time so it’s ready when you need to incorporate it into the filling.
- Whisk the Egg Mixture: In a medium-sized bowl, combine the egg yolks, cornstarch, and a quarter cup of the whole milk. Whisk these ingredients vigorously until they are thoroughly combined and smooth, with no lumps of cornstarch remaining. This creates the essential base for our creamy custard.
- Heat the Milk Mixture: In a sturdy medium saucepan, combine the remaining one cup of whole milk, the full-fat canned coconut milk, granulated sugar, and a pinch of kosher salt. Place the saucepan over medium heat, stirring occasionally to dissolve the sugar, until the mixture just begins to simmer. Do not bring it to a rolling boil.
- Temper the Eggs Carefully: This is a critical step! While continuously whisking the egg yolk mixture, very slowly drizzle in about half of the hot milk mixture from the saucepan. The key is to add the hot liquid gradually to gently raise the temperature of the eggs without cooking them prematurely. This process is called tempering and ensures a smooth custard.
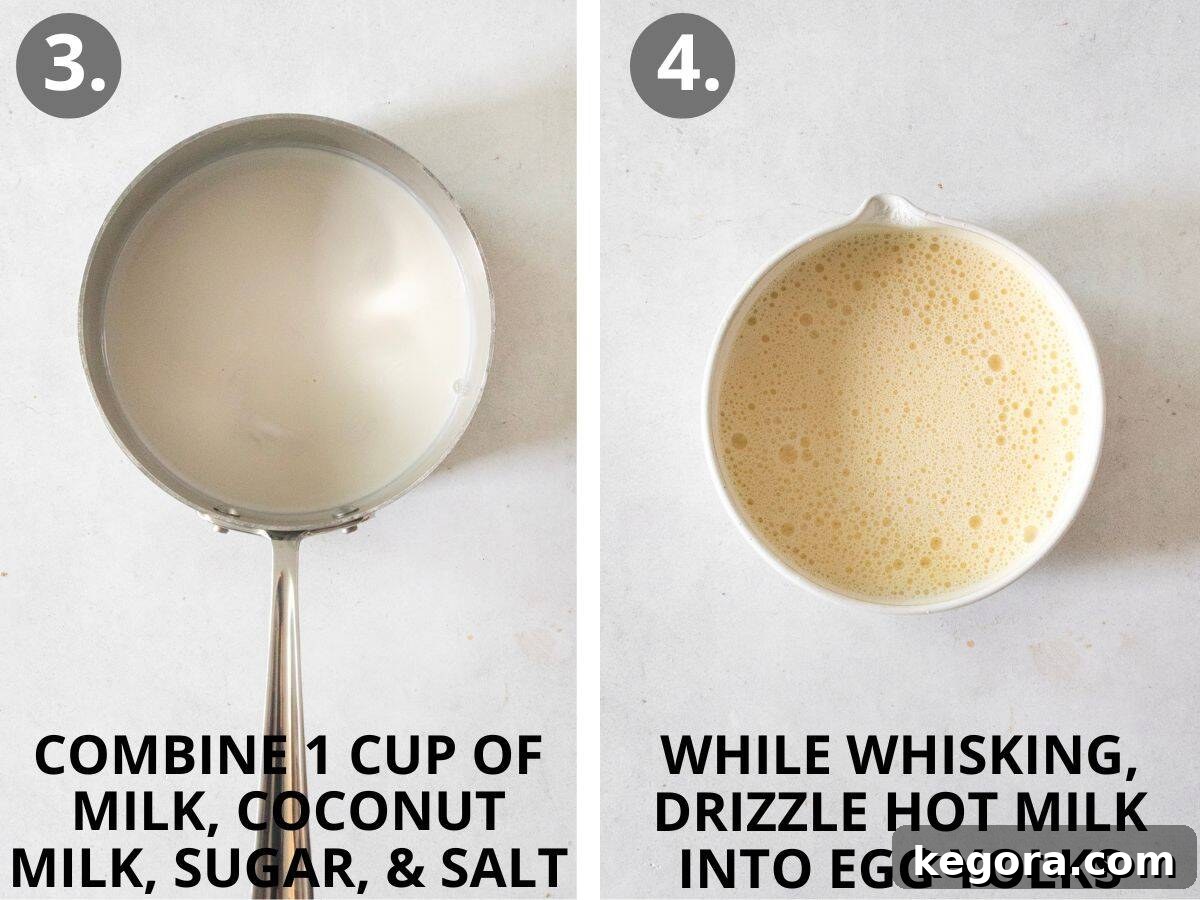
- Thicken the Custard: Pour the tempered egg-milk mixture back into the saucepan with the remaining hot milk. Cook this over medium-low heat, whisking constantly and diligently. Continue whisking until the mixture visibly thickens, becoming a creamy custard that coats the back of a spoon. This typically takes about 2-3 minutes.
- Finish the Filling: Once the custard has reached the desired thickness, immediately remove the saucepan from the heat. Stir in the room-temperature butter, vanilla extract, and coconut extract. Continue stirring until the butter has completely melted and is fully incorporated. Finally, fold in three-quarters of your beautifully toasted coconut, reserving the rest for a gorgeous topping on the finished pie. Allow the filling to cool for 10 minutes, stirring occasionally.
- Assemble and Chill the Pie: Pour the warm coconut filling into your cooled, fully baked gluten-free pie crust. To prevent an undesirable “skin” from forming on the surface of the custard as it cools, gently press a piece of plastic wrap or parchment paper directly onto the surface of the pudding. Refrigerate the pie for a minimum of 4 hours, or ideally overnight (up to 2 days), to allow it to set completely and achieve its perfect creamy texture.
- Prepare the Whipped Cream: Just before serving, make the decadent whipped cream topping. Using either a stand mixer with a whisk attachment or a hand mixer, combine the chilled heavy cream, powdered sugar, and a touch of vanilla extract. Whip the mixture on medium-high speed until firm, stiff peaks form, usually within 4-5 minutes. Be careful not to over-whip, which can turn it grainy.
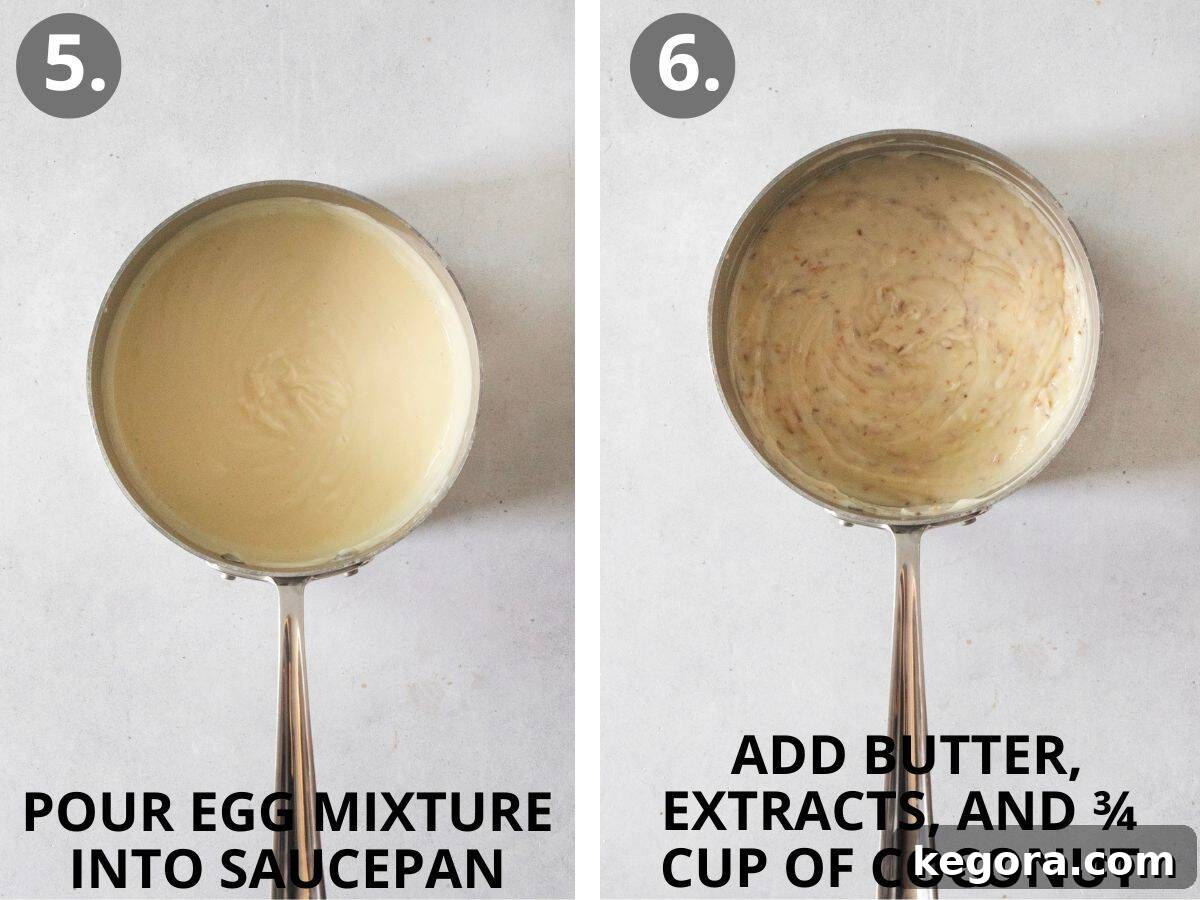
Make-Ahead, Storage, and Freezing Tips for Your Coconut Cream Pie
Planning ahead can make dessert preparation a breeze, and proper storage ensures your delicious gluten-free coconut cream pie stays fresh and delightful. Here’s everything you need to know:
To Make-Ahead: Both the rich coconut filling and the flaky pie crust can be prepared up to 2 days in advance, offering excellent flexibility for your schedule. You can either assemble them together and store the pie (without whipped cream) in the refrigerator, or keep the filling and crust separate until you’re ready to serve. In either case, it’s crucial to cover the custard’s surface directly with plastic wrap or parchment paper. This vital step prevents a “skin” from forming on the pudding as it chills. Always wait to add the fresh whipped cream topping until just before serving to ensure it’s light and airy.
To Store Leftovers: Once your gluten-free coconut cream pie is fully assembled with its generous layer of whipped cream, any leftovers should be stored promptly in the refrigerator. To protect the delicate whipped topping, loosely cover the pie with plastic wrap or a domed pie cover, avoiding direct contact with the cream. While it will maintain its delicious flavor for up to 3 days, please note that the crust may gradually soften the longer it is stored. Enjoy it fresh for the best texture!
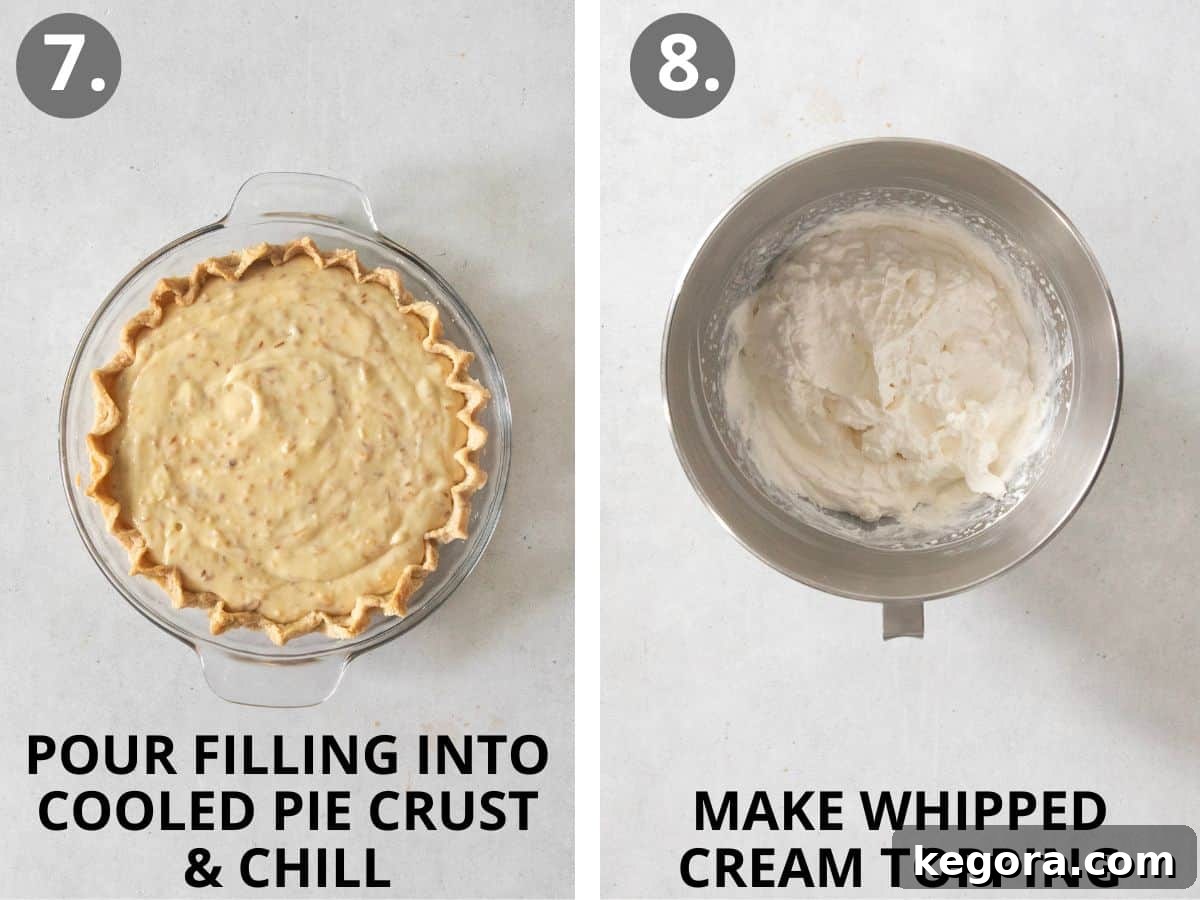
To Freeze: Unfortunately, I do not recommend freezing this particular coconut cream pie. Custard-based fillings, like the one in this pie, have a tendency to separate and become watery when thawed, compromising their smooth texture. Additionally, whipped cream does not fare well in the freezer; it often loses its light, fluffy consistency and can become grainy upon thawing. For the best experience, this pie is truly meant to be enjoyed fresh.
FAQ: Can This Gluten-Free Coconut Cream Pie Be Made Dairy-Free?
Absolutely! This recipe can easily be adapted to be dairy-free without sacrificing flavor or texture. In fact, I have a dedicated recipe for dairy-free coconut cream pie on my website that provides specific guidance. For a successful dairy-free version of this recipe, make the following substitutions:
- Crust: Seek out a reliable gluten-free and dairy-free pie crust. Many excellent frozen options are available in most grocery stores, making this step incredibly convenient.
- Filling: Substitute the whole milk with your preferred unsweetened dairy-free milk (almond, soy, or oat milk work well). Ensure your butter is replaced with a high-quality dairy-free butter alternative, keeping it at room temperature as specified.
- Topping: For the whipped cream, use a dairy-free whipping cream alternative (such as full-fat coconut cream from a can, chilled overnight, or a commercial dairy-free whipping product).
With these simple adjustments, you can enjoy a decadent dairy-free and gluten-free coconut cream pie!
FAQ: Mastering the Art of Toasted Shredded Coconut
Toasting shredded coconut is a simple step that adds immense flavor and texture to your pie. While it’s easy, it requires attention as coconut can burn quickly. Here’s my foolproof method:
- Preheat your oven to 325°F (160°C).
- Spread your sweetened shredded coconut in a thin, even layer across a prepared baking sheet. Using parchment paper can make cleanup easier.
- Bake for approximately 5-10 minutes. Crucially, I recommend stirring the coconut halfway through the baking time to ensure it toasts evenly and develops a consistent golden-brown color.
- Keep a very close eye on the coconut during the last few minutes, as it can go from perfectly golden to burnt in a flash! Remove it from the oven as soon as it reaches your desired toastiness, then transfer it to a plate or separate bowl to cool completely before using.
This method guarantees beautifully toasted coconut that enhances the overall flavor and crunch of your pie.
FAQ: Achieving Perfect Pie Slices
Serving a beautiful pie means getting those clean, elegant slices. Here are a couple of tips to ensure your gluten-free coconut cream pie looks as good as it tastes:
- Use a Sharp Knife: The best tool for the job is a sharp, thin-bladed knife, preferably serrated. The serrations can help cut through both the creamy filling and the flaky crust with minimal drag.
- Warm the Knife: For exceptionally clean cuts, especially with creamy fillings like custard, try this trick: Dip your knife in hot water, then wipe it completely dry with a clean cloth before each slice. The warmth helps the knife glide smoothly through the filling without sticking, preventing it from pulling or smearing. Repeat this process for every slice.
- Chill Thoroughly: Ensure your pie is thoroughly chilled, ideally for at least 4 hours or overnight. A cold pie is much easier to slice neatly than one that is still slightly warm or at room temperature.
With these techniques, you’ll be able to serve picture-perfect slices of your homemade coconut cream pie every time!
Explore More Delicious Gluten-Free Pie Recipes
If you’ve fallen in love with this gluten-free coconut cream pie, you’re in for a treat! My collection of gluten-free pie recipes is constantly growing, offering a wide array of flavors and textures to satisfy every craving. Whether you’re looking for fruity, chocolatey, or tangy, there’s a gluten-free pie waiting for you. Dive in and discover your next favorite dessert:
- Dairy-Free Coconut Cream Pie: For an equally delightful dairy-free option.
- Gluten-Free Buttermilk Pie: A Southern classic with a tangy-sweet custard.
- Gluten-Free Lemon Cream Pie: Bright, zesty, and incredibly refreshing.
- Gluten-Free Key Lime Pie: The perfect balance of tart and sweet, a true tropical escape.
- Gluten-Free Cherry Pie: Bursting with juicy, sweet cherries in a flaky crust.
- Dairy-Free Banana Cream Pie: Creamy, sweet, and comforting, without the dairy.
- Gluten-Free Chocolate Pie: A rich, indulgent treat for chocolate lovers.
- Gluten-Free Peanut Butter Pie: A dreamy, decadent pie for peanut butter enthusiasts.
Happy baking, and enjoy these wonderful gluten-free delights!
Gluten-Free Coconut Cream Pie (Southern-Style!)
This recipe features an absolutely amazing, from-scratch coconut pudding filling, perfectly nestled into my tried-and-true gluten-free pie crust. Get ready for a slice of heaven!
Comments
Ingredients
- 4 large egg yolks
- ⅓ cup (43g) cornstarch
- 1¼ cups (300ml) whole milk divided
- 1 13.5-ounce can (400ml) full-fat unsweetened coconut milk
- ⅔ cup (133g) granulated sugar
- ½ teaspoon kosher salt
- 2 tablespoons butter at room temperature
- 1½ teaspoons vanilla extract
- ½ teaspoon coconut extract
- 1¼ cups (100g) sweetened shredded coconut toasted, divided
- 1 Gluten-Free Pie Crust fully baked and cooled
Whipped Cream Topping
- 1 cup (240ml) heavy cream
- 3 tablespoons powdered sugar
- ½ teaspoon vanilla extract
Instructions
-
In a medium bowl, whisk together the egg yolks, cornstarch, and ¼ cup of milk until smooth.
-
In a medium heavy-bottomed saucepan, combine the remaining 1 cup milk, canned coconut milk, granulated sugar, and salt. Set the mixture over medium heat and bring it to a gentle simmer, stirring occasionally, ensuring the sugar is fully dissolved.
-
While continuously whisking the egg yolk mixture, slowly drizzle about ½ of the hot milk mixture into the egg yolks. This tempering process gradually raises the egg temperature, preventing them from scrambling.
-
Pour the tempered egg-milk mixture back into the saucepan. Cook over medium-low heat, whisking constantly, until the mixture thickens significantly and coats the back of a spoon, typically taking about 2-3 minutes.
-
Remove the saucepan from the heat. Stir in the butter, vanilla extract, and coconut extract until the butter has completely melted and is fully incorporated. Fold in ¾ cup of the toasted coconut, reserving the remaining for topping the finished pie. Refrigerate the coconut filling for 10 minutes, stirring occasionally to prevent a skin from forming.
-
Pour the cooled coconut filling into your completely cooled, baked pie crust. Place a piece of plastic wrap or parchment paper directly onto the surface of the pudding to prevent a skin from forming. Refrigerate for at least 4 hours, or up to 2 days, until the pie is thoroughly set.
For the whipped cream topping:
-
In the bowl of a stand mixer fitted with a whisk attachment, or using a hand mixer, whip together the heavy cream, powdered sugar, and vanilla on medium-high speed until firm, stiff peaks form, about 4-5 minutes. Serve immediately after topping, garnished with reserved toasted coconut.
Notes
Dairy-Free: To make this pie dairy-free, use unsweetened dairy-free milk (such as almond or oat milk) and dairy-free butter in the filling. For the crust, opt for a gluten-free, dairy-free pie crust (many excellent frozen options are available). Top with a dairy-free whipped cream alternative.
Nut-Free: This coconut cream pie recipe is naturally nut-free, making it a great option for those with nut allergies.
To Make-Ahead: Both the pie filling and the crust can be prepared up to 2 days in advance. You can either assemble them into the pie shell or store them separately. Regardless, ensure the custard’s surface is directly covered with plastic wrap to prevent a skin from forming, then refrigerate. Add the whipped cream fresh just before serving.
To Store: Once the pie is fully assembled with the whipped cream, store any leftovers in the refrigerator. Cover loosely with plastic wrap or a pie dome to avoid compressing the whipped cream. It will remain delicious for up to 3 days, though the crust may soften over time.
To Freeze: Freezing is not recommended for this pie. Custard-based fillings tend to separate when frozen and thawed, and the whipped cream topping loses its optimal texture. For the best quality, enjoy this pie fresh!