
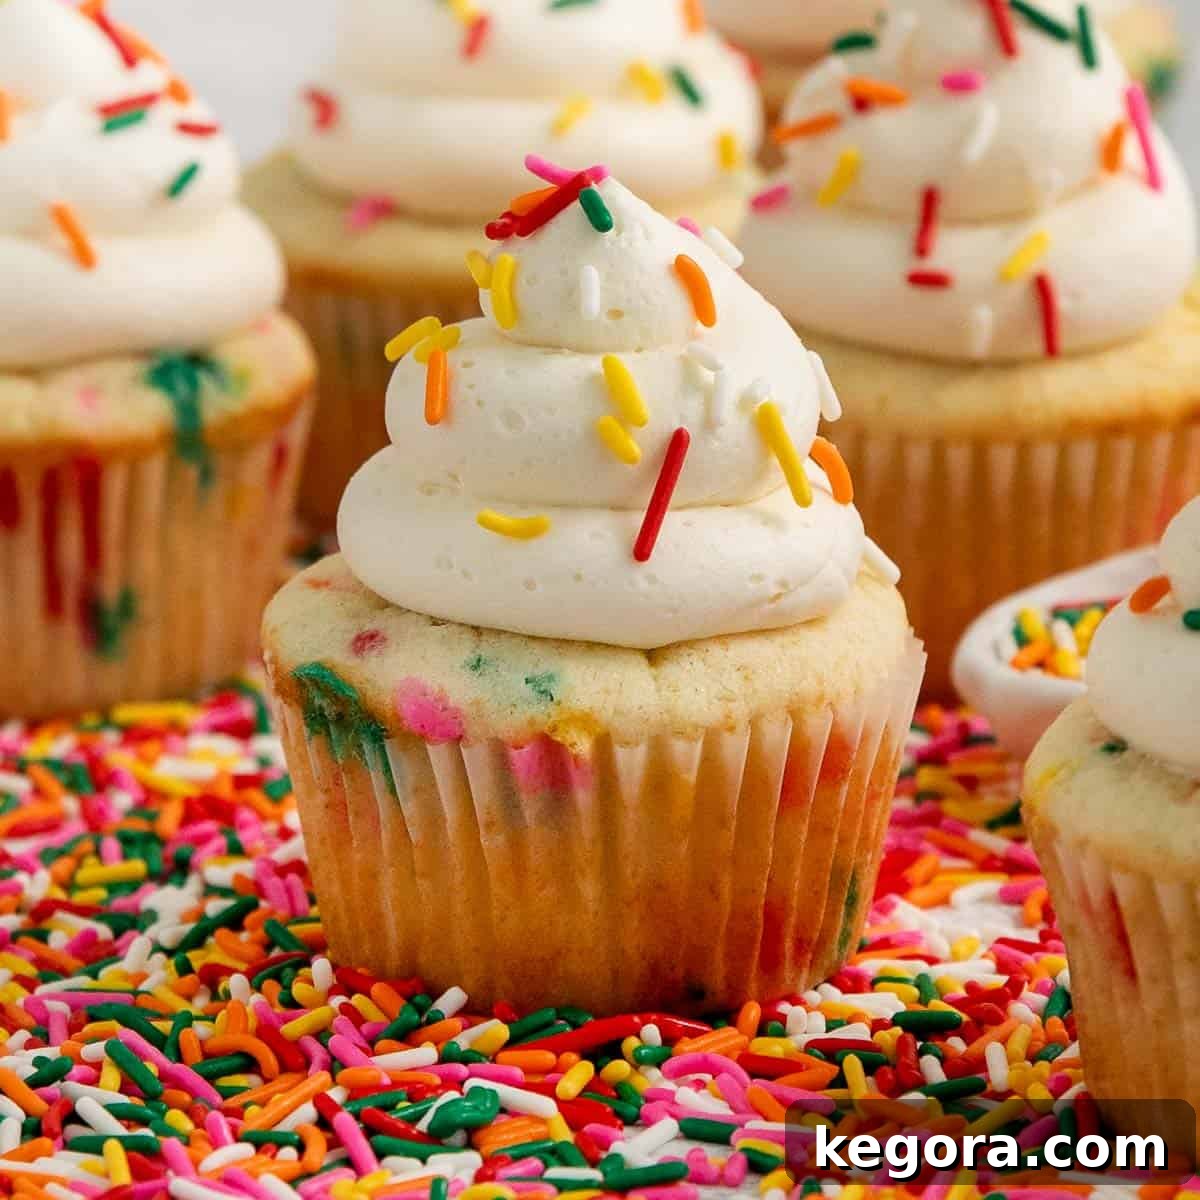
Erin’s Ultimate Gluten-Free Funfetti Cupcakes: A Celebration in Every Bite
Welcome to my kitchen! Today, we’re diving into the joyful world of funfetti with a recipe for gluten-free cupcakes that are so good, no one will guess they’re gluten-free. These aren’t just any cupcakes; they’re incredibly moist, fluffy, and bursting with vibrant sprinkles, all topped with my absolute favorite, secret-ingredient frosting. Whether you’re celebrating a birthday, a special occasion, or just a Tuesday, these cupcakes are guaranteed to bring a smile to everyone’s face.
Recipe Overview: At a Glance
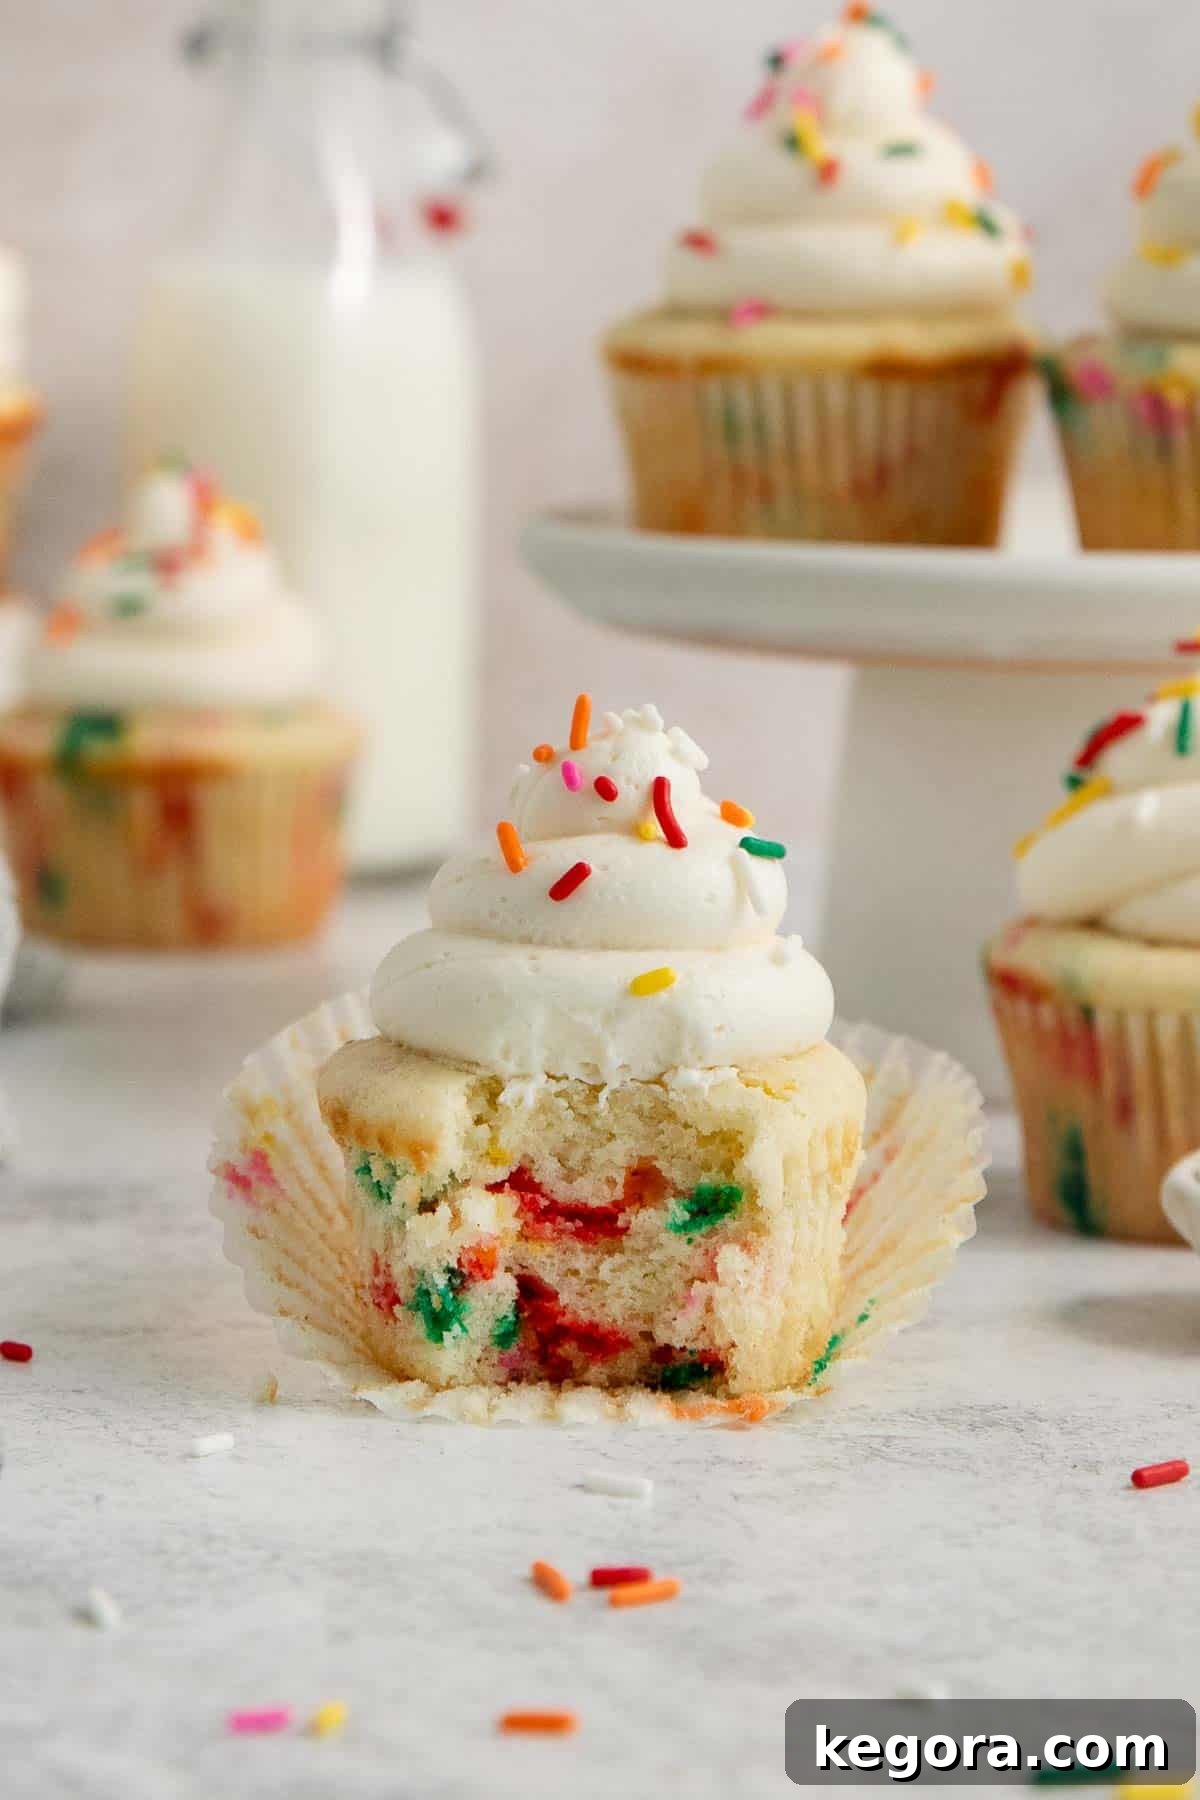
- Texture: Expect a wonderfully soft, airy crumb that melts in your mouth, perfectly complemented by rich, creamy frosting. These cupcakes defy the common misconception that gluten-free baked goods are dense or dry.
- Taste: A delightful symphony of sweet, buttery cake enhanced by flavorful vanilla and a touch of almond and coconut in the frosting. The sprinkles add a subtle textural pop and extra joy.
- Ease: Designed with beginners in mind! This recipe is straightforward and incredibly fun to make, offering a rewarding baking experience even for those new to gluten-free baking.
- Top Tip: Ingredient temperature is crucial! For the best results, ensure your butter, eggs, and buttermilk are all at room temperature before you start. This allows them to emulsify properly, creating a smoother batter and a more tender final product. Plan ahead and take them out of the fridge an hour or two before baking.
- Recommended GF Flour: The quality of your gluten-free flour blend makes a significant difference. Always opt for a high-quality, reliable blend that contains xanthan gum. My top recommendations are King Arthur Gluten-Free Measure-for-Measure Flour and Bob’s Red Mill Gluten-Free 1:1 Baking Flour. Both yield consistent and delicious results in this recipe!
- Would I make these again? Absolutely, without a doubt! These gluten-free funfetti cupcakes are consistently moist, perfectly adorable, and packed with an incredible depth of flavor. The frosting alone is a game-changer, and I’m confident you’ll adore it as much as I do.
xoxo erin
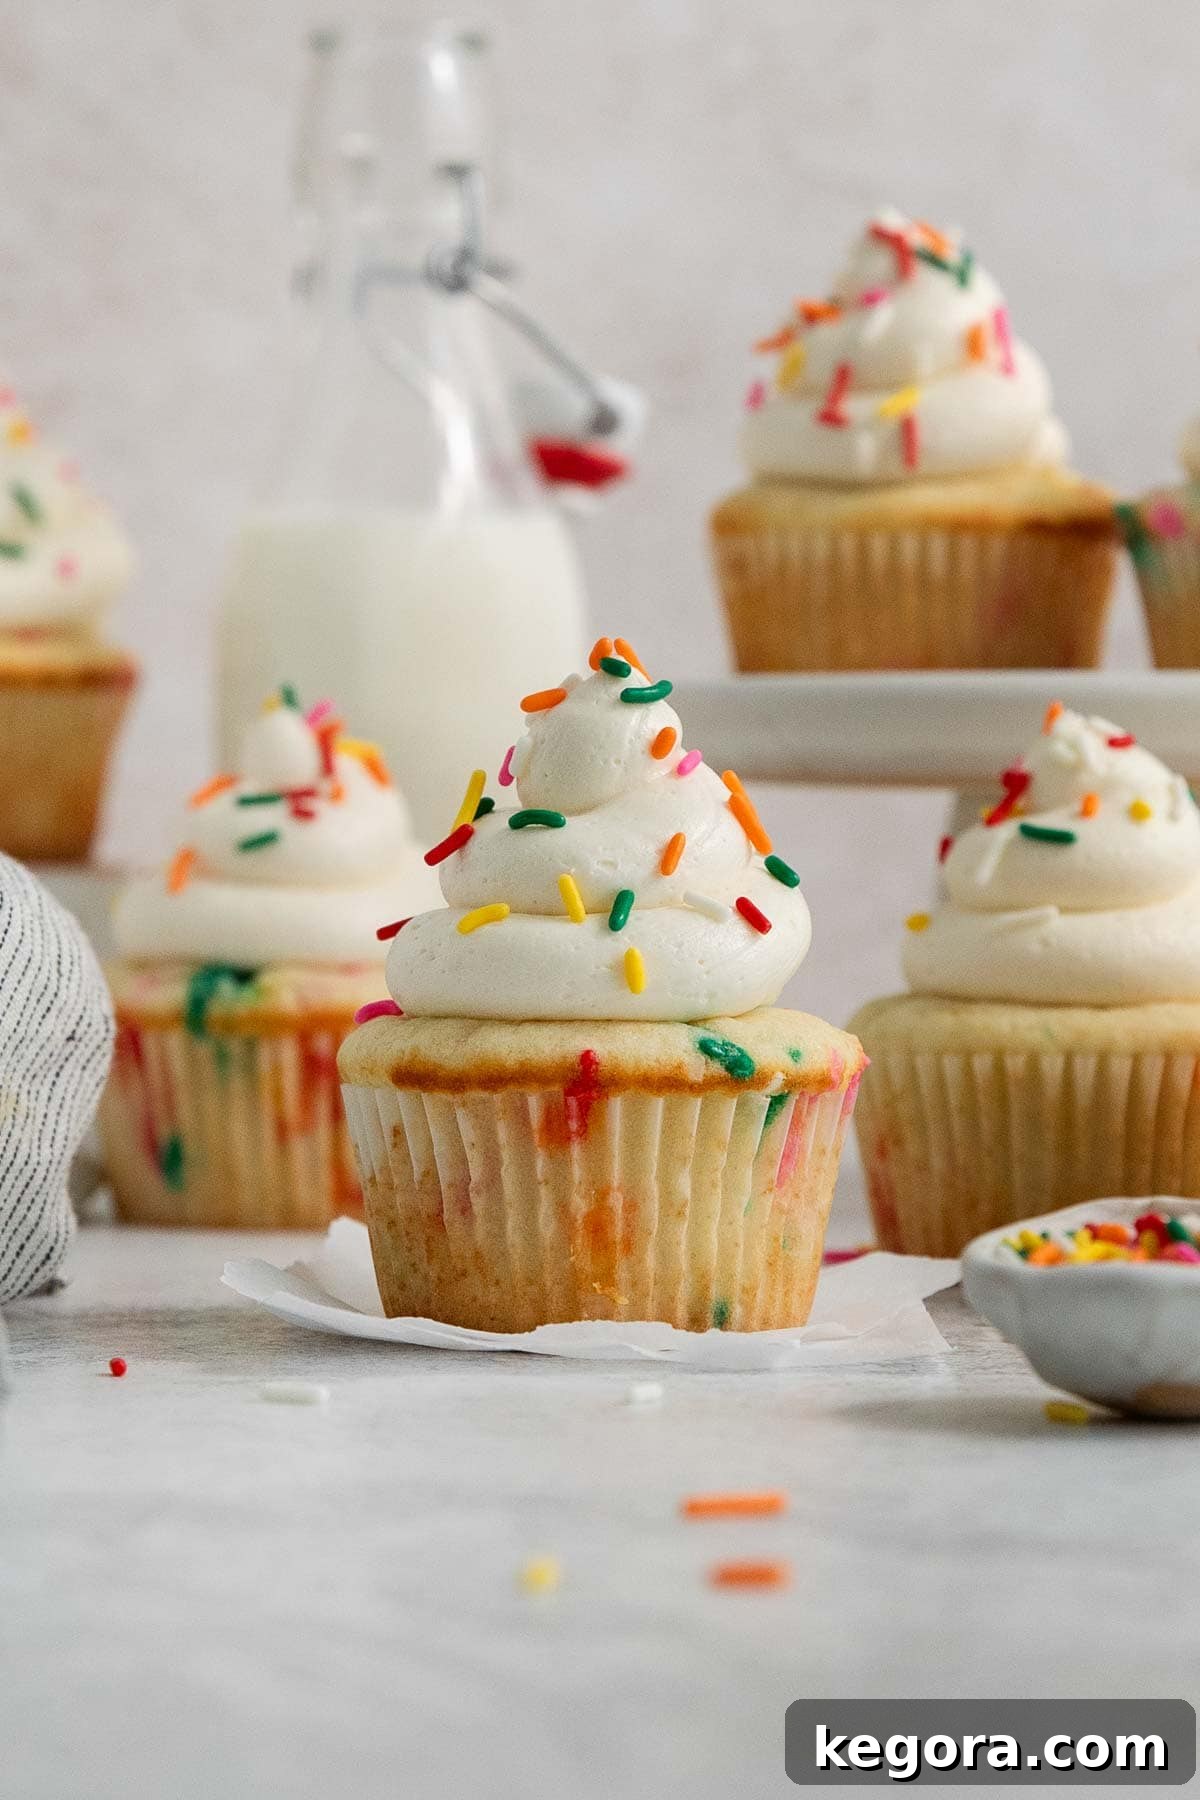
Funfetti cupcakes, with their explosion of bright, colorful sprinkles, are universally adored by children and often seen as a staple at kids’ parties. However, I’m here to tell you that these particular gluten-free funfetti cupcakes transcend age barriers. Their sophisticated yet playful flavor profile, combined with an unbelievably light and moist texture, ensures they will impress even the most discerning adults.
What truly sets these cupcakes apart is the exceptional taste of the cake itself, paired with my signature, all-time favorite frosting. This isn’t just any buttercream; it incorporates several SECRET INGREDIENTS that elevate its flavor to an irresistible level. Imagine a creamy, smooth frosting with subtle notes that will leave everyone guessing your secret! Finish each cupcake with an extra shower of festive sprinkles, and you have created a stunning, delicious gluten-free dessert that is perfect for any celebration – be it a casual gathering, a vibrant birthday party, or any moment that calls for a touch of joy and sweetness.
Featured Comment
From Philicia: “These cupcakes were a huge hit – so delicious and moist! I froze them and they held up beautifully!”
23 more comments
Table of Contents
- Erin’s Ultimate Gluten-Free Funfetti Cupcakes: A Celebration in Every Bite
- Recipe Overview: At a Glance
- Why Gluten-Free Funfetti? The Magic Behind the Recipe
- Essential Ingredients You’ll Need
- How to Make Gluten-Free Funfetti Cupcakes
- Frosting Perfection: The Secret-Ingredient Frosting
- Make-Ahead, Storage, & Freezing Instructions
- Frequently Asked Questions
- Can these gluten-free funfetti cupcakes be made dairy-free? Nut-free?
- How do I prevent the sprinkles from sinking to the bottom of the cupcakes?
- Can I make mini cupcakes using this recipe?
- More Gluten-Free Cupcake Recipes
- Gluten-Free Funfetti Cupcakes Recipe Card
Why Gluten-Free Funfetti? The Magic Behind the Recipe
For many years, finding truly delicious gluten-free baked goods, especially celebratory treats like funfetti cupcakes, felt like a quest. Often, the gluten-free versions fell short, sacrificing texture for dietary needs. This recipe was born out of a desire to create a gluten-free funfetti cupcake that not only rivals its gluten-containing counterparts but perhaps even surpasses them in terms of moisture, flavor, and sheer delight. The challenge in gluten-free baking is to replicate the structure and tenderness that gluten typically provides. Through careful ingredient selection and precise techniques, we achieve a light, fluffy crumb that holds together beautifully, while offering that classic, nostalgic funfetti experience. These cupcakes are proof that dietary restrictions don’t mean compromising on taste or festivity!
Essential Ingredients You’ll Need
Crafting the perfect gluten-free funfetti cupcake starts with understanding the role each ingredient plays. Here are a few notes on the key components to ensure your cupcakes turn out perfectly. For precise measurements and a complete list, please refer to the recipe card at the bottom of this post.
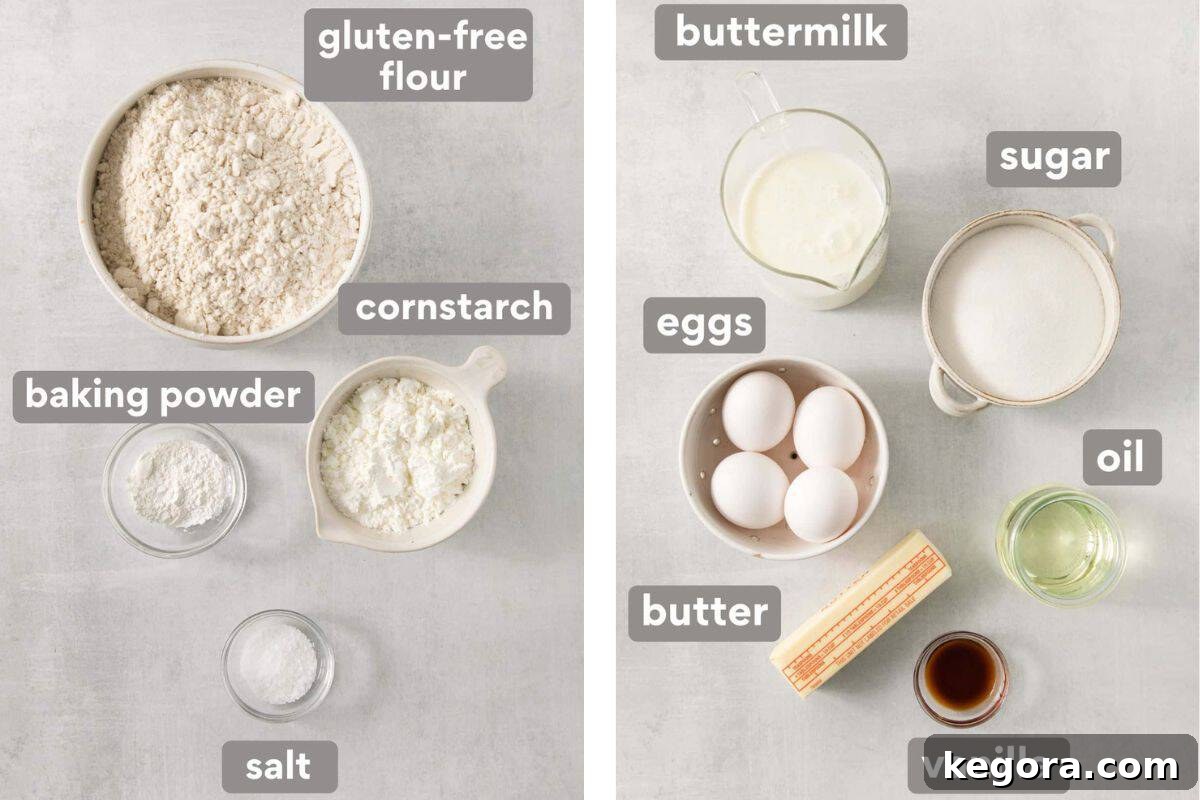
- Gluten-Free Flour: This is the foundation of our cupcakes. To achieve the absolute BEST texture – one that’s light, tender, and not crumbly – it’s crucial to use a high-quality, “measure-for-measure” or “1:1” gluten-free flour blend that already contains xanthan gum. Xanthan gum acts as a binder, mimicking gluten’s elasticity and preventing your cupcakes from becoming dense. Both King Arthur Gluten-Free Measure-for-Measure Flour and Bob’s Red Mill Gluten-Free 1:1 Baking Flour are excellent choices that perform consistently well in this recipe.
- Cornstarch: Often overlooked, cornstarch is a secret weapon in gluten-free baking. It helps to further lighten the batter and contributes to that desired fluffy, delicate crumb, ensuring your cupcakes are never heavy or gummy.
- Buttermilk: This tangy ingredient is vital for several reasons. Its acidity reacts with the baking powder, producing carbon dioxide that helps the cupcakes rise beautifully, creating an airy texture. Beyond leavening, buttermilk also adds incredible moisture and tenderness to the cake, contributing to its rich flavor profile. For a dairy-free alternative, simply mix unsweetened dairy-free milk with 2 teaspoons of lemon juice and let it sit for 5-10 minutes until it curdles slightly.
- Butter: Used in both the cupcake batter and the frosting, butter is indispensable for its rich flavor and ability to create a tender, moist cake. When beaten with sugar, it aerates the batter, contributing to the cupcakes’ light texture. For a dairy-free option, high-quality vegan butter sticks work wonderfully, ensuring the same delicious results. Remember, room temperature butter is key!
- Neutral Oil: Incorporating a neutral oil alongside butter helps achieve an exceptionally moist and tender crumb that stays fresh longer. Oils stay liquid at room temperature, contributing to perceived moisture, whereas butter firms up.
- Granulated Sugar: Beyond sweetness, sugar plays a critical role in the structure and moisture of the cupcakes. It helps tenderize the crumb and contributes to a beautiful golden-brown exterior.
- Eggs: Eggs provide structure, richness, and help with leavening. Using room temperature eggs allows them to incorporate more evenly into the batter, leading to a smoother mixture and a finer crumb.
- Extracts: This is where our “secret ingredients” for the frosting truly shine! While the vanilla extract in the cupcakes provides warmth and depth, the frosting features a harmonious blend of vanilla, coconut, and almond extracts. This unique combination creates layers of complex flavor that are truly irresistible and make these cupcakes stand out as the absolute best!
- Sprinkles: To achieve the classic funfetti look and best texture, I highly recommend using soft rainbow jimmies. Avoid nonpareils, as their hard coating can sometimes bleed color and become crunchy. Sprinkles should be stirred in gently at the end. For topping your frosted cupcakes, more sprinkles are always a good idea for that perfect festive finish! Look for certified gluten-free sprinkles to ensure they align with dietary needs.
If you’re a fan of funfetti, you might also enjoy these delightful gluten-free funfetti sugar cookies or this quick and easy gluten-free funfetti mug cake for a single-serving treat!
Step-by-Step: How to Make Gluten-Free Funfetti Cupcakes
Baking these gluten-free funfetti cupcakes is a truly enjoyable process. Follow these detailed steps to ensure perfectly tender and flavorful results every time. You can jump to the full recipe card for complete, printable instructions and ingredient quantities!
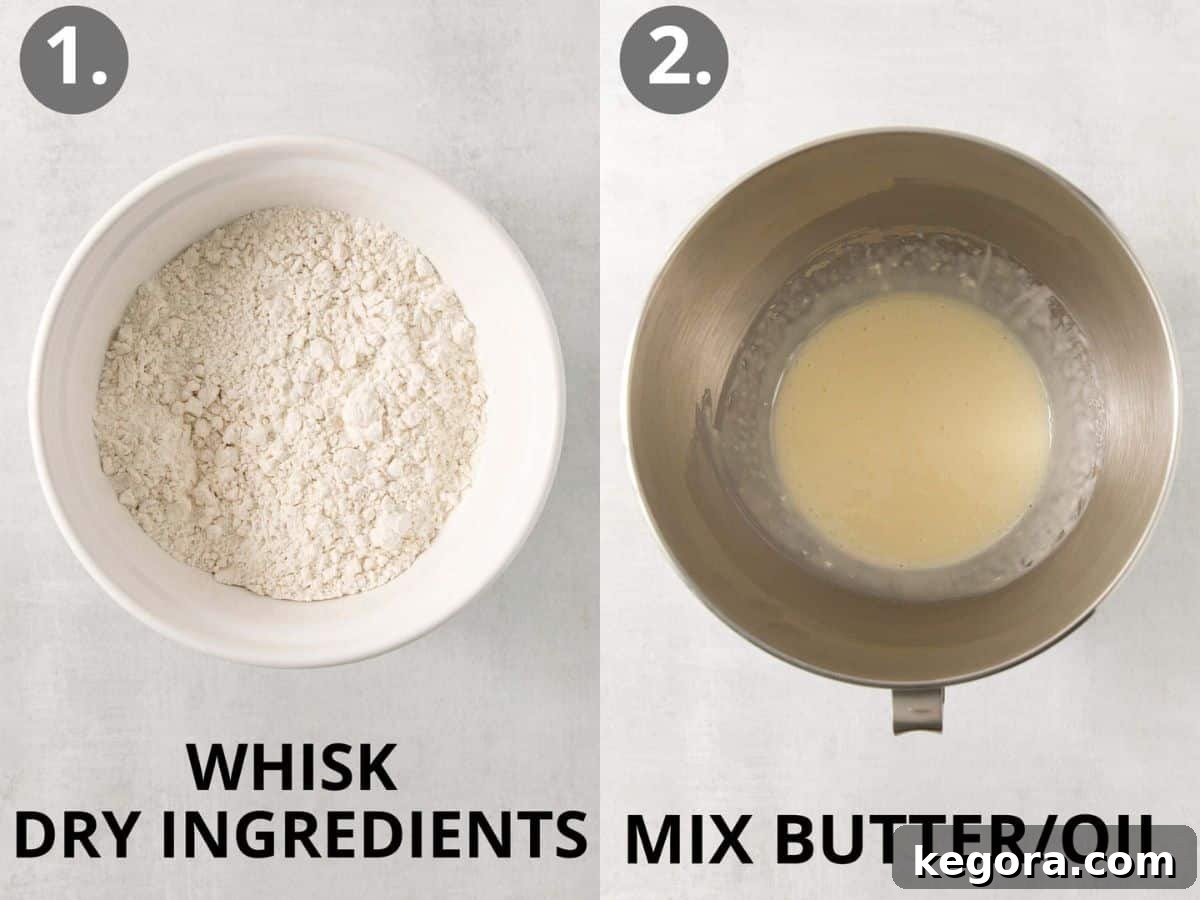
- Step 1: Prepare Dry Ingredients. In a medium bowl, thoroughly whisk together your gluten-free flour blend, cornstarch, baking powder, and salt. Whisking ensures these ingredients are evenly distributed, which is crucial for uniform leavening and flavor. Set aside.
- Step 2: Cream Butter and Oil. In the bowl of a stand mixer fitted with the paddle attachment (or using a hand mixer in a large bowl), beat the softened room-temperature butter and neutral oil together until they are well-combined and smooth, about 3 minutes. This forms the rich base of our cupcakes.
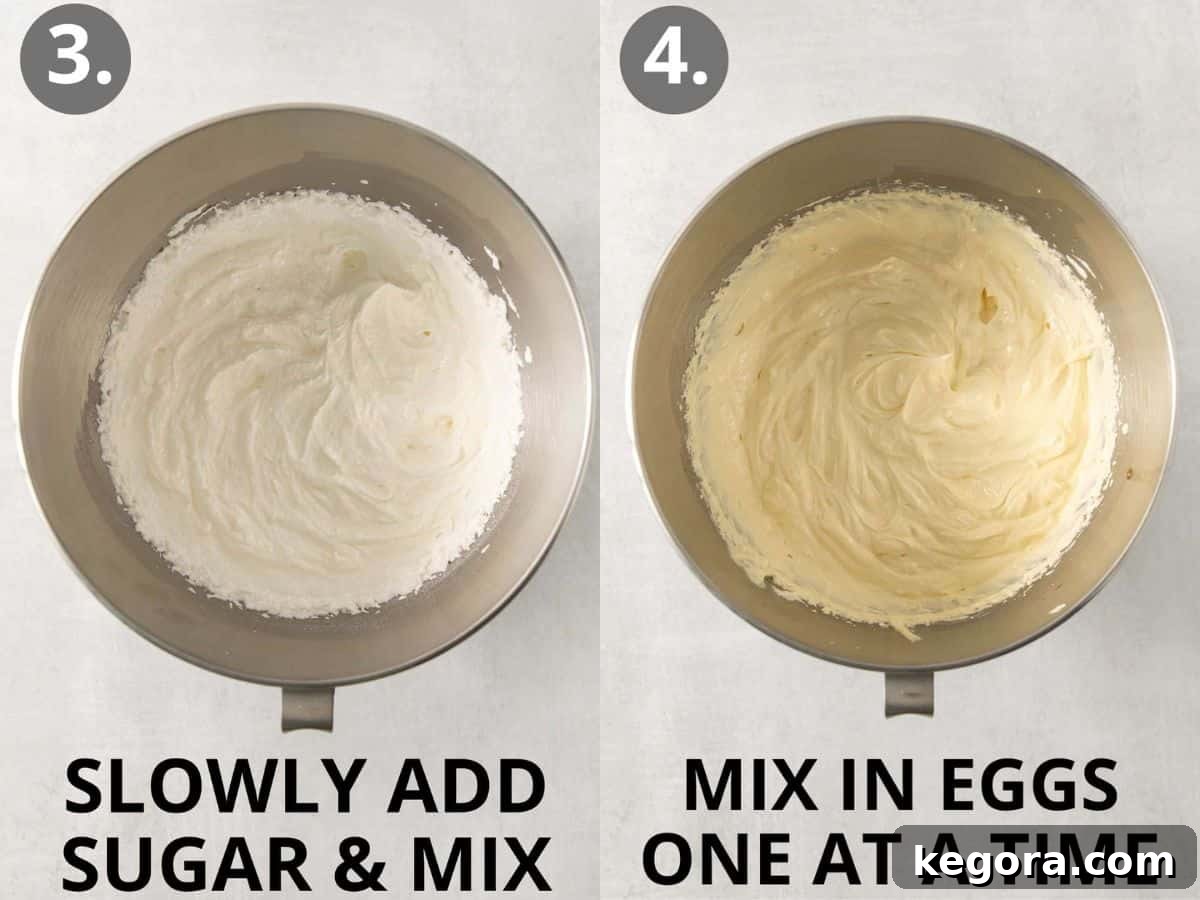
- Step 3: Add Sugar and Cream. With the mixer running on medium-low speed, slowly and gradually add the granulated sugar to the butter and oil mixture. Once all the sugar is incorporated, increase the speed to high and beat for approximately 3 minutes. The mixture should become noticeably light, fluffy, and take on a very pale yellow color. This creaming process incorporates air, which contributes to the cupcakes’ rise and tender texture.
- Step 4: Incorporate Eggs and Vanilla. Add the large room-temperature eggs, one at a time. After each egg addition, beat until just combined, then stop the mixer and scrape down the sides of the bowl to ensure everything is fully incorporated. Once all eggs are in, mix in the vanilla extract. Then, beat the entire mixture on high for another 2 full minutes. This step is critical for incorporating plenty of air, which helps create a light and airy crumb structure in gluten-free baking.
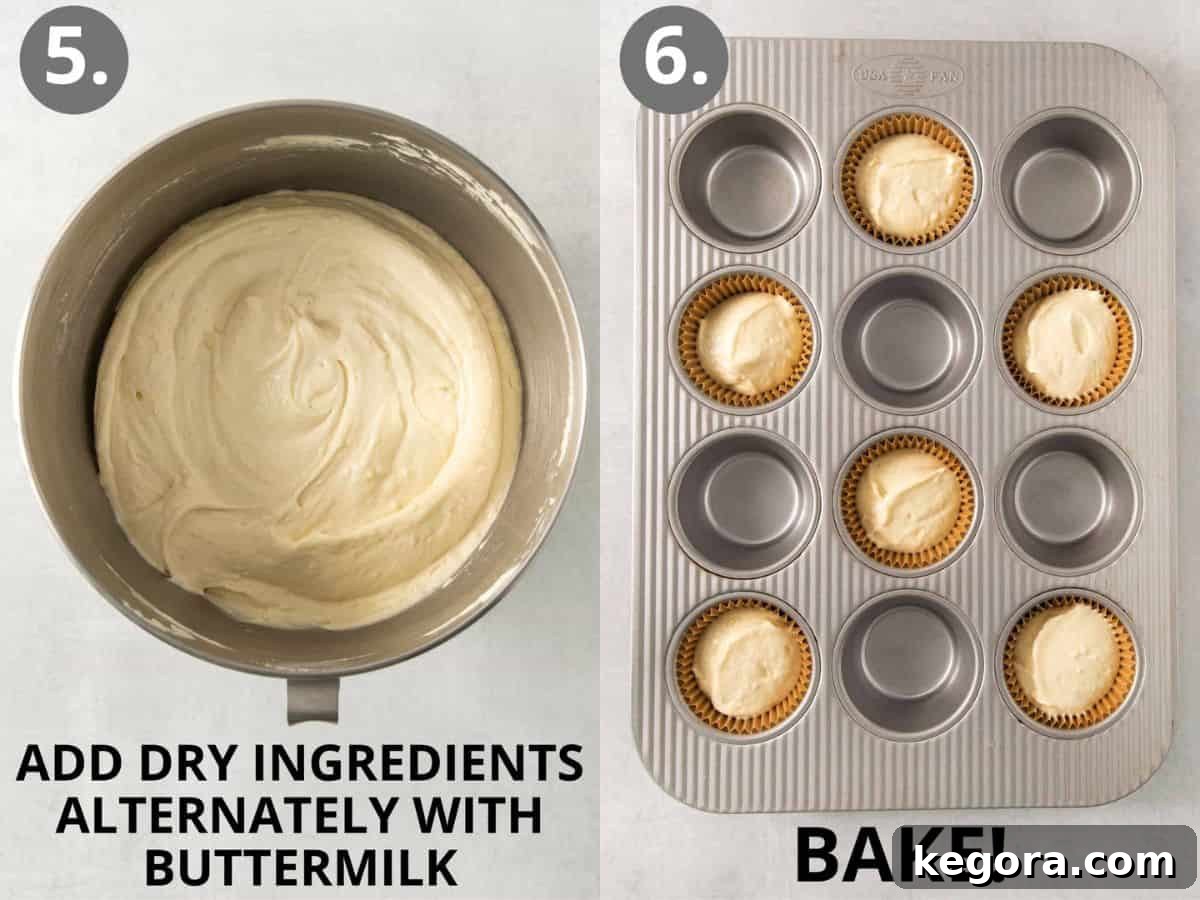
- Step 5: Alternate Dry and Wet Ingredients. Reduce the mixer speed to low. Add half of the dry flour mixture, mixing until just combined. Next, add half of the room-temperature buttermilk, mixing until smooth. Repeat this process with the remaining dry mixture and the rest of the buttermilk. Be careful not to overmix, as this can lead to tough cupcakes. Finally, gently fold in the rainbow sprinkles until evenly distributed throughout the batter.
- Step 6: Bake the Cupcakes. Line two standard muffin pans with paper baking cups. Using a kitchen scoop or a large spoon, fill each baking cup about three-quarters of the way full with batter. Bake in your preheated oven at 350°F (175°C) for 18-20 minutes. The cupcakes are done when a toothpick inserted into the center comes out mostly clean, with just a few moist crumbs clinging to it. Avoid overbaking, which can result in dry cupcakes.
- Step 7: Cool Completely. Allow the baked cupcakes to cool in their muffin pans for 5 minutes. This helps them set up and prevents crumbling. After 5 minutes, carefully transfer the cupcakes to a wire rack to cool completely before frosting. Frosting warm cupcakes will cause your beautiful frosting to melt!
Frosting Perfection: The Secret-Ingredient Frosting
This frosting is truly what takes these funfetti cupcakes to the next level. The “secret ingredients” add a depth of flavor that is simply irresistible and perfectly complements the light cake.
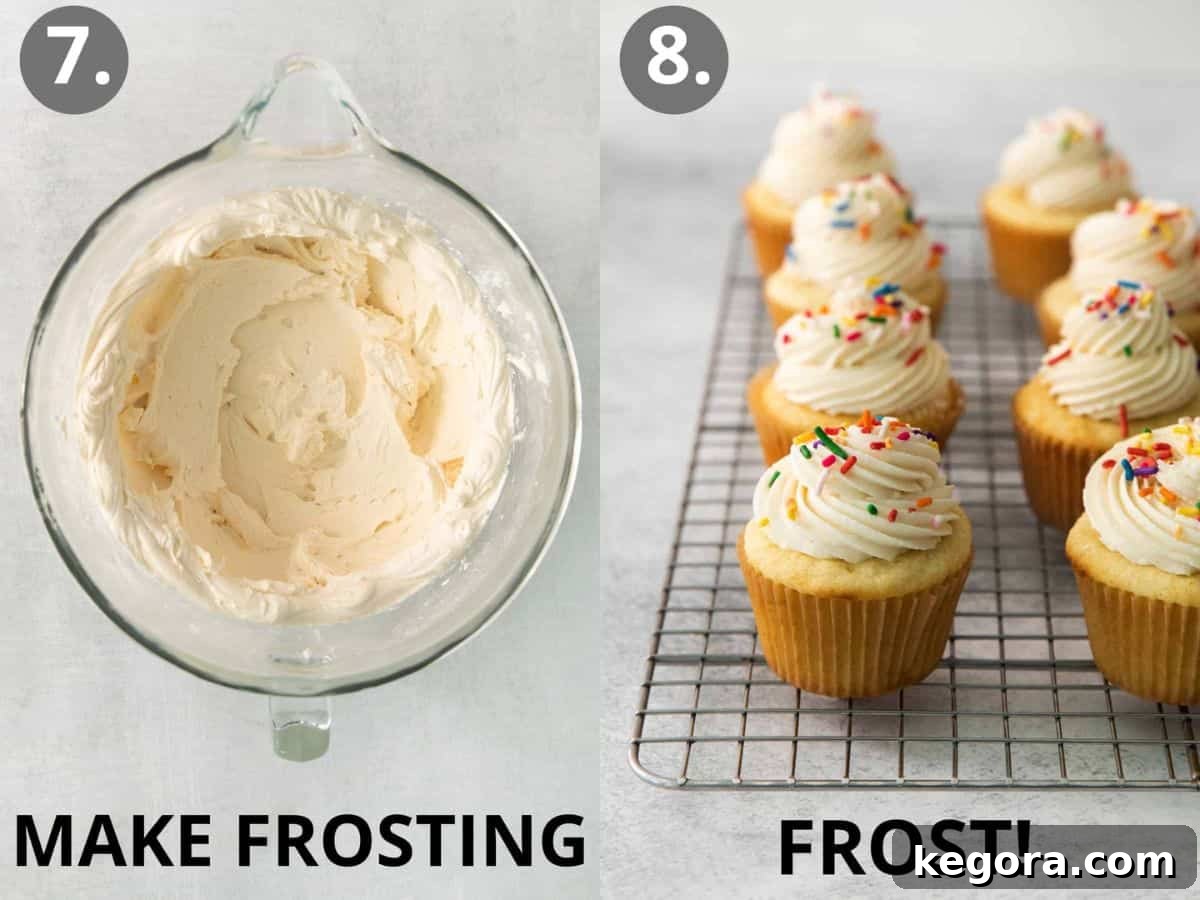
- Step 8: Make the Secret-Ingredient Frosting. In the bowl of a stand mixer (or using a hand mixer), beat the room-temperature butter and cream cheese on medium-high speed until the mixture is beautifully creamy and smooth, which should take about 2 minutes. Then, gradually add 4 cups of powdered sugar, along with the heavy cream, the crucial trio of extracts (vanilla, coconut, and almond), and a pinch of salt. Start mixing on low speed for about 30 seconds to prevent a cloud of sugar, then increase the speed to medium-high and whip the frosting for a full 2 minutes. This whipping process makes it incredibly light and airy.
- Step 9: Frost and Decorate. You want your frosting to be a smooth, spreadable consistency that holds its shape. If it appears too thick, add a tiny bit more heavy cream, one teaspoon at a time, until desired consistency is reached. If it’s too thin, gradually add more powdered sugar until it stiffens. Once perfected, frost your completely cooled cupcakes as desired – whether you prefer a simple swirl or an elaborate piping. Finish with an generous sprinkling of extra rainbow jimmies for that ultimate funfetti sparkle! Now, enjoy your masterpiece!
Make-Ahead, Storage, & Freezing Instructions
Preparing these delightful gluten-free funfetti cupcakes can be easily adapted to your schedule, thanks to these make-ahead, storage, and freezing tips.
- To Make-Ahead: Both the cupcake batter and the frosting can be prepared up to 1 day in advance. Store each component separately in airtight containers in the refrigerator. Before use, allow them to come to room temperature for about 15-20 minutes. For the frosting, a quick re-whip in the mixer will bring it back to its perfect fluffy consistency.
- To Store: Once baked, whether frosted or unfrosted, place your cupcakes in an airtight container. They can be stored at room temperature for up to 1 day, or in the refrigerator for up to 4 days. Refrigeration helps extend their freshness, especially with the cream cheese in the frosting.
- To Freeze: Freezing is an excellent option for long-term storage! Allow the cupcakes to cool completely before placing them unfrosted in an airtight container. They can be frozen for up to 3 months. Thaw them at room temperature for 1-2 hours before serving. The frosting can also be frozen separately in an airtight container for up to 3 months. When ready to use, thaw it overnight in the refrigerator, then give it a good re-whip until it’s light and smooth again. This method allows you to have fresh-tasting cupcakes ready for any spontaneous celebration!
Frequently Asked Questions
Here are answers to some common questions that arise when making these fabulous gluten-free funfetti cupcakes:
Can these gluten-free funfetti cupcakes be made dairy-free? Nut-free?
Yes, absolutely! This recipe is wonderfully adaptable for those with dairy or nut allergies.
- For Dairy-Free: Substitute dairy butter with high-quality dairy-free butter sticks in both the cupcakes and the frosting. For the buttermilk in the cupcakes, use unsweetened dairy-free milk mixed with 2 teaspoons of lemon juice (let it sit for 5-10 minutes to curdle). In the frosting, replace cream cheese with dairy-free cream cheese and heavy cream with an equivalent dairy-free cream or milk alternative. Ensure all sprinkles used are also dairy-free.
- For Nut-Free: Simply omit the almond extract from the frosting. The coconut and vanilla extracts will still provide ample delicious flavor.
How do I prevent the sprinkles from sinking to the bottom of the cupcakes?
Typically, the sprinkles can be stirred into this particular batter without any issues, given its consistency. However, if you’ve experienced sprinkles sinking in other recipes, or if your batter seems particularly thin, a reliable trick is to lightly toss the sprinkles in a small amount of gluten-free flour before folding them into the batter. This light coating helps them stay suspended evenly throughout the cake, ensuring a perfect distribution of colorful confetti in every bite.
Can I make mini cupcakes using this recipe?
You most certainly can! This recipe scales down beautifully for mini cupcakes. Keep your oven temperature at 350°F (175°C), but significantly reduce the baking time. Mini cupcakes will typically bake for about 10-12 minutes. Always use the toothpick test – insert a toothpick into the center of a mini cupcake; it should come out mostly clean with just a few moist crumbs – to determine the most accurate doneness for your oven.
More Delightful Gluten-Free Cupcake Recipes
If you loved these funfetti cupcakes, you’ll be thrilled to explore more of my gluten-free cupcake creations, perfect for any occasion:
- Classic Gluten-Free Vanilla Cupcakes
- Rich Gluten-Free Chocolate Cupcakes
- Perfect Gluten-Free Yellow Cupcakes
- Seasonal Gluten-Free Pumpkin Cupcakes
- Elegant Gluten-Free Red Velvet Cupcakes
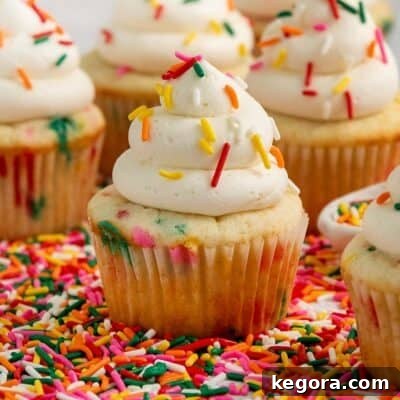
Gluten-Free Funfetti Cupcakes
Erin Collins
25 minutes
20 minutes
45 minutes
20 cupcakes
They feature my all-time favorite frosting recipe that has a few SECRET INGREDIENTS for an unbelievable taste.
Comments
Ingredients
Dry Ingredients
-
2¼ cups (337g) gluten-free measure-for-measure flour -
½ cup (64g) cornstarch -
2½ teaspoons baking powder -
1 teaspoon kosher salt
Other Ingredients
-
½ cup (113g) butter at room temperature -
½ cup (120ml) neutral oil -
1½ cups (300g) granulated sugar -
4 large eggs at room temperature -
2 tablespoons vanilla extract -
1⅓ cups (320ml) buttermilk at room temperature -
⅓ cup (64g) rainbow sprinkles plus more for topping
Secret-Ingredient Frosting
-
1 cup (226g) butter at room temperature -
2 ounces (57g) cream cheese at room temperature -
4-5 cups (480-600g) powdered sugar -
¼ cup (60ml) heavy cream -
2 teaspoons vanilla extract -
⅛ teaspoon coconut extract -
⅛ teaspoon almond extract -
¼ teaspoon kosher salt
Instructions
For the cupcakes:
-
Preheat the oven to 350°F (175°C). Line two standard muffin pans with paper baking cups.
-
In a medium bowl, whisk together the gluten-free flour, cornstarch, baking powder and salt until thoroughly combined.
-
In the bowl of a stand mixer, or using a hand mixer, beat the softened butter and oil together until well-combined and smooth, about 3 minutes.
-
With the mixer running on medium-low, slowly add the granulated sugar to the butter and oil mixture. Beat on high until the mixture is light, fluffy, and turns a very pale yellow, approximately 3 minutes.
-
Add the eggs one at a time, scraping down the bowl in between each addition. Mix in the vanilla extract, then beat on high for another 2 minutes to incorporate plenty of air.
-
With the mixer running on low, add ½ of the dry ingredients followed by ½ of the buttermilk, mixing until just combined. Repeat with the remaining dry ingredients and buttermilk. Gently stir in the sprinkles.
-
Using a kitchen scoop or large spoon, fill each baking cup ¾ of the way up with batter. Bake for 18-20 minutes, until a toothpick inserted in the center comes out mostly clean with a few moist crumbs.
-
Let the cupcakes cool in their pan for 5 minutes, then transfer to a wire rack to cool completely before frosting.
For the frosting:
-
In the bowl of a stand mixer, or using a hand mixer, beat the butter and cream cheese on medium-high speed until creamy, about 2 minutes. Add 4 cups powdered sugar along with the cream, vanilla extract, coconut extract, almond extract, and salt. Mix on low speed for 30 seconds, then increase to medium-high speed and whip for a full 2 minutes until light and fluffy.
-
If the frosting is too thick, add a little more cream (1 teaspoon at a time). If the frosting is too thin, add more powdered sugar (1 tablespoon at a time) to achieve a spreadable consistency. Frost the cooled cupcakes as desired and top generously with sprinkles. Enjoy!
Notes
Sprinkles: For best results, use soft rainbow jimmies. These are my favorite certified gluten-free sprinkles!
Dairy-Free: Use dairy-free butter and unsweetened dairy-free milk mixed with 2 teaspoons of lemon juice in place of the buttermilk in the cupcakes. Use dairy-free butter, dairy-free cream cheese and dairy-free cream/milk in the frosting.
Nut-Free: Omit the almond extract for a completely nut-free version.
To Make-Ahead: The batter and frosting can each be made up to 1 day in advance. Store in airtight containers in the fridge. Bring to room temperature (15-20 minutes) before use. Re-whip frosting.
To Store: Place frosted or unfrosted cupcakes in an airtight container. Store at room temperature for up to 1 day or in the refrigerator for up to 4 days.
To Freeze: Cool cupcakes completely, then freeze unfrosted in an airtight container for up to 3 months. Thaw at room temperature (1-2 hours). Freeze frosting separately in an airtight container for up to 3 months, thaw overnight in the refrigerator, then re-whip before using.