
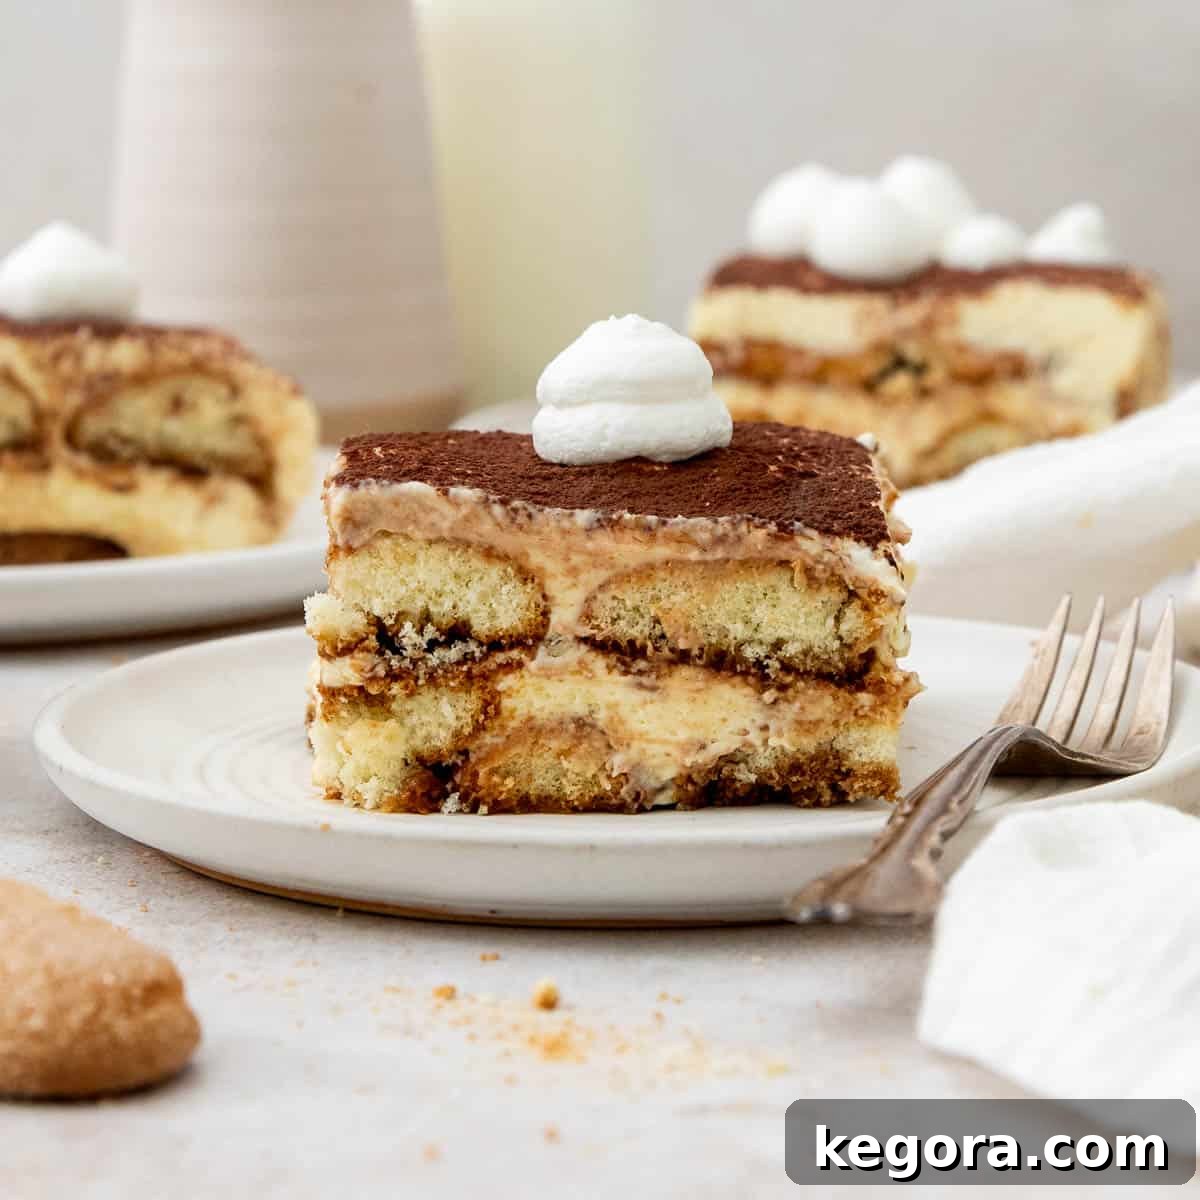
Indulgent Gluten-Free Tiramisu: A No-Bake Masterpiece

Welcome to a culinary journey that brings the rich flavors of Italy right into your kitchen, with a thoughtful twist for those embracing a gluten-free lifestyle. This classic Italian tiramisu recipe is an absolute dream for anyone seeking a dessert that impresses without the hassle. It’s a truly no-bake wonder, making it incredibly simple to prepare, yet it exudes an air of sophistication and pure indulgence that will make every guest feel special. Every luxurious gluten-free bite delivers a harmonious blend of creamy mascarpone, delicate coffee-soaked ladyfingers, and a hint of cocoa, tasting every bit as authentic and decadent as its traditional counterpart.
For me, a truly great dessert strikes the perfect balance between ease of creation and unforgettable flavor. This gluten-free tiramisu embodies that philosophy perfectly. It’s designed to be effortlessly elegant, proving that you don’t need complicated techniques or hours in the kitchen to achieve a dessert that looks and tastes like it came from a gourmet patisserie. Whether you’re a seasoned baker or a novice in the kitchen, you’ll find this recipe straightforward and deeply rewarding.
Why This Gluten-Free Tiramisu Will Be Your New Favorite
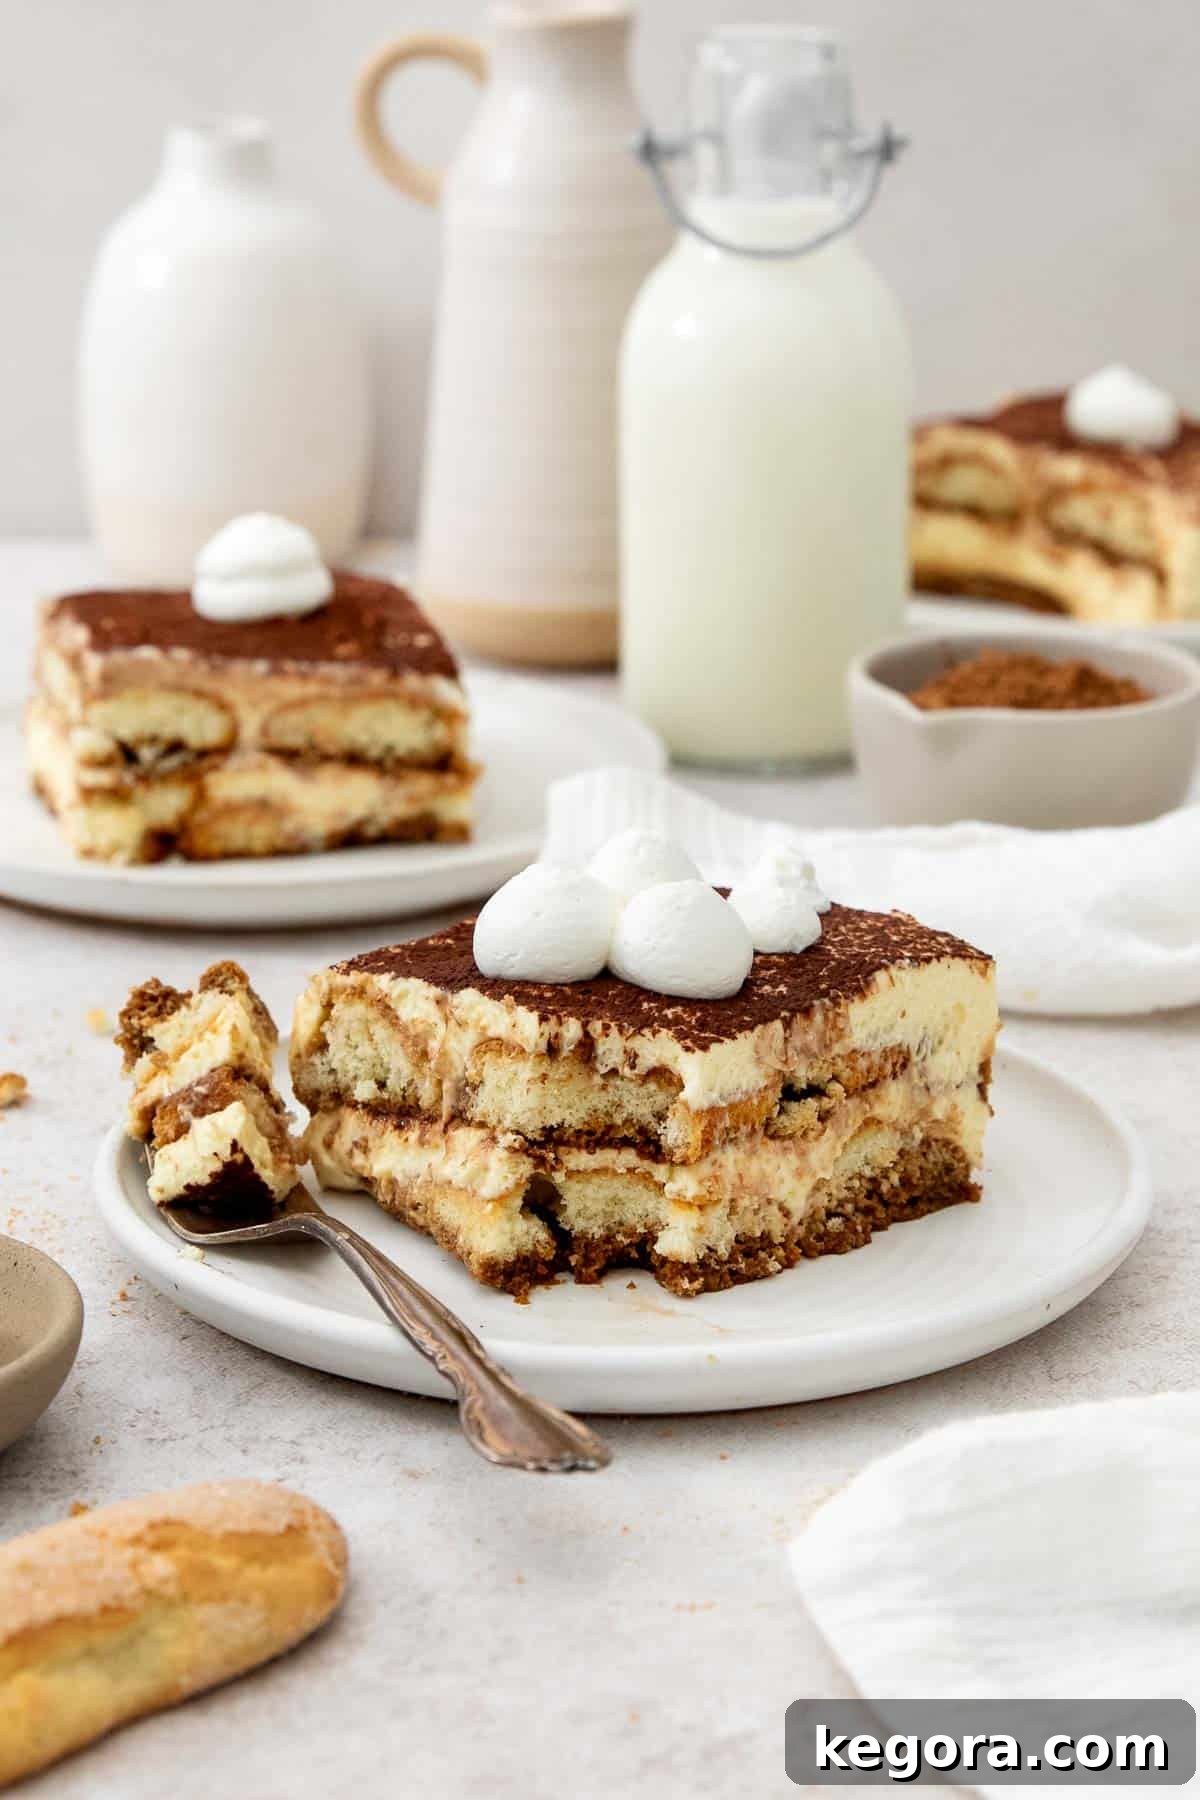
- Unforgettable Flavor Profile: Experience the perfect harmony of rich, velvety mascarpone cream intertwined with layers of light, airy ladyfingers, each delicately infused with aromatic coffee. It’s a symphony of textures and tastes that dance on your palate.
- Effortless Elegance: This recipe delivers a show-stopping dessert that appears complex but is surprisingly simple to assemble. No oven required, just a bit of mixing and layering, making it ideal for entertaining.
- Perfect for Planning Ahead: Tiramisu is one of those magical desserts that actually improves with time. Prepare it a day in advance for holidays, dinner parties, or any celebration, allowing the flavors to meld beautifully and intensify without any compromise on its exquisite texture.
- Gluten-Free Perfection: Specifically crafted with gluten-free ladyfingers, this recipe ensures everyone can enjoy the classic Italian treat without dietary concerns. We’ve ensured that the gluten-free adaptation loses none of the original’s charm or deliciousness.
Top Tips for Tiramisu Success
Achieving the perfect tiramisu, especially a gluten-free one, comes down to a few critical steps:
- Keep Mascarpone Cold: Always ensure your mascarpone cheese is thoroughly chilled before you begin whipping. This is crucial for achieving a stable, smooth, and utterly creamy filling that holds its shape beautifully.
- Mindful Ladyfinger Dipping: The key to tender, not soggy, ladyfingers is a quick dip. A swift dip on each side – just enough to absorb the coffee liquid without letting them disintegrate – will create the ideal texture. Over-soaking will lead to a watery, mushy dessert, so be quick!
- Quality Ingredients Matter: Since tiramisu relies on simple, fresh ingredients, the quality of each component makes a significant difference. Use good quality espresso, fresh eggs, and premium mascarpone for the best possible flavor.
If you’re looking to explore more delightful gluten-free desserts, don’t miss these other favorites:
- Gluten-Free Coffee Cake with Sour Cream
- Flourless Chocolate Torte
- Gluten-Free Chocolate Mousse Cake
- Dark Chocolate Pot de Crème
Embrace the joy of effortless, exquisite desserts!
xoxo erin
Essential Ingredients for Your Gluten-Free Tiramisu
Crafting the perfect gluten-free tiramisu begins with understanding the role of each key ingredient. While the full, precise measurements are available in the recipe card below, here are some important notes and insights into the components that make this dessert truly special.
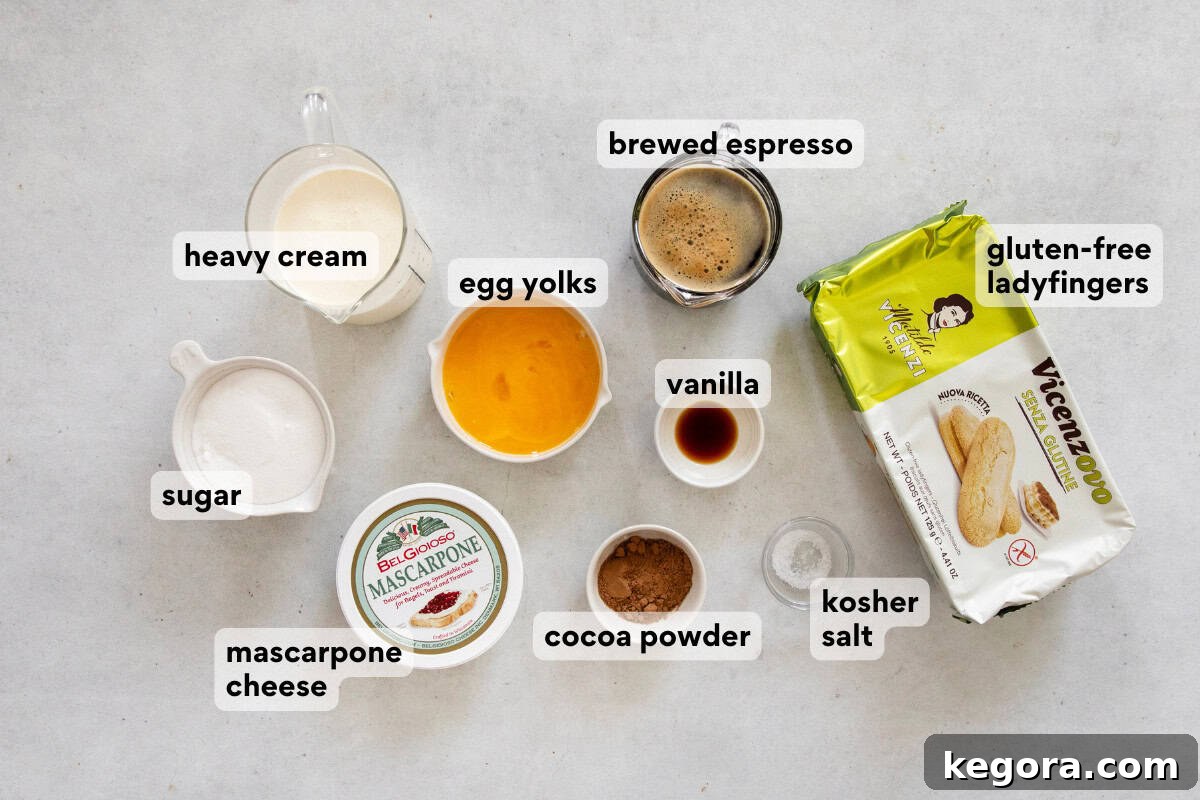
- Egg Yolks: Traditional tiramisu recipes often call for raw egg yolks. For safety and peace of mind, especially when serving to guests, I highly recommend using pasteurized egg yolks if you can find them. They offer the same rich flavor and texture without any concerns. If you can’t find pasteurized yolks, tempering your egg yolks over a double boiler is another safe method, but for this no-bake recipe, pasteurized is ideal.
- Mascarpone Cheese: This Italian cream cheese is the heart of tiramisu’s luxurious filling. It’s incredibly rich, smooth, and mildly sweet. The golden rule for mascarpone is to keep it *very cold* until you’re ready to whip it. A cold mascarpone whips up beautifully into a smooth, stable, and airy cream, preventing it from separating or becoming grainy. Avoid over-whipping it once combined, as it can separate quickly.
- Heavy Cream (Heavy Whipping Cream): This ingredient is essential for adding lightness, volume, and crucial stability to the mascarpone mixture. When whipped to soft peaks, heavy cream creates an ethereal texture that balances the richness of the mascarpone, resulting in a cloud-like, irresistible cream. Ensure it’s also very cold for optimal whipping results.
- Gluten-Free Ladyfingers: These delicate, porous biscuits are key to tiramisu’s iconic structure. Brands like Schär or Vicenzovo (Senza Glutine) are excellent choices as they are specifically designed to absorb liquid without completely falling apart. If you can’t find these, any firm, gluten-free biscuit with a similar texture that can hold its shape after a quick dip will work. Ensure they are plain and not flavored.
- Espresso: The robust, concentrated flavor of espresso is non-negotiable for authentic tiramisu. However, if you don’t have an espresso machine, a very strong brewed coffee or even instant espresso powder dissolved in hot water can be used as a substitute. For a decaffeinated version, simply opt for decaf espresso or strong decaf coffee. It’s vital to let the brewed coffee or espresso cool slightly before dipping the ladyfingers; hot liquid will cause them to disintegrate.
- Unsweetened Cocoa Powder: A dusting of cocoa powder on top is the classic finish, adding a beautiful visual contrast and a subtle bitter note that complements the sweet cream. I also like to whisk a small amount directly into the cooled espresso mixture. This little trick imparts an extra layer of deep chocolate flavor to the ladyfingers as they soak, enhancing the overall complexity of the dessert.
- Granulated Sugar, Vanilla Extract, and Kosher Salt: These foundational ingredients enhance and balance the flavors. Granulated sugar provides sweetness, vanilla extract adds warmth and depth, and a tiny pinch of kosher salt elevates all the other flavors, preventing the dessert from tasting flat.
How to Assemble Your Decadent Gluten-Free Tiramisu
Creating this stunning gluten-free tiramisu is a rewarding process, made easy with a clear step-by-step approach. Here’s a detailed overview of how to bring this recipe to life, ensuring a perfect outcome every time. For the precise measurements and full instructions, remember to jump to the recipe card below.
1. Prepare the Luscious Egg Yolk Base
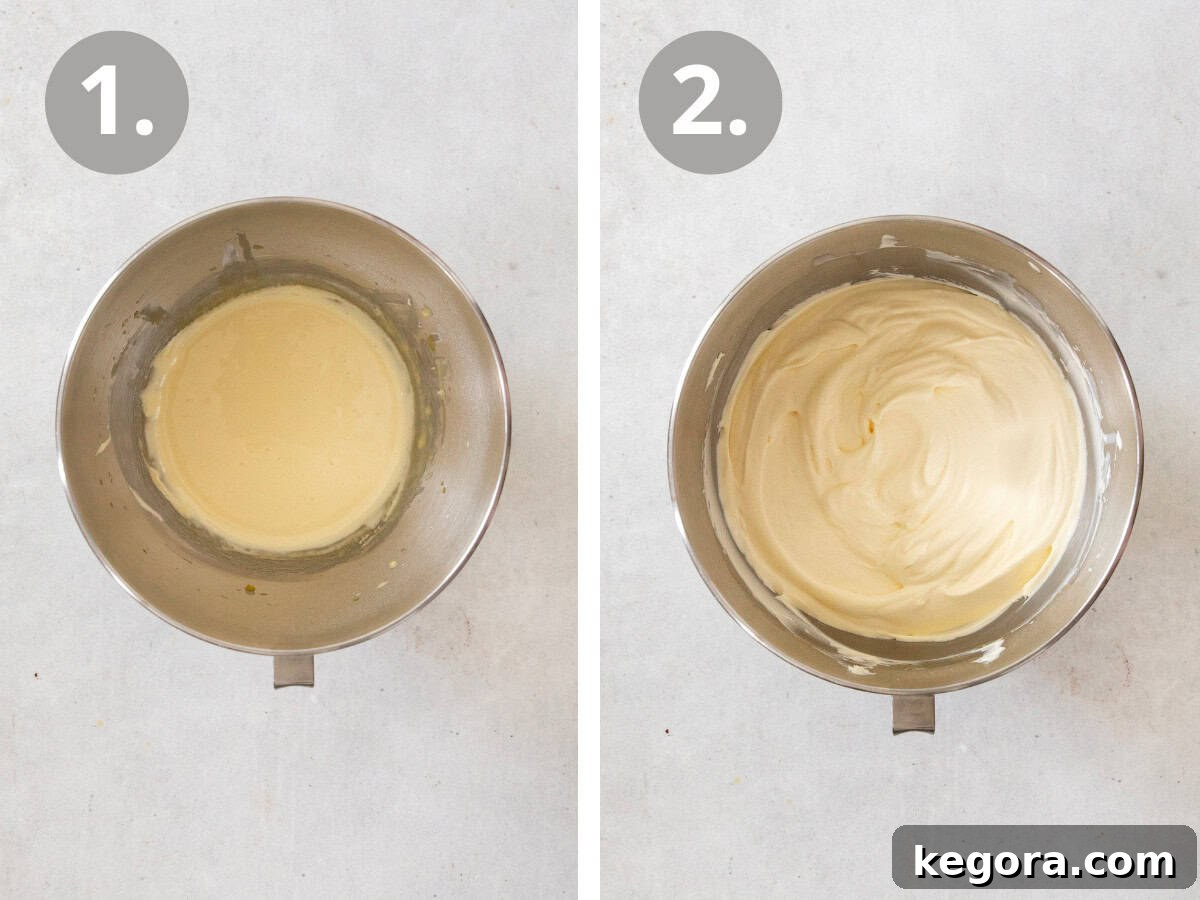
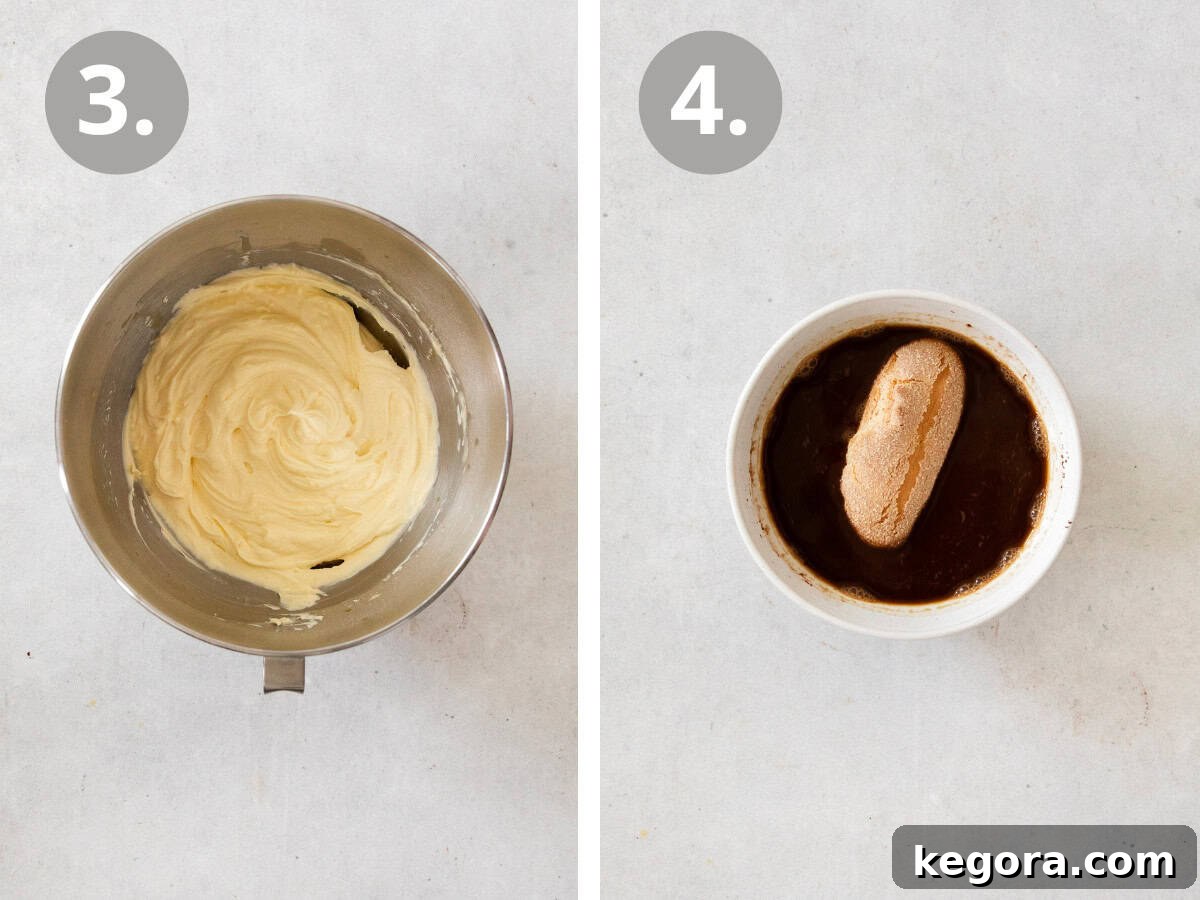
Begin by whipping your egg yolks. A stand mixer fitted with a whisk attachment is your best friend here, as it simplifies this crucial step significantly. Beat the cold egg yolks on medium-high speed until they transform into a light, fluffy, and noticeably pale yellow consistency. This typically takes about 2 minutes. While the mixer continues to run, gradually stream in the granulated sugar. Continue beating for approximately 5 minutes more, or until the mixture has tripled in volume, becoming airy, silky, and thick. This process creates a stable, enriched base for your mascarpone cream.
2. Fold in the Mascarpone and Whip to Perfection
Once your egg yolk base is ready, reduce the mixer speed to low. Carefully add the cold mascarpone cheese, vanilla extract, and a pinch of kosher salt to the bowl. Increase the speed to high and whip the mixture just until it is smooth and creamy, ensuring there are no lumps. This usually takes about 1 minute. Be cautious not to overmix the mascarpone, as it can separate. Next, gently pour in the heavy cream. Continue whipping until soft peaks form. The resulting filling should be light, airy, and firm enough to hold its shape beautifully, yet still spreadable. Stop whipping as soon as soft peaks are achieved to prevent curdling.
3. Infuse the Ladyfingers with Coffee Bliss
In a shallow bowl, whisk together your cooled espresso (or strong coffee/decaf) with a tablespoon of unsweetened cocoa powder. This cocoa infusion adds a wonderful, subtle depth of chocolate flavor to the ladyfingers. Now comes the delicate part: working one at a time, quickly dip each gluten-free ladyfinger into the espresso mixture. The key is speed – just long enough for the cookie to absorb the liquid on both sides without becoming completely saturated and soggy. A quick flip will ensure even absorption. Remember, too much liquid will result in a mushy tiramisu.
4. Layer, Dust, and Chill for Flavor Fusion
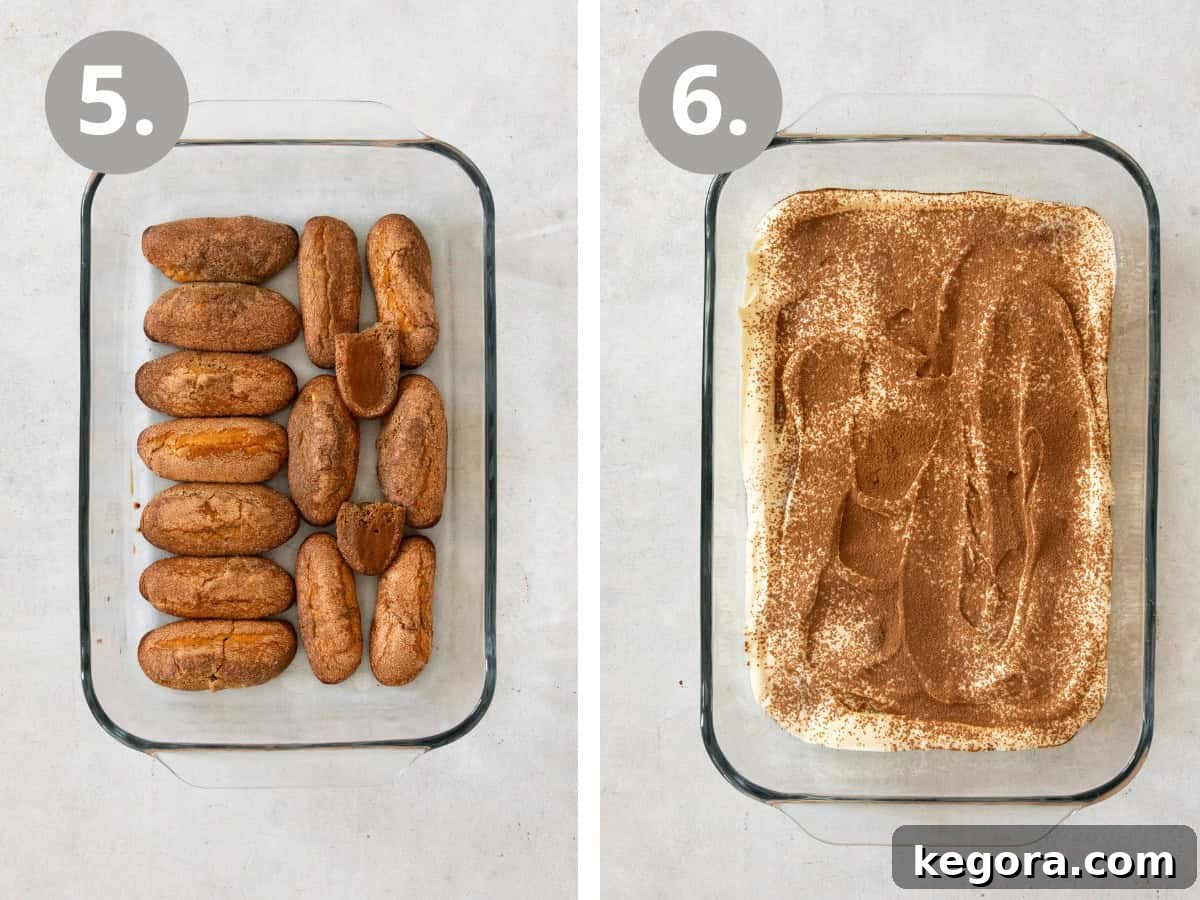
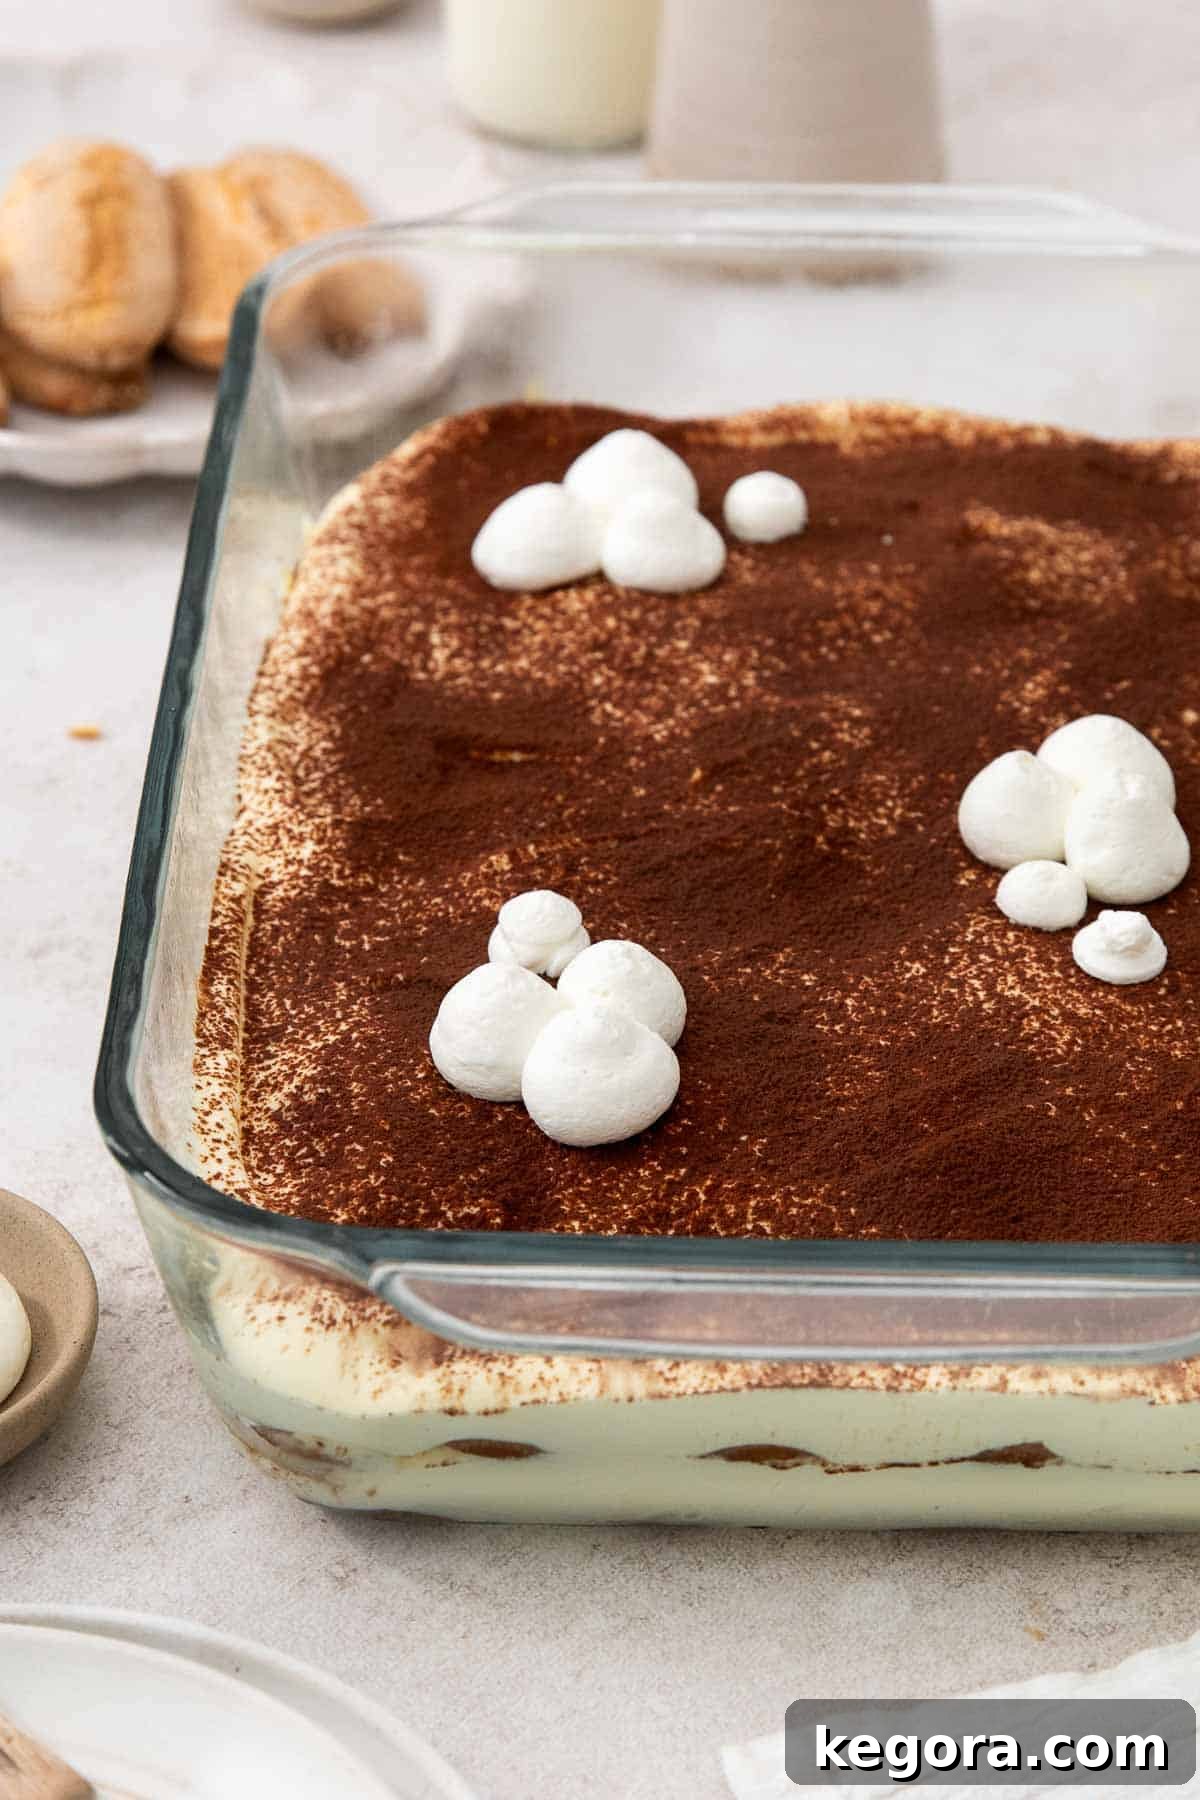
With your components ready, it’s time to assemble! Arrange a single layer of your espresso-dipped ladyfingers evenly in the bottom of a 9×13-inch baking dish. Carefully spread half of the luxurious mascarpone mixture over the ladyfingers, smoothing it into an even layer. Lightly dust this layer with unsweetened cocoa powder using a fine-mesh sieve. Repeat this process: add another layer of dipped ladyfingers, followed by the remaining mascarpone mixture, and finish with a final generous dusting of cocoa powder. Once assembled, cover the dish tightly with plastic wrap and refrigerate for at least four hours, or ideally, overnight. This crucial chilling period allows the cream to set perfectly and, most importantly, gives all the magnificent flavors time to meld and deepen. Patience truly pays off in the making of a sublime tiramisu!
Gluten-Free Tiramisu
Erin Collins
20 mins
4 hrs
4 hrs 20 mins
12
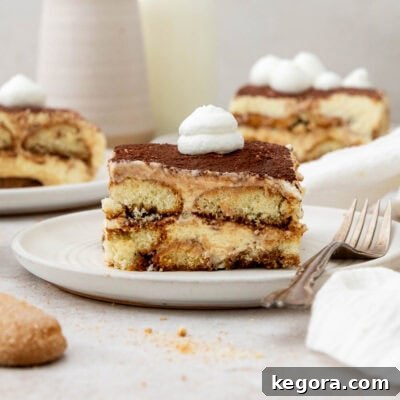
An elegant no-bake dessert featuring decadent layers of coffee-soaked gluten-free ladyfingers, silky mascarpone cream, and a final dusting of cocoa powder. This recipe is light, incredibly creamy, and perfectly suited for make-ahead preparation, making it an ideal choice for effortless entertaining.
Comments
Print Recipe
Ingredients
- 16 ounces (454g) mascarpone cheese, cold
- 1½ cups (350ml) heavy cream
- 5 large egg yolks, cold
- ½ cup (100g) granulated sugar
- 1 tablespoon vanilla extract
- ½ teaspoon kosher salt
- 2 cups (480ml) brewed espresso, slightly cooled (or strong coffee/decaf)
- 1 tablespoon unsweetened cocoa powder, plus more for dusting
- 14 ounces gluten-free ladyfingers (e.g., Schär or Vicenzovo Senza Glutine)
Instructions
- In the bowl of a stand mixer fitted with the whisk attachment, beat the cold egg yolks on medium-high speed until they are fluffy and light yellow, about 2 minutes. With the mixer running, slowly stream in the granulated sugar and continue to beat until the mixture is pale and has tripled in volume, becoming airy and silky, about 5 minutes.
- With the mixer on low speed, add the cold mascarpone cheese, vanilla extract, and kosher salt. Increase the speed to high and whip until the mixture is smooth and fluffy, about 1 minute. Be careful not to overmix.
- Slowly pour in the heavy cream and continue to whip until soft peaks form, approximately 1 minute. The mixture should be light yet hold its shape.
- In a shallow bowl, whisk together the slightly cooled brewed espresso (or strong coffee/decaf) and 1 tablespoon of cocoa powder until the cocoa is fully dissolved.
- Working one at a time, quickly dip each gluten-free ladyfinger into the espresso mixture. Dip just long enough for the cookie to absorb the liquid on each side without becoming soggy. Speed is key here.
- Arrange a single layer of the espresso-dipped ladyfingers neatly in the bottom of a 9×13-inch baking dish. Spread half of the prepared mascarpone mixture evenly over the ladyfingers. Lightly dust this layer with additional unsweetened cocoa powder.
- Repeat the layering process: add another layer of espresso-dipped ladyfingers, then spread the remaining mascarpone mixture over the top, smoothing it out. Finish with a final generous dusting of cocoa powder.
- Cover the baking dish tightly with plastic wrap and refrigerate for at least 4 hours, or ideally overnight. This essential chilling period allows the cream to set firmly and all the flavors to fully meld and deepen for the best taste and texture. Serve chilled.
Recipe Notes & Tips
Gluten-Free Adaptations: This recipe is specifically designed to be gluten-free by using gluten-free ladyfingers. Recommended brands include Schär or Vicenzovo Senza Glutine, known for their excellent texture retention when dipped.
Dairy-Free Considerations: While traditional mascarpone and heavy cream are central to tiramisu’s rich flavor and texture, you can experiment with dairy-free alternatives. However, be aware that dairy-free mascarpone and whipping creams may yield a different texture and flavor profile compared to the classic version.
Make Ahead Perfection: Tiramisu is an ideal dessert for preparing in advance. It can be made up to 24 hours before serving. In fact, the flavors often become even more robust and harmonious after a full day of chilling, making it a stress-free option for entertaining.
Storage Guidelines: To maintain its freshness and quality, cover any leftover tiramisu tightly with plastic wrap and store it in the refrigerator for up to 3 days. Ensure it’s well-sealed to prevent it from absorbing other food odors.
Freezing Instructions: For longer storage, tiramisu can be frozen. Place the prepared tiramisu in a freezer-proof, airtight container and freeze for up to 1 month. When you’re ready to enjoy it, thaw the tiramisu in the refrigerator overnight before serving to ensure a smooth, creamy texture.
Nutrition Information
Carbohydrates: 37g |
Protein: 7g |
Fat: 32g |
Saturated Fat: 19g |
Polyunsaturated Fat: 1g |
Monounsaturated Fat: 4g |
Cholesterol: 202mg |
Sodium: 190mg |
Potassium: 90mg |
Fiber: 0.2g |
Sugar: 20g |
Vitamin A: 1075 IU |
Vitamin C: 0.3mg |
Calcium: 106mg |
Iron: 1mg
Frequently Asked Questions About Gluten-Free Tiramisu
Q: Can I use regular ladyfingers if I don’t need it to be gluten-free?
A: Absolutely! If gluten is not a concern for you or your guests, feel free to use traditional ladyfingers (savoiardi biscuits). The rest of the recipe instructions remain the same. Just ensure they are fresh and not too hard, as that can affect their ability to soak up the espresso.
Q: What if I don’t have a stand mixer?
A: A hand mixer will work just as well, though it might take a little longer to achieve the desired consistency for whipping the egg yolks and cream. You’ll still get fantastic results, just prepare for a bit more arm work!
Q: How can I make this dessert even more chocolatey?
A: To amplify the chocolate flavor, you can melt a small amount of good quality dark chocolate and swirl it into the mascarpone cream before layering. Alternatively, sprinkle finely grated dark chocolate between the layers in addition to the cocoa powder dusting. You could also use a chocolate liqueur in place of some of the espresso for a boozy chocolate twist.
Q: Is it safe to use raw egg yolks?
A: As mentioned in the ingredient notes, using pasteurized egg yolks is highly recommended for safety, especially since this is a no-bake recipe. Pasteurized eggs have been heat-treated to kill bacteria while maintaining their raw form. If you cannot find pasteurized eggs, you can gently temper regular egg yolks over a double boiler until they reach 160°F (71°C) to make them safe, then chill them before proceeding with the recipe.
Q: Can I prepare individual tiramisu servings?
A: Yes, this recipe is wonderfully adaptable for individual servings. Simply layer the dipped ladyfingers and mascarpone cream in small ramekins, glass jars, or elegant dessert glasses. The chilling time will be similar, and they make for a beautiful presentation!
Conclusion: A Dessert to Savor
This Gluten-Free Tiramisu is more than just a dessert; it’s an experience. It’s the perfect blend of traditional Italian charm and modern dietary mindfulness, crafted to deliver pure joy with every spoonful. From its straightforward preparation to its elegant presentation and deeply satisfying flavor, it ticks all the boxes for a truly memorable treat. Whether you’re celebrating a special occasion, hosting a dinner party, or simply indulging in a quiet moment, this no-bake masterpiece promises to delight. So go ahead, whip up this amazing tiramisu, and let its rich, creamy, and coffee-kissed layers transport you to a little piece of Italian heaven. Buon appetito!