
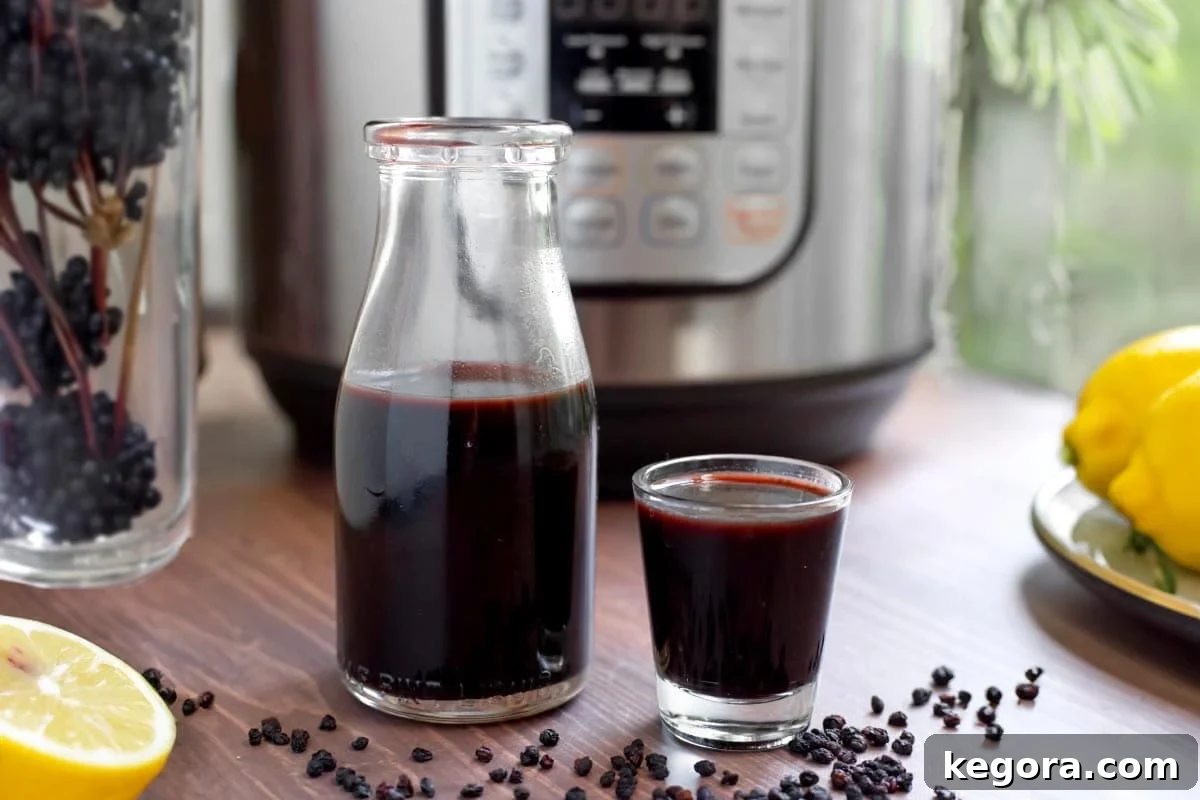
Unlock the power of nature with this incredible Instant Pot Elderberry Syrup recipe. Renowned for its earthy sweetness and aromatic flavor, elderberry syrup is more than just a delicious treat; it’s a traditional remedy believed to be a potent antioxidant and a natural ally in warding off common colds and the flu. This pressure cooker method simplifies the process, infusing your homemade syrup with additional fragrant ingredients for an unparalleled taste experience. Whether you use dried or fresh elderberries, the result is a flavorful, health-boosting syrup that’s remarkably easy to make and enjoy year-round.
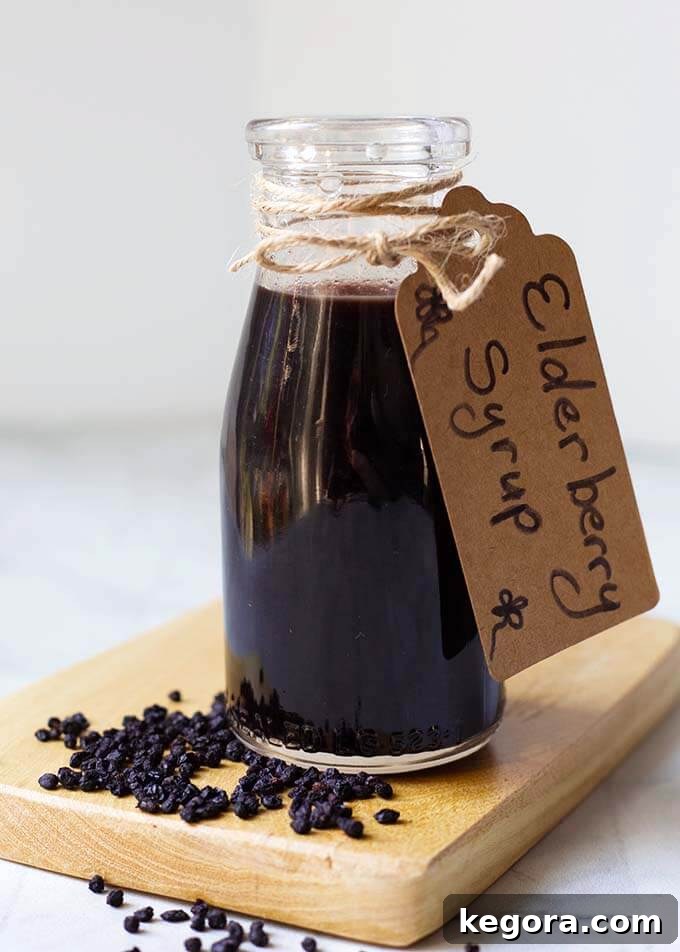
Recipe Updated: January 2019, October 2025
Homemade Elderberry Syrup: Your Immune System’s Best Friend
As the seasons change and cold and flu viruses become more prevalent, many of us seek natural ways to support our immune systems. Elderberry syrup has been a cherished part of traditional medicine for centuries, and its popularity continues to soar as people look for wholesome, homemade solutions. I personally love having a batch of this delicious syrup on hand, not just for its comforting flavor but for the feeling of proactive wellness it brings.
While I can’t offer medical claims, I find that incorporating elderberry syrup into my daily routine contributes to my overall sense of well-being. It’s a simple, delicious addition that feels good to make and even better to consume. The beauty of crafting your own elderberry syrup at home lies in the control you have over the ingredients, ensuring purity and freshness, free from artificial additives or excessive sugars often found in store-bought versions.
Selecting the Right Elderberries for Your Syrup
The foundation of a great elderberry syrup starts with choosing the right berries. Understanding the different types and forms available is crucial for both flavor and safety.
The Premier Choice: Black Elderberries (Sambucus nigra or S. canadensis)
For making elderberry syrup, the undisputed best choice is black elderberries, scientifically known as Sambucus nigra (European elder) or Sambucus canadensis (American elder). These are the varieties traditionally used for medicinal purposes and culinary delights alike. They are identifiable by their deep purple to black color when fully ripe and are the type most commonly found in dried form.
It’s important to distinguish black elderberries from other varieties to ensure the safety and efficacy of your syrup. The rich color of black elderberries is indicative of their high anthocyanin content, which are powerful antioxidants that give elderberries their characteristic health-promoting properties.
Dried vs. Fresh Elderberries: What’s Best for You?
Both dried and fresh elderberries can be used to make excellent syrup, each offering distinct advantages:
- Dried Elderberries: These are widely available, incredibly convenient to store, and provide a consistent result year-round. They have a long shelf life when kept properly and are an excellent option if fresh berries are out of season or hard to find. When purchasing, opt for organic, non-irradiated dried elderberries from reputable suppliers to ensure the highest quality and purity. Any good-quality, well-preserved dried berries will yield a fantastic syrup.
- Fresh Elderberries: If you’re lucky enough to have access to fresh elderberries during their season (typically late summer to early fall), they can make a wonderfully vibrant syrup. The key is to ensure they are fully ripe, presenting a deep purple or black hue. Carefully remove all leaves and stems, as these parts are not suitable for consumption.
General Conversion Guide: As a helpful estimation, 1 cup of dried elderberries is roughly equivalent to 2½ to 3 cups of fresh elderberries once the stems have been removed.
Important Considerations: What to Avoid
To ensure your elderberry syrup is safe and delicious, it’s vital to know what to steer clear of:
- Red Elderberries (Sambucus racemosa): These are a different species and should not be used for syrup. They contain higher levels of toxic compounds and are not suitable for culinary or medicinal preparations.
- Unripe (Green) Berries, Stems, Leaves, and Twigs: All parts of the elderberry plant, except the fully ripe black berries and flowers, contain cyanogenic glycosides, which can cause digestive upset if consumed uncooked or improperly processed. Always meticulously remove any green berries, stems, leaves, or twigs before preparation.
- Off-Smelling or Discolored Berries: Avoid any berries that smell musty, appear dusty, or have a brown, unhealthy color. These indicate spoilage or poor quality.
Smart Buying Tips: When sourcing elderberries, look for those that are deep purple or black, uniformly sized, and have minimal stem fragments. Prioritize purchasing from reputable herb shops or suppliers who clearly label the elderberry species (e.g., Sambucus nigra), the processing methods (e.g., “organic,” “non-irradiated”), the country of origin, and the harvest year. This information helps ensure you are getting a safe and high-quality product.
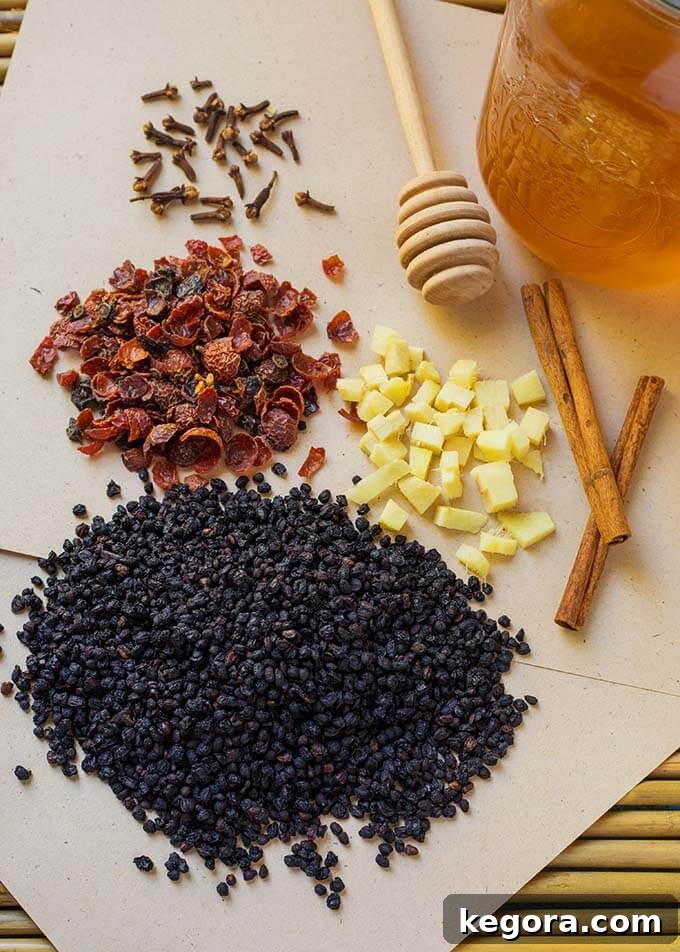
Elevate Your Elderberry Syrup: Flavorful Add-Ins
While elderberries themselves offer a unique flavor profile, you can significantly enhance your Instant Pot Elderberry Syrup by incorporating a variety of aromatic and beneficial ingredients. These additions not only boost the taste but can also contribute their own natural properties to the syrup.
Consider these wonderful ingredients to elevate your homemade elderberry syrup:
- Dried Elderberries (My Preference): Forming the core of the syrup, choose high-quality dried berries for convenience and consistent results.
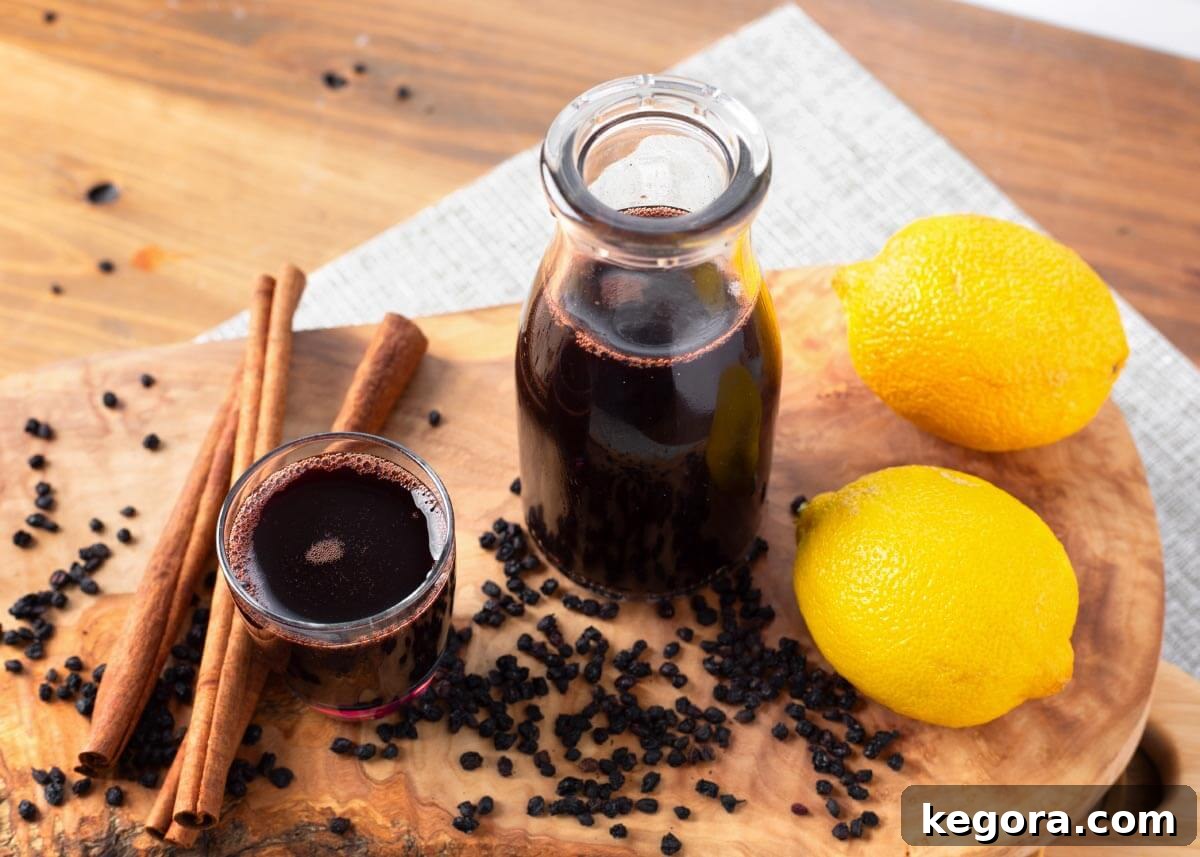
- Whole Cloves: These warm, pungent spices add a delightful depth and a subtle hint of holiday cheer. Cloves are also known for their antioxidant properties.
- Rose Hips: Rich in Vitamin C, rose hips introduce a tart, fruity note and can further boost the immune-supporting profile of your syrup.
- Fresh Ginger: A staple in many natural remedies, ginger provides a spicy warmth and is renowned for its anti-inflammatory and digestive benefits. Freshly chopped ginger integrates beautifully into the syrup.
- Raw Honey: Added after cooking, raw honey provides natural sweetness and brings its own antibacterial and soothing qualities. Its enzymes and beneficial compounds remain intact when not exposed to high heat.
- Cinnamon Sticks: Offering a sweet and woody aroma, cinnamon complements elderberry perfectly and is also associated with various health benefits, including blood sugar regulation.
- Lemon Peel (and Juice): The zest of organic lemon peel infuses a bright, citrusy essence into the syrup during cooking. Fresh lemon juice, added after cooling, provides a refreshing tang and a dose of Vitamin C without being degraded by heat. (I sometimes forget to feature the lemon in photos, but it’s always in my recipe!).
Versatile Uses for Your Homemade Pressure Cooker Elderberry Syrup
The uses for this flavorful elderberry syrup extend far beyond a simple spoonful! Its delightful sweet-tart profile makes it a versatile ingredient for both culinary creations and wellness routines. Here are just a few ideas to inspire you:
- Sparkling Soda Water: Stir a tablespoon or two into a glass of plain or flavored soda water for a refreshing and natural homemade beverage.
- Creative Cocktails: Elevate your mixology with an “Elderberry Martini” or use it as a base for other unique cocktails, adding a sophisticated, fruity twist.
- Pancakes & Waffles: Drizzle generously over a stack of warm pancakes, waffles, or French toast for a delicious and nutritious breakfast topping.
- Ice Cream & Desserts: Pour over vanilla ice cream, yogurt parfaits, or fruit salads for an instant gourmet upgrade.
- Yogurt & Oatmeal: Stir into your morning yogurt or oatmeal for added flavor and a healthful boost.
- Salad Dressing: Whisk with olive oil, vinegar, and a touch of mustard for a unique and vibrant vinaigrette.
- Smoothies: Blend into your favorite fruit or green smoothies for extra flavor and beneficial compounds.
- Hot or Iced Tea: Add a splash to hot herbal tea for a soothing drink, or mix into iced tea for a cooling and flavorful refreshment.
- By the Spoonful: Of course, you can always enjoy it the traditional way – a delicious spoonful directly from the jar!
I personally incorporate this syrup into several of the ways mentioned above. It’s so delicious, why limit its use? For general wellness and maintenance, I typically take 1-2 tablespoons daily. If I feel the early signs of a cold or flu, I might increase my intake to 3-4 times a day. Please remember, this is my personal preference and not medical or health advice. Always consult with a healthcare professional regarding specific dosages or health concerns.
Ready to transform your syrup into a chewable treat? Here’s the link to my popular recipe: Elderberry Syrup Gummies
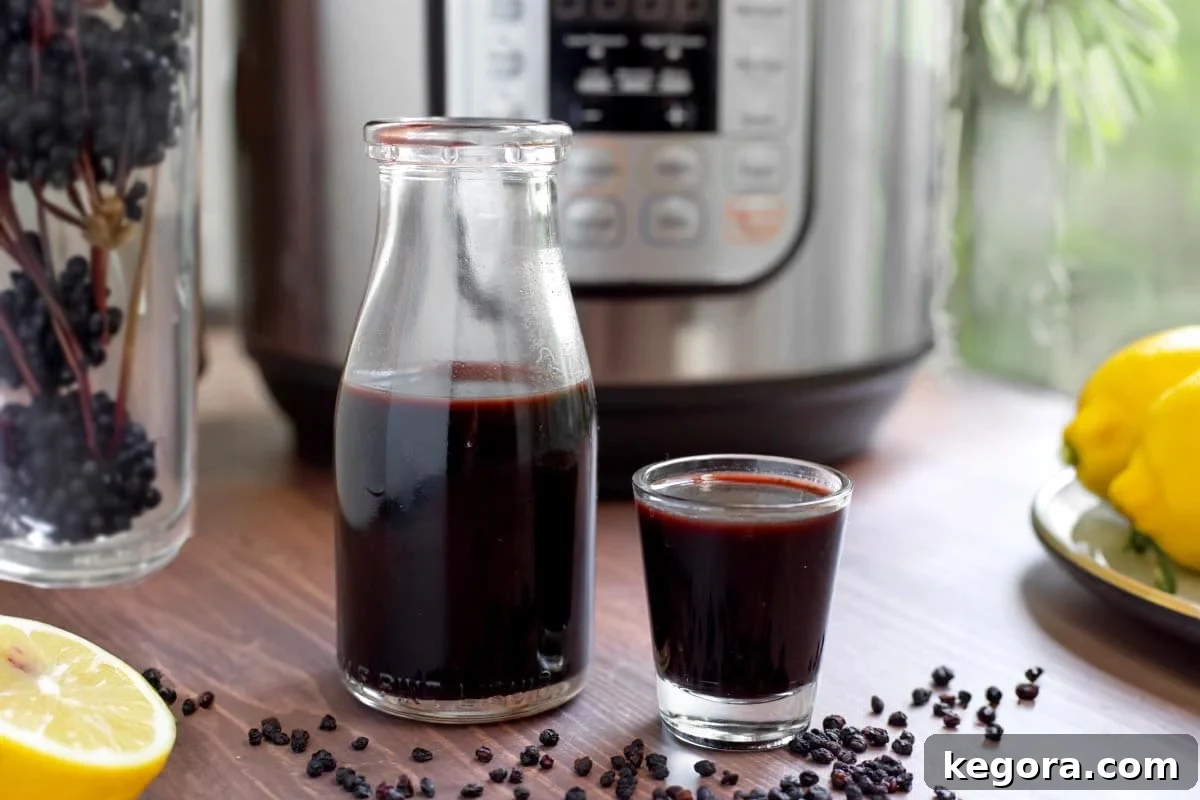
Proper Storage for Elderberries: Ensuring Freshness and Potency
Whether you’re using dried or fresh elderberries, proper storage is key to maintaining their quality, potency, and safety for your homemade syrup.
Storing Dried Elderberries
Dried elderberries are wonderfully convenient and have a long shelf life when stored correctly. To preserve their flavor and beneficial compounds, keep them in an airtight glass jar or container. Store this container in a cool, dark cupboard or pantry, away from direct sunlight, heat, and humidity. These conditions prevent moisture absorption and deter pests. For optimal flavor and potency, aim to use your dried elderberries within a year of purchase. If you notice the characteristic earthy aroma beginning to fade, it’s a good indication that it’s time to replenish your supply for the best results.
Note: The overall flavor and quality of dried elderberries are influenced more by their freshness at harvest, the specific variety, and how they were handled during drying and packaging, rather than solely by an “organic” or “irradiated” label. However, prioritizing organic and non-irradiated options from trusted suppliers can offer additional peace of mind. Crucially, the safety of your syrup comes from proper cooking and thorough straining, which this recipe meticulously includes to neutralize any naturally occurring compounds.
Storing Fresh Elderberries
Fresh elderberries are a seasonal delight, but they require more immediate attention for storage:
- Refrigeration: If you plan to use them within a few days, keep unwashed clusters of fresh elderberries in a shallow container, loosely covered, in your refrigerator. They typically remain fresh for about 1–3 days.
- Wash Last: Always rinse fresh elderberries thoroughly right before you’re ready to cook them, not before storing, to prevent premature spoilage.
- Freezing: For longer-term storage, freezing is an excellent option. Carefully strip the berries from their stems (you can do this more easily while they are slightly frozen if preferred). Spread the clean berries in a single layer on a baking sheet and freeze until solid. Once frozen, transfer them to an airtight freezer bag or container. This prevents them from clumping together, allowing you to easily portion them out later. Frozen elderberries maintain their best quality for approximately 6–12 months.
Elderberry Syrup Storage and Shelf Life: Keeping It Safe and Fresh
Once you’ve lovingly crafted your homemade elderberry syrup, proper storage is paramount to ensure its safety, preserve its quality, and maximize its shelf life. Since this recipe does not use canning methods, refrigeration or freezing are essential.
Refrigerate for Immediate Use
For regular daily consumption, store your elderberry syrup in the refrigerator. Pour the cooled syrup into clean, sterilized glass jars or bottles with tight-fitting lids. Don’t forget to label each container with the date it was made. Kept refrigerated, your homemade syrup will maintain its best quality for 2–4 weeks. Always inspect the syrup before use; if you notice any signs of mold growth, an unusual smell, or an off-taste, it’s safest to discard the batch immediately.
Freeze for Long-Term Storage
If you’ve made a larger batch or want to enjoy elderberry syrup beyond the immediate few weeks, freezing is an excellent long-term storage solution. You can portion the syrup into ice-cube trays, small freezer-safe jars (leaving adequate headspace for expansion), or freezer bags. Once frozen solid, transfer cubes to a larger freezer bag or container. For best quality, frozen elderberry syrup should be consumed within approximately 6 months. When ready to use, thaw a portion in the refrigerator. Once thawed, use the syrup within 1–2 weeks and keep it refrigerated.
- Important Canning Note: It’s crucial to understand that there is currently no scientifically tested home-canning process for elderberry syrup. This means homemade elderberry syrup is not considered shelf-stable at room temperature, even if sealed. The varying pH levels and sugar content in homemade syrups make them unsuitable for standard water bath or pressure canning methods. Therefore, always stick to refrigeration or freezing for safe storage.
- Honey Sweetened Syrup: Even if your syrup is sweetened with honey, it still requires refrigeration. The amount of honey typically used in these recipes is not sufficient to act as a preservative for extended room-temperature storage. Additionally, remember that honey should never be given to children under the age of 1 year due to the risk of infant botulism.
- Best-Quality Tips: To maximize the shelf life and quality of your refrigerated syrup, always use hot, clean, and sterilized containers. Minimize headspace (the air gap between the syrup and the lid) to reduce oxygen exposure. To prevent contamination, avoid double-dipping spoons or directly drinking from the bottle; instead, pour out the desired amount into a separate spoon or cup.
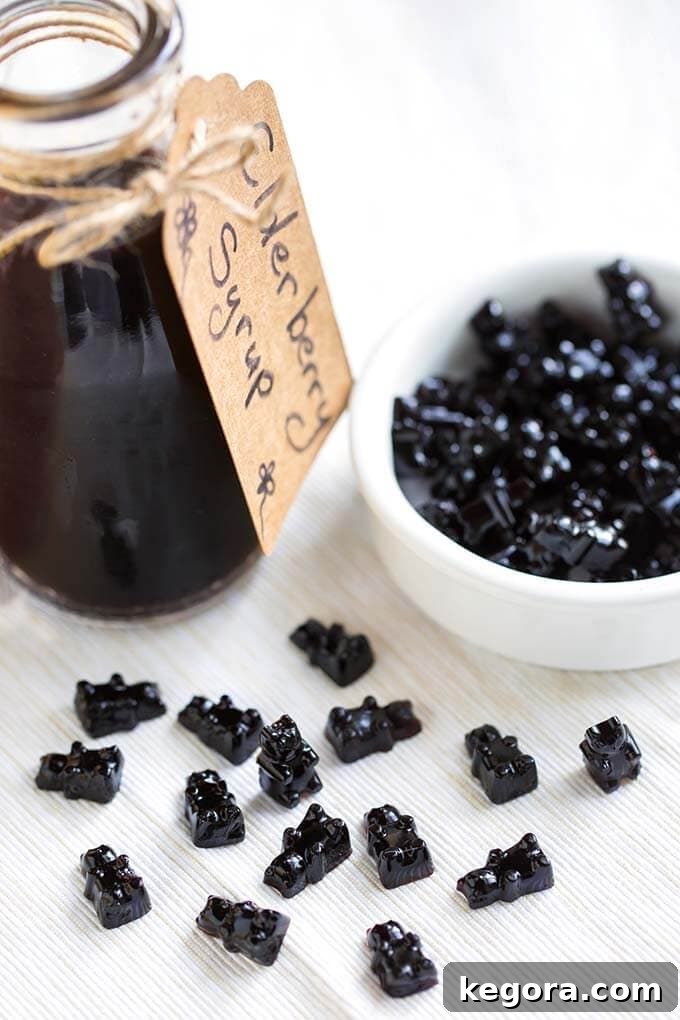
Don’t forget, you can also transform your delicious elderberry syrup into delightful Elderberry Syrup Gummies!
The world of elderberry syrup is rich with historical use and anecdotal evidence regarding its health benefits. Through my own experience, I’ve developed a positive opinion about its role in supporting my family’s wellness. However, it’s essential to remember that individual experiences can vary, and what works for one person may not work for another.
There is a vast amount of information available on elderberry syrup, ranging from traditional herbal knowledge to scientific studies. I strongly encourage you to conduct your own research from credible sources and consult with a qualified healthcare professional. This will help you make an informed decision about whether incorporating Instant Pot Elderberry Syrup into your regimen is the right choice for you and your loved ones.

Discover more delicious and comforting recipes:
Instant Pot Chicken Noodle Soup
Elderberry Syrup Gummies
Peach Simple Syrup
Blueberry Compote
If you try this homemade elderberry syrup recipe, please consider leaving a comment and a star rating below. Your feedback is valuable and helps others discover and enjoy this wonderful recipe!
Instant Pot Elderberry Syrup
Sandy Clifton
10 minutes
30 minutes
15 minutes
55 minutes
32 oz
Saved Recipe
Print Recipe
Equipment
-
Electric Pressure Cooker (3 or 6-quart)
-
Large Heat-Safe Glass Bowl
-
Fine Mesh Strainer
-
Glass Milk Bottle (for storage)
Ingredients
- 1 cup Organic Dried Elderberries, (or 3-cups Fresh)
- 4 cups Filtered Water
- 2-inch knob Fresh Ginger, chopped
- Peel of 1 Organic Lemon (try not to get any of the white pith)
- 2 Cinnamon Sticks, organic
Optional Ingredients (add with the elderberries)
- 8-12 Whole Cloves
- 2 Tablespoons Rose Hips, dried
Add After Pressure Cooking and Cooling
- ¾ – 1 cup Raw Honey
- Juice of 1 Lemon, organic
Instructions
Prep
-
Carefully measure out all your ingredients. Peel and juice the lemon, chop the fresh ginger, and ensure you remove and discard any bits of elderberry stems or leaves, especially if using fresh berries.
-
Add all measured ingredients, except for the raw honey and fresh lemon juice, to the inner liner of your electric pressure cooker.
Pressure Cook
-
Secure the lid onto your pressure cooker and rotate the steam release knob to the “Sealing” position, as per your appliance’s instructions.
-
Select the “Pressure Cook” (or “Manual”) setting and adjust the time to 15 minutes on high pressure. Once the cooking cycle is complete, immediately turn off the pot to prevent it from entering the “Warming” cycle. Allow the pressure to Naturally Release fully. This can take an additional 15-20 minutes.
-
Carefully open the lid once the pressure has fully released. Remove the inner pot and, using a fine-mesh strainer positioned over a large heat-safe glass bowl (like a Pyrex bowl), strain out the elderberries and all solid bits. Discard the solids. Return the strained liquid to the clean inner pot, and place the inner pot back into the pressure cooker.
Simmer and Reduce
-
Turn on the “Sauté” setting to the LOW temperature. Allow the elderberry liquid to simmer uncovered for a minimum of 10-15 minutes, stirring occasionally. This crucial step helps to finish cooking out any possible remaining cyanogenic glycosides and allows the syrup to reduce slightly and thicken to your desired consistency.
Cool and Finish
-
Transfer the hot elderberry liquid from the inner pot to a separate heat-safe glass bowl to cool completely. This cooling process is important. Once the liquid has reached approximately room temperature, add the raw honey. Whisk thoroughly until the honey is fully incorporated and dissolved. (Adding raw honey to hot syrup can degrade its beneficial enzymes and properties.)
-
Next, add the fresh juice of 1 organic lemon and whisk again. Taste the syrup and adjust to your preference: add a little more honey if you desire a sweeter syrup, or more lemon juice for a tarter finish.
Prepare to Store
-
Pour the finished elderberry syrup into a sanitized glass bottle or mason jar with a tight-fitting lid. Store immediately in the refrigerator. Properly stored, it will last for up to 2 months.
-
Elderberry Syrup Suggested “Dosage” (General Guidelines):
For intensive use (e.g., when feeling unwell):
Adults: 2 teaspoons 4 times daily
Children: 1 teaspoon 4 times daily
For daily maintenance (general wellness support):
Adults: 2 teaspoons daily
Children: 1 teaspoon daily
Excerpt from: The American Botanical Council: THE ABC CLINICAL GUIDE TO ELDER BERRY (European Elder Berry Sambucus nigra L. Family: Caprifoliaceae)
Stovetop Instructions (No Pressure Cooker? No Problem!)
-
In a medium saucepan, combine the elderberries, filtered water, chopped ginger, lemon peel, cinnamon sticks, and any optional add-ins like cloves and rose hips. Bring the mixture to a gentle boil, then immediately reduce the heat to a low simmer. Allow it to simmer uncovered for 45 minutes to 1 hour, or until the liquid has reduced and the berries are very soft and plump.
-
While the berries are still in the pan, use a potato masher or the back of a spoon to gently mash them, extracting as much liquid and beneficial compounds as possible. Then, pour the entire mixture through a fine-mesh strainer or a cheesecloth-lined colander into a clean bowl, pressing firmly on the solids to extract all the liquid. Discard the strained solids.
-
Allow the strained elderberry liquid to cool completely to room temperature. Once cooled, whisk in the raw honey until it is fully dissolved.
-
If using, add the fresh lemon juice and stir well. Taste and adjust sweetness or tartness as desired. Proceed to store the syrup as directed in the “Prepare to Store” section above.
Notes
Updated October 2025: For safety and best practice, always ensure you use only fully ripe black elderberries (Sambucus nigra or S. canadensis) and meticulously discard all stems, leaves, and unripe (green) berries. After the pressure cooking and straining steps, it is highly recommended to return the liquid to the pot and simmer it uncovered for an additional 10–15 minutes. This open simmering allows any residual volatile compounds, specifically cyanogenic glycosides, to dissipate effectively and helps the syrup reduce slightly. This method aligns with current food science guidance and extension advice, which emphasize that adequate heat processing significantly reduces these naturally occurring compounds to safe levels. If you prefer to make the syrup entirely on the stovetop, ensure a gentle but consistent simmer until the berries are very soft, then strain and continue to simmer the liquid uncovered for another 10–15 minutes as described.
*I am not a medical professional and this content is not intended to provide any medical or health-related advice. Please consult with your doctor or a qualified healthcare provider before using elderberry syrup, especially if you have pre-existing health conditions, are pregnant or nursing, or are taking other medications, to check for any potential drug interactions or contraindications. It is always wise to do your own thorough research. You assume all risk for making and using this syrup.
Nutrition
Calories:
15kcal
Nutrition information is automatically calculated and should only be used as an approximation. Actual values may vary based on specific ingredients and preparation methods.
Additional Info
Syrup
American
Tried this recipe?
Mention @simply_happy_foodie
Instant Pot Elderberry Syrup FAQs: Your Questions Answered
Yes, when prepared correctly, Instant Pot elderberry syrup is safe. The primary safety concern with elderberries stems from uncooked or improperly processed plant parts, specifically leaves, stems, and unripe (green) fruit, which contain cyanogenic glycosides. The pressure cooking method, followed by an uncovered simmer as detailed in this recipe, ensures proper heat processing, which is crucial for reducing these compounds to safe, negligible levels. Our recipe explicitly uses only ripe black elderberries and emphasizes the complete removal of stems and leaves, combined with thorough cooking and the final simmering step to ensure safety and peace of mind.
Sources: CDC elderberry illness report (1983) – https://www.cdc.gov/mmwr/preview/mmwrhtml/00000311.htm ; Appenteng 2021 – https://pubmed.ncbi.nlm.nih.gov/33806603/ (full text: https://pmc.ncbi.nlm.nih.gov/articles/PMC7961730/) ; Senica 2016 – https://trishaselderberries.com/wp-content/uploads/2022/08/EE_Processed-elderberry.pdf ; Oregon State Extension – https://extension.oregonstate.edu/catalog/em-9446-play-it-safe-when-preserving-elderberries ; Penn State Extension – https://extension.psu.edu/elderberry-in-the-garden-and-the-kitchen
The additional uncovered simmering step after pressure cooking is a crucial safety measure. Hydrogen cyanide (HCN), the compound responsible for potential toxicity in raw or improperly cooked elderberry parts, is highly volatile, with a boiling point of approximately 25.6 °C (78 °F). Allowing the syrup to simmer without a lid after pressure cooking helps these volatile compounds to effectively dissipate into the air. This process is similar to a traditional stovetop simmer, ensuring that any remaining trace elements are eliminated, making your syrup as safe as possible to consume.
Source: NIOSH/CDC HCN properties – https://www.cdc.gov/niosh/ershdb/emergencyresponsecard_29750038.html
It is imperative to use only ripe black elderberries and to diligently discard all stems, leaves, and unripe (green) berries. These parts of the elderberry plant contain higher concentrations of cyanogenic glycosides, natural compounds that can produce hydrogen cyanide. While proper cooking effectively neutralizes these compounds in ripe berries, the levels in leaves, stems, and unripe fruit are significantly higher and may not be fully eliminated, potentially causing digestive distress or other adverse reactions. Multiple extension publications and food safety guidelines strongly emphasize the importance of removing these components and always cooking elderberries thoroughly before consumption.
Sources: Oregon State Extension (guide & PDF) – https://extension.oregonstate.edu/catalog/em-9446-play-it-safe-when-preserving-elderberries and https://extension.oregonstate.edu/sites/extd8/files/catalog/auto/EM9446.pdf ; Penn State Extension overview – https://extension.psu.edu/elderberry-in-the-garden-and-the-kitchen
Absolutely! While the Instant Pot offers a convenient and quick method, you can easily make delicious elderberry syrup using a traditional stovetop method. Our recipe includes detailed stovetop instructions, which involve simmering the ingredients in a saucepan for a longer period until the berries are soft and the liquid has reduced. The key steps of using ripe black elderberries, removing stems/leaves, and ensuring thorough cooking remain the same for both methods to ensure safety and quality.
Raw honey is an excellent choice for sweetening elderberry syrup. It not only adds a wonderful natural sweetness but also contributes its own unique health benefits, including antibacterial and antioxidant properties, provided it’s added after the syrup has cooled. Other natural sweeteners like maple syrup or a dash of stevia can also be used as alternatives, especially if avoiding honey or for vegan preparations. The amount of sweetener can be adjusted to your personal taste preference, allowing you to control the sweetness level of your homemade syrup.
Legal Disclaimer
The products and claims made about specific products or foods on or through this Site have not been evaluated by the United States Food and Drug Administration and are not approved to diagnose, treat, cure or prevent disease. This Site is not intended to provide diagnosis, treatment or medical advice. Products, services, information and other content provided on this Site, including information that may be provided on this Site directly or by linking to third-party websites are provided for informational purposes only. Please consult with a physician or other healthcare professional regarding any medical or health related diagnosis or treatment options. This post/article is not intended to diagnose, treat, cure or prevent any disease.
Statements regarding dietary supplements have not been evaluated by the FDA and are not intended to diagnose, treat, cure, or prevent any disease or health condition.