
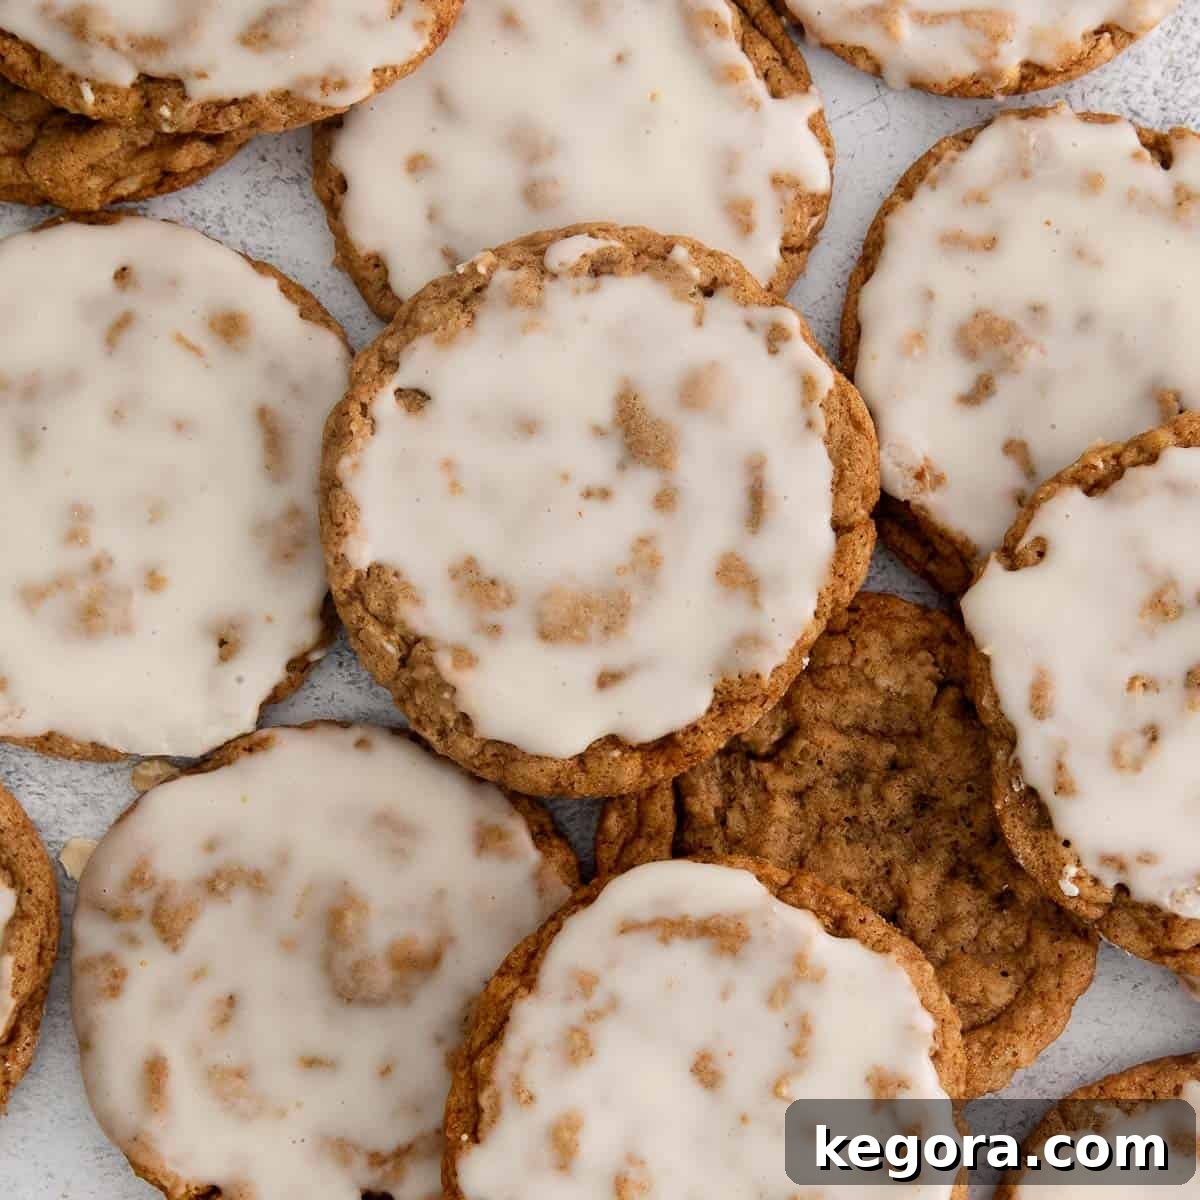
Erin’s Recipe Rundown: Crafting the Perfect Gluten-Free Iced Oatmeal Cookie

Embark on a delightful baking journey with my cherished gluten-free iced oatmeal cookies. This recipe is more than just a sweet treat; it’s a promise of comforting flavors and satisfying textures, meticulously crafted to be even better than the traditional version you remember. Here’s a quick overview of what makes these cookies truly special:
Texture: Prepare for an exquisite sensory experience. Each cookie boasts perfectly crisp edges that give way to a luxuriously soft and chewy center. This delightful contrast is key to the classic oatmeal cookie appeal, elevated for a gluten-free diet.
Taste: A symphony of warm, inviting flavors awaits. The deep, nutty notes of brown butter lay the foundation, complemented by a harmonious blend of classic spices like cinnamon and nutmeg. The robust earthiness of oats shines through, beautifully balanced by a subtle hint of molasses, adding a rich, complex sweetness that is utterly irresistible.
Ease: While the thought of browning butter might seem daunting, I assure you it’s the most “challenging” part, and it’s absolutely worth every bit of effort. This crucial step infuses the cookies with an unparalleled depth of flavor. Beyond that, this is a straightforward, classic cookie recipe that even novice bakers can master with confidence.
Top Tips: Achieving the ideal texture for these cookies hinges on how you prepare your oats. Gently pulse the gluten-free rolled oats in a food processor, aiming for a mix of finely chopped oats and a fine oat flour. This specific combination ensures that satisfying chewiness we all crave in an oatmeal cookie, preventing them from becoming too cakey or too crumbly.
Recommended GF Flour: For consistent, exceptional results, I highly recommend King Arthur Flour Gluten-Free Measure-for-Measure Flour. Its high-quality blend is expertly formulated and includes xanthan gum, which acts as a vital binder, providing the necessary structure and elasticity often missing in gluten-free baking.
Would I make these again? Without a doubt, yes! These stand out as one of my all-time favorite cookie recipes. The combination of chewy brown butter oatmeal cookies with their sweet, crisp vanilla glaze creates a flavor and texture profile that is truly next-level delicious. They’re a staple in my kitchen and I’m sure they will be in yours too!
xoxo erin
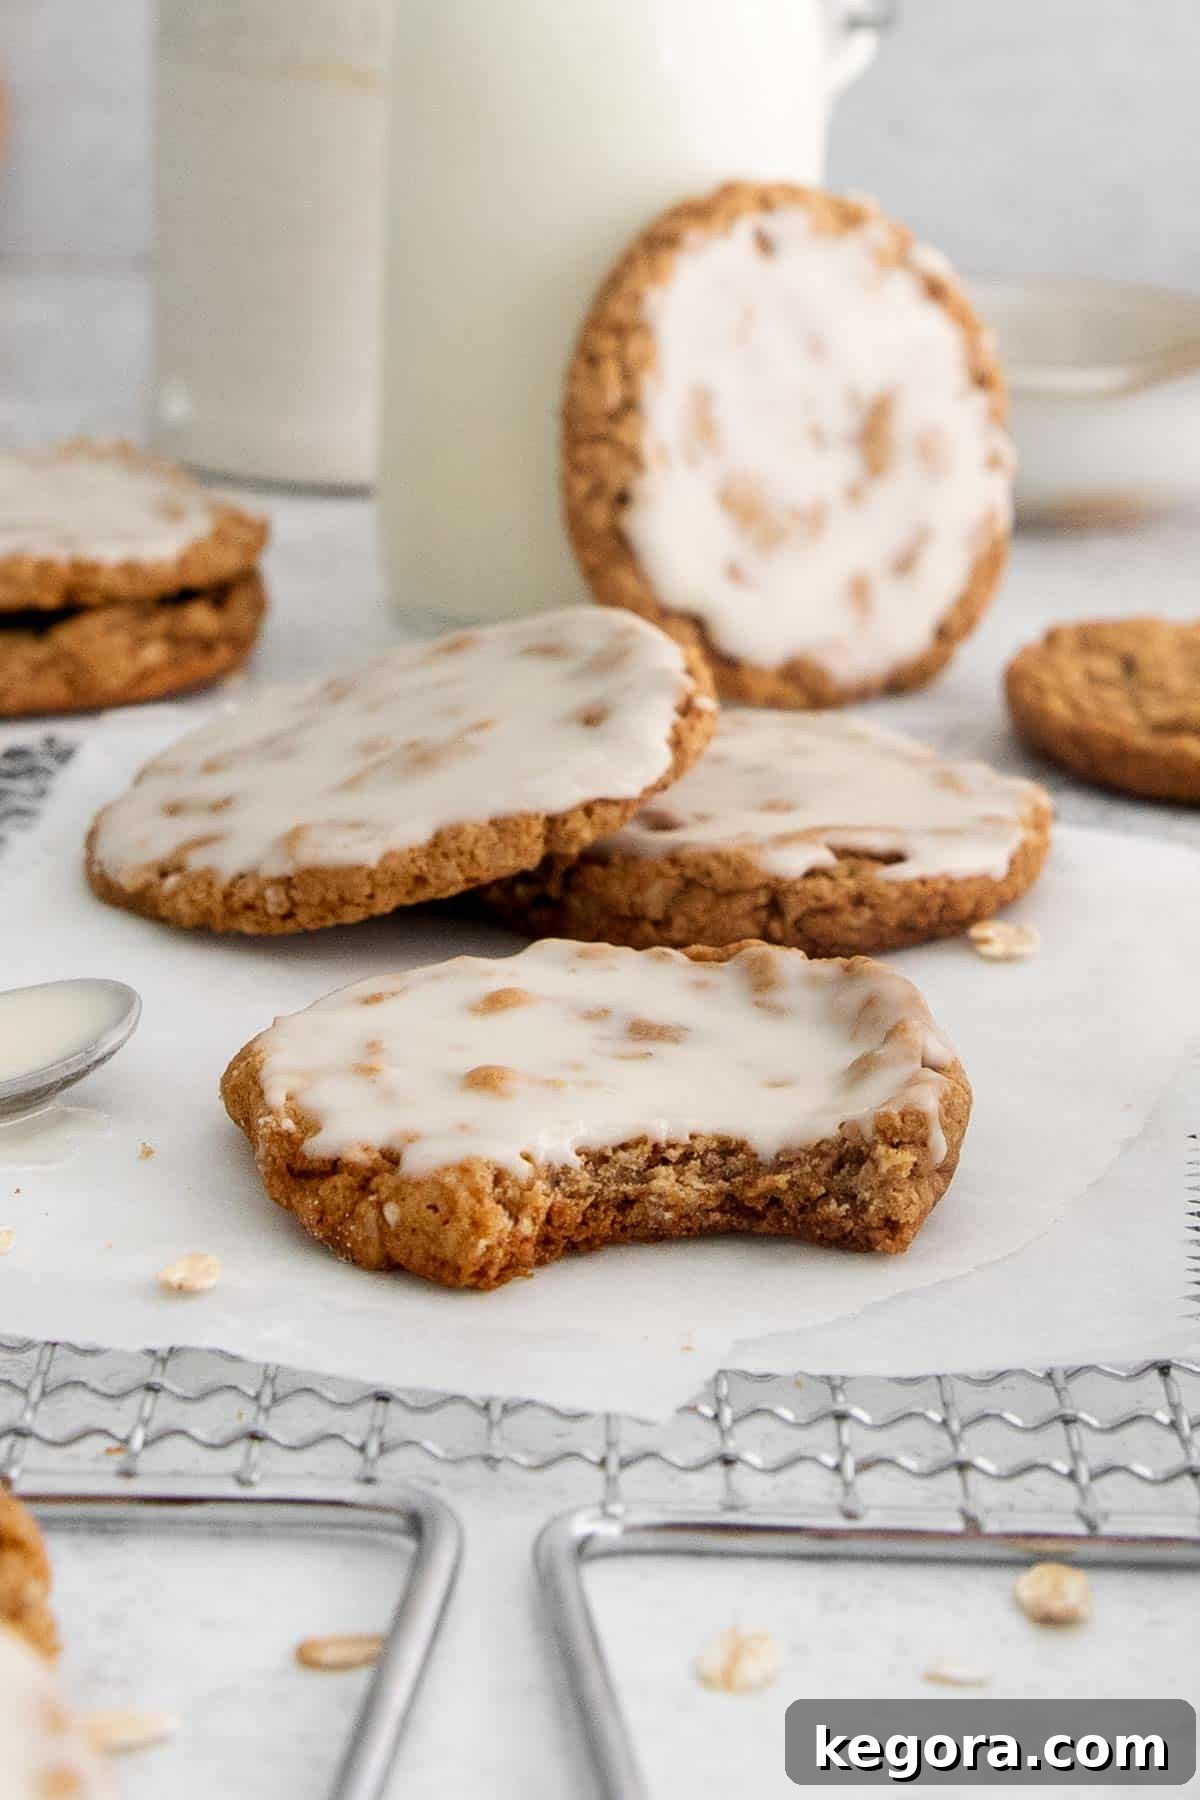
There’s a certain nostalgia that comes with classic iced oatmeal cookies – that comforting, spiced flavor, and the perfect balance of chewiness and crispness. For years, I’ve yearned to recreate that beloved experience in a gluten-free format, and after countless experiments, I’m thrilled to share a recipe that not only lives up to the original but, dare I say, surpasses it! These gluten-free iced oatmeal cookies are a true revelation for anyone seeking a delicious, inclusive treat.
Imagine: cookies with the rich, nutty depth of brown butter, exquisitely golden edges, sumptuously soft centers, all crowned with a crisp, sweet vanilla icing that sets beautifully. It’s this masterful blend of textures and flavors that truly elevates these cookies to a league of their own. Every bite delivers a delightful crunch followed by a tender, melt-in-your-mouth experience.
Whether you’re planning an indulgent dessert for your family, curating a festive holiday treat platter, or need a show-stopping contribution for a cookie exchange, this recipe for gluten-free iced oatmeal cookies is an absolute crowd-pleaser. They disappear quickly, earning rave reviews from both gluten-free and gluten-loving friends and family alike!
Featured Comment
From Alexandra: “These are absolutely incredible! My husband, who is not gluten-free, said they’re his new favorite Christmas cookies. This is a must-try recipe!”
54 more comments
Table of Contents
- Erin’s Recipe Rundown: Crafting the Perfect Gluten-Free Iced Oatmeal Cookie
- Essential Ingredients for Gluten-Free Iced Oatmeal Cookies
- Understanding Gluten-Free Oats and Preparation
- Step-by-Step: How to Make Gluten-Free Iced Oatmeal Cookies
- Make-Ahead, Storage, and Freezing Tips
- Can These Gluten-Free Iced Oatmeal Cookies Be Made Dairy-Free?
- Is the Icing Optional for These Cookies?
- Can Quick Oats Substitute Rolled Oats in This Recipe?
- Discover More Delicious Gluten-Free Christmas Cookies
- Full Recipe: Gluten-Free Iced Oatmeal Cookies
Essential Ingredients for Gluten-Free Iced Oatmeal Cookies
Crafting exceptional gluten-free iced oatmeal cookies starts with understanding the role each ingredient plays. Below are notes on some key components to ensure your baking success. Remember to consult the full recipe card at the end of this post for precise measurements.
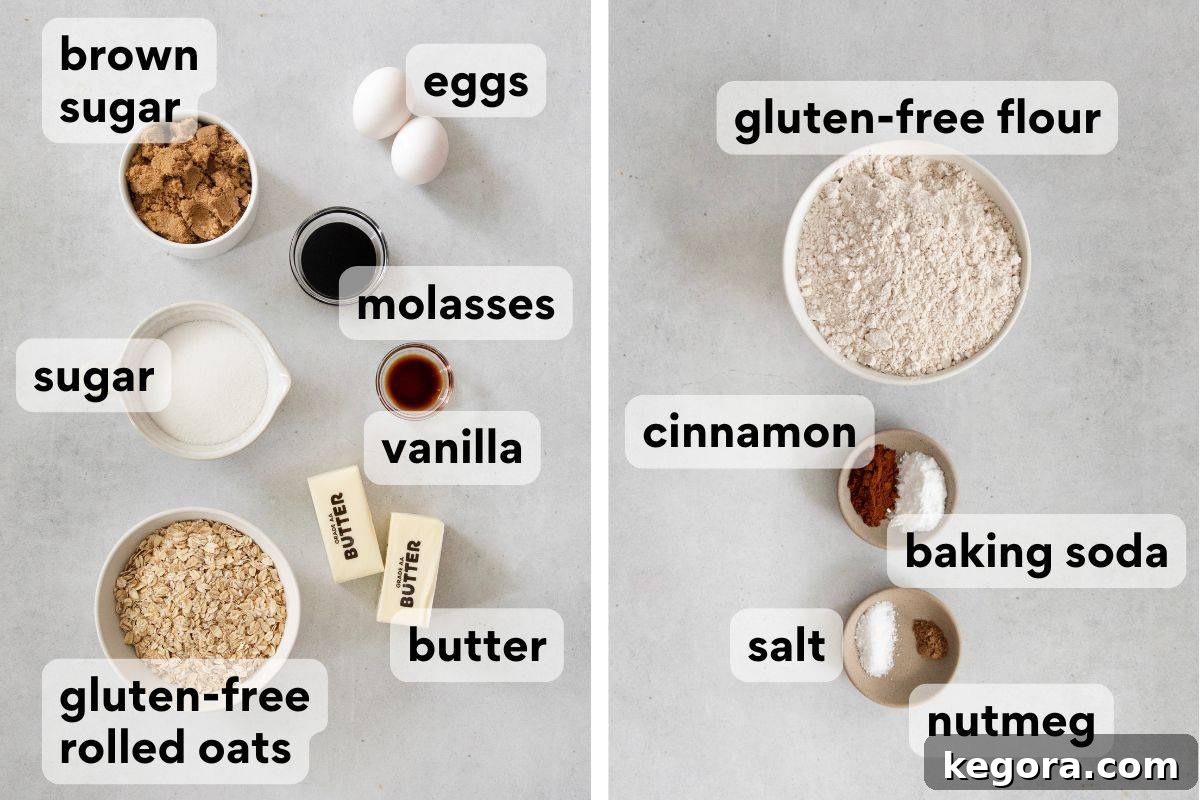
- Gluten-Free Flour: The foundation of any great gluten-free cookie. It’s crucial to use a high-quality, reputable gluten-free measure-for-measure flour blend that already contains xanthan gum. Xanthan gum is an essential binder in gluten-free baking, mimicking the elasticity of gluten and preventing your cookies from becoming crumbly. My top recommendation for consistent results is this brand, which I’ve found performs exceptionally well in this recipe.
- Spices: The soulful duo of cinnamon and nutmeg is indispensable here. These warm spices are what give classic oatmeal cookies their signature comforting aroma and depth of flavor. They pair beautifully with the earthiness of the oats and the richness of the brown butter, creating that nostalgic taste profile we all adore. Don’t skimp on fresh, quality spices for the best outcome.
- Gluten-Free Rolled Oats: While oats are naturally gluten-free, cross-contamination during harvesting and processing is common. Always opt for certified gluten-free rolled oats to ensure your cookies are safe for those with gluten sensitivities. Rolled oats are preferred over quick oats in this recipe as they provide a superior chewy texture and structure, contributing significantly to the cookie’s overall integrity.
- Brown and Granulated Sugar: This dynamic sugar duo is essential for both flavor and texture. Brown sugar, with its molasses content, not only adds a lovely caramel note but also contributes moisture, resulting in those wonderfully soft and chewy cookie centers. Granulated sugar, on the other hand, is key for achieving those desirable crisp edges, creating a perfect textural contrast.
- Butter: This is where a significant portion of the cookie’s complex flavor comes from. Browning the butter isn’t just a step; it’s a transformative process that deepens its flavor, adding an incredible nutty, toasted aroma and a rich, golden hue. This crucial technique elevates the cookies from good to extraordinary and is a staple in many of my favorite cookie recipes. If you’re adapting this recipe to be dairy-free, be aware that most vegan butters won’t brown in the same way, so you might need to adjust your expectations or skip that specific step.
- Molasses: A secret weapon for authentic flavor, molasses adds a beautiful depth and richness to these cookies that granulated and brown sugar alone cannot achieve. Its distinct, slightly bittersweet profile complements the warm spices and brown butter perfectly, enhancing the overall chewiness and giving the cookies that classic, comforting, old-fashioned taste.
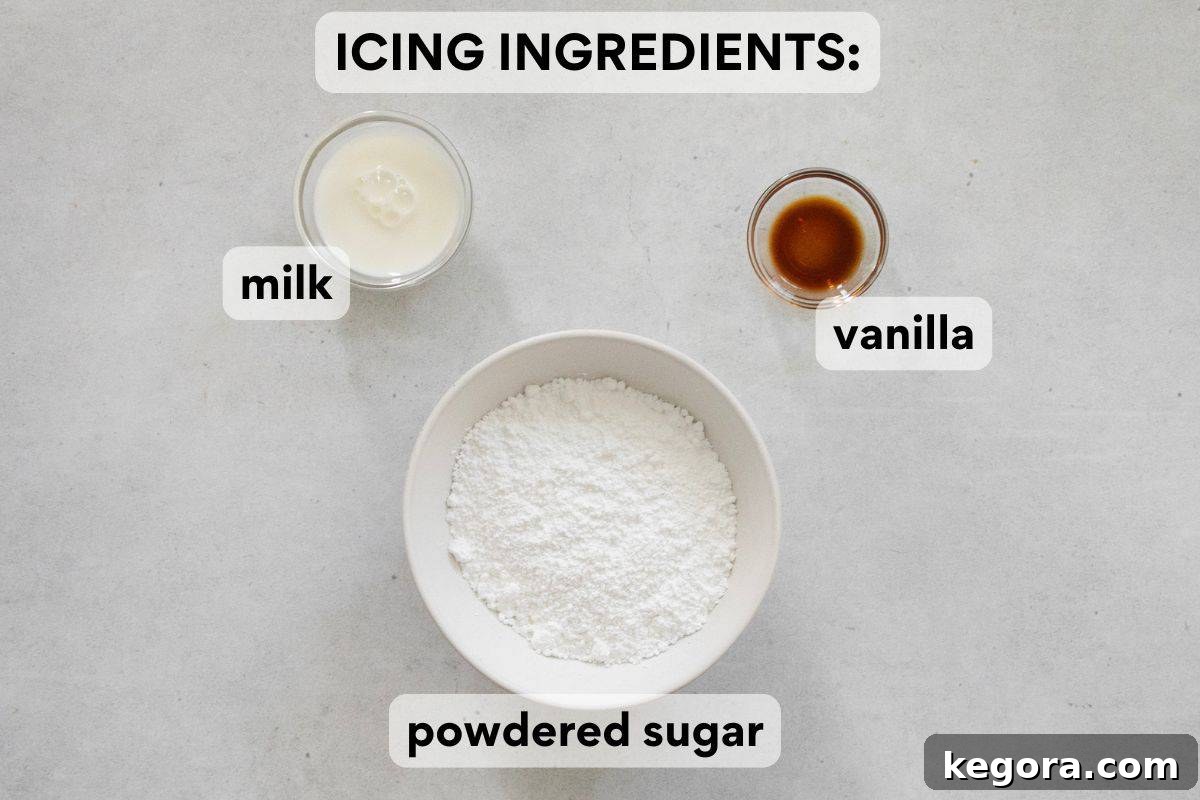
- Powdered Sugar: The star of our signature icing! Powdered sugar (also known as confectioners’ sugar) is finely milled, which allows it to dissolve smoothly and create a beautifully uniform, crisp glaze that defines the “iced” part of these classic oatmeal cookies. Its texture ensures a smooth, non-gritty finish.
- Milk/Vanilla: These two liquid ingredients bring the powdered sugar to life, forming the perfect consistency for our icing. The goal is to create a very thick, almost paste-like icing. This thickness is crucial because it allows the icing to cling evenly to the cookies and set into a firm, crisp layer. Vanilla extract adds a sweet, aromatic flavor that perfectly complements the spiced oatmeal cookies. For a dairy-free version, simply substitute with your preferred dairy-free milk alternative.
Understanding Gluten-Free Oats and Preparation
Oats are a foundational ingredient in these cookies, providing both flavor and a satisfying chew. However, when baking for a gluten-free diet, selecting and preparing your oats correctly is paramount to ensure both safety and optimal texture.
- While oats are inherently gluten-free, they are frequently processed and handled in facilities that also manage wheat, barley, and rye. This common practice can lead to cross-contamination, making regular oats unsuitable for individuals with celiac disease or severe gluten sensitivity. To guarantee your cookies are truly gluten-free, always look for oats that are specifically labeled and certified gluten-free. These oats have been processed in dedicated gluten-free environments. For a deeper dive into this topic, you can explore the question: Are oats gluten-free?
- The texture of these iced oatmeal cookies largely depends on the preparation of the oats. For this recipe, I advocate for using a food processor to lightly break down the gluten-free rolled oats. This isn’t about pulverizing them into a fine flour, but rather about creating a varied blend of textures. Pulsing them approximately 10-12 times will yield a perfect mix: some oats will remain chunky, contributing to the chew, while others will be reduced to a finer oat flour, helping with binding and providing a smoother, less coarse texture. This balance is critical for the ideal chewiness and overall consistency of the final cookie.
- Here’s what you should be looking for when you pulse the oats in the food processor:
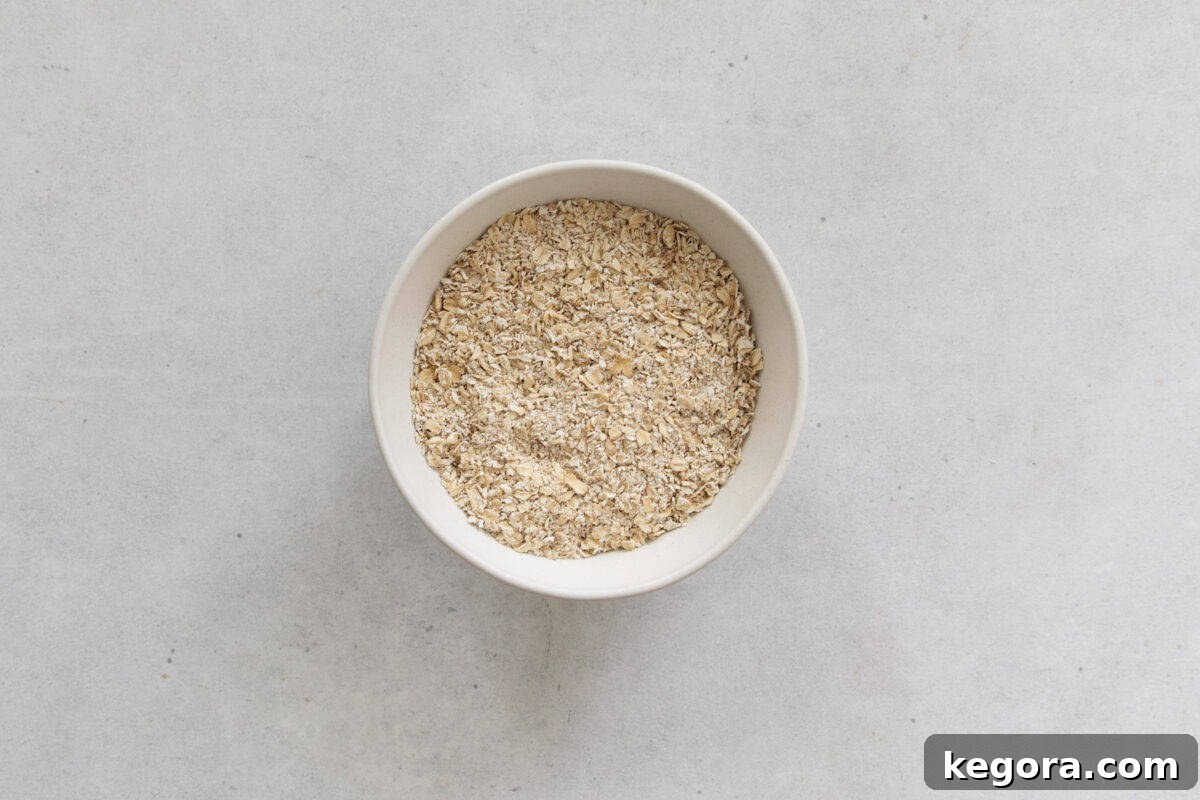
As illustrated in the photo above, the goal is not a uniform powder but a discernible mixture of smaller oat pieces and a light, floury consistency. This dual texture is what gives these cookies their incredible mouthfeel.
Step-by-Step: How to Make Gluten-Free Iced Oatmeal Cookies
Creating these sensational gluten-free iced oatmeal cookies is a rewarding process. While the full, detailed instructions are provided in the recipe card below, here’s an expanded overview of each key step to guide you to cookie perfection.
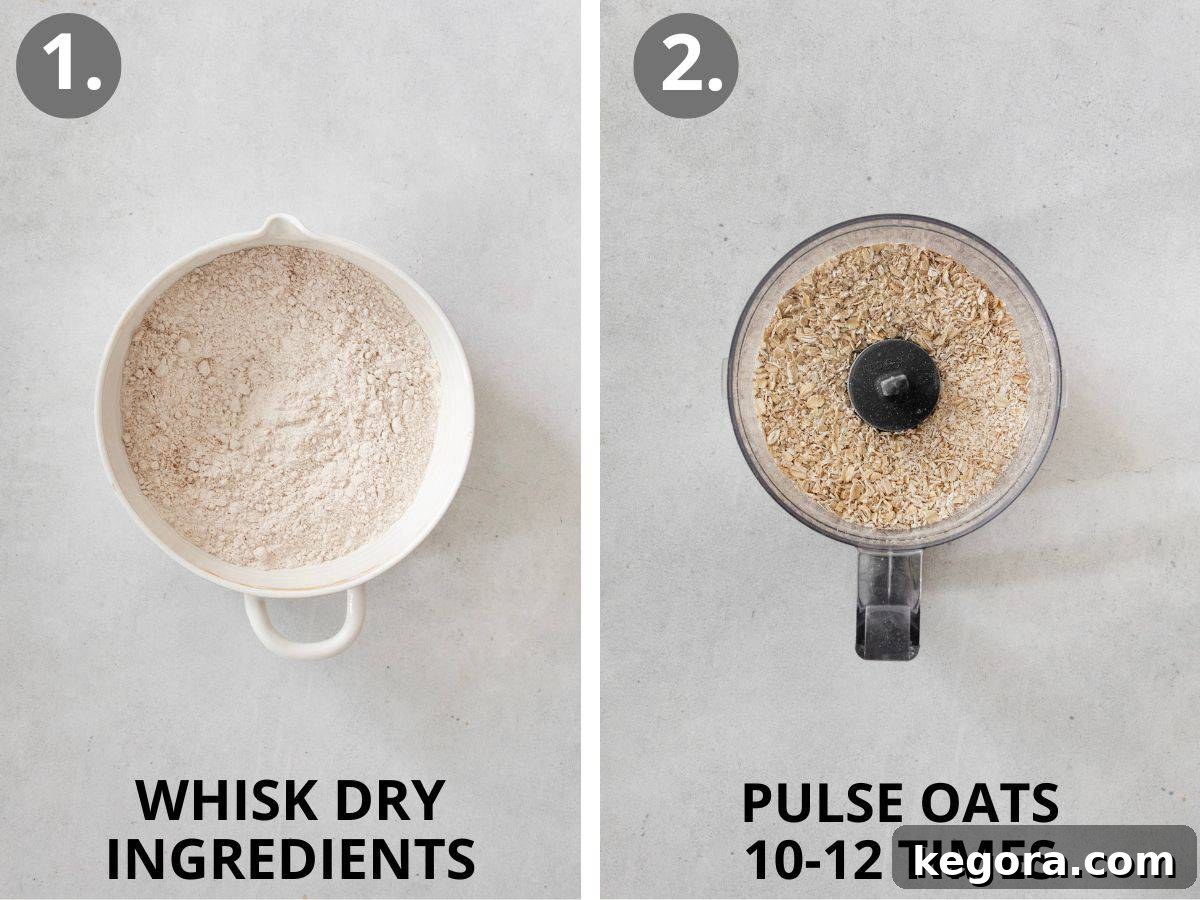
- Prepare Dry Ingredients: In a medium-sized bowl, meticulously whisk together your gluten-free flour, baking soda, ground cinnamon, nutmeg, and kosher salt. Ensure these ingredients are thoroughly combined to distribute the leavening and spices evenly throughout your cookie dough. Once mixed, set this bowl aside as you prepare the wet ingredients.
- Process the Oats: Transfer your gluten-free rolled oats into a food processor. Pulse the oats 10 to 12 times. The aim is to achieve a varied texture: a combination of finely chopped oats and a coarser oat flour. This precise processing is crucial for the ideal chewy and tender texture of the finished cookies. Over-processing will result in too much flour, potentially making your cookies dense.
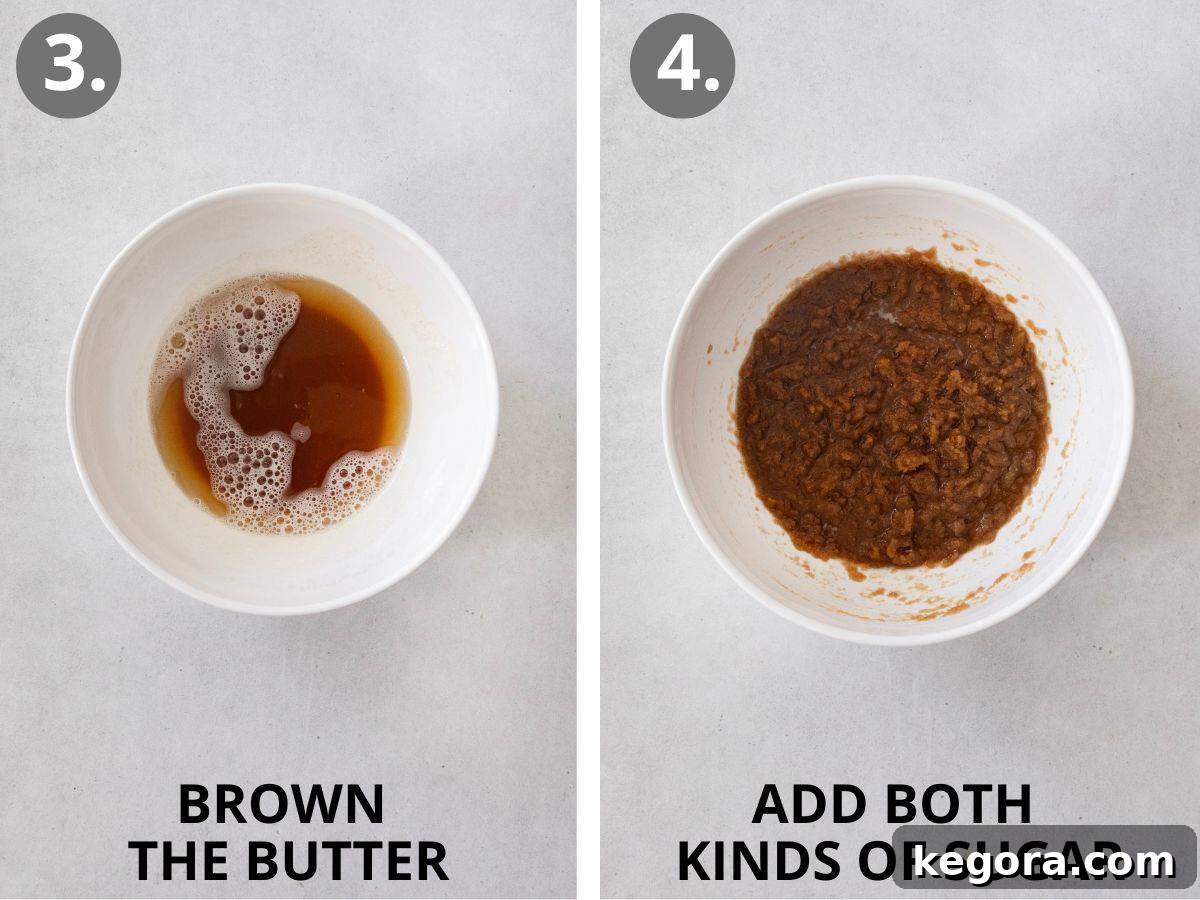
- Brown the Butter: This transformative step adds incredible depth of flavor. In a medium skillet, melt the butter over medium-low heat, stirring occasionally. As it melts, it will foam. Continue cooking, stirring constantly once it foams, to prevent the milk solids from burning at the bottom of the pan. The butter will transition from yellow to a rich golden brown, releasing a distinct nutty aroma. As soon as you see these golden flecks and smell the nuttiness, immediately remove the skillet from the heat and pour the brown butter into a separate medium bowl to stop the cooking process. This prevents it from burning and becoming bitter.
- Combine with Sugars: To the still-warm brown butter, add both the brown sugar and granulated sugar. Whisk vigorously until the sugars are fully incorporated and the mixture is smooth. The residual heat from the butter will help dissolve the sugars, contributing to a wonderfully chewy texture.
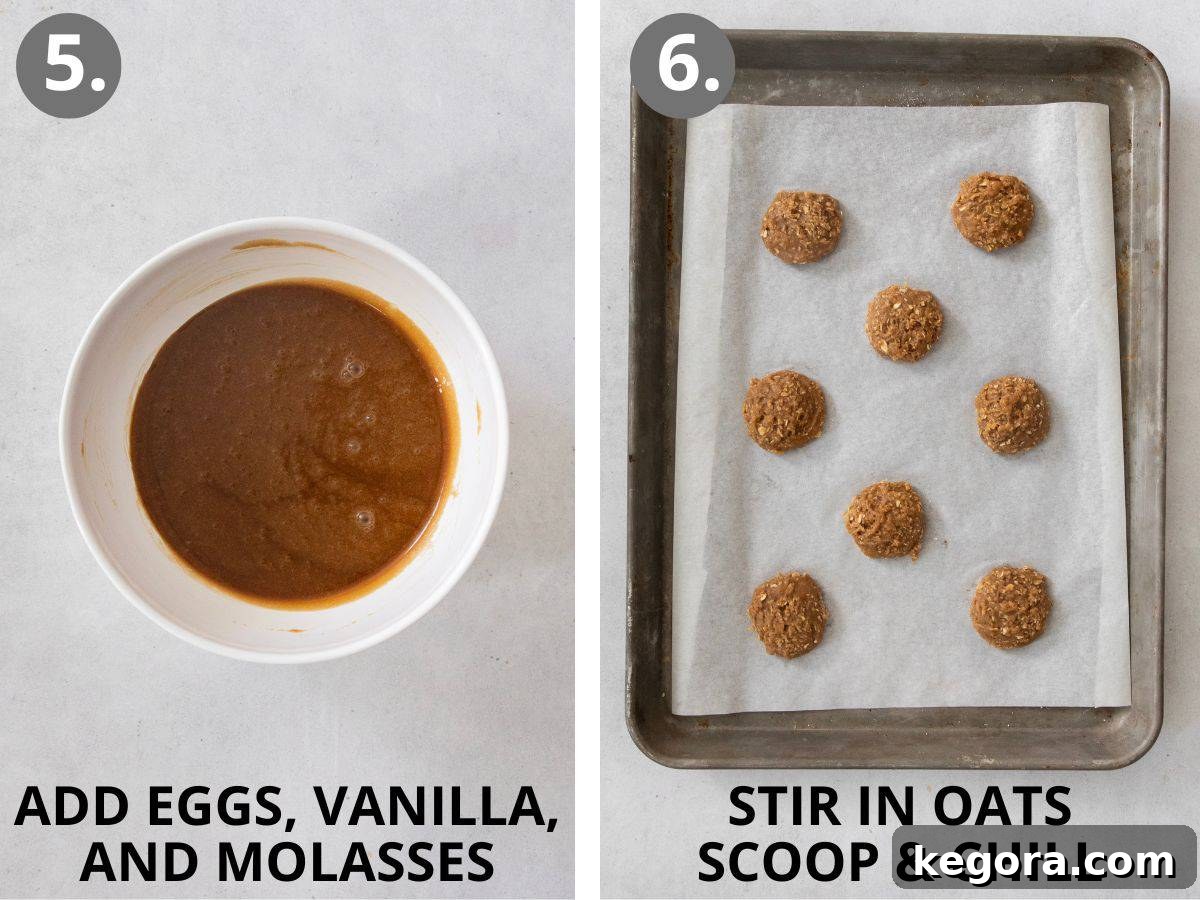
- Incorporate Wet Ingredients: Whisk the eggs, vanilla extract, and molasses into the butter-sugar mixture until it becomes smooth, creamy, and evenly blended. Then, gradually add the reserved dry ingredients to the wet mixture, using a rubber spatula to mix until just combined. Be careful not to overmix, as this can lead to tough cookies.
- Form and Chill the Dough: Gently fold in the pulsed oats until they are evenly distributed throughout the dough. Using a cookie scoop (approximately 2 tablespoons per ball), form uniform dough balls. Arrange these balls on a large plate or a parchment-lined baking sheet. Cover the dough tightly with plastic wrap and chill in the refrigerator for a minimum of 2 hours. Chilling is essential as it firms up the butter, prevents spreading during baking, and allows the flavors to meld. You can chill the dough for up to 3 days; if chilling for longer than a few hours, transfer the dough balls to an airtight container.
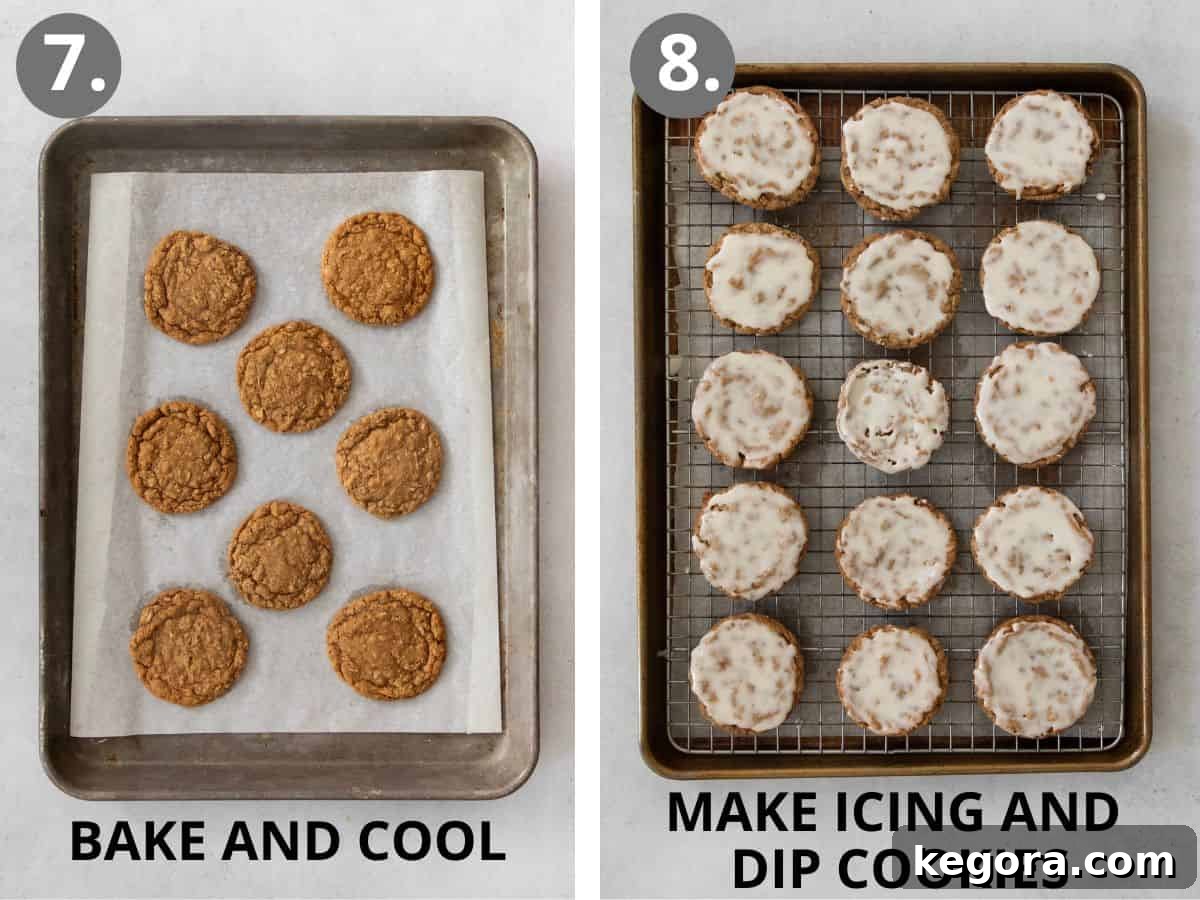
- Bake to Perfection: Preheat your oven to 350°F (175°C). Arrange the chilled cookie dough balls on a baking sheet lined with parchment paper or a silicone baking mat, ensuring enough space between each cookie for even baking. Bake for 10-12 minutes, or until the edges turn a beautiful golden brown and the centers appear set. The cookies may seem slightly soft when first removed from the oven, but they will firm up as they cool. Allow them to cool on the baking sheet for 5 minutes before carefully transferring them to a wire rack to cool completely. Cooling thoroughly is crucial before icing to prevent the icing from melting.
- Prepare and Ice: While the cookies are cooling, prepare your icing. Sift the powdered sugar into a medium bowl to remove any lumps. Add the vanilla extract and 1 tablespoon of milk, then mix thoroughly with a fork. The key here is a very, very thick icing – almost too thick to mix easily. This ensures a nice, opaque coating that sets properly. If your icing is too thin, gradually add more sifted powdered sugar until you reach the desired consistency. Once the cookies are completely cool, lightly dip the tops into the thick vanilla icing. Let the iced cookies sit at room temperature for a few hours to allow the icing to fully set and harden, creating that characteristic crisp layer.
Following these steps will ensure you create a batch of gluten-free iced oatmeal cookies that are not only delicious but also perfectly textured and visually appealing.
Make-Ahead, Storage, and Freezing Tips for Your Gluten-Free Iced Oatmeal Cookies
These gluten-free iced oatmeal cookies are not only delicious but also incredibly convenient, offering various options for make-ahead preparation, storage, and freezing. This makes them perfect for busy schedules, holiday baking, or simply ensuring you always have a delightful treat on hand.
To Make-Ahead (Dough): This recipe excels as a make-ahead option. You can prepare the dough balls in advance and store them in the refrigerator, tightly covered, for up to 3 days. This means you can do all the prep work ahead of time and simply bake fresh cookies when the craving strikes or guests arrive. For even longer preparation, you can freeze the dough balls!
To Store (Baked Cookies): Once baked and completely cooled (and the icing is fully set), store these cookies in an airtight container at room temperature. They will maintain their deliciousness, crisp edges, and chewy centers for up to 5 days. Layering them with parchment paper can help prevent sticking if they are heavily iced.
To Freeze (Unbaked Dough): Freezing the dough is a fantastic way to prep for future baking sessions. After scooping the dough into balls, arrange them on a lined baking sheet and freeze for 1-2 hours until they are solid. Once firm, transfer the frozen dough balls to an airtight container or a freezer-safe bag, removing as much air as possible. They can be frozen for up to 3 months. When ready to bake, simply place the frozen dough balls directly on a lined baking sheet and bake at 350°F (175°C), adding an extra 1-2 minutes to the suggested baking time.
To Freeze (Baked Cookies): If you have leftover baked cookies or want to prepare a large batch, these cookies freeze beautifully after baking. Ensure they are completely cooled and the icing is fully set before freezing. Store them in an airtight container, separating layers with parchment or wax paper to prevent sticking and preserve the icing. Freeze for up to 3 months. To enjoy, simply thaw them at room temperature for 1-2 hours. They will taste as fresh as the day they were baked!
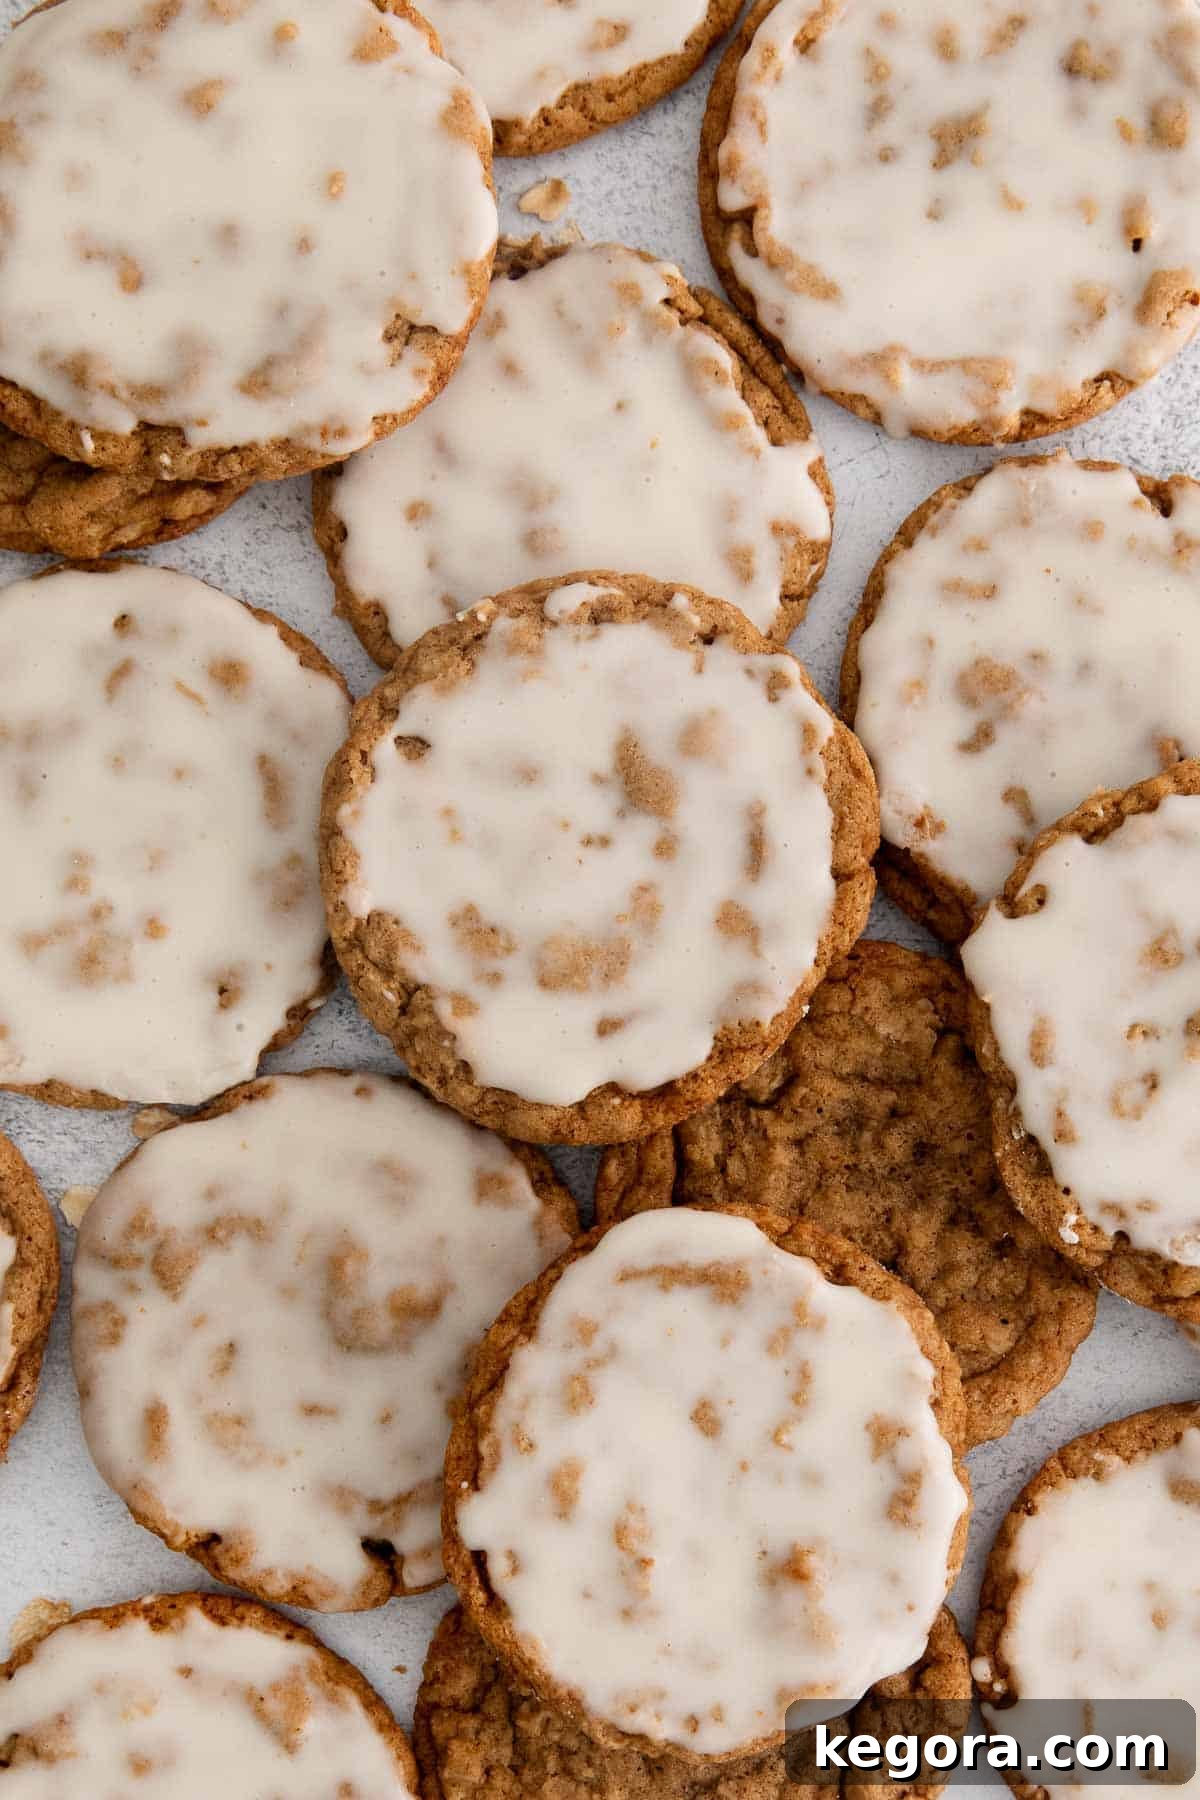
Can These Gluten-Free Iced Oatmeal Cookies Be Made Dairy-Free?
Yes, absolutely! Making these delicious gluten-free iced oatmeal cookies dairy-free is quite simple. The primary substitutions involve replacing the butter with a high-quality vegan butter and using your preferred dairy-free milk for the icing. When it comes to vegan butter, it’s important to note that most varieties will not brown in the same way traditional dairy butter does. Browning butter contributes a unique nutty flavor, so if you’re using vegan butter, you can either skip the browning step entirely or look for a specific brand of vegan butter that is formulated to brown. Many dairy-free bakers find great success by simply melting the vegan butter and proceeding with the recipe, resulting in equally delightful dairy-free cookies.
Is the Icing Optional for These Cookies?
The vanilla icing is undoubtedly a beautiful addition, providing an extra layer of sweet vanilla flavor and a satisfying crispness that contrasts wonderfully with the chewy cookie. However, if you prefer a simpler cookie or are short on time, you can absolutely skip the icing! These gluten-free oatmeal cookies are incredibly flavorful and delicious on their own. The brown butter, warm spices, and molasses create a rich, comforting profile that stands perfectly well without any embellishment. They make a fantastic plain oatmeal cookie, perfect for enjoying with a cup of tea or coffee.
Can Quick Oats Substitute Rolled Oats in This Recipe?
While it might be tempting to use quick oats for convenience, I strongly recommend sticking with rolled oats for this recipe. Using quick oats will significantly alter the final texture of your cookies. Quick oats are pre-cooked, rolled thinner, and cut into smaller pieces, which means they absorb liquid faster and break down more during baking. This can result in a cookie that is more cake-like or crumbly rather than having that satisfyingly chewy texture that makes these iced oatmeal cookies so irresistible. For the best, most authentic chewy texture, certified gluten-free rolled oats are the way to go. If you’re unsure about gluten-free oat options, remember to always verify that you are using specifically certified gluten-free oats to avoid cross-contamination. For more information on this, check out our detailed article: Are Oats Gluten-Free?
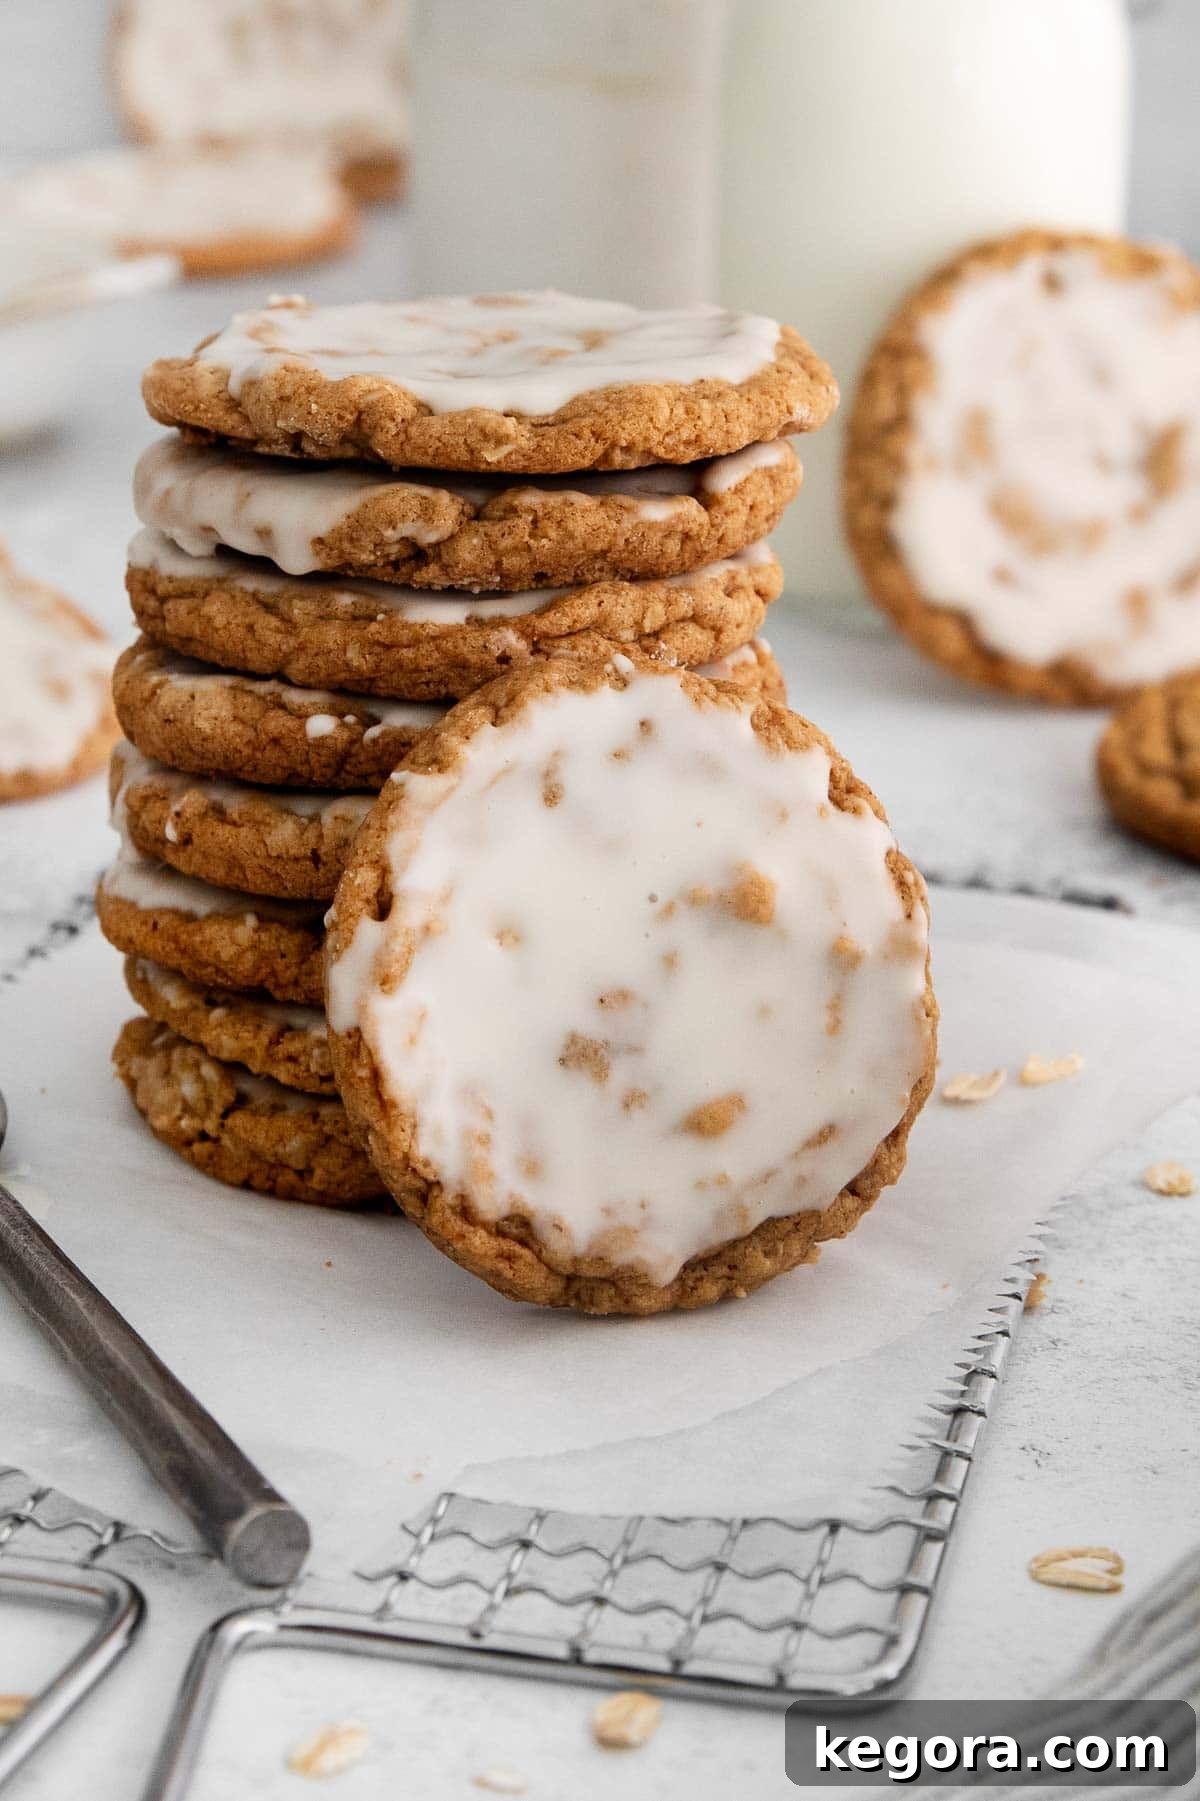
Discover More Delicious Gluten-Free Christmas Cookies
The holiday season is a perfect time for baking, and being gluten-free shouldn’t limit your festive cookie options! If you loved these iced oatmeal cookies, you’ll be thrilled to explore more of our gluten-free Christmas cookie recipes. Each recipe is designed to bring joy and deliciousness to your holiday gatherings, ensuring everyone can enjoy a sweet treat.
- Gluten-Free Christmas Cookies: A comprehensive guide to a variety of festive gluten-free treats, perfect for any holiday celebration.
- Gluten-Free Sugar Cookies: Classic, customizable sugar cookies that hold their shape beautifully, ideal for decorating.
- Gluten-Free Gingerbread Cookies: Warmly spiced and perfectly chewy, these gingerbread men are a holiday staple.
- Gluten-Free Chocolate Crinkle Cookies: Rich, fudgy chocolate cookies with a beautiful powdered sugar “crinkle” – a true crowd-pleaser.
- Gluten-Free Spritz Cookies: Delicate, buttery, and endlessly customizable, perfect for creating beautiful shapes with a cookie press.
- Gluten-Free Thumbprint Cookies: Soft, tender cookies with a sweet jam center, offering a burst of fruity flavor in every bite.
Bake your way through the holidays with these fantastic gluten-free options!

Gluten-Free Iced Oatmeal Cookies
Erin Collins
30 mins
10 mins
2 hrs
2 hrs 40 mins
24
These gluten-free iced oatmeal cookies are even BETTER than the originals!
These cookies have golden edges, soft centers, and a crisp layer of vanilla icing on top — this recipe is a confirmed crowd-pleaser!
Plus, brown butter and molasses take these cookies to the next level. You’d never know they’re gluten-free!
Comments
Ingredients
Dry Ingredients
- 2 cups (300g) gluten-free measure-for-measure flour
- 1½ teaspoons baking soda
- 1½ teaspoons ground cinnamon
- ¼ teaspoon ground nutmeg
- ½ teaspoon kosher salt
Other
- 1¾ cup (150g) gluten-free rolled oats
- 1 cup (227g) butter
- 1 cup (213g) brown sugar
- ¾ cup (150g) granulated sugar
- 2 large eggs, room temperature
- 2 teaspoons vanilla extract
- 2 tablespoons molasses
Icing
- 1½ cups (180g) powdered sugar
- ¼ teaspoon vanilla extract
- 1½-2 tablespoons milk of choice
Instructions
- In a medium bowl, whisk together the gluten-free flour, baking soda, cinnamon, nutmeg, and salt. Set aside.
- Pulse the oats in a food processor 10-12 times until you have a variety of textures—chopped oats with some oat flour. See photo above for a visual guide.
- Melt the butter in a medium skillet over medium-low heat, stirring occasionally.
- Once the butter is melted and begins to foam, stir continuously to prevent the milk solids from sticking to the skillet. The butter will change from yellow to golden brown quickly and will emit a delightful nutty aroma. Remove from the heat and immediately pour into a medium bowl to halt the cooking.
- Add the brown sugar and granulated sugar to the brown butter. Whisk until fully combined and smooth.
- Whisk in the eggs, vanilla, and molasses until the mixture is smooth and creamy.
- Using a rubber spatula, gradually mix in the dry ingredients until just well-combined. Then, stir in the pulsed oat mixture.
- Scoop the cookie dough into round balls, using about 2 tablespoons per ball. Place these dough balls onto a large plate or a parchment-lined baking sheet. Cover tightly with plastic wrap.
- Chill the dough balls in the refrigerator for at least 2 hours or up to 3 days. If storing for more than a few hours, transfer them to an airtight container.
- Preheat your oven to 350°F (175°C). Line large baking sheets with parchment paper or silicone baking mats.
- Bake for 10-12 minutes, or until the edges are golden brown and the center of the cookies appears set.
- Remove the baking sheets from the oven and let the cookies cool on the sheets for 5 minutes. Afterward, transfer them carefully to a wire rack to cool completely.
- To prepare the icing, sift the powdered sugar into a medium bowl. Add the vanilla extract and 1 tablespoon of milk, then mix vigorously with a fork. The icing should be very thick and challenging to mix; this consistency is key for proper setting. If it’s too thin, add more powdered sugar a tablespoon at a time until the desired thickness is achieved.
- Lightly dip the tops of the completely cooled cookies into the thick icing. Allow the iced cookies to sit at room temperature for a few hours for the icing to fully set and harden.
Notes
Gluten-Free: For optimal texture and structure, always use a high-quality gluten-free measure-for-measure flour blend that already contains xanthan gum as a binder. This prevents crumbly cookies and helps achieve the perfect chewiness. My preferred brand is this one, which consistently delivers excellent results.
Dairy-Free: To make these cookies dairy-free, simply swap regular butter for vegan butter and use your preferred dairy-free milk for the icing. Keep in mind that not all vegan butters brown like dairy butter; if your chosen brand doesn’t, you can skip the browning step and simply melt the vegan butter before proceeding.
To Make-Ahead: The dough balls can be refrigerated, tightly covered, for up to 3 days, making this an ideal recipe for advanced preparation. You can also freeze the dough balls for even longer storage.
To Store (Baked): Baked and fully cooled cookies, with set icing, can be stored in an airtight container at room temperature for up to 5 days, maintaining their freshness and delicious texture.
To Freeze (Dough): For future baking convenience, freeze the scooped dough balls on a lined baking sheet for 1-2 hours until firm. Then, transfer them to an airtight container or freezer bag. They can be frozen for up to 3 months. Bake directly from frozen at 350°F (175°C), adding an additional 1-2 minutes to the bake time.
To Freeze (Baked): Fully cooled and iced baked cookies can also be frozen for up to 3 months. Store them in an airtight container, using parchment or wax paper to separate layers. Thaw at room temperature for 1-2 hours before serving.
Nutrition
Calories: 224kcal | Carbohydrates: 35g | Protein: 2g | Fat: 9g | Saturated Fat: 5g | Polyunsaturated Fat: 1g | Monounsaturated Fat: 2g | Trans Fat: 0.3g | Cholesterol: 34mg | Sodium: 187mg | Potassium: 68mg | Fiber: 2g | Sugar: 24g | Vitamin A: 258IU | Vitamin C: 0.01mg | Calcium: 28mg | Iron: 1mg