
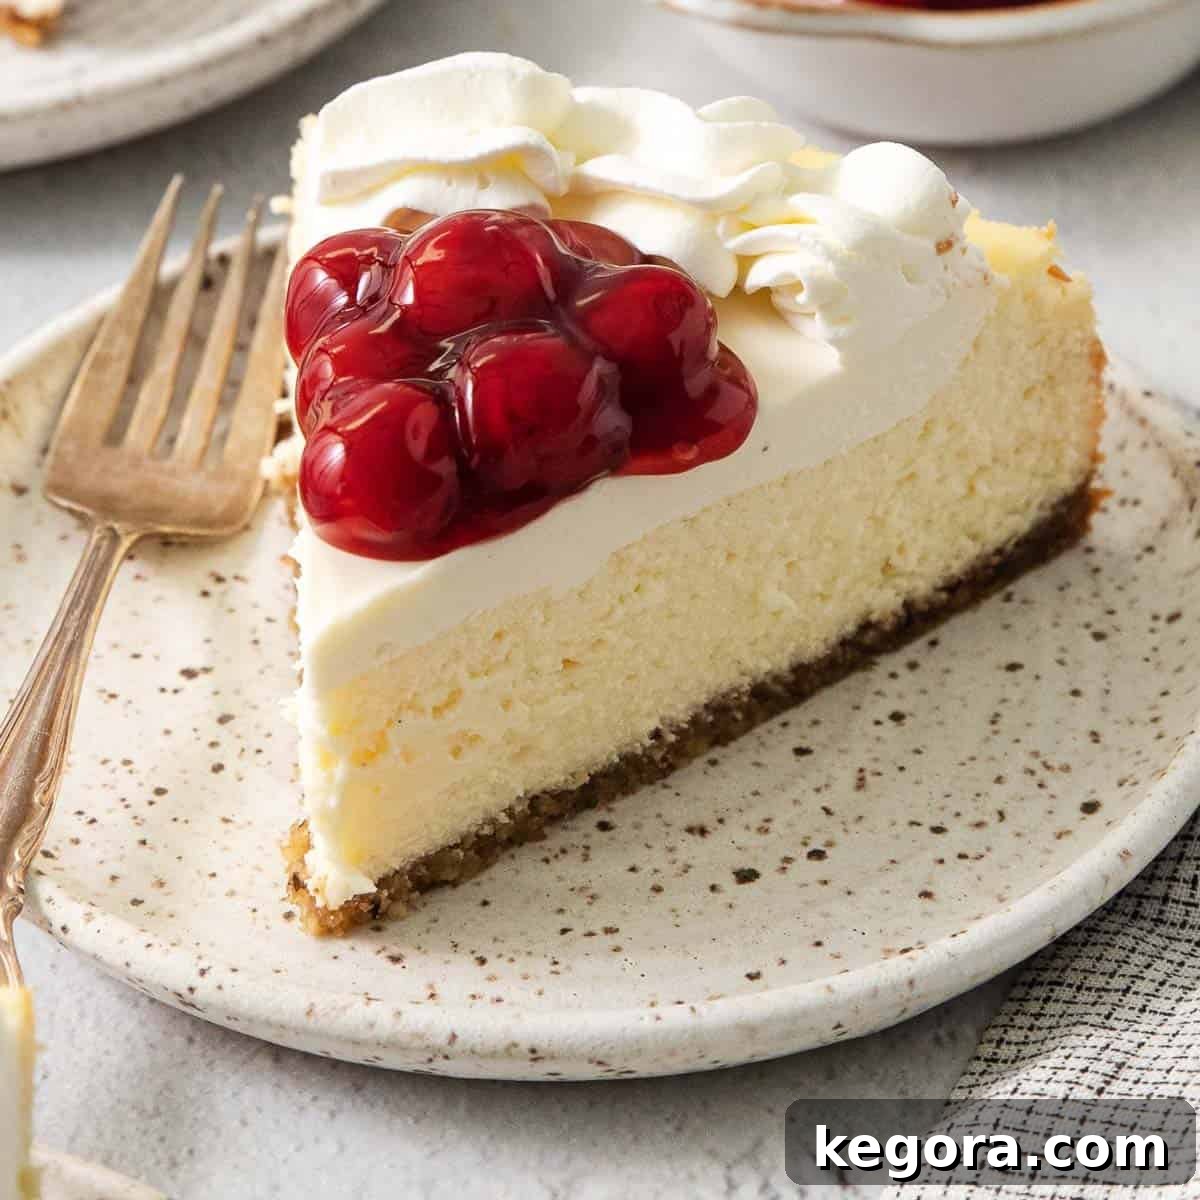
Welcome to the ultimate guide for creating the most delectable gluten-free cheesecake you’ll ever taste! This beloved recipe has graced our family tables for generations, a cherished favorite even before gluten-free diets became a necessity for some of us. It’s an incredibly smooth, rich, and creamy dessert that delights everyone, proving that gluten-free can be just as, if not more, indulgent.
What makes this cheesecake truly special is its unique and utterly irresistible naturally gluten-free crust. Forget traditional graham crackers; we use a harmonious blend of finely chopped walnuts, sweet brown sugar, and melted butter to create a sturdy yet tender foundation that perfectly complements the creamy filling. This Southern-inspired recipe, originally perfected by a dear family friend renowned for her exquisite cooking, promises a dessert experience that is both sophisticated and comforting.
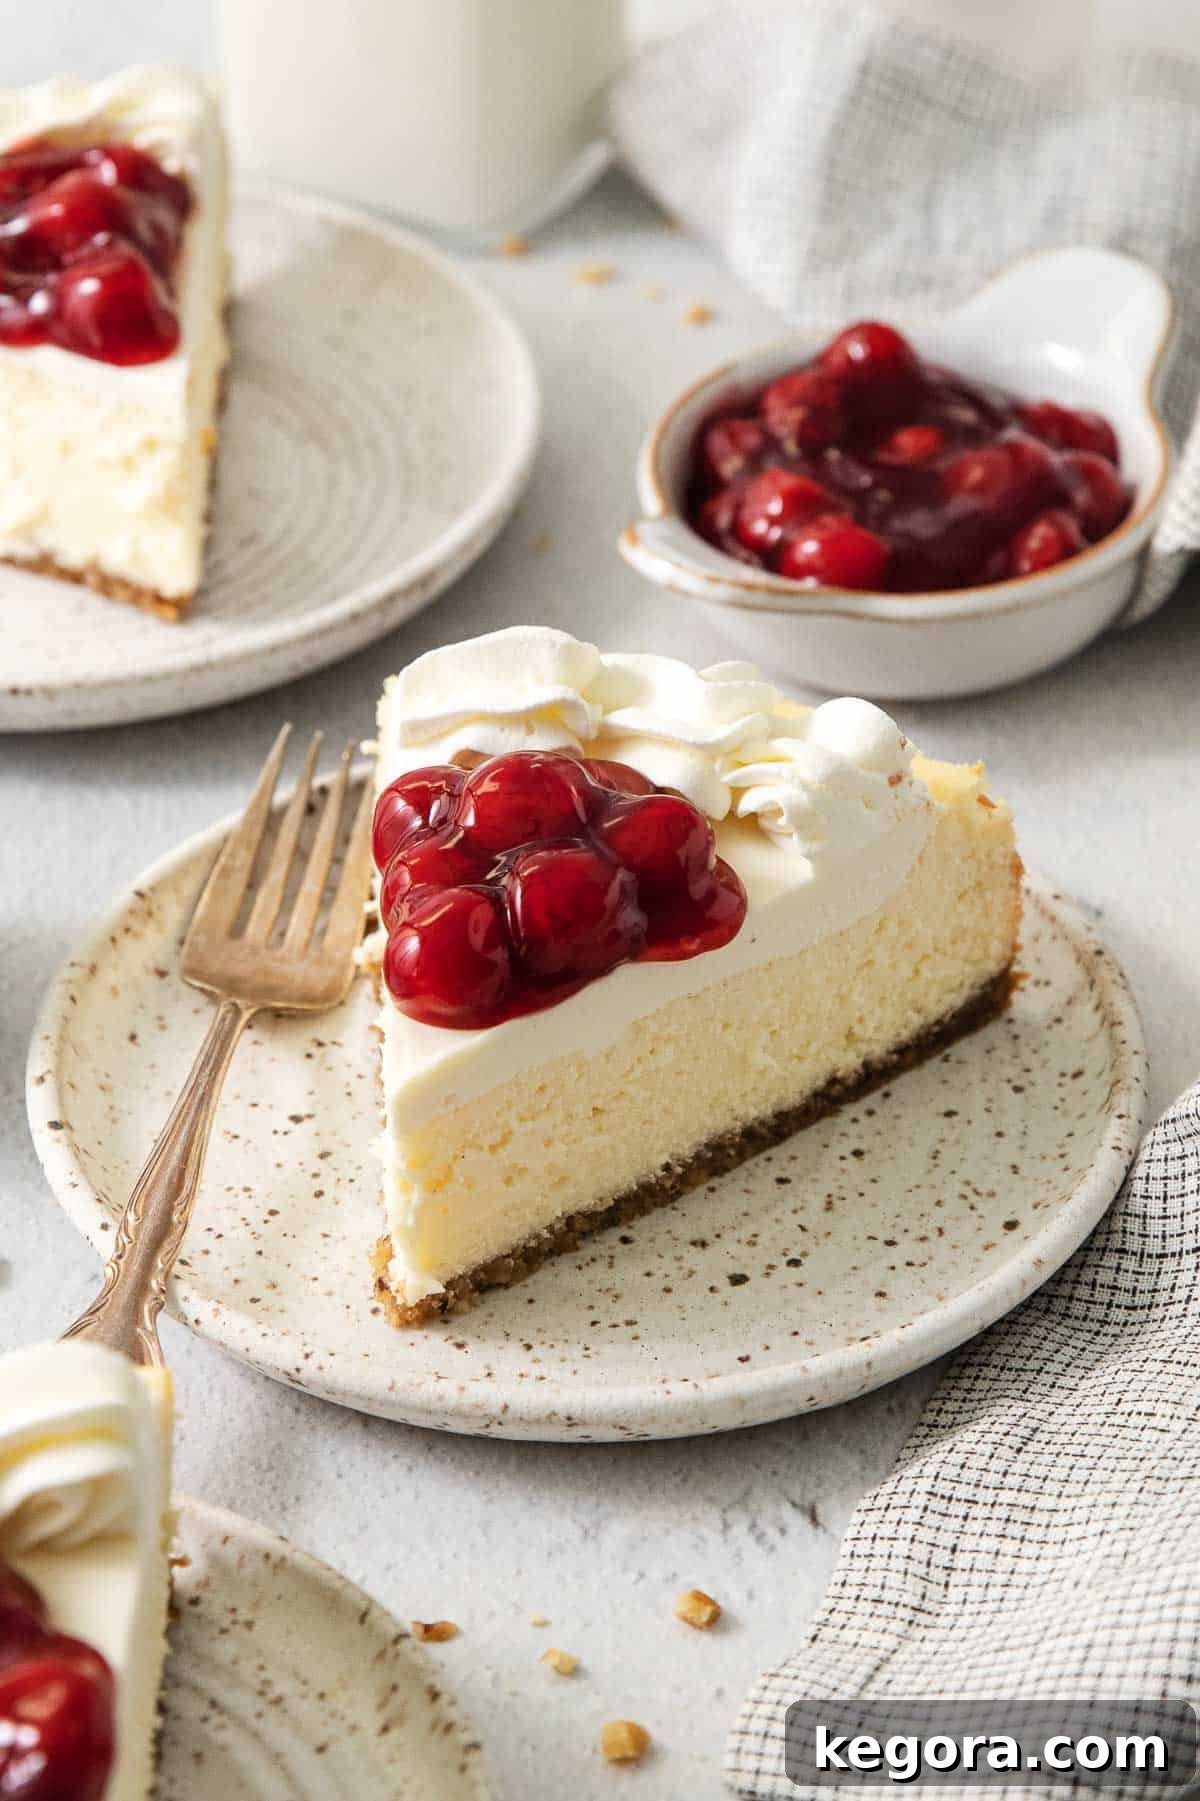
Every holiday season, this vanilla bean gluten-free cheesecake took center stage, a testament to its timeless appeal. Its distinct flavor profile comes from a careful combination of real vanilla bean, imparting a deep, aromatic essence, along with both vanilla and almond extracts, adding layers of rich complexity. The topping, a simple yet elegant sour cream layer, baked on during the final moments, adds a delicate tang that balances the sweetness of the cheesecake beautifully.
Preparing this cheesecake is more than just baking; it’s an act of love, ensuring every bite is a moment of pure bliss. It’s a versatile dessert perfect for any occasion, from intimate family gatherings to grand holiday celebrations. Get ready to impress your guests with a gluten-free masterpiece that no one will guess is naturally free from gluten!
Why This Gluten-Free Cheesecake Will Become Your Go-To Dessert
There are countless reasons why this gluten-free cheesecake recipe has earned its place as a perennial favorite. It’s designed to deliver maximum flavor with minimal fuss, making it accessible for even novice bakers while satisfying the most discerning palates.
- Unmistakably Delicious: The texture is incredibly smooth and creamy, and the flavor is so rich and decadent that no one will ever suspect it’s gluten-free. It truly stands on its own as an exceptional cheesecake.
- Effortless Walnut-Brown Sugar Crust: Forget complicated gluten-free flours or crumb mixtures. This recipe features a naturally gluten-free walnut crust that’s quick to prepare in a food processor and bakes to a delightful golden crisp. It adds a sophisticated nutty flavor and satisfying texture.
- Simple, Wholesome Ingredients: Crafted with common, high-quality ingredients, this cheesecake proves that gourmet flavors don’t require exotic components. You likely have most of what you need in your pantry already.
- Perfect for Any Occasion: Whether it’s a festive holiday feast, a birthday celebration, or a simple weekend treat, this cheesecake is elegant enough for special events and easy enough to whip up whenever a craving strikes. Its classic appeal makes it a crowd-pleaser every time.
Essential Ingredients for Your Perfect Gluten-Free Cheesecake
Crafting a truly spectacular homemade gluten-free cheesecake begins with understanding the role each ingredient plays. This recipe relies on a few key components to achieve its signature rich flavor and silky-smooth texture. Here’s a closer look at what you’ll need and why each element is crucial:
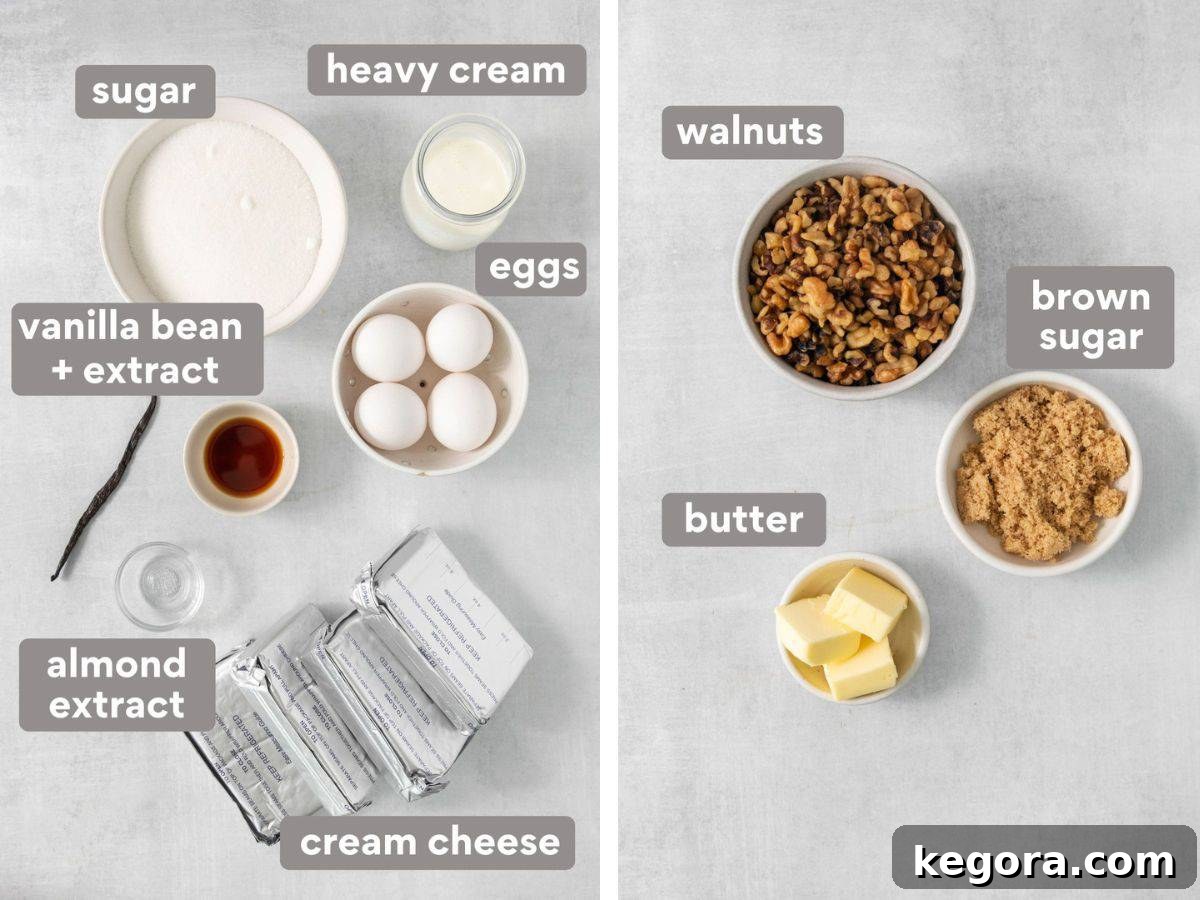
- Walnuts: The star of our naturally gluten-free crust! When ground with brown sugar and blended with melted butter, walnuts create a fragrant, flavorful, and wonderfully textured base. They offer a delightful nutty counterpoint to the creamy filling. Ensure your walnuts are fresh for the best flavor.
- Sour Cream: If you’ve never experienced a cheesecake with a sour cream topping, you are in for a revelation. This tangy, creamy layer is added during the final minutes of baking, providing a refreshing contrast to the sweet, rich cheesecake below. It’s a simple addition that elevates the entire dessert.
- Cream Cheese: The heart of any great cheesecake! For the most decadent and luxurious filling, always opt for full-fat cream cheese. Ensure it’s softened to room temperature before mixing to achieve a perfectly smooth, lump-free batter.
- Vanilla Bean: Real vanilla bean is a game-changer, infusing the cheesecake with an unparalleled depth of flavor and beautiful vanilla specks that go far beyond what extract alone can offer. For a similar, though slightly less intense, result, you could also use high-quality vanilla bean paste or a premium vanilla bean extract.
- Vanilla Extract and Almond Extract: These extracts work in harmony with the vanilla bean to build complex flavor layers. The almond extract, in particular, adds a subtle, sophisticated nuance that makes this gluten-free cheesecake truly exceptional and memorable.
- Sugar: Both granulated sugar for the filling and brown sugar for the crust contribute to the sweetness and texture. Brown sugar, with its molasses content, adds moisture and a deeper flavor to the walnut crust.
- Eggs: Crucial for structure and richness, eggs bind the cheesecake filling together. Make sure they are at room temperature to ensure they incorporate smoothly into the cream cheese mixture, preventing a curdled texture.
- Heavy Cream: A touch of heavy cream adds an extra layer of richness and helps achieve that signature velvety-smooth cheesecake consistency.
Once you’ve gathered these foundational ingredients, you’re well on your way to creating a stunning gluten-free vanilla bean cheesecake that will impress family and friends alike!
If you’re looking to expand your repertoire of perfected gluten-free baked goods, don’t miss these other delightful recipes: a refreshing gluten-free strawberry trifle, quick and easy gluten-free no-bake cheesecakes, charming gluten-free cupcakes, a zesty gluten-free key lime pie, and a light-as-air gluten-free angel food cake!
Can I Use a Gluten-Free Graham Cracker Crust?
Absolutely, you can! While our signature walnut crust offers a unique and naturally gluten-free base, we understand that some cheesecake purists adore the classic graham cracker experience. If you prefer a gluten-free graham cracker crust, you have several excellent options:
You can easily adapt the crust recipe from our delicious gluten-free pumpkin cheesecake or follow the instructions for our dedicated gluten-free graham cracker crust. These recipes often combine gluten-free cookies and sometimes nuts to create a delightful, crumbly base that mimics traditional graham crackers perfectly.
Alternatively, many brands now offer certified gluten-free graham crackers in stores. Simply crush them into fine crumbs and follow your favorite cheesecake crust recipe, substituting the regular graham crackers with the gluten-free version. Ensure any other ingredients in your chosen crust recipe are also gluten-free to maintain integrity.
For more indulgent variations, you might also enjoy exploring our gluten-free Oreo cheesecake, or dive into a curated collection of the TOP 25 gluten-free desserts for endless inspiration!
Crafting Your Perfect Gluten-Free Cheesecake: A Step-by-Step Guide
Creating this exquisite gluten-free cheesecake is a straightforward process when you follow these simple steps. Precision and patience are key to achieving that perfect crack-free, creamy result. Let’s walk through it together:
Preparing the Walnut-Brown Sugar Crust
- Preheat your oven to 350°F (175°C). Lightly spray a 10-inch springform pan with cooking spray. This specific pan size is crucial for the perfect cheesecake height and baking.
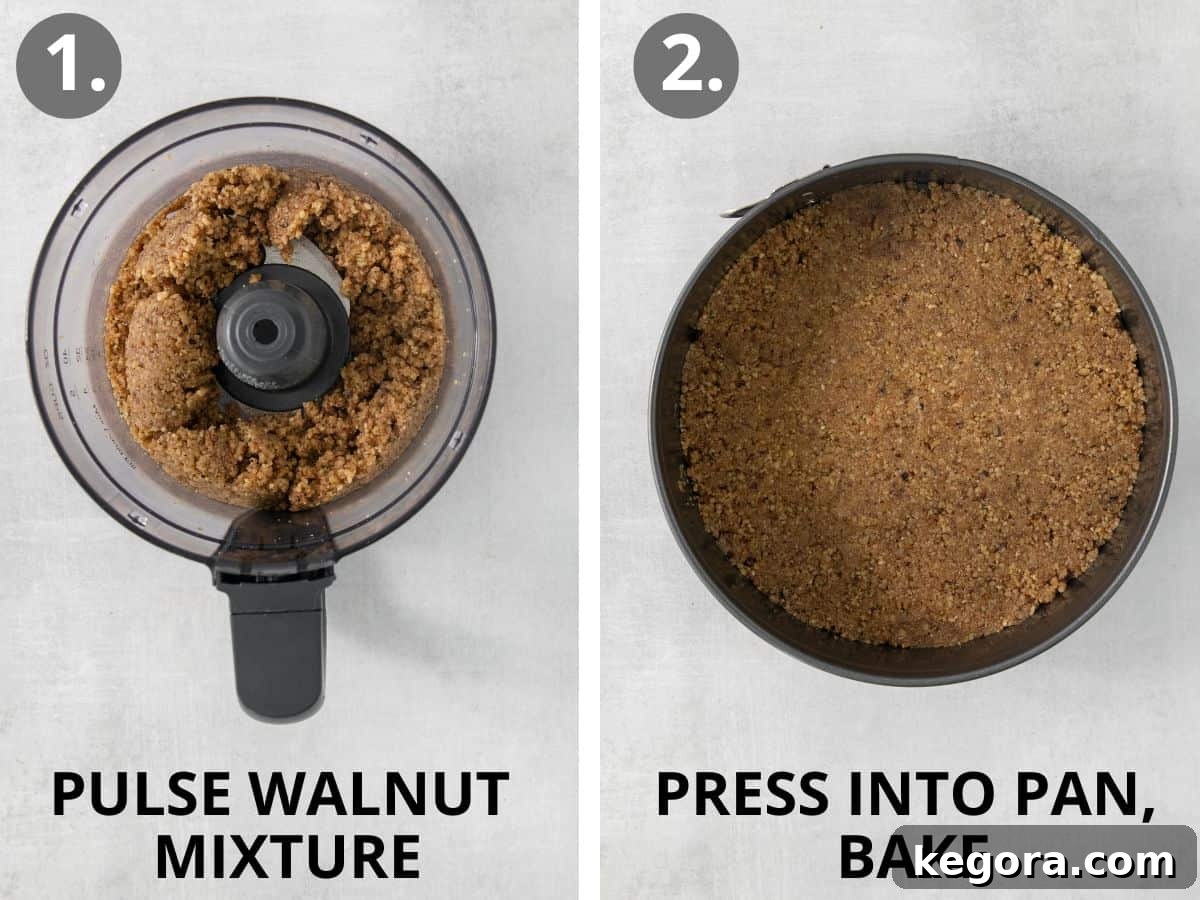
- In the bowl of a food processor, combine the walnuts, brown sugar, and melted butter. Pulse the mixture until the walnuts are finely ground and the mixture resembles coarse, wet sand. Avoid over-processing, as you don’t want a paste, but ensure there are no large nut pieces remaining.
- Evenly press this walnut mixture into the bottom of the prepared springform pan. Use the back of a spoon or your fingers to create a compact and uniform layer.
- Bake the crust for 12 minutes, or until it turns a beautiful golden brown and becomes fragrant. Remove it from the oven and set it aside to cool completely while you prepare the filling. Immediately reduce your oven temperature to 300°F (150°C).
Crafting the Velvety Cheesecake Filling
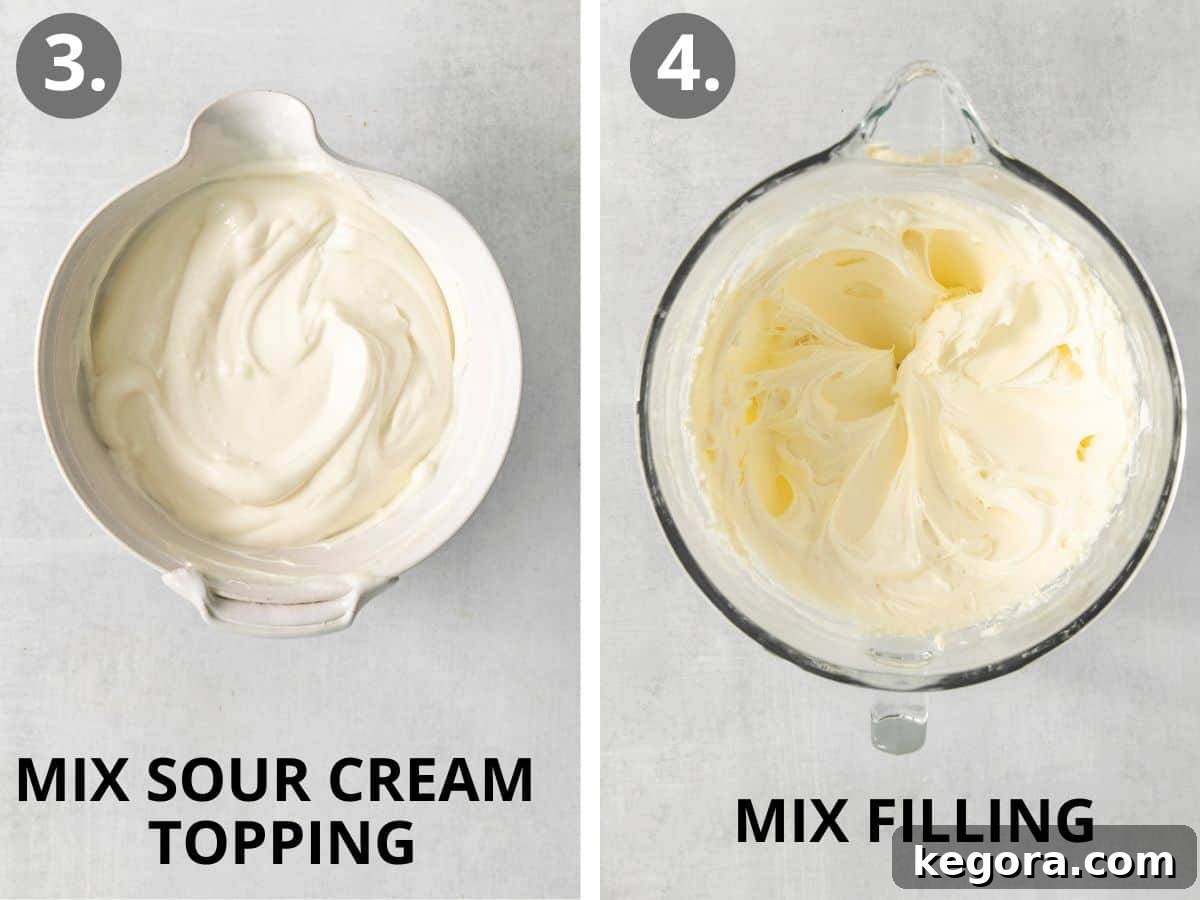
- While the crust cools, prepare the sour cream topping. In a small bowl, whisk together the sour cream, granulated sugar, and vanilla extract until smooth. Cover and set aside in the refrigerator.
- For the cheesecake filling, ensure all your ingredients, especially the cream cheese and eggs, are at room temperature. This is a critical step for a silky-smooth, lump-free batter.
- In a large mixing bowl, using either a stand mixer with the paddle attachment or a hand mixer, beat the softened cream cheese and granulated sugar together on medium-high speed. Continue mixing until the mixture is entirely smooth and well combined, with no lumps remaining.
- Reduce the mixer speed to medium. Add the eggs one at a time, beating just until each egg is incorporated before adding the next. Avoid over-beating the eggs, as this can introduce too much air, leading to cracks in the finished cheesecake. After all eggs are in, gently scrape down the sides and bottom of the bowl to ensure everything is evenly mixed.
- Carefully cut your vanilla bean down the middle lengthwise and scrape out the fragrant seeds. Add these vanilla bean seeds, along with the vanilla extract and almond extract, to the cream cheese mixture. Mix on low speed until just combined.
- With the mixer still running on low speed, slowly pour in the heavy cream. Mix until just incorporated. Give the bowl one final scrape to ensure a perfectly homogeneous batter.
Recipe Tip for Perfection
For the smoothest, most luxurious gluten-free cheesecake filling, always ensure your cream cheese and eggs are at perfect room temperature. This allows them to blend seamlessly, preventing lumps and creating an irresistible creamy texture.
Baking and Finishing Your Cheesecake
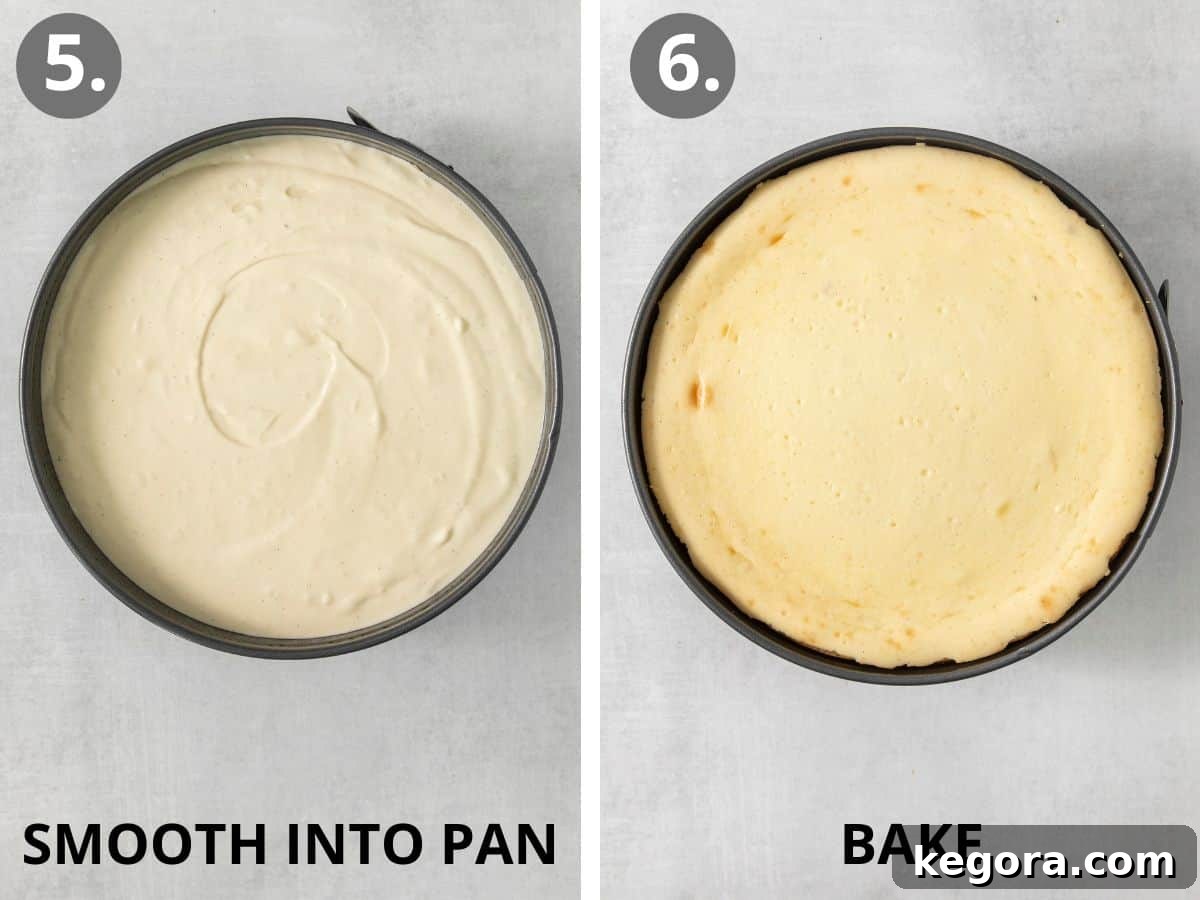
- Pour the prepared cheesecake batter carefully over the cooled walnut crust in the springform pan. Gently tap the pan on the counter a few times to release any trapped air bubbles.
- Bake the gluten-free cheesecake in the preheated 300°F (150°C) oven for 65-70 minutes. The cheesecake is ready when the edges are set, but the center still has a slight jiggle when gently shaken. Resist the urge to open the oven door during baking, as sudden temperature changes can cause cracking.
- Once the cheesecake reaches the desired doneness, remove it from the oven.
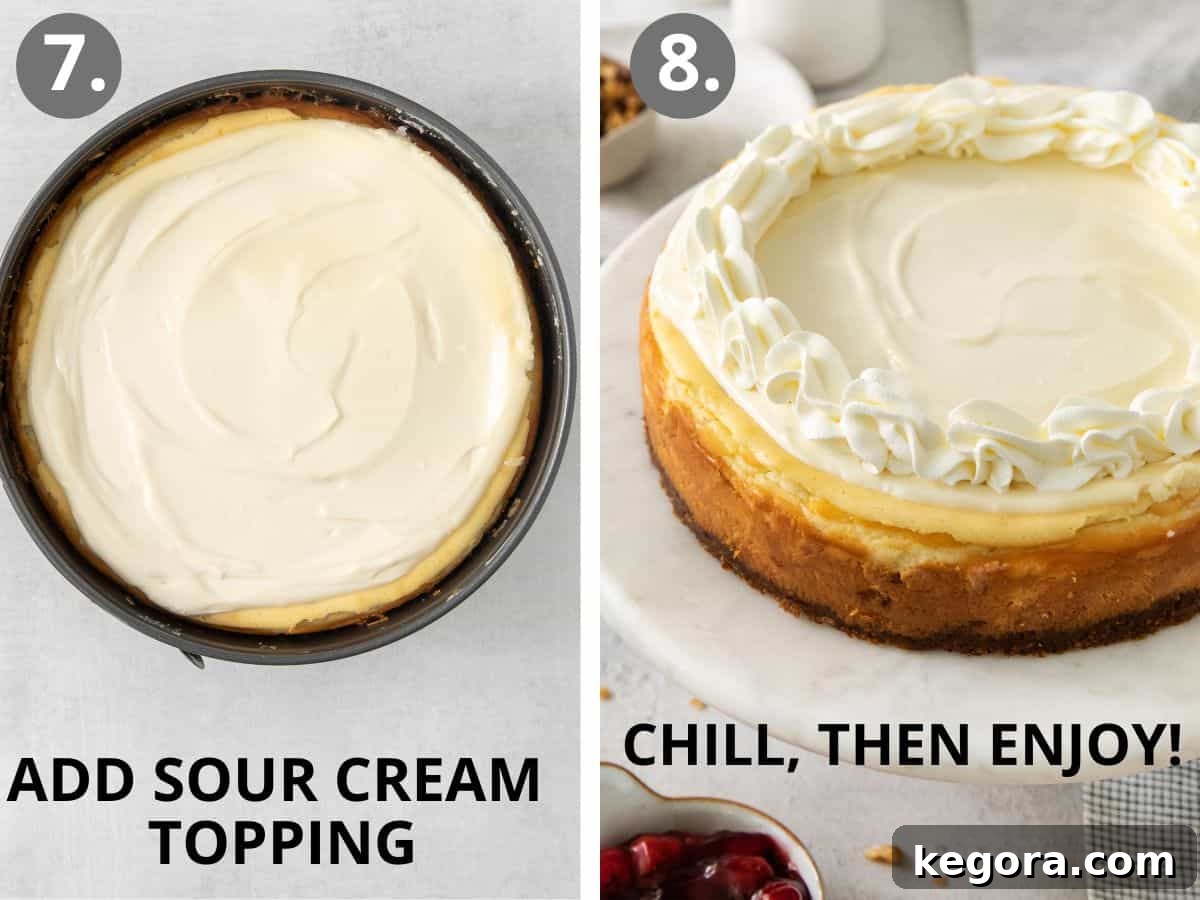
- Carefully pour the chilled sour cream topping over the still-warm cheesecake, spreading it evenly to cover the entire surface.
- Return the cheesecake to the oven for an additional 5 minutes to set the topping.
- Remove the cheesecake from the oven and let it cool on a wire rack for 10 minutes. After 10 minutes, gently run a thin knife around the inner edge of the springform pan to release the cheesecake from the sides. This crucial step allows the cheesecake to contract as it cools without cracking.
- Allow the cheesecake to cool completely at room temperature, which typically takes about 2 hours.
- Once fully cooled, cover the springform pan tightly with plastic wrap and transfer it to the refrigerator. Chill for at least 4 hours, though overnight chilling is highly recommended for the best texture and flavor development.
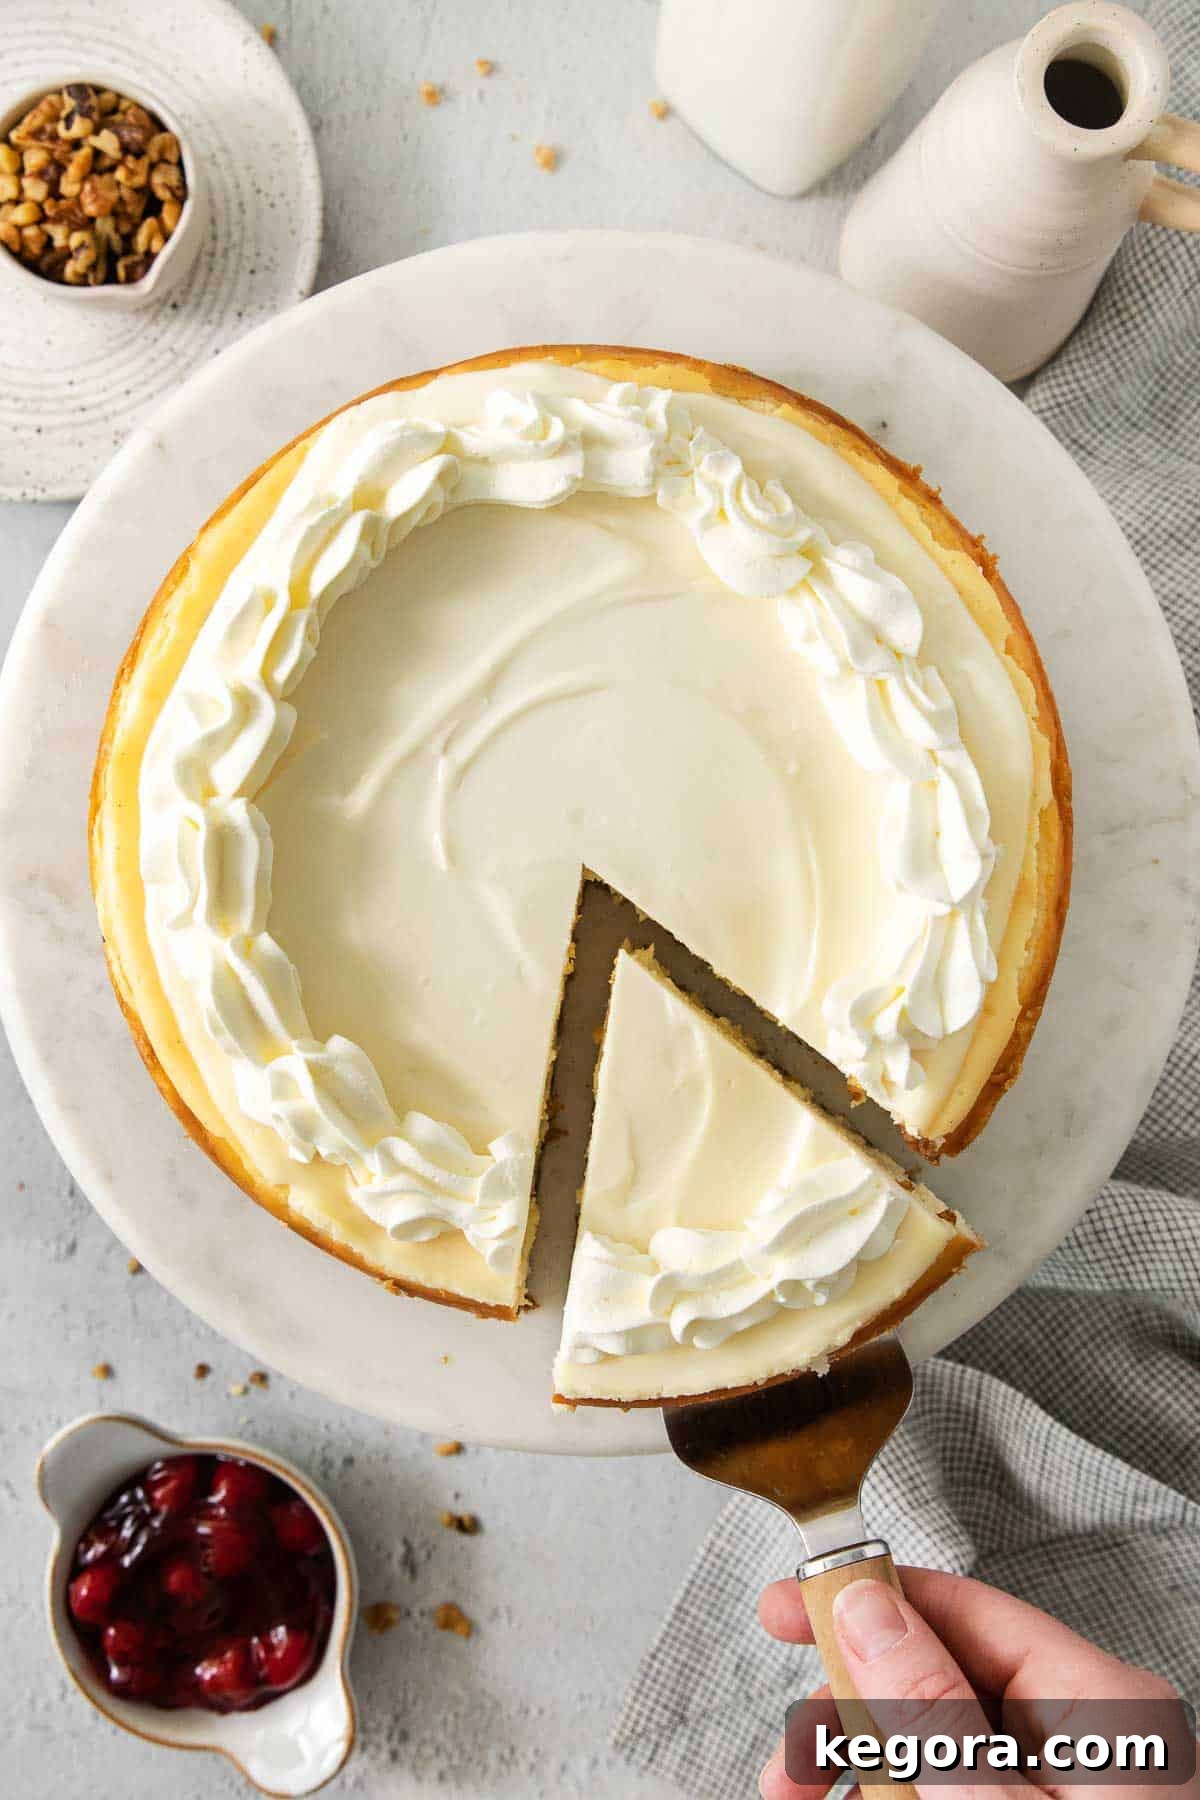
- Slice and serve your magnificent gluten-free vanilla bean cheesecake with your favorite toppings. Enjoy every rich, creamy bite!
The Art of a Crack-Free Gluten-Free Cheesecake: Expert Tips
Achieving a perfectly smooth, unblemished surface on your gluten-free cheesecake is a hallmark of a master baker. While it might seem daunting, preventing cracks is entirely achievable with a few key techniques. Cracks usually occur due to uneven baking or sudden temperature changes. Here’s how to ensure your cheesecake comes out flawless every time:
- Gentle Mixing of Eggs is Paramount: The most frequent culprit behind cheesecake cracks is over-beating the eggs. When too much air is incorporated into the batter, it expands rapidly during baking and then collapses as it cools, leading to unsightly fissures. Add your eggs one at a time, with the mixer running on medium-low speed, and beat just until each egg is fully incorporated into the mixture. Stop mixing as soon as the last egg is blended.
- Maintain a Consistent Oven Temperature: Sudden drops in temperature are a cheesecake’s worst enemy. Resist the urge to peek! Keep the oven door firmly shut for the entire baking duration. Once the baking time is complete and the cheesecake is removed, avoid placing it directly into a cold environment.
- Score the Edges While Cooling: This simple but effective trick is often overlooked. After the cheesecake has been out of the oven for about 10 minutes, use a thin, sharp knife to gently cut around the crust, separating it from the edges of the springform pan. This allows the cheesecake to evenly contract as it cools, relieving tension and preventing cracks from forming along the perimeter.
- Gradual Cooling is Key: Just as sudden temperature drops during baking can cause cracks, so can rapid cooling. Allow your cheesecake to cool completely on the countertop at room temperature for at least 2 hours before even thinking about transferring it to the refrigerator. This slow, gradual cooling process helps the internal structure set without stress, ensuring a smooth finish.
Do I Need a Water Bath for This Gluten-Free Cheesecake?
Many traditional cheesecake recipes advocate for a water bath (bain-marie) to ensure even, moist baking and prevent cracking. A water bath works by providing a humid environment and insulating the cheesecake from the oven’s direct heat, promoting a gentler bake. However, for this specific gluten-free cheesecake recipe, if you meticulously follow the tips outlined above – particularly those regarding gentle egg incorporation, consistent oven temperature, and gradual cooling – there is absolutely no need for a water bath!
Our recipe is designed to bake at a slightly lower temperature for a longer period, which naturally contributes to a slower, more even set. This, combined with our strategic cooling techniques, yields a perfect, crack-free surface without the extra hassle and potential risks (like water seeping into the pan) that can come with a water bath. Enjoy the simplicity and confidence of a perfectly baked cheesecake without the added step!
Irresistible Topping Ideas for Your Gluten-Free Cheesecake
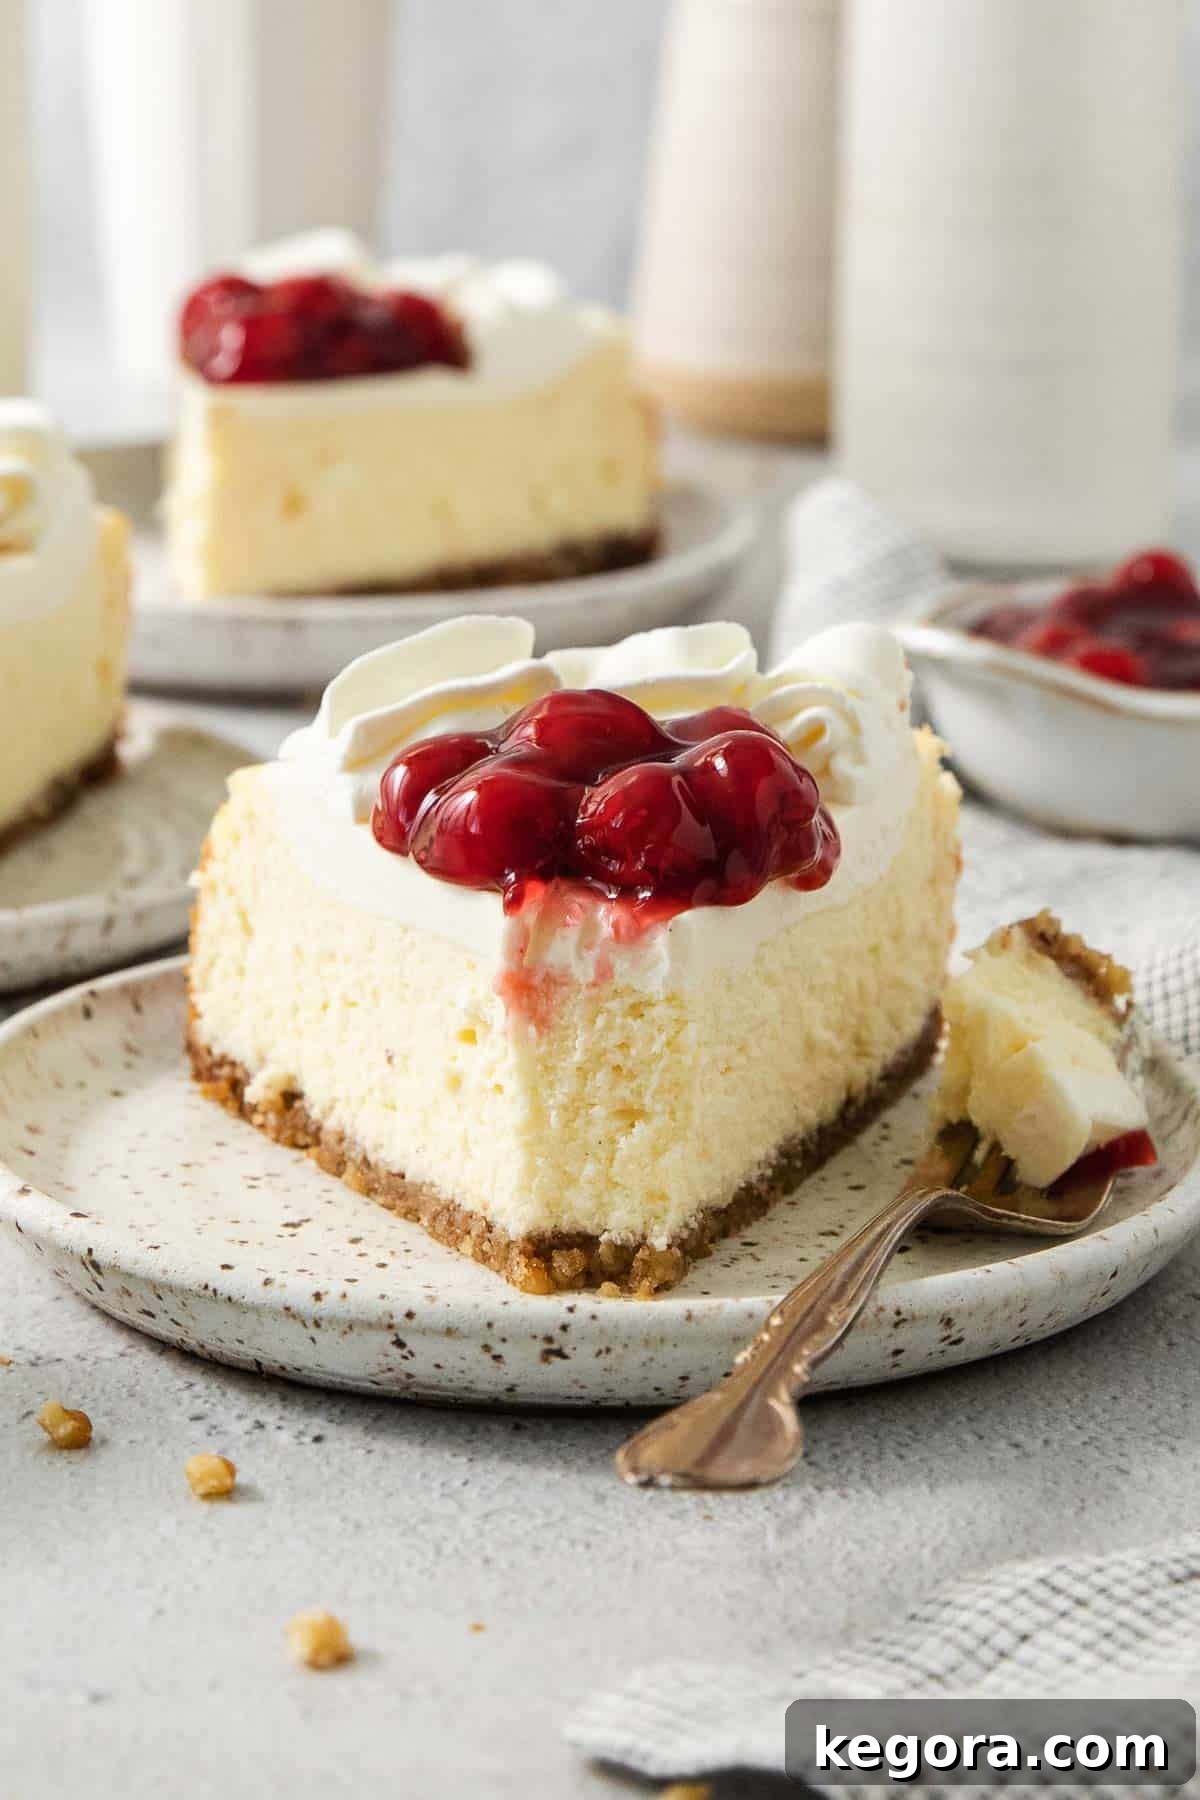
This classic, simple baked gluten-free cheesecake provides the perfect canvas for an array of delicious toppings. Its rich, creamy texture and subtle vanilla flavor allow countless accompaniments to shine. Here are some of our favorite ideas to elevate your cheesecake experience, from fruity and fresh to rich and decadent:
- Cherry Pie Filling: A timeless favorite, offering a vibrant burst of fruity sweetness and a beautiful deep red color.
- Blueberry Sauce: A homemade or store-bought blueberry sauce adds a lovely tartness and juicy texture that complements the creamy cheesecake.
- Fresh Berries: A medley of seasonal fresh berries – think raspberries, blackberries, and blueberries – provides natural sweetness, a touch of tartness, and stunning visual appeal.
- Chocolate Sauce: Drizzle with a rich dark chocolate ganache or a simple melted chocolate sauce for an indulgent, bittersweet contrast.
- Caramel Sauce: A luscious salted caramel sauce adds a buttery, sweet, and slightly savory dimension that is incredibly addictive.
- Fresh Strawberries: Sliced fresh strawberries, perhaps macerated lightly with a touch of sugar, offer a burst of summer flavor.
- Cookie Crumbs: For an extra layer of texture and flavor, sprinkle with crushed gluten-free cookies (like gluten-free Oreos or gingersnaps).
- Raspberry Coulis: A smooth, vibrant raspberry sauce brings a sophisticated tart-sweet profile that cuts through the richness of the cheesecake beautifully.
Feel free to get creative and experiment with your own favorite combinations!
Proper Storage for Your Gluten-Free Cheesecake
To ensure your magnificent gluten-free cheesecake remains fresh and delicious, proper storage is essential. Following these guidelines will allow you to enjoy your dessert for days after baking:
Once your cheesecake has completely cooled to room temperature (this is critical to prevent condensation), carefully wrap the entire springform pan (or the cheesecake itself, if removed from the pan) tightly in plastic wrap. Ensure the wrap is snug against the cheesecake to prevent it from absorbing refrigerator odors and drying out. Transfer it to the refrigerator and allow it to chill for at least four hours before serving. Chilling overnight is ideal, as it allows the flavors to meld and the texture to firm up perfectly, making for easier, cleaner slices.
Store any leftover gluten-free cheesecake in an airtight container or tightly wrapped in plastic wrap in the refrigerator for up to 5 days. For longer storage, cheesecake freezes beautifully. Slice the chilled cheesecake into individual portions, wrap each slice tightly in plastic wrap, and then place them in a freezer-safe bag or container. Frozen cheesecake can last for up to 1-2 months. Thaw individual slices in the refrigerator overnight before serving.
Frequently Asked Questions About Gluten-Free Cheesecake
The creamy filling of most traditional cheesecakes is usually naturally gluten-free. The main component that typically contains gluten is the crust, which is often made from graham crackers or other wheat-based cookies. This gluten-free cheesecake recipe cleverly sidesteps this issue by using a delicious and naturally gluten-free crust made from a mixture of walnuts, brown sugar, and butter.
Yes, individuals with Celiac’s disease can absolutely enjoy cheesecake, provided it has a strictly gluten-free crust. It’s crucial to ensure that all ingredients, especially in the crust, are certified gluten-free to avoid cross-contamination. Our recipe offers a wonderful solution with its walnut-based crust, making it a safe and delicious option for those managing Celiac’s disease.
Generally, most store-bought cheesecakes are not gluten-free because their crusts are typically made with conventional graham crackers or other cookies that contain wheat. It is always essential to carefully read the ingredient list and check for explicit “gluten-free” certification on the packaging before purchasing any store-bought cheesecake. For guaranteed gluten-free enjoyment, making a homemade cheesecake like this one is often the safest and most delicious choice.
No, traditional graham crackers are not gluten-free, as they are primarily made from wheat flour, which contains gluten. However, due to increased demand for gluten-free options, many brands now produce certified gluten-free graham crackers. You can find these from reputable brands such as Nairn’s or Pamela’s, which are excellent for making gluten-free crusts.
No, current Sara Lee cheesecake products, including their Original, Smooth & Creamy, and Cherry flavors, are not formulated to be gluten-free. Their recipes typically include a wheat-based crust. Always verify packaging for the most up-to-date ingredient and allergen information.
Expert Tips & Tricks for a Flawless Gluten-Free Cheesecake Every Time
Achieving cheesecake perfection is within your reach! These expert tips and tricks, honed over years of baking this beloved recipe, will guide you to a consistently flawless and utterly delicious gluten-free cheesecake.
- For the creamiest, most lump-free filling, always ensure all your ingredients, especially the cream cheese and eggs, are at optimal room temperature before you begin mixing. This allows them to emulsify properly and create a smooth batter.
- Do not overmix the filling. Overmixing, especially after adding eggs, introduces too much air, which can lead to expansion during baking and subsequent cracking upon cooling. Mix on low or medium speed, as instructed in the recipe, just until ingredients are combined.
- Bake your cheesecake in a sturdy 10-inch springform pan. This specific size is ideal for the recipe’s proportions and ensures proper baking.
- Exercise patience and resist the temptation to peek! Keep the oven closed for the entire baking duration. Sudden fluctuations in oven temperature are a primary cause of cheesecake cracks.
- Your cheesecake is perfectly cooked when the edges are set, but the center still has a delicate jiggle. This indicates a creamy interior that will firm up beautifully upon chilling.
- After the cheesecake has been out of the oven for about 10 minutes, gently cut around the edges of the pan with a thin knife. This releases the cheesecake from the sides, allowing it to contract naturally as it cools without pulling and cracking.
- Allow the gluten-free cheesecake to cool completely at room temperature (approximately 2 hours) before transferring it to the refrigerator. This gradual cooling process is vital for preventing cracks and achieving a smooth texture.
- Refrigerate for at least 4 hours, and preferably overnight. This extended chilling period allows the cheesecake to set fully, intensify its flavors, and develop that signature dense, creamy consistency. It’s often even better on the second day!
I sincerely hope you cherish this best gluten-free cheesecake recipe as much as our family does! If you try this delightful gluten-free cheesecake, please share your experience by leaving a comment and rating below. I’d absolutely love to hear from you and your thoughts!
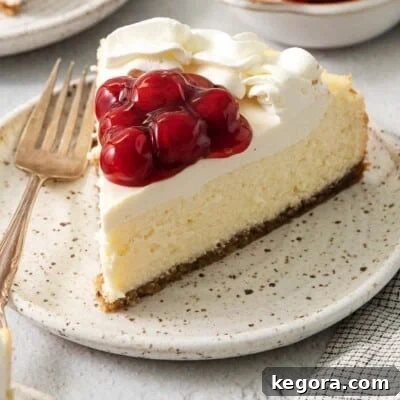
Gluten-Free Vanilla Bean Cheesecake
This recipe originally comes from a family friend who was known for her delicious southern recipes. We’ve been making it for years and I hope you love it too!
Comments
Ingredients
Walnut Crust
- 1 1/2 cups walnuts
- 1/4 cup brown sugar
- 3 tablespoons butter melted
Sour Cream Topping
- 16 oz sour cream
- 1/4 cup sugar
- 1 teaspoon vanilla
Cheesecake Filling
- 32 oz cream cheese softened
- 1 1/4 cups sugar
- 1 vanilla bean cut down the center and the seeds scraped out
- 2 teaspoons vanilla extract
- 1/4 teaspoon almond extract
- 4 eggs room temperature
- 1/2 cup heavy cream
Instructions
-
Preheat the oven to 350°F (175°C). Spray a 10-inch springform pan with cooking spray.
-
For the walnut crust: In the bowl of a food processor, blend the walnuts into fine crumbs. Pulse in the brown sugar, then pour into a medium bowl. Stir in the melted butter.
-
Press the walnut mixture into the bottom of the springform pan. Bake for 12 minutes, then remove from the oven and let cool while you prepare the filling. Reduce the oven temperature to 300°F (150°C).
-
For the sour cream topping: In a small bowl, mix together the sour cream, sugar and vanilla until combined. Set aside for later.
-
For the cheesecake filling: Add the cream cheese and sugar to a stand or hand mixer. Mix on medium-high speed until totally smooth and combined.
-
With the mixer running on medium speed, add the eggs one at a time. Scrape the sides and bottom of the bowl and mix briefly again.
-
Mix in the vanilla bean seeds, vanilla extract and almond extract.
-
With the mixer running on low, slowly pour in the heavy cream. Scrape down the sides and bottom of the bowl once more to make sure everything is evenly completely mixed.
-
Pour the filling into the crust. Bake for 65-70 minutes until set, but the center jiggles just slightly.
-
Pour the sour cream topping over the cheesecake and spread into an even layer. Bake for another 5 minutes.
-
Remove the cheesecake from the oven and let cool for 10 minutes. After 10 minutes cut along the sides of the pan so the edges can release as it cools.
-
Let the cheesecake cool completely to room temperature, about 2 hours. Then wrap tightly with plastic wrap and transfer to the refrigerator. Chill for at least 4 hours and preferably overnight before serving. Slice and serve with your favorite toppings.
Notes
- Be sure all the ingredients are at room temperature before mixing the cheesecake together.
- Don’t overmix filling – use low or medium speed as instructed in the recipe.
- Bake the cheesecake in a 10-inch springform pan.
- No peeking! Keep the oven closed while the cheesecake bakes.
- After the cheesecake has been out of the oven for 10 minutes, cut around the edges of the pan so it can release as it cools.
- Cool the cheesecake completely before transferring to the refrigerator.
- Refrigerate at least 4 hours and preferably overnight. It’s even better the second day!
Nutrition
More Delightful Gluten-Free Dessert Recipes
If you’re eager to explore more scrumptious gluten-free treats, here are some fantastic recipes that are sure to satisfy your sweet tooth and expand your baking repertoire. Each one is crafted to be just as delicious and satisfying as their traditional counterparts.
Gluten-Free Peppermint Meltaways
Indulge in these melt-in-your-mouth peppermint cookies, perfect for holiday gatherings or a festive treat any time of year.
16 Essential Gluten-Free Christmas Cookies to Bake This Season
Get into the festive spirit with this collection of delightful gluten-free Christmas cookies, ensuring everyone can enjoy the holiday treats.
Gluten-Free Chocolate Turtle Cookies
Rich chocolate cookies topped with gooey caramel and crunchy pecans, a gluten-free twist on a classic candy favorite.
Festive Christmas Tree Crispy Treats
Easy to make and fun to decorate, these crispy treats are a perfect gluten-free option for holiday parties and little helpers.