
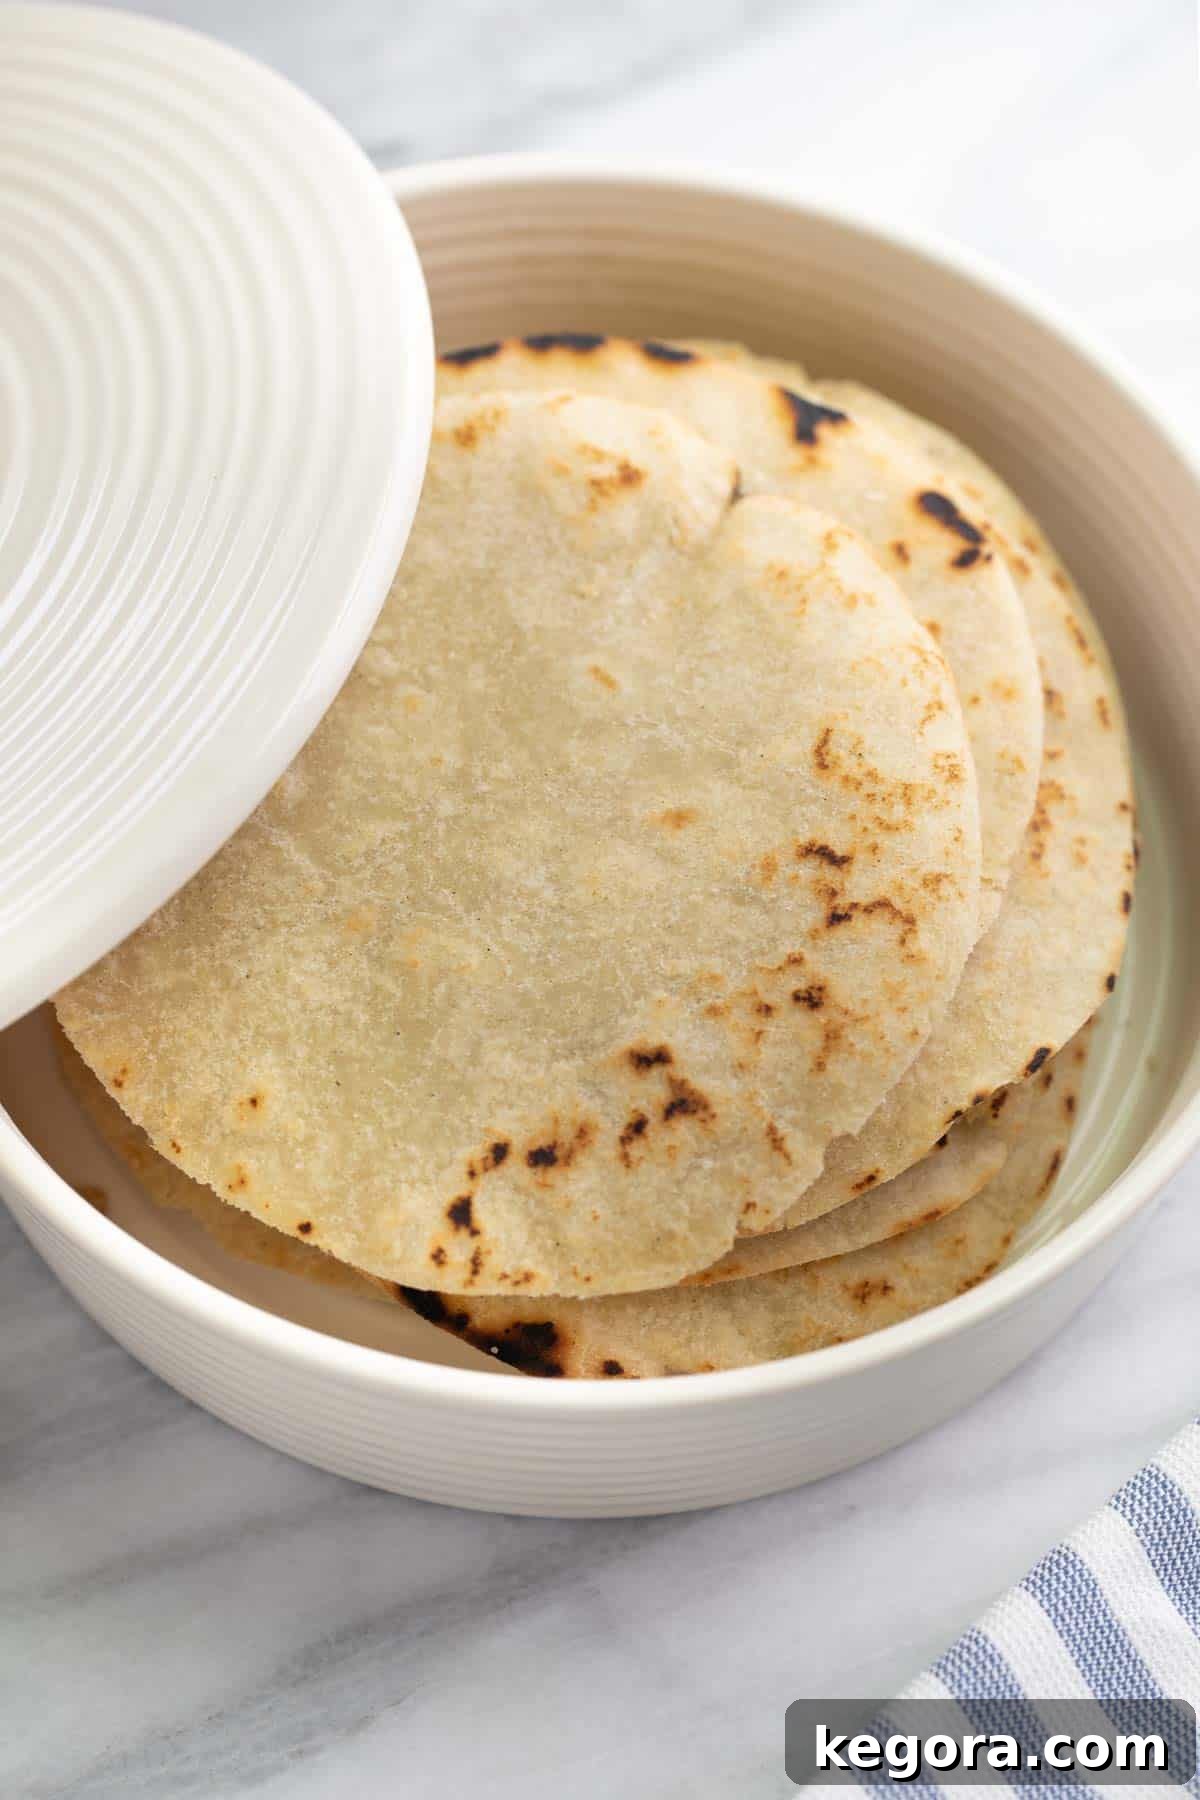
Welcome to the ultimate guide for crafting the perfect homemade gluten-free flour tortillas! If you’ve been searching for that soft, pliable, and utterly delicious tortilla experience without the gluten, your quest ends here. Forget bland, crumbly store-bought options; these homemade tortillas are a game-changer for anyone navigating a gluten-free diet or simply seeking a healthier, more flavorful alternative. They are incredibly versatile, serving as the ideal foundation for everything from savory tacos and cheesy quesadillas to hearty burritos and fresh wraps. What’s more, the process is far simpler and more rewarding than you might imagine!
Making your own gluten-free tortillas puts you in control of the ingredients, ensuring freshness and quality that can’t be matched. This comprehensive guide will equip you with all the essential tips, tricks, and step-by-step instructions needed to achieve consistently delicious results. We’ll cover everything from selecting the right flour blend to mastering the cooking process, guaranteeing soft, flexible tortillas every time. Get ready to elevate your culinary creations with these incredibly satisfying homemade gluten-free flour tortillas!
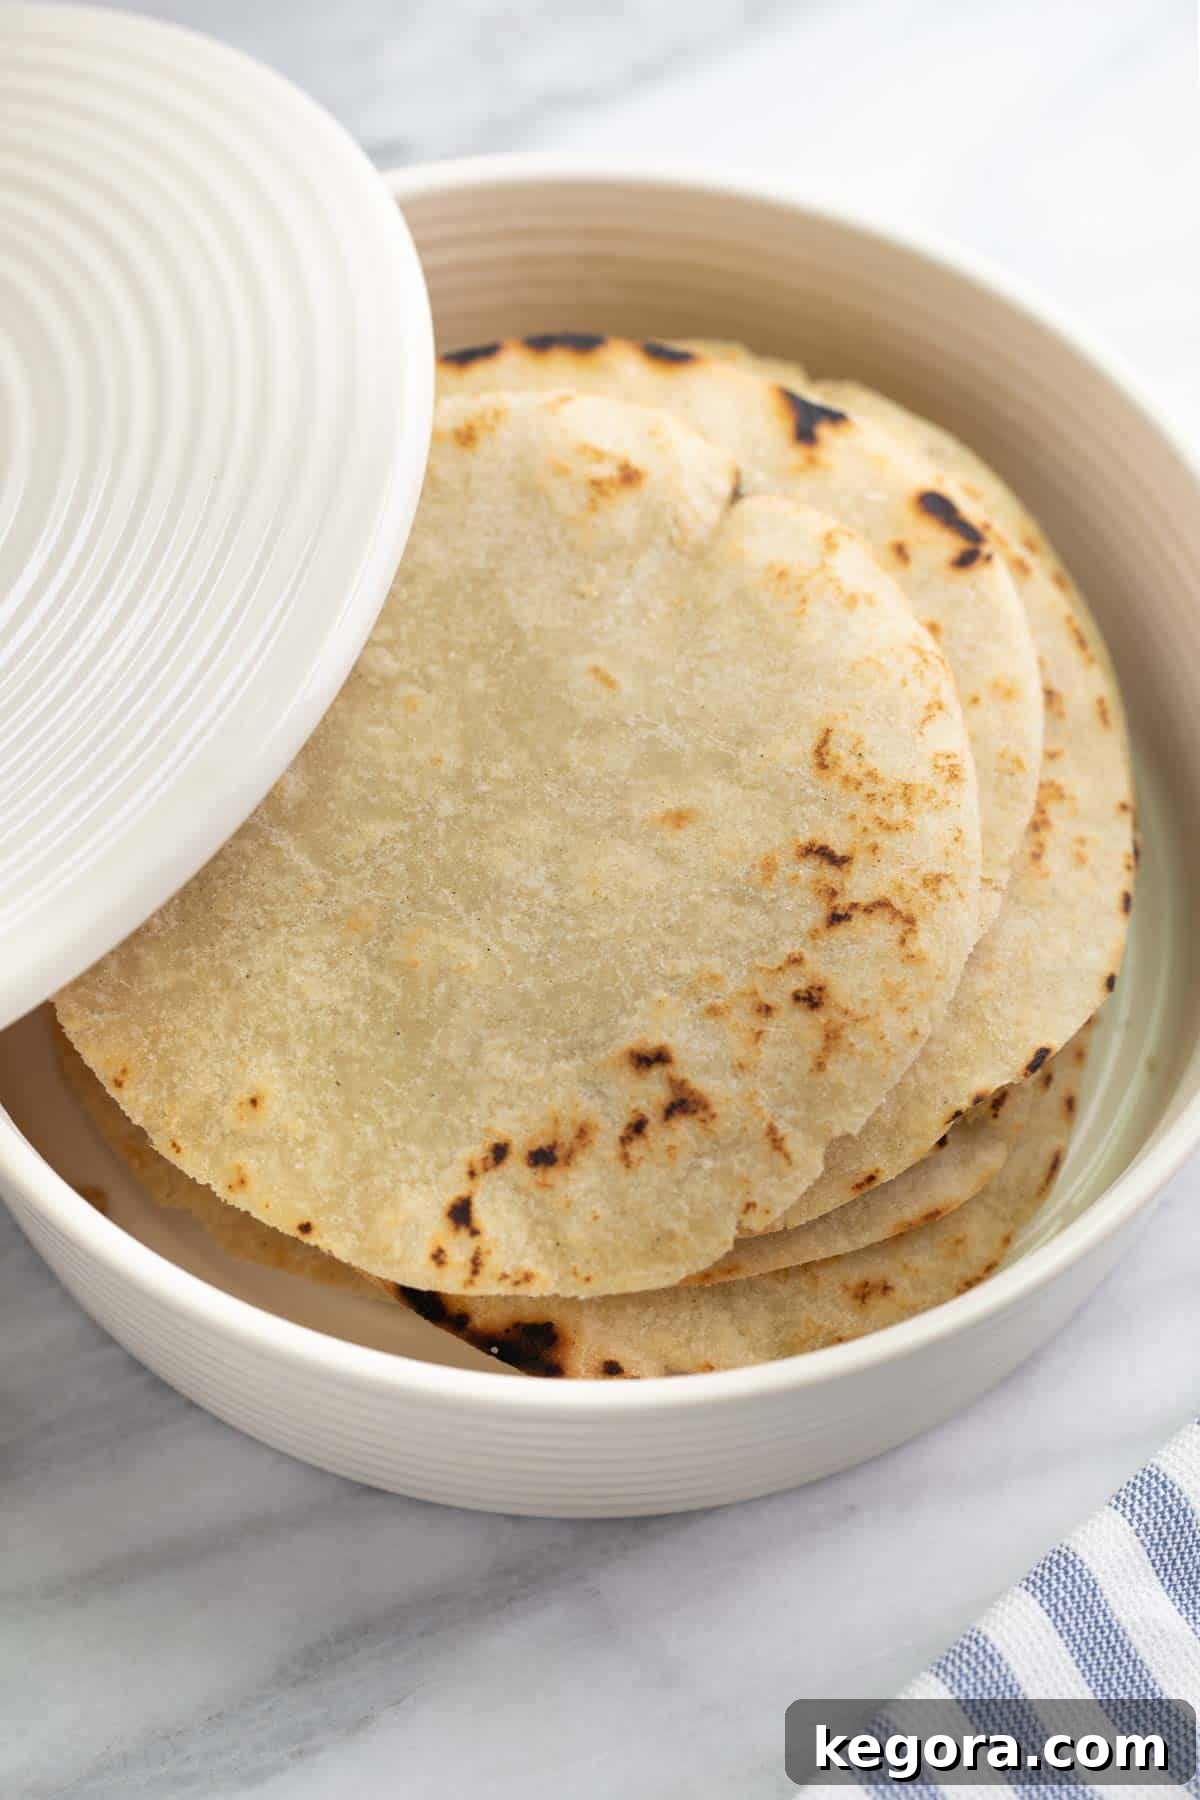
Why Homemade Gluten-Free Tortillas are a Must-Try
There’s a unique satisfaction that comes from creating food from scratch, and tortillas are no exception. For those with gluten sensitivities or celiac disease, the options for soft, pliable flour tortillas are often limited or come with a hefty price tag. This recipe not only provides a delicious solution but also empowers you to enjoy fresh tortillas whenever the craving strikes.
- Unmatched Freshness: Store-bought tortillas often contain preservatives to extend shelf life, which can impact flavor and texture. Homemade tortillas are made with simple, fresh ingredients and enjoyed moments after cooking, resulting in unparalleled taste and aroma.
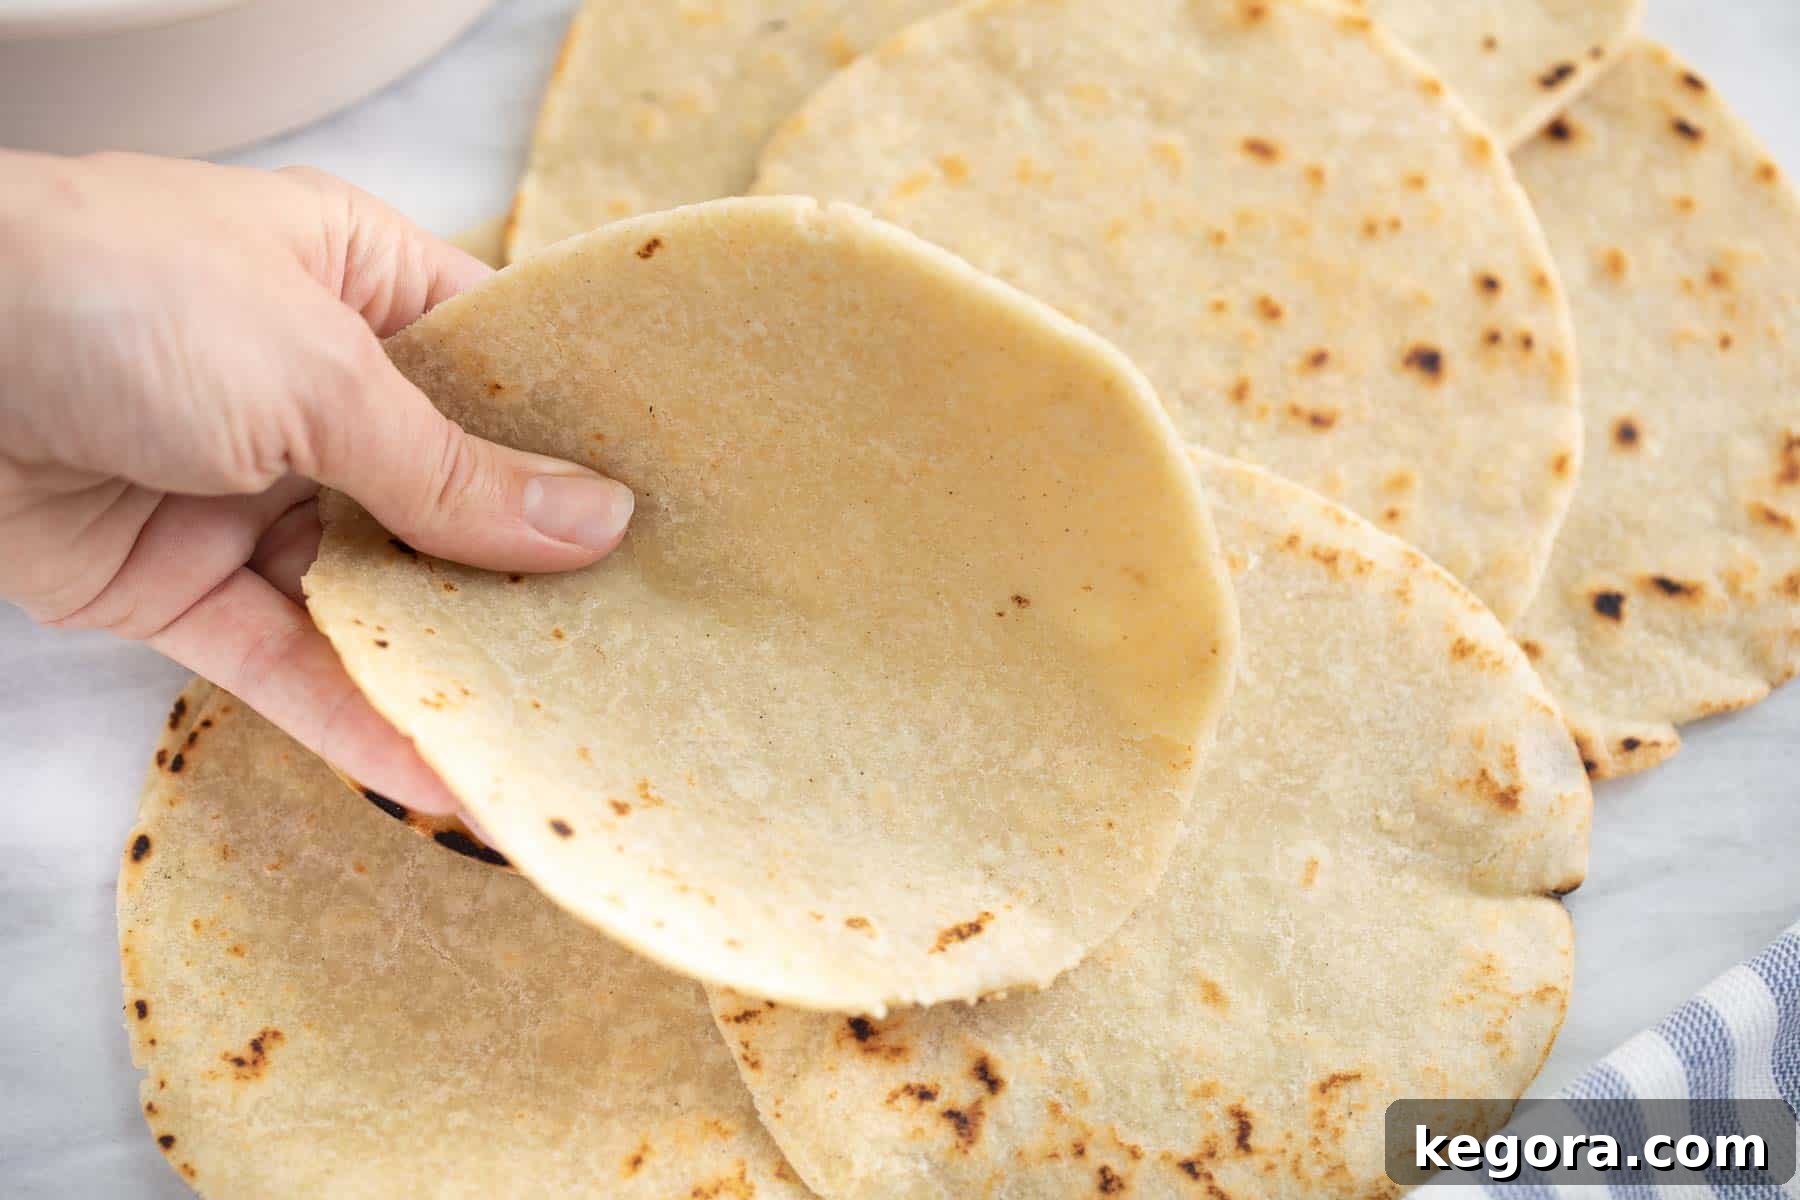
- Superior Texture: The biggest challenge with gluten-free baking is often achieving the right texture. This recipe specifically addresses this, yielding tortillas that are wonderfully soft, flexible, and won’t crack or break when folded, unlike many commercially available gluten-free alternatives.
- Ingredient Control: You dictate what goes into your tortillas. This is crucial for avoiding unwanted additives, allergens (beyond gluten), and ensuring you’re using high-quality components.
- Cost-Effective: Once you have the staple gluten-free flour blend, making tortillas at home is often more economical than buying specialized gluten-free products.
- Dietary Versatility: These tortillas are not just for gluten-free diets; they are a fantastic option for anyone looking to reduce gluten intake without sacrificing flavor or enjoyment.
Whether you’re wrapping up a hearty breakfast burrito, assembling vibrant street tacos, or making a quick cheese quesadilla, having a stack of warm, homemade gluten-free flour tortillas ready will transform your mealtime. They are truly the perfect accompaniment for a wide array of dishes, offering a comforting and satisfying base.
Essential Equipment for Perfect Gluten-Free Tortillas
While making tortillas might seem intimidating, having the right tools can make the process incredibly smooth and enjoyable. You don’t need a gourmet kitchen, but a few key pieces of equipment will significantly improve your results:
- Stand Mixer (Recommended): A stand mixer with a dough hook attachment makes the initial mixing process effortless, ensuring the ingredients are thoroughly combined and the dough achieves the right consistency without overworking it. If you don’t have one, a large mixing bowl and a sturdy spoon (followed by kneading by hand) will work too.
- Tortilla Press (Highly Recommended): This is perhaps the most useful tool for achieving perfectly thin and round tortillas with minimal effort. While a rolling pin can work, a press provides consistent thickness and speed, especially when making multiple tortillas.
- Rolling Pin: If a tortilla press isn’t available, a good quality rolling pin is essential. You’ll use it to roll out the dough balls between two sheets of parchment paper for even results.
- Cast Iron Skillet or Non-Stick Pan: A heavy-bottomed cast iron skillet is ideal for cooking tortillas because it retains heat exceptionally well and cooks them evenly. A good quality non-stick pan can also be used, but ensure it heats consistently.
- Plastic Wrap or Damp Cloth: Crucial for resting the dough and keeping it moist.
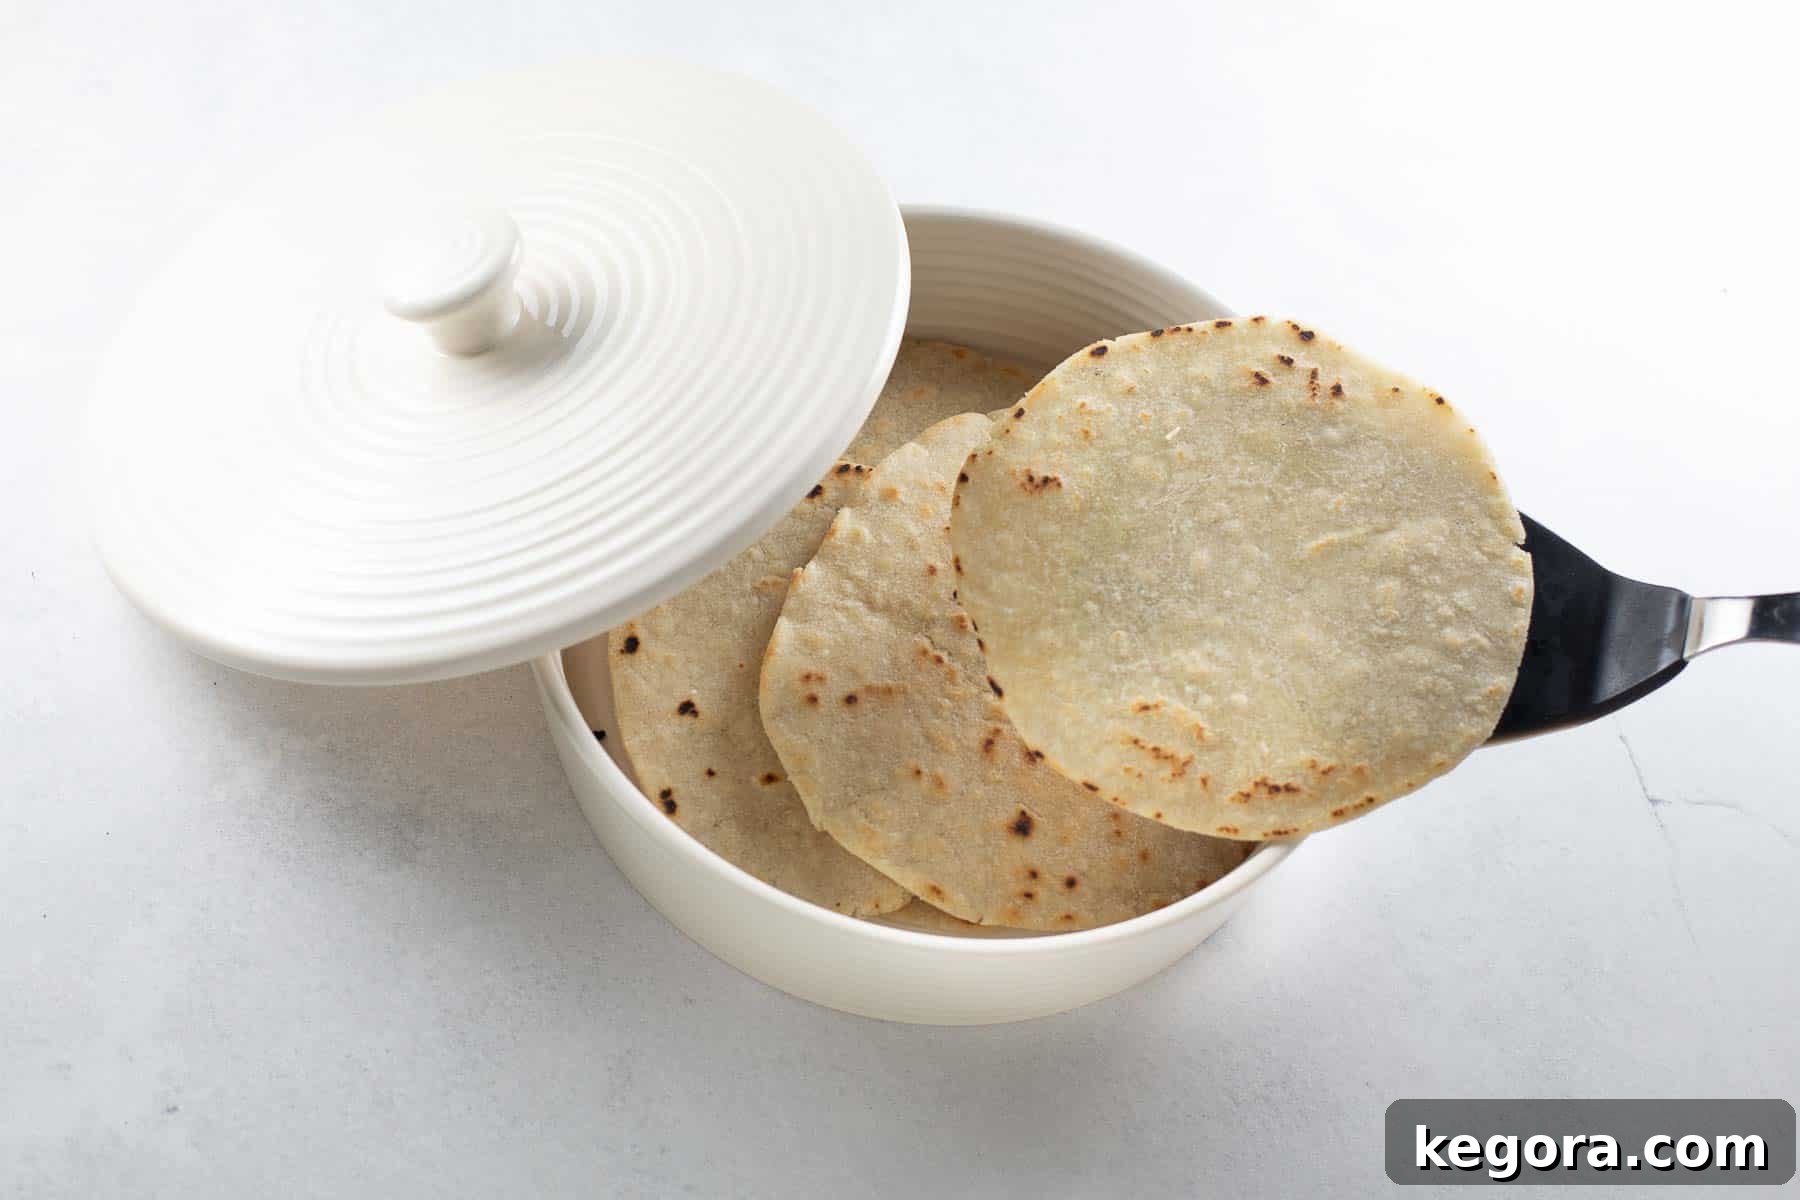
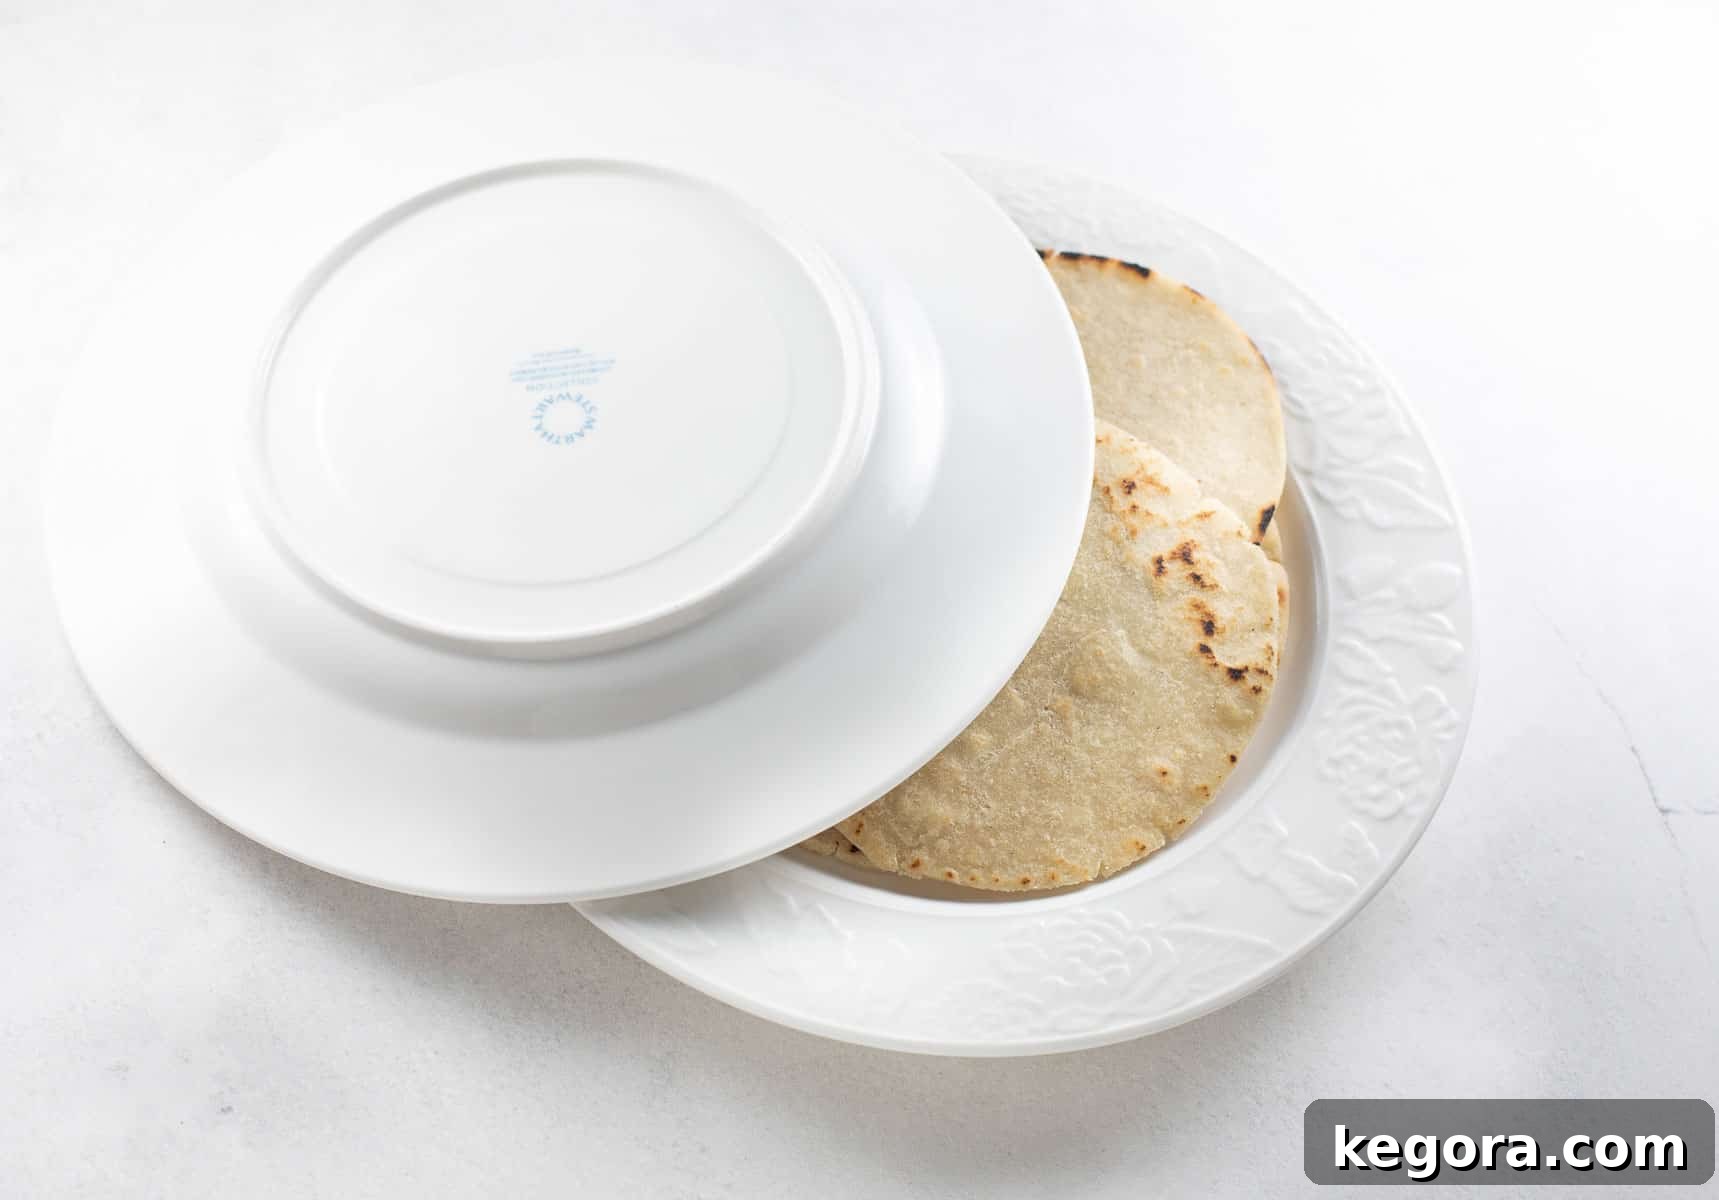
- Tortilla Warmer (Optional, but useful): A tortilla warmer helps keep your cooked tortillas soft, warm, and pliable as you finish cooking the rest of the batch. Alternatively, you can use two plates or a damp kitchen towel.
- Pizza Cutter (Optional): For those who desire perfectly uniform, round tortillas, a pizza cutter can be used to trim the edges after pressing or rolling.
VIDEO: See How Easy It Is to Make Gluten-Free Tortillas!
Visual learners, rejoice! Watching the process can clarify many steps and provide confidence. This video demonstrates the ease and technique involved in making these delicious gluten-free flour tortillas at home. It’s a great way to see the dough consistency, pressing method, and cooking cues in action.
Watch a step-by-step video tutorial to guide you through making these soft and delicious gluten-free tortillas.
Click here to watch the Gluten-Free Tortillas video
Ingredients You’ll Need for Soft & Pliable GF Tortillas
The beauty of this recipe lies in its simplicity, using common pantry staples to achieve extraordinary results. Here’s a closer look at the key ingredients and why they are essential:
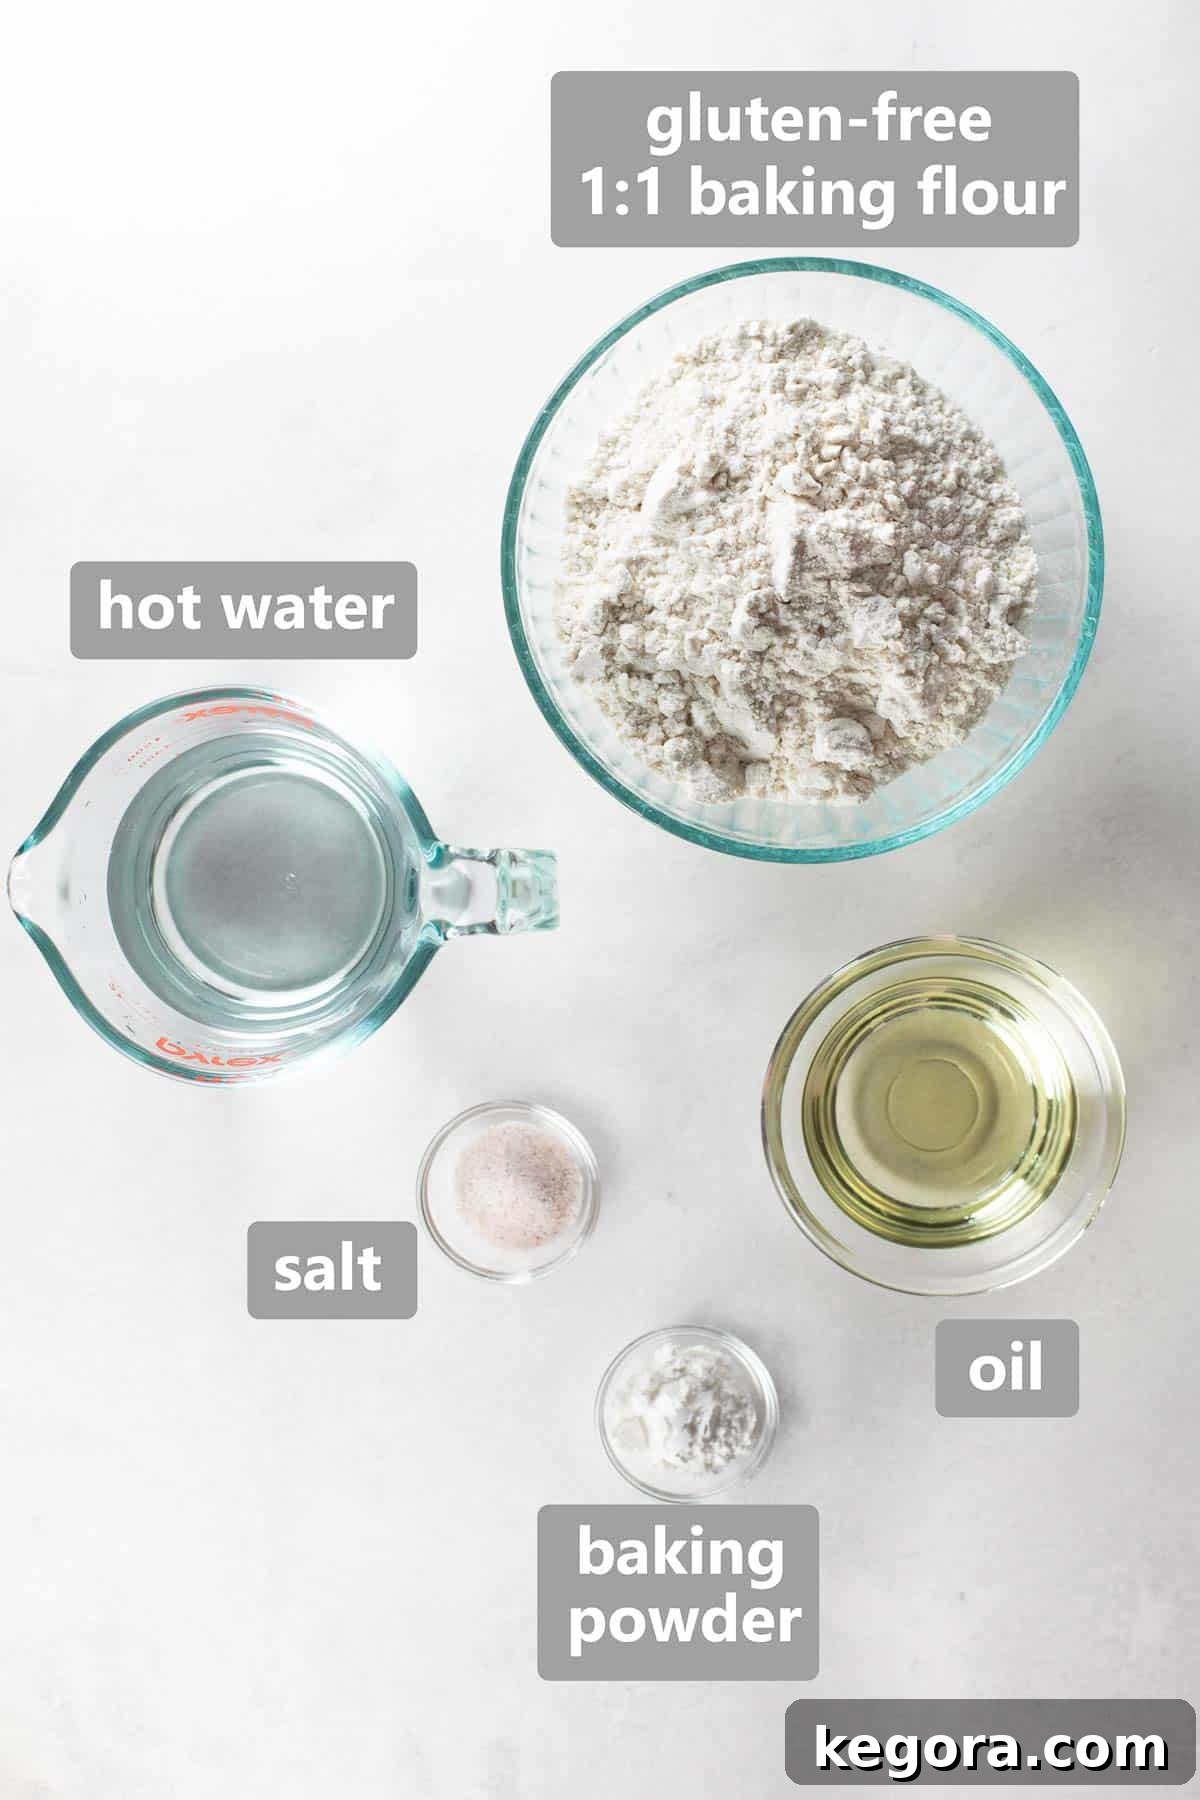
- Gluten-Free 1:1 Baking Flour: This is the cornerstone of our recipe. For optimal results, use a high-quality gluten-free measure-for-measure flour blend like King Arthur Flour. It’s crucial that your chosen blend contains xanthan gum. Xanthan gum acts as a binder, mimicking the elasticity of gluten and preventing your tortillas from becoming crumbly or stiff. Without it, the dough may not hold together as well. Avoid using single-ingredient flours like coconut flour or almond flour, as they have different absorption rates and require specific adjustments to achieve the correct texture for tortillas. Look for blends that primarily feature a combination of rice flour, potato starch, and tapioca starch for the best soft and pliable outcome.
- Baking Powder: A leavening agent that helps to give the tortillas a slight puffiness and softness, contributing to their tender texture.
- Salt: Enhances the overall flavor of the tortillas. Don’t skip it!
- Oil: Vegetable oil or another neutral-flavored oil (such as canola or grapeseed oil) works best. The oil adds moisture, richness, and contributes to the tortillas’ flexibility and softness, preventing them from becoming dry and brittle.
- Hot Water: This is a critical component. Using hot water helps to hydrate the gluten-free flours more effectively, activating the starches and xanthan gum. This results in a smoother, more cohesive dough that is easier to work with and produces a more pliable tortilla. Ensure the water is hot, but not boiling, to avoid cooking the flour.
Step-by-Step Guide: Crafting Your Gluten-Free Flour Tortillas
Follow these detailed steps to create perfectly soft and flexible gluten-free tortillas every time. Patience and attention to detail will ensure your success.
Making the Dough
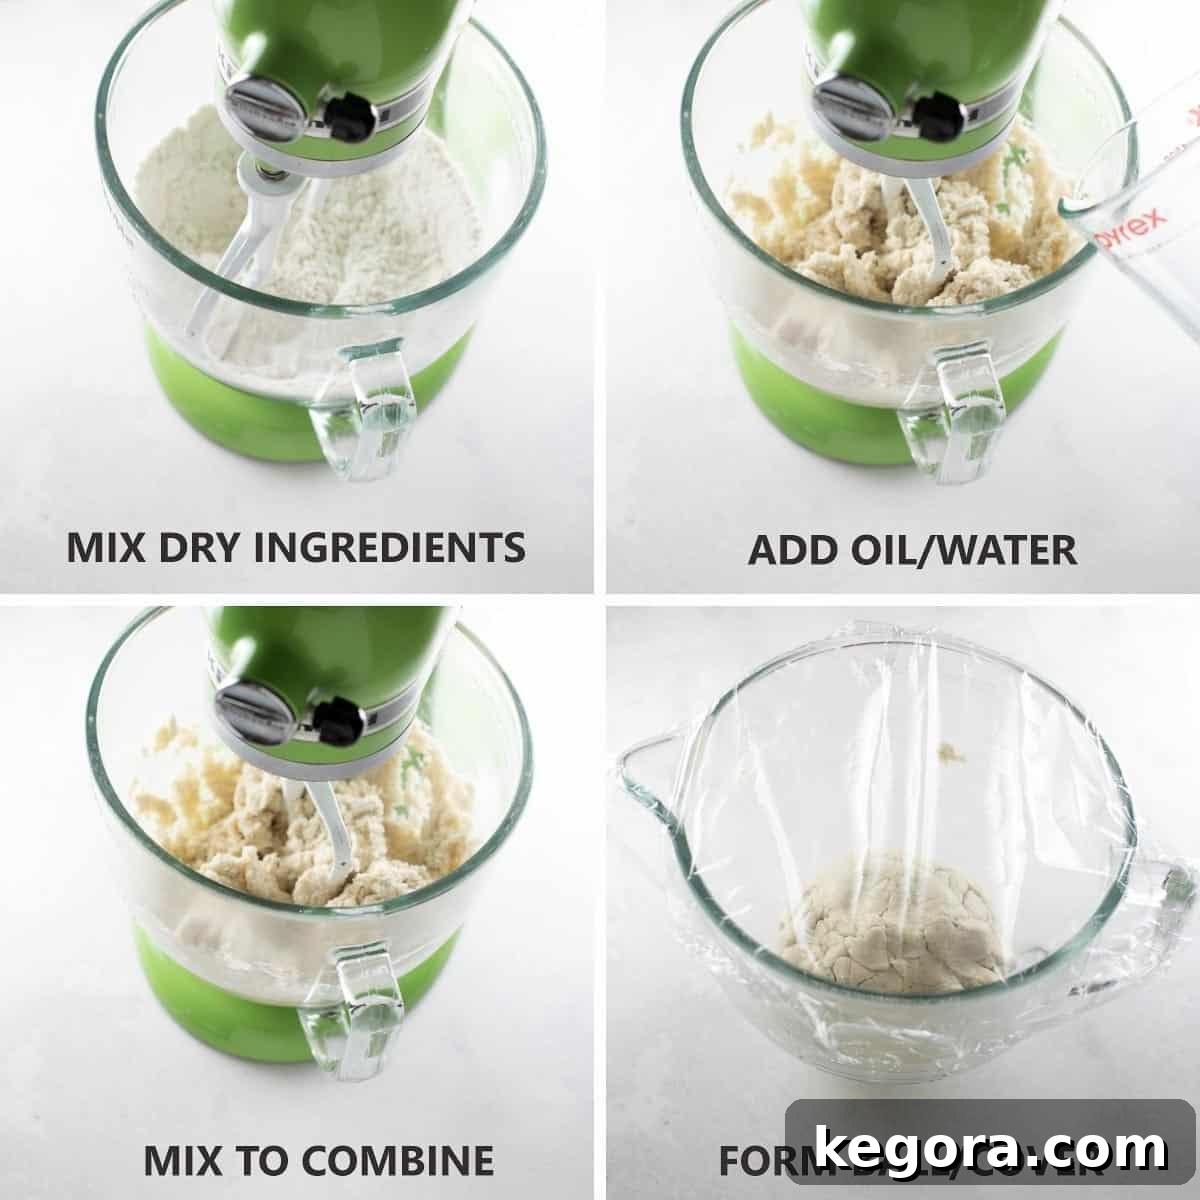
- Combine Dry Ingredients: In the bowl of a stand mixer (or a large mixing bowl), add your gluten-free flour blend, baking powder, and salt. Mix on low speed for about 30 seconds until these dry ingredients are thoroughly combined. This ensures even distribution of leavening and seasoning.
- Incorporate Oil: Add the chosen oil to the dry mixture. Mix on low speed until the oil is fully incorporated and the mixture resembles coarse crumbs. The oil helps to tenderize the dough.
- Add Hot Water: Slowly pour the hot water into the flour and oil mixture while the mixer is running on low. Continue mixing for 1-2 minutes until a soft, cohesive dough ball forms. The dough should be slightly sticky but manageable. If it feels too wet, add a tiny bit more flour; if too dry, a few drops more hot water.
- Rest the Dough: Once the dough is formed, remove it from the mixer and shape it into a neat ball. Place it back in the bowl, cover tightly with plastic wrap or a damp kitchen towel, and let it rest at room temperature for at least 15 minutes. This resting period is crucial as it allows the flour to fully hydrate and the xanthan gum to work its magic, resulting in a more pliable and less sticky dough that’s easier to roll or press.
Shaping Your Tortillas
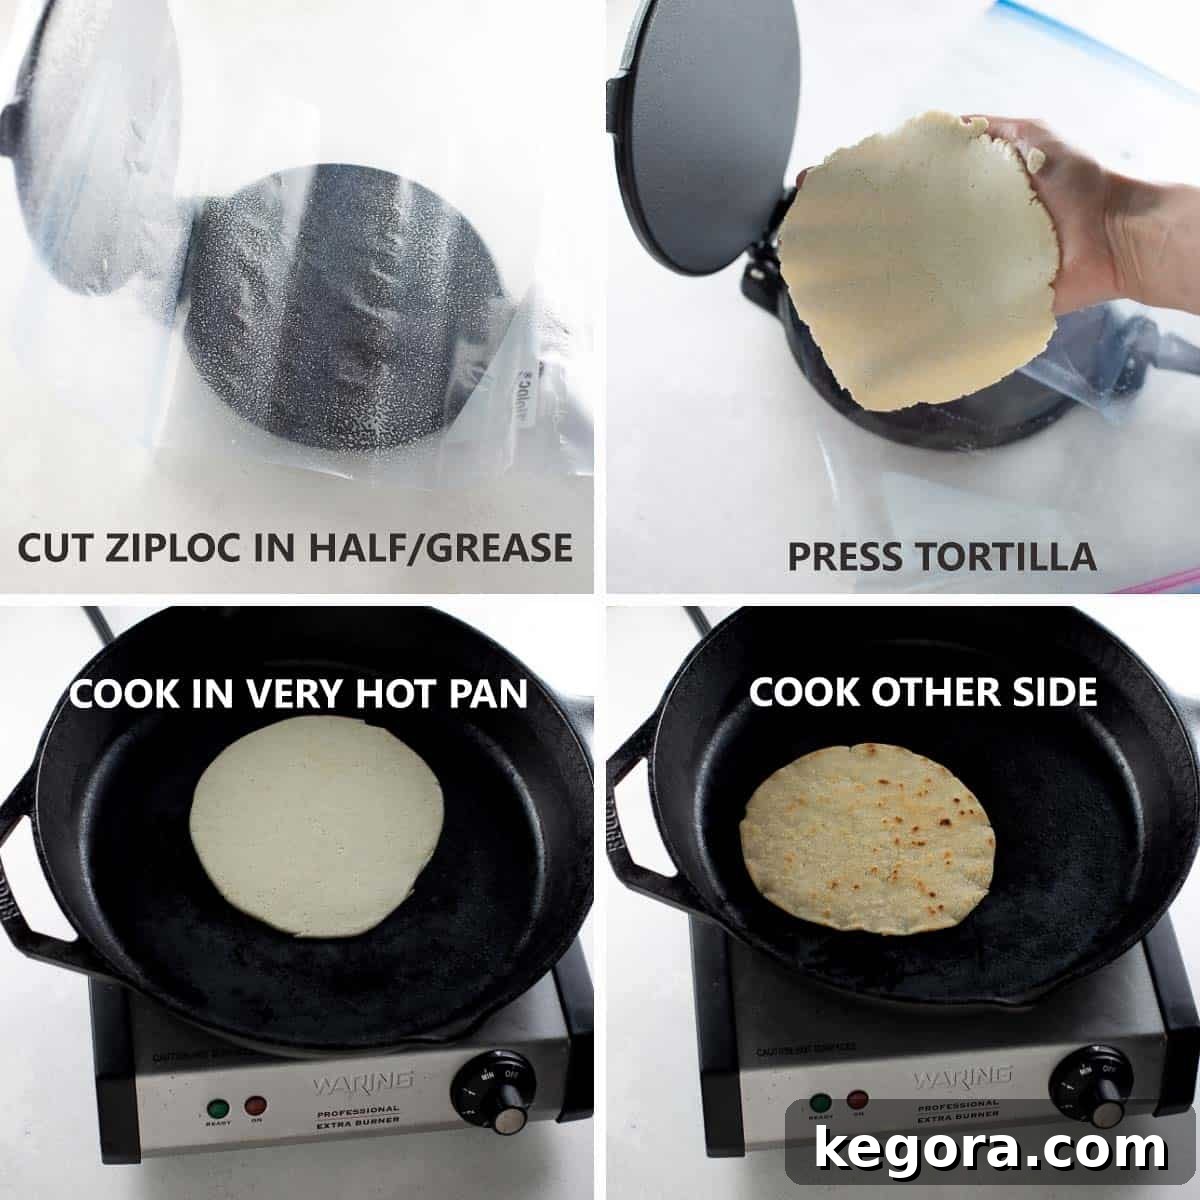
- Prepare Your Press or Rolling Surface: If using a tortilla press, cut the sides of a gallon-size Ziploc bag (or use two large pieces of parchment paper) and place it over the press. Lightly spray the inside of the bag or parchment paper with cooking spray. This prevents sticking and makes transferring the tortilla much easier. If using a rolling pin, you’ll roll the dough between two sheets of parchment paper.
- Divide the Dough: Pinch off small portions of the rested dough, roughly 2-3 tablespoons each, and roll them into smooth, uniform balls. The size of the ball will determine the size of your tortilla.
- Press or Roll: Place one dough ball in the center of your lined tortilla press (or between parchment paper). Gently press down the handle of the tortilla press to flatten the dough into a thin, round tortilla. If rolling, apply even pressure with your rolling pin, working from the center outwards, until you achieve the desired thinness.
- Refine Shape (Optional): For perfectly round tortillas, you can carefully trim the edges with a pizza cutter after pressing or rolling. This is purely for aesthetics and does not affect the taste or texture.
Cooking for Perfection
- Preheat Skillet: Heat a cast iron skillet or a heavy-bottomed non-stick pan over medium-high heat for at least 5 minutes. The pan needs to be very hot to cook the tortillas quickly without drying them out. Do NOT grease the pan.
- Cook First Side: Carefully transfer a shaped tortilla to the very hot skillet. Cook for 1-2 minutes, or until you see small bubbles forming on the surface and the underside has developed light brown spots.
- Flip and Finish: Flip the tortilla and cook for another 1-2 minutes on the second side, until it puffs slightly and has similar brown spots.
- Avoid Overcooking: This is a crucial step! Do not cook the tortillas for too long. Overcooking will lead to stiff, brittle tortillas. The goal is a quick cook on a high heat to achieve those delicious brown spots while keeping the tortilla soft and flexible.
- Keep Warm: As each tortilla finishes cooking, immediately transfer it to a tortilla warmer. If you don’t have a warmer, stack them between two plates or wrap them in a clean, damp kitchen towel. This step is vital for retaining heat and moisture, ensuring your tortillas remain soft, pliable, and ready to enjoy.
- Repeat: Continue this process with the remaining dough balls until all your tortillas are cooked. Serve warm with your favorite fillings!
Pro Tips for Gluten-Free Tortilla Success
Making gluten-free tortillas can be an art, but with these expert tips, you’ll achieve perfect results consistently:
- The Power of a Tortilla Press: While a rolling pin works, a tortilla press is a game-changer for speed and uniformity. To prevent sticking, always line your press. A common trick is to cut a gallon-sized Ziploc bag along its sides to create two large plastic sheets, then lightly spray them with cooking spray before placing your dough ball inside. This ensures easy release and keeps your press clean.
- Achieving Perfect Rounds: If aesthetic perfection is your goal, use a small pizza cutter to lightly trim the edges of your tortillas after they’ve been pressed or rolled. This creates a neat, uniform circle, making for a more professional-looking wrap.
- Heat is Your Friend: A crucial factor for soft tortillas is a very hot cooking surface. Preheat your cast iron skillet or heavy-bottomed non-stick pan over medium-high heat for at least 5 minutes before cooking. A sizzling hot pan cooks the tortilla quickly, allowing it to get nice brown spots without drying out. If your pan isn’t hot enough, the tortillas will take longer to cook, turn out pale, and likely become stiff.
- Don’t Overcook: This is perhaps the most important tip for gluten-free tortillas. Unlike wheat tortillas that can handle more cooking, gluten-free versions become firm and brittle very quickly if overcooked. Aim for a total cooking time of 2-3 minutes per tortilla (1-2 minutes per side). You’re looking for light brown spots and a slight puffing, not a crispy texture.
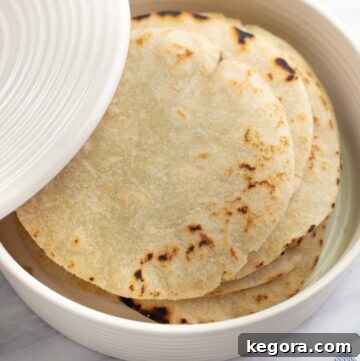
- Keep Them Warm and Moist: As you cook each tortilla, transfer it immediately to a tortilla warmer or stack them between two clean plates or inside a damp kitchen towel. The residual heat and steam help to keep them wonderfully soft and pliable while you finish the rest of the batch.
- Dough Consistency Matters: The dough should be soft, slightly tacky, but not overly sticky. If your dough is too wet, your tortillas might be difficult to handle and tear when transferring to the pan. If too dry, they might crack when pressed or rolled. Adjust with a teaspoon of flour or a few drops of hot water as needed.
- Work Quickly: Once the dough is made, try to shape and cook the tortillas fairly efficiently. While resting is good, leaving the dough exposed for too long can cause it to dry out.
Creative Ways to Enjoy Your Gluten-Free Tortillas
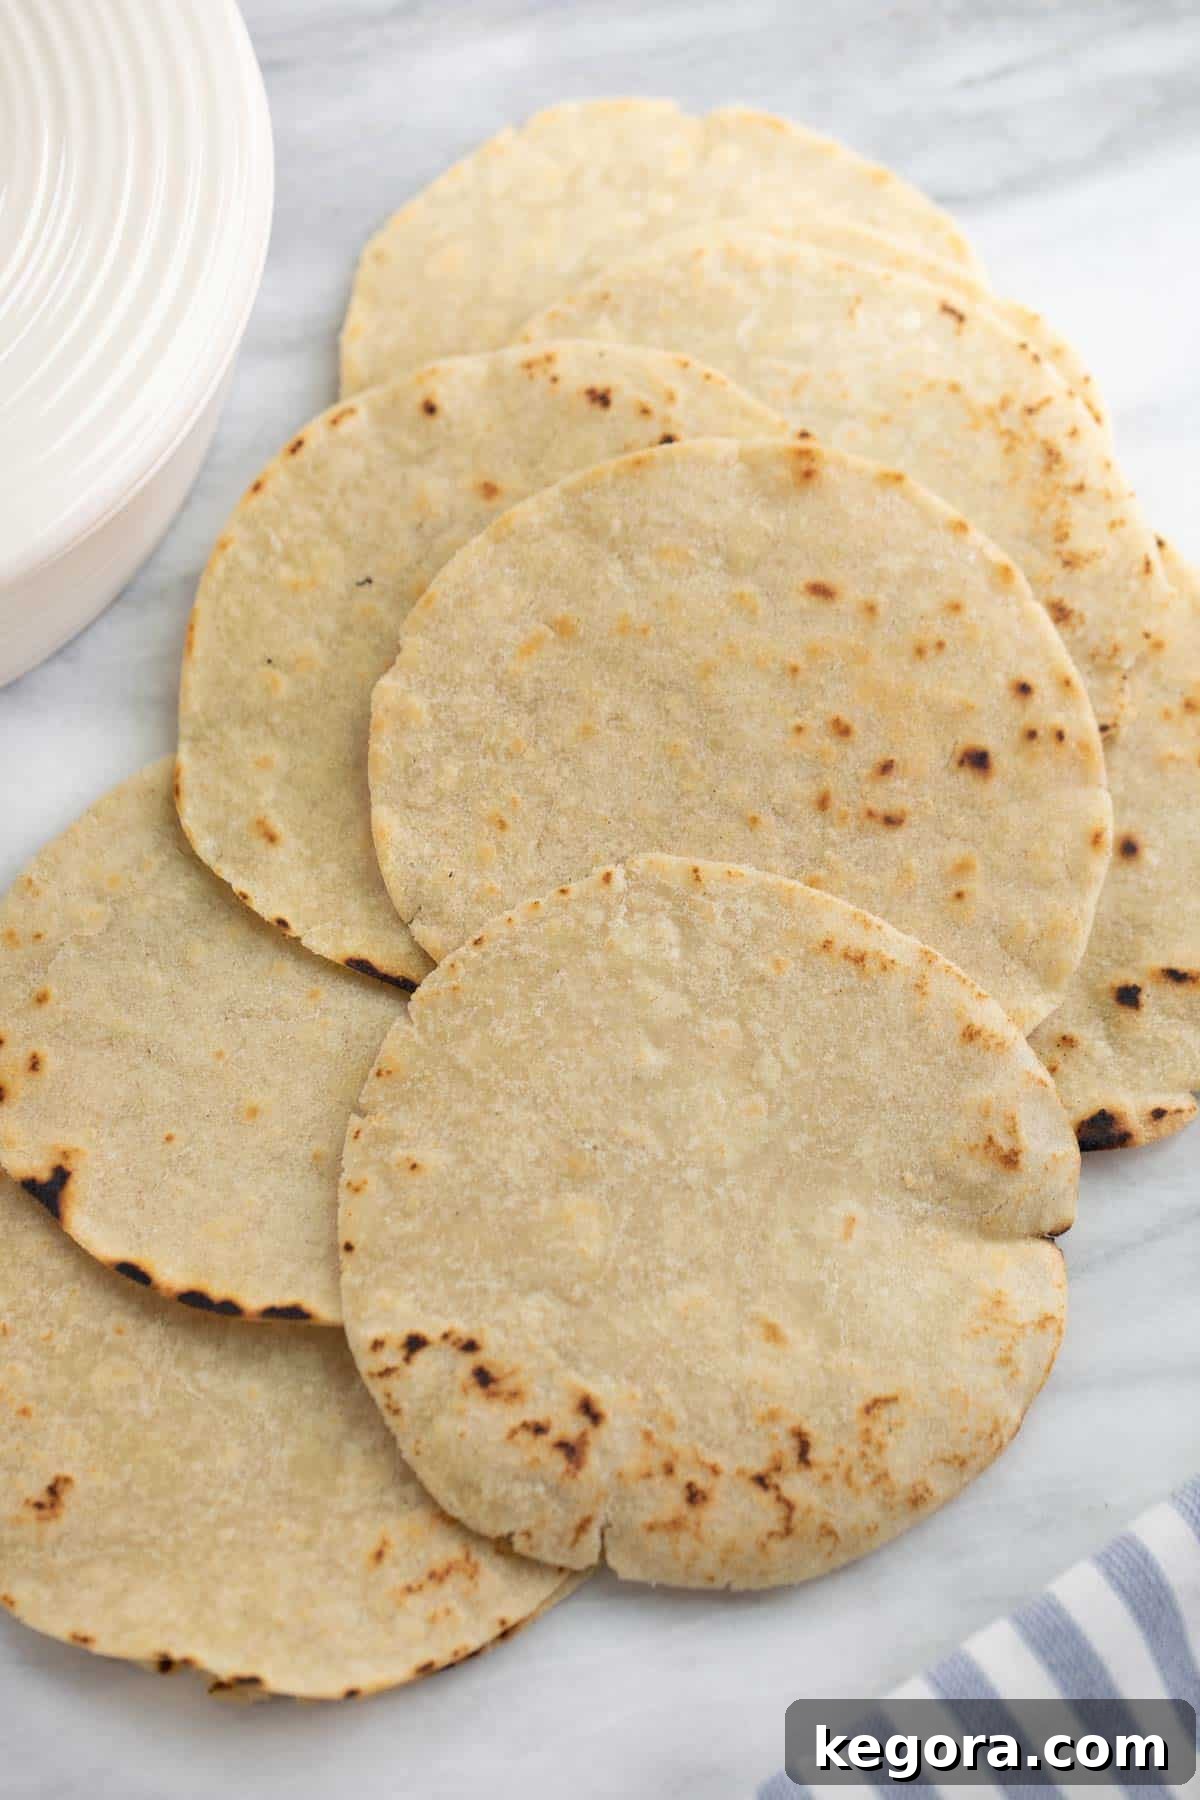
The versatility of these homemade gluten-free flour tortillas means the culinary possibilities are truly endless! Beyond the traditional, here are some of our favorite and most creative ways to enjoy them:
- Ultimate Quesadillas: Melt your favorite cheese in the middle and top with savory fillings like mashed slow-cooker pinto beans, sautéed mushrooms, or a sprinkle of chopped cilantro.
- Flavorful Tacos & Burritos: Perfect for wrapping up succulent slow-cooker pork tacos, shredded chicken, or seasoned ground beef. Don’t forget the toppings like pickled onions, fresh salsa, or creamy avocado.
- Gourmet Fajita Wraps: Serve with sizzling chicken prepared using the best chicken fajita marinade, bell peppers, and onions for an authentic Tex-Mex experience.
- Sweet Cinnamon Sugar Treats: For a delightful dessert or snack, spread a warm tortilla with a thin layer of butter, sprinkle generously with cinnamon sugar, and roll it up. You can even lightly toast it on the skillet for a crispy finish.
- Simple Cheese Tortillas for Kids: A classic favorite! Melt cheese on a warm tortilla for a quick, comforting, and kid-friendly meal or snack.
- Mini Pizzas: Use them as a base for quick personal pizzas. Add a dollop of marinara, sprinkle with cheese and your favorite toppings, then bake or pan-fry until the cheese is bubbly.
- Breakfast Wraps: Fill with scrambled eggs, cheese, sausage, or black beans for a satisfying morning meal.
- Healthy Lunch Wraps: Great for wrapping up deli meat, hummus, fresh veggies, and a drizzle of dressing for a portable and fresh lunch.
- Crispy Tortilla Chips: Cut into wedges, brush lightly with oil, sprinkle with salt, and bake until crispy for homemade gluten-free tortilla chips.
Gluten-Free Tortilla FAQ: Your Questions Answered
Here are some frequently asked questions to help you troubleshoot and maximize your gluten-free tortilla experience:
Absolutely! These tortillas freeze wonderfully. To freeze, allow them to cool completely, then separate individual tortillas with a small piece of parchment paper or waxed paper to prevent them from sticking together. Stack them and place them in an airtight freezer-safe bag or container. They can be stored in the freezer for up to 2-3 months. To reheat, simply microwave for 10-15 seconds, or warm gently on a skillet.
Once cooled, store your freshly made gluten-free tortillas in an airtight container or a Ziploc bag at room temperature for up to 24 hours. For longer storage, refrigerate them for up to 1 week. Keeping them sealed prevents them from drying out. To reheat, microwave for 10-15 seconds, or warm briefly on a dry skillet until soft and pliable again.
This is a common issue and can usually be attributed to two main factors. First, if you roll the tortillas too thin, they become very fragile and prone to tearing during transfer. Try rolling or pressing them slightly thicker. Second, your dough might be too wet. If the dough is excessively sticky, it will be difficult to handle. Try adding an additional tablespoon of gluten-free flour to your dough and kneading it in until it’s more manageable but still soft.
Most traditional corn tortillas are indeed naturally gluten-free, as they are made from masa harina (corn flour) and water. However, it is always crucial to check the label, as some brands may use a blend of corn and wheat flour, or process their corn tortillas in facilities that also handle wheat, leading to cross-contamination. Flour tortillas, on the other hand, are traditionally made from wheat flour and are therefore NOT gluten-free unless specifically labeled as such. Always opt for certified gluten-free products if you have celiac disease or severe gluten sensitivity.
Yes, you can! You can prepare the dough and store it in an airtight container in the refrigerator for up to 24 hours. When you’re ready to make tortillas, let the dough sit at room temperature for about 15-20 minutes to soften slightly before proceeding with shaping and cooking.
More Delicious Gluten-Free Recipes to Explore
If you loved these gluten-free tortillas, be sure to check out some of our other popular gluten-free dishes:
- 7 Gluten-Free Comfort Food Dinners My Whole Family Loves
- Gluten-Free Green Chile Chicken Enchiladas
- Gluten-Free Chicken Parmesan
- Homemade Smashburger Sauce
I truly hope you enjoy making and savoring this gluten-free tortilla recipe as much as we do! Your feedback means the world to us, so if you give it a try, please be sure to leave a comment and rating below. We’d love to hear about your experience!
Gluten-Free Flour Tortillas
Rating: 4.98 from 35 votes
Author: Erin Collins
Prep Time: 25 mins
Cook Time: 15 mins
Total Time: 40 mins
Servings: 10 tortillas
These easy, gluten-free flour tortillas are perfect for tacos, quesadillas, burritos, wraps, and more. They turn out wonderfully delicious and are well worth the effort. Plus, making them at home is simpler than you’d think!
This guide provides all the tips and tricks you need to successfully make soft and pliable gluten-free tortillas in your own kitchen.
Comments
Print Recipe
Ingredients
- 3 cups gluten-free 1:1 baking flour (with xanthan gum)
- 1 ½ teaspoons baking powder
- 1 teaspoon salt
- ⅓ cup neutral oil (like vegetable or canola oil)
- 1 ¼ cups hot water
Instructions
- In the bowl of a stand mixer, combine the gluten-free flour, baking powder, and salt. Mix on low speed until well combined.
- Add the oil to the dry ingredients and continue mixing on low until fully incorporated and the mixture resembles coarse crumbs.
- Slowly pour the hot water into the mixture while mixing on low speed. Continue mixing for 1-2 minutes until a soft, cohesive dough ball forms. The dough should be slightly sticky.
- Form the dough into a ball, cover the bowl with plastic wrap, and let it rest at room temperature for 15 minutes. This allows the flour to fully hydrate.
- While the dough rests, preheat a cast iron skillet or heavy-bottomed non-stick pan over medium-high heat for at least 5 minutes. Do not grease the pan.
- Prepare your tortilla press by cutting the sides of a gallon-size Ziploc bag (or using two pieces of parchment paper) and placing it over the press. Lightly spray the bag/paper with cooking spray.
- Pinch off small portions of the dough (about 2-3 tablespoons each) and roll them into smooth balls. Place one dough ball in the lined tortilla press and flatten it into a thin, round tortilla. Alternatively, roll the dough between parchment paper with a rolling pin. Trim edges with a pizza cutter for perfect circles if desired.
- Carefully place a shaped tortilla onto the preheated, dry skillet. Cook for 1-2 minutes until small bubbles appear and the underside has light brown spots.
- Flip the tortilla and cook for another 1-2 minutes on the second side, until it puffs slightly and has similar brown spots. Be careful not to overcook, as this will make the tortillas stiff.
- Immediately transfer the cooked tortilla to a tortilla warmer, or stack it between two plates or in a damp kitchen towel to keep it warm and soft.
- Repeat steps 7-10 with the remaining dough. Serve your warm, fresh gluten-free tortillas with your favorite fillings and enjoy!
Notes
- Gluten-Free 1:1 Baking Flour: For best results, use a blend containing xanthan gum (e.g., King Arthur Flour Measure for Measure). Avoid almond or coconut flour as they require different ratios.
- Oil: Any neutral-flavored oil such as vegetable, canola, or grapeseed oil works well to add moisture and flexibility.
- Hot Water: Essential for proper hydration of gluten-free flours and creating a pliable dough.
- Use a Tortilla Press or Rolling Pin: A press offers consistency and ease. If rolling, use parchment paper to prevent sticking.
- Hot Pan is Key: A very hot skillet ensures quick cooking and browning without drying out the tortillas.
- Do Not Overcook: Overcooking leads to stiff tortillas. Aim for light brown spots and a soft texture.
- Keep Tortillas Warm: Stacking cooked tortillas in a warmer or between plates helps retain their softness and pliability.
- Storage: Store at room temperature for 24 hours or refrigerate up to 1 week in an airtight container. Freeze with parchment paper in between for longer storage.
- Reheating: Microwave for 10-15 seconds or warm on a dry skillet.
Nutrition Information
- Calories: 212 kcal
- Carbohydrates: 24g
- Protein: 5g
- Fat: 11g
- Saturated Fat: 1g
- Sodium: 241mg
- Potassium: 194mg
- Fiber: 2g
- Sugar: 1g
- Calcium: 46mg
- Iron: 1mg