
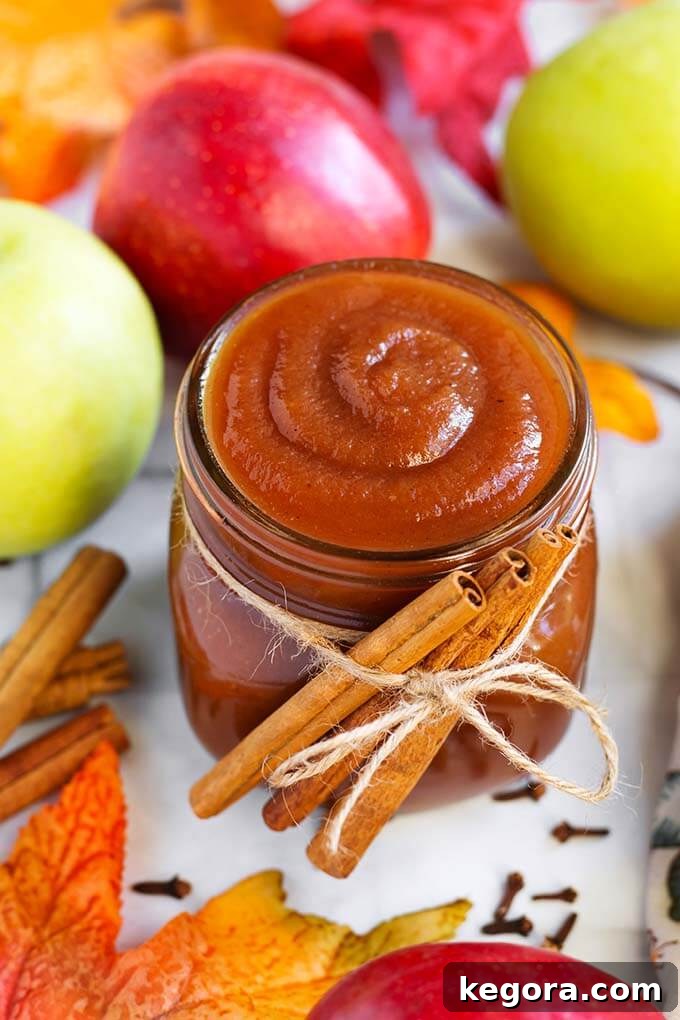
Homemade Instant Pot Apple Butter: Your Ultimate Guide to Fall’s Finest Spread
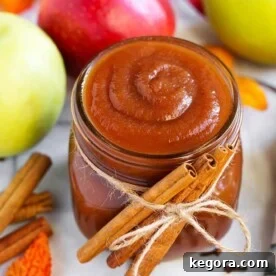
There’s nothing quite like the comforting aroma of warm spices and sweet apples filling your kitchen on a crisp autumn day. This Instant Pot Apple Butter recipe captures the very essence of fall in a jar, delivering a velvety-smooth, richly spiced, and perfectly sweetened condiment that will become an instant favorite. Forget the hours of stirring over a hot stove; our pressure cooker method streamlines the process, making homemade apple butter more accessible than ever before. Whether slathered on morning toast, swirled into yogurt, or used as a secret ingredient in your baking, this delectable spread is truly divine and incredibly versatile.
What Exactly is Apple Butter? More Than Just Applesauce!
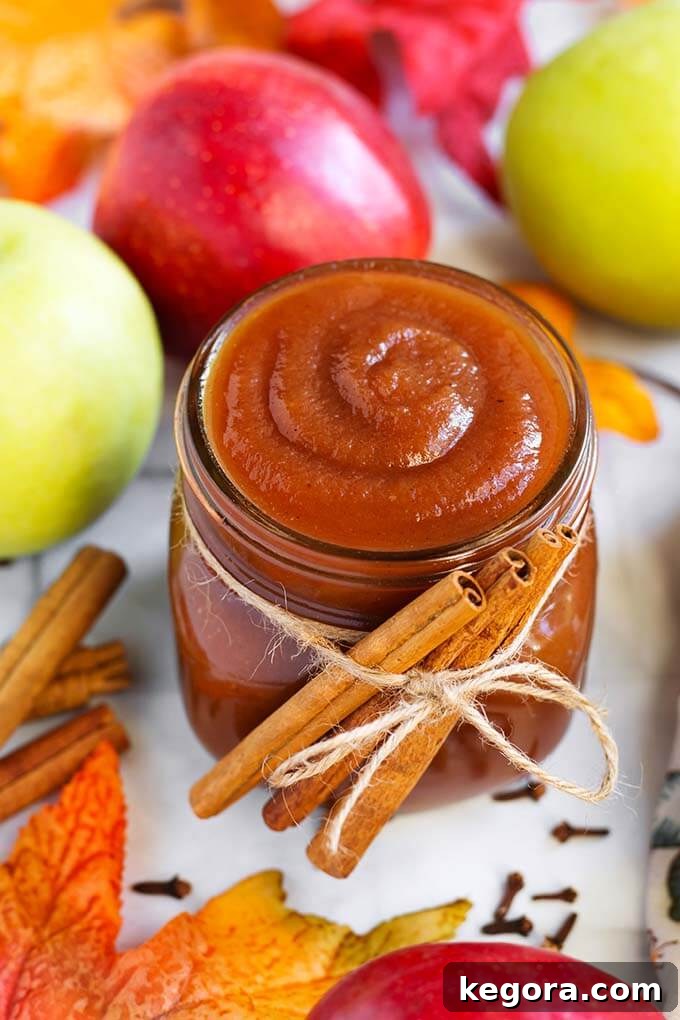
If you’re a fan of applesauce, prepare to fall in love with its richer, more sophisticated cousin: apple butter. While both are made from cooked apples, apple butter undergoes a much longer, slower cooking process. This extended cooking allows the natural sugars in the apples to caramelize, giving it a deeper, darker brown color and a more intense, complex flavor profile that distinguishes it from the lighter, tangier applesauce.
Despite its name, apple butter contains no actual butter. The “butter” in its name refers to its incredibly smooth, thick, and spreadable consistency, similar to dairy butter. This rich texture is achieved as the apples break down and much of their water content evaporates, concentrating the flavors and creating that signature luxurious feel. Infused with warm autumn spices like cinnamon, nutmeg, ginger, and cloves, it’s a taste experience that truly embodies the spirit of the season.
Why the Instant Pot is Your Secret Weapon for Apple Butter
Traditional apple butter recipes often call for hours, sometimes even overnight, of simmering on the stovetop or in a slow cooker. While the results are undoubtedly rewarding, the constant stirring and monitoring can be a deterrent for many home cooks. This is where the Instant Pot truly shines, making homemade apple butter an achievable weekend project rather than a multi-day endeavor.
The beauty of using a pressure cooker lies in its ability to significantly cut down the initial cooking time. It rapidly tenderizes the apples, breaking them down to a soft pulp in a fraction of the time it would take conventionally. This fast start is crucial for developing that foundational flavor and texture. While the Instant Pot doesn’t eliminate the need for a slower reduction phase to achieve true apple butter consistency and caramelization, it drastically speeds up the initial phase, allowing you to enjoy this delightful spread much sooner without sacrificing any of its rich taste or velvety smoothness.
Choosing the Perfect Apples for Your Apple Butter
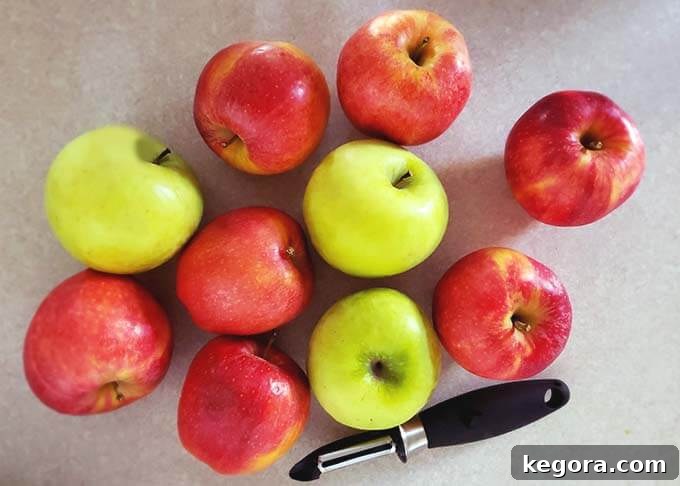
The foundation of exceptional apple butter begins with selecting the right apples. While you can certainly use a single variety, a blend of different apples often yields the most complex and balanced flavor. The best apples for Instant Pot Apple Butter are generally those that offer a good balance of sweetness and tartness, and break down well during cooking.
I highly recommend using a mix of tart and mildly sweet varieties. For tartness and a robust apple flavor, Granny Smith apples are an excellent choice. They provide a bright counterpoint to the sweetness and help to prevent the apple butter from becoming cloyingly sweet. For sweeter, aromatic notes, consider varieties like Gala, Fuji, Honeycrisp, Jonagold, or Braeburn. These apples contribute a lovely sweetness and a pleasant texture when cooked down.
Mixing 2 to 3 varieties ensures a depth of flavor that a single apple type might not achieve. Experiment with what’s fresh and in season at your local market. The possibilities truly are endless when it comes to apple combinations, allowing you to tailor the flavor profile to your personal preference. Remember to peel and core your apples before chopping them. While some recipes suggest leaving the peels on for added nutrition, removing them ensures the smoothest, most luxurious apple butter texture.
The Essential Ingredients for Instant Pot Apple Butter
Beyond the star ingredient – apples – a few other components come together to create this magical spread:
- Fresh Lemon Juice: This isn’t just for flavor; it also helps prevent the apples from browning too quickly and adds a bright, essential acidity that balances the sweetness.
- Apple Cider: A splash of apple cider enhances the overall apple flavor and adds a touch of liquid needed for pressure cooking.
- Warm Autumn Spices: A blend of cinnamon, ginger powder, nutmeg, allspice, and ground cloves creates the quintessential fall aroma and taste. Adjust these to your liking – if you prefer more cinnamon, go for it!
- Sugar: While apples have natural sugars, a precise amount of added sugar is crucial for achieving that lovely caramelization and rich flavor. The cooking process transforms the sugar, contributing to the apple butter’s dark color and deep sweetness.
- Kosher Salt: A tiny pinch of salt might seem unusual for a sweet spread, but it’s a flavor enhancer that brings out the best in all the other ingredients, balancing the sweetness and spices.
Crafting Your Instant Pot Apple Butter: A Step-by-Step Journey
Making apple butter in your Instant Pot is a straightforward process, combining the speed of pressure cooking with the gentle reduction of slow cooking. Here’s how you’ll do it:
Preparation is Key
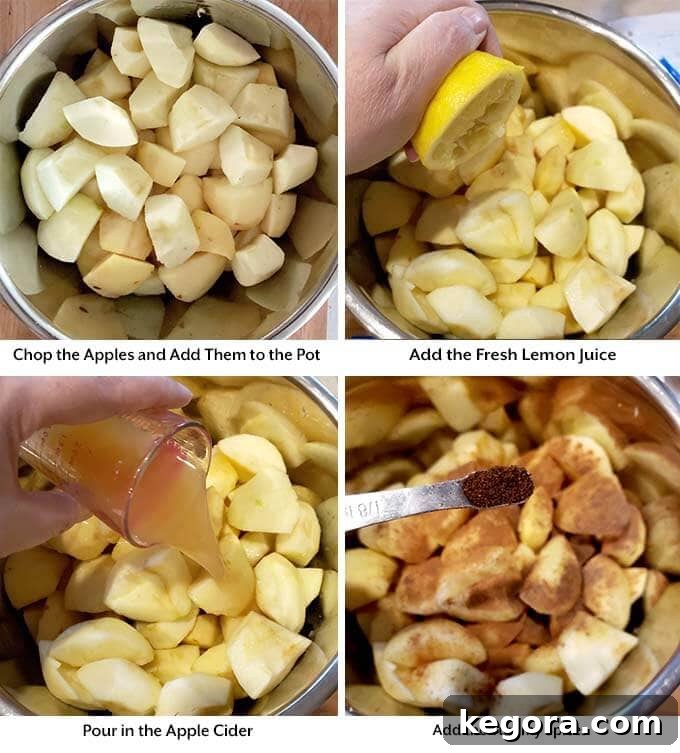
Begin by preparing your apples. Peel, core, and chop your chosen apple varieties into roughly 1-inch pieces. Uniformity in size helps ensure even cooking. This might seem like a bit of work, but it’s the most labor-intensive part of the entire recipe, and the Instant Pot takes over from there!
The Pressure Cooking Phase
Combine all the ingredients – chopped apples, lemon juice, apple cider, and all the delightful spices – directly into the Instant Pot’s inner pot. Secure the lid, making sure the steam release knob is set to the “Sealing” position. Set your Instant Pot to Pressure Cook (or Manual) on High Pressure for 7 minutes. The pot will take some time to come to pressure, but once it starts cooking, those apples will soften beautifully.
Natural Release and Mashing
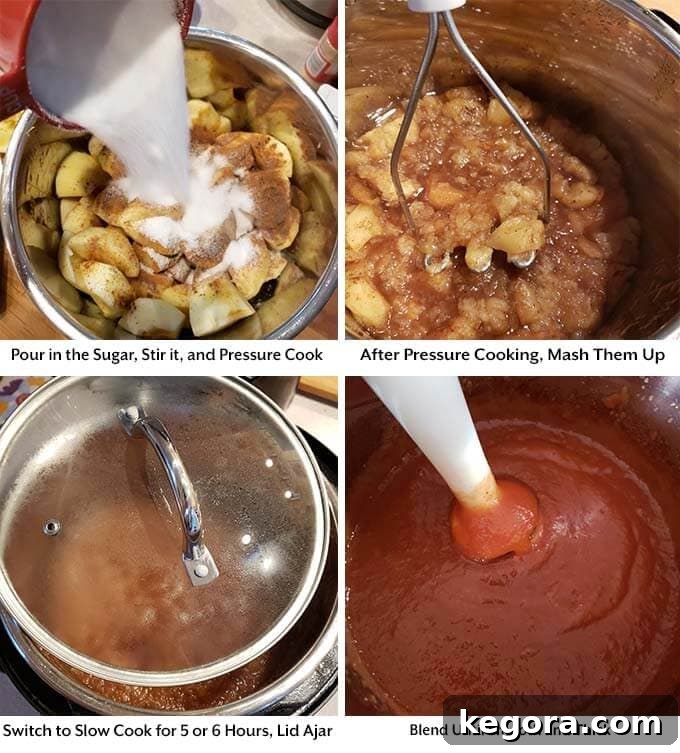
Once the pressure cooking cycle is complete, allow for a 10-minute Natural Release. This means simply leaving the Instant Pot undisturbed for 10 minutes, allowing the pressure to gradually decrease. After 10 minutes, carefully turn the steam release knob to the “Venting” position to quick release any remaining pressure. Once the pin drops, it’s safe to open the lid. You’ll be greeted with incredibly tender, fragrant apples. Use a potato masher to mash the apples directly in the pot, creating a chunky applesauce-like consistency.
The Slow Cook & Reduction Stage
Now, it’s time for the magic of reduction and caramelization. Turn off your Instant Pot, then select the “Slow Cook” function. For best results in achieving that thick apple butter consistency, you’ll want to use the highest heat setting available for the slow cook function. On most Instant Pot models, this is typically the “More” setting. Set the slow cook time for 5 hours. If your model achieves the equivalent heat of a traditional slow cooker on its “Low” setting, you may use that, but “More” is generally recommended for Instant Pot brand appliances.
Crucially, during this phase, do not fully seal the lid. Place a glass lid or a silicone lid on the pot, but leave it ajar by a few inches. This allows moisture to escape, concentrating the apple mixture and transforming it into thick, dark apple butter. Stir the mixture once or twice throughout the slow cooking process to prevent sticking and ensure even caramelization. This is where the flavors deepen and that beautiful rich color develops.
Achieving Perfect Smoothness
Once the slow cook time is up and your apple butter has reduced to a thick, glossy consistency, turn off the pot and let it cool slightly. For that signature smooth and velvety texture, use an immersion blender directly in the pot. Blend until you reach your desired consistency – some prefer a few tiny flecks of apple, while others want it completely silken. If you don’t have an immersion blender, allow the apple butter to cool completely before carefully transferring it in batches to a regular blender and blending until smooth. Be very cautious when blending hot liquids.
Essential Tips for Apple Butter Success
- The Dedicated Sealing Ring: This is perhaps the most important tip! Silicone absorbs strong odors from spicy or savory foods. To avoid apple butter with an unwelcome hint of chili or pot roast, always use a separate silicone sealing ring dedicated solely to sweet or neutral foods like applesauce, yogurt, and rice. Trust me, you don’t want a pot roast-flavored apple butter!
- Don’t Rush the Reduction: The slow cook phase is non-negotiable for true apple butter. While the Instant Pot speeds up the initial cooking, the long, uncovered simmer is essential for concentrating flavors, caramelizing sugars, and achieving the thick, spreadable texture.
- Avoid Sauté Mode for Reduction: I’ve tested using the Sauté setting for the reduction phase, and I don’t recommend it. It tends to pop and splatter vigorously, creating a mess and posing a burn risk. The “More” setting on Slow Cook provides a more gentle, consistent heat ideal for this process.
- Consistency Check: How do you know when it’s done? The apple butter should be thick enough to hold its shape on a spoon and spread easily. If you draw a spoon through it on a plate, it shouldn’t immediately fill the gap.
Storing Your Homemade Apple Butter
Once cooled, transfer your Instant Pot Apple Butter into clean glass jars or airtight containers. It will last for up to 2-3 weeks in the refrigerator. For longer storage, you have a couple of excellent options:
- Canning: Apple butter is an excellent candidate for water bath canning. Pack hot apple butter into hot, sterilized mason jars, leaving ¼ inch headspace. Process in a boiling water canner for about 20 minutes (always consult a reliable and up-to-date canning resource like the National Center for Home Food Preservation for precise instructions and processing times specific to your altitude). Properly canned apple butter can be shelf-stable for up to a year.
- Freezing: Freezing is another simple and effective method. Once cooled, spoon the apple butter into freezer bags (remove as much air as possible) or freezer-safe canning jars, leaving ½ inch headspace to account for expansion. Frozen apple butter can maintain its quality for up to 6 months to a year. Thaw in the refrigerator before using.
Creative Ways to Savor Your Apple Butter
Beyond being utterly delicious straight off the spoon, homemade apple butter is incredibly versatile. Here are just a few ideas to inspire you:
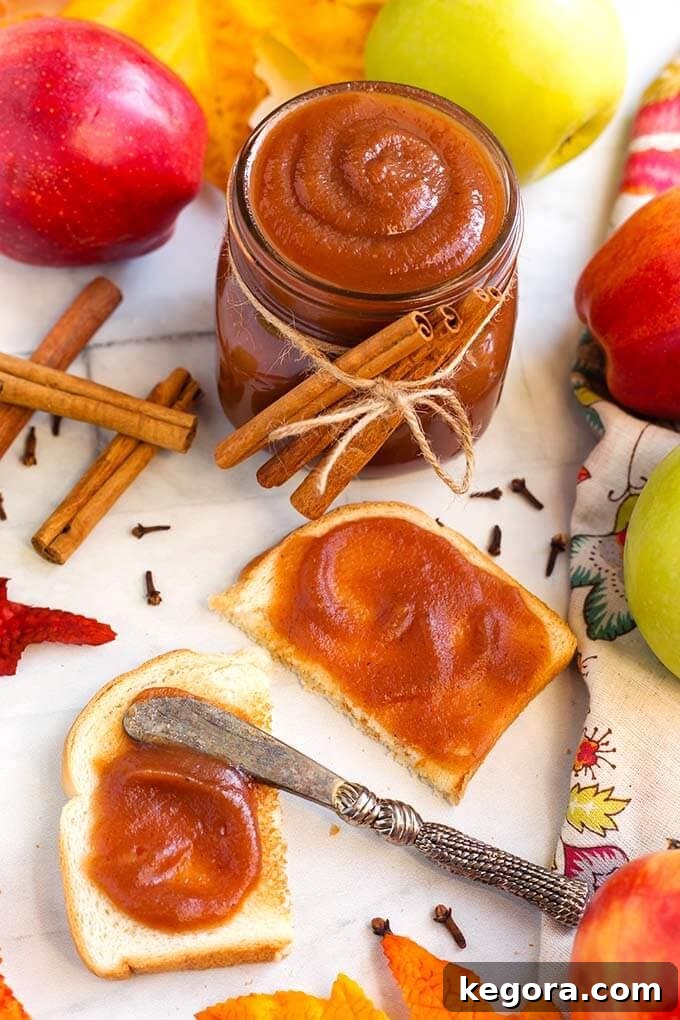
- Breakfast Bliss: Spread it generously on toast, English muffins, bagels, or biscuits. Swirl it into oatmeal or yogurt for a flavorful start to your day. It’s also fantastic dolloped over pancakes, waffles, or French toast.
- Baked Goods Booster: Use it as a natural sweetener and flavor enhancer in muffins, cakes, cookies, and quick breads. Replace some of the oil or sugar in your recipes with apple butter for added moisture and a warm, spiced flavor.
- Savory Pairings: Don’t limit apple butter to sweet applications! Its sweet and tangy profile makes it a wonderful accompaniment to savory dishes, especially pork. Use it as a glaze for roasted pork loin, a spread in a pork sandwich, or a component in a marinade.
- Dessert Dynamo: Warm it slightly and drizzle over vanilla ice cream, or use it as a filling for tarts and hand pies.
- Cocktail Companion: For the adventurous, apple butter can add unique depth to cocktails. This Apple Butter Old Fashioned Cocktail is a testament to its versatility!
Making your own Instant Pot Apple Butter is a rewarding experience that yields a delicious and versatile spread. The deep, spiced flavor and smooth texture make it a fall essential that you’ll want to enjoy all year long.

You Might Also Enjoy These Instant Pot Recipes:
Instant Pot Applesauce
Instant Pot Baked Apples
Instant Pot Strawberry Applesauce
Instant Pot Blueberry Jam
Rating: 5 Stars from 2 votes
Instant Pot Apple Butter
By Sandy Clifton
Instant Pot Apple Butter recipe is everything good about Fall. This sweetly spiced condiment is easy to make and results in a smooth, velvety spread that is delicious on toast, muffins, pancakes, and even in cocktails!
Prep: 15 mins
Cook: 5 hrs 7 mins
Total: 5 hrs 32 mins
Servings: 32 (2 Tbsp)
Equipment
- 6-quart or larger Electric Pressure Cooker
Ingredients
- 5 lbs Apples (any variety, I use a mix) peeled, cored, chopped (about 10 apples)
- 2 Tablespoons Fresh Lemon Juice
- ¼ cup Apple Cider
- ¼ teaspoon Ginger Powder
- ¼ teaspoon Nutmeg
- ¼ teaspoon Allspice
- 1 ½ teaspoon Cinnamon
- ⅛ teaspoon Ground Cloves
- 1 ¼ cups Sugar
- ¼ teaspoon Kosher Salt (⅛ teaspoon table salt)
Instructions
- Add all of the ingredients to the pot and place the lid on, setting the steam release knob to the Sealing position.
- Press the Pressure Cook/Manual button or dial, then the +/- button or dial to select 7 minutes. The pot will take several minutes to build pressure.
- After the cook time has ended, let the pot sit undisturbed for 10 minutes (10 minute Natural Release), then turn the steam release knob to the Venting position to Quick Release the remaining steam/pressure. Then turn off the pot.
- When the pin in the lid drops down, open it and use a potato masher to mash the apples.
- Press the Slow Cook button, then the Adjust button until you have selected “More” (your model may vary. What you want is the highest heat setting for the Slow Cook Function). Adjust the time using the +/- button or dial to select 5 hours. If your model gets as hot as an actual slow cooker, then use the Low heat. On Instant Pot brand use the “More.”
- Put the glass lid, or a silicone lid on the pot, but leave it ajar quite a bit so the apples can cook off their extra water (reduce) and turn into thick apple butter.
- Stir once or twice throughout the slow cooking.
- When the time is up, turn off the pot and let cool, then use an immersion blender to blend the apple butter until it is smooth and glossy. If you don’t have an immersion blender, let the mixture cool first, then use a regular blender.
Notes
Yield, Storage
- With 5 lbs of apples I get 2 pints (4 cups) plus a few spoonfuls for “taste testing”.
- Store in a mason jar with a lid, or other air tight container, in the fridge.
Canning
You can water bath can in mason jars. Leave 1/4″ head space and process for about 20 minutes (check with a safe canning resource for information on the proper way to can apple butter).
Once it has cooled, you can freeze apple butter in freezer bags, or in freezable canning jars (leave 1/2 inch headspace).
Serving Suggestions
Apple butter is delicious on toast, muffins, pancakes & waffles, elephant ears, yogurt, oatmeal, and is a wonderful add-in for baked goods and some cocktails.
Calories are based on a serving size of 2 Tbsp.
Nutrition
Calories: 65kcal
Nutrition information is automatically calculated, so should only be used as an approximation.
Additional Info
Course: condiments
Cuisine: American
Tried this recipe?
Mention @simply_happy_foodie