
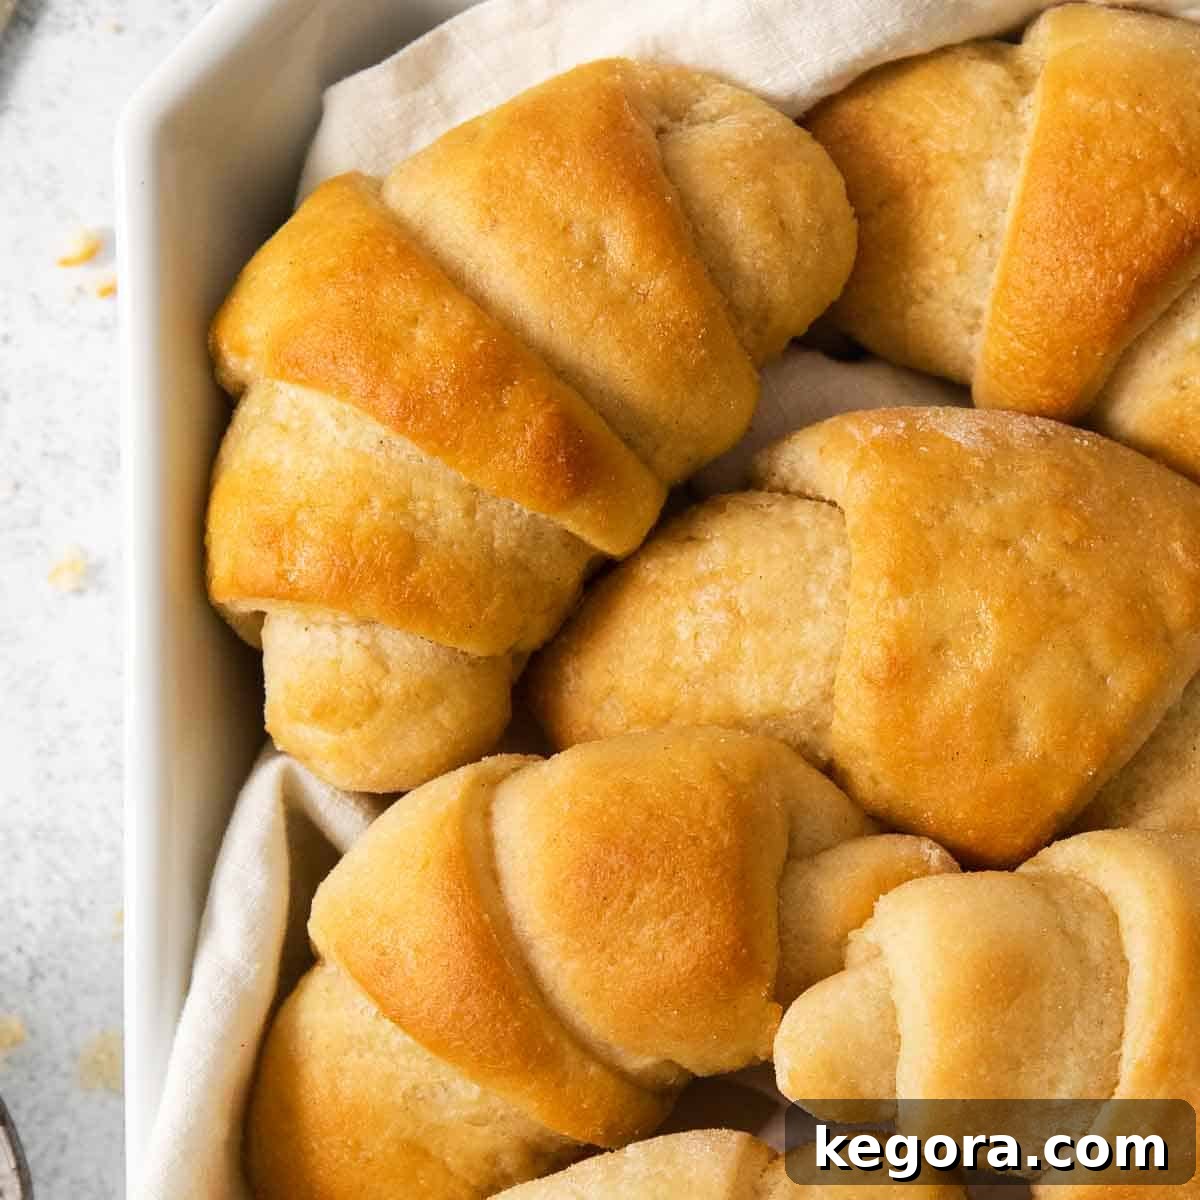
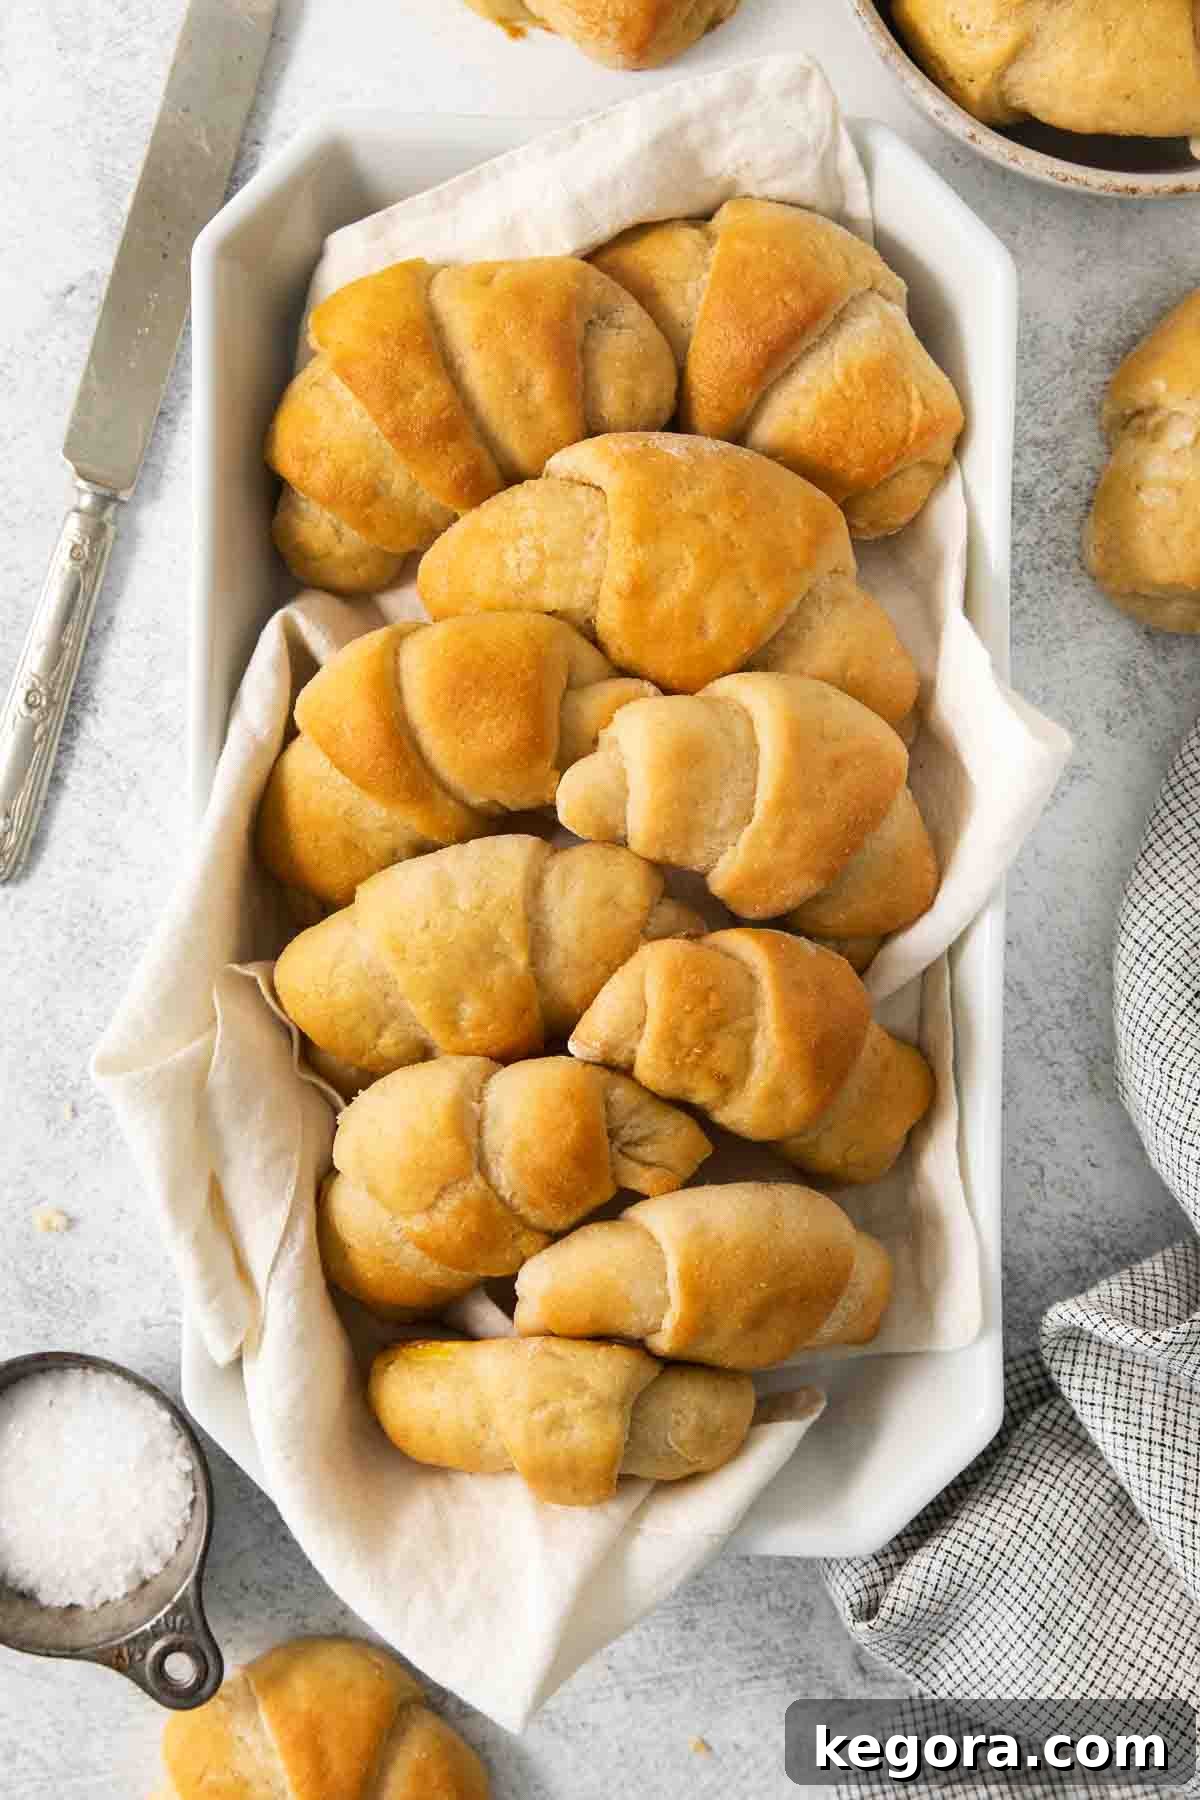
Welcome to the ultimate guide for creating the most irresistibly soft, buttery, and fluffy gluten-free crescent rolls! For anyone following a gluten-free diet, the thought of enjoying warm, classic bread rolls can often seem like a distant dream. But prepare to have your expectations exceeded! These homemade crescent rolls are not just a substitute; they are a delightful centerpiece, especially during holiday gatherings, and they are guaranteed to bring a smile to everyone’s face, whether they are gluten-free or not.
I understand the longing for that perfectly pillowy roll, reminiscent of cherished family traditions. That’s why I dedicated countless hours to testing and refining this recipe. The goal was simple: to perfectly recreate the soft, fluffy crescent rolls my Mom used to make for Thanksgiving dinner every year. And thanks to the discovery of a truly exceptional gluten-free bread flour, that dream has become a delicious reality!
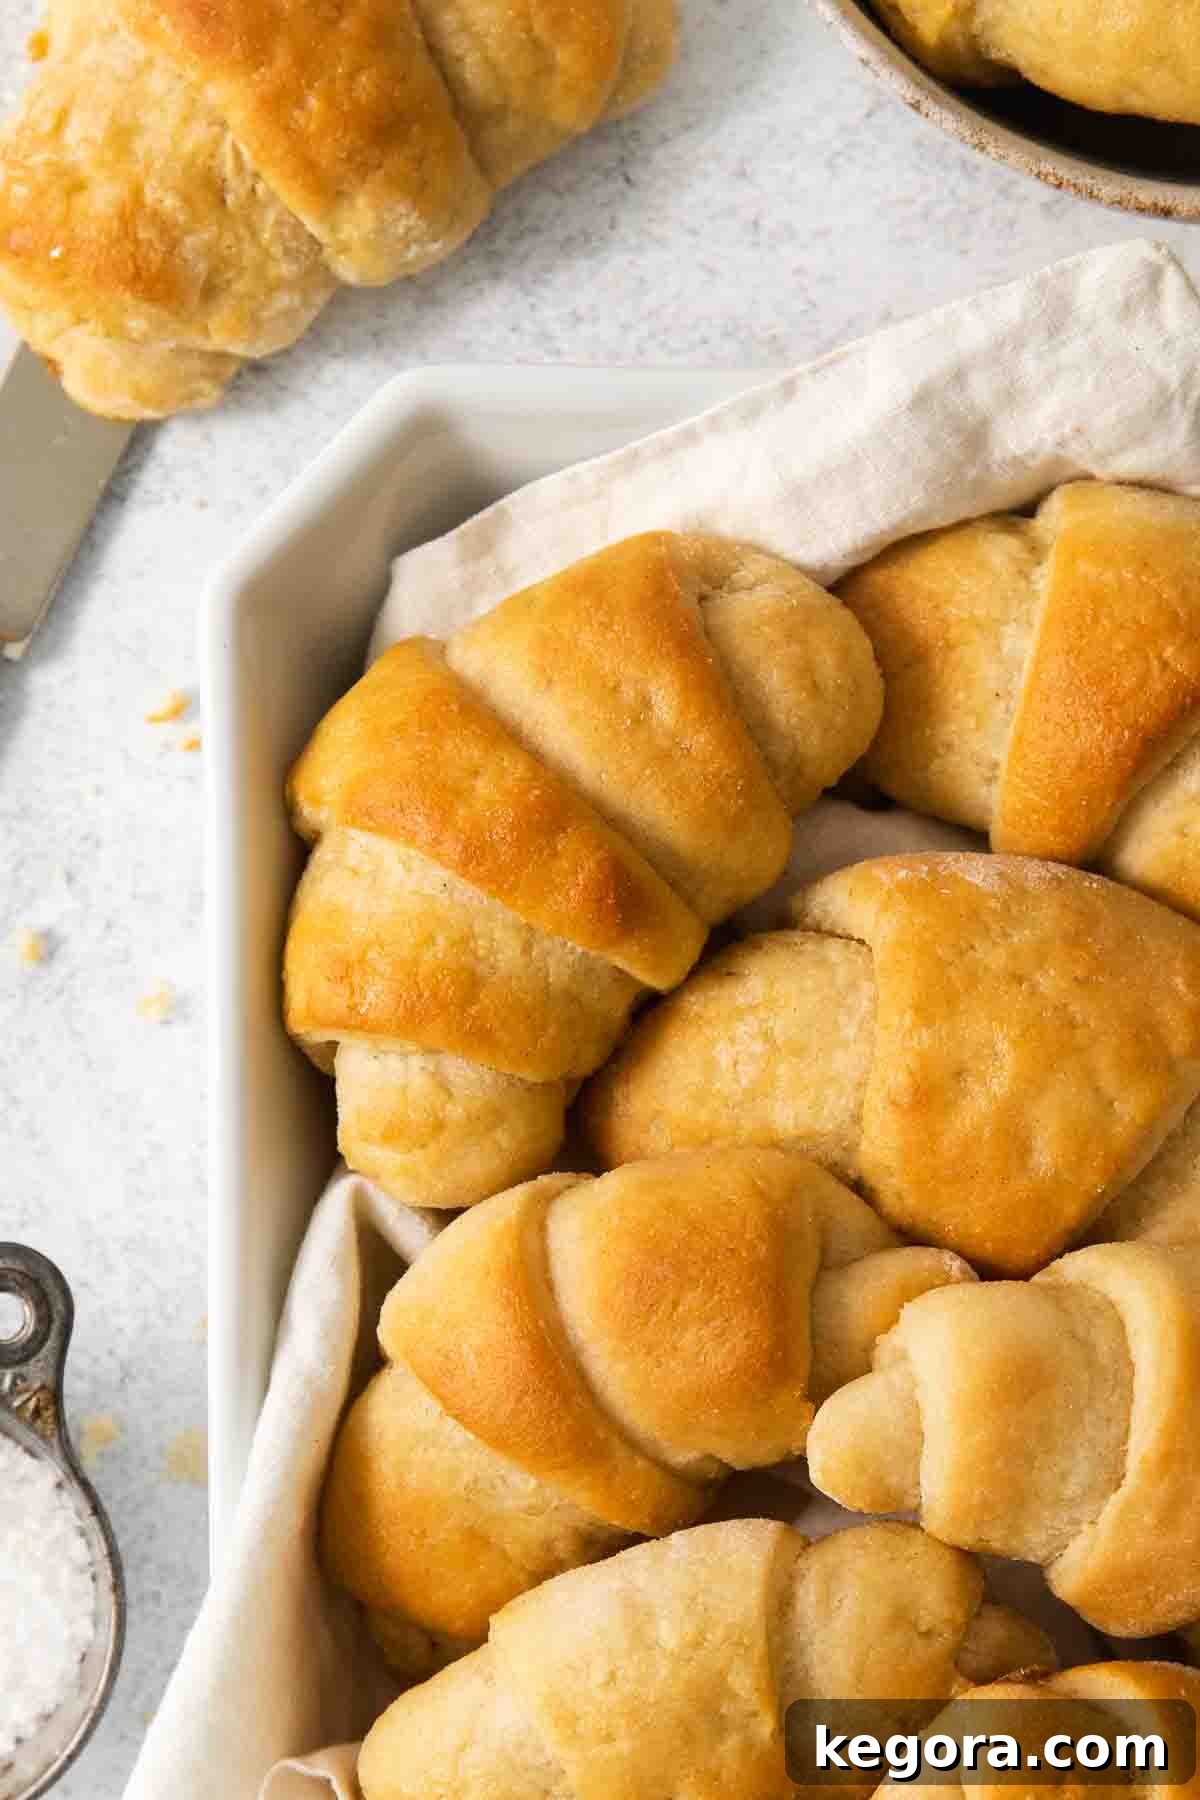
Forget the misconception that eating gluten-free means sacrificing the simple pleasure of warm, tender rolls. This recipe proves that you can achieve a truly authentic crescent roll experience without gluten. Our buttery gluten-free crescent rolls are designed to be rolled into that iconic crescent shape, just like their traditional counterparts made with all-purpose flour. Even better, this recipe is surprisingly straightforward, requiring only one rise, which significantly cuts down on prep time and complexity.
Many traditional crescent roll recipes call for two distinct rising periods for the dough, which can often feel daunting and time-intensive for home bakers. However, with this streamlined recipe, your dough only needs to rise once! This simplification makes these delicious rolls far less intimidating and much easier to incorporate into your busy schedule than you might initially believe. We utilize rich whole milk and a touch of almond flour to infuse these crescent rolls with deep flavor and help them achieve a gorgeous golden-brown hue. Plus, for those with dietary restrictions, I’ve included simple modifications to ensure these rolls can be made completely nut-free and dairy-free.
Why You’ll Adore These Gluten-Free Crescent Rolls
- Effortlessly Gluten-Free: Enjoy homemade rolls without the gluten. This recipe takes the guesswork out of gluten-free baking, making it accessible for everyone.
- Incredibly Light and Fluffy: Achieve that coveted airy, tender crumb that makes traditional crescent rolls so beloved. You won’t believe these are gluten-free!
- Perfect for Holiday Dinners: Elevate your holiday table with a batch of these beautiful, golden rolls. They are a festive and comforting addition to any special meal, from Thanksgiving to Christmas and beyond.
- Only One Rise Needed: Unlike many time-consuming yeast doughs, this recipe simplifies the process with just one rise, saving you valuable time in the kitchen without compromising on texture or flavor.
For those eager to expand their repertoire of gluten-free baked goods, be sure to explore more of our favorite bread recipes. Try these easy gluten-free biscuits, satisfying gluten-free breadsticks, our crispy best gluten-free pizza crust, the uniquely delicious gluten-free Detroit-style pizza, savory gluten-free garlic bread, and our quick gluten-free dinner rolls.
Essential Ingredients for Perfect Gluten-Free Crescent Rolls
For the Delicious Roll Dough
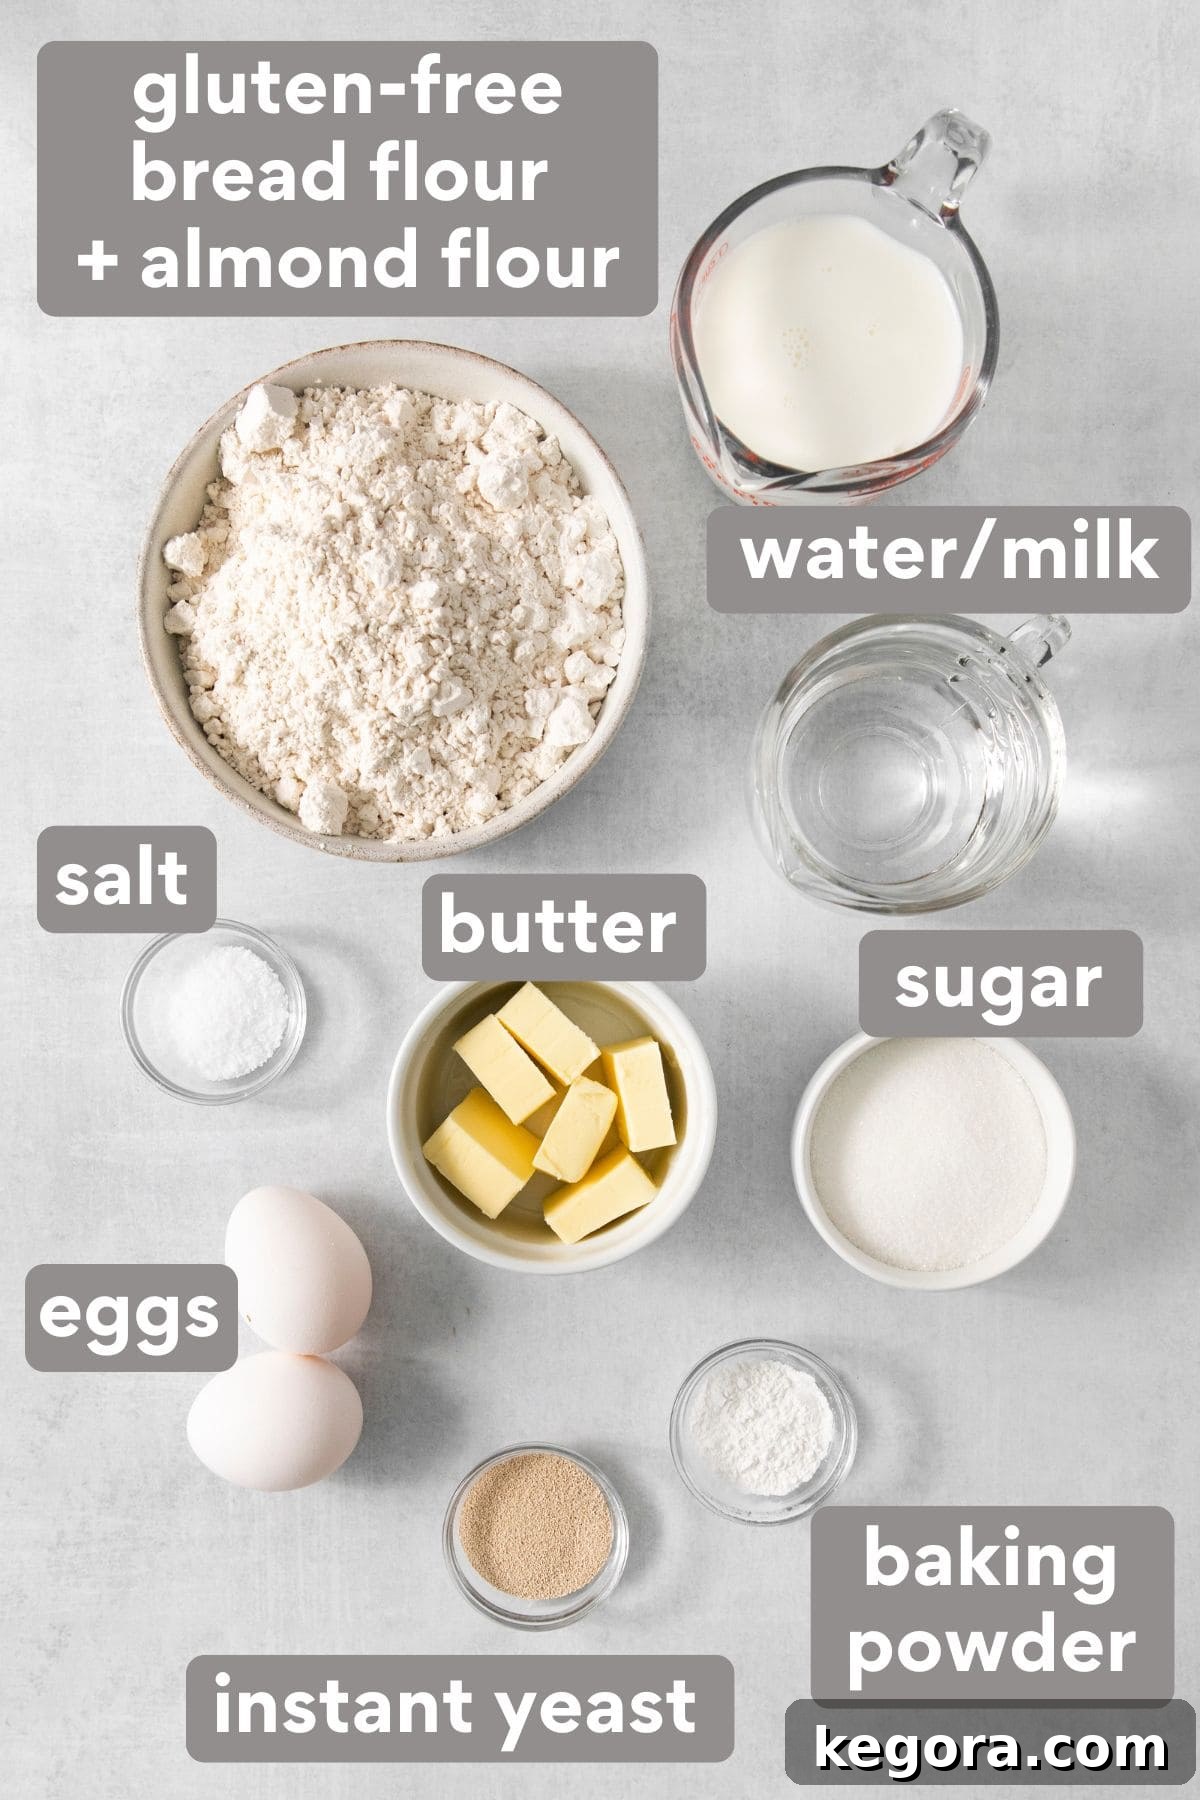
- Gluten-Free Bread Flour: This is truly the game-changer for these amazing gluten-free crescent rolls. I’ve found immense success using a specific gluten-free bread flour that typically contains gluten-free wheat starch and xanthan gum. This blend creates a dough that is incredibly pliable and easy to handle, mimicking the texture and elasticity of traditional wheat-based doughs. It’s the secret to achieving that authentic roll texture!
- Almond Flour: To enhance both the flavor profile and the browning capabilities of these rolls, I incorporate a small amount of almond flour alongside the gluten-free bread flour. This subtle addition contributes a rich, nutty depth that bread flour alone might lack, and helps achieve that beautiful golden crust. I employ this same technique in my beloved gluten-free chocolate chip cookies and gluten-free banana bread! For those needing nut-free options, please refer to the expert tips below.
- Water/Milk: A combination of warm water and milk is crucial for activating the yeast and creating a tender dough. While warm water is essential, I particularly love using warm whole milk. It adds an incredible richness and depth of flavor, resulting in more luscious, buttery crescent rolls.
- Sugar: Granulated sugar, such as Domino fine granulated sugar, is my preferred choice for this recipe. It not only provides sweetness but also feeds the yeast, contributing to a proper rise and a beautifully soft crumb.
- Baking Powder: Any standard brand of baking powder will work perfectly. It plays a vital role in creating tender, exceptionally fluffy gluten-free rolls, adding an extra lift alongside the yeast.
- Instant Yeast: It’s crucial to use instant yeast for this gluten-free crescent rolls recipe. Instant yeast is wonderfully convenient as it can be mixed directly into the dry ingredients without prior activation in water. (Active dry yeast, in contrast, requires dissolving in warm liquid before being added to dry ingredients.)
- Eggs: Two large, room-temperature eggs are incorporated into the dough. They serve as an excellent binder, helping to structure the gluten-free dough, while also enriching the flavor and contributing to a tender texture.
- Butter: I strongly advocate for using salted butter in this recipe, both within the dough and for brushing on top. The subtle saltiness enhances all the other flavors, adding a wonderful depth that unsalted butter might miss.
- Salt: Fine sea salt is my choice for these crescent rolls. It balances the sweetness and brings out the full range of flavors in the bread.
The Magic of Gluten-Free Bread Flour
This particular gluten-free bread flour truly is the secret ingredient that transforms these into amazing gluten-free crescent rolls. It’s designed to mimic the elasticity and structure of traditional wheat flour, which is critical for a successful yeast dough. Unfortunately, other general gluten-free 1:1 baking flour blends often won’t yield the same fantastic, soft, and pliable results.
While the bread flour provides incredible texture, it can sometimes be a little bland on its own. That’s why I recommend combining it with a smaller amount of another flour, like almond flour, to infuse the rolls with more complex flavors. If almond flour isn’t suitable for your dietary needs, oat flour, sorghum flour, or buckwheat flour are all excellent alternatives that will add a lovely depth of flavor. You could also simply substitute the almond flour with an equal amount of additional gluten-free bread flour for a more neutral flavor profile.
For Finishing Touches: After Baking
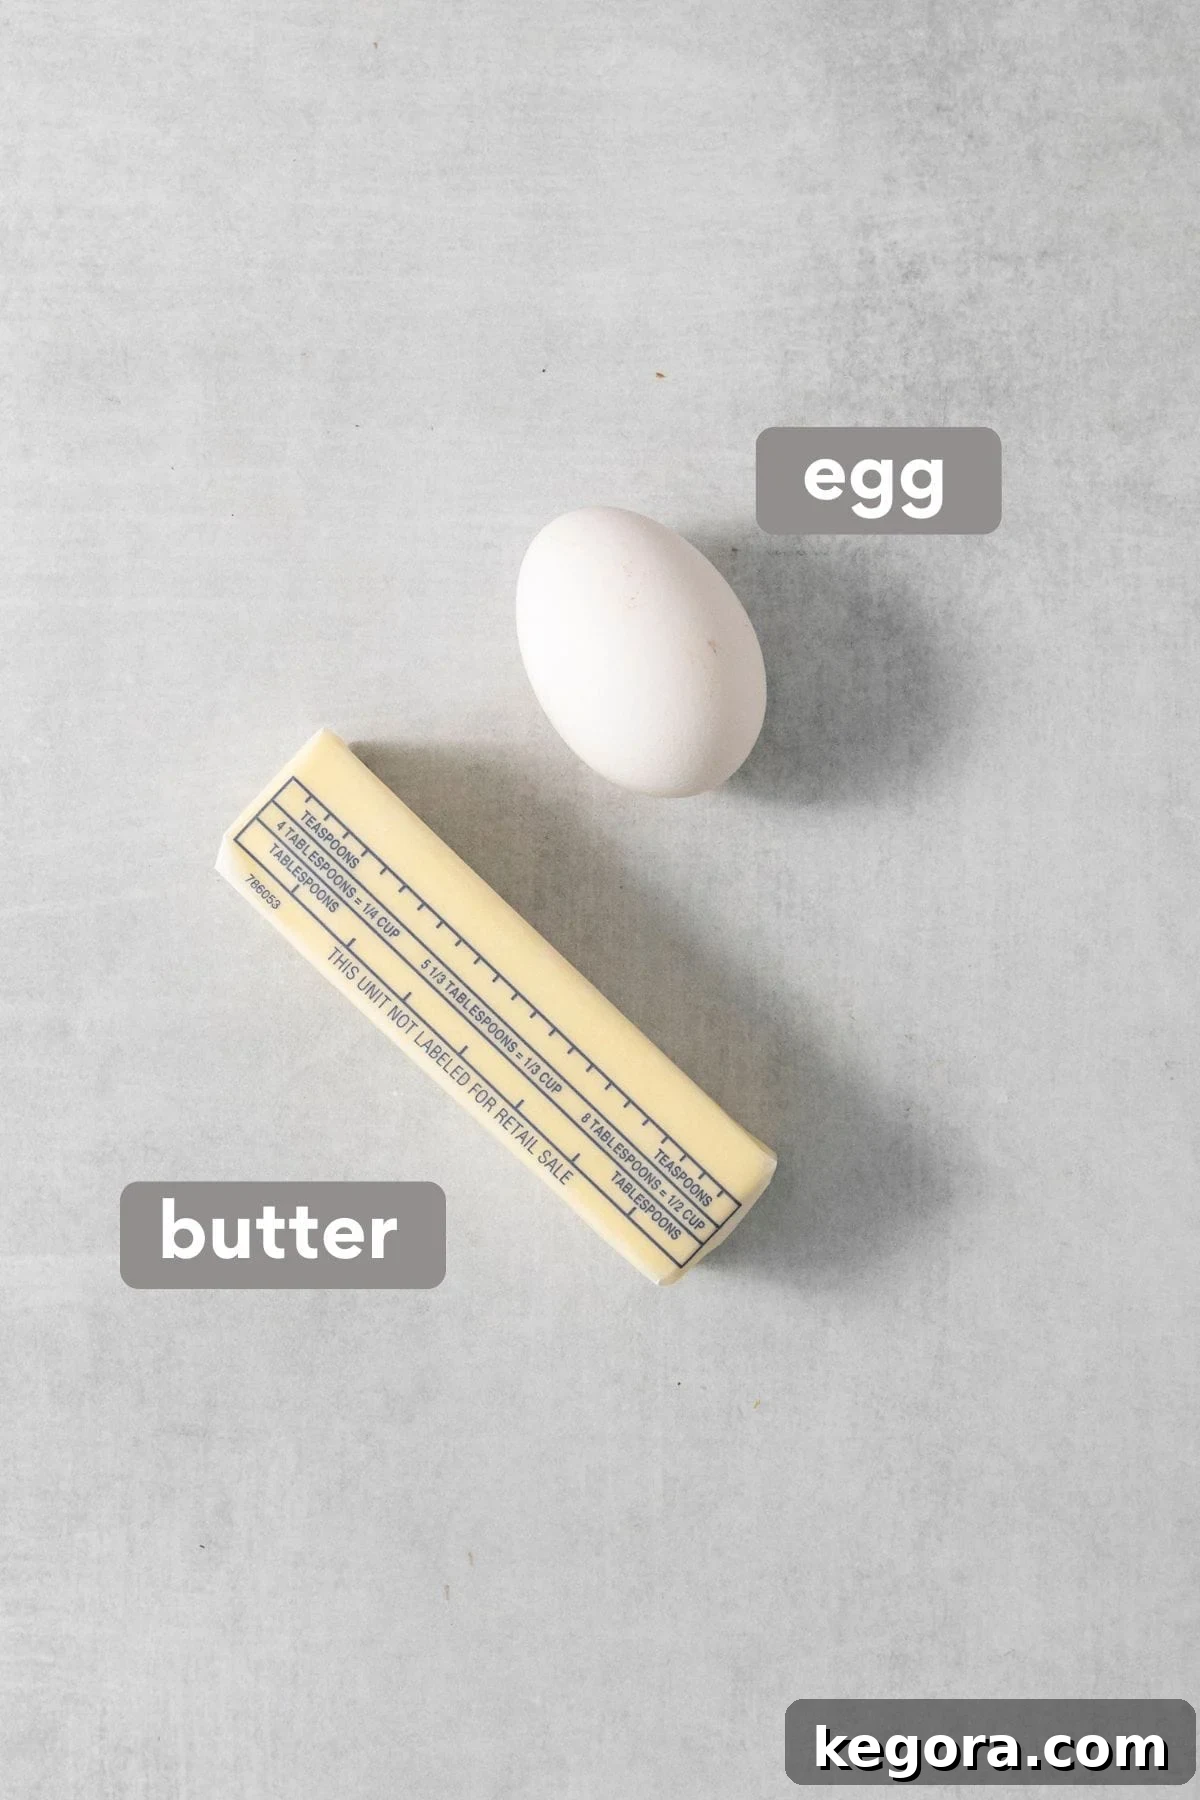
- Melted Butter: Just like with the dough itself, I highly recommend using salted butter for brushing on top of the rolls immediately after they come out of the oven. This final touch adds an extra layer of savory richness and a beautiful sheen, truly making a difference in the overall depth of flavor and presentation.
- Egg Wash (Optional): Historically, an egg wash was applied before baking for extra flavor and shine. However, through recent testing, I’ve found that adding 3 tablespoons of powdered whole milk to the dry ingredients results in even softer and more flavorful rolls, negating the need for an egg wash. You can choose to skip the egg wash entirely and still achieve stunning results.
If you’re enjoying these rolls, you might also like these delightful gluten-free scones or our comforting gluten-free cornbread!
Step-by-Step: Crafting Your Gluten-Free Crescent Rolls
Making the Dough
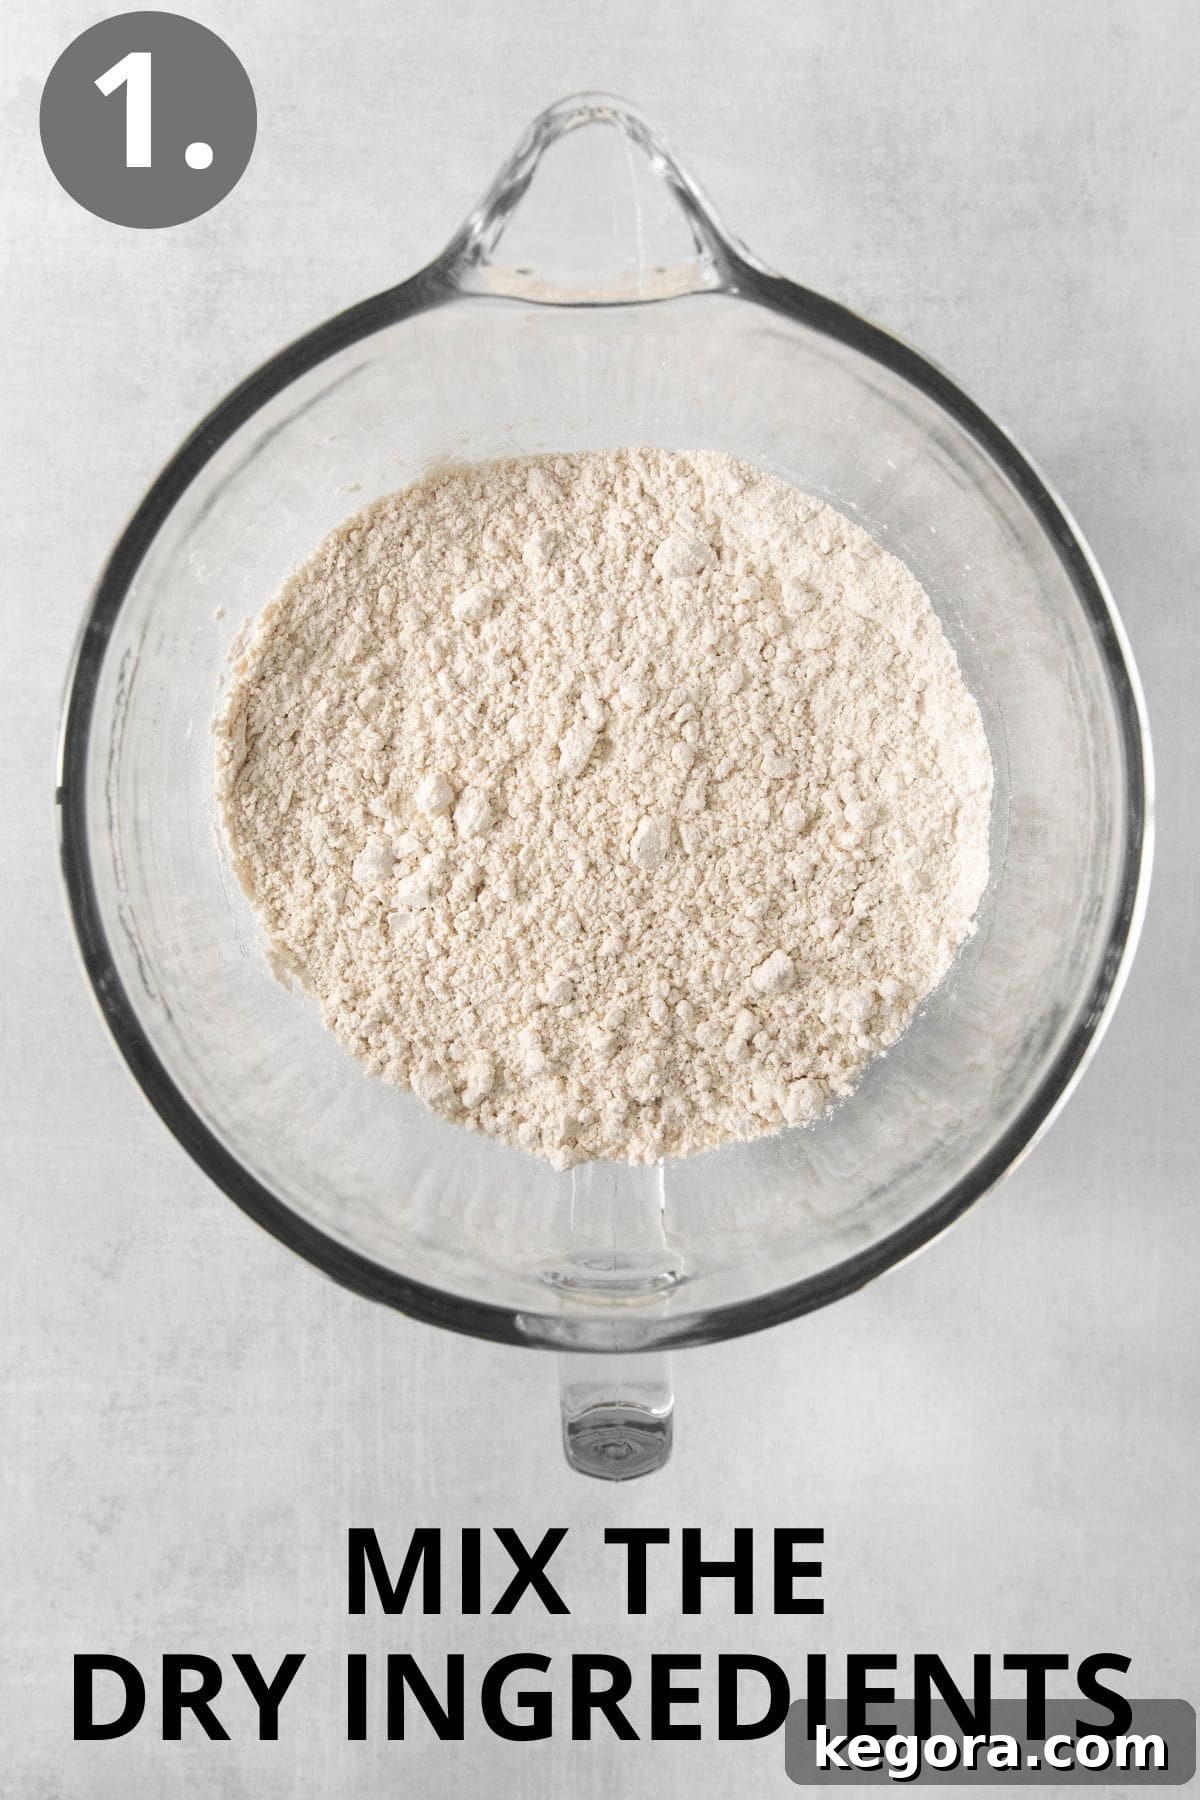
- In the spacious bowl of a stand mixer, fitted with the paddle attachment, begin by combining your dry ingredients. Add the gluten-free bread flour, almond flour, granulated sugar, instant yeast, baking powder, and salt. Mix these ingredients thoroughly on a low speed until they are evenly combined, ensuring no lumps remain.
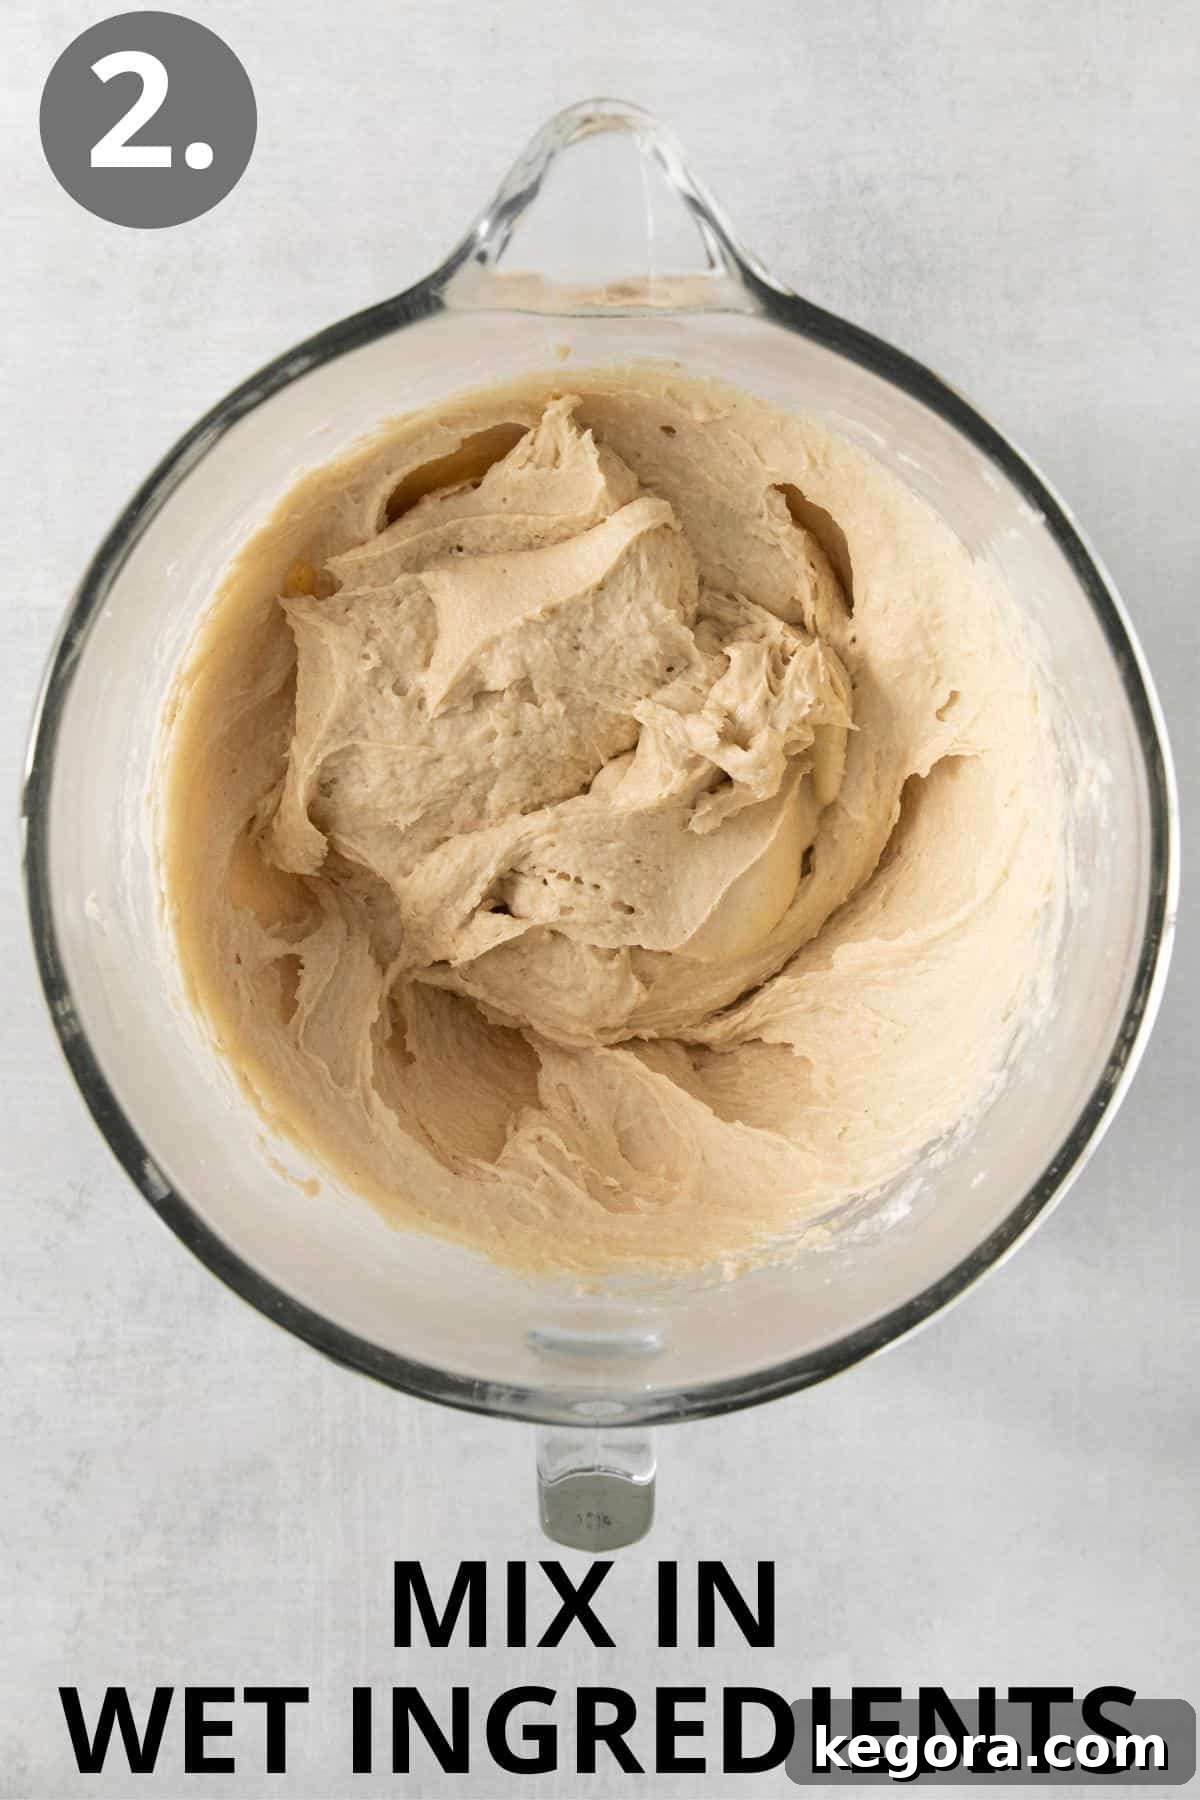
- With the mixer still running on low speed, gradually pour in the warm water, warm milk, room-temperature eggs, and 4 tablespoons of your melted butter. Once all liquids are incorporated, increase the mixer speed to medium and continue to mix for a full 3 minutes. The dough will transform into a very smooth, thick consistency, quite similar to a dense cookie dough. Don’t be alarmed by this texture – it’s perfectly normal for gluten-free yeast dough!
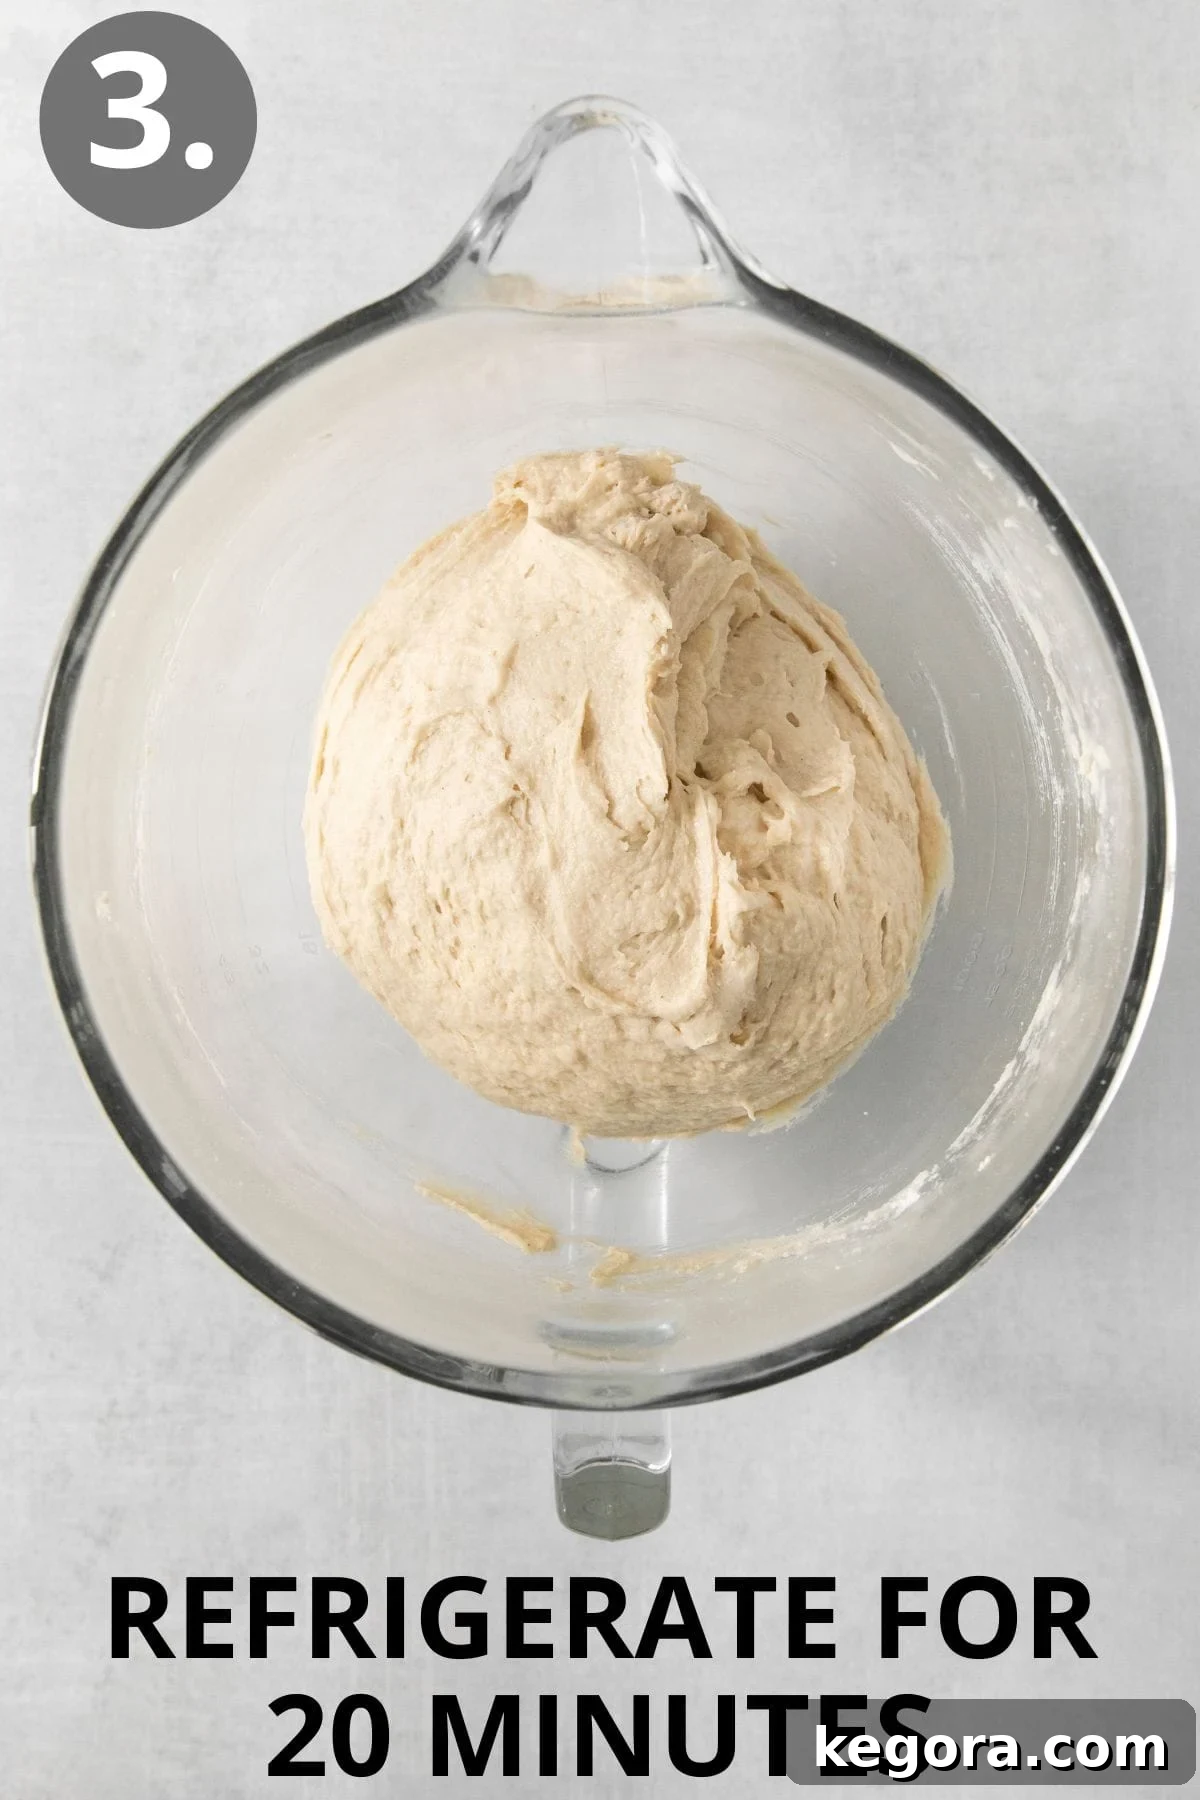
- Using an oiled spatula, carefully scrape down any dough clinging to the bottom and sides of the bowl. This ensures all ingredients are fully integrated. Once scraped, cover the bowl tightly with plastic wrap. This is crucial for creating a warm, humid environment for the dough. Then, transfer the covered bowl to the refrigerator for approximately 20 minutes. This chilling period isn’t for rising; rather, it helps to firm up the dough, making it significantly easier to handle and roll out in the next steps.
Shaping the Iconic Crescent Rolls
- Prepare your baking area by lining two standard baking sheets with parchment paper or silicone baking mats. These prevent sticking and help with even baking.
- On a lightly floured surface (using extra gluten-free bread flour for dusting), take out half of the chilled dough. Gently roll it into a neat 12-inch circle. Precision isn’t paramount here, but aim for a relatively even thickness. Once rolled, brush the entire surface of this dough circle with about 2 tablespoons of melted butter. This butter layer will contribute to the rolls’ flaky texture and rich flavor.
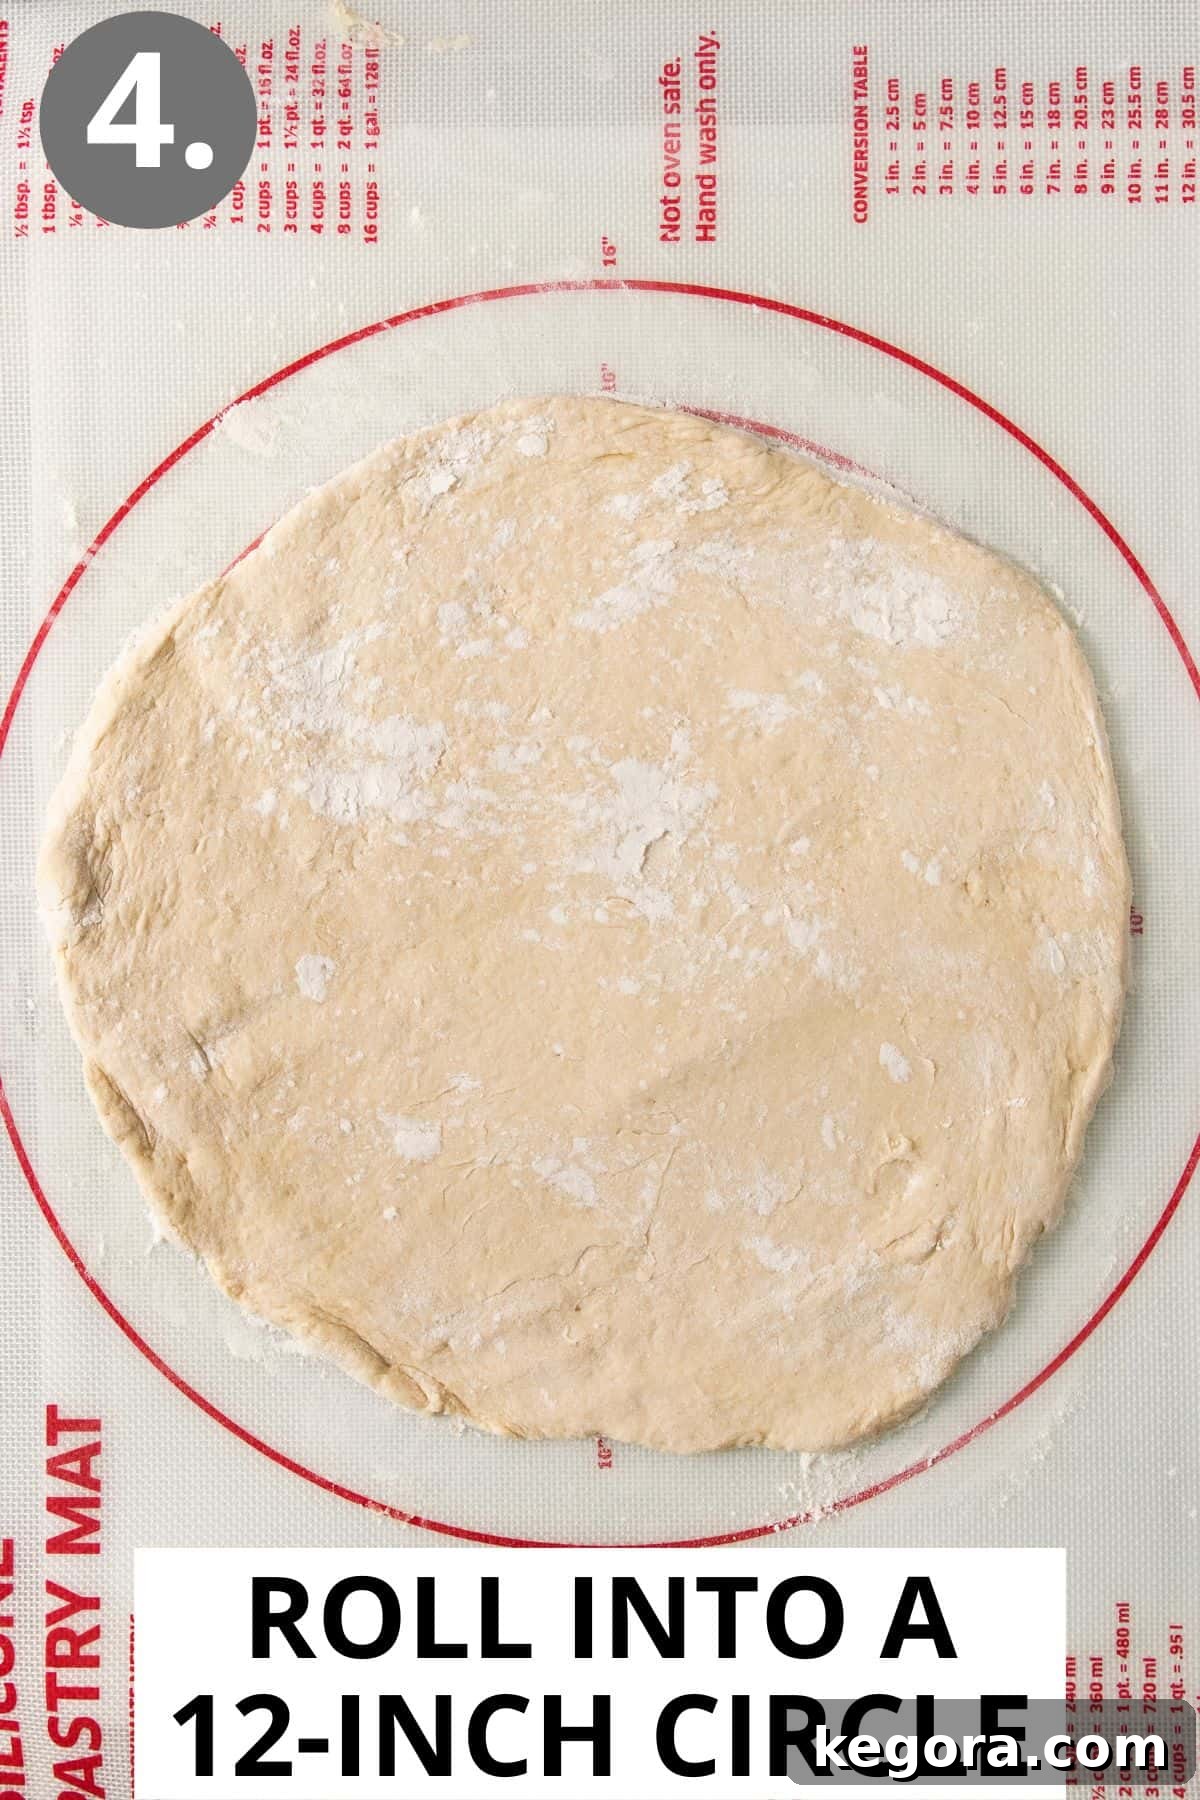
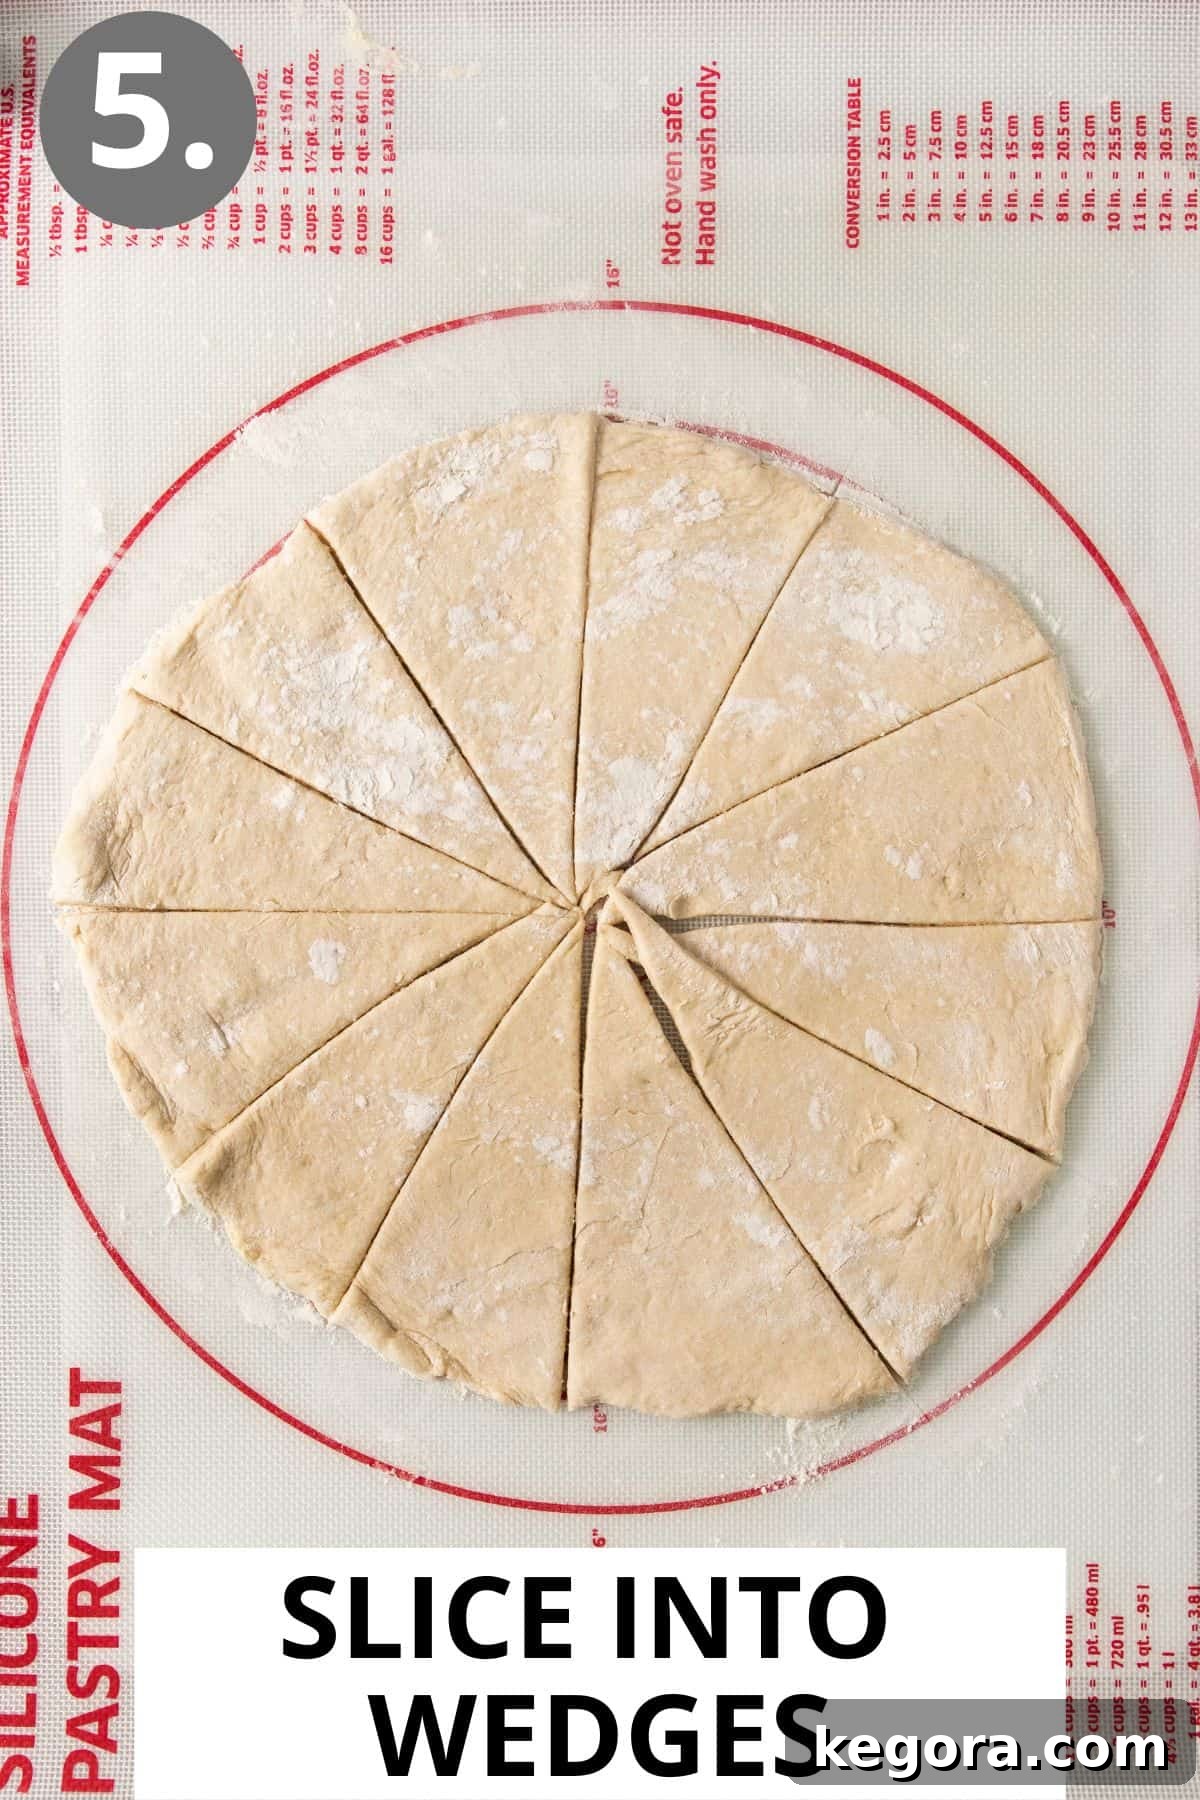
- Utilize a pizza cutter to carefully slice the 12-inch circle into 12 long, triangular wedges. Don’t worry if your wedges aren’t perfectly uniform in size; homemade charm is part of the appeal!
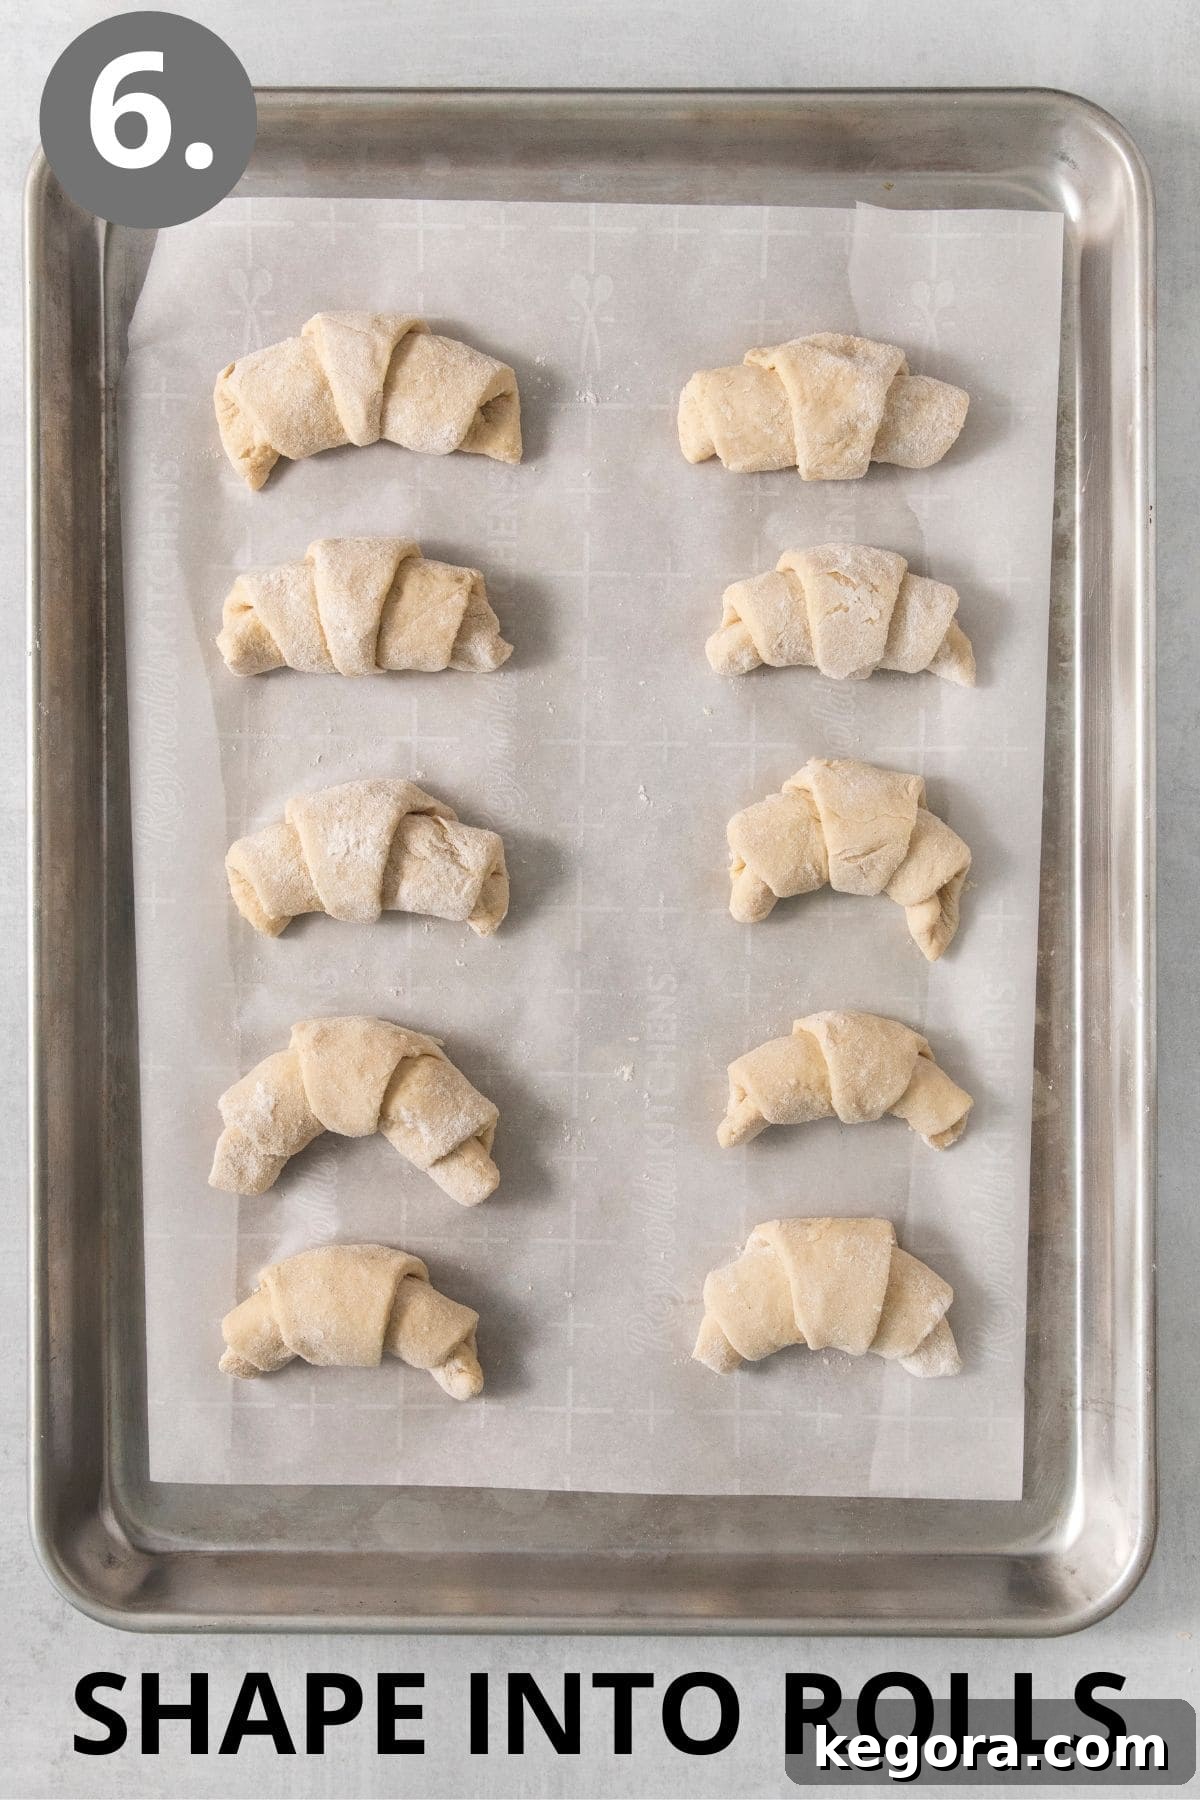
- Starting from the wide end of each triangular wedge, gently roll it up towards the point. Place the rolled-up crescents point-side down on your prepared baking sheets, ensuring they are spaced about 2 inches apart to allow for expansion during rising and baking. Gently curve the ends of each roll to truly form that classic crescent shape.
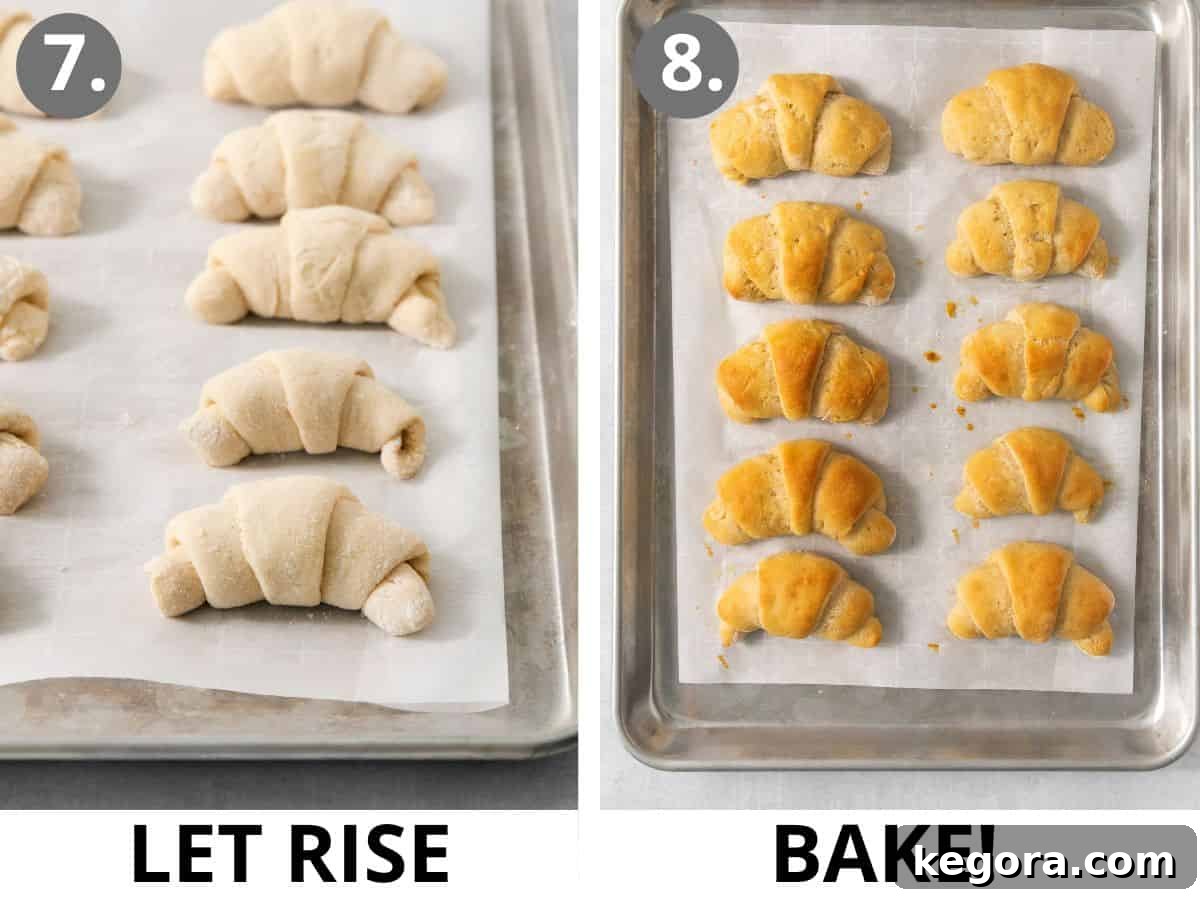
- Once all the rolls are shaped and arranged, cover the gluten-free rolls loosely with a clean kitchen towel or plastic wrap. Place them in a warm, draft-free spot to rise. Allow them to rise until they have visibly doubled in size, which typically takes about 45-60 minutes. This is the crucial single rise that gives them their light and airy texture.
Baking Your Golden Crescent Rolls
- Preheat your oven to 350°F (175°C). This ensures the oven is at the correct temperature for even baking as soon as the rolls go in.
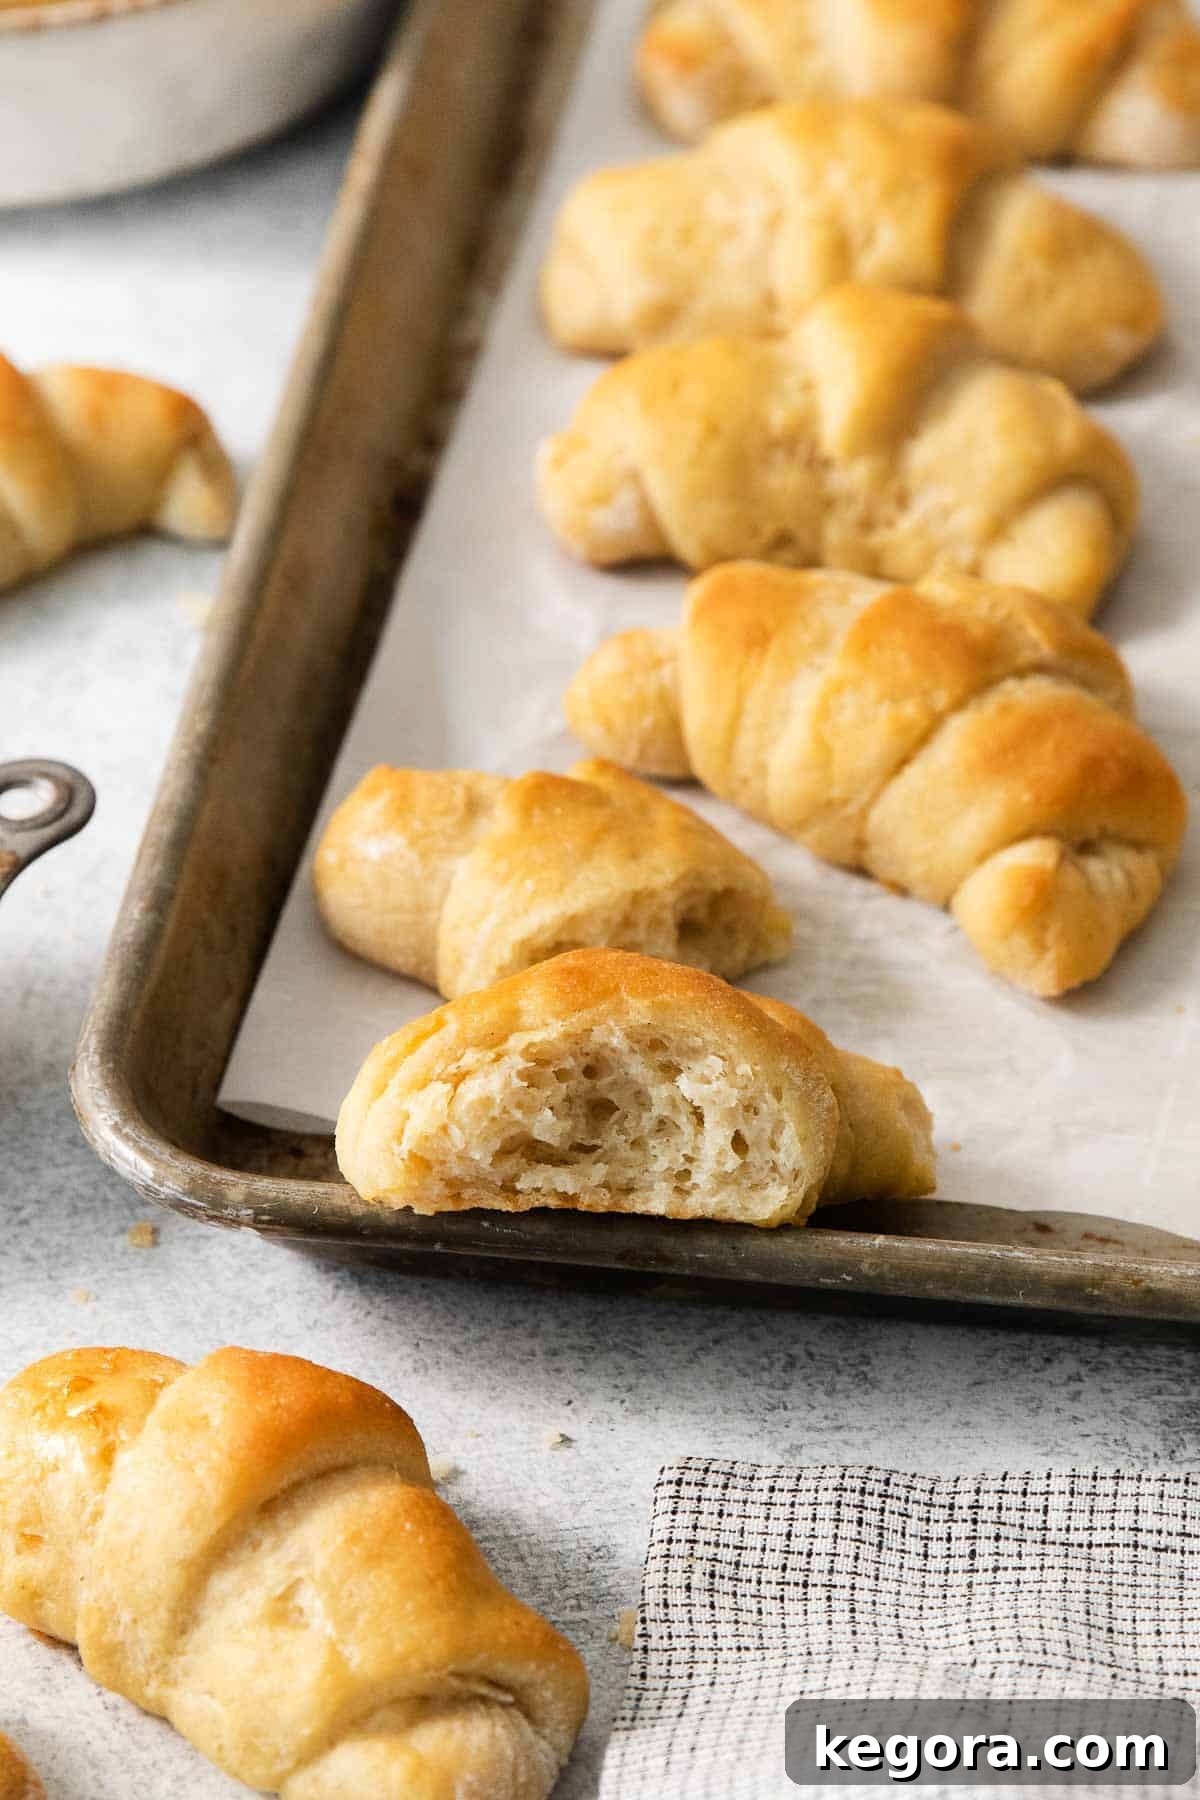
- Carefully transfer the baking sheets with the risen crescent rolls to the preheated oven. Bake for approximately 22-26 minutes, or until the rolls are beautifully golden brown around the edges and cooked through. Keep an eye on them, as oven temperatures can vary.

- As soon as you remove the golden rolls from the oven, immediately brush the tops generously with additional melted butter. This step adds a wonderful shine, rich flavor, and keeps the crust soft.
- Serve your warm, homemade gluten-free crescent rolls and savor every tender bite!
Storage and Freezing Instructions
These delectable gluten-free crescent rolls are truly at their peak when enjoyed fresh, shortly after baking. Their tender texture and buttery flavor are most vibrant when warm.
TO STORE: If you have any leftovers, simply place the cooled gluten-free crescent rolls in an airtight container. They will remain fresh and delicious at room temperature for up to three days. To refresh them and bring back that fresh-baked warmth, I recommend slicing them in half, spreading a tiny bit more butter on the cut sides, and broiling them for 2-3 minutes until they are warm and slightly toasty. This revives their texture beautifully.
TO FREEZE: For longer storage, allow the baked rolls to cool completely. Then, transfer them to a freezer-safe zip-top bag, pressing out as much air as possible before sealing tightly. They can be frozen for up to 3 months without losing much quality. When you’re ready to enjoy them, simply defrost the rolls at room temperature. You can then refresh them by warming them briefly in a preheated oven or a microwave until soft and warm.
Complete your gluten-free holiday feast with these fantastic sides: a rich gluten-free gravy, our savory easy gluten-free stuffing, a comforting gluten-free green bean casserole, the decadent gluten-free sweet potato casserole with pecan praline topping, our hearty gluten-free cornbread sausage stuffing, and beautifully roasted sweet potato medallions.
These buttery gluten-free crescent rolls are also the perfect accompaniment to hearty main courses like a slow cooker gluten-free pot roast with porcini mushroom gravy or a classic gluten-free beef stew for a truly comforting and satisfying meal!
Expert Tips & Tricks for Gluten-Free Baking Success
- Choose the Right Flour: This gluten-free bread flour is truly the secret weapon for achieving amazing gluten-free crescent rolls. Generic 1:1 gluten-free baking flour blends typically lack the specific starches and gums needed to create the elasticity and texture of traditional bread, so they won’t yield the same tender, fluffy results. Investing in a quality gluten-free bread flour is highly recommended.
- Ease of Rolling: For precise and easy rolling, I highly recommend using a silicone baking mat that features circle measurements. This takes the guesswork out of achieving the perfect 12-inch circle for your dough, ensuring consistent rolls. Remember to lightly flour your work surface and rolling pin as well to prevent sticking.
- Mixing Method: When preparing the dough in a stand mixer, I’ve found that the paddle attachment works significantly better than the dough hook. The paddle attachment ensures the gluten-free dough, which has a different texture than wheat dough, is mixed more evenly and thoroughly, resulting in a smoother batter-like consistency.
- Butter Choice: For the best depth of flavor, I cannot stress enough the importance of using salted butter in this recipe, both in the dough and for brushing on top after baking. The salt crystals enhance all the other ingredients, giving your rolls an irresistible taste.
- Chilling the Dough: Don’t skip the step of letting the dough rest in the refrigerator for 20 minutes before shaping. This brief chill makes the dough firmer and much easier to handle and roll out, preventing it from sticking or tearing.
- Nut-Free Alternative: While almond flour adds a lovely flavor and helps with browning, you can easily make these rolls nut-free. The gluten-free bread flour can be a bit mild on its own, so to add more flavor without nuts, consider using oat flour, sorghum flour, or buckwheat flour as substitutes for the almond flour. Alternatively, you can simply increase the amount of gluten-free bread flour to replace the almond flour entirely.
- Dairy-Free Option: To make these crescent rolls completely dairy-free, I recommend using Elmhurst Unsweetened Cashew Milk in place of whole milk. It has a fat content similar to whole milk, and crucially, it doesn’t contain added gums or stabilizers that could negatively impact the dough’s rise or crumb structure. Additionally, simply substitute the butter with your preferred brand of vegan butter.
MORE GLUTEN-FREE BREAD RECIPES TO EXPLORE
Gluten-Free Nutella Star Bread
Gluten-Free Sticky Buns
Gluten-Free Apple Fritters
Gluten-Free Pumpkin Cinnamon Rolls
For even more incredible recipes featuring gluten-free bread flour, be sure to check out our gluten-free hamburger buns, easy soft gluten-free dinner rolls, authentic gluten-free naan, classic gluten-free cinnamon rolls, a festive gluten-free cinnamon roll wreath, delightful gluten-free orange rolls, and fun gluten-free monkey bread.
Buttery, Fluffy Gluten-Free Crescent Rolls
Erin Collins
2 hrs
25 mins
24 rolls
These gluten-free crescent rolls are a must-have at the holiday table! They’re soft, buttery, and fluffy — everything a delicious roll should be!
This recipe makes 24 rolls (2 sheet pans full). You can half the recipe if you’d prefer to make 12 rolls.
Comments
Ingredients
For the Dough:
- 4 cup (600g) King Arthur Gluten-Free Bread Flour
- 2/3 cup (75g) almond flour or another flour of choice for flavor, see note
- ¼ cup (50g) granulated sugar
- 3 tablespoons (20g) dry whole milk powder (optional but makes the rolls softer!)
- 2 ¼ teaspoons instant yeast 1 packet
- 2 teaspoons salt
- 1 teaspoon baking powder
- 1 cup (236ml) water, warm
- 1 cup (236ml) whole milk, warm see note for dairy-free
- 2 large eggs
- 8 tablespoons (113g) butter, melted plus more for topping after baking
Instructions
Make the Dough
-
In the bowl of a stand mixer fitted with the paddle attachment, add the gluten-free flour, almond flour, granulated sugar, instant yeast, salt and baking powder. Mix to evenly combine.
-
With the mixer running on low, slowly add the water, milk, eggs, and 4 tablespoons of melted butter. Turn the speed up to medium and mix for 3 minutes until very smooth. The dough will resemble thick cookie dough. This is normal!
-
Use an oiled spatula to scrape down the bottom and sides of the bowl. Cover the bowl tightly with plastic wrap and refrigerate for 20 minutes. (Refrigerating the dough makes it easier to roll out.)
Shape the Rolls
-
Line 2 baking sheets with parchment paper or silicone baking mats.
-
On a lightly floured surface, scoop out ½ of the dough. Roll into a 12-inch circle. Brush the top of the dough with melted butter, about 2 tablespoons per circle.
-
Use a pizza cutter to slice the circle into 12 equal wedges. (Mine usually vary in size and it’s just fine!) Roll up wedges from the wide end and place point side down 2-inches apart on greased baking sheets. Curve the ends to form crescents.
-
Cover and let rise in a warm place until doubled, about 45-60 minutes.
Bake the Rolls
-
Preheat the oven to 350F.
-
Bake for 22-26 minutes, until starting to turn golden on the edges. Remove from the oven immediately and brush the rolls with additional melted butter.
-
Serve warm and enjoy!
Notes
RECIPE NOTES
- This gluten-free bread flour really is the secret ingredient for amazing gluten-free crescent rolls. Unfortunately other flour blends like gluten-free 1:1 baking flour won’t yield the same results.
- I like using this silicone baking mat with circle measurements to roll out the dough. It’s helpful for measuring the 12-inch circle.
- I prefer using the paddle attachment on my stand mixer when making these crescent rolls, rather than the dough attachment. I find that it mixes the dough more evenly.
- I highly recommend using salted butter for this recipe. It provides the best depth of flavor!
- Let the dough rest in the refrigerator for 20 minutes before shaping to make it easier to work with. Also, be sure to flour your work surface and rolling pin while rolling out the dough.
- NUT-FREE: I like to add another flour to add more flavor to these rolls. The gluten-free bread flour can be a little bland on its own. If you can’t use almond flour, oat flour, sorghum flour or buckwheat flour are great choices! You could also simply use more bread flour in place of almond flour.
- DAIRY-FREE: I like using Elmhurst Unsweetened Cashew milk in place of whole milk. It has a similar fat content to whole milk, and doesn’t have any added gums or stabilizers that could interfere with the rise/crumb of the rolls. I also use vegan butter in place of the butter.
STORAGE/FREEZING
These crescent rolls taste the very best when enjoyed shortly after baking.
TO STORE: Place the gluten-free crescent rolls in an airtight container and store at room temperature for up to three days. I like to refresh the rolls by slicing them in half, spreading them with a little butter and broiling the rolls for 2-3 minutes until warm/toasty.
TO FREEZE: Place the cooled rolls in a zip-top freezer bag, press air out and seal tightly. Freeze for up to 3 months. Defrost at room temperature and refresh by warming in the oven or microwave.
Nutrition
| Carbohydrates: 21 g
| Protein: 4 g
| Fat: 10 g
| Saturated Fat: 4 g
| Polyunsaturated Fat: 0.3 g
| Monounsaturated Fat: 2 g
| Trans Fat: 0.2 g
| Cholesterol: 37 mg
| Sodium: 252 mg
| Potassium: 52 mg
| Fiber: 1 g
| Sugar: 3 g
| Vitamin A: 221 IU
| Vitamin C: 0.003 mg
| Calcium: 39 mg
| Iron: 0.4 mg
Frequently Asked Questions About Gluten-Free Crescent Rolls
Currently, Pillsbury does not offer gluten-free crescent rolls in their product line. However, the demand for gluten-free options has led to other brands stepping up. You can find ready-made gluten-free crescent roll mixes from specialty brands like Mom’s Place. For the freshest and most delicious results, though, making homemade gluten-free crescent rolls using a dedicated gluten-free bread flour, as outlined in this recipe, is highly recommended.
While both crescent rolls and croissants share a visually similar crescent shape, they are distinctly different in terms of their texture, flavor profile, and preparation methods. Croissant dough is characterized by its laminated structure, which involves repeatedly folding butter into the dough to create numerous thin, delicate, and flaky layers. This process gives croissants their signature crisp exterior and airy, buttery interior. In contrast, crescent rolls are typically made from a simpler yeasted dough that undergoes one or two rises, resulting in a soft, bread-like roll with a more consistent, tender crumb. They are comforting and hearty, rather than flaky.
Yes, crescent rolls are fundamentally made from a yeasted dough. Yeast is the crucial ingredient responsible for their light, fluffy consistency, causing the dough to rise once or twice depending on the recipe. In recipes like this one, instant yeast is used, which offers great convenience as it can be mixed directly into the dry ingredients without needing to be proofed beforehand. If a recipe specifies active dry yeast, it would first need to be dissolved and activated in warm water before being combined with the other dry ingredients.