
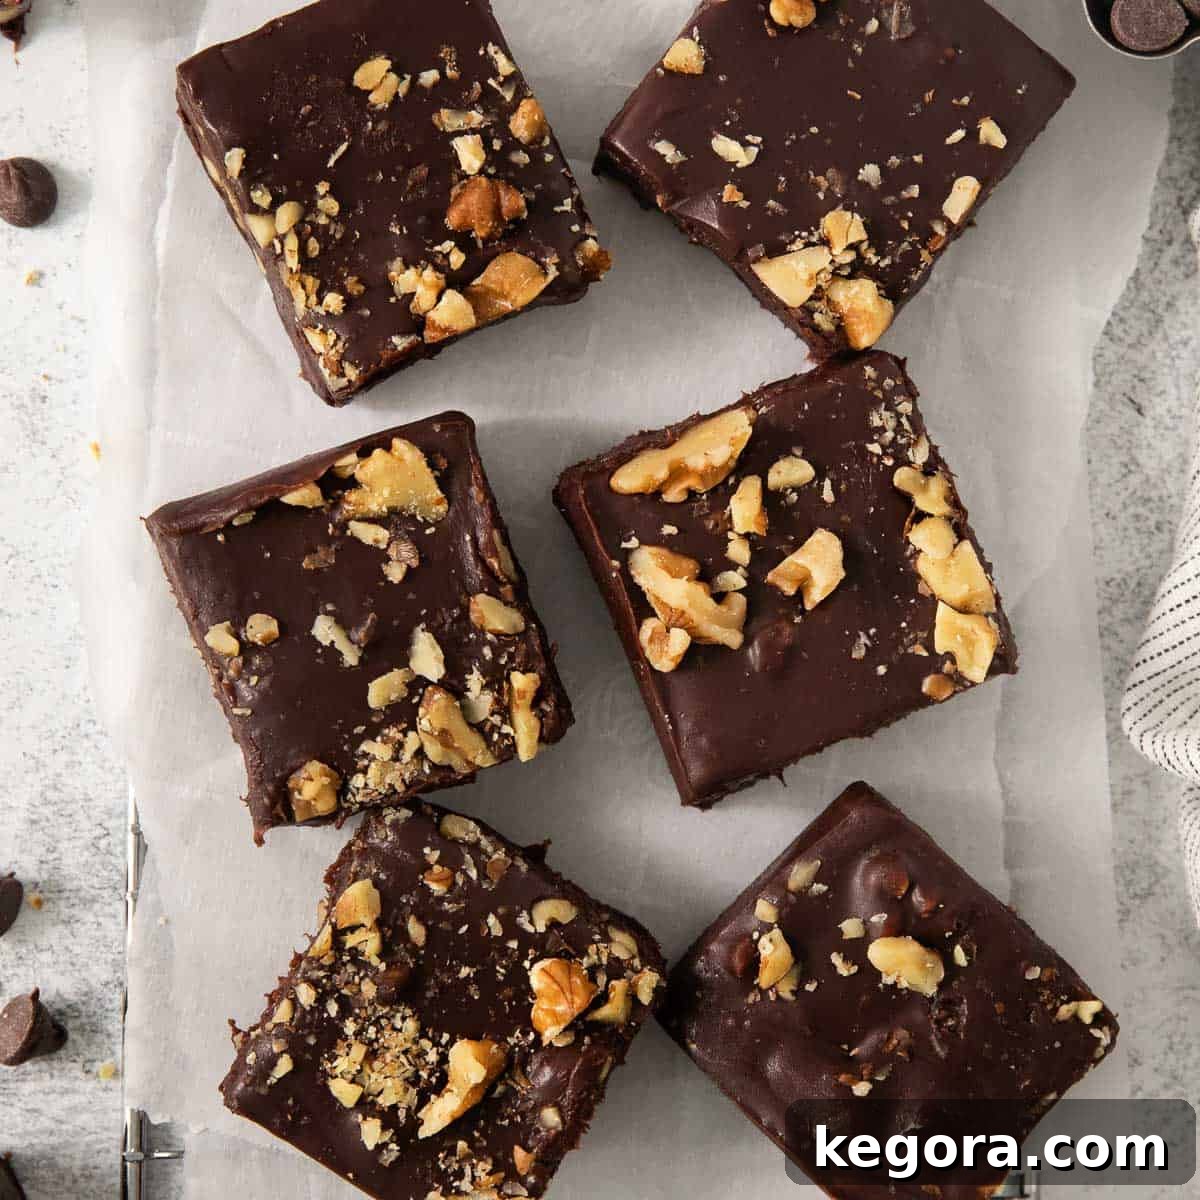
This incredibly easy, healthier fudge recipe requires just 3 simple ingredients, offering a delightful treat that’s completely dairy-free, gluten-free, and free from refined sugars. Despite its wholesome profile, it delivers a rich, smooth, and utterly foolproof experience for any sweet tooth!
For years, this luscious dairy-free fudge has remained a steadfast favorite among our readers. Originally shared in December 2013, this beloved recipe has been refreshed and updated with new, detailed step-by-step photos and clear instructions, ensuring its timeless appeal and ease of preparation.
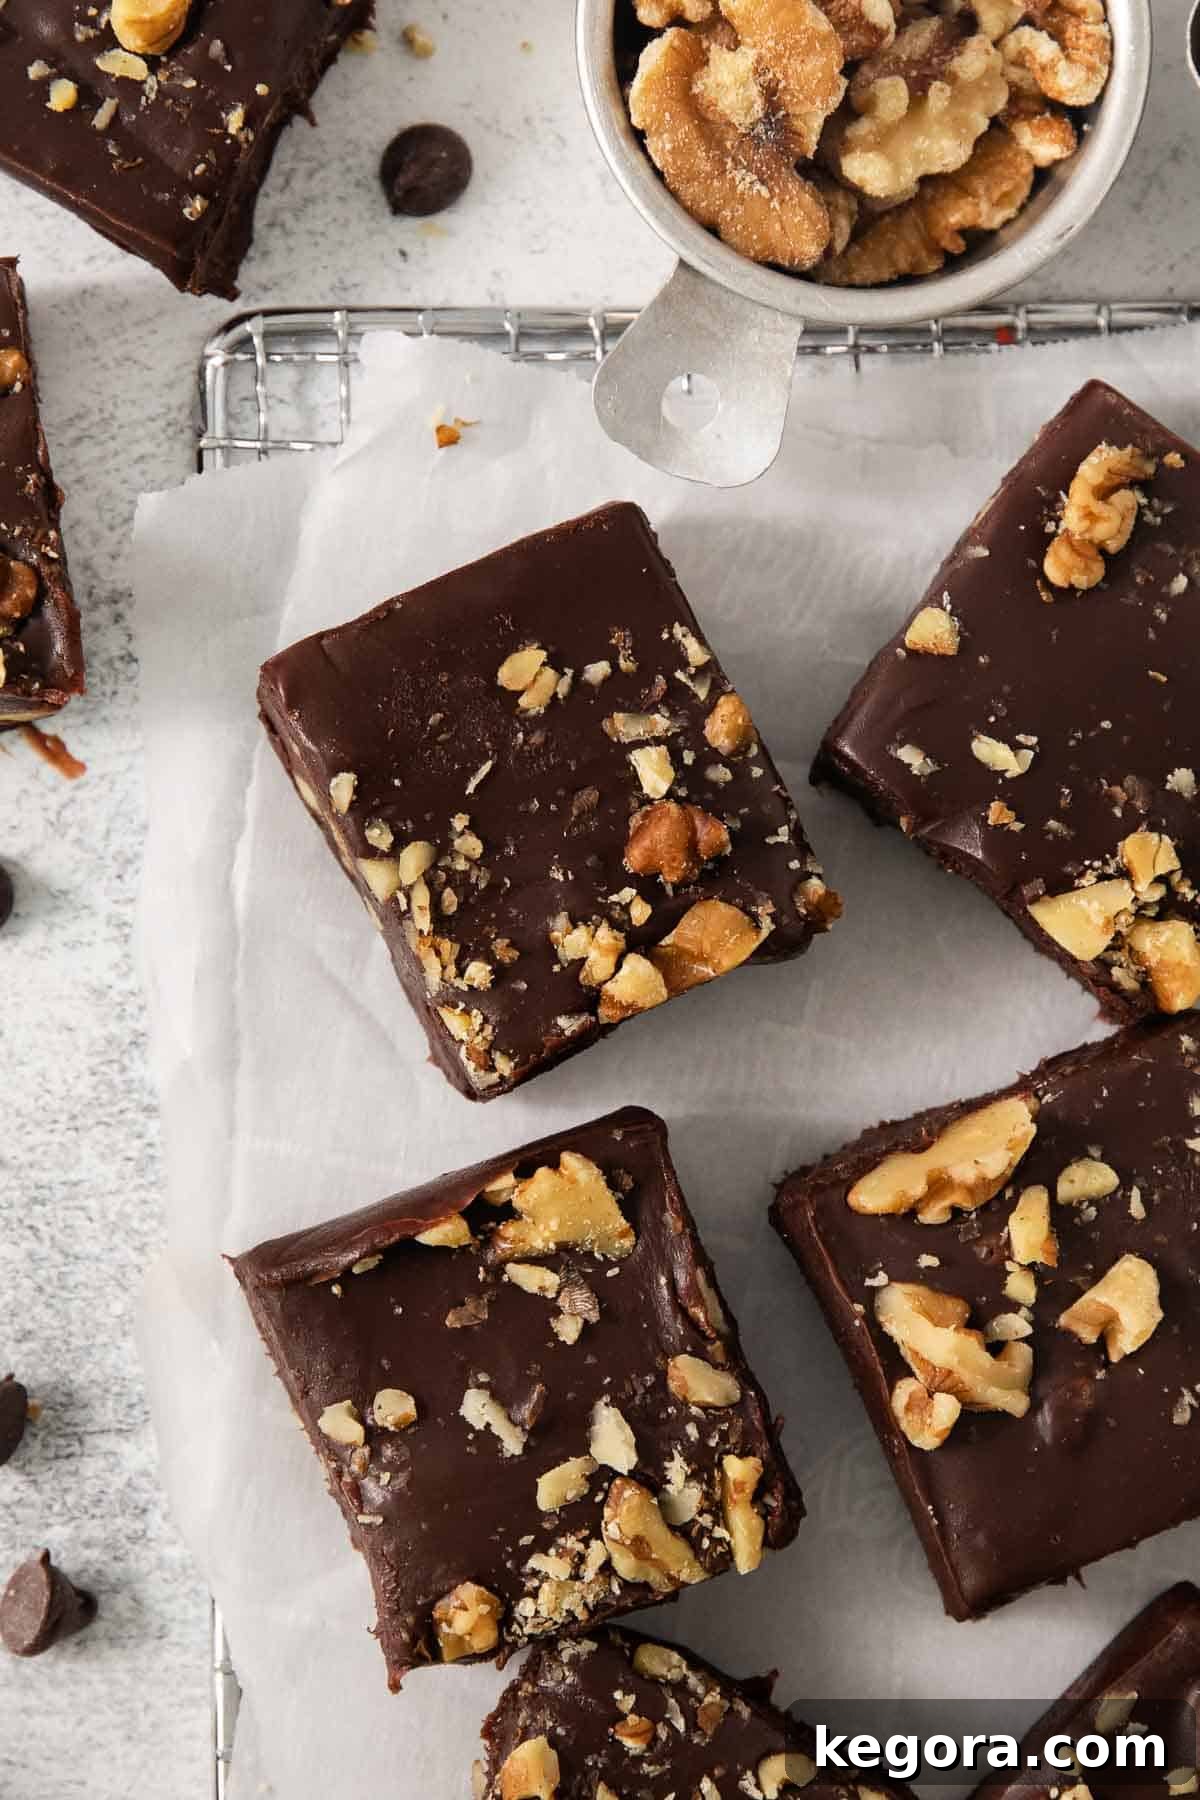
Why This Dairy-Free Fudge Recipe is a Must-Try
The holiday season, or really any time of year, sparks a special joy in crafting homemade confections. While I adore classic fudge with its traditional blend of sugar and marshmallow creme, there’s immense satisfaction in having a healthier alternative that doesn’t compromise on flavor or texture. This recipe offers precisely that – a guilt-free indulgence.
What truly sets this healthier fudge apart is its remarkable simplicity. My inspiration for this recipe came from a popular fudge method that surprisingly uses only sweetened condensed milk and chocolate chips. I wanted to replicate that effortless richness without the dairy and refined sugar, making it accessible to a wider range of dietary needs and preferences.
The secret to this incredible texture and taste lies in crafting your very own sweetened condensed milk from scratch, using just two wholesome ingredients: full-fat coconut milk and natural honey. While the idea of making condensed milk might sound daunting, it’s surprisingly straightforward and quick.
All you need to do is gently simmer the coconut milk and honey together for approximately 30 minutes. This slow reduction process transforms the mixture into a thick, sweet base, mirroring the consistency of traditional condensed milk. Once achieved, you simply stir in your favorite dairy-free chocolate chips, a splash of vanilla for depth, and any other delicious mix-ins you desire. The result is a smooth, rich, and deeply satisfying fudge that everyone can enjoy!
Essential Ingredients for Perfect Dairy-Free Fudge
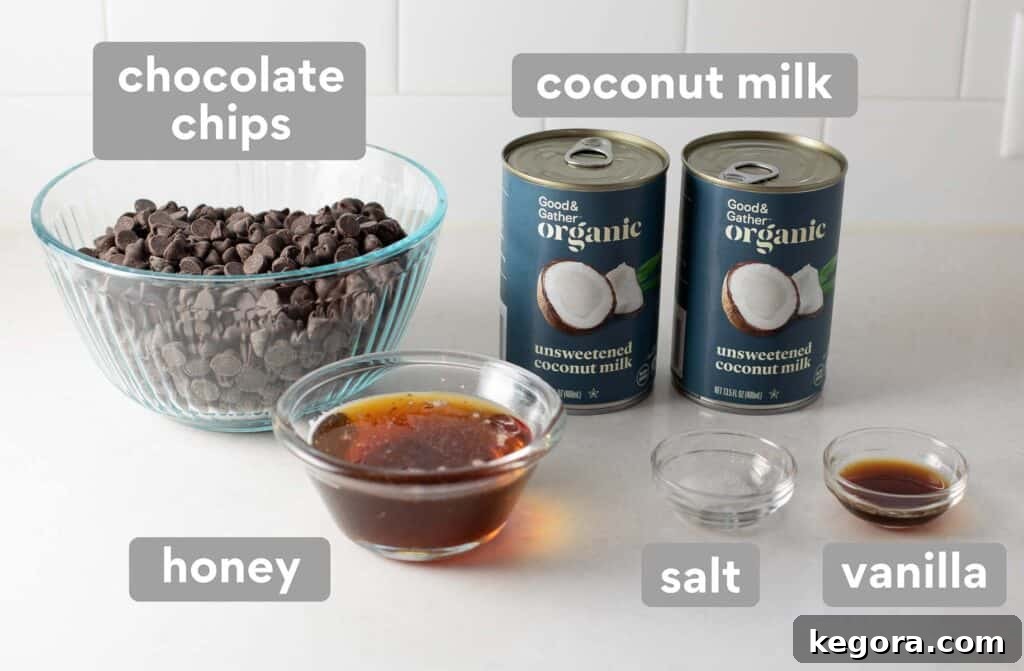
- Dairy-Free Chocolate Chips: The foundation of any good fudge! You have a wide variety of dairy-free options available today, from semi-sweet to dark chocolate. Brands like Trader Joe’s and Costco often offer excellent dairy-free choices, as does Enjoy Life. Choose a quality brand for the best flavor and melting consistency. The chocolate chips not only provide rich flavor but also help the fudge firm up beautifully.
- Full-Fat Canned Coconut Milk: This is a crucial ingredient for achieving the perfect creamy texture and ensuring your fudge sets properly. You’ll need two cans of unsweetened full-fat coconut milk. It’s imperative not to substitute with light coconut milk, which lacks the necessary fat content, or coconut cream, which can be too thick and lead to a greasy texture. Additionally, avoid boxed coconut milk found in the refrigerated section, as these often contain added gums and stabilizers that will negatively impact the fudge’s consistency and setting ability. Look for brands with minimal ingredients, typically just coconut extract and water, for the purest results.
- Liquid Honey: As a natural sweetener, honey plays a vital role in both taste and texture. Liquid honey is highly recommended over thicker, creamed honey, as its fluid consistency blends more easily into the coconut milk and allows for proper reduction. Honey also contributes to the fudge’s smooth, melt-in-your-mouth quality.
- Vanilla Extract: While optional, a touch of pure vanilla extract elevates the overall flavor profile, adding warmth and complexity that complements the chocolate beautifully.
- Pinch of Salt: A tiny pinch of salt (also optional) works wonders by balancing the sweetness and enhancing the chocolate’s depth, preventing the fudge from tasting overly saccharine.
Thinking of making this fudge vegan? Absolutely! You can easily substitute the honey with an equal amount of pure maple syrup. This simple swap makes the recipe entirely plant-based and suitable for a vegan diet, without sacrificing any of the rich flavor or smooth texture.
Step-by-Step Guide: Crafting Your Dairy-Free Fudge
Creating this irresistible dairy-free fudge is a surprisingly simple process. Follow these detailed steps to ensure a perfectly smooth and decadent result every time.
- Step 1: Prepare Your Pan. Begin by lining an 8×8 inch baking pan with parchment paper. Ensure the paper hangs over the edges, creating “handles” that will make lifting the set fudge out of the pan effortless. This crucial step prevents sticking and ensures easy cutting. Set the prepared pan aside.
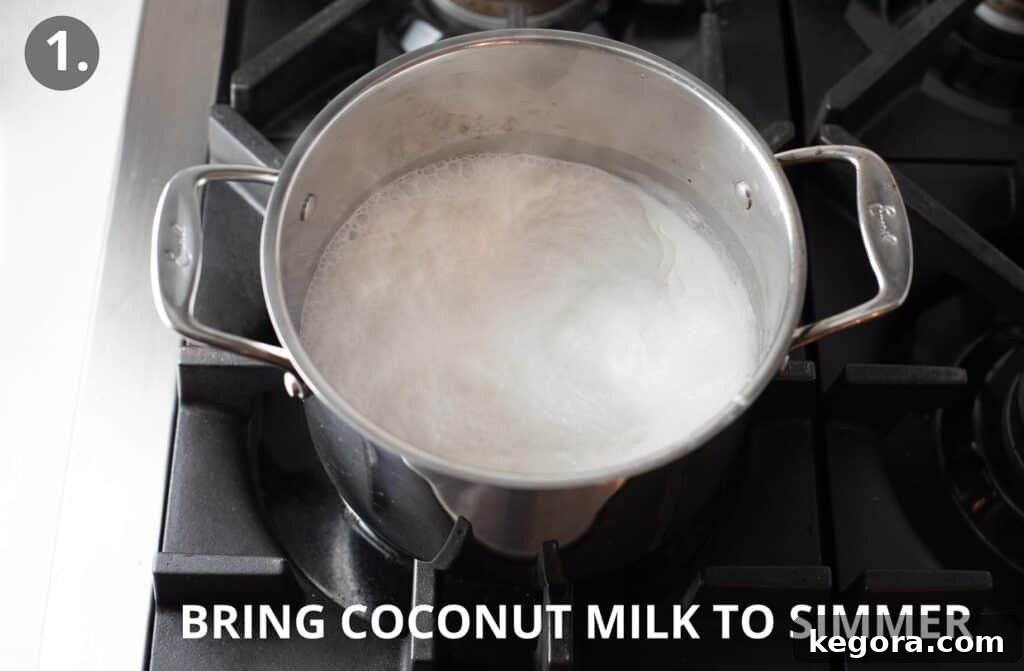
- Step 2: Start the Coconut Milk Reduction. Pour the contents of two cans of full-fat unsweetened coconut milk into a medium-sized saucepan. Place the saucepan over medium-high heat and bring the milk to a rolling boil. Once boiling, reduce the heat immediately to a gentle simmer. Allow it to cook for approximately 5-7 minutes, stirring occasionally to prevent scorching and ensure even heating. This initial simmer helps to start the thickening process.
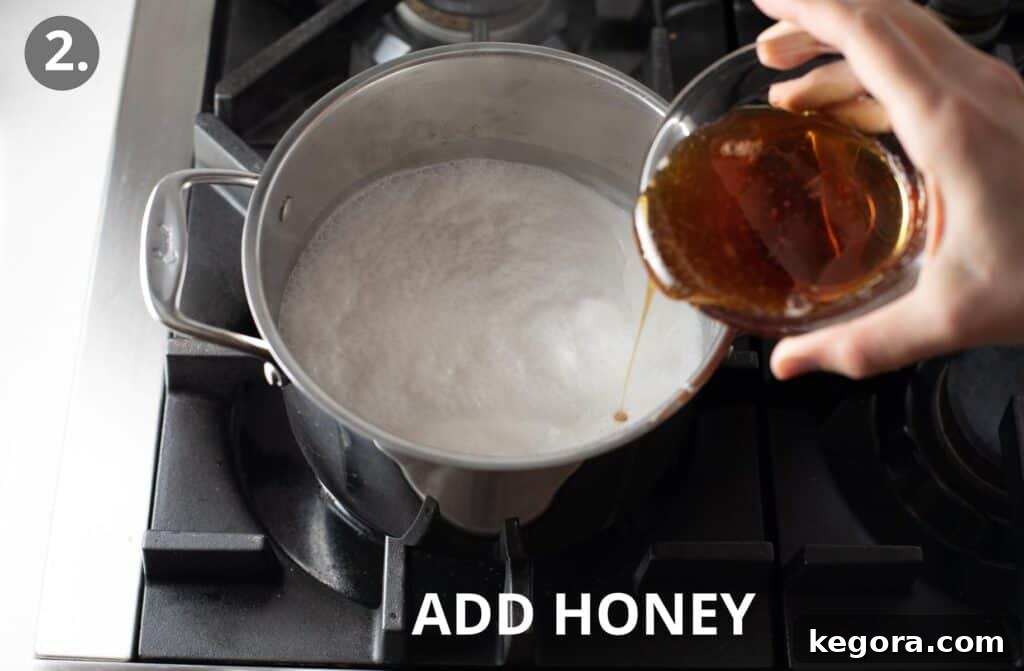
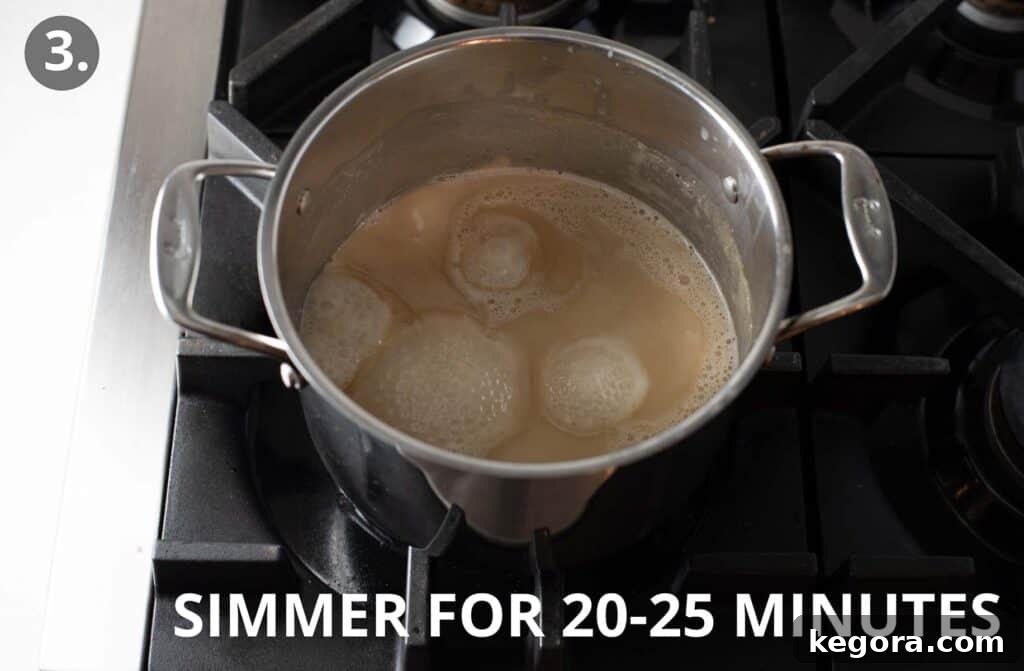
- Step 3: Add Honey and Continue Reducing. Once the coconut milk has simmered for 5-7 minutes, whisk in the honey until it is fully incorporated. Continue to simmer the mixture over low to medium-low heat for an additional 25-30 minutes. The goal here is to reduce the liquid significantly, thickening it into a rich, condensed-milk-like base. The mixture should become noticeably thicker and coat the back of a spoon. To accurately check the reduction, after about 20 minutes, carefully pour a small amount of the mixture into a heatproof glass measuring cup. You are aiming for approximately 2 cups of reduced liquid. If it hasn’t reached this volume, continue simmering and checking every few minutes.
- Step 4: Confirm Reduction. Ensure your mixture has reduced to exactly 2 cups of liquid. This precise measurement is key to achieving the correct fudge consistency. If it’s too thin, the fudge might not set properly; too thick, and it could be overly firm.
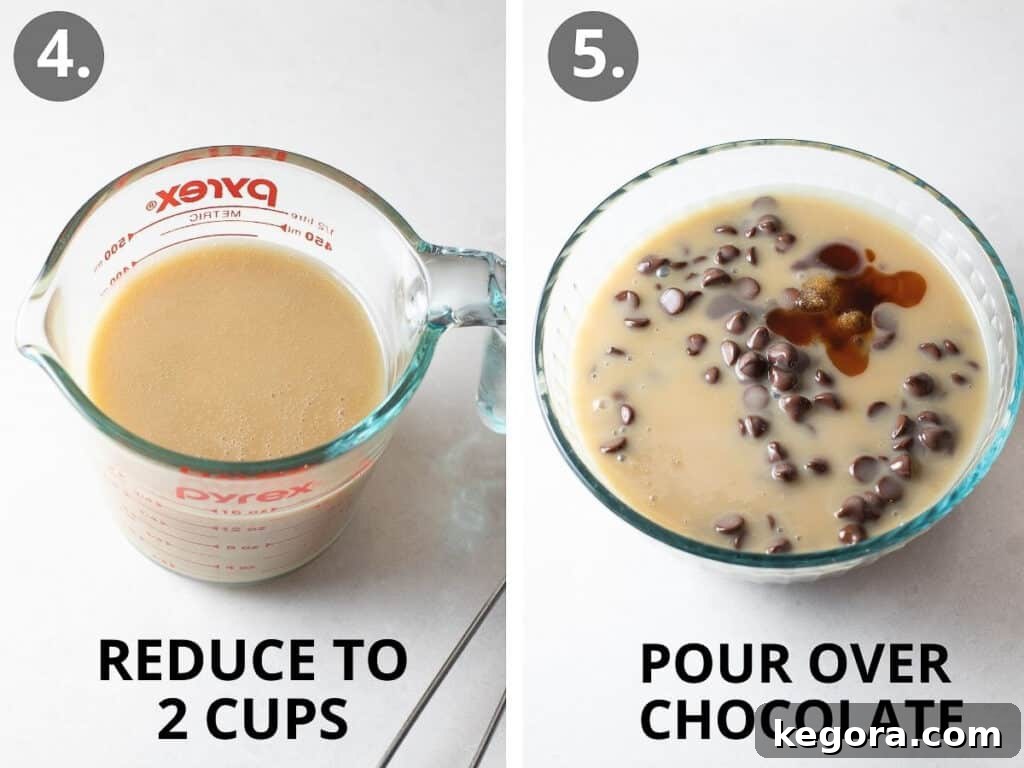
- Step 5: Incorporate Chocolate and Flavorings. As soon as your coconut milk and honey mixture reaches the desired 2-cup volume, remove the saucepan from the heat. Immediately add the dairy-free chocolate chips, vanilla extract, and a pinch of salt. Stir vigorously with a whisk or spatula until all the chocolate chips are completely melted and the mixture is smooth and glossy. If you’re adding chopped nuts or other mix-ins, stir them in now until evenly distributed throughout the fudge. The residual heat from the reduced coconut milk will be sufficient to melt the chocolate perfectly.
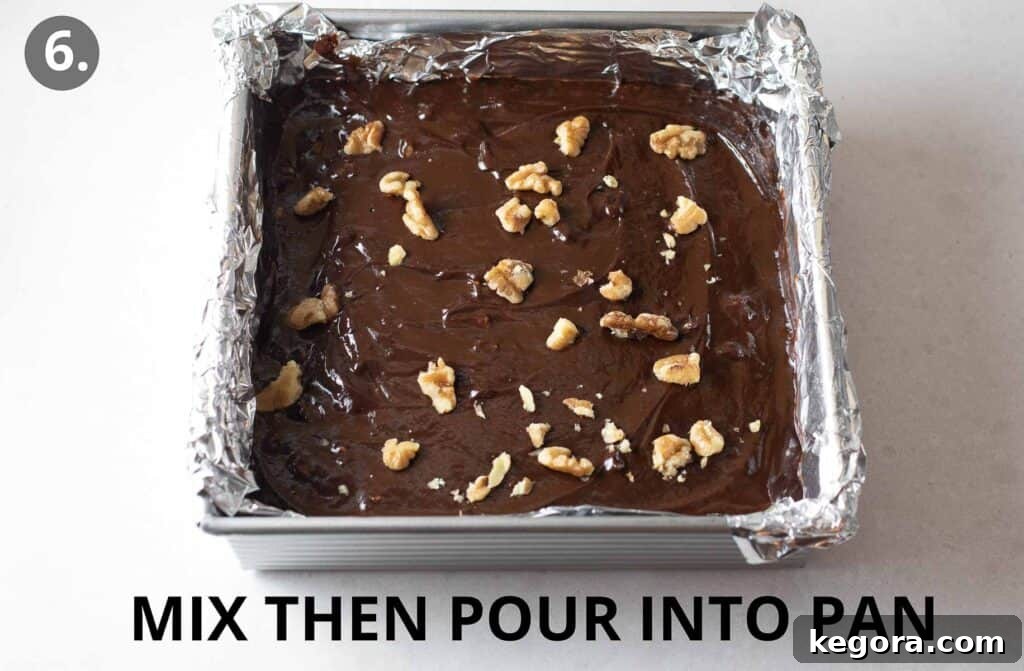
- Step 6: Pour and Chill. Promptly pour the warm fudge mixture into your prepared 8×8 inch pan, spreading it evenly with a spatula. For an extra touch, you can sprinkle additional chopped nuts or sea salt flakes on top before chilling.
- Step 7: Set and Enjoy! Transfer the pan to the refrigerator and chill for at least 2 hours, or until the fudge is completely firm. Once set, use the parchment paper overhangs to lift the fudge block out of the pan. Place it on a cutting board and cut it into desired squares or rectangles. Serve immediately and enjoy this rich, smooth, and healthy treat! Store any leftover fudge in an airtight container in the refrigerator to maintain its freshness and consistency.
Dairy-Free Fudge Frequently Asked Questions
Absolutely! Pure maple syrup is an excellent alternative to honey in this recipe. Using maple syrup will make this fudge entirely vegan, appealing to an even broader audience. The flavor profile will be slightly different, with a subtle maple note, but the texture and consistency should remain just as delightful. Ensure you use pure maple syrup, not pancake syrup, for the best results.
Unfortunately, cacao powder cannot be directly substituted for chocolate chips in this recipe. The chocolate chips are crucial for two main reasons: they contain cocoa butter and other fats that help the fudge firm up and achieve its characteristic smooth texture, and they provide the necessary sweetness. Cacao powder alone would result in a bitter, loose mixture that wouldn’t set into fudge. If you prefer a darker chocolate flavor, opt for dairy-free dark chocolate chips instead.
No, almond milk or other alternative milks like oat milk or soy milk will not work as a substitute for full-fat canned coconut milk in this specific recipe. The high fat content and unique composition of full-fat canned coconut milk are essential for reducing down to the thick, condensed base that allows the fudge to set correctly. Boxed coconut milk (from the refrigerated section) also won’t work, as these often contain added water, gums, and stabilizers that drastically alter the consistency and prevent proper reduction and setting. For successful dairy-free fudge, always stick to unsweetened full-fat canned coconut milk.
To maintain its firm texture and freshness, this dairy-free fudge should always be stored in an airtight container in the refrigerator. When stored properly, it will last for up to 1-2 weeks. You can also freeze the fudge for longer storage; wrap individual pieces tightly in parchment paper and then place them in a freezer-safe bag or container for up to 2-3 months. Thaw in the refrigerator before serving.
Absolutely! This recipe is wonderfully versatile. Beyond chopped nuts like walnuts or hazelnuts, consider adding a pinch of cinnamon or chili powder for a spiced chocolate fudge. A few drops of peppermint extract can create a festive peppermint fudge. Orange zest or orange extract pairs beautifully with chocolate. For texture, dried cranberries, chopped dried cherries, or even a swirl of dairy-free peanut butter or almond butter before chilling can be fantastic additions. Get creative and customize it to your taste!
Explore More Delicious Dairy-Free Recipes
If you’re loving this dairy-free fudge, you’ll be thrilled to discover other delectable dairy-free creations:
- Luxurious Dairy-Free Crème Brûlée
- Cozy Dairy-Free Hot Chocolate (Refined Sugar-Free)
- Festive Dairy-Free Eggnog
- Elegant Dairy-Free Chocolate Fondue
- Wholesome Dairy-Free Spinach Artichoke Dip
We genuinely hope you cherish this easy, dairy-free fudge recipe as much as we do! If you give it a try, please take a moment to leave a comment and a rating below. Your feedback means the world to us!
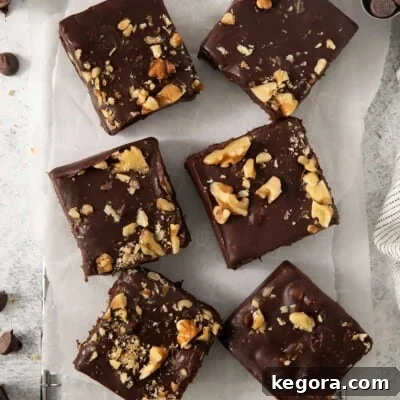
Easy, 3-Ingredient Dairy-Free Fudge
Erin Collins
10 mins
30 mins
40 mins
12 servings
This simple, healthier fudge is crafted with just 3 core ingredients! It’s completely dairy-free, gluten-free, and refined-sugar-free, yet incredibly rich, smooth, and absolutely foolproof. A perfect treat for any occasion!
Ingredients
- 2 (13.5 oz) cans unsweetened, full-fat coconut milk
- 1/2 cup liquid honey (or maple syrup for vegan)
- 4 cups dairy-free chocolate chips (24 oz)
- Pinch of salt (optional, for flavor enhancement)
- 1 tablespoon vanilla extract (optional, for flavor)
- 3/4 cup chopped nuts of choice (optional, such as walnuts or hazelnuts)
Instructions
- Line an 8×8 inch pan with parchment paper, allowing some overhang on the sides for easy removal. Set aside.
- Pour the coconut milk into a medium saucepan. Heat over medium-high heat until it reaches a boil. Reduce heat to a simmer and cook for 5-7 minutes, stirring occasionally.
- Whisk in the honey (or maple syrup). Continue to simmer for another 25-30 minutes, stirring periodically. The goal is to reduce the mixture to 2 cups of liquid. After about 20 minutes, periodically check the volume by pouring the mixture into a glass measuring cup.
- Once the mixture has reduced to 2 cups, remove the saucepan from the heat. Add the dairy-free chocolate chips, vanilla, and salt. Stir continuously until the chocolate is completely melted and the mixture is smooth and glossy. If using, stir in the chopped nuts now.
- Pour the fudge mixture into the prepared pan, spreading it evenly. Refrigerate for at least 2 hours, or until fully set.
- Once firm, lift the fudge out of the pan using the parchment paper handles. Cut into squares and serve. Store any leftover fudge in an airtight container in the refrigerator.
Notes
*For coconut milk, I recommend a brand with minimal ingredients like Natural Value, often found on Amazon, which typically contains only coconut extract and water in a BPA-free can.
*Dairy-free chocolate chips are widely available. Large bags from Costco or brands like Enjoy Life are excellent choices for this recipe.
*For a truly smooth fudge, ensure all chocolate chips are fully melted and incorporated before pouring into the pan. If necessary, place the saucepan back on very low heat for a moment, stirring constantly.
Nutrition
Calories: 448kcal | Carbohydrates: 52g | Protein: 4g | Fat: 25g | Saturated Fat: 15g | Cholesterol: 8mg | Sodium: 68mg | Potassium: 120mg | Fiber: 2g | Sugar: 47g | Vitamin A: 125IU | Vitamin C: 0.9mg | Calcium: 80mg | Iron: 2.2mg