
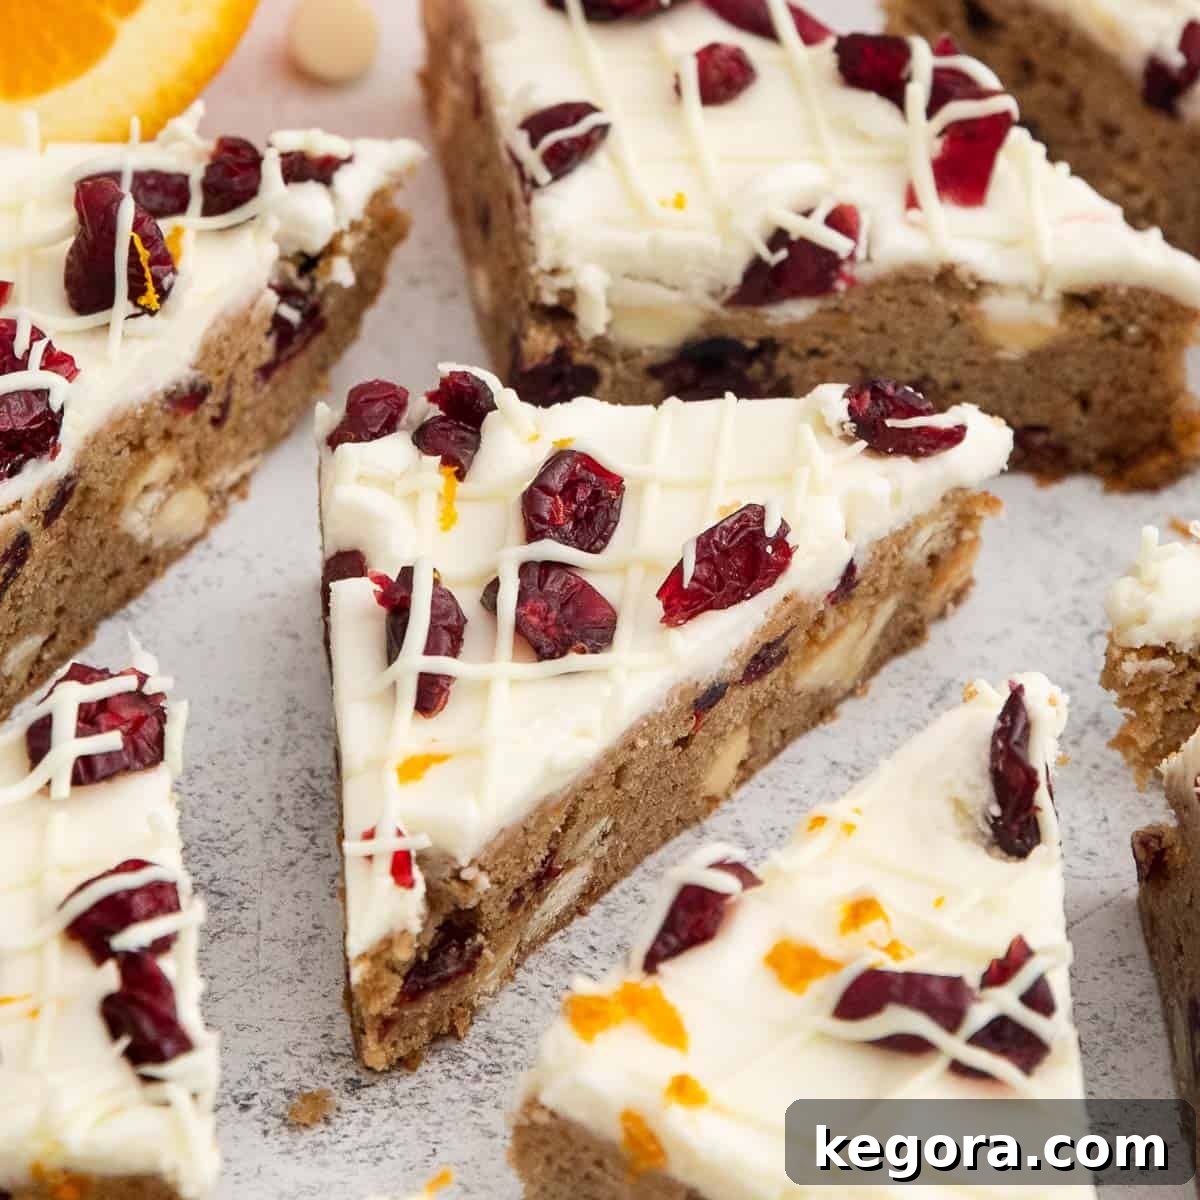
Erin’s Recipe Rundown: Crafting the Perfect Gluten-Free Bliss Bars
Texture: Prepare yourself for an exquisite combination of soft, chewy blondies that create a satisfying base, perfectly complemented by a luxurious layer of velvety smooth cream cheese frosting. Each bite offers a delightful contrast that truly defines these bliss bars.
Taste: This recipe delivers a harmonious explosion of flavors. Experience the comforting warmth of aromatic spices, the bright zest of fresh citrus, the sweet-tart burst of cranberries, and the rich indulgence of white chocolate, all expertly balanced with the tangy kick of cream cheese. It’s a symphony for your taste buds.
Ease: Don’t let their sophisticated appearance fool you – these incredible gluten-free Starbucks Bliss Bars are surprisingly easy to whip up using straightforward ingredients. Perfect for both novice and experienced bakers looking for a special treat without the fuss.
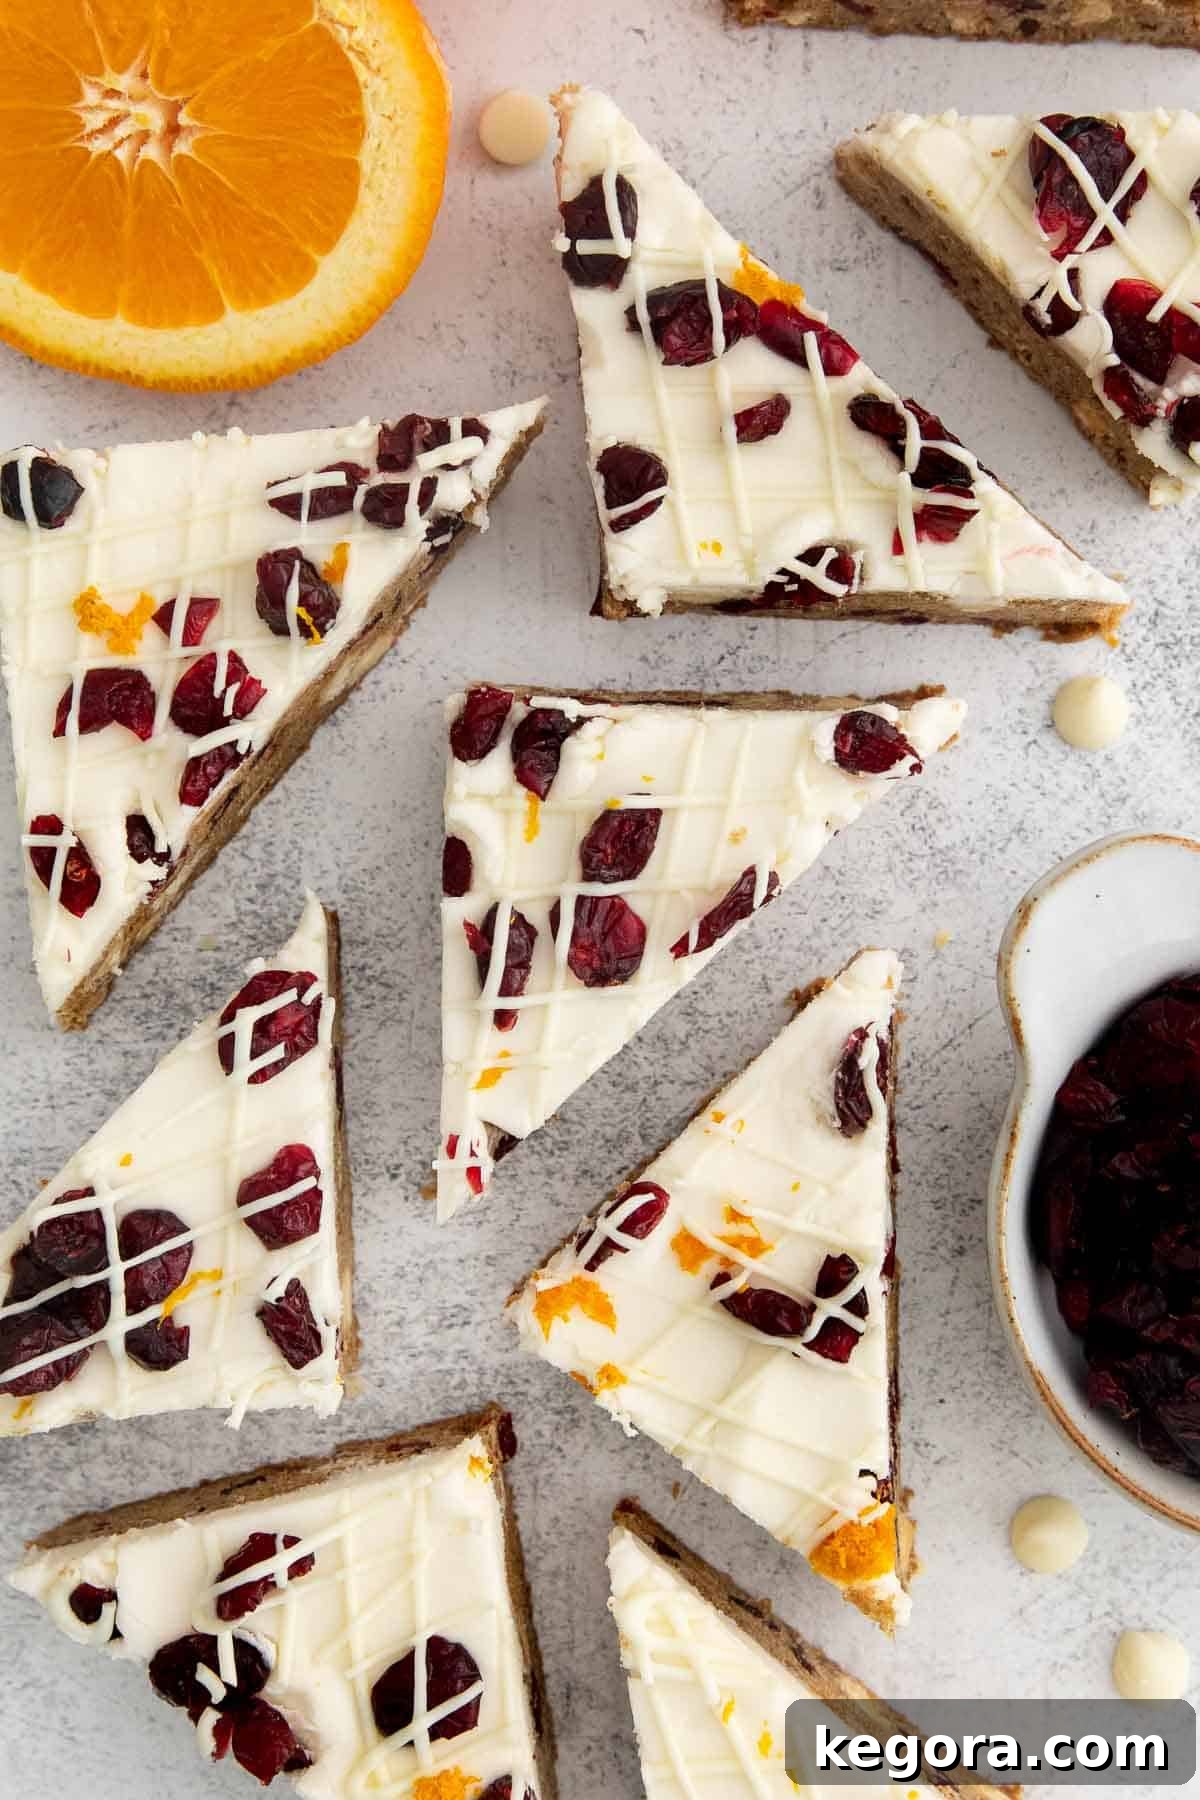
Top Tips: For optimal results, planning ahead is key. Ensure you allocate sufficient time for your blondie base to cool completely before applying the frosting and any decorations. An additional hour of chilling after frosting is crucial for the bars to set perfectly, making them easier to slice and ensuring that iconic bliss bar shape. Once chilled, cut them into neat triangles to mimic the classic Starbucks presentation!
Recommended GF Flour: The success of these blondies largely depends on a high-quality gluten-free flour blend that already includes xanthan gum. This ingredient is vital for achieving the ideal structure and chewiness. My personal favorite, and one I highly recommend for consistent results, is King Arthur Flour’s Gluten-Free Measure for Measure Flour.
Would I make these again? Absolutely, 100% yes! If you’re following a gluten-free diet and have been yearning for this beloved Starbucks treat – or perhaps you’re simply curious to try a bliss bar for the first time – this recipe will exceed your expectations. The unparalleled blend of flavors and textures in these bars is nothing short of heavenly.
xoxo erin
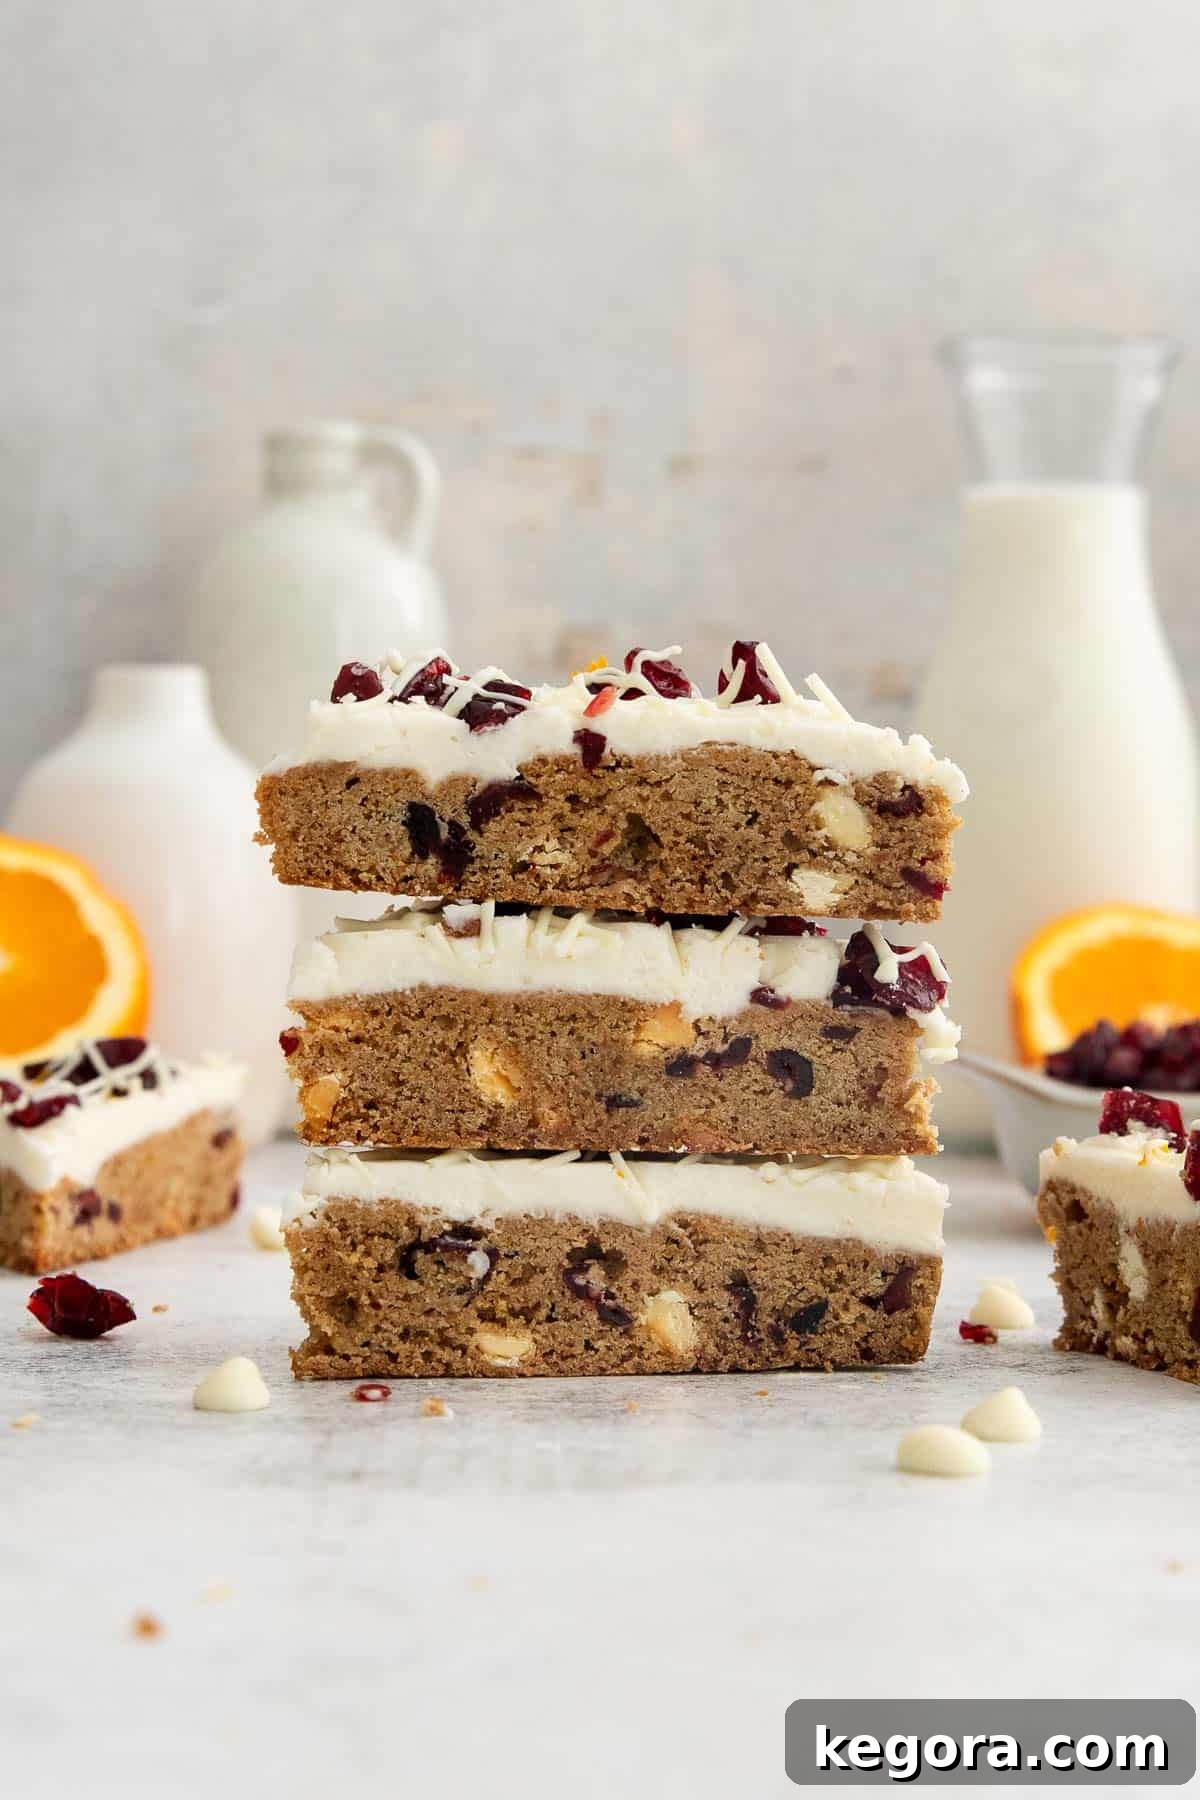
Indulge in Homemade Gluten-Free Starbucks Bliss Bars: Your Ultimate Copycat Recipe
Being gluten-free no longer means having to miss out on the iconic Starbucks Bliss Bar! This incredible copycat recipe brings all the magic of this beloved seasonal treat right into your kitchen. Imagine sinking your teeth into a perfectly chewy gluten-free blondie base, brimming with the cozy aroma of warm holiday spices, the delightful sweetness of cranberries, the creamy richness of white chocolate, and a bright, zesty hint of fresh citrus. Topped with a generous swirl of decadent, tangy cream cheese frosting, these bars are truly a dream come true for anyone seeking a delicious gluten-free dessert.
For years, living gluten-free meant I’d never experienced the original Starbucks Bliss Bar. That all changed when I embarked on creating this recipe, and I can now wholeheartedly say I understand the hype! These bars achieve an exquisite balance of flavor and texture that is utterly captivating. The contrast between the soft blondie and the smooth frosting, combined with the bursts of fruit and spice, creates a truly unforgettable experience.
This gluten-free copycat recipe is designed to be the perfect treat for any occasion. Whether you’re planning Christmas parties, festive holiday gatherings, or looking for a thoughtful homemade gift, these Starbucks Bliss Bars are guaranteed to impress. They possess a sophisticated, “fancy” appearance, yet they are surprisingly simple to prepare, making them a fantastic addition to your holiday baking repertoire. Prepare to delight friends and family with this irresistible gluten-free gem!
Featured Comment
From Annie: “Absolutely delicious! I’ve always wanted to try these Starbucks Bliss Bars, and this gluten-free version is such a special treat. Thank you so much for sharing this wonderful recipe!”
23 more comments
Table of Contents
- Erin’s Recipe Rundown: Crafting the Perfect Gluten-Free Bliss Bars
- Why You’ll Love These Gluten-Free Bliss Bars
- Ingredients You’ll Need for Gluten-Free Starbucks Bliss Bars
- How to Make Gluten-Free Starbucks Bliss Bars: Step-by-Step Guide
- Expert Tips for Perfect Gluten-Free Bliss Bars
- Make-Ahead, Storage & Freezing Instructions
- Frequently Asked Questions About Gluten-Free Bliss Bars
- More Delicious Gluten-Free Christmas Treats
- Gluten-Free Starbucks Bliss Bars Recipe Card
Why You’ll Love These Gluten-Free Bliss Bars
These Gluten-Free Starbucks Bliss Bars are more than just a dessert; they’re an experience designed to bring joy to every bite. Here’s why this recipe is bound to become a new favorite in your baking collection:
- A Perfect Copycat: If you’ve missed the original Starbucks Bliss Bars due to dietary restrictions, this recipe is your answer. It meticulously replicates the cherished flavors and textures, ensuring you don’t compromise on taste.
- Irresistible Flavor Profile: The intricate blend of warm ginger, cinnamon, and nutmeg with bright orange zest, sweet cranberries, and rich white chocolate creates a complex yet comforting flavor that’s perfect for the holidays, but delightful any time of year.
- Soft & Chewy Texture: The blondie base is incredibly soft and chewy, providing the perfect foundation for the creamy, tangy cream cheese frosting. This textural harmony is a hallmark of a truly great bar.
- Effortless Elegance: Despite looking like they came from a high-end bakery, these bars are surprisingly easy to make. Simple steps and readily available ingredients mean you can create a show-stopping dessert without stress.
- Holiday Gifting & Parties: Their festive appearance and universally loved taste make them ideal for holiday gifting, potlucks, and special celebrations. Slice them into triangles for that authentic, appealing look.
- Dietary Inclusive: Offering a delicious gluten-free option allows everyone to enjoy a taste of this classic treat, fostering a more inclusive and enjoyable dining experience for all your guests.
Ingredients You’ll Need for Gluten-Free Starbucks Bliss Bars
Crafting these delectable gluten-free bliss bars requires a selection of high-quality ingredients that contribute to their signature taste and texture. Below are a few essential notes on the key components. For precise measurements, please refer to the comprehensive recipe card below.
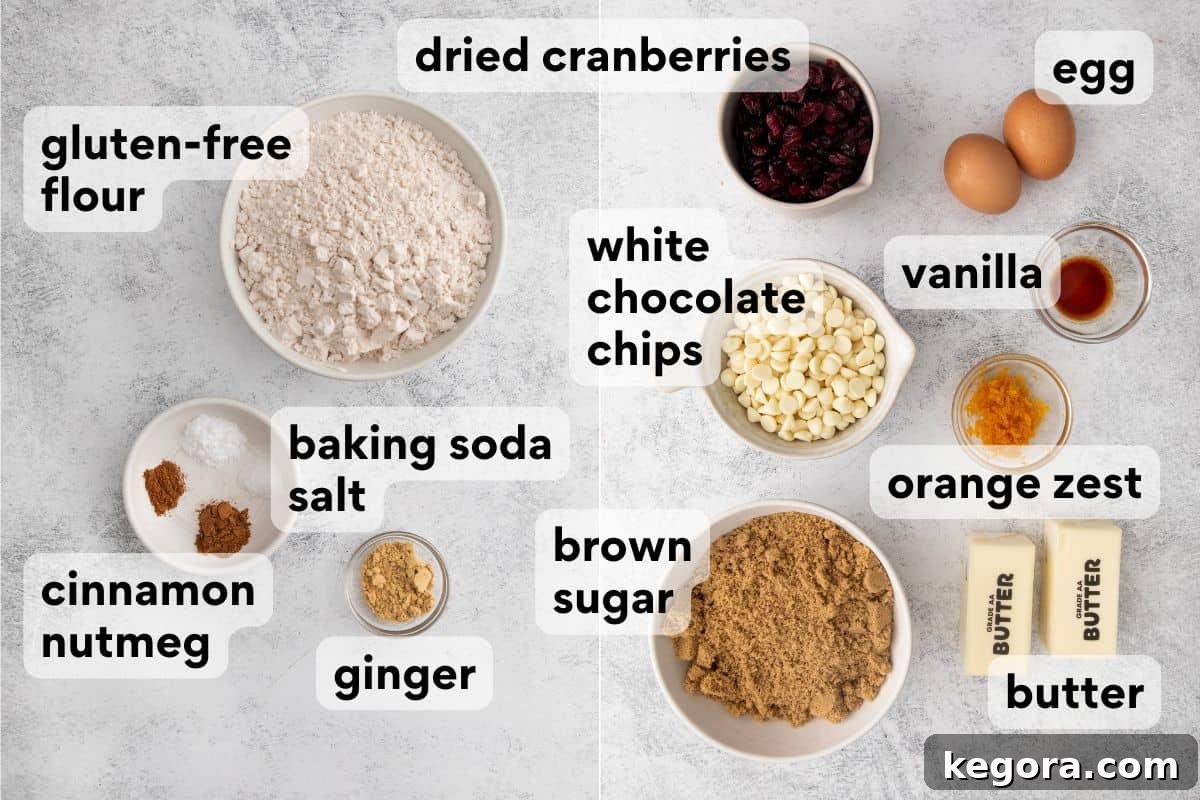
- Gluten-Free Flour: The foundation of our blondie base. It’s crucial to use a high-quality 1:1 gluten-free flour blend that contains xanthan gum. Xanthan gum acts as a binder, providing the necessary structure and chewiness that gluten typically offers, ensuring your blondies aren’t crumbly. This particular brand is my go-to for its consistent performance.
- Spices: A delightful trio of ground ginger, cinnamon, and nutmeg is essential for infusing these bars with their characteristic warm, inviting holiday flavor. These spices perfectly complement the sweetness of the cranberries and add depth to the blondie.
- Brown Sugar: More than just a sweetener, brown sugar plays a critical role in both the flavor and texture of the blondies. Its molasses content adds a rich, caramel-like note and ensures the bars remain wonderfully moist and chewy. It’s a key component, alongside the orange zest, in achieving the full, nuanced flavor profile.
- Butter & Eggs: I typically opt for salted butter in my baking; it enhances the overall flavor while contributing to a tender, melt-in-your-mouth crumb. The eggs are vital for binding all the ingredients together, creating the proper structure that results in soft and irresistibly chewy bars. For a dairy-free alternative, simply substitute with a high-quality vegan butter.
- Orange Zest: This ingredient provides a crucial burst of bright, fresh citrus that beautifully cuts through the sweetness and balances the warm spices. The vibrant aroma and flavor of orange zest are undeniably integral to the authentic bliss bar experience.
- Dried Cranberries: These provide a sweet-tart counterpoint and a lovely chewy texture throughout the blondie. Dried cranberries are highly recommended over fresh ones for this recipe due to their concentrated sweetness and softer chewiness, which perfectly integrates into the bar.
- White Chocolate Chips: These chips melt slightly into the blondie during baking, adding pockets of creamy, sweet richness to every bite. Their delicate sweetness pairs exceptionally well with the spiced, fruity notes, enhancing the overall indulgence.
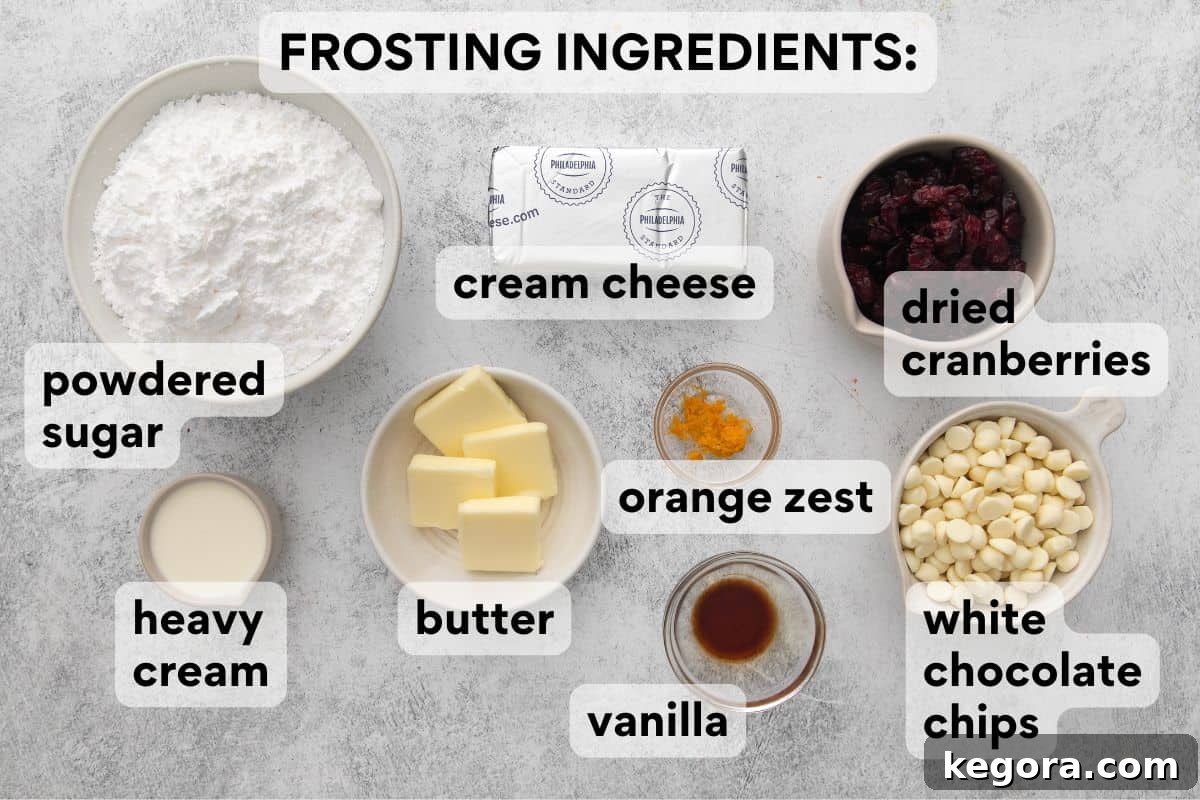
- Cream Cheese: The star of the frosting, offering its signature creamy texture and tangy flavor, which is essential for creating that classic copycat bliss bar topping. For dairy-free versions, a good quality dairy-free cream cheese works wonderfully.
- Butter & Heavy Cream: These ingredients are crucial for achieving a silky-smooth, rich, and perfectly spreadable frosting. They add body and a luxurious mouthfeel. If you’re making dairy-free bars, ensure you use vegan butter and a suitable dairy-free heavy cream alternative.
- Powdered Sugar: The foundation of any classic cream cheese frosting, powdered sugar not only sweetens but also creates an incredibly smooth and lump-free texture. It dissolves beautifully, ensuring a velvety finish.
- Toppings: To truly complete the bliss bar experience, a final flourish is needed. A generous sprinkling of extra dried cranberries and fresh orange zest echoes the flavors within the blondie, while a delicate drizzle of melted white chocolate adds an extra layer of visual appeal and sweetness, making these bars look as festive and fun as they taste!
How to Make Gluten-Free Starbucks Bliss Bars: A Step-by-Step Guide
Creating these delightful gluten-free Starbucks Bliss Bars is a rewarding process, and I’ve broken it down into clear, manageable steps. For the full, detailed instructions and ingredient quantities, please jump to the recipe card at the end of this post!
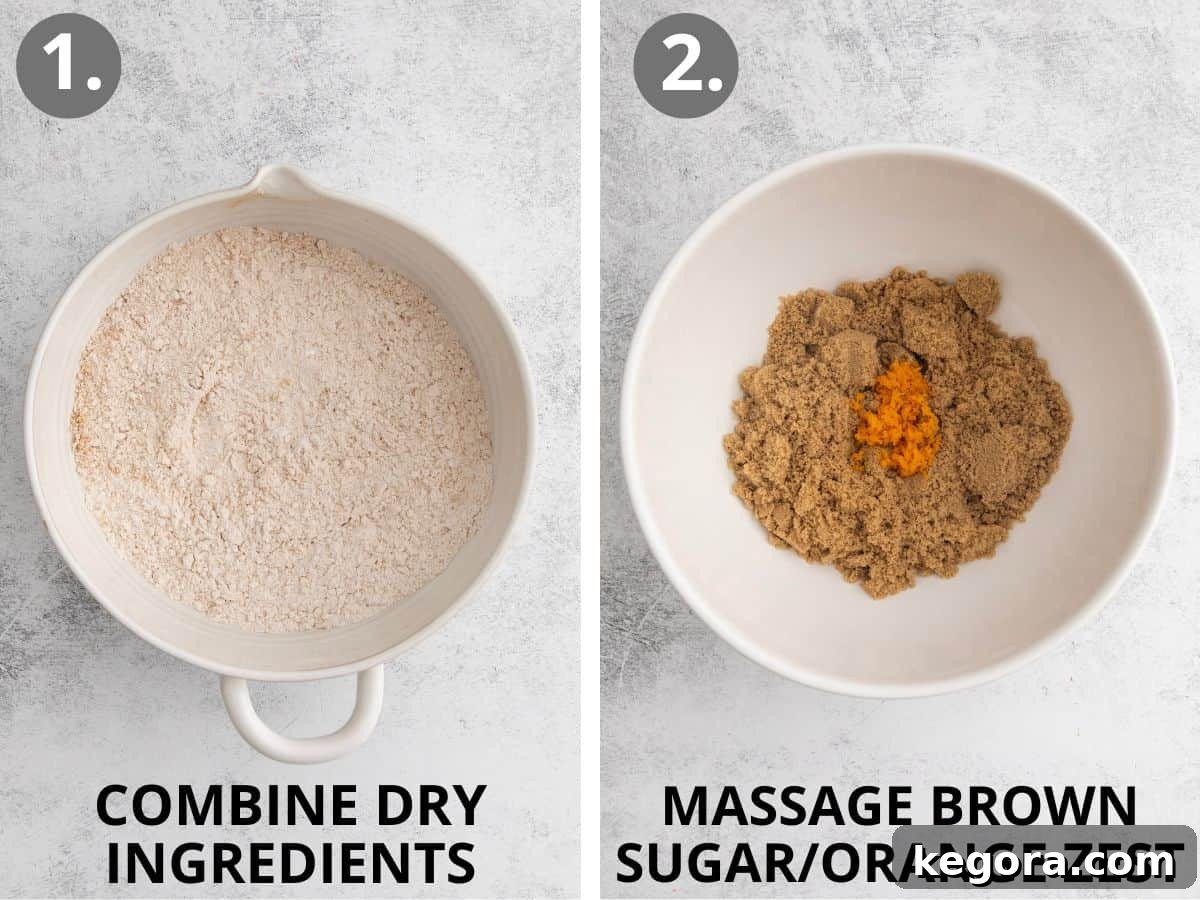
- Prepare the Dry Ingredients: In a medium-sized mixing bowl, combine your gluten-free flour, ground ginger, cinnamon, nutmeg, baking soda, and salt. Whisk them thoroughly to ensure all the spices and leavening agents are evenly distributed throughout the flour mixture. This step is essential for a consistent texture in your blondies.
- Infuse the Brown Sugar with Citrus: In a large bowl, take your brown sugar and orange zest. Using your fingertips, gently massage the orange zest into the brown sugar. This simple yet crucial technique helps release the essential oils from the zest, intensifying the orange flavor and creating a more aromatic and flavorful blondie base. Don’t skip this step for maximum citrus impact!
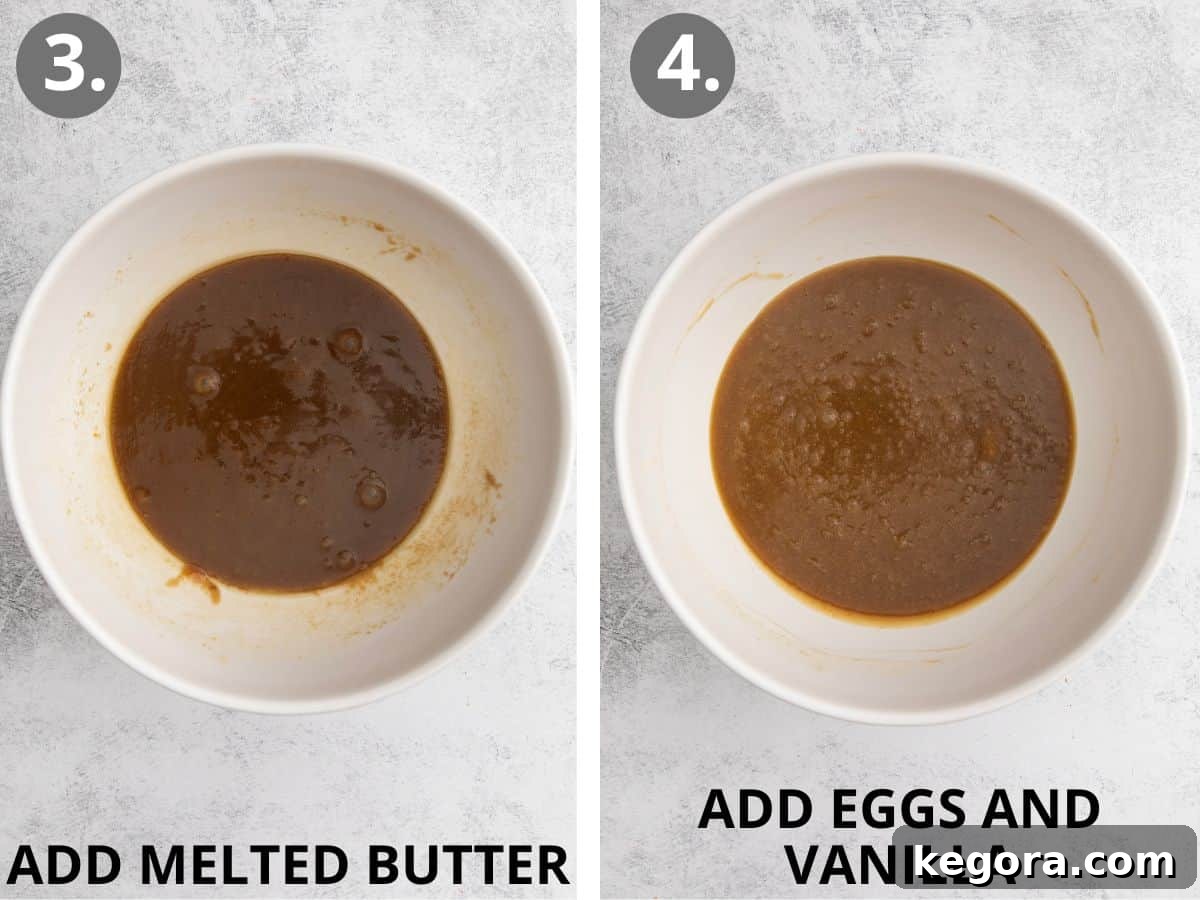
Incorporate Melted Butter: Pour the melted butter into the brown sugar and orange zest mixture. Whisk vigorously until the butter is fully incorporated and the mixture is smooth and glossy. The melted butter contributes to the blondie’s tender crumb and rich flavor.
Add Wet Ingredients for Moisture: Next, whisk in the eggs and vanilla extract. Continue whisking until the mixture is completely smooth and well combined. The eggs provide structure and moisture, while vanilla extract adds a classic depth of flavor that complements the spices beautifully.
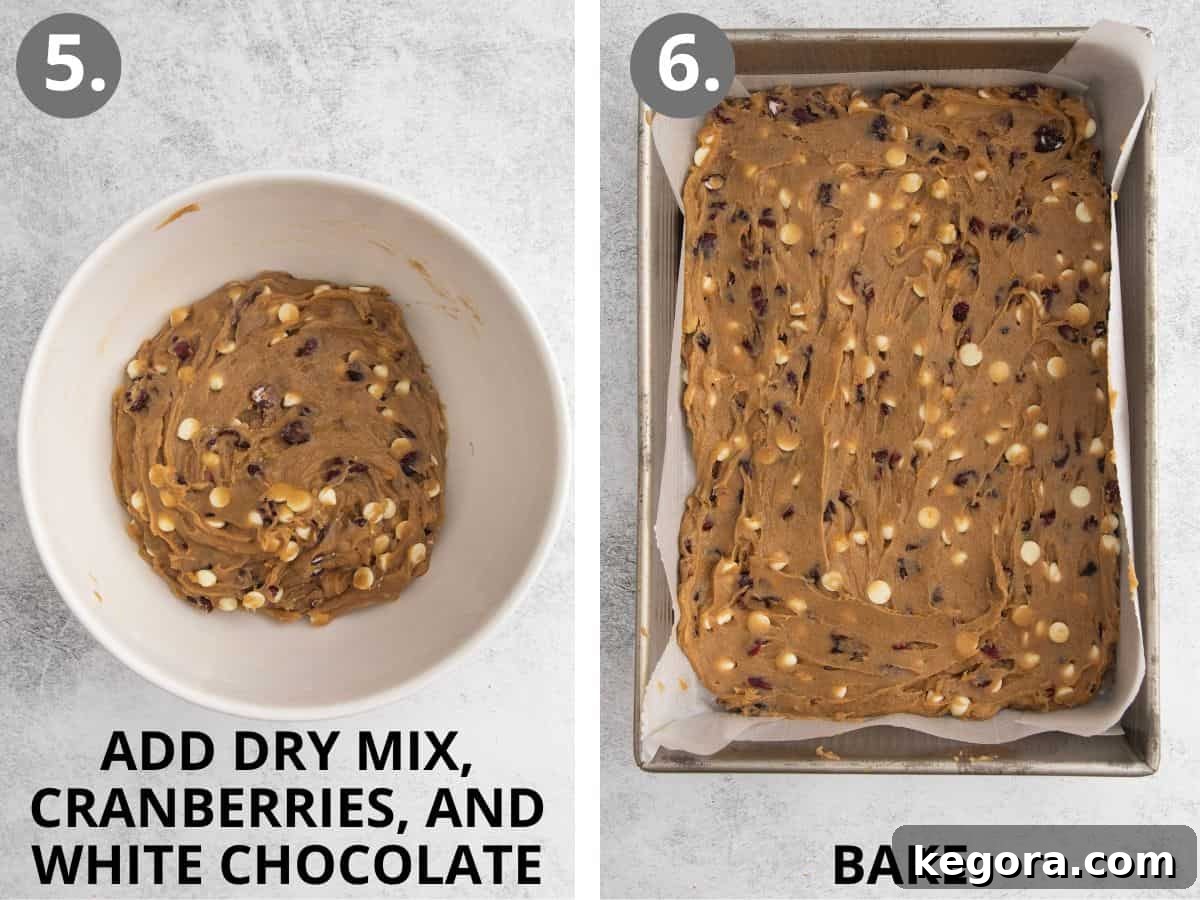
Combine with Dry Ingredients and Mix-ins: With a rubber spatula, gently fold the prepared dry mixture into the wet ingredients. Mix until just combined, being careful not to overmix, which can lead to tough blondies. Once the flour is mostly incorporated, stir in the dried cranberries and white chocolate chips until they are evenly distributed throughout the dough. This completes your flavorful blondie dough.
Bake to Golden Perfection: Evenly spread the dough into your greased 9×13-inch baking pan. Bake in a preheated oven at 350°F (175°C) for approximately 25-30 minutes. You’ll know they’re ready when the edges are lightly golden brown and a cake tester or toothpick inserted into the center comes out clean. Avoid overbaking to maintain that signature chewy texture.
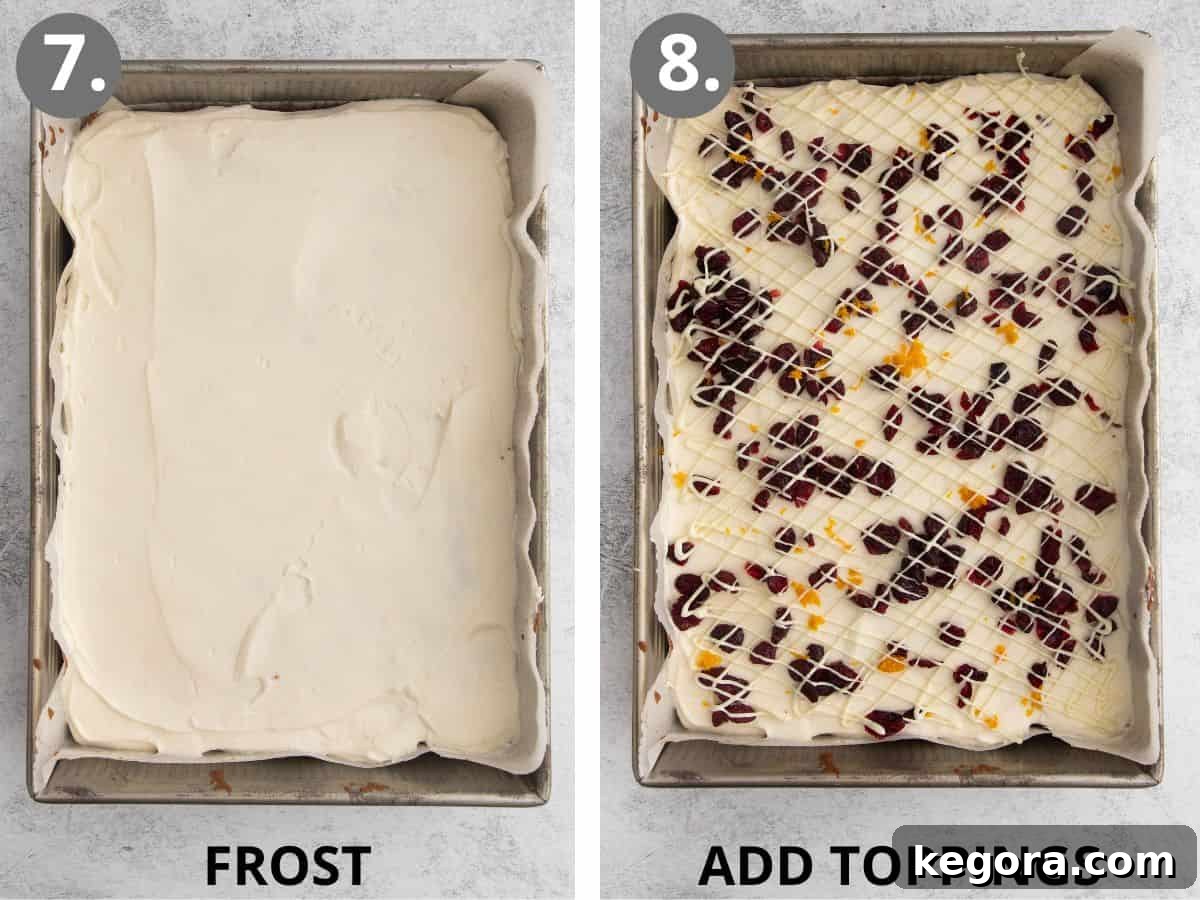
Prepare the Cream Cheese Frosting: While your blondie base cools completely on a wire rack, prepare the luscious cream cheese frosting. In the bowl of a stand mixer fitted with a paddle attachment (or using an electric hand mixer), beat the softened cream cheese and butter on medium-high speed until the mixture is light, fluffy, and creamy, which usually takes about 2 minutes. Gradually add the powdered sugar, heavy cream, and vanilla extract. Start mixing on low speed for 30 seconds to prevent a cloud of sugar, then increase to medium-high speed and whip for another 2 minutes until the frosting is thick, smooth, and spreadable. If it appears too thin, add powdered sugar one tablespoon at a time until the desired consistency is achieved. Generously spread the frosting evenly over the cooled blondies.
Add Festive Toppings and Chill: To finish, sprinkle the remaining dried cranberries and fresh orange zest over the frosted bars for added flavor and visual appeal. For the white chocolate drizzle, you can melt the white chocolate chips using a double boiler method, or microwave them in short 20-second bursts (2-3 times), stirring well after each interval until smooth. Transfer the melted white chocolate into a ziplock bag, snip a tiny corner, and artfully drizzle it over the bars in your preferred design. This step adds a final touch of elegance. Finally, chill the bars in the refrigerator for at least 1 hour to allow the frosting to set firmly before slicing them into their iconic triangles. Serve and enjoy every glorious bite!
Expert Tips for Perfect Gluten-Free Bliss Bars
Achieving bakery-quality gluten-free bliss bars is easier than you think with these expert tips:
- Room Temperature Ingredients for Frosting: Ensure your cream cheese and butter for the frosting are at true room temperature. This allows them to cream together smoothly, preventing lumps and creating a light, airy frosting texture.
- Don’t Overmix the Blondies: Once you add the dry ingredients to the wet, mix only until just combined. Overmixing gluten-free flour can still result in a tougher texture, even without gluten.
- Measure Flour Accurately: Use a kitchen scale for the most accurate measurement of gluten-free flour (300g for 2 cups). If you don’t have a scale, spoon the flour into your measuring cup and then level it off with a straight edge. Packing flour can lead to dense blondies.
- Cool Completely: Patience is a virtue, especially when it comes to frosting. The blondie base *must* be completely cool before you apply the cream cheese frosting. Warm blondies will melt the frosting, creating a messy rather than a blissful result.
- Zest Smart: When zesting your orange, make sure to only get the brightly colored outer layer (the zest) and avoid the bitter white pith underneath. This ensures pure, bright citrus flavor.
- Adjust Frosting Consistency: If your frosting feels too thin after mixing, add a tablespoon or two more powdered sugar until it reaches a thick, spreadable consistency. If it’s too thick, a tiny splash of heavy cream or milk can thin it out.
- Clean Slices: For perfectly neat triangles, chill the frosted bars thoroughly. Then, use a sharp knife, wiping it clean with a damp cloth between each cut. This prevents the frosting from dragging and keeps your slices looking pristine.
Make-Ahead, Storage & Freezing Instructions for Gluten-Free Bliss Bars
These gluten-free Starbucks Bliss Bars are wonderfully versatile and can be prepared in advance, stored, or frozen, making them perfect for holiday planning or simply having a delicious treat on hand. Proper handling ensures they retain their exquisite taste and texture.
To Make-Ahead: If you’re looking to get a head start, you can easily prepare the blondie base one or two days in advance. Once baked and cooled completely, store the unfrosted blondie base in an airtight container or tightly wrapped in plastic wrap at room temperature for up to 1-2 days. Frost and decorate just before you plan to serve them for the freshest experience.
To Store: Any leftover bliss bars, once frosted, must be stored in an airtight container in the refrigerator. Due to the cream cheese frosting, chilling is essential to maintain freshness and prevent spoilage. They will stay delicious for up to 5 days when properly refrigerated.
To Freeze: For longer storage, these bliss bars freeze best when unfrosted. Allow the baked blondie base to cool completely. Wrap it tightly first in plastic wrap, then an additional layer of aluminum foil. This double-layer protection helps prevent freezer burn. You can freeze the unfrosted blondie base for up to 3 months. When ready to enjoy, thaw the blondie base overnight in the refrigerator, then prepare the frosting and assemble as directed.
Frequently Asked Questions About Gluten-Free Bliss Bars
Here are some common questions about making these delicious gluten-free Starbucks Bliss Bars:
Can these gluten-free Starbucks bliss bars be made dairy-free?
Absolutely, yes! Making these bliss bars dairy-free is quite straightforward. You will need to substitute the regular butter with a high-quality vegan butter, use dairy-free cream cheese for the frosting, and opt for a dairy-free heavy cream alternative. Additionally, ensure that the white chocolate you choose is explicitly labeled dairy-free. Brands like Enjoy Life Foods offer delicious mini white chocolate chips that are perfect for dairy-free baking.
Can I use fresh cranberries instead of dried cranberries?
While fresh cranberries can be used in some baking, for this specific recipe, dried cranberries are highly recommended. Dried cranberries offer a sweeter, more concentrated flavor and a chewier texture that integrates beautifully into the blondie. Fresh cranberries, on the other hand, are significantly more tart and have a firmer texture, which would alter the desired flavor and mouthfeel of these bliss bars. Stick with dried for the best copycat result!
Can I use a different dried fruit instead of dried cranberries?
Yes, you certainly can experiment with different dried fruits to customize your bliss bars! While dried cranberries are classic for this recipe, you could try substituting them with other dried fruits like dried cherries for a darker, richer fruit note, raisins for a more traditional sweetness, or finely chopped dried apricots for a hint of tang. Choose the fruity flavor that best suits your preference and enjoy your unique twist on the bliss bar!
What should I do if my frosting seems too thin?
If you find that your cream cheese frosting is too thin after preparing it, don’t worry – it’s an easy fix! Simply add a little more powdered sugar, one to two tablespoons at a time, to the mixture. Beat it well after each addition until the frosting reaches the perfect thick, yet spreadable consistency needed to beautifully top your blondie base. Remember, a thicker frosting holds its shape better and provides that satisfying creamy layer.
More Delicious Gluten-Free Christmas Treats
The holiday season is a perfect time for baking, and being gluten-free shouldn’t limit your festive dessert options! If you love these Starbucks Bliss Bars, you’ll definitely want to explore these other fantastic gluten-free Christmas treats that are sure to bring joy to your celebrations:
- Gluten-Free Millionaire’s Shortbread: A rich, buttery shortbread base, a decadent caramel layer, and a chocolate topping – pure indulgence!
- Penuche Vanilla Fudge: A delightful, melt-in-your-mouth vanilla fudge with a unique brown sugar flavor.
- Gluten-Free Iced Oatmeal Cookies: Classic comfort in every bite, with warm spices and a sweet icing.
- Gluten-Free Chocolate Marshmallow Cookies: Chewy chocolate cookies topped with fluffy marshmallows – a delightful combination.
- Gluten-Free Little Debbie Christmas Trees: Recreate this nostalgic holiday favorite at home, gluten-free style!
- Gluten-Free Cinnamon Roll Wreath: A beautiful and delicious center piece for your holiday brunch or dessert table.
- Gluten-Free Yule Log: An impressive and festive chocolate cake roll, perfect for a grand holiday dessert.
- Gluten-Free Gingerbread House: The ultimate holiday activity and a delicious edible decoration.
Gluten-Free Starbucks Bliss Bars Recipe Card
Having been gluten-free for quite some time, I had never personally tasted an original Starbucks Bliss Bar until I set out to create this gluten-free Starbucks Bliss Bar recipe. After just one bite, I completely understood the immense popularity and delicious hype surrounding them. The exquisite combination of a wonderfully chewy, spiced, and fruity blondie base, generously topped with a rich, tangy cream cheese frosting, is truly a match made in heaven. Prepare yourself for a dessert experience that is pure bliss!
Comments
Ingredients
For the Gluten-Free Blondies:
- 2 cups (300g) gluten-free measure-for-measure flour
- 1½ teaspoons ground ginger
- ½ teaspoon ground cinnamon
- ¼ teaspoon ground nutmeg
- ½ teaspoon baking soda
- ¼ teaspoon salt
- 1½ cups (320g) brown sugar
- 1 tablespoon orange zest
- 1 cup (226g) butter melted (or vegan butter for dairy-free)
- 2 large eggs
- 1 teaspoon vanilla extract
- 1 cup (120g) dried sweetened cranberries
- 1 cup (85g) white chocolate chips
For the Cream Cheese Topping:
- 8 ounces (226g) cream cheese at room temperature (or dairy-free cream cheese)
- 4 tablespoons (56g) butter at room temperature (or vegan butter)
- 4 cups (480g) powdered sugar
- 1/4 cup (60ml) heavy cream (or dairy-free heavy cream)
- 1 teaspoon vanilla extract
For the Final Toppings:
- 1 teaspoon orange zest
- 1 cup (120g) dried sweetened cranberries
- 1/2 cup (85g) white chocolate (chips or bar, for drizzling)
Instructions
For the Gluten-Free Blondies:
-
Preheat your oven to 350°F (175°C). Lightly spray a 9×13-inch baking pan with cooking spray or grease it with butter and flour (gluten-free).
-
In a medium bowl, whisk together the gluten-free flour blend, ground ginger, cinnamon, nutmeg, baking soda, and salt. Set aside.
-
In a large mixing bowl, combine the brown sugar and orange zest. Use your fingertips to massage the zest into the brown sugar for about a minute; this releases the natural oils and enhances the citrus flavor. Then, whisk in the melted butter until smooth.
-
Add the eggs and vanilla extract to the wet mixture. Whisk until the mixture is completely smooth and well combined.
-
Using a rubber spatula, gradually stir the dry ingredients into the wet mixture until just combined. Be careful not to overmix. Fold in the dried cranberries and white chocolate chips until evenly distributed throughout the dough.
-
Spread the blondie dough evenly into your prepared baking pan. Bake for 25-30 minutes, or until the edges are lightly golden brown and a cake tester or toothpick inserted into the center comes out clean.
-
Remove the blondies from the oven and allow them to cool completely in the pan on a wire rack before proceeding to the topping stage. This is crucial for proper frosting application.
For the Cream Cheese Topping:
-
While the blondies cool, prepare the frosting. In the bowl of a stand mixer fitted with a paddle attachment (or using an electric hand mixer), beat the softened cream cheese and butter at medium-high speed until the mixture is creamy and smooth, about 2 minutes.
-
Add the powdered sugar, heavy cream, and vanilla extract. Start mixing on low speed for 30 seconds to incorporate the sugar without creating a cloud, then increase to medium-high speed and whip for an additional 2 minutes until the frosting is thick, fluffy, and spreadable. If the frosting seems too thin, add more powdered sugar, one tablespoon at a time, until the desired consistency is reached.
-
Once the blondies are completely cool, spread the cream cheese frosting evenly over the top using an offset spatula or the back of a spoon.
-
Sprinkle the remaining dried cranberries and orange zest onto the top of the frosting. Melt the white chocolate (either in a double boiler or by microwaving in 2-3 20-second bursts, stirring between each, until smooth). Transfer the melted chocolate to a zipped-top bag and snip a very small corner. Drizzle the white chocolate decoratively over the bars.
-
Chill the frosted bars in the refrigerator for at least 1 hour to allow the frosting to set. Once chilled, slice them into iconic triangles and serve. Enjoy your homemade gluten-free Starbucks Bliss Bars!
Recipe Notes & Tips
Dairy-Free Adaptation: These bliss bars can easily be made dairy-free! Simply substitute regular butter with vegan butter, cream cheese with dairy-free cream cheese, and heavy cream with dairy-free heavy cream. Remember to also check that your chosen white chocolate chips are certified dairy-free.
Make-Ahead Convenience: The blondie base can be baked 1-2 days in advance. Store it tightly wrapped in plastic wrap or in an airtight container at room temperature. Frost and decorate just before serving for ultimate freshness.
Optimal Storage: Once frosted, store any leftover bliss bars in an airtight container in the refrigerator for up to 5 days. The cream cheese frosting requires chilling to maintain its freshness and consistency.
Freezing for Later: For longer-term storage, freeze the blondie base without frosting. Wrap the completely cooled blondie tightly with plastic wrap, then an additional layer of foil, and freeze for up to 3 months. Thaw it in the refrigerator overnight, then prepare and apply the frosting as usual.