The Instant Pot has revolutionized home cooking, making it possible to create
gourmet-quality meals with incredible speed and ease. Among its many triumphs,
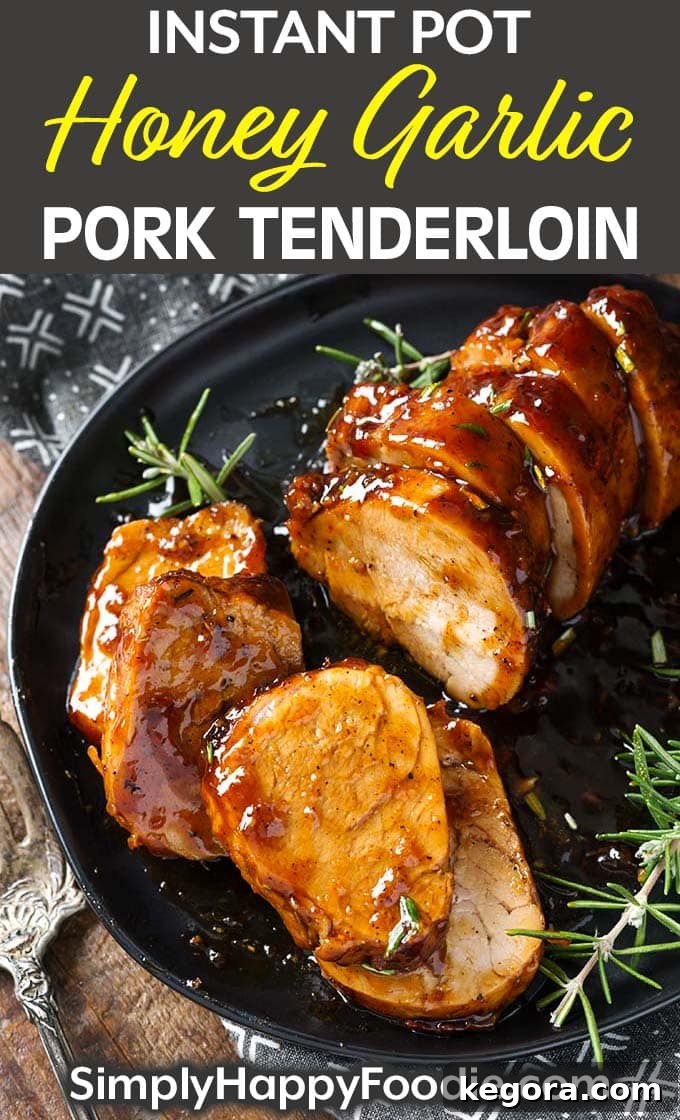
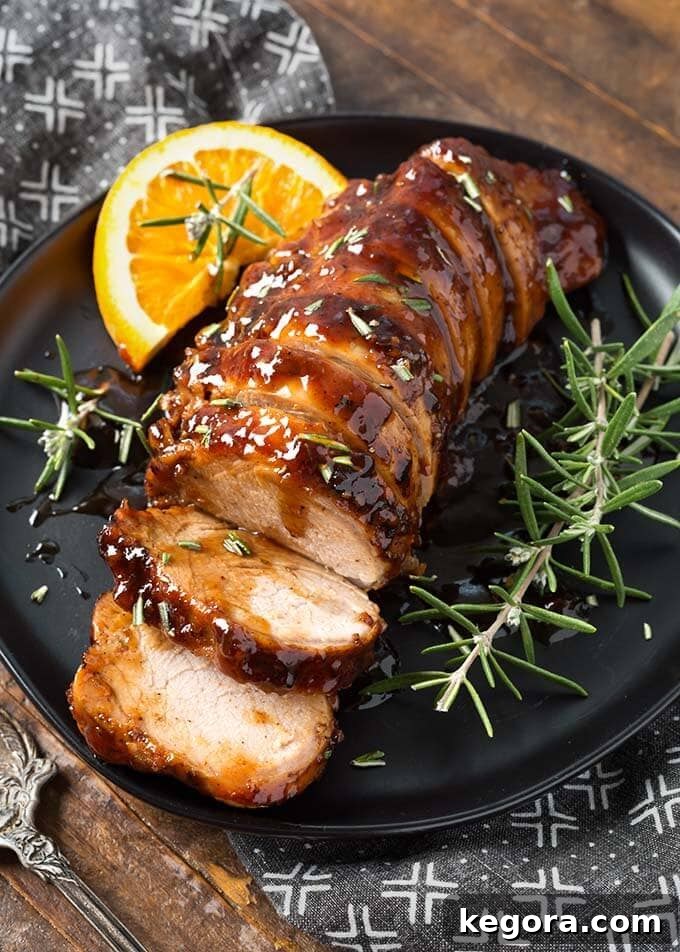
the Instant Pot Honey Garlic Pork Tenderloin stands out as a
true culinary masterpiece. This recipe promises a main dish so succulent and
bursting with flavor, it will rival any restaurant offering, yet it’s
remarkably simple to prepare in your own kitchen. Whether you’re planning a
romantic date night dinner or need a
dependable, delicious weeknight meal, this
pressure cooker honey garlic pork tenderloin delivers every time.
Crafted with a perfectly balanced dry spice rub
and an irresistible honey garlic sauce, the
pork emerges from the Instant Pot incredibly tender, juicy, and infused with
a sweet and savory glaze. Say goodbye to dry, tough pork – this method
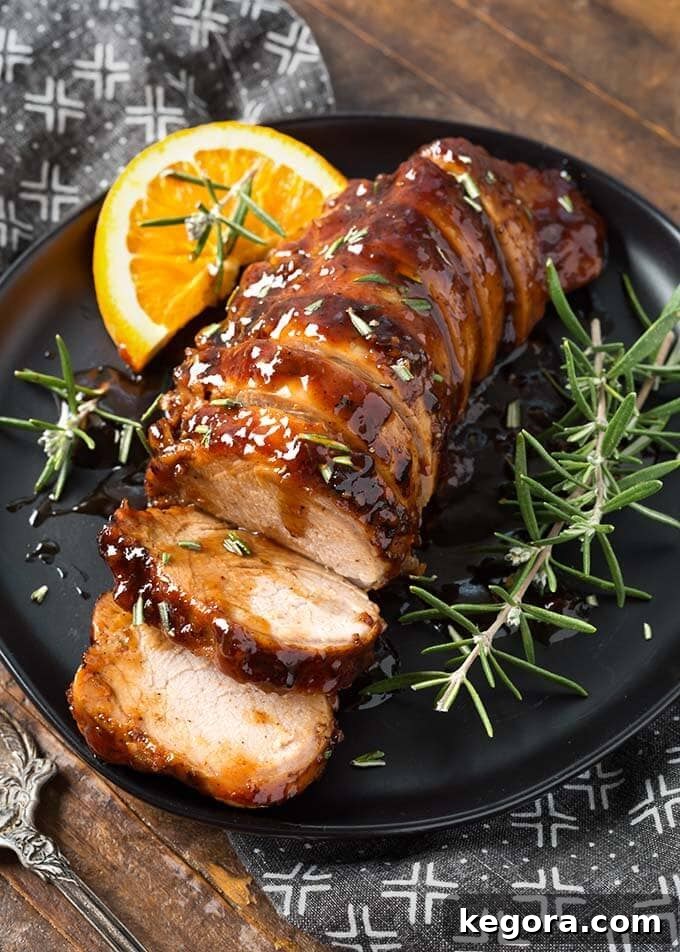
guarantees a flawlessly cooked tenderloin that slices beautifully into
medallions, ready to impress even the most discerning palates.
Mastering the Instant Pot: Your Guide to Tender Honey Garlic Pork Tenderloin
For years, achieving a perfectly cooked pork tenderloin in a pressure
cooker seemed like a culinary enigma for many home cooks. My own experience
was no different. I frequently observed discussions in Instant Pot Facebook
groups, where frustrated users lamented over their pork tenderloins
consistently turning out dry, rubbery, and utterly unappetizing. It was a
common struggle, and I was determined to find a solution.
This quest led me to dedicate an entire weekend to rigorous testing,
transforming my kitchen into a pork tenderloin laboratory. My incredibly
patient husband became the chief taste-tester, enduring a week filled with
various iterations of pork. While he might have developed a temporary aversion
to pork, his sacrifice was not in vain! Through this extensive experimentation,
I finally cracked the code, discovering a foolproof method that consistently
yields a tender, juicy pork tenderloin every single time.
The results were revolutionary: a perfectly sliceable, moist, and flavorful
pork tenderloin. Once I shared this groundbreaking technique and recipe, it
quickly gained immense popularity. My original
Instant Pot Balsamic Apple Pork Tenderloin
became an instant hit, holding a coveted spot in my top 5 recipes for over a
year. The sheer volume of positive feedback was overwhelming, confirming
that many home cooks were longing for this exact solution.
My innovative cooking method rapidly spread, with countless individuals
embracing the pressure cooker for their pork tenderloins and raving about
the consistently tender results. This success story paved the way for more
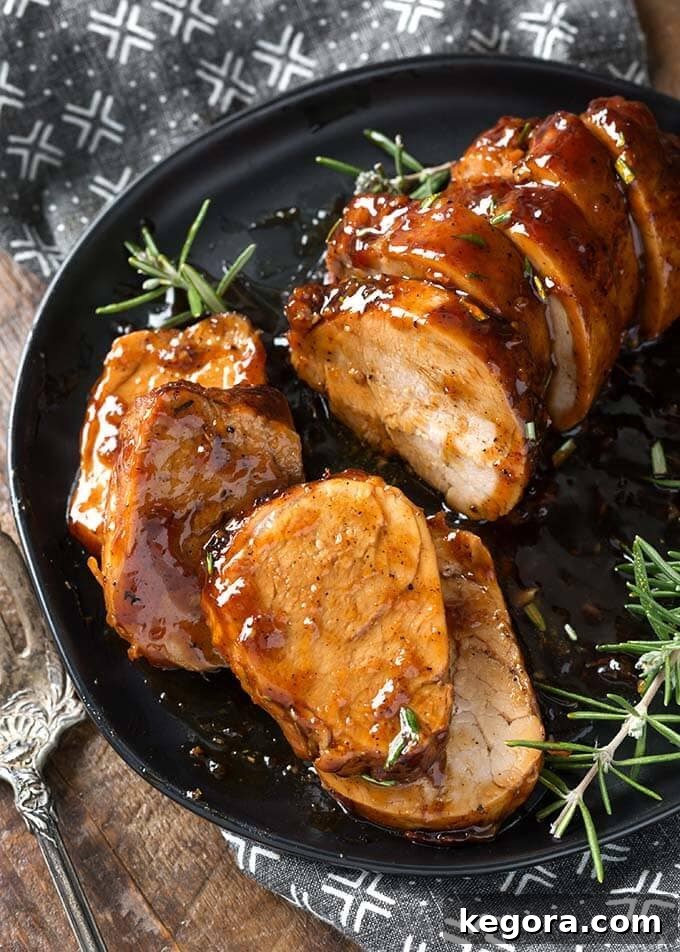
flavor variations, leading us to this equally spectacular
Instant Pot Honey Garlic Pork Tenderloin. It embodies the
same perfected technique, but with a new, vibrant flavor profile that’s
sure to become a family favorite.
The Secret to Perfectly Tender Pork Tenderloin: My Signature Instant Pot Method
So, what exactly is this highly acclaimed method that transforms tough pork
into tender perfection? The key lies in understanding the unique
characteristics of pork tenderloins and how they interact with pressure
cooking. Unlike larger cuts of meat, pork tenderloins are relatively small,
typically weighing between 1 to 1.5 pounds, and they cook incredibly fast.
This inherent speed is often their downfall, as overcooking is an all too
common mistake, resulting in dry, unappetizing meat.
My breakthrough technique combines two crucial steps:
-
Searing for Flavor: First, the pork tenderloin is
beautifully browned on all sides in the Instant Pot using the Sauté
function. This crucial step develops a rich crust, locking in juices and
creating a deep, complex flavor profile that elevates the entire dish.
This “fond” (browned bits) at the bottom of the pot will also contribute
immensely to the sauce. -
Ultra-Short Pressure Cook + Long Natural Release: The
real magic happens here. After searing, the pork is pressure cooked for
an astonishingly short time – either 1 minute on Low pressure
or 0 (zero) minutes on High pressure. Yes, you read that
correctly: zero minutes on High! This minimal active cook time is followed
by a critical long natural release (NPR) of 15 minutes or longer.
The natural release phase allows the pork to gently finish cooking with the
residual heat and pressure, preventing it from drying out while ensuring
maximum tenderness and juiciness.
If your Instant Pot model does not feature a “Low pressure” setting, simply
opt for the 0 (zero) minutes High pressure cook time, followed by the
essential 15-minute natural release. This method works wonders because the
pork continues to cook and tenderize as the pressure naturally decreases,
reaching the perfect internal temperature without overcooking.
The precise cook time and natural release duration may need slight
adjustments based on the exact size and thickness of your pork tenderloin.
A thicker tenderloin might benefit from a slightly longer natural release,
perhaps up to 20-23 minutes. Always remember that resting the meat is
just as important as cooking it, allowing the juices to redistribute for
maximum tenderness.
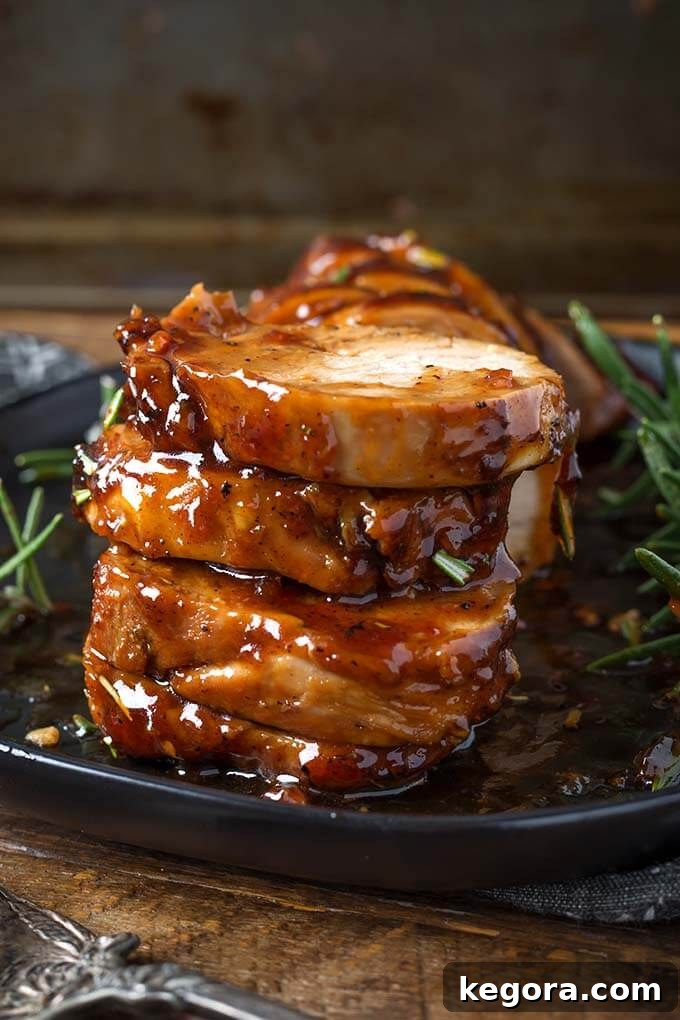
This technique truly opens up a world of possibilities. With the cooking method
perfected, the only limit is your imagination when it comes to seasonings and
sauces. Pork is incredibly versatile, pairing beautifully with a wide array of
flavors. Classic combinations include fruit-based sauces, savory onion and herb
blends, and the vibrant, aromatic spices found in Asian cuisine, such as the
delightful honey garlic sauce featured in this recipe.
Pork Loin Roast vs. Pork Tenderloin: A Critical Distinction for Instant Pot Cooking
It’s surprisingly common for home cooks to confuse pork loin roast with pork
tenderloin, but understanding the difference between these two cuts is
absolutely crucial for successful Instant Pot cooking. Just as chicken breasts
and chicken tenders are distinct cuts requiring different cooking approaches,
so too are pork loin and pork tenderloin. Using the wrong cut with this recipe’s
specific timing will lead to very different and likely disappointing results.
Pork Tenderloin Characteristics:
-
Size and Shape: Pork tenderloin is a long, thin, and
cylindrical muscle. It’s generally much smaller than a loin roast,
typically weighing between 1 to 1.5 pounds. -
Texture: It is exceptionally lean and very tender to the
touch, requiring a very short cooking time. This is the muscle that gives
the cut its name – “tender” loin. -
Cooking Time: Due to its lean nature and small size,
pork tenderloin cooks quickly. Overcooking, even by a few minutes, will
result in dry, tough meat. This is precisely why our Instant Pot method
employs such a brief pressure cook followed by a natural release.
Pork Loin Roast Characteristics:
-
Size and Shape: A pork loin roast is significantly larger
and often rectangular or oval in shape. It can weigh anywhere from 2 to 5+
pounds. -
Texture: While still a relatively lean cut, it’s firmer and
less delicate than a tenderloin when pressed. It has a thicker layer of
fat and often a bone, though boneless versions are also common. -
Cooking Time: Because of its larger size and density, a
pork loin roast requires a much longer cooking time in the pressure cooker,
typically ranging from 30 to 45 minutes, depending on its weight and
thickness, followed by an appropriate natural release.
In summary: Always double-check which cut you have before you
begin cooking. This Instant Pot Honey Garlic Pork Tenderloin
recipe is specifically designed for pork tenderloin, leveraging its delicate
nature for optimal results with the ultra-short pressure cooking method.
Scaling Up: Can I Cook Multiple Pork Tenderloins at Once in the Instant Pot?
Absolutely! If you’re hosting a dinner party, preparing for meal prep, or
simply feeding a larger family, you can certainly cook more than one pork
tenderloin simultaneously in your Instant Pot. The key to success when
batch cooking is ensuring consistency.
For best results, make sure that all the pork tenderloins you are cooking
are roughly the same size and thickness. This ensures that they cook
evenly. You can keep the active pressure cook time the same (1 minute on
Low pressure or 0 minutes on High pressure), but it’s advisable to allow
for a slightly longer natural release period. For instance, instead of
15 minutes, extend the natural release to 18-20 minutes, especially if your
tenderloins are on the thicker side or you’re cooking three or more.
Always confirm the internal temperature with a meat thermometer to ensure
they reach 145°F (63°C) for safe consumption and optimal tenderness.
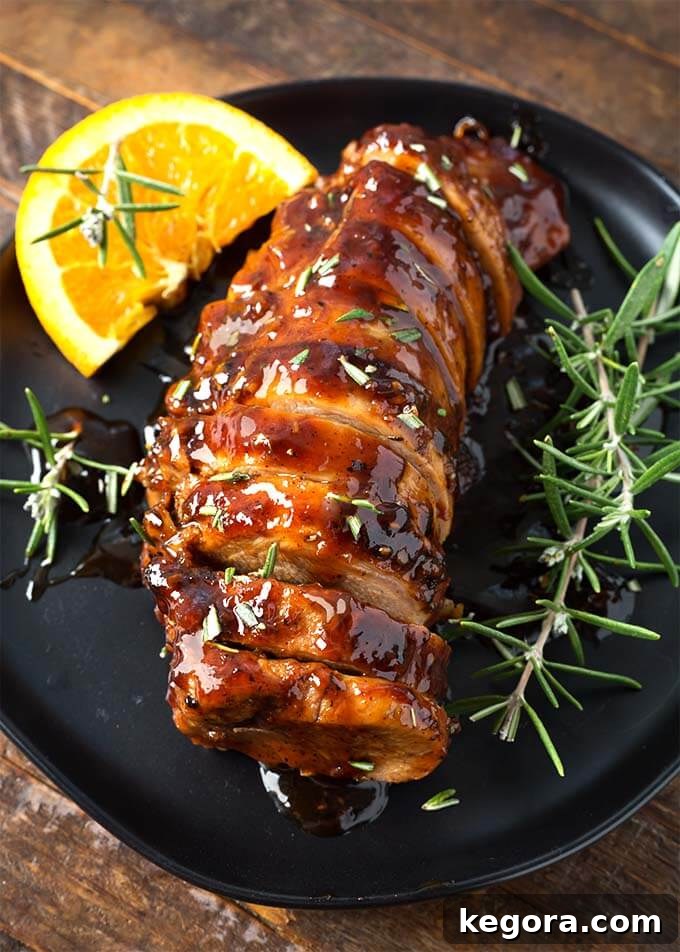
The Instant Pot Honey Garlic Pork Tenderloin is more than
just a recipe; it’s a celebration of flavor and simplicity. Its elegant
presentation and rich taste make it a perfect choice for special occasions
like Mother’s Day. Imagine serving your mom this exquisite dish,
accompanied by a fragrant bed of jasmine rice and a crisp, fresh salad.
It’s a meal that speaks volumes, making her feel truly cherished and
like a queen for the day.
Recommended Pairings for Honey Garlic Pork Tenderloin
- Rice: Fluffy jasmine rice or brown rice to soak up the delicious sauce.
- Vegetables: Steamed broccoli, roasted asparagus, sautéed green beans, or a simple side salad.
- Potatoes: Creamy mashed potatoes or garlic herb roasted potatoes.
- Noodles: A light stir-fried noodle dish can complement the Asian-inspired flavors.

More Delicious Instant Pot Pork Recipes to Explore:
- Instant Pot Balsamic Apple Pork Tenderloin – The original crowd-pleaser!
- Instant Pot Pulled Pork – Perfect for sandwiches and tacos.
- Instant Pot Hawaiian Pineapple Pork – A taste of the tropics.
- Instant Pot Mississippi Pork – Tangy, savory, and incredibly easy.
Pin This Irresistible Recipe for Later!
Don’t let this amazing recipe slip away! Pin it to your favorite Pinterest
boards so you can easily find it whenever you’re craving a tender, flavorful
pork dish.
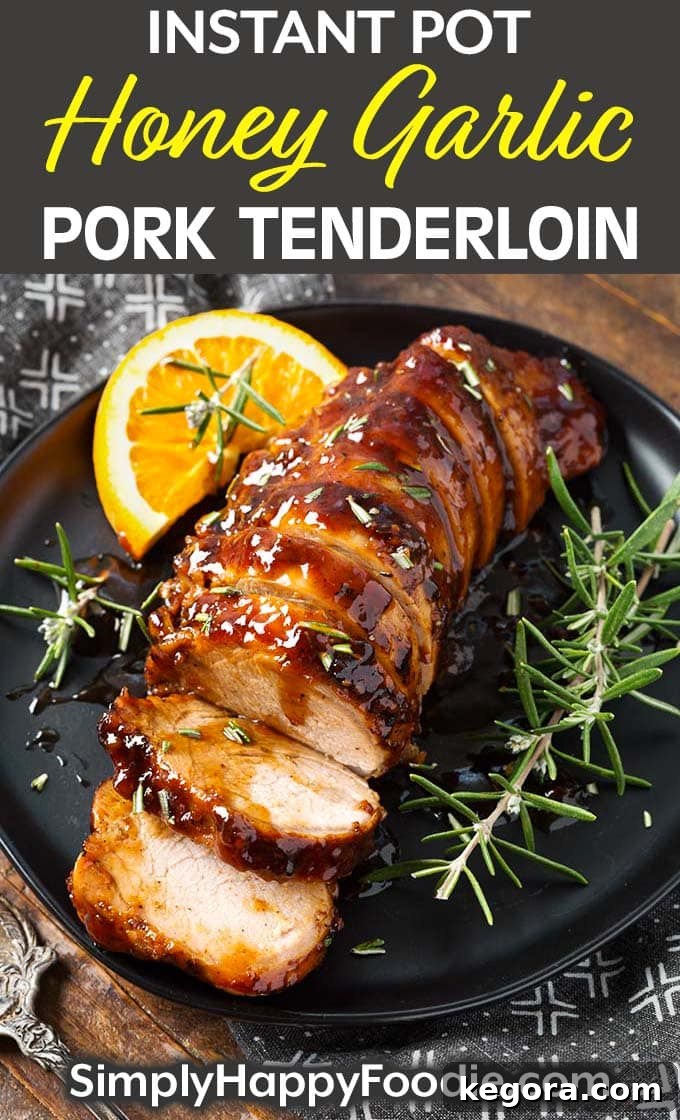
Instant Pot Honey Garlic Pork Tenderloin
spice rub & honey garlic sauce. An incredible, delicious, tender
pressure cooker pork tenderloin!
Ingredients
-
1
lb
Pork Tenderloin
(not pork loin roast)
Dry Rub
-
½
tsp
Salt -
½
tsp
Onion Powder -
½
tsp
Chili Powder -
½
tsp
Thyme -
1
tsp
Rosemary
Sauce
-
½
cup
Orange Juice -
1 ½
Tbsp
Garlic,
(7 to 9 cloves) pressed or finely minced -
½
cup
Soy Sauce,
low sodium -
3
Tbsp
Brown Sugar -
1
tsp
Grated Ginger -
½
cup
Honey
For Browning the Pork
-
1
tsp
Olive Oil -
3
Tbsp
Butter
To Thicken (whisk together)
-
3
Tbsp
Corn Starch -
4
Tbsp
Cold Water
For Serving
-
2-3
cups
Hot Cooked Rice
Instructions
-
First, note the weight of your pork tenderloin (they are typically
1 to 1 ½ lbs) and measure its thickness across. This recipe is
optimized for a 1 lb tenderloin that is approximately 1.5 inches
thick. If your tenderloin is larger or thicker, it will require a
longer resting period after pressure cooking.
Prepare the Pork
-
Combine all the dry rub ingredients in a small bowl. Generously
coat the pork tenderloin on all sides with this mixture, pressing
it gently to adhere. Set the seasoned pork aside while you prepare
the sauce.
Make the Sauce and Slurry
-
In a separate medium-sized bowl, whisk together all the sauce
ingredients (orange juice, minced garlic, low sodium soy sauce,
brown sugar, grated ginger, and honey) until the honey is fully
dissolved and the mixture is well combined. Set this delicious
sauce aside. -
In a small bowl, thoroughly mix together the corn starch and cold
water to create a smooth slurry. This will be used later to thicken
the sauce. Set aside.
Brown the Pork
-
Turn on the Sauté setting on your Instant Pot. Once the pot is
hot (it should display “Hot”), add the olive oil and butter. Allow
the butter to melt and swirl in the oil. Carefully place the
seasoned pork tenderloin into the pot and brown it on all sides,
about 2-3 minutes per side, until a beautiful golden crust forms.
Once browned, remove the pork to a clean plate. -
Pour the prepared sauce into the hot Instant Pot. Stir well, making
sure to scrape the bottom of the pot with a wooden spoon or spatula
to release any “fond” (the flavorful browned bits stuck to the
bottom). This process, known as deglazing, prevents a “Burn”
message and infuses the sauce with incredible depth of flavor.
Turn off the Sauté setting. -
Carefully return the browned pork tenderloin to the pot, nestling
it into the sauce and ensuring it’s coated evenly.
Pressure Cook the Pork
-
Secure the Instant Pot lid, making sure it’s properly sealed.
Rotate the steam release knob to the “Sealing” position. -
Press the “Pressure Cook” (or “Manual”) button or dial. Use the
+/- buttons or dial to select a cook time of 1 minute
on LOW Pressure. (This is for a 1 lb tenderloin,
1.5 inches thick). The Instant Pot will take several minutes to
come to pressure before the cooking countdown begins. -
If your Instant Pot does not have a Low Pressure setting:
cook a 1 lb tenderloin (1.5″ thick) for
0 (zero) minutes at High Pressure.
This means the pot will come to pressure, and as soon as it does,
it will beep and immediately switch to “Keep Warm.” -
Once the cook cycle has finished (or it displays “0” and switches
to “Keep Warm” for 0-minute cook time), immediately turn off the
Instant Pot. Let it sit undisturbed for
15 minutes for a natural release (NPR).
It is crucial to use a timer for this step. After 15 minutes,
carefully turn the steam release knob to the “Venting” position
to release any remaining steam/pressure. There may be very little
or no steam to release, which is normal. If you have a thicker
tenderloin (more than 1 lb or thicker than 1.5″), allow for a
longer natural release, up to 20-23 minutes, before checking. -
When the float valve (pin in the lid) drops back down, indicating
all pressure has been released, carefully open the lid away from
your face. -
Use an instant-read meat thermometer to check the internal
temperature of the pork. For safe consumption and optimal
tenderness, the temperature should read 145°F (63°C). A slightly
higher temperature is acceptable. If it’s a little lower, simply
place the lid back on the pot and let the pork rest in the warm
pot for a few more minutes until it reaches the desired temperature. -
Carefully remove the tenderloin from the pot and transfer it to
a small baking pan or oven-safe dish. Loosely cover it with foil
to keep warm. Turn on your oven broiler to preheat while you
thicken the sauce.
Thicken the Sauce
-
With the pork removed, turn the Instant Pot back on to the Sauté
setting. Once the sauce in the pot begins to simmer, gradually
whisk in the corn starch slurry you prepared earlier. Stir
continuously until the sauce thickens to your desired consistency,
typically a lovely glaze. Then, turn off the Instant Pot.
Broil to Caramelize the Sauce (Optional but Recommended)
-
Remove the foil from the tenderloin. Spoon a generous amount of
the thickened honey garlic sauce over the pork, ensuring it’s
well coated. Place the baking pan under the preheated broiler
for a few minutes to caramelize the coating, creating a beautiful
glossy finish and intensifying the flavors.
Watch it very carefully to prevent burning! This
step adds an extra layer of texture and visual appeal.
Serve
-
Slice the tenderloin into attractive medallions. Arrange them on
a bed of hot cooked rice and spoon additional warm honey garlic
sauce generously over the top. Garnish with fresh rosemary or
chopped green onions, if desired, and serve immediately. Enjoy
your perfectly tender and flavorful meal!
Notes
You can easily cook more than one pork tenderloin at the same time in
your Instant Pot. For best results, ensure all tenderloins are roughly
the same size and thickness. The active pressure cook time can remain
the same, but you may need to increase the natural release time by a
few minutes (e.g., 18-20 minutes instead of 15) to account for the
increased volume and ensure proper cooking. Always verify the internal
temperature of the thickest part of the meat reaches 145°F (63°C).
Storage: Store leftover pork tenderloin and sauce in
an airtight container in the refrigerator for up to 3-4 days.
Reheating: Gently reheat sliced pork in the microwave
or on the stovetop with a little extra sauce or broth to maintain
moisture. Avoid over-reheating.
Nutrition Information
Calories: 443kcal
Nutrition information is automatically calculated and is an
approximation. Actual values may vary based on ingredients and
preparation methods.
Additional Info
❤
Tried this recipe?
Share your creation! Tag
@simply_happy_foodie
on Instagram. We love seeing your delicious results!