
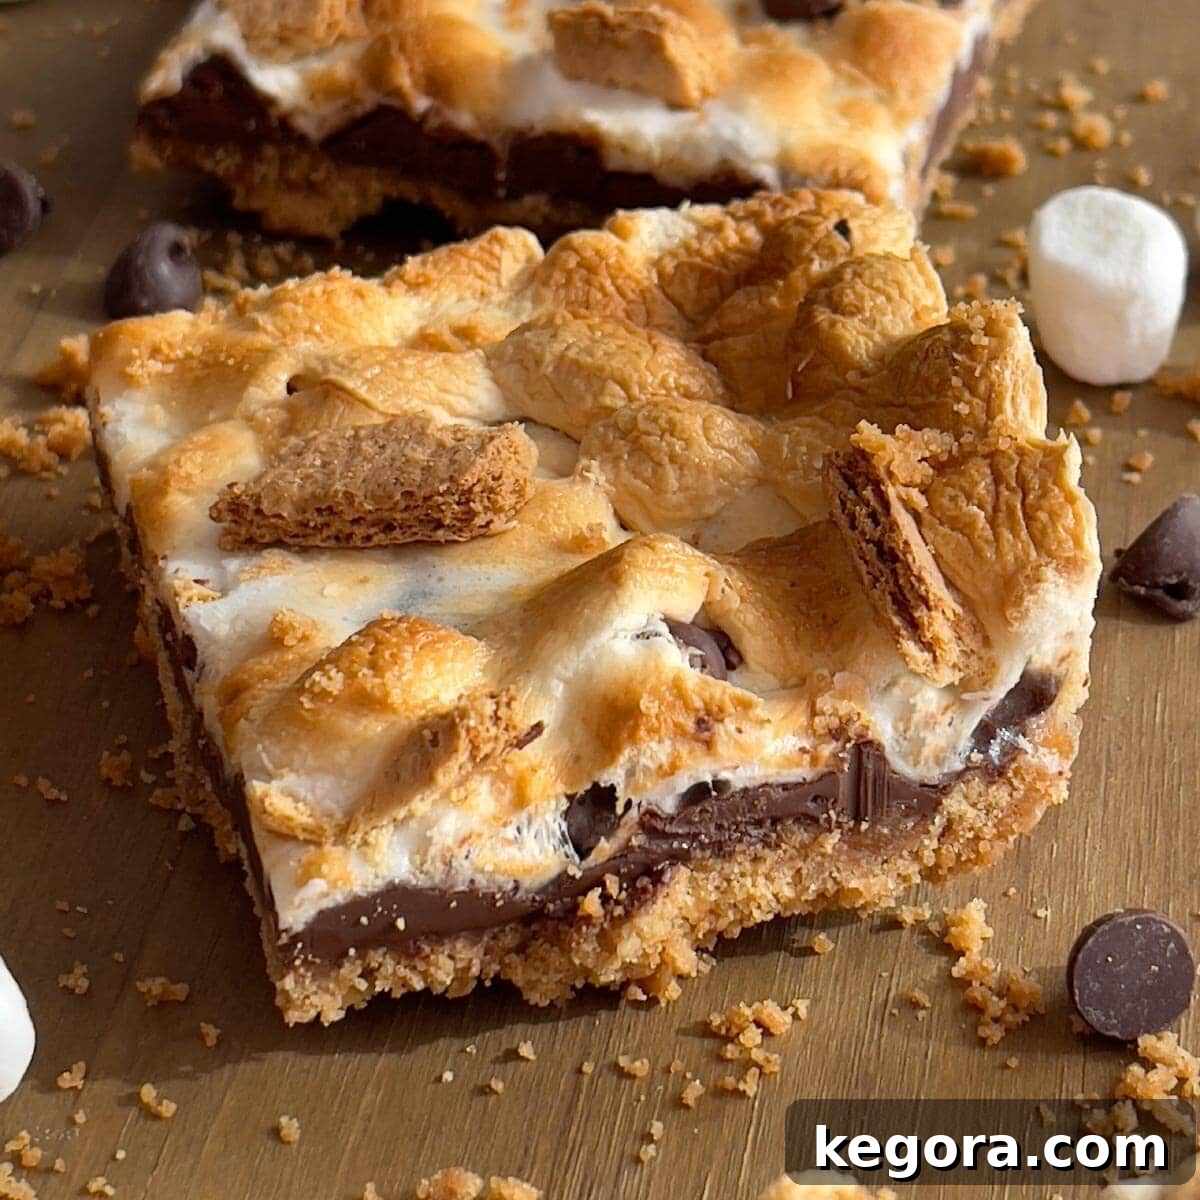
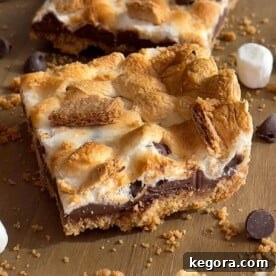
Craving the classic taste of s’mores but without the hassle of a campfire? Look no further! These irresistible S’mores Bars bring all the beloved elements of that iconic campfire treat right into your kitchen. Imagine layers of buttery graham cracker crust, rich melted chocolate, and perfectly toasted, gooey marshmallows – all baked to golden perfection in your oven. This incredibly easy indoor s’mores recipe delivers the ultimate sweet indulgence, making it perfect for any time of the year, any occasion, and any crowd. Say goodbye to smoky clothes and hello to effortless, delicious dessert bliss!
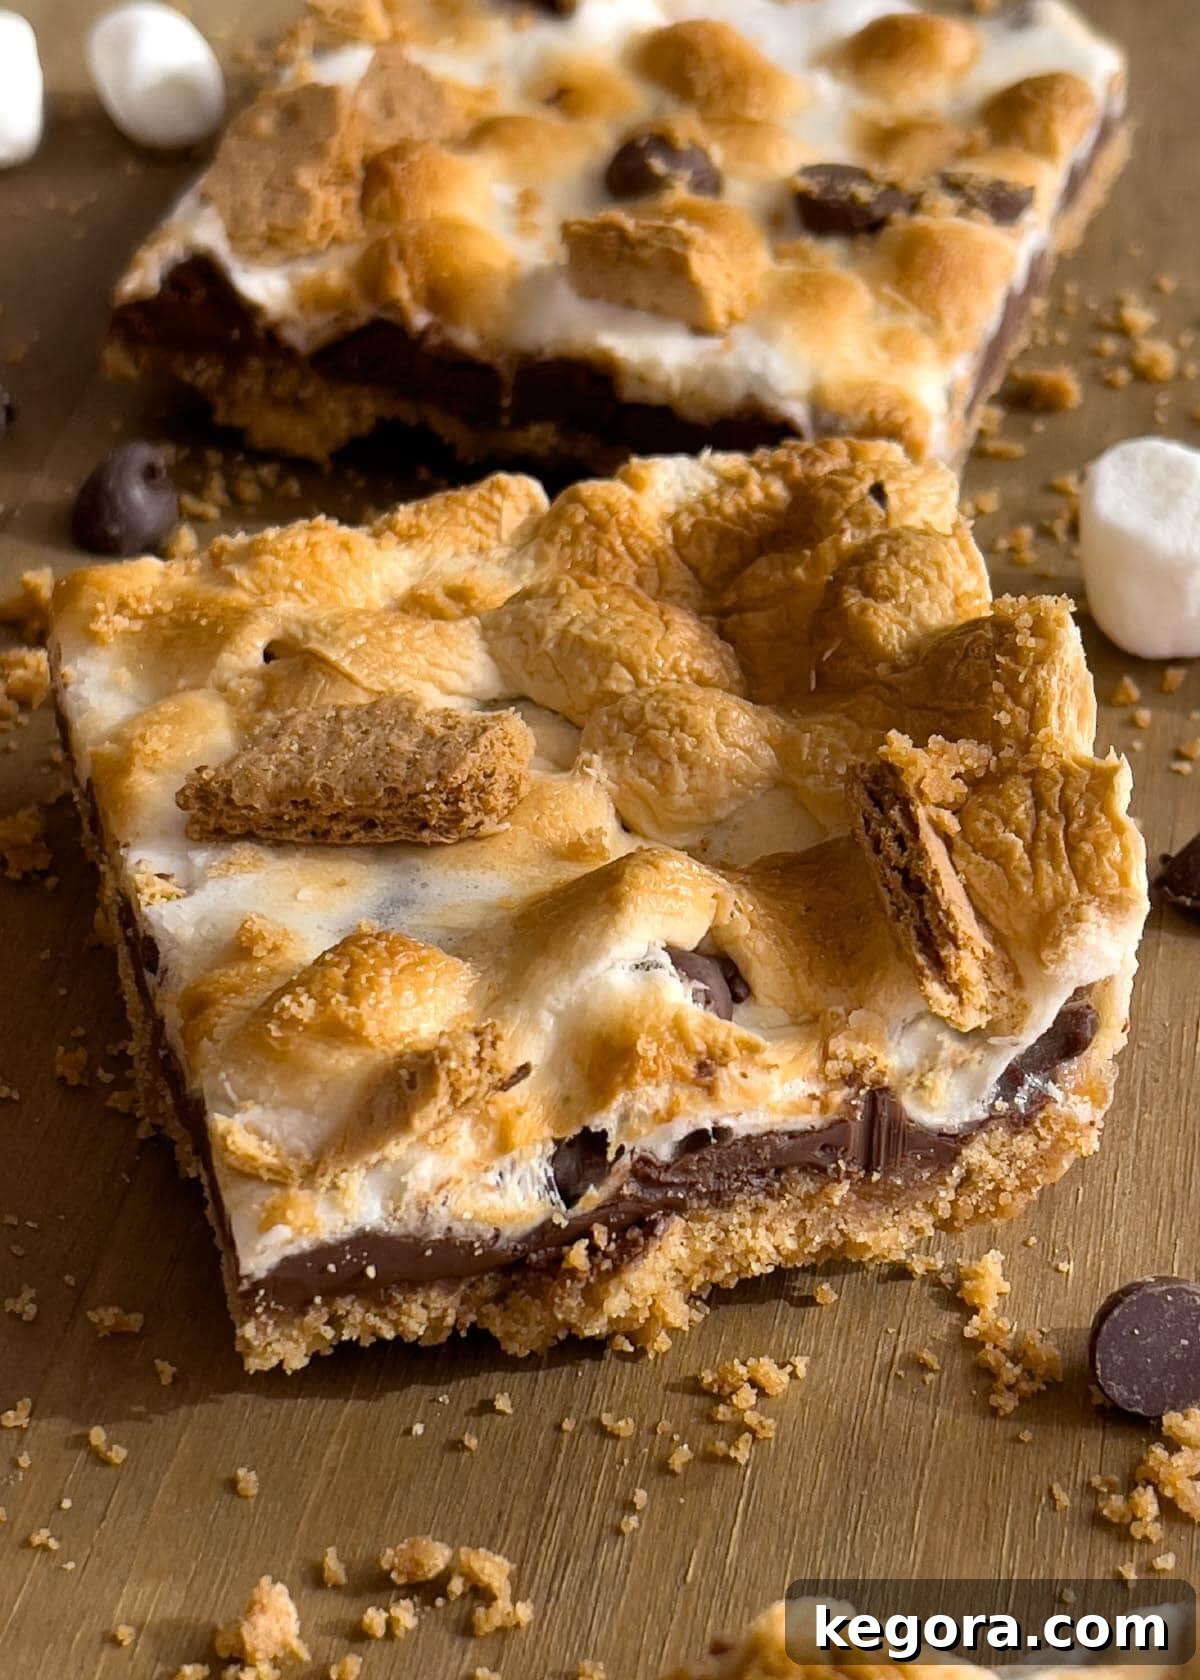
Oven-Baked S’mores Bars: Your Go-To Indoor Treat
There’s something magical about gathering around a crackling campfire, roasting marshmallows, and assembling those perfect s’mores. It’s a cherished experience that evokes warmth, camaraderie, and pure joy. However, let’s be realistic: how often do those idyllic campfire moments actually happen? For many of us, campfires are a rare luxury. That’s precisely where the brilliance of these S’mores Bars comes in. This recipe ingeniously transforms the traditional s’mores experience into a convenient, oven-baked bar that you can enjoy anytime, anywhere, without needing a single spark.
Our S’mores Bars recipe captures the quintessential flavors and textures of classic s’mores, allowing you to recreate that nostalgic taste year-round. No more waiting for a camping trip or a backyard bonfire. Now, you can satisfy your s’mores cravings on a chilly winter evening, for a summer potluck, or simply whenever the mood strikes. It’s the ultimate dessert hack for s’mores lovers!
Why You’ll Fall in Love with This S’mores Bars Recipe
This isn’t just another dessert; it’s a game-changer for anyone who loves easy, crowd-pleasing sweets. Here’s why these S’mores Bars deserve a permanent spot in your recipe collection:
- Unbelievably Easy to Make: Forget complicated techniques or extensive ingredient lists. This recipe is designed for simplicity, making it accessible even for novice bakers. With just a few basic steps, you’ll have a stunning dessert ready to impress.
- Only 5 Essential Ingredients: You read that right! You likely already have most of what you need in your pantry. We’re talking about fundamental ingredients that come together to create something truly spectacular with minimal effort.
- No Campfire Required: This is perhaps the biggest perk! Enjoy the rich, gooey deliciousness of s’mores without the smoke, the struggle of finding perfect sticks, or the unpredictable weather. Your oven does all the work, ensuring consistent, perfectly toasted marshmallows every time.
- Perfect for Any Crowd or Occasion: Whether you’re hosting a party, bringing a dish to a potluck, or simply need a delightful treat for your family, these bars are a fantastic choice. They’re easy to transport, serve, and are always a guaranteed hit with both kids and adults.
- A Versatile Treat: While delicious on their own, these bars also offer endless possibilities for customization and variations, allowing you to tailor them to your personal taste or dietary needs (see our tips below!).
If you still adore the individual, stacked s’mores but prefer the indoor convenience, be sure to check out my Indoor Oven S’mores recipe for another fantastic campfire-free option.
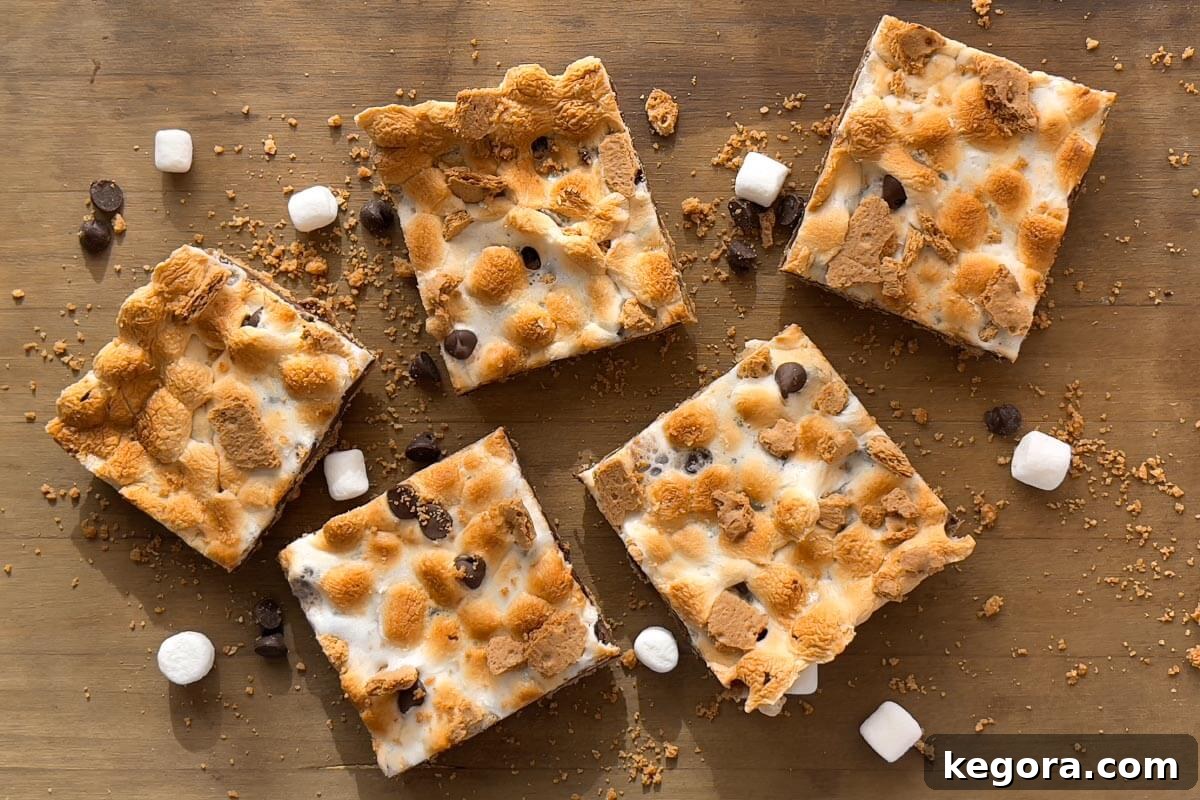
The Simple Ingredients for Irresistible S’mores Bars
One of the best aspects of this S’mores Bars recipe is its straightforward ingredient list. You only need five core components to create these mouthwatering dessert bars. Each ingredient plays a crucial role in delivering that authentic s’mores flavor and delightful texture:
- Graham Cracker Crumbs: The foundation of our s’mores bar! Graham crackers provide that classic honey-sweet, slightly spiced crunch that perfectly complements the rich chocolate and fluffy marshmallow. You can crush whole graham crackers yourself for a fresher taste, or use pre-crushed crumbs for extra convenience.
- Unsalted Butter: Melted butter binds the graham cracker crumbs together, forming a rich, sturdy crust. Using unsalted butter gives you control over the overall saltiness of the dish, allowing the other flavors to truly shine.
- Granulated Sugar: A touch of sugar is added to the graham cracker crust to enhance its sweetness and create a beautifully caramelized base that holds up well during baking.
- Chocolate Chips: The heart of any s’mores! Semi-sweet chocolate chips melt into a luscious, fudgy layer, providing that signature rich chocolate experience. We recommend semi-sweet for a balanced flavor, but you can easily customize this layer with your favorite type of chocolate.
- Mini Marshmallows: These fluffy, sweet clouds are essential for that iconic gooey, toasted top. Mini marshmallows are ideal because they melt and toast more evenly across the surface of the bars, creating a perfect golden-brown finish without overbrowning the edges.
The precise quantities for each ingredient are provided in the detailed recipe card below, ensuring you have everything you need to create a batch of these amazing S’mores Bars.
Step-by-Step Guide: How to Bake S’mores Bars
Making these S’mores Bars is a breeze! Follow these simple steps to bring your indoor s’mores dreams to life:
- Prepare the Crust Mixture: Begin by combining the finely crushed graham cracker crumbs with the melted unsalted butter and granulated sugar in a large mixing bowl. Stir until all the crumbs are thoroughly coated and the mixture resembles wet sand. This ensures a cohesive and flavorful crust.
- Form the Crust: Line a 9×13-inch baking pan with parchment paper or aluminum foil, leaving an overhang on the sides for easy lifting later. This also helps with clean-up. Firmly press the graham cracker mixture evenly into the bottom of the prepared pan. A flat-bottomed measuring cup or the back of a spoon works wonderfully to create a compact, smooth crust.
- Pre-Bake the Crust: Bake the pressed graham cracker crust in a preheated oven at 350°F (175°C) for 8-10 minutes. This step helps to set the crust, making it sturdy and preventing it from becoming soggy once the other layers are added.
- Add the Chocolate Layer: Carefully remove the pan from the oven. While the crust is still warm, immediately sprinkle an even layer of semi-sweet chocolate chips over the entire surface. The residual heat from the crust will begin to melt the chocolate, making it spreadable.
- Top with Marshmallows: Next, distribute the mini marshmallows evenly over the melted chocolate layer. Aim for a single, consistent layer for optimal toasting.
- (Optional) Garnish for Visual Appeal: For an extra touch of texture and visual appeal, consider sprinkling a few additional graham cracker pieces and chocolate chips over the marshmallows before the final bake. This adds character and signals the flavors within.
- Final Bake and Toast: Return the pan to the oven and bake for another 11-17 minutes, or until the marshmallows are beautifully puffed, golden brown, and slightly caramelized. Keep a close eye on them during this stage, as marshmallows can brown quickly.
- Cool and Serve: Once baked, remove the S’mores Bars from the oven and allow them to cool completely on a wire rack before cutting. Cooling is crucial for the layers to set properly, ensuring clean, neat slices. If you can’t wait, a slightly warm bar is also incredibly delicious, just be prepared for a bit more gooeyness!
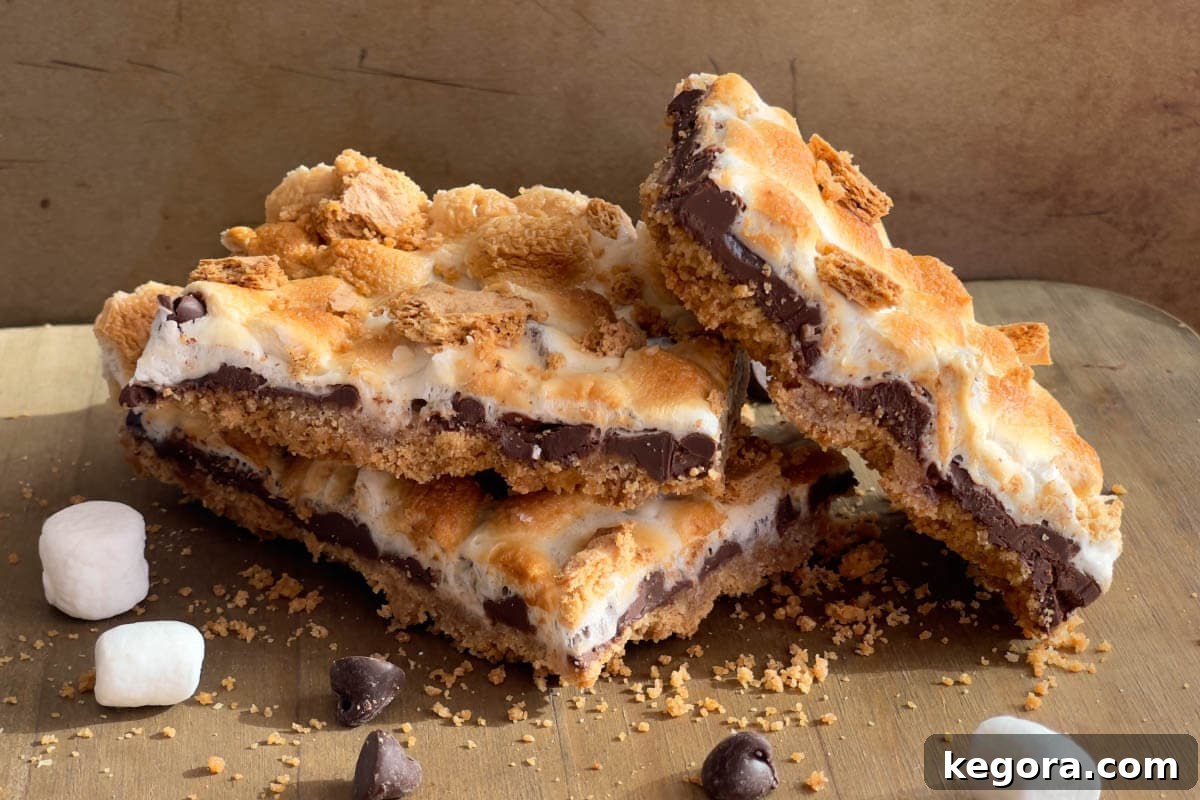
Expert Tips and Creative Variations for Your S’mores Bars
While the classic S’mores Bar is undeniably perfect, there’s always room for personalization! Here are some tips and exciting variations to elevate your baking:
Crafting the Perfect Crust:
- Beyond Graham: Don’t limit yourself to traditional graham crackers! Experiment with chocolate graham crackers for a richer base. Crushed Oreo cookies (with or without the cream filling) make a decadent dark chocolate crust. Gingersnaps add a delightful spicy warmth, while Biscoff cookies lend a caramel-like flavor. Even Golden Grahams cereal can be crushed for a unique, subtly sweet foundation. Each choice will impart a distinct flavor profile to your bars.
- Consistency is Key: Ensure your graham cracker crumbs are fine and uniform. This allows for a smooth, even crust that presses together beautifully and doesn’t crumble apart when sliced. A food processor is excellent for this, or a zip-top bag and a rolling pin for a more rustic approach.
Elevating the Chocolate Layer:
- Chocolate Variety: The type of chocolate you choose significantly impacts the flavor. Semi-sweet chocolate chips offer a balanced sweetness. For a deeper, more intense flavor, opt for dark chocolate chips. Milk chocolate chips will yield a sweeter, creamier result.
- Candy Bar Bliss: For an extra authentic touch, or if you prefer larger chunks of melty chocolate, use classic Hershey’s chocolate bars. You’ll need about 6 XL-sized bars for a 9×13-inch pan, broken into squares. Other chocolate bars like Ghirardelli or Lindt can also be chopped and used.
- Flavor Infusion: Get creative with different flavored chips! Peanut butter chips pair wonderfully with chocolate and marshmallow for a nutty twist, while butterscotch chips offer a rich, caramel-like sweetness.
Mastering the Marshmallow Topping:
- Mini vs. Marshmallow Creme: While mini marshmallows are our go-to for even toasting, you can also spread an even layer of marshmallow creme (fluff) over the chocolate layer. This creates a beautifully smooth, uniformly gooey topping. Be mindful that marshmallow creme might brown faster, so keep a closer eye on it.
- Texture Play: For a more artisanal look, you can use a kitchen torch to toast the marshmallows after they come out of the oven, allowing for precise browning without overbaking the other layers.
Delicious Add-Ins and Toppings:
- Nutty Crunch: Introduce a delightful textural contrast by sprinkling chopped nuts over the chocolate layer before adding marshmallows. Pistachios, almonds, peanuts, or pecans would all be fantastic choices.
- Caramel Drizzle: A light drizzle of warm caramel sauce over the finished and cooled bars adds an extra layer of sweetness and sophistication.
- Salted Perfection: A tiny sprinkle of flaky sea salt over the chocolate layer (before marshmallows) can dramatically enhance the chocolate flavor and cut through the sweetness.
- Extra Treats: Consider adding crushed pretzels for a sweet and salty crunch, or a few sprinkles for a festive touch, especially if making these for a celebration.
Cutting into Perfect Squares:
- Patience is a Virtue: The key to clean cuts is allowing the bars to cool sufficiently. If you cut them while too warm, the chocolate and marshmallow layers will stick to your knife and create a messy edge.
- Sharp Knife Technique: Use a large, sharp knife, such as a chef’s knife. For the cleanest cuts, run the knife under hot water and wipe it clean between each slice. This prevents sticking and drags.
- Portion Control: You can cut these bars into any size you desire. For parties, smaller squares or even bite-sized pieces are ideal. For a more generous dessert, opt for larger rectangles.
Storing and Freezing Your S’mores Bars
One of the many advantages of S’mores Bars is how well they store, allowing you to enjoy them for days or even prepare them in advance.
How to Store Leftovers:
Once completely cooled, leftover S’mores Bars should be stored in an airtight container or wrapped tightly in aluminum foil. They will stay fresh and delicious at room temperature for up to 4 days. If your kitchen tends to be warm, you can also store them in the refrigerator, though they might become a bit firmer. If refrigerated, let them come closer to room temperature before serving for the best texture.
How to Freeze S’mores Bars:
These bars freeze beautifully, making them an excellent make-ahead dessert option. To freeze, ensure the bars are completely cooled. You can freeze them whole in the pan or cut them into individual squares. Place them in a single layer on a baking sheet and freeze until firm (about 1-2 hours). Once firm, transfer the bars to a freezer-safe container or a heavy-duty freezer Ziploc bag, separating layers with parchment paper to prevent sticking. They can be stored in the freezer for up to 3 months.
Thawing and Reheating:
When you’re ready to enjoy your frozen S’mores Bars, simply remove them from the freezer. You can thaw them overnight in the refrigerator, then bring them to room temperature on the counter before serving. Alternatively, for a quicker indulgence, you can warm individual bars in the microwave for 10-15 seconds, which will bring back that glorious melty chocolate and gooey marshmallow texture. Be careful not to overheat, as the marshmallows can become rubbery.
More Delicious Dessert Recipes You’ll Love
If you enjoyed these S’mores Bars, you’re in for a treat with these other amazing dessert ideas from our kitchen:
- Mini Cheesecakes Recipe: Individual portions of creamy, dreamy cheesecake – perfect for any gathering!
- Caramel Apple Poke Cake: A moist apple cake infused with rich caramel, a true autumn delight.
- Incredible Banana Cake: The ultimate banana cake, moist and flavorful, topped with a luscious cream cheese frosting.
- Chocolate Covered Strawberry Brownies: Fudgy brownies elevated with fresh strawberries and a chocolate glaze.
We absolutely love hearing from you! If you whip up a batch of these yummy S’mores Bars, please come back and let us know how they turned out. Leave a comment below with a star rating – your feedback helps other home bakers discover and enjoy these delightful treats!
S’mores Bars Recipe
Sandy Clifton
15 minutes
25 minutes
40 minutes
15
Equipment
-
9×13-inch Baking Dish
-
Parchment Paper or Foil
-
Large Zip-closure Baggie
-
Rolling Pin (to crush crackers, or use food processor)
-
Measuring Cup
-
Large Mixing Bowl
Ingredients
- 2 sleeves Graham Crackers (~2 ½ cups crushed)
- 1 ½ sticks Unsalted Butter (12 Tbsp. melted)
- ¼ cup Granulated Sugar
- 1 (12-ounce) bag Mini Marshmallows
- 12 ounces Semi Sweet Chocolate Chips*
Instructions
-
Preheat the oven to 350° F (175°C).
-
Prepare a 9×13-inch baking dish by lining it with parchment paper (or foil), leaving an overhang for easy lifting. Lightly spray the parchment paper with cooking spray and set aside.
-
Crush the graham crackers with a rolling pin in a large zip-closure bag until fine crumbs form. (Alternatively, use a food processor for quicker results).
-
In a small, microwave-safe bowl, melt the unsalted butter. Microwave for 30 seconds, stir, then microwave for another 30 seconds or until fully melted and smooth.
-
In a large bowl, combine the crushed graham crackers and granulated sugar. Pour in the melted butter and mix thoroughly until all crumbs are coated. Transfer the mixture to the prepared baking dish and press firmly and evenly into the bottom of the pan using the bottom of a measuring cup or your clean fingers to create a compact, smooth crust.
-
Bake the crust in the preheated oven for 8 minutes to set.
-
Remove the pan from the oven. Immediately sprinkle the semi-sweet chocolate chips in an even layer over the hot, pre-baked crust. The residual heat will start to melt the chocolate.
-
Distribute the mini marshmallows in a single, even layer over the chocolate chips.
-
Return the pan to the oven and bake for an additional 12-17 minutes, or until the marshmallows are puffed, beautifully golden brown, and slightly toasted. Monitor closely to prevent burning.
-
Remove the S’mores Bars from the oven and place the pan on a wire rack to cool completely.
-
Once completely cooled (or slightly warm for a gooier experience), use the parchment paper overhang to lift the entire slab out of the pan. Place on a cutting board and slice into 15 bars (or your desired size and quantity) using a sharp, warm knife. Enjoy!
Notes
Storage
Store S’mores Bars in an airtight container at room temperature for up to 5 days. For longer storage, they can be frozen for up to 3 months (see detailed freezing instructions above).
Nutrition
Calories:
341
kcal
Nutrition information is automatically calculated, so should only be used as an approximation.
Additional Info
Dessert
American